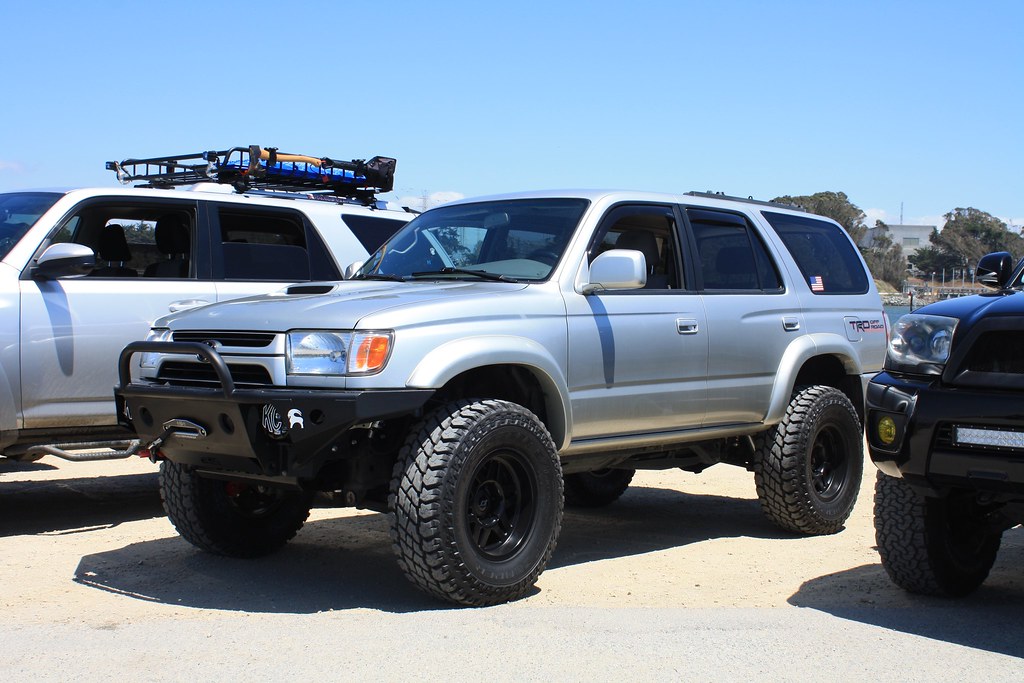
JerkyDrewster's 2001 4Runner Build V2

This is a text book build thread and I can't wait to see where it goes.

Well done on everything so far!

glad to see you back in another t4r

Thanks guys. Also glad to be back in a 4Runner. I was worried about getting a different car and not liking my decision, so I decided to skip that step!

Why 100A and 125A circuit breakers instead of just one? Sorry, I'm not much of an electrical guy..

Slick build!

Currently, they are not used for anything, but I am going to use the 100A breaker for the auxiliary fuse block and the 120A breaker will be for the upgraded alternator once I get that.
 
May 29th, 2017

Winch and KC HiLites Installation

Parts List:
- Smittybilt 9.5K Synthetic Line Winch
- KC HiLites 6" Pro Sport LED Lights

I probably should have just done these when I first installed the bumper, but oh well. I started with the winch and all of the wiring with it. I put the winch controller in the same place as before, on the passenger-side right in front of the wiper fluid bottle. It is held in with one of the brackets right now, but it definitely needs another one to keep it still over large bumps. I will need to spool the winch once I find a long enough flat ground and a sturdy pole.

As I was putting the lights in, I noticed that the driver-side mount was bent from the accident. This was from the harness from the lights being pulled through the light housing. I beat on it with a BFH to get it mostly straight again. I had to set the wiring grommet back onto the housing of the lights, so I used some 5-minute epoxy to hold and seal the break. I routed and zip-tied all of the wires to go behind the front crossbeam and to the hole next to the light. I didn't want to pass the wires through the grommet on the driver-side, so I was not able to wire the switch, but I will get there one day once I do the "Big 3" and new firewall bulkhead.

Broken KC Light from accident
https://flic.kr/p/WkuSbq

5-Minute epoxy to hold everything in place
https://flic.kr/p/WcqAUp

https://flic.kr/p/V7DfGA

https://flic.kr/p/WcrgyZ

https://flic.kr/p/V7DeCb

https://flic.kr/p/WcrfRM
 
Last edited:
Jerkydrewster's 2001 4Runner Build V2

June 10th, 2017

Convoy Down the Coast Pt. 2 - Saratoga to Monterey

After going on the Convoy Down the Coast that [MENTION=102606]infamousRNR[/MENTION] set-up last year, I was excited to find out that another was planned. We started off in Saratoga as a pretty small group. We left to head up HWY 17 to Aptos St. BBQ. I had been there maybe 5 or 6 years ago, and it definitely was as good as I remembered. After getting some great BBQ and some beers, we drove on to the next spot in Moss Landing to relax and take some sweet pictures. At this point I had to take off, but the rest of the group went down to Monterey to hang and grab some more food. Definitely another great experience, and I met some great guys across the 3rd, 4th, and 5th gen community! Can't wait for next year.

Here are a few shots of the trip at Moss Landing, as well as Sean's video that he put together.

https://flic.kr/p/WmtGFz

https://flic.kr/p/VXNFyU

https://flic.kr/p/WmtHV8

https://flic.kr/p/VjyU5i

https://flic.kr/p/VXNESy

https://flic.kr/p/VXNEGJ

https://flic.kr/p/VXNDBY

 
Last edited:
June 18th, 2017

Sliders and Cam Alignment Tab Installation

Parts List:
- Stubb's Welding HD-SKO Rock Sliders
- Total Chaos Weld-On LCA Cam Tab Gussets (59960)
- Toytec Panhard Drop Kit (PDR-1)

This past weekend I was able to get some welding done with a friend of mine! I wish I had caught that the cam alignment tabs were broken when I was first doing my suspension, but at least I'm getting quick at removing the LCAs! Once everything was torn down, I noticed that the rear alignment sets on both the driver and passenger sides were welded in areas besides the spot welds. I'm guessing that the car was in some sort of accident, and the front passenger wheel hit something hard causing the front set of alignment tabs to shear off. The rear ones must have been bent back into place and welded for strength. With all of that, I decided to only drill the 2 front tabs off and weld the Total Chaos on. Not the prettiest of welds, but it'll work.

Next up was welding the panhard drop bracket on, which took all of 10 minutes. We burned the bracket on, and i sanded down the splatter and painted the area to prevent any rusting. The last thing we worked on was my old sliders. These were plasma cut off the frame of my old rig, so they needed to be ground down a bit. Once that was done, we fitted them to the car and clamped them into place. Since the old frame was still attached to the sliders, there were a few gaps that had to be filled. This was pretty easy using the flux-core mig welder...just kept shooting the wire in the gap until it filled up! The sliders took just over an hour to finish welding, and i did my best to grind away the small growths and slag. I painted them up, and they look great! My girlfriend is especially glad that she got her step back...:roll:

The broken alignment tab
https://flic.kr/p/V7DgN3

Replaced and painted
https://flic.kr/p/VNM27E

https://flic.kr/p/VNLZNY

The sliders
https://flic.kr/p/W94PMQ
 
Last edited:
sweet progress & pics drew!

I'm hoping there will be a "convoy down the coast" part III either later this year or early 2018!!!
 
June 24th, 2017 & July 2nd, 2017

Engagement! (& Trans Cooler/Fan Install)

Parts List:
- B&M 70264 Transmission Cooler
- Upgr8 7" Electrical Fan

Well a few weeks ago, my girlfriend and I took a trip down to San Luis Obispo to relax and enjoy all of the places that we have missed since graduating school. I figured it would also be a great time to ask her to marry me! It was such an exciting time, from our friends secretly photographing us, to the suprise engagement party with friends and family afterwards. We have a full year from yesterday to plan, but it will be great!

I thought it would be fun to share some photos from the day too, so here they are!

https://flic.kr/p/WycNpT

https://flic.kr/p/VgTB5Y

https://flic.kr/p/VXNFoo

https://flic.kr/p/VXNFhS

At the suprise engagement party!
https://flic.kr/p/WybG4D

In actual 4Runner news...I installed my B&M transmission cooler, as well as the electric fan! I used the zip ties that go through the radiator for the cooler since they are extrememly convenient. I used the brackets that come with the cooler for the fan in order to attach it to various points around the front of the car. Unfortunately, I did have to bend the A/C condenser line in order to fit the fan. Unlike my old car, this one has the line come down at a 90* angle, and I was not able to pfit it into the same exact spot as before. It was a pretty quick install, and I'm hoping that it helps out when I'm going out to off-road! Eventually I'll be adding in a temp gauge or scan gauge...gotta figure that out first.

While I was under there, I also noticed that my transmission had a lot of oil on it. I think it is from the pan gasket, but I'll use some degreaser or oven cleaner in order to pinpoint the seepage!

https://flic.kr/p/VNLYHw

https://flic.kr/p/WuBQZu
 
Last edited:
I'm a big fan of your build dude! I love how simple and cleanly executed it is!
Keep up the good work! :rockon:

And congrats on the proposal!
 
sweet progress & pics drew!

I'm hoping there will be a "convoy down the coast" part III either later this year or early 2018!!!

Thanks Sean! Let me know if you need any help planning...I would definitely be down for another one!

I'm a big fan of your build dude! I love how simple and cleanly executed it is!
Keep up the good work! :rockon:

And congrats on the proposal!

Thanks dude! I've been trying to learn how to make this one better than the last, and it's been a bunch of fun. You're rig is looking killer too!
 
July 7th, 2017

Steering Rack Guide & Rear Axle Seals

Parts List:
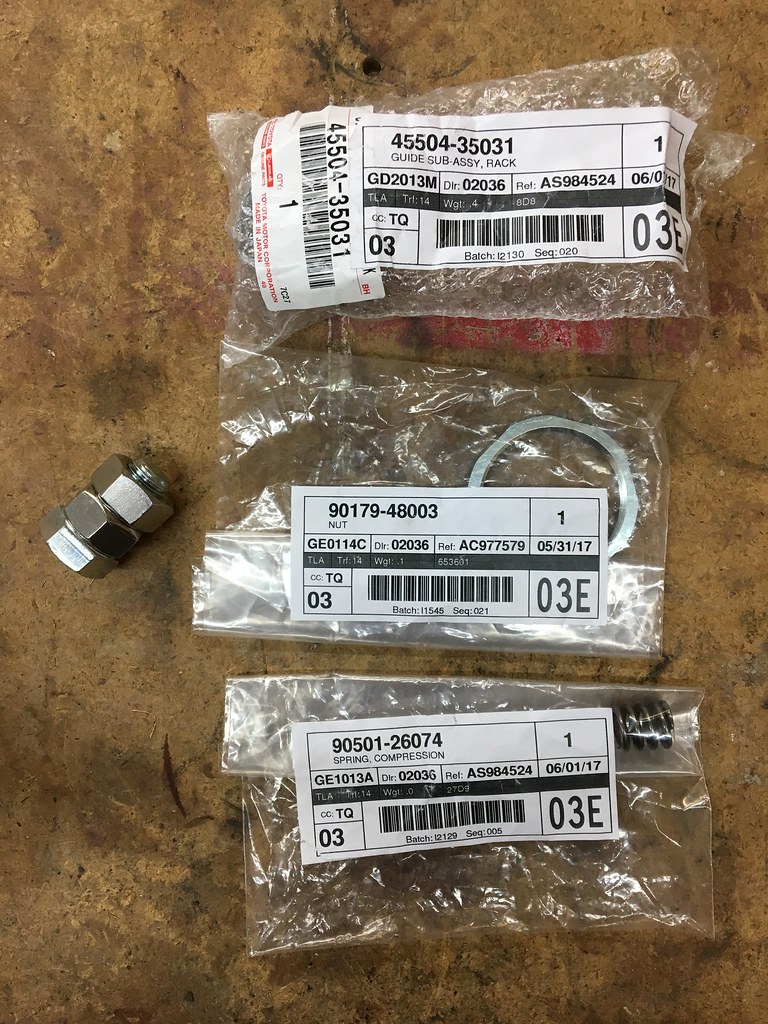
- Rack Guide (45504-35031)
- Rack Guide Spring (90501-26074)
- Rack Guide Nut (90179-48003)
- Inner Rear Axle Seal (90310-50006)

Tools Used:
- 16mm Bolt
- 2x 16mm Nuts
- 24mm Socket
- Torque Wrench
- Channel Lock Pliers
- Vice-Grips
- 10mm Flare Nut Wrench
- Crescent Wrench
- 12-14mm Sockets

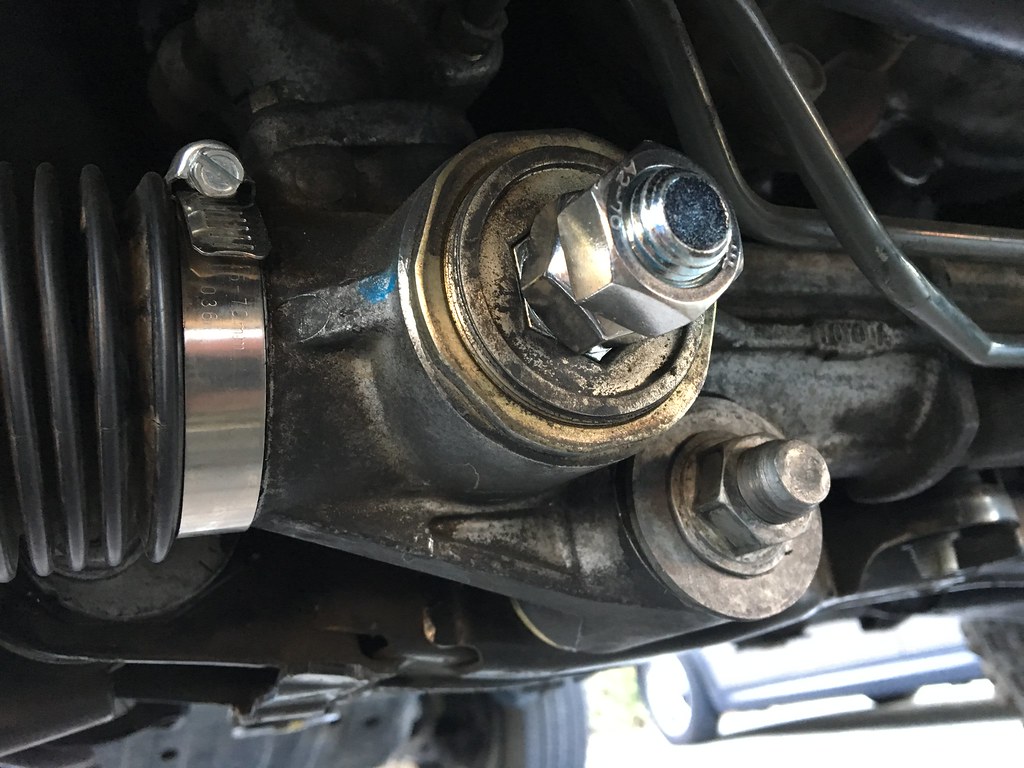
This past weekend I decided to tackle what I thought was the cure to a clicking noise underneath the driver-side of the car. Since it only happened while stopped and turning the wheels, and sometimes when I would first accelerate, I thought it had something to do with the steering rack. Since I had just replaced both sets of tie rods, I ruled those out. Short of replacing the entire rack, I went with the rack guide. Since I didn't want to shell out an extra $30 for a 24mm hex bit socket, I looked up what size bolt has a 24mm head on it. Turns out it was a 16mm! I went by my hardware store to pick up the bolt and 2 nuts for the wrench.

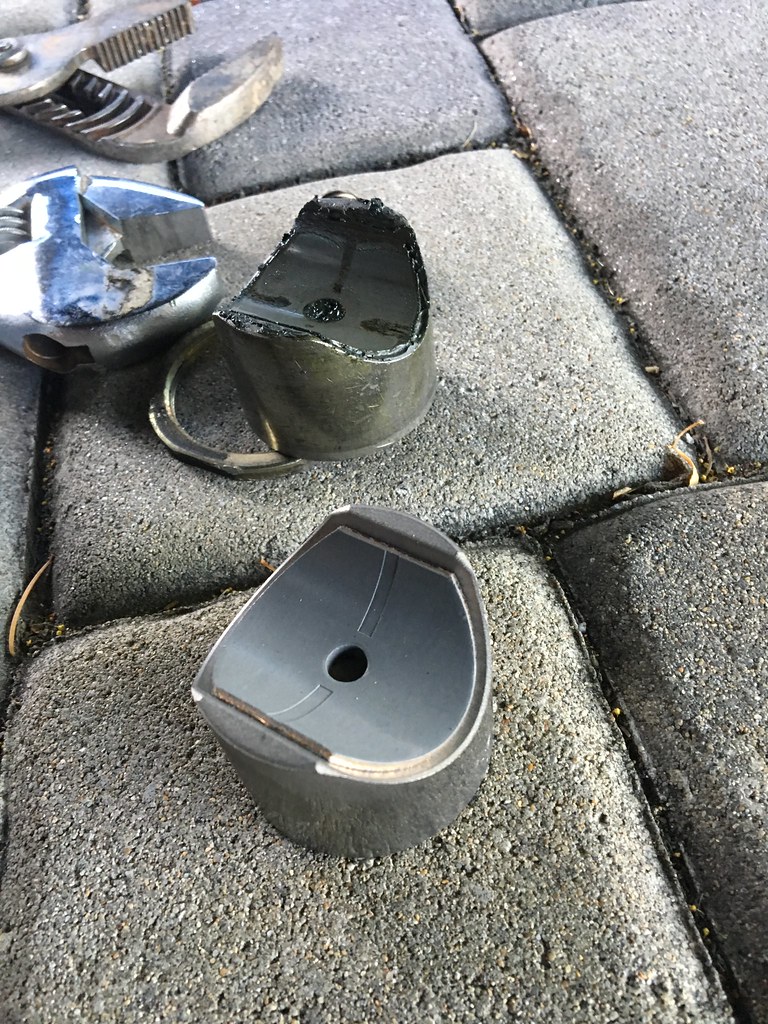
Once I got home, I used the channel locks to remove the large retaining nut. Once off, I put the bolt head into the cap and got it off no problem. I replaced the rack guides and retorqued it to about 18 ft-lbs then backed off a little. I might need to go back in to adjust it, but the clicking went away for the most part. I can still feel it every once in a while, but it is mostly gone.

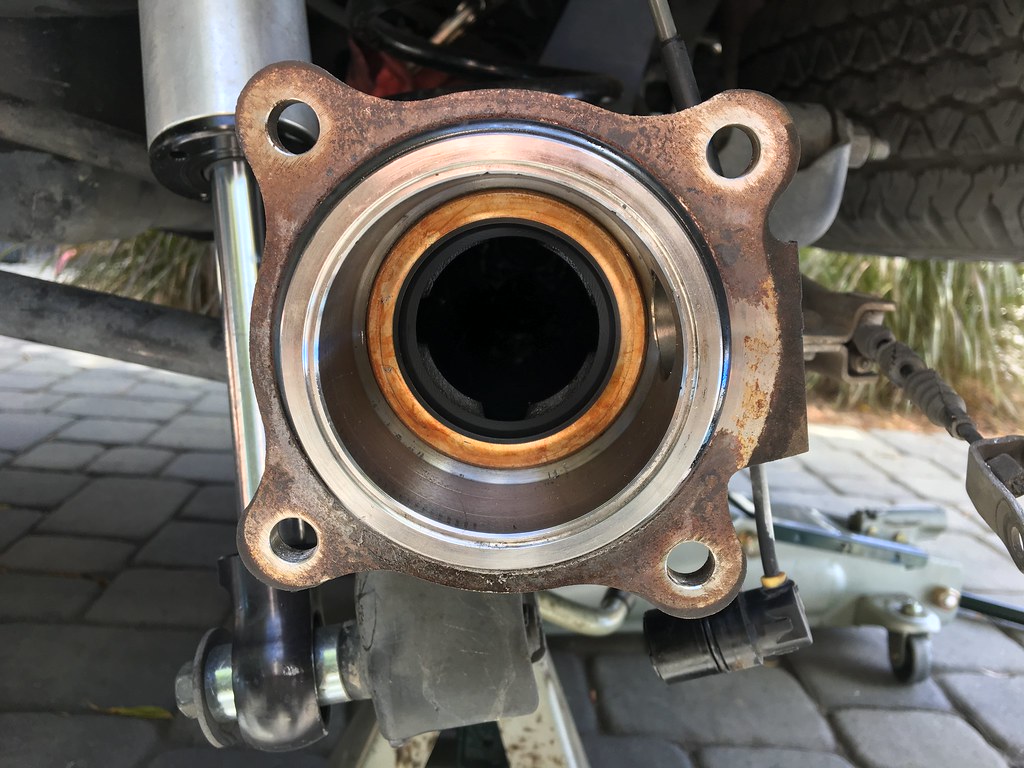
This weekend I decided to test fate and swap something out that wasn't broken...my rear axle seals. Since it was an expensive fix the last time I had to do them, with the bearings and shop time for the press, I wanted to see if I could get ahead of any failure on the new rig. Getting everything off of the car was super easy now that there is no rust to deal with...I just love it! I took off the drums to check the status of the brakes, and besides being dirty, they looked pretty good. Next up was removing the brake line and the 4 nuts holding the backing plate to the axle. Once the shaft was removed I was able to get a good look at the perfectly fine seal...oh well...I decided to continue and remove it since I was already that far into the axle. It came time to press the new one on and I was having the hardest time getting it started. I ended up getting one side in, and using a socket on one side of the seal driver to get it straightened out.

I got everything else back on without issue, but since the seal looked fine, I decided to not mess with the passenger side. Now I'm guessing that it's going to leak soon just to spite me. While I was under the car, I noticed some oil seepage from the 3rd member and axle housing. I really didn't want to drain the oil and drop the drive shaft, so I decided to check the torque on the bolts. I found maybe 5 that were under-torqued by quite a bit, and it was right where the seepage was so I'm hoping that will solve the issue for the time being.

All in all, I bought 2 inner seals, 2 outer seals, a drive shaft seal, and the 3rd member gasket, and I only installed 1 inner seal. At least I have extras for when it all blows up later! :D

Rack guide parts
https://flic.kr/p/WGSBM4

The 16mm socket in the cap
https://flic.kr/p/W7zJpf

Side by side
https://flic.kr/p/WGSBFn

New seal
https://flic.kr/p/Vz5PRp
 
Last edited:
August 27th, 2017

Projector Retrofits

Parts List:
- Bi-Xenon: Morimoto Mini D2S Stage III Kit
- OEM TYC Headlights
- Rustoleum Metallic Black Paint
- Rustoleum Semi-Gloss Clear Coat

Tools List:
- 10mm Socket Wrench
- Philips and Flat Head Screw Driver
- Dremel with Sanding Attachment
- JB Weld
- Silicone Sealant

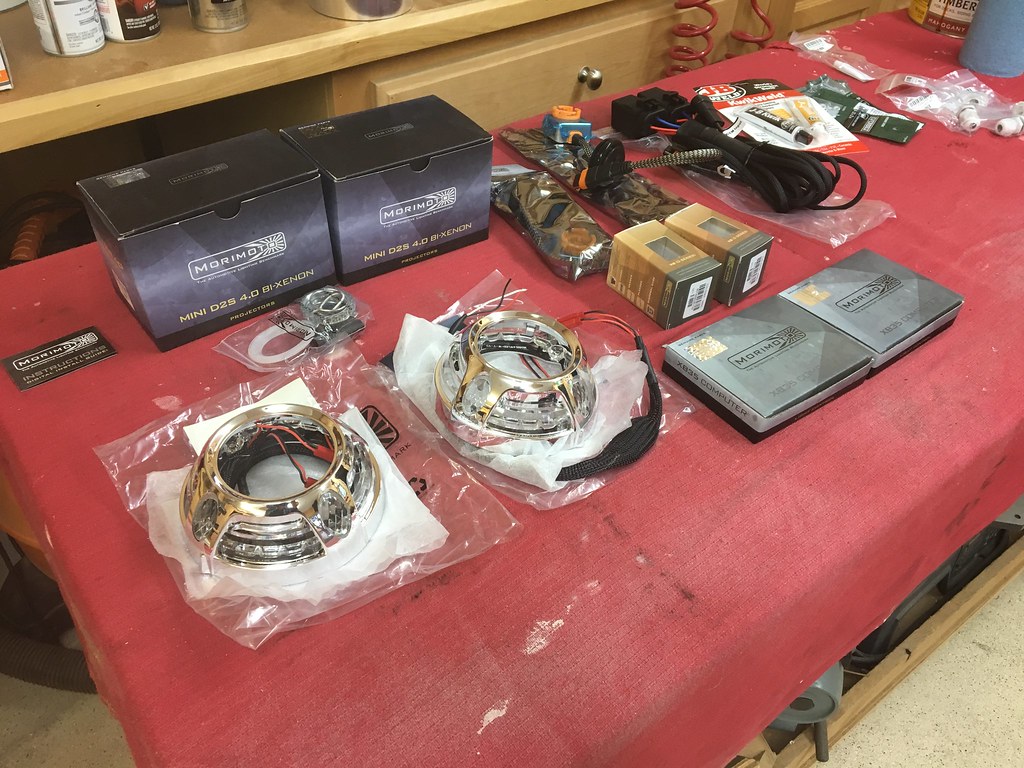
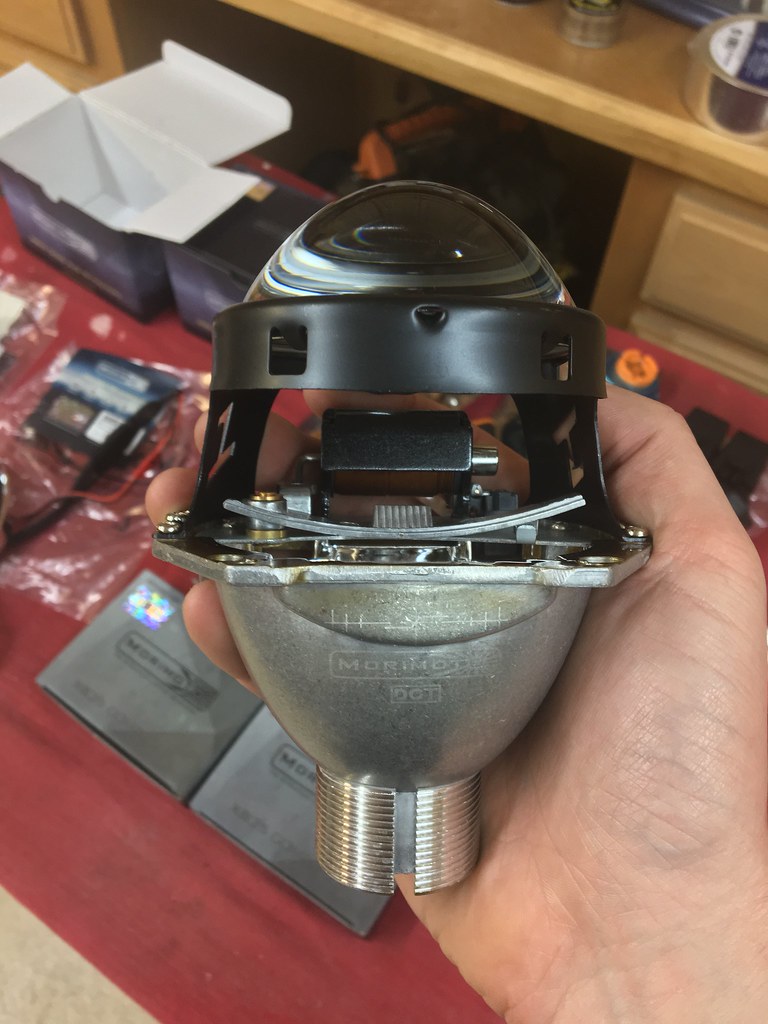
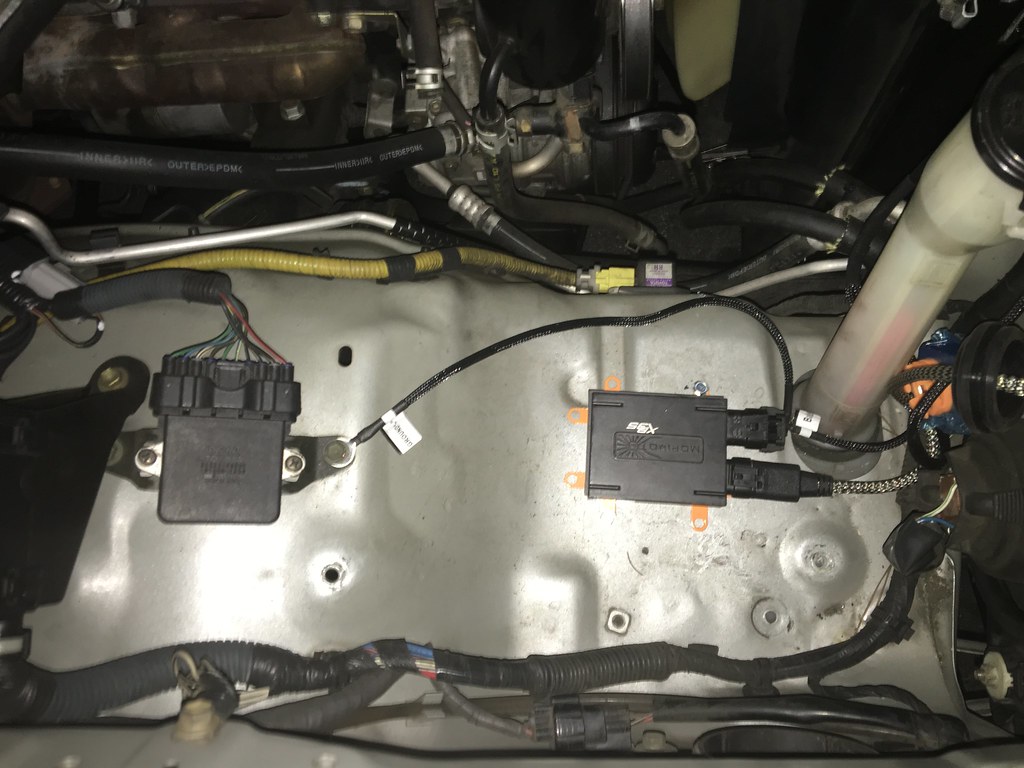
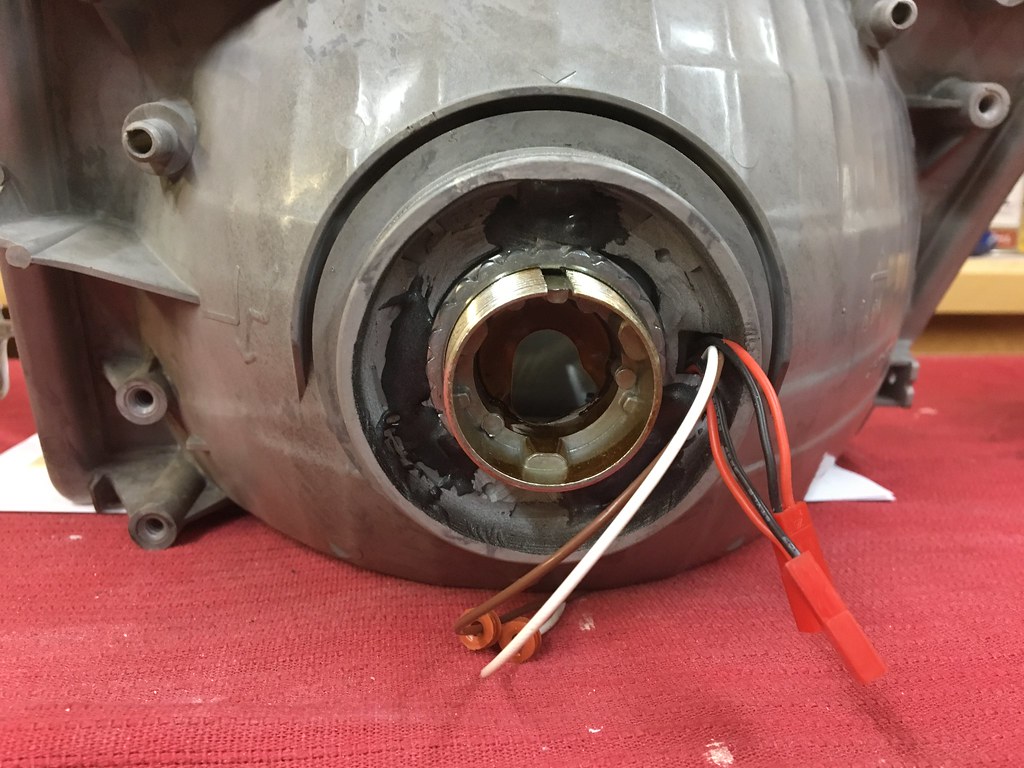
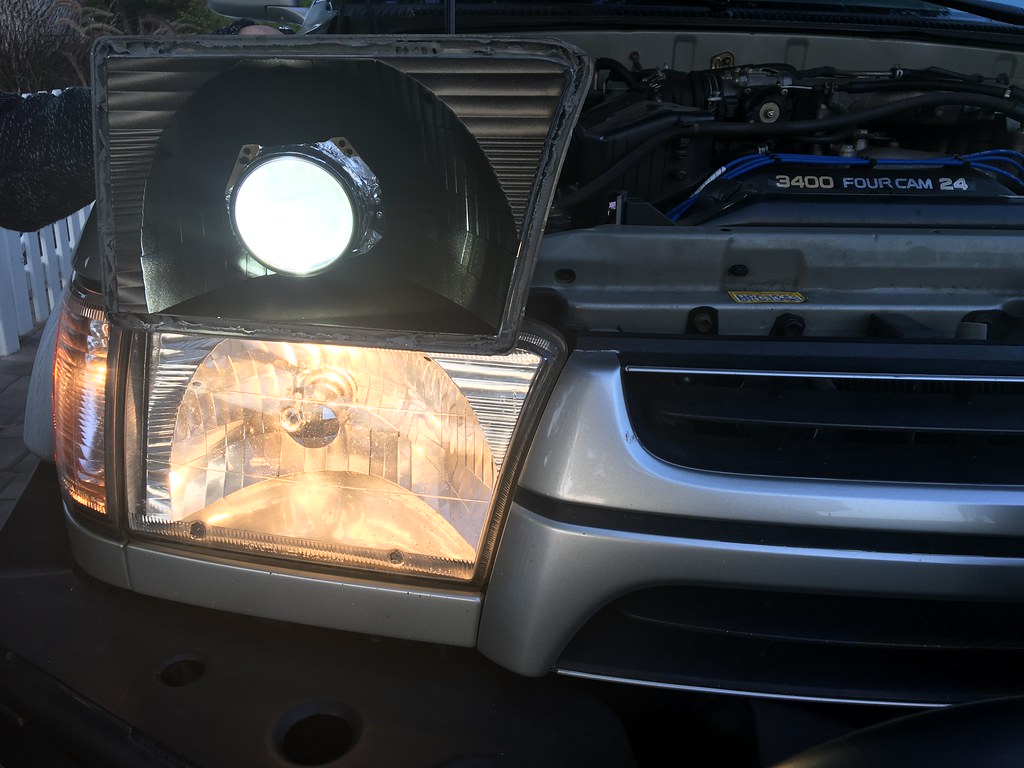
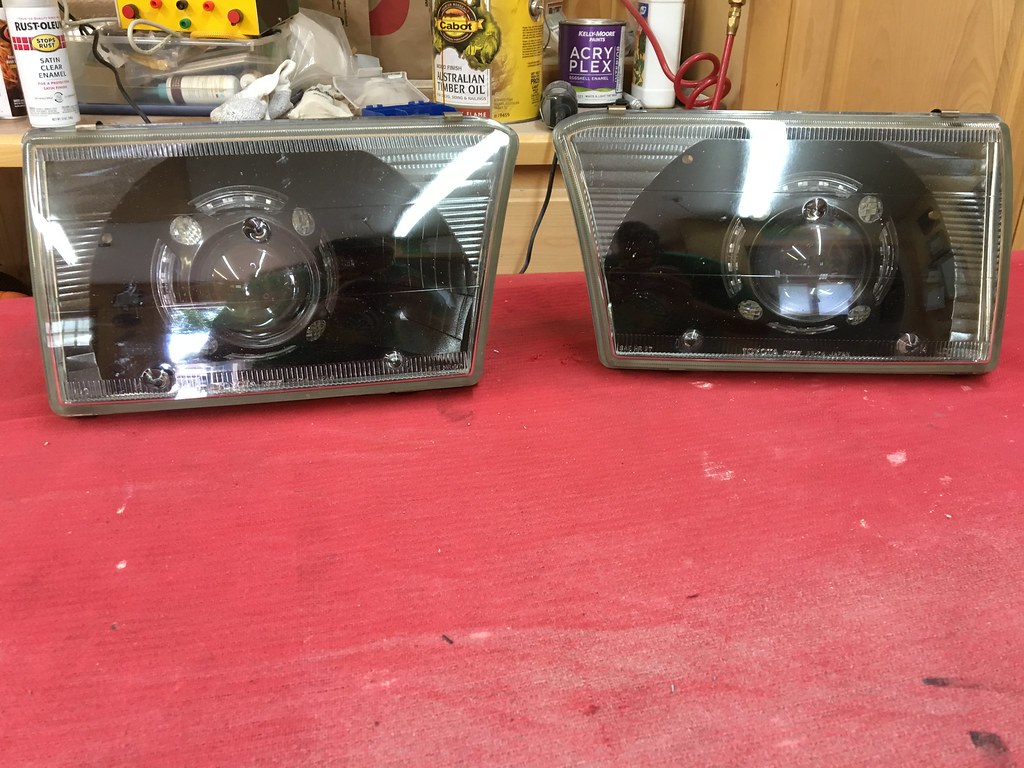
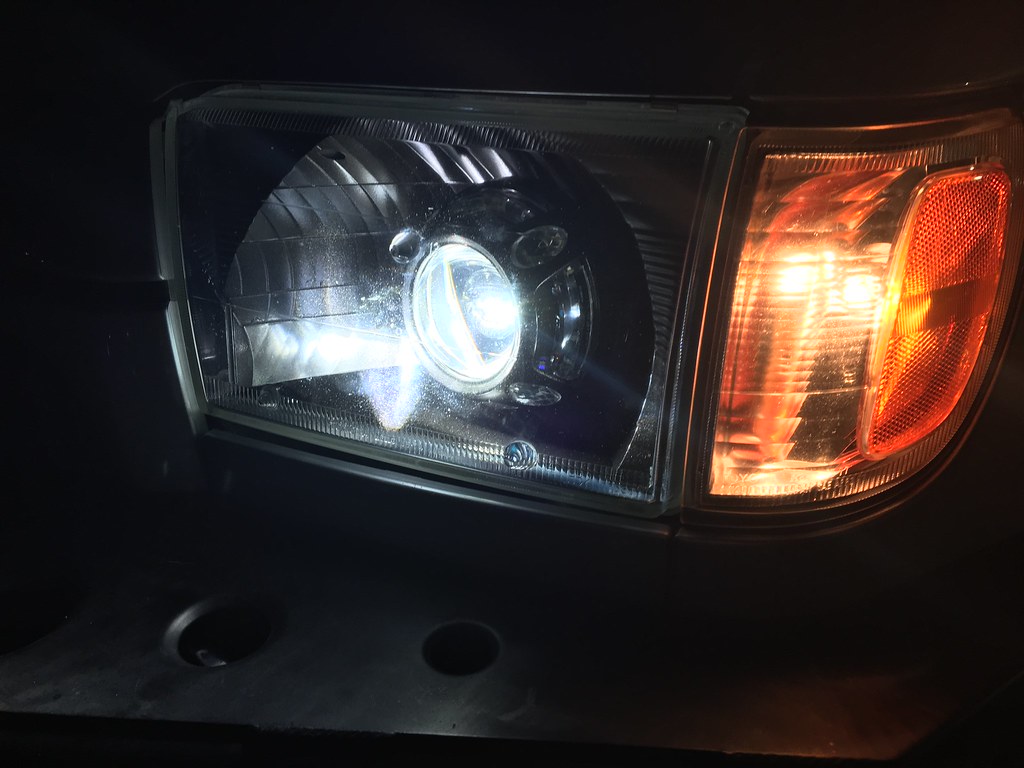
I was able to finish offf my projector headlight retrofit project today (minus aiming them). I am extremely happy with how they turned out, and I'm sure it will look even better when they are aimed. The actual modification to the OEM housing was simple. I took a dremel with the sanding attachment and removed the structure that holds the original light in place. I then used JB Weld to secure the projector alignment key in place on that surface. As others have done before, I used aluminum tape to completely seal the projector from light leakage.

I wanted to get the paint as perfect as possible, so I scuffed up the interior of the reflector bowls before cleaning them some paint thinner. I sprayed a couple coats of primer before putting on a black metallic paint. I finished it up with a clear coat to protect to give it a more glossy sheen.
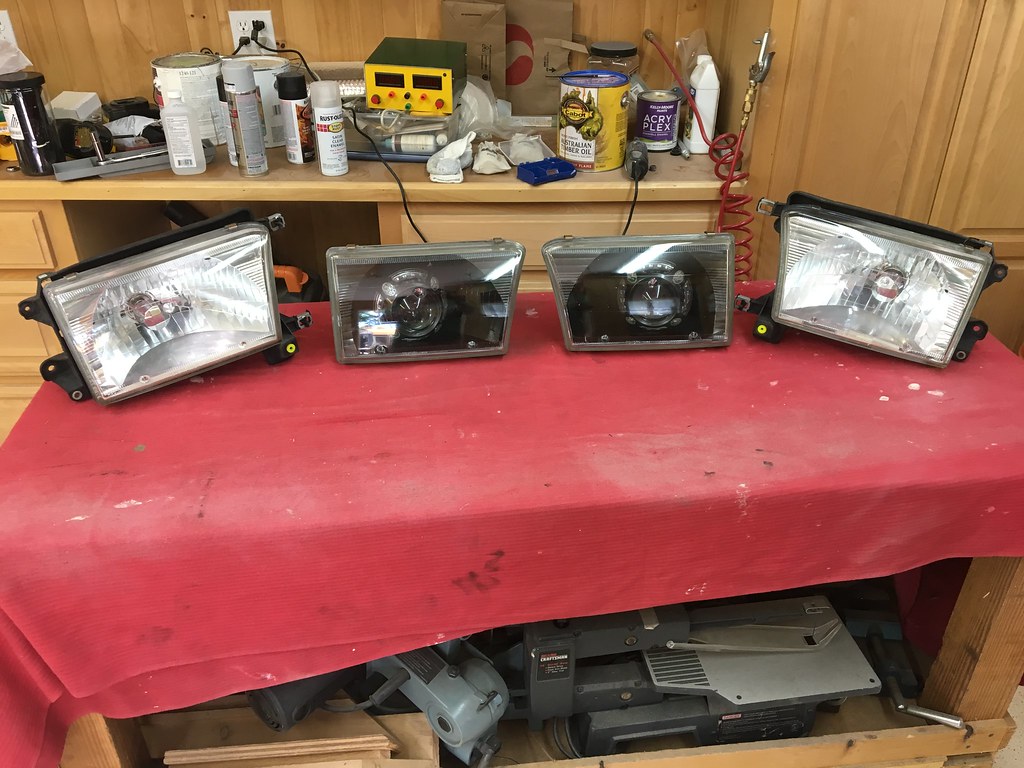
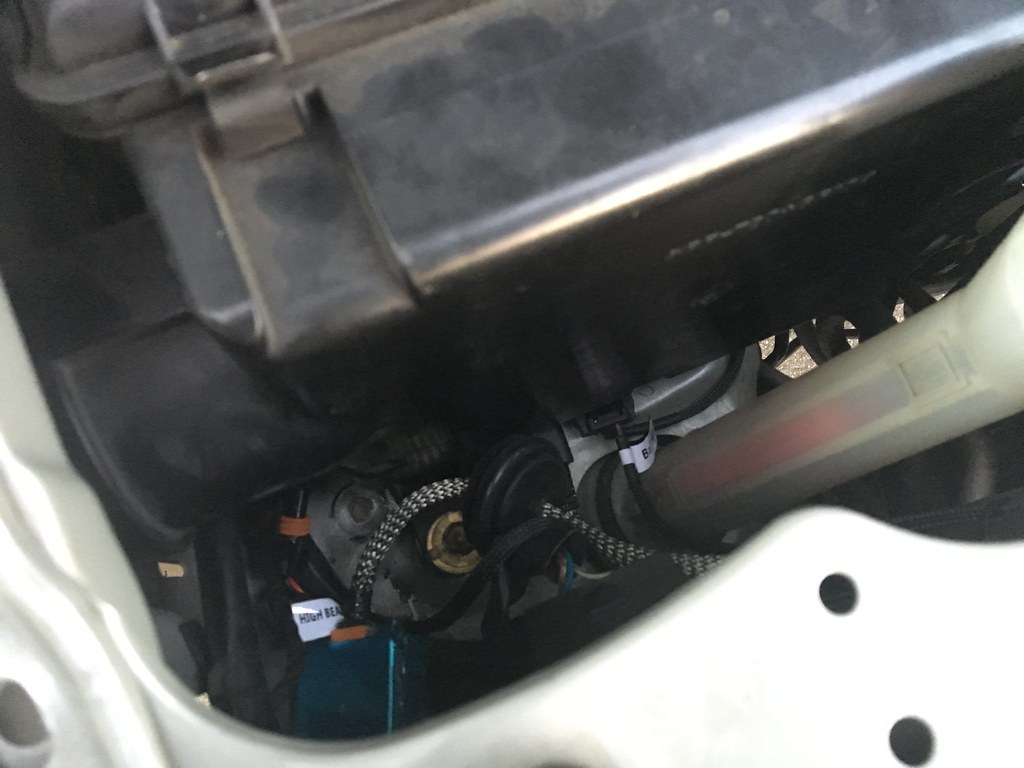
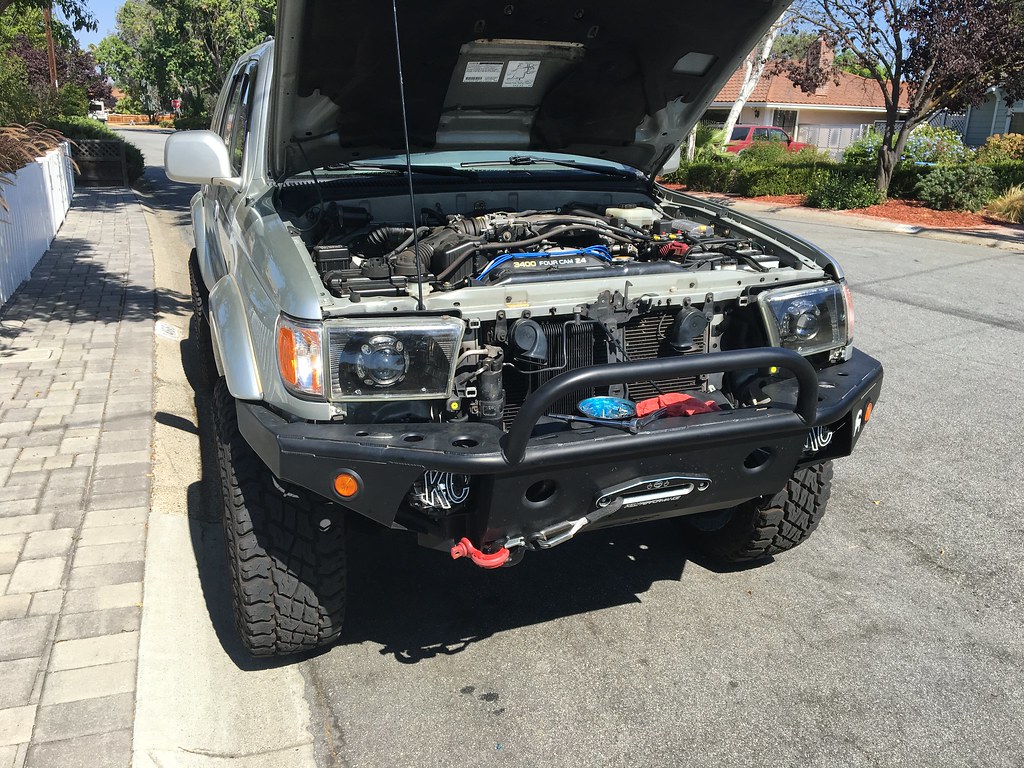
Since the mounting holes were covered up, I used 3M VHB tape to secure the Panamera shrouds in place. The high beam and shroud cables were routed through the square hole near where the light is, and sealed it off with some silicone. I cleaned everything off one last time before placing them in the oven for a bit and pressing the glass and bowl together. I removed the OEM headlights and attached mine. Unfortunately I didn't have time to fully align them, but I got them pretty parallel to the ground. I'm hoping I can finish the rest off tomorrow when I have a flat surface and a wall.

Time for some pictures!

All the parts
https://flic.kr/p/Wws7Kx

The projectors are huge!
https://flic.kr/p/XFTytY

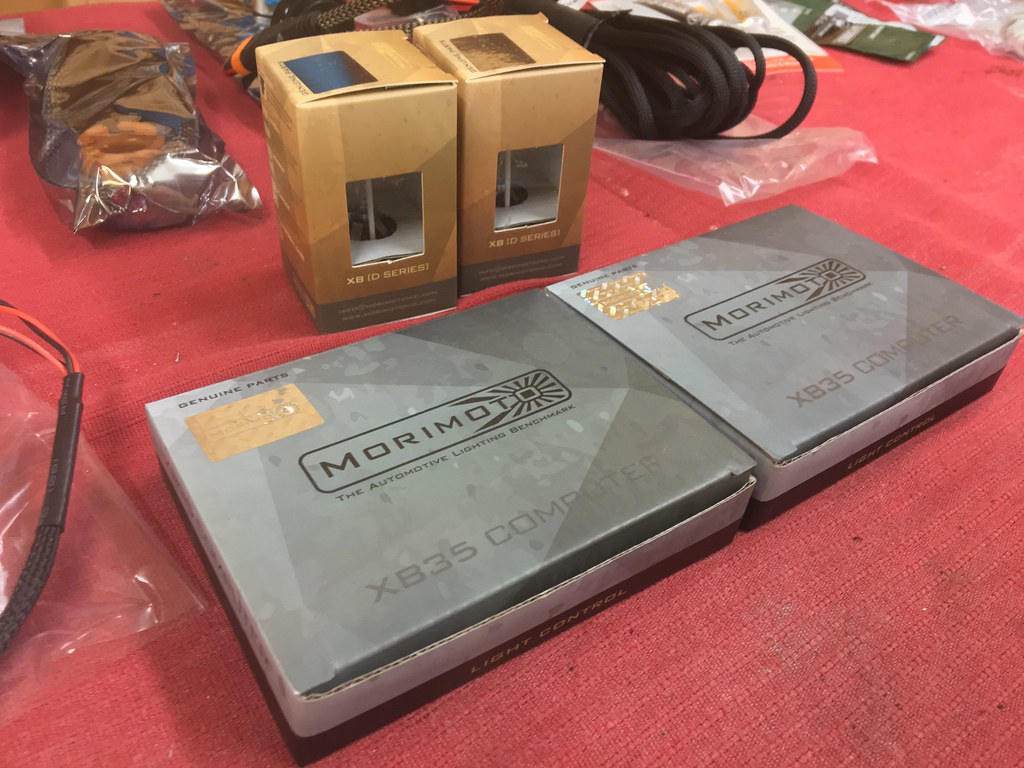
Ballasts and Bulbs
https://flic.kr/p/XFTAF3

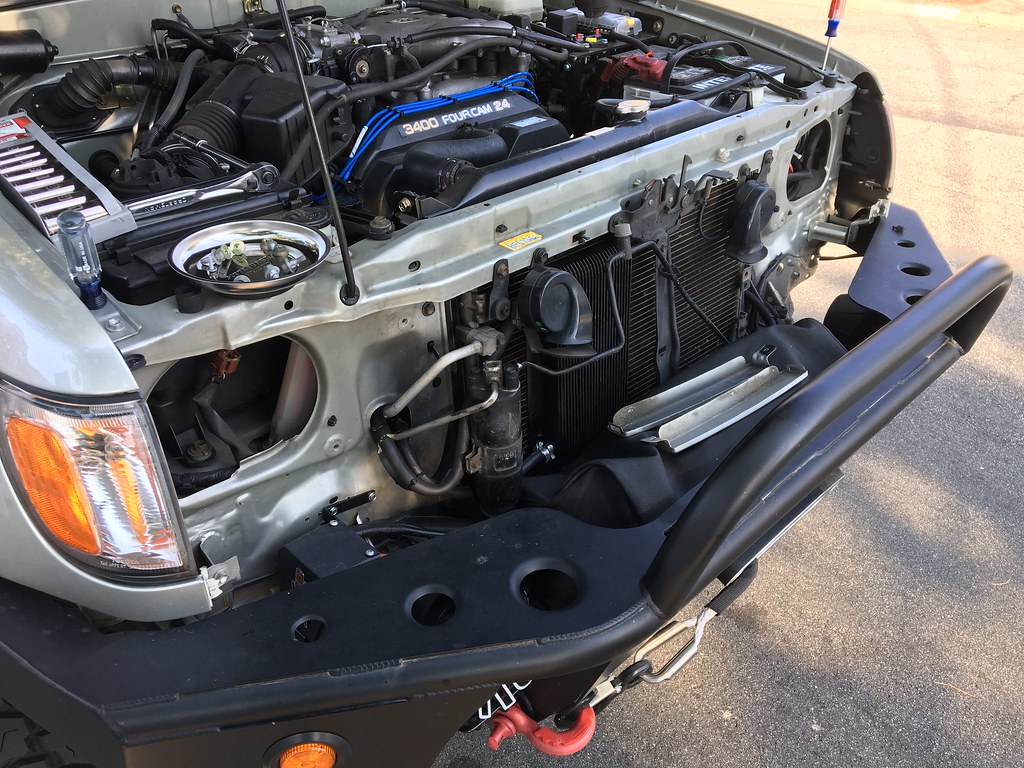
Removing the stock headlights
https://flic.kr/p/XFTyTA

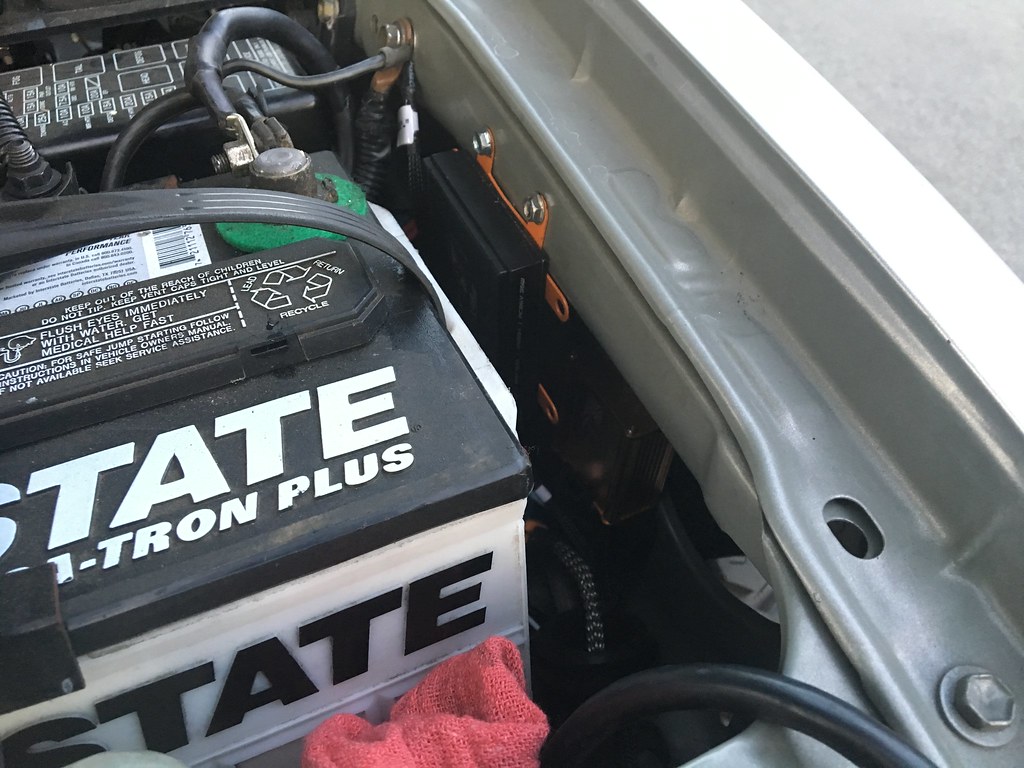
Mounting locations of the ballasts
https://flic.kr/p/Ya38KD

https://flic.kr/p/XTVivG

https://flic.kr/p/XTVhpJ

Back of the housing
https://flic.kr/p/XWH5UV

Testing out the lights
https://flic.kr/p/Ya2NTa

https://flic.kr/p/WVxFpc

https://flic.kr/p/Ya2ZBK

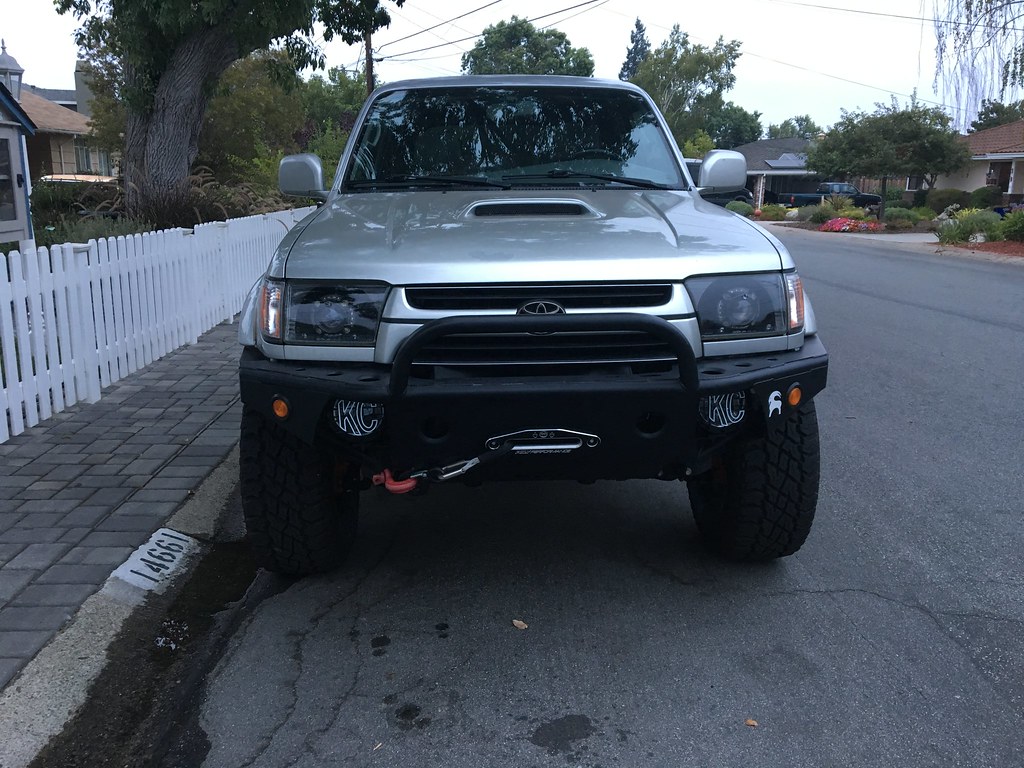
Finally placed on the car!
https://flic.kr/p/WVxP76

https://flic.kr/p/WZbmFt
 
Last edited:
Nice work on the projectors!

Got any tips on aiming headlights? I replaced my housings months ago and have yet to get them really pointed right!
 
Nice work on the projectors!

Got any tips on aiming headlights? I replaced my housings months ago and have yet to get them really pointed right!

Thanks Jordan! Ater working on them tonight, you really need to find a long, flat space. I had a slight incline so the lights are a little bit too high. The lower adjustment nut seemed to adjust vertical alignment while the upper nut did horizontal. For the projectors, I adjust both sides so the cut-off aligned with each other. Fror halogens, I'm not sure how you would do it.

Such a sick build so far! Super excited to see where you take this! Keep it up:clap2:

Thanks so much Alex. I've been trying to hold myself to a higher standard while building it, and I think it is definitely paying off. I saw the video of your trip to FJ Summit...looks like you guys had a killer time! Can't wait to see the next video of it, and hope that one day I can make it up there. Cheers!
 
August 28th, 2017

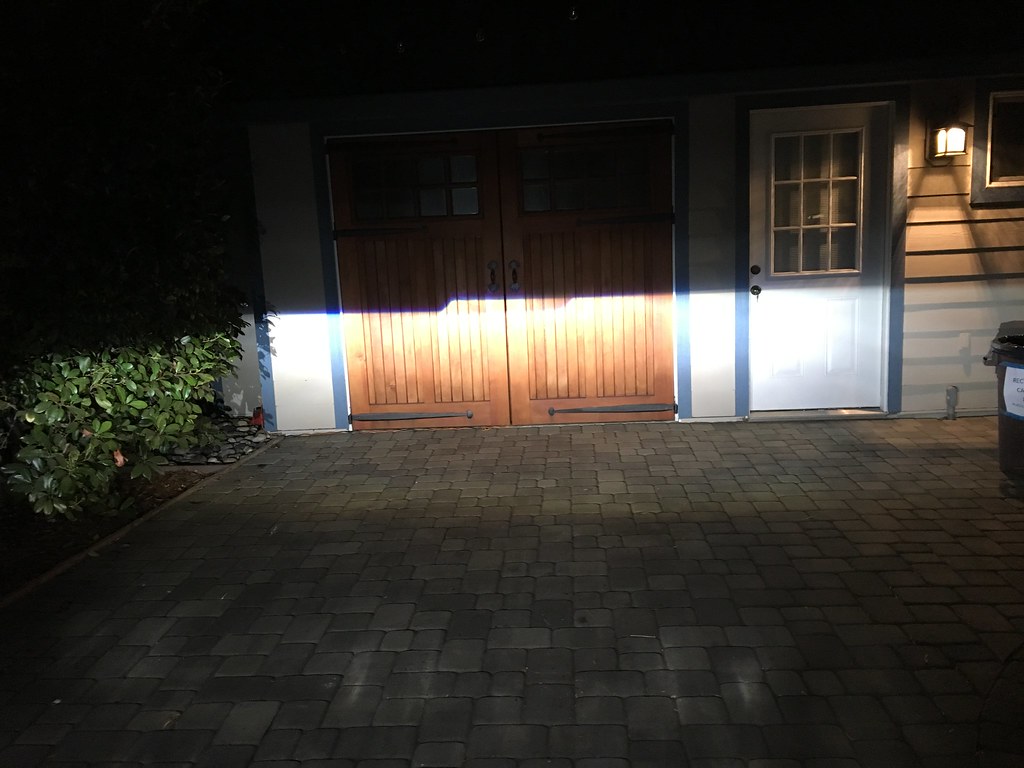
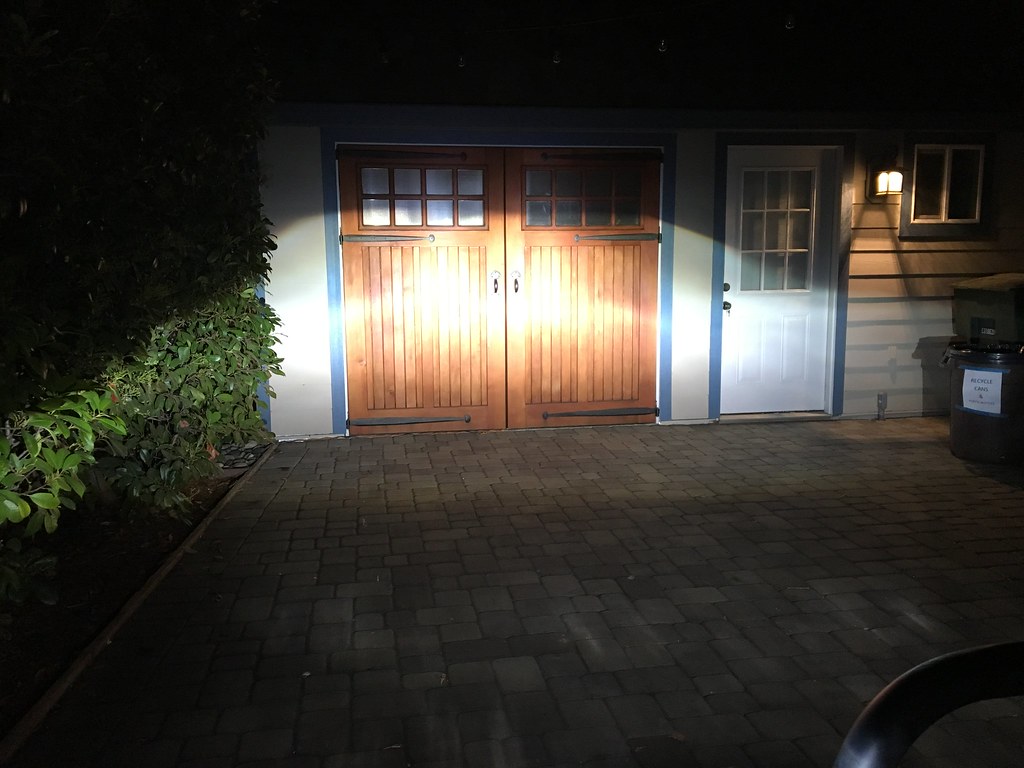
Headlight Aiming

I was able to adjust the headlights up quite a bit, maybe even a little too high after test driving it around the block. I am very impressed with their distance and how much they light up the street. A HUGE improvement over stock. One thing I do want to try and correct is the driver-side headlight not being perfectly parallel to the ground. In the meantime, I am a happy camper!

Low Beams
2017-08-28 20.22.33

High Beams
2017-08-28 20.22.47

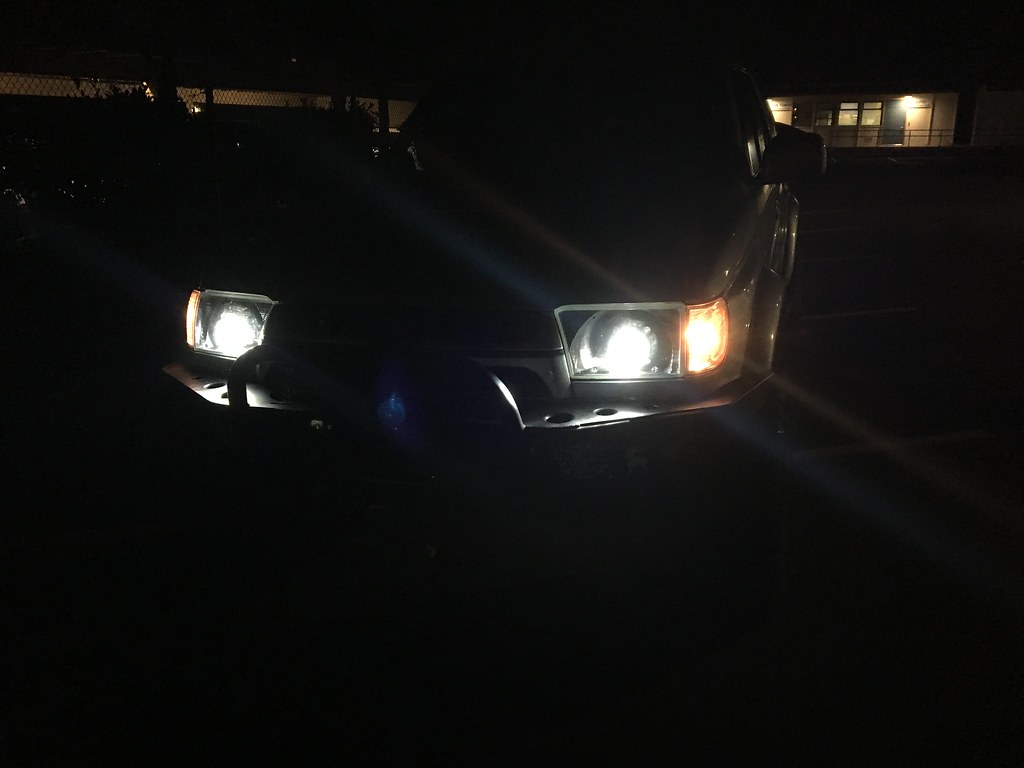
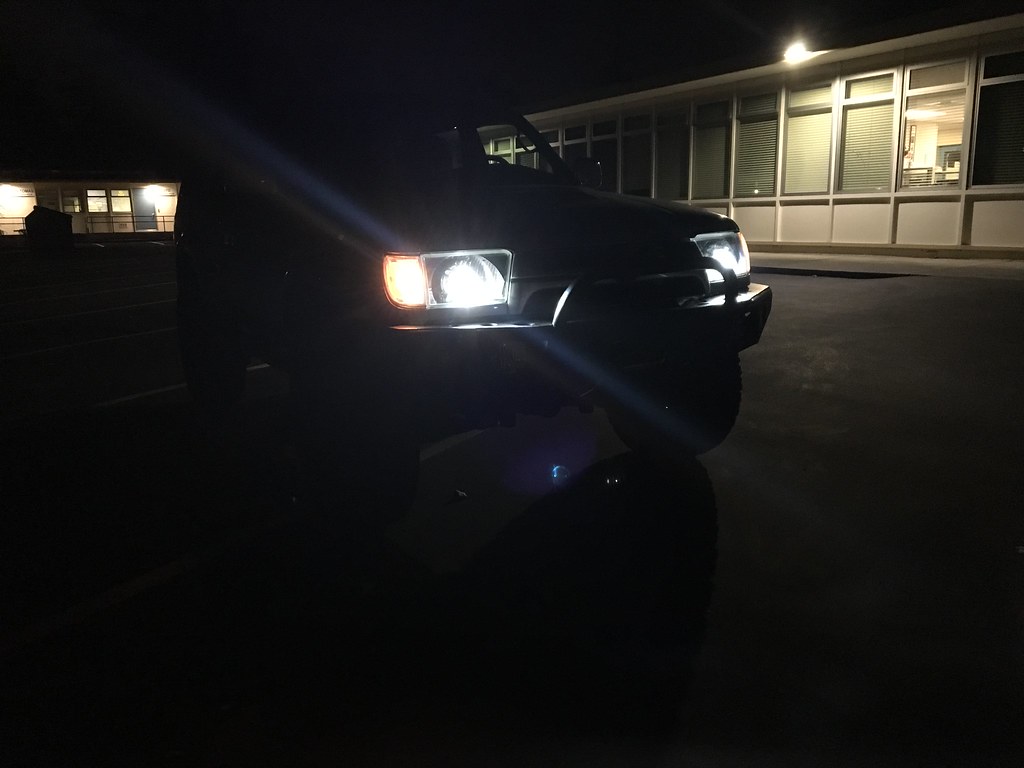
Night Shots!
2017-08-29 20.49.27

2017-08-29 20.49.14

2017-08-29 20.49.37
 
Last edited:
Amazing!

Such a clean and not overly complicated build here! Props to you for making it look so good. Im in the market looking for a new 3rd gen as well and I really like the way yours came out so Im thinking of doing something similar.... 3" lift with 285/75's and maybe a front bumper but not overly complicated. Thanks for the inspiration and once i get those A's in highschool expect to be hearing from me! :D
 
Any night time front shots?

I just added them to the original post! It was tough to get a decent shot with just my phone. I hope it's what you're looking for!

Such a clean and not overly complicated build here! Props to you for making it look so good. Im in the market looking for a new 3rd gen as well and I really like the way yours came out so Im thinking of doing something similar.... 3" lift with 285/75's and maybe a front bumper but not overly complicated. Thanks for the inspiration and once i get those A's in highschool expect to be hearing from me! :D

Well thanks for taking inspiration from my rig! I noticed that you posted in my other thread some time back. Do you have your own 4Runner now or just looking to pick one up? Keep it up in high school, and let me know if you have any questions about 4Runners (even though there are way more qualified people on here :p)!
 

Members online

Forum statistics

Threads
278,313
Messages
3,554,090
Members
248,016
Latest member
Advally Service

Trending content

Back
Top