JerkyDrewster
Member
March 17th, 2018
Push Start & CB Antenna Installation
Parts List:
- Advanced Keys Smart Entry & Push Start System
- MStudt's CB Antenna Mount
- Firestik 3' Antenna
Tools Used:
- Lots of electrical tools
- Electrical Wiring Diagram (Coud not have finished without this)
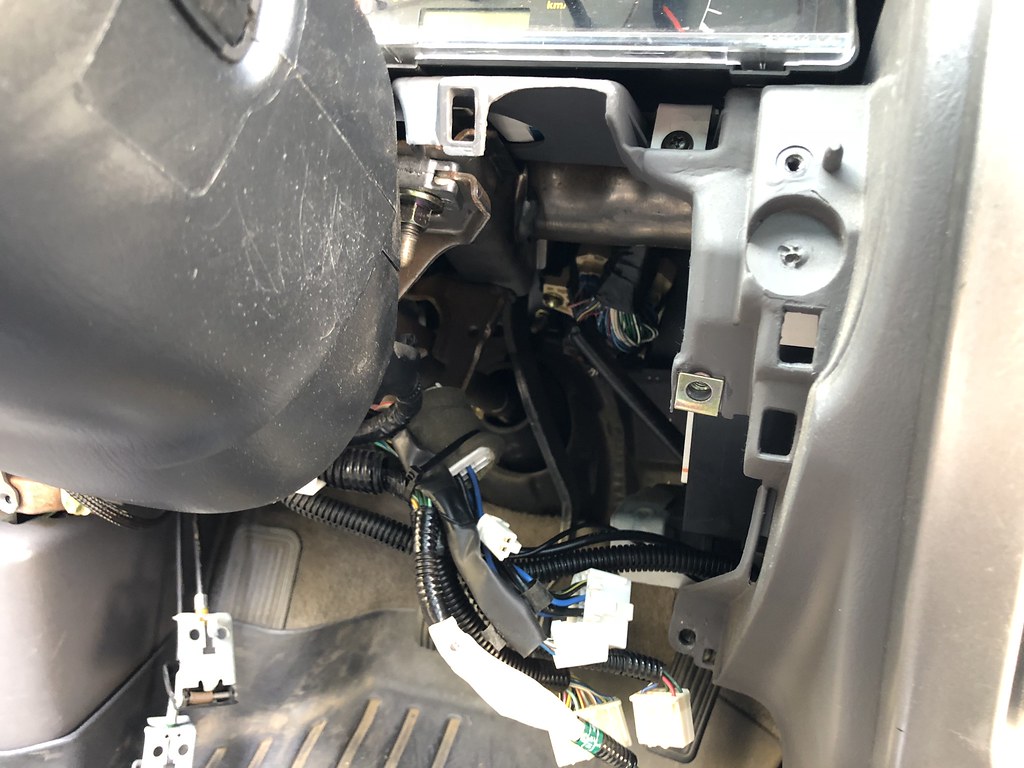
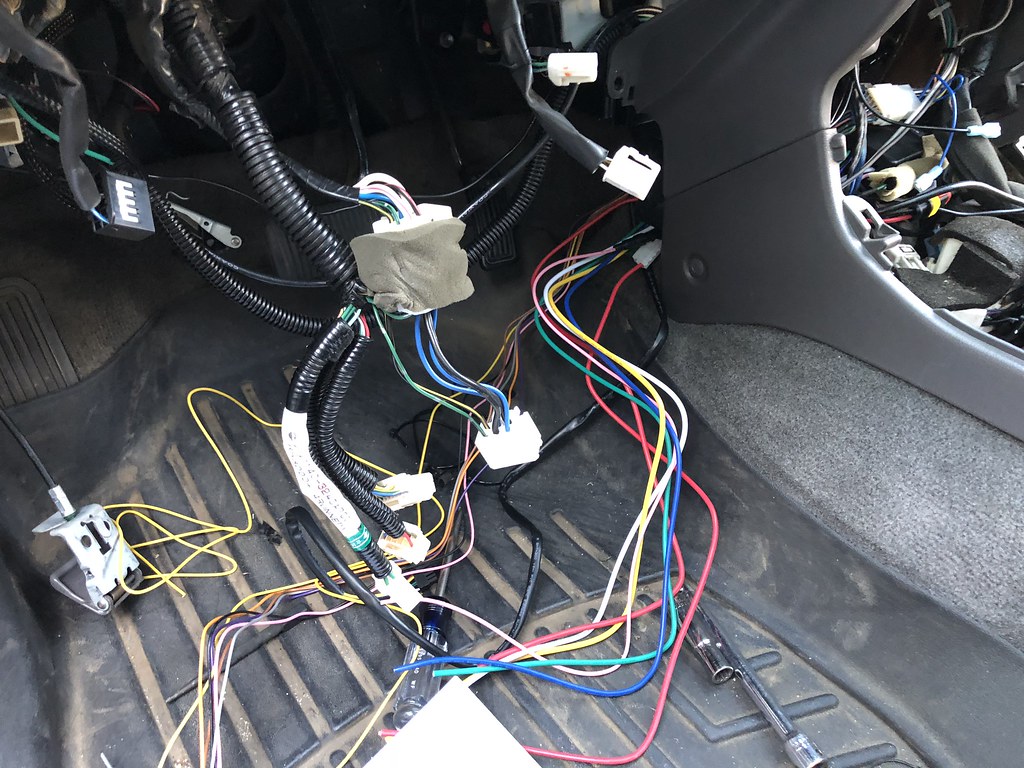
Last Sunday I decided to start on the daunting task of messing with a perfectly good ignition and security system and add my own! I began by reading up on the ignition and which wires I would be needed to splice into. After looking under the dash, I saw some discrepancies in the wire's colors. The one going into the ignition made its way back to a second connector that had wires that matched the EWD. After digging through the system some more, I'm guessing that the second harness was added with the RS3200+ Toyota security system.
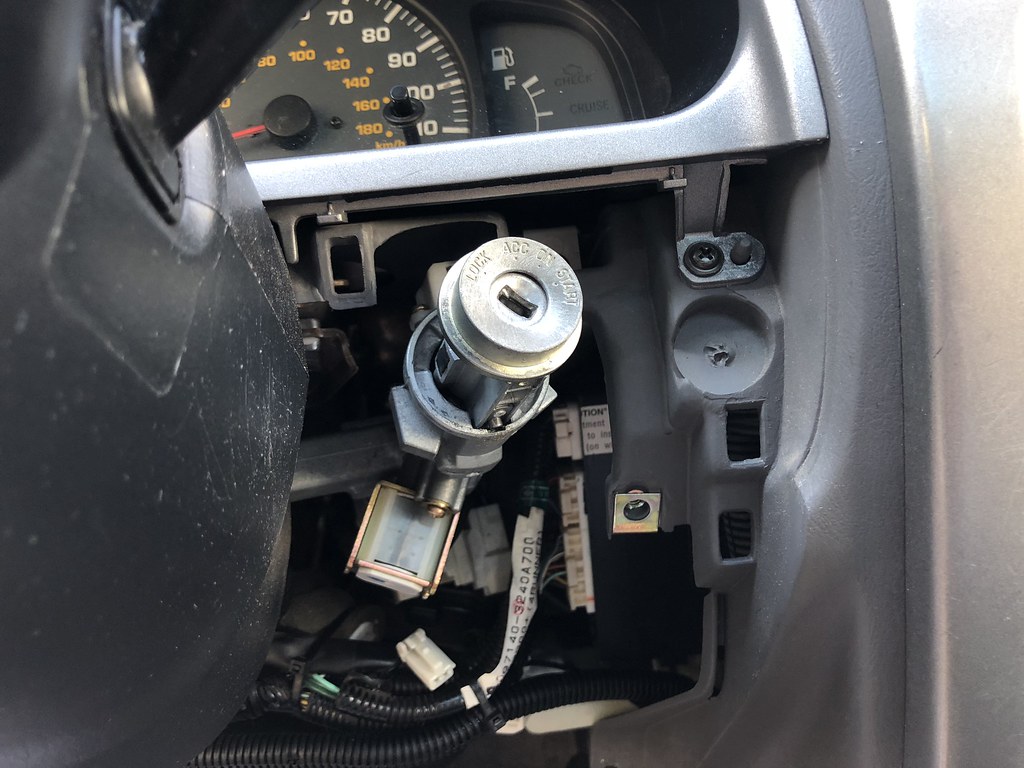
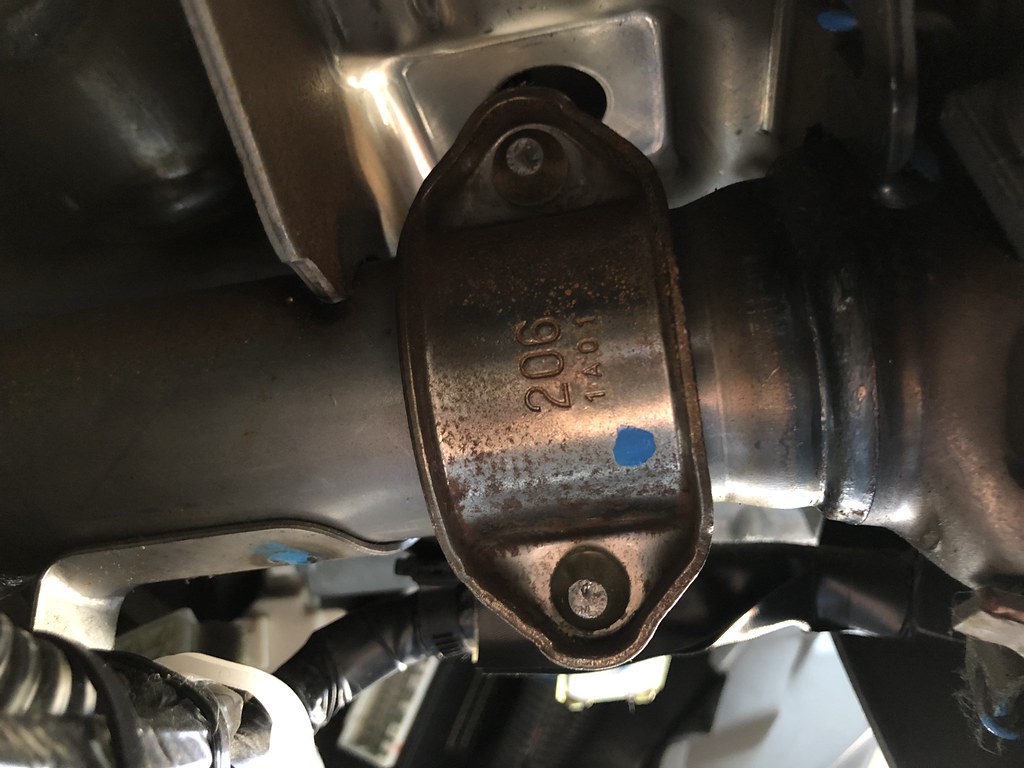
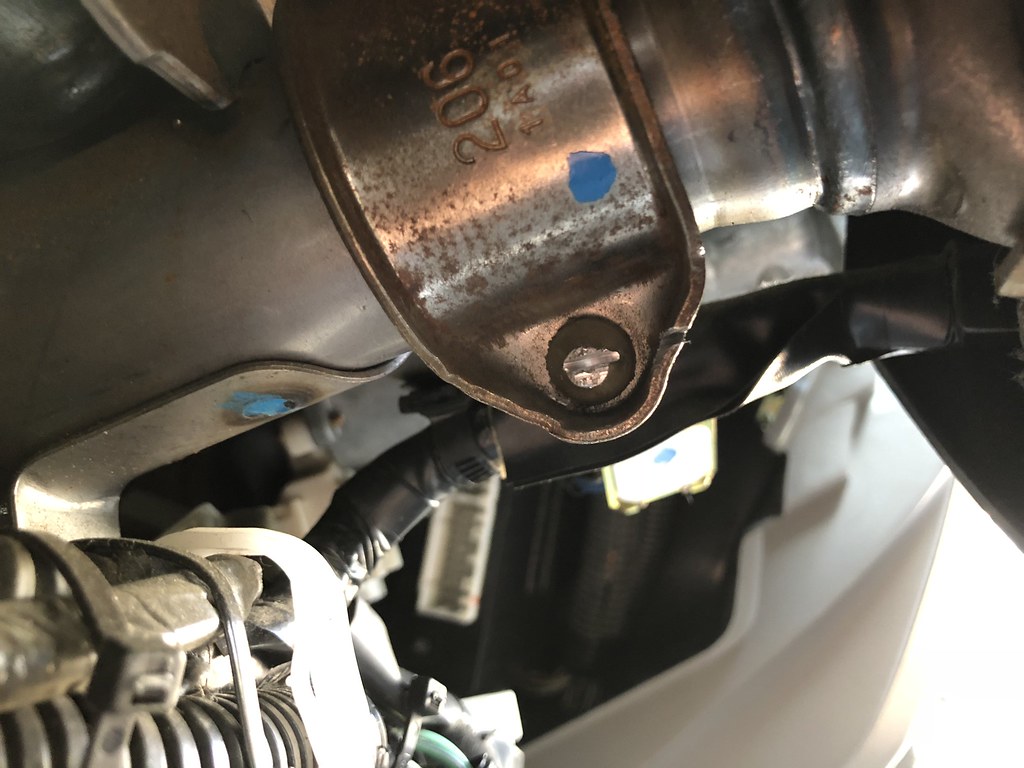
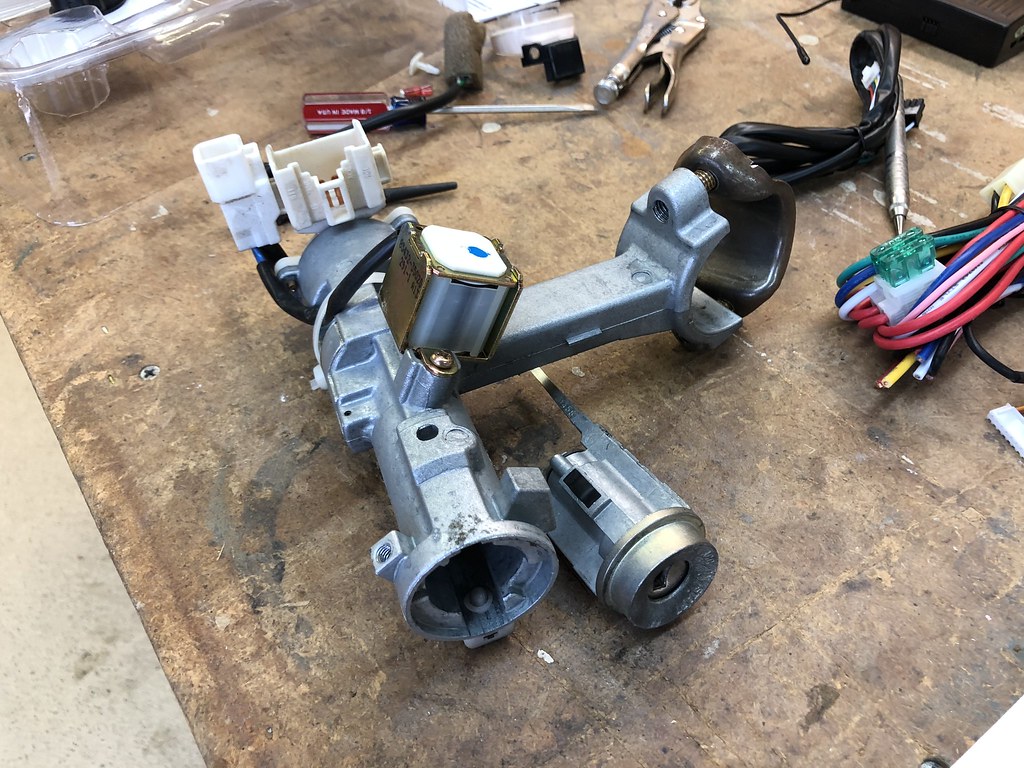
Removing the ignition was pretty fun, and I didn't realize how large the entire thing was. Toyota decided to use the type of bolts that shear off after being torqued down. In order to do remove those bolts, I used a dremel to cut a slot so I could get a flathead on it. After that, it was pretty short work.
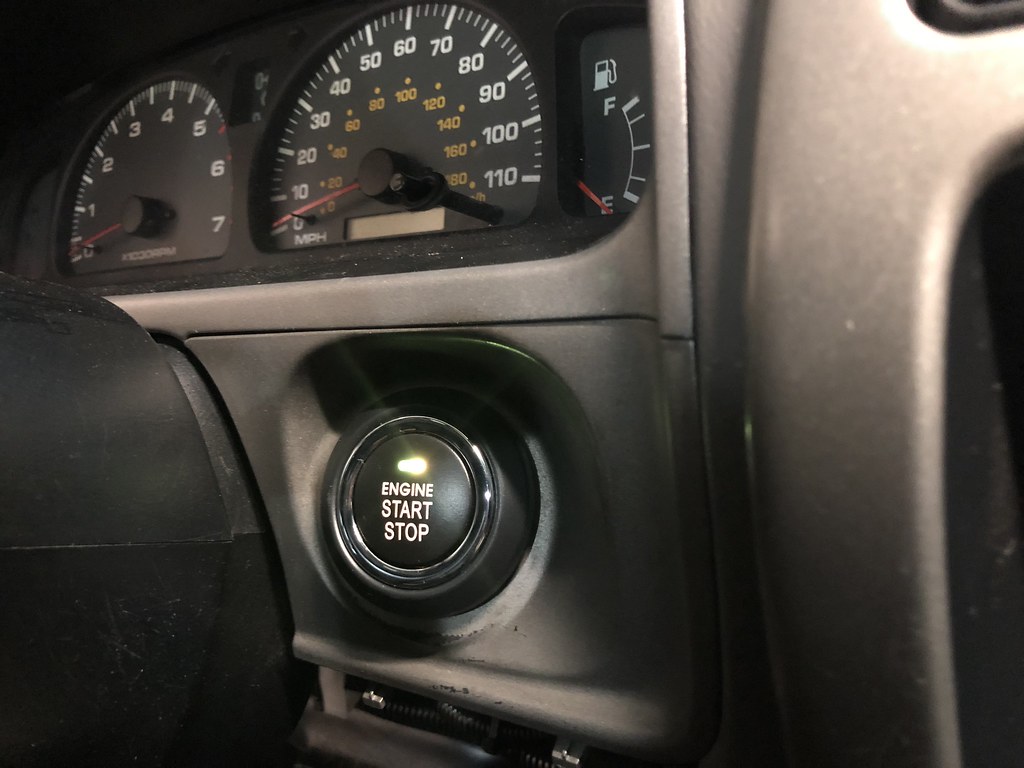
The push start was pretty easy to install, but I didn't pay attention to the state diagrams of the OEM ignition and the aftermarket module. Toyota wants power to IG1 and IG2 wires when the car is in the start position, but the module only provides power to IG1. This caused the car to crank, but not provide fuel to engine. To remedy this, I combined those wires and both from the push start to give power to the proper system during start. Once that was done, the car was able to start!
Next up was to install the smart key module. This system ties into the lock/unlock switch, door and brake switch, as well as others. Since this is the new security system of the car, I don't really want to go into too much detail...obviously.
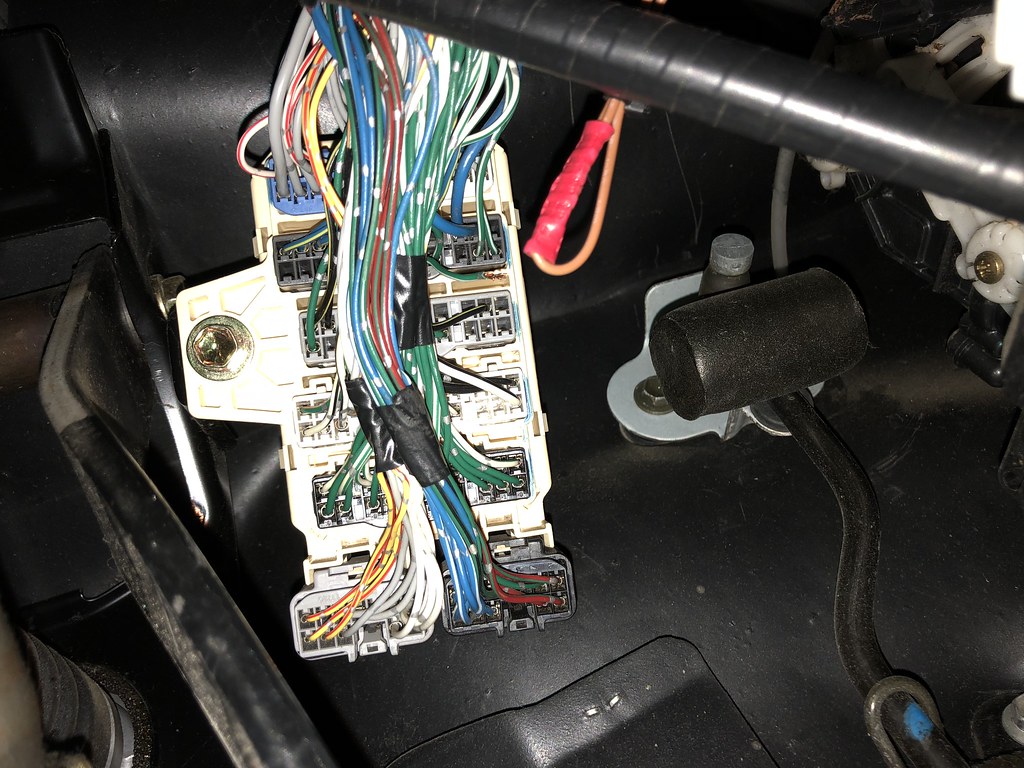
After reinstalling some of the dash panels, I must have stressed out one of the crimps I used, causing the brake wire going into the junction block to be disconnected. I didn't notice this until today, but I had been driving around for 2 days like that...whoops! This caused other systems to not work as well, such as the shift lock, ABS, and VSC. I added an extension wire to prevent this from happening again, and soldered them together this time.
Everything is back together for the most part, but I do have a lingering issue that I haven't been able to solve yet. The new system has keyless entry, but whenever it unlocks or locks the doors, it cycles the car partially into the on position, turning on the dashcam and lights. These are tied into my aux system, which only turn on when the car is on, so it is a very weird problem. I emailed the company to see if they had any insight on this, but I will try and find the root cause in the meantime.
Besides that, the install went relatively well! It was definitely the toughest electrical challenge I have dealt with, but it was definitely a lot of fun.
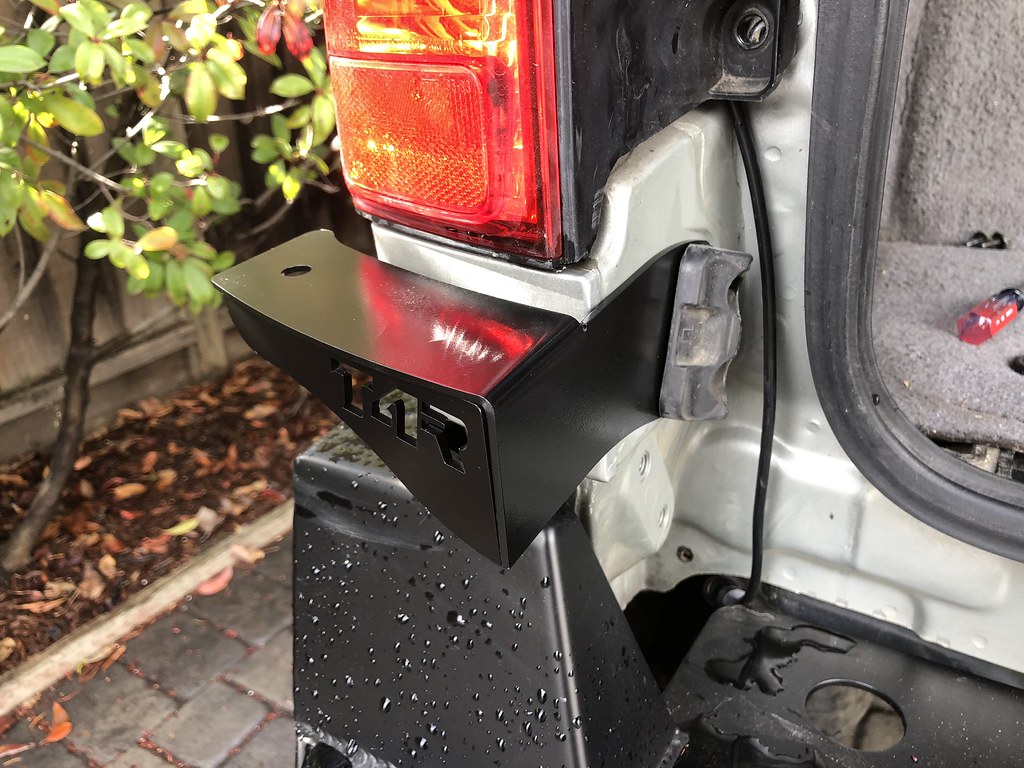
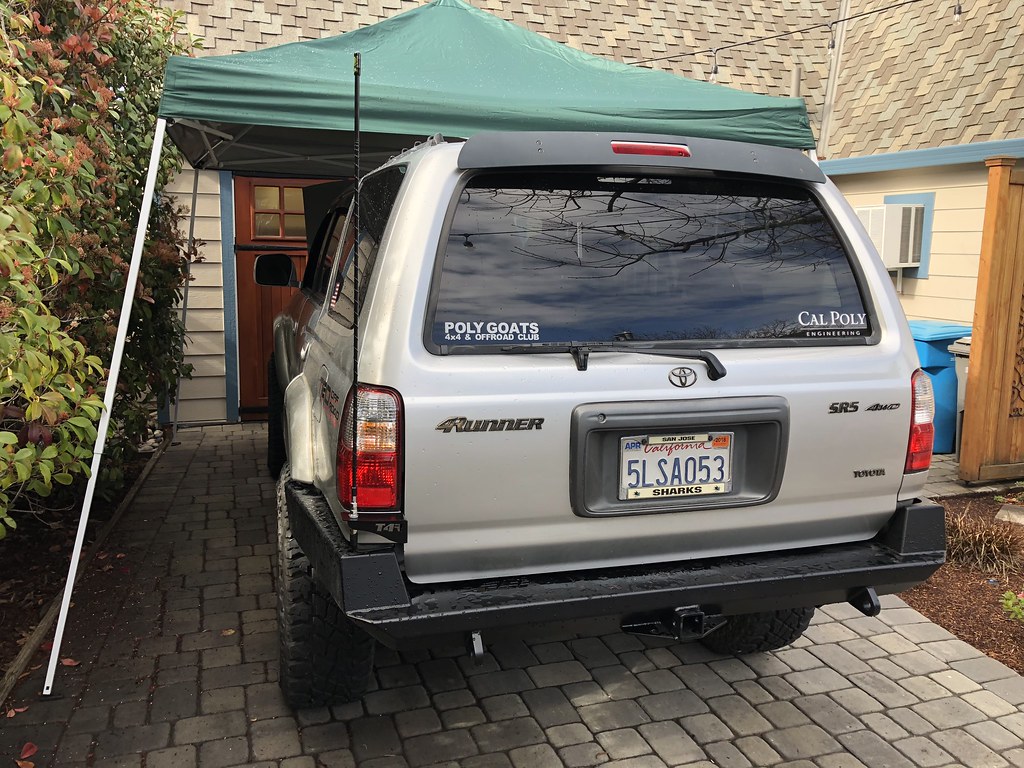
I also received [MENTION=98153]MStudt[/MENTION]'s CB antenna bracket this week. I got it painted and mounted that as well. It looks great, and it is definitely more robust than my last one!
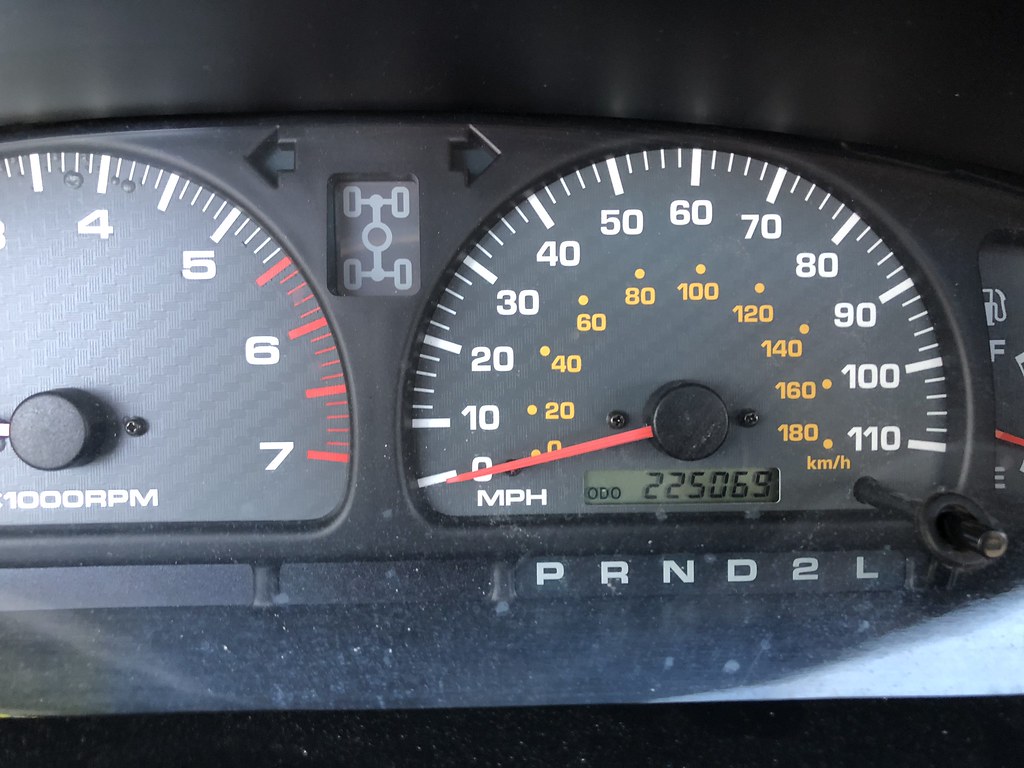
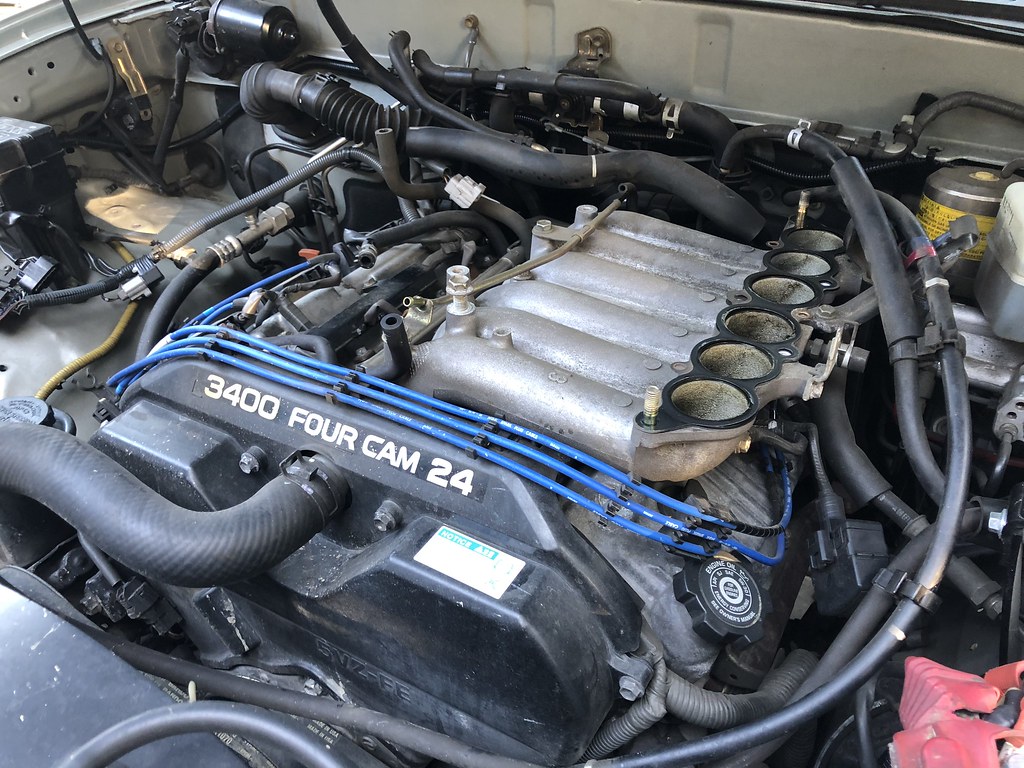
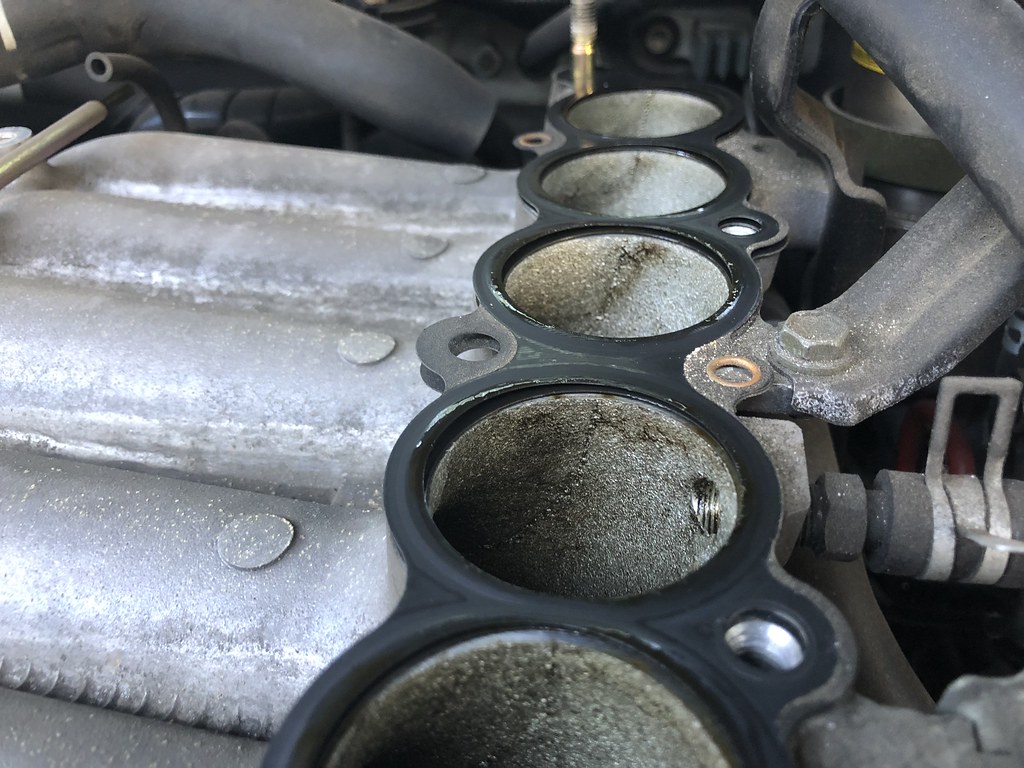
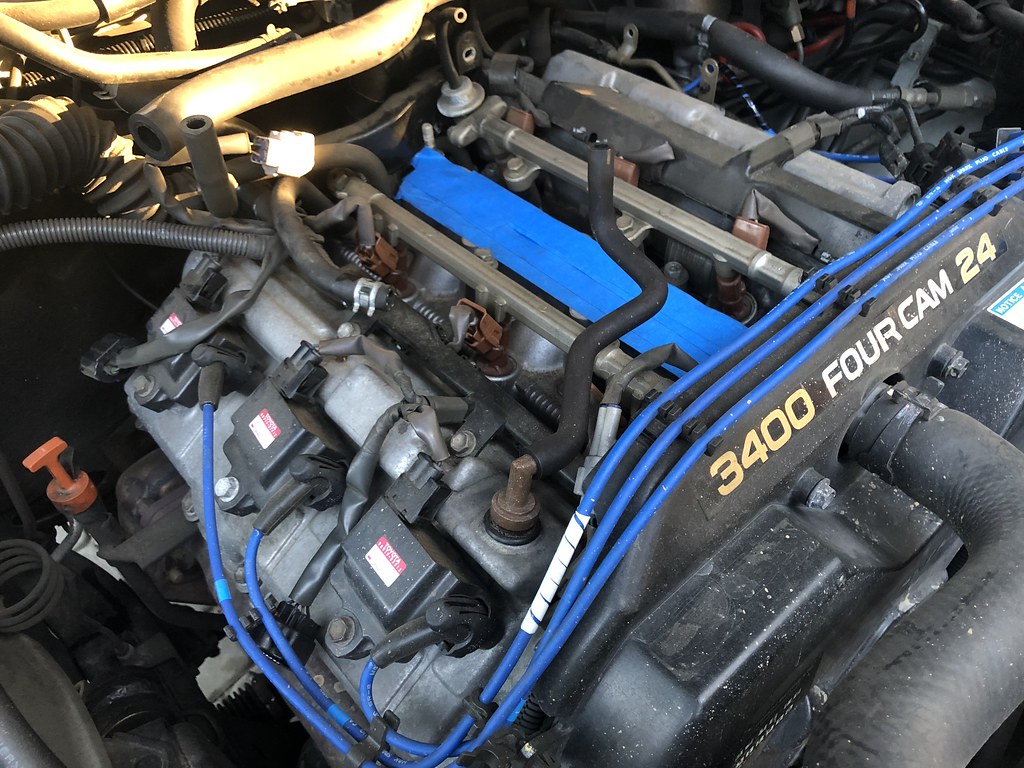
Time for some (but not all) of the photos! If you have questions regarding the push button install, send me a PM and I would be happy to answer them!
 https://flic.kr/p/25cVkMj
 https://flic.kr/p/23UAnyg
 https://flic.kr/p/25cVjUs
 https://flic.kr/p/23UApWT
 https://flic.kr/p/H8USS5
 https://flic.kr/p/25cVq95
Faulty wiring...
 https://flic.kr/p/25cVnqE
 https://flic.kr/p/23UAogP
 https://flic.kr/p/25gytwe
 https://flic.kr/p/25gyuAP
Push Start & CB Antenna Installation
Parts List:
- Advanced Keys Smart Entry & Push Start System
- MStudt's CB Antenna Mount
- Firestik 3' Antenna
Tools Used:
- Lots of electrical tools
- Electrical Wiring Diagram (Coud not have finished without this)
Last Sunday I decided to start on the daunting task of messing with a perfectly good ignition and security system and add my own! I began by reading up on the ignition and which wires I would be needed to splice into. After looking under the dash, I saw some discrepancies in the wire's colors. The one going into the ignition made its way back to a second connector that had wires that matched the EWD. After digging through the system some more, I'm guessing that the second harness was added with the RS3200+ Toyota security system.
Removing the ignition was pretty fun, and I didn't realize how large the entire thing was. Toyota decided to use the type of bolts that shear off after being torqued down. In order to do remove those bolts, I used a dremel to cut a slot so I could get a flathead on it. After that, it was pretty short work.
The push start was pretty easy to install, but I didn't pay attention to the state diagrams of the OEM ignition and the aftermarket module. Toyota wants power to IG1 and IG2 wires when the car is in the start position, but the module only provides power to IG1. This caused the car to crank, but not provide fuel to engine. To remedy this, I combined those wires and both from the push start to give power to the proper system during start. Once that was done, the car was able to start!
Next up was to install the smart key module. This system ties into the lock/unlock switch, door and brake switch, as well as others. Since this is the new security system of the car, I don't really want to go into too much detail...obviously.
After reinstalling some of the dash panels, I must have stressed out one of the crimps I used, causing the brake wire going into the junction block to be disconnected. I didn't notice this until today, but I had been driving around for 2 days like that...whoops! This caused other systems to not work as well, such as the shift lock, ABS, and VSC. I added an extension wire to prevent this from happening again, and soldered them together this time.
Everything is back together for the most part, but I do have a lingering issue that I haven't been able to solve yet. The new system has keyless entry, but whenever it unlocks or locks the doors, it cycles the car partially into the on position, turning on the dashcam and lights. These are tied into my aux system, which only turn on when the car is on, so it is a very weird problem. I emailed the company to see if they had any insight on this, but I will try and find the root cause in the meantime.
Besides that, the install went relatively well! It was definitely the toughest electrical challenge I have dealt with, but it was definitely a lot of fun.
I also received [MENTION=98153]MStudt[/MENTION]'s CB antenna bracket this week. I got it painted and mounted that as well. It looks great, and it is definitely more robust than my last one!
Time for some (but not all) of the photos! If you have questions regarding the push button install, send me a PM and I would be happy to answer them!
https://flic.kr/p/25cVkMjhttps://flic.kr/p/23UAnyghttps://flic.kr/p/25cVjUshttps://flic.kr/p/23UApWThttps://flic.kr/p/H8USS5https://flic.kr/p/25cVq95Faulty wiring...
https://flic.kr/p/25cVnqEhttps://flic.kr/p/23UAogPhttps://flic.kr/p/25gytwehttps://flic.kr/p/25gyuAP



 .
.