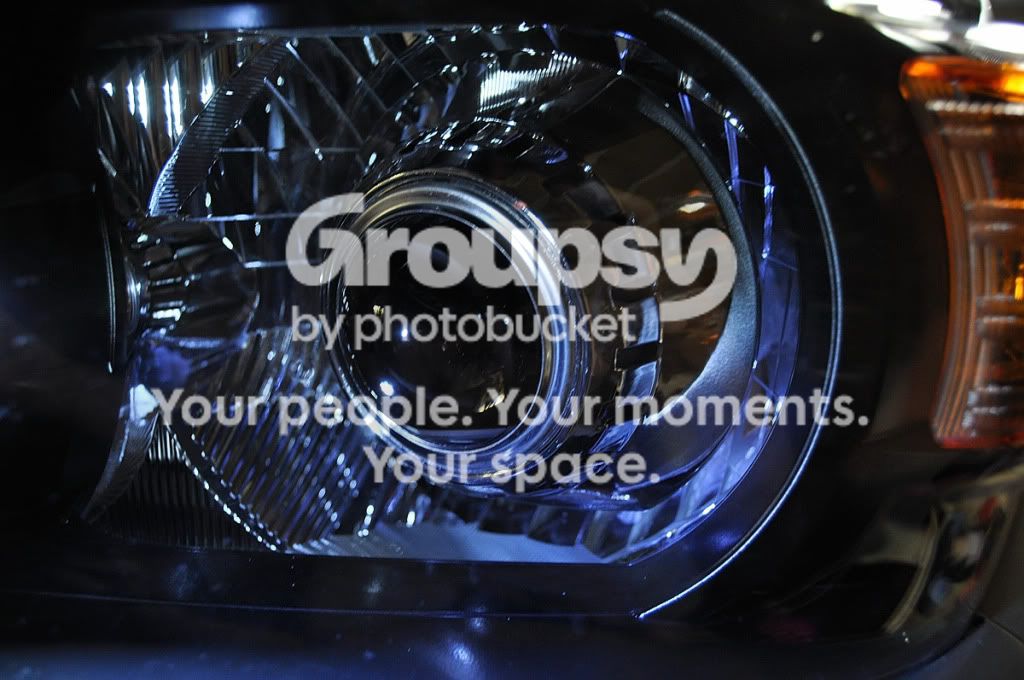
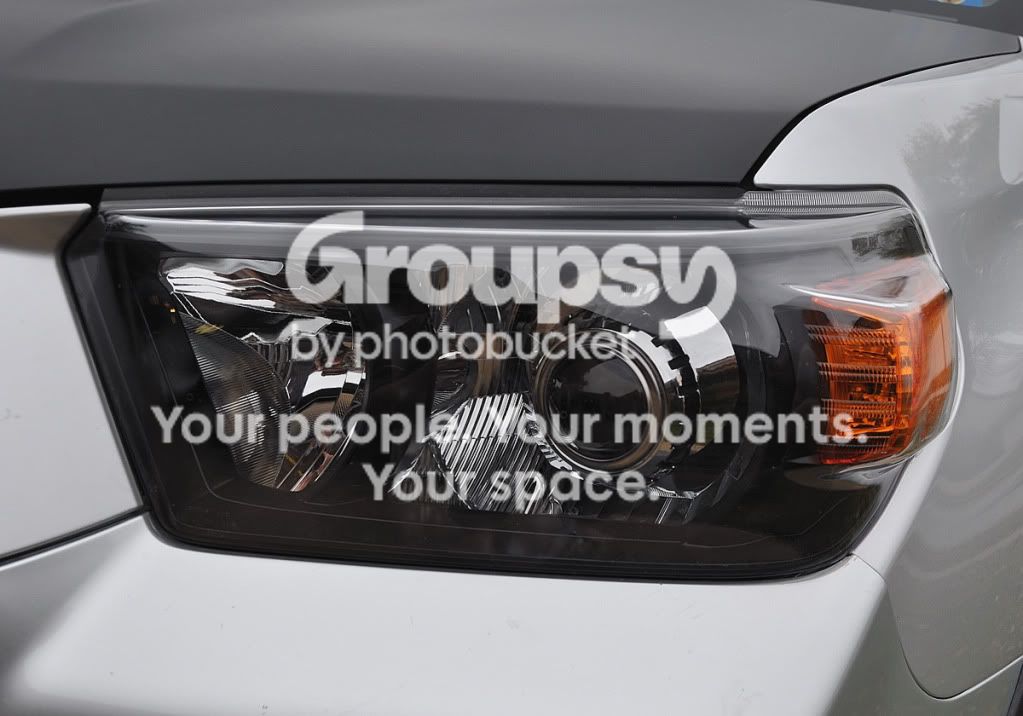
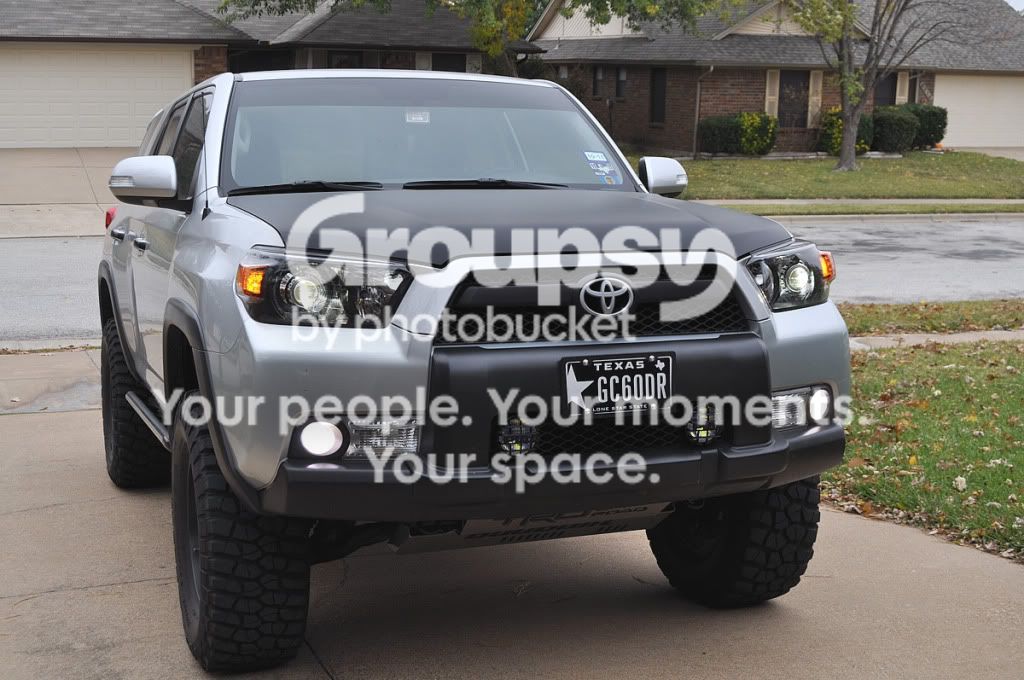
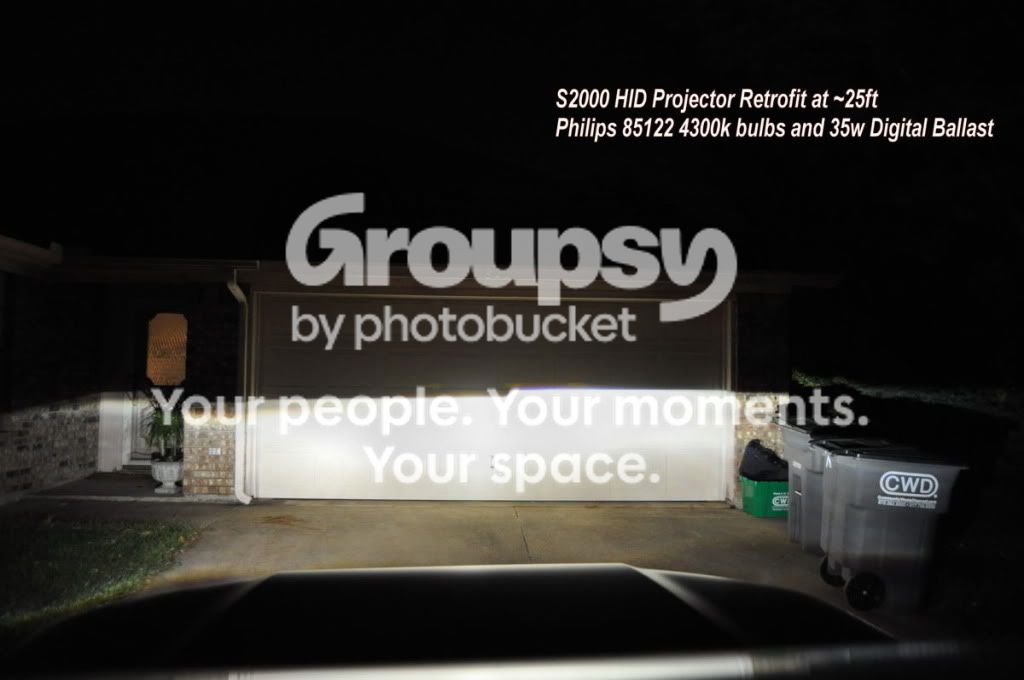
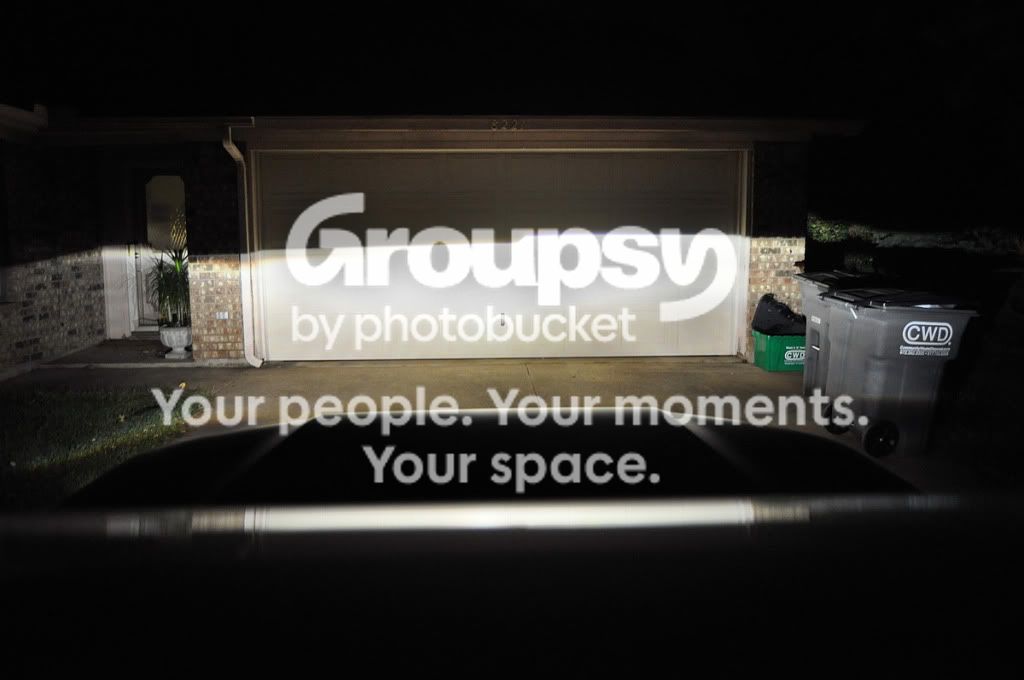
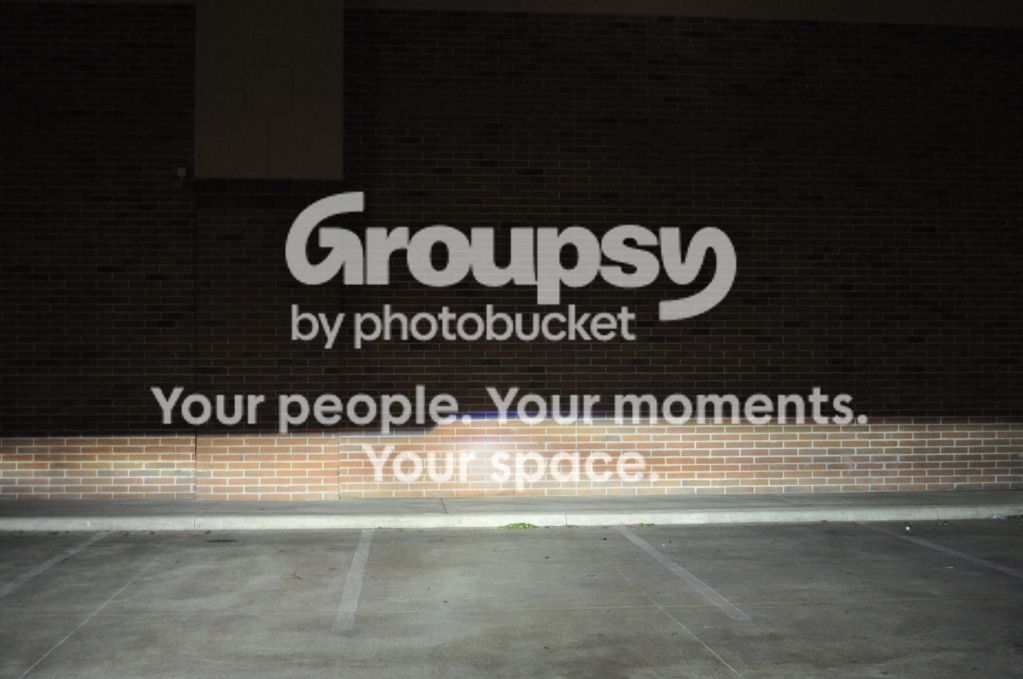
Harper the retro fit looks sweet! Do you have any pics off the backside of the unit? I really want to do this mod but dont know how the mouting of the projector to the unit will be. Did you have to fab up some brackets? Also which shrouds did you use? Those look like the e46 nonextended/extended. Thanks!
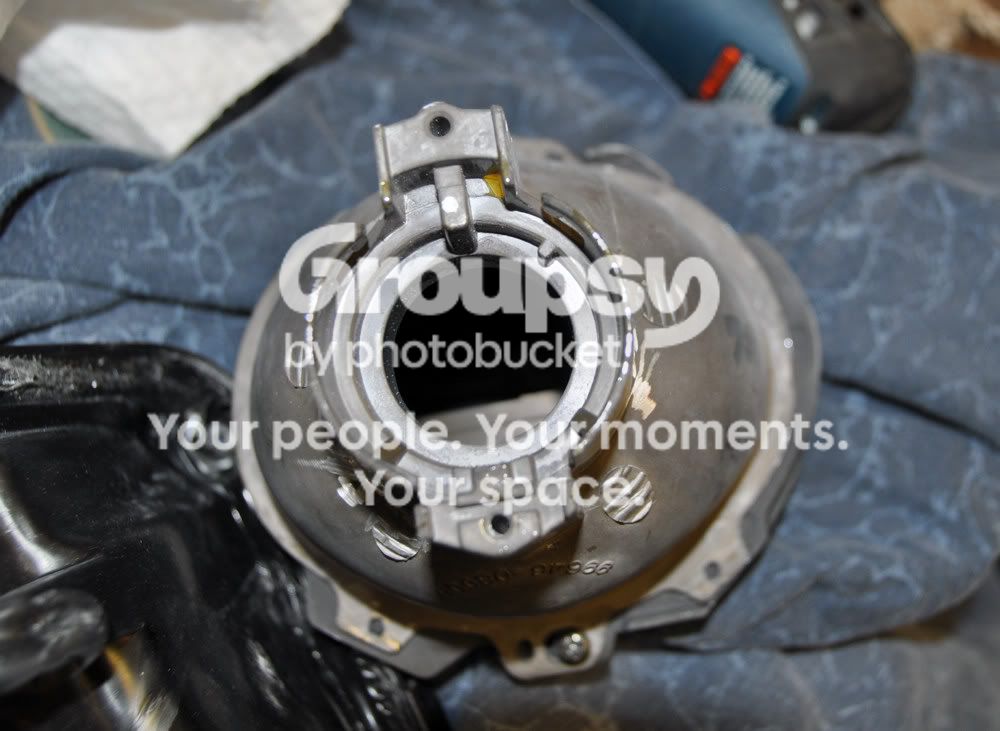
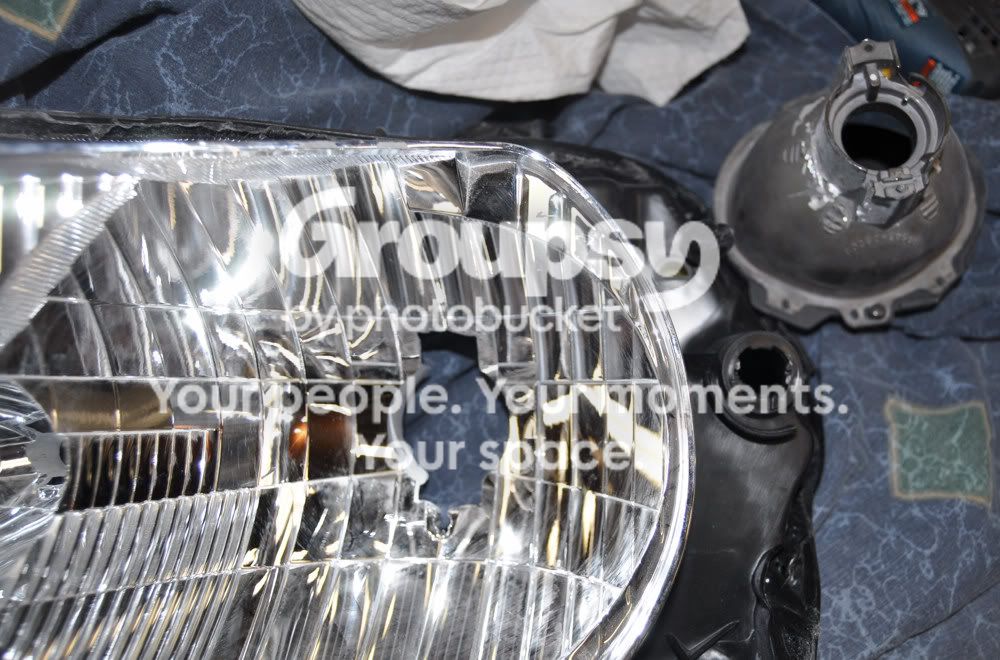
Here are a few pics and a mini DIY of fitting the S2K projector for ya. Other projectors might be different.I of course trimmed the access Honda factory bracket off,took the lens and the spring off first so they wouldn't get scratched/damaged before fitting.
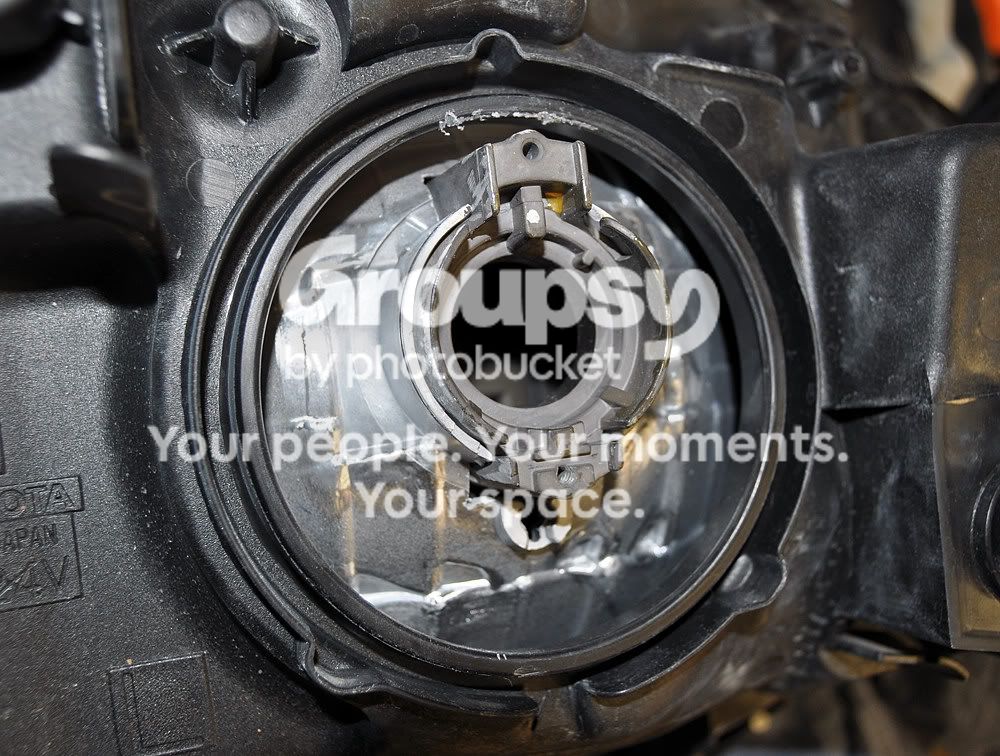
Backside view of the S2K projector after trimming the access bracket off.
You have to dremel/file the reflector hole out to the shape of the projector rear. The reflectors are made of fiberglass so they are pretty easy to work,but be careful as it can splinter or crack. I made a template out of cardboard the shape of the projector to make it easier to make my holes.
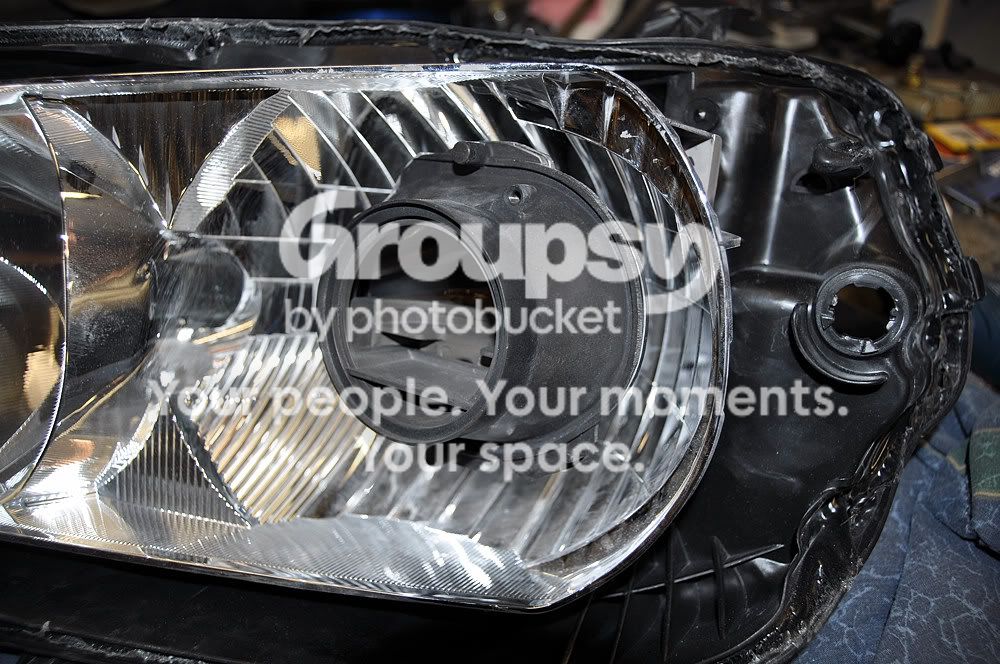
Pic of the backside after I fit the projector in. It's a pretty tight fit but still leave a little play to get the final aim.You can see the round hole that the oem halogen bulb sat down in. That gives you a pretty good starting point for the aim being same as stock
Pic of the front side after it was fitted in.
Now for the time consuming part.
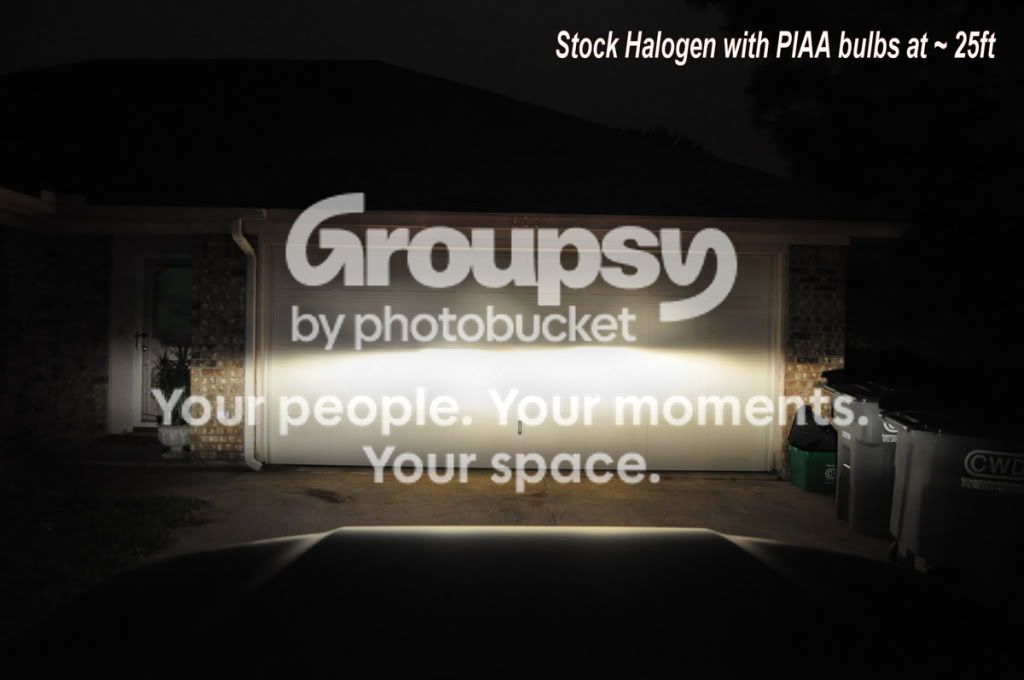
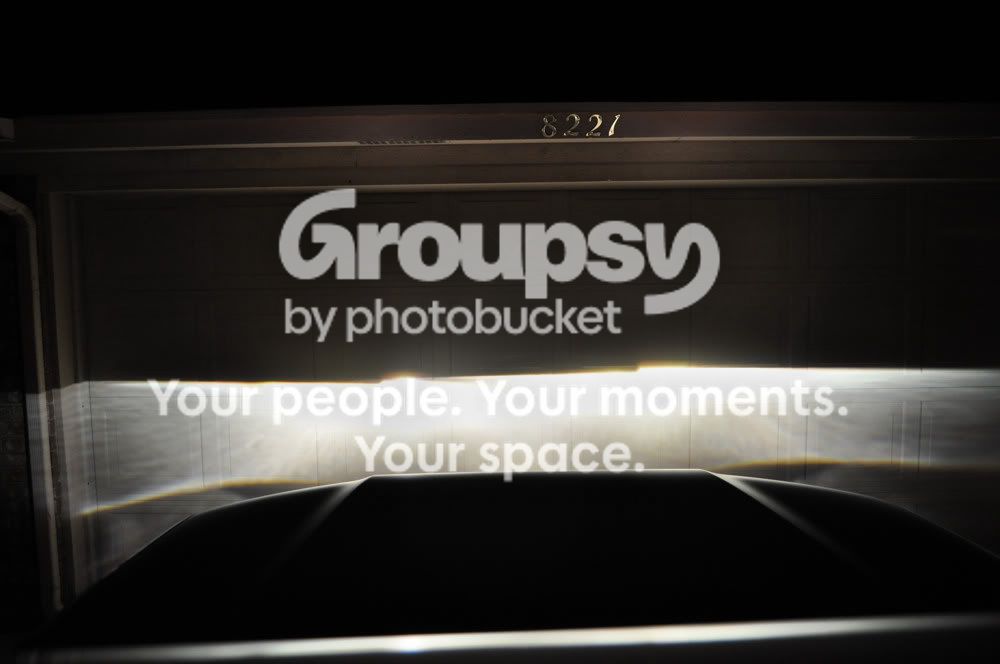
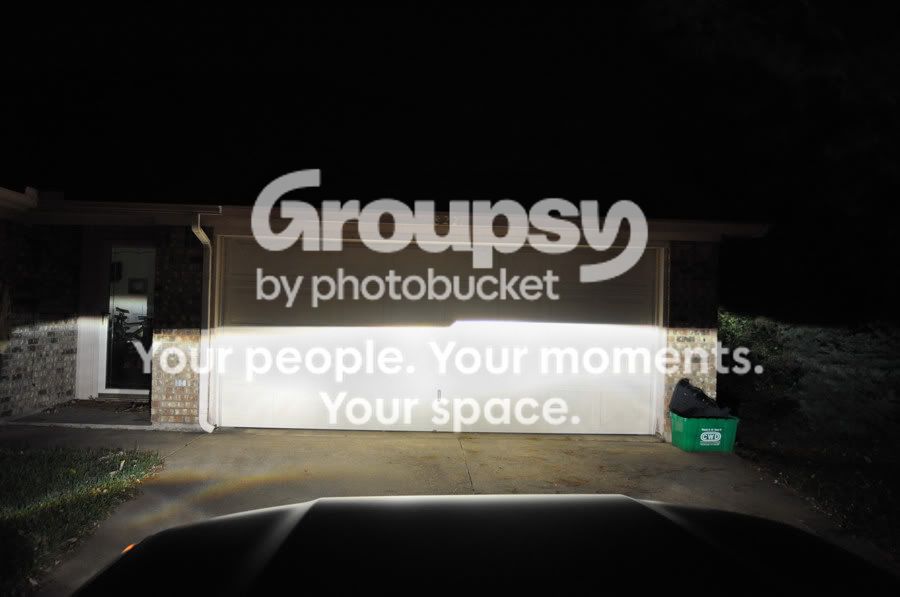
Next I put the S2K lens,springs,bulb,ballast ect.(without the front oem lens) to test in the truck against the garage door in the dark after both are done. My drivers side was a little crooked so I had to file the hole a little. Checked it again then shimmed it with a little sliver of wood tacked in place with epoxy and let it set up.
Then I took both headlights back off,cleaned with alcohol in behind the projector and used Dow Corning RTV 100% silicone sealant/adhesive to seal/retain the projectors to the reflector . Then put the headlights back in the truck with the RTV still soft and made sure the aim was perfectly level.You can still shim it with toothpics or slivers of wood still at this point if it's not perfect at this point.
Let the RTV cure/setup overnight(or at least 4-6 hrs) in the truck. A heat gun can speed it up a little,just be careful. Next day I added more RTV under the bowl of the projector about an inch thick to really seal/adhere them in place.
Tip... I got a little RTV sealant on the reflector where I didn't want it and it's hard to get off when dry, so next time I will mask off the reflector everywhere except under the bowl of the projector where it's sealed to the reflector.
Fit the E46 extended shrouds as the hole was a little small and RTV in place ,then put the outer lens and everything back together and seal the rubber cover on the back. All this took me about 10 hours work (5hrs each night)as you need it to be dark to get the aim down. I researched on HID Planet forum and youtube first and improvised where needed of course. Not really hard just tedious and time consuming.
You can see Lightwerkz really earns their money as they have probably have to use a mock up of some sort to match the horizontal/rotational aim of the oem halogen as they don't have the vehicle. Vertical aim can still be easily adjusted as the oem adjustment still works but there is no horizontal/rotational once it's sealed in place.
Some make metal brackets rather then RTV to hold them in place. We use this RTV 100% silicone to hold rubber seals in place inside jet engines on airplanes and is really good stuff . The key to getting a good seal is both surfaces MUST be surgically clean. It won't stick to oils and even your fingers give off oil.....I wear nitril rubber gloves. The bad part of RTV is once it's cured,it's a mother to get off stuff.The cleaners at work have to use a special stripper to get it off and by scraping by hand.



 ) ... Can you please post the parts number for the Trail Edition rocker panels that you ordered?