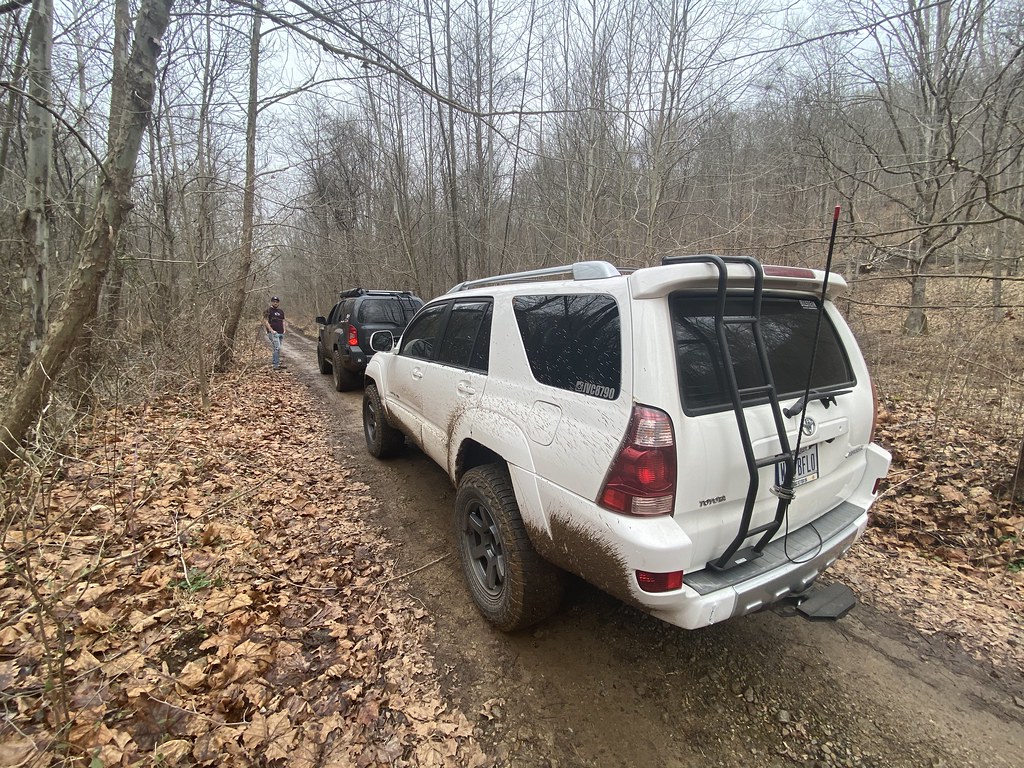
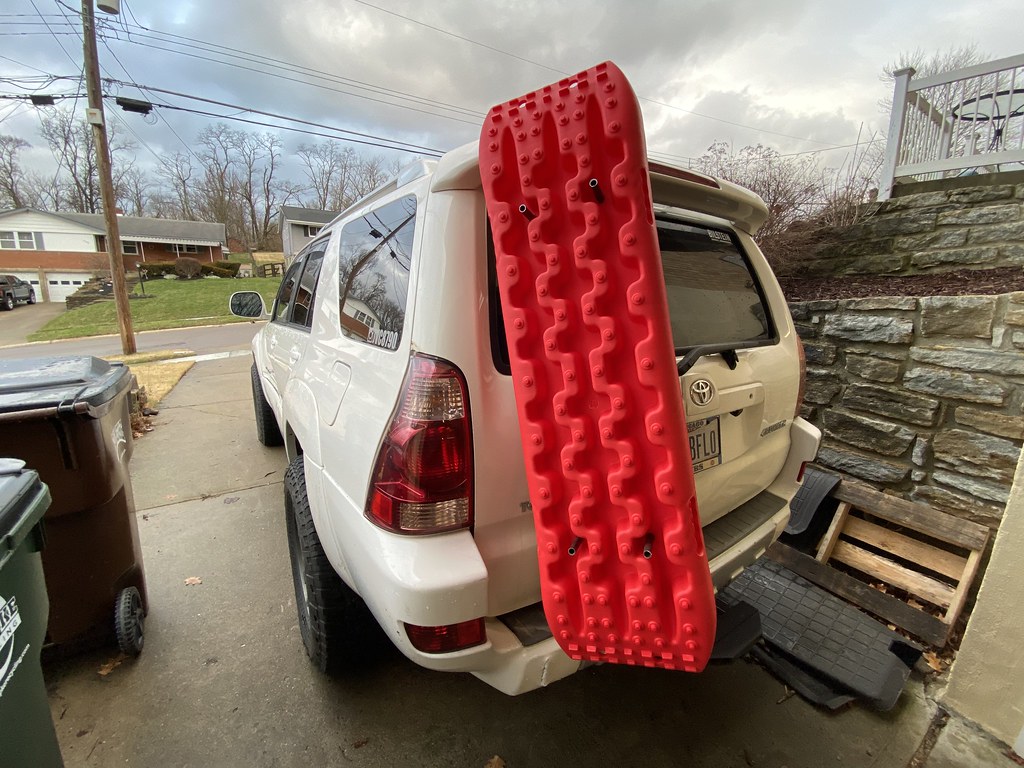
JVC8790's Daily Duty Cruiser "Build" Thread

Update! The 4Runner is back!

I picked it up from my friends shop Saturday morning, bill came in at $1600ish for a new(used) rear end and some additional things like repairing a brake line and the rest of the labor to swap it all. There are still things that need attention, but its driveable again!

49122061952_29838913aa_b.jpg


Back on the road, made it home where I came across an unusual scent when I hopped out of the truck. It kinda smelled like a small campfire.

I poked around and realized that the exhaust flange that broke (that I was informed of) was pointing straight up at the under side of the truck as it goes over the rear axle. This then burnt a cloth heatshield/sound dampening material that was smoldering when I got home.

49121873701_07fb7f83be_b.jpg


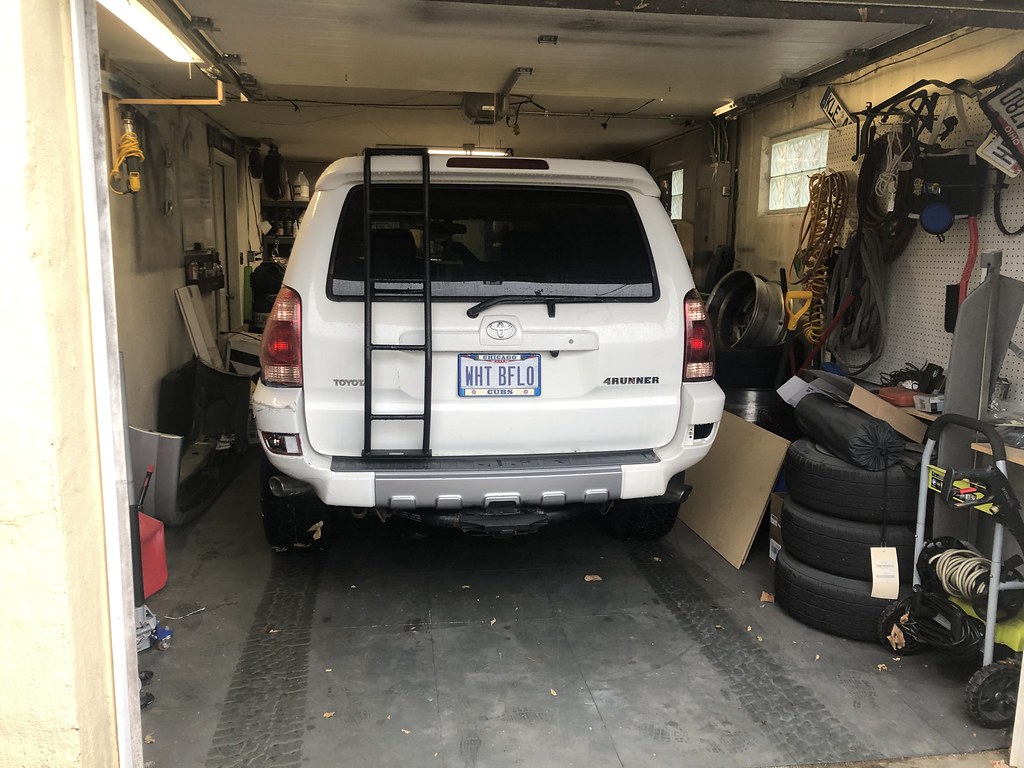
Squeezed it into my garage, had to fold in the mirrors and go slowly, but once in, I had enough room to maneuver around 3/4 of the truck where I needed to work.
49121873646_fee330462f_b.jpg


49122061777_e2a0201ae2_b.jpg


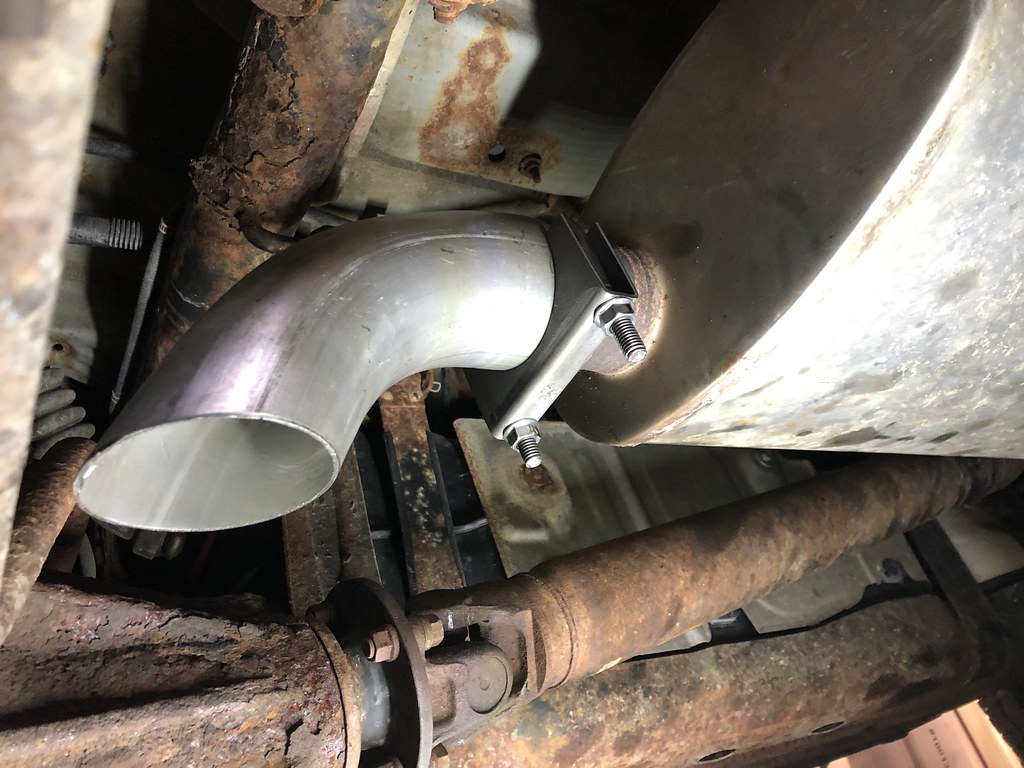
Went to the parts store, bought a turndown and cut the exhaust off just after the center muffler. I will later on take the truck to an exhaust shop to have everything re-addressed, or possibly just buy an aftermarket exhaust for this.
49121370658_8ab40d1c64_b.jpg


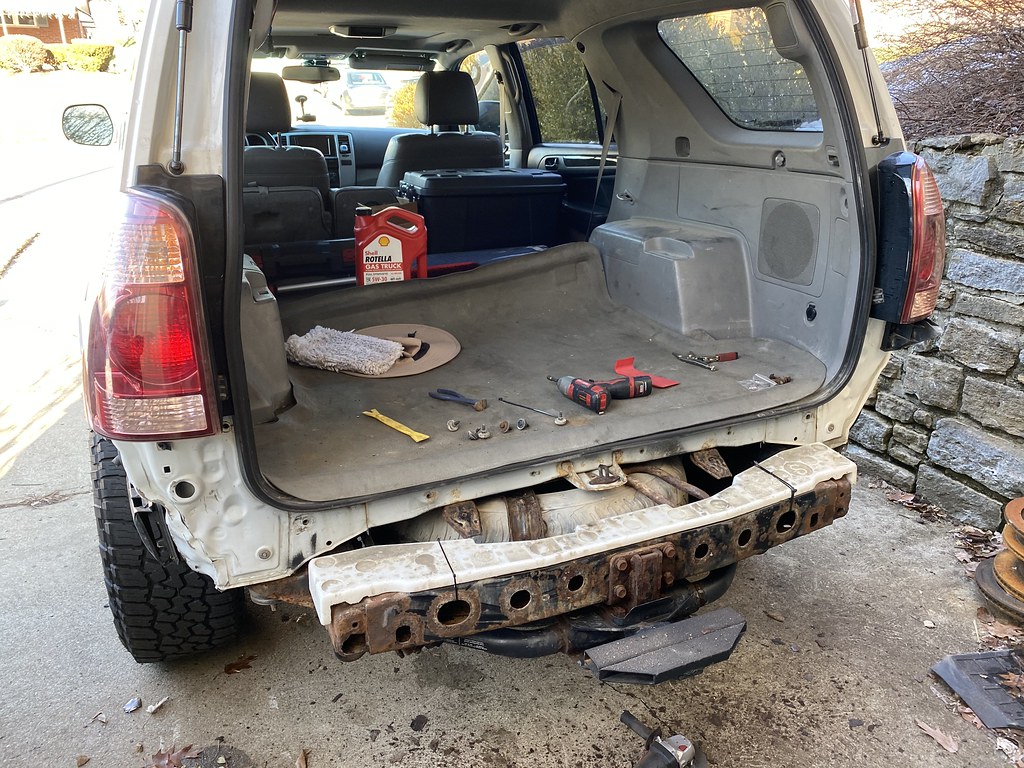
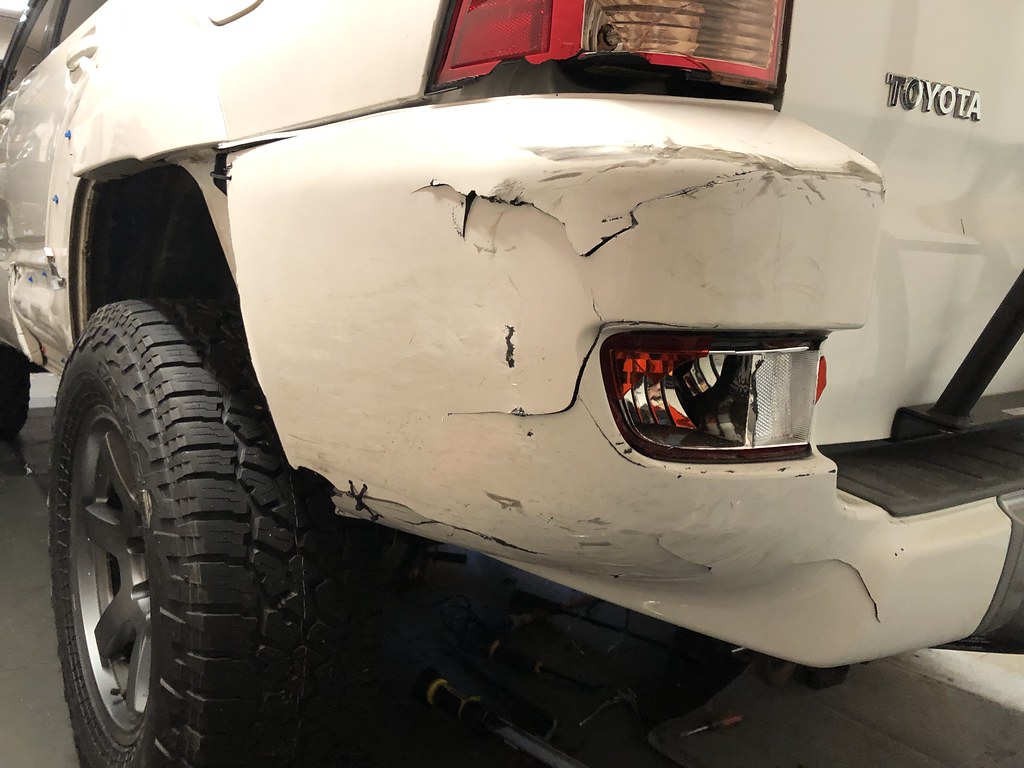
Ziptied up the rear bumper so it doesn't flop around until the replacement shows up.
49121370953_c6c030cdfe_b.jpg


49121370533_a53978305d_b.jpg


Popped the big dent out of the front door (temporarily) using a $3 harbor freight suction cup so it doesn't interfere with the window operation.

49121874036_c311eb9294_b.jpg


49121873621_828458fb44_b.jpg


I bought some 5100's for the rear since one of the shocks was toast, I'll get around to installing those this holiday weekend and then I'll just be waiting to install a few other parts I have kicking around and then the body panels when they arrive!
 
Did some "surgery" this past weekend. Since the door is a lost cause anyways, I might as well make it look good for the time being. Used some self tappers and a bolt to reattach the rear door trim until my new doors and other body panels arrive.

49157394418_d8a7ec4fb9_b.jpg


49157881676_4cd5997374_b.jpg


49157394318_8ff1af1635_b.jpg


49158103697_27ebff12ce_b.jpg


I also finished up the installation of my dash camera. The wiring was pretty easy, the hardest part was probably fishing the back camera wiring abovev the headliner. I don't have any pics of the rear camera at the moment but I used the double sided mount and stuck it to the rear cargo light and it works great. I'll do something to clean up the two wires coming out of the camera just to make it look nicer but I feel way better having this in here now in the event another accident happens. It will also double as a trail camera so that's cool!

49157394358_0dd8a9529c_b.jpg


I also pulled the trigger on two more of these for the other cars (my Volvo and my wifes Subaru). I consider it cheap $600 insurance in the event something happens again like did to my Volvo where I couldn't prove they ran a red light and was in turn at fault.

49157882001_66b9606fe6_b.jpg
 
glad to see her back on the road!

cool dashcams. do you know if these are always permissible in court? im sure showing the culprit footage of accident will get things moving your way regardless, but wasnt sure if they split hairs on allowing these dashcams into trials or hearings??
 
glad to see her back on the road!

cool dashcams. do you know if these are always permissible in court? im sure showing the culprit footage of accident will get things moving your way regardless, but wasnt sure if they split hairs on allowing these dashcams into trials or hearings??

I don't know for certain, but from my understanding it can be used in court. My thought is more so for the police officer at the scene writing the police report, if you get ahead of it and have the footage on your phone when they take your statement, things are more likely to go your way and or most other drivers aren't going to want to waste their time trying to fight against hard evidence. I certainly wouldn't want to put my word against someones video footage because the facts don't lie, so instead, I'll be the guy with the footage!
 
I bought Ultra Power liftgate shocks from Rock Auto, needless to say, they were worse than the factory units that I presume were original.

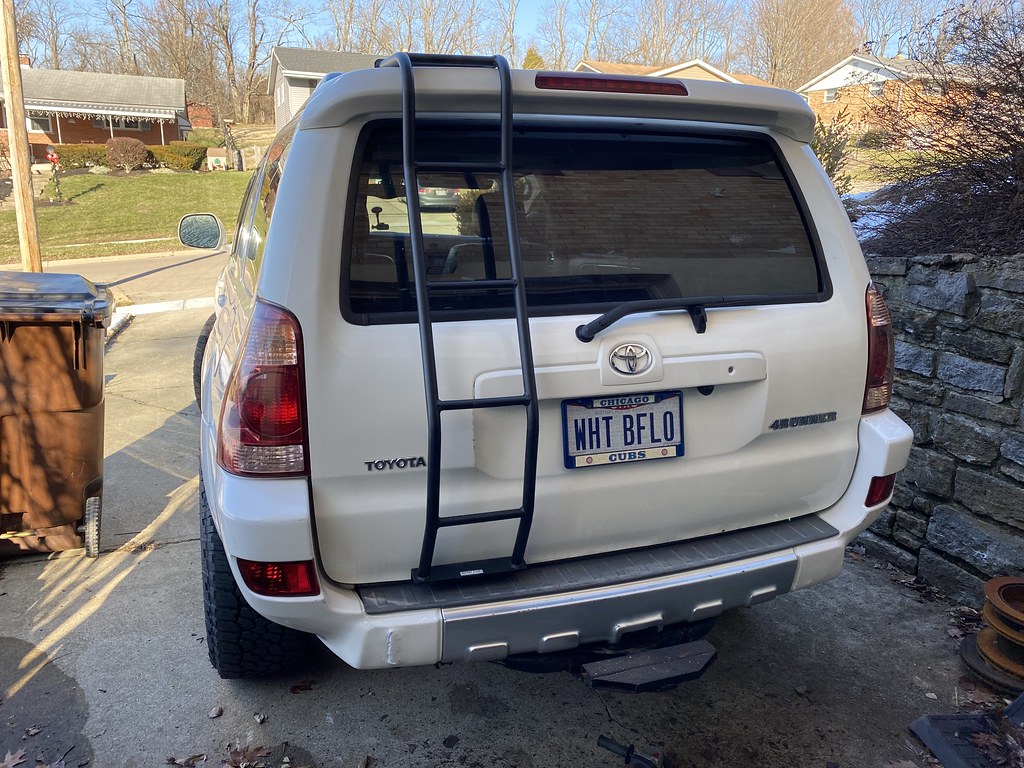
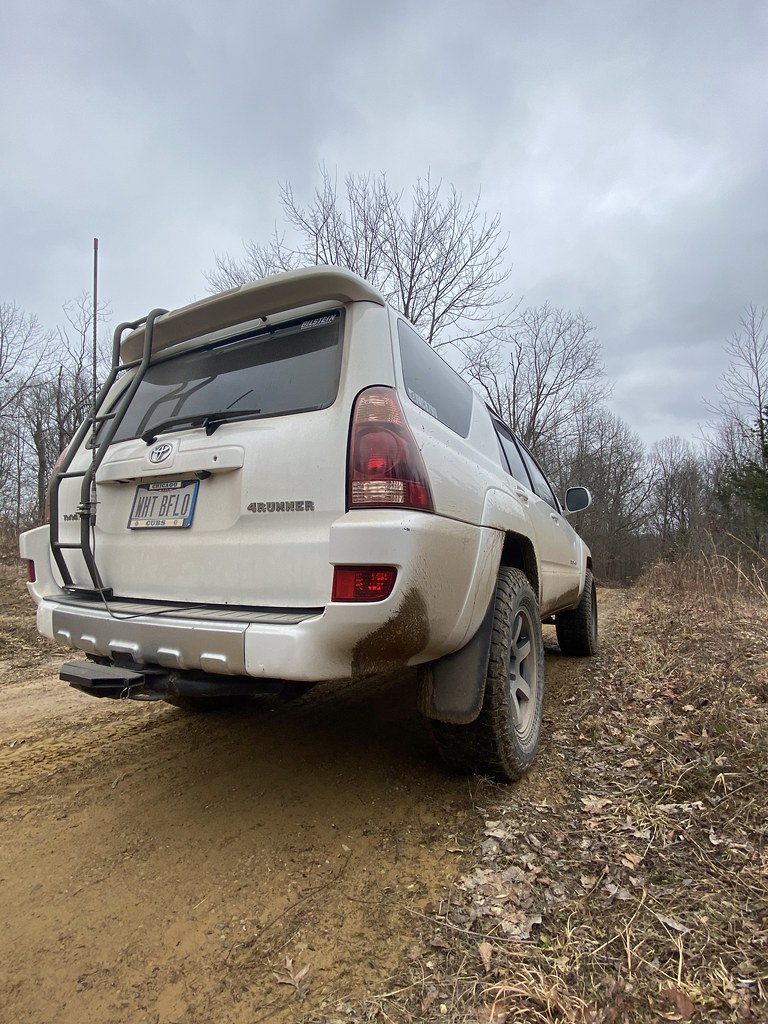
After some research, I landed on LiftSupportsDepot and ordered the ones they list for additional weight. The added weight of the GOBI ladder wasn't much, but when I had the rear hatch open for some wiring, I put some sound deadening mat on the inside of the tailgate which added a decent amount of weight.

I got the ones from LiftSupportsDepot yesterday and installed them. They're definitely better than all the others so far, but the hatch is a bit slow to open at its top height. But at least it stays up on its own!

49173370907_5d37fcfba9_b.jpg


Ultra Power from Rock Auto on left, LiftSupportsDepot on right.

49172665338_8e5c1e7f61_b.jpg
 
Scooped up a few switches on Cyber Monday, I'll wire these in later on this week.

by John Van Cleave, on Flickr

Does anyone have any suggestions of what to move around on the dash to make 2 spots for aftermarket switches? I'm thinknig about tucking the 115v switch behind the dash in the fuse panel since I haven't used it yet and am not sure if I ever really will. Either that, or I thought about re-locating that one to the center console in a blank there.
 
Scooped up a few switches on Cyber Monday, I'll wire these in later on this week.
Does anyone have any suggestions of what to move around on the dash to make 2 spots for aftermarket switches? I'm thinknig about tucking the 115v switch behind the dash in the fuse panel since I haven't used it yet and am not sure if I ever really will. Either that, or I thought about re-locating that one to the center console in a blank there.
Do you have any room left on the center console rearward of the shifter? If so, drop the DAC below the trim and pop those three in there... To me, I found that to be the best place all aftermarket lighting switches because you can hover your right hand over the switches while driving for instances where you need to quickly turn them off. I ride a lot with my ditch lights on and basically operate them with my high beams at night, for the sake of seeing deer before they charge me at mach 10.

:banana: :banana:
 
Do you have any room left on the center console rearward of the shifter? If so, drop the DAC below the trim and pop those three in there... To me, I found that to be the best place all aftermarket lighting switches because you can hover your right hand over the switches while driving for instances where you need to quickly turn them off. I ride a lot with my ditch lights on and basically operate them with my high beams at night, for the sake of seeing deer before they charge me at mach 10.

:banana: :banana:

That's a pretty solid idea actually. I have 2 blanks there next to DAC which I haven't used yet. If you needed to use DAC, is there enough harness to pull it up from under the trim and pop it out for temporary use?

I currently have a hood mounted bar, bumper mounted, and ditch lights, but to be honest, the hood mounted unit is basically for show since the light output is minimal at best, so I planned to run these for just ditch lights and the bumper bar for now.
 
That's a pretty solid idea actually. I have 2 blanks there next to DAC which I haven't used yet. If you needed to use DAC, is there enough harness to pull it up from under the trim and pop it out for temporary use?

I currently have a hood mounted bar, bumper mounted, and ditch lights, but to be honest, the hood mounted unit is basically for show since the light output is minimal at best, so I planned to run these for just ditch lights and the bumper bar for now.
Probably not. I never have used it, and didn't want the confusion of hitting it when I wanted lights, so I tucked it away for now. It's important to note that it only fits in the leftmost (facing forward) switch blank due to the cutout shape. The aftermarket switches can fit in any of the three, so you can order them how you would like.

How mine looks:
<a data-flickr-embed="true" href="https://www.flickr.com/photos/185141496@N07/49049078638/in/dateposted-public/" title="T"><img src="https://live.staticflickr.com/65535/49049078638_50e47e58a8_c.jpg" width="450" height="800" alt="T"></a><script async src="//embedr.flickr.com/assets/client-code.js" charset="utf-8"></script>
 
Probably not. I never have used it, and didn't want the confusion of hitting it when I wanted lights, so I tucked it away for now. It's important to note that it only fits in the leftmost (facing forward) switch blank due to the cutout shape. The aftermarket switches can fit in any of the three, so you can order them how you would like.

How mine looks:
<a data-flickr-embed="true" href="https://www.flickr.com/photos/185141496@N07/49049078638/in/dateposted-public/" title="T"><img src="https://live.staticflickr.com/65535/49049078638_50e47e58a8_c.jpg" width="450" height="800" alt="T"></a><script async src="//embedr.flickr.com/assets/client-code.js" charset="utf-8"></script>

Hmm, good to know, so the only place that these toyota push button switches will work is in that left most spot? Do you know if you can dremel out the other holes or anything to make them work?
 
Hmm, good to know, so the only place that these toyota push button switches will work is in that left most spot? Do you know if you can dremel out the other holes or anything to make them work?
So any of your aftermarket switches will work in the holes without modification - the DAC switch will only work in the leftmost, and I believe the other two were spots for limited option switches. Basically, there is a little nib that aligns with the switch block when installed - my guess is that provided an easy way to determine which switch goes where upon installation at the factory, and the other factory switches may or may not have that nib at different locations around the perimeter. If you remove your switch blanks you will see slots around the hole perimeter that vary. Hopefully this makes some sense!
 
So any of your aftermarket switches will work in the holes without modification - the DAC switch will only work in the leftmost, and I believe the other two were spots for limited option switches. Basically, there is a little nib that aligns with the switch block when installed - my guess is that provided an easy way to determine which switch goes where upon installation at the factory, and the other factory switches may or may not have that nib at different locations around the perimeter. If you remove your switch blanks you will see slots around the hole perimeter that vary. Hopefully this makes some sense!

Good to know! I'll take a look at it soon and see what makes the most sense. I feel like I could re-locate the DAC elsewhere or tuck it behind somewhere as long as its accessible by popping out a piece of trim should I need it.
 
Long winded update coming. I had the last 2 weeks off of work for the holidays since we have use it or lose it PTO. I was able to get some work done on the 4Runner, not as much as I had hoped but still knocked out a few things over the holidays.

Unpacked the body panels I got from here on the Forum. Not everything made it unscathed, and a few parts are a bit rougher condition than I expected but all in all should be the solution to make the truck look more complete again.

Untitled by John Van Cleave, on Flickr

Staining and a big scratch on the drivers door

Untitled by John Van Cleave, on Flickr

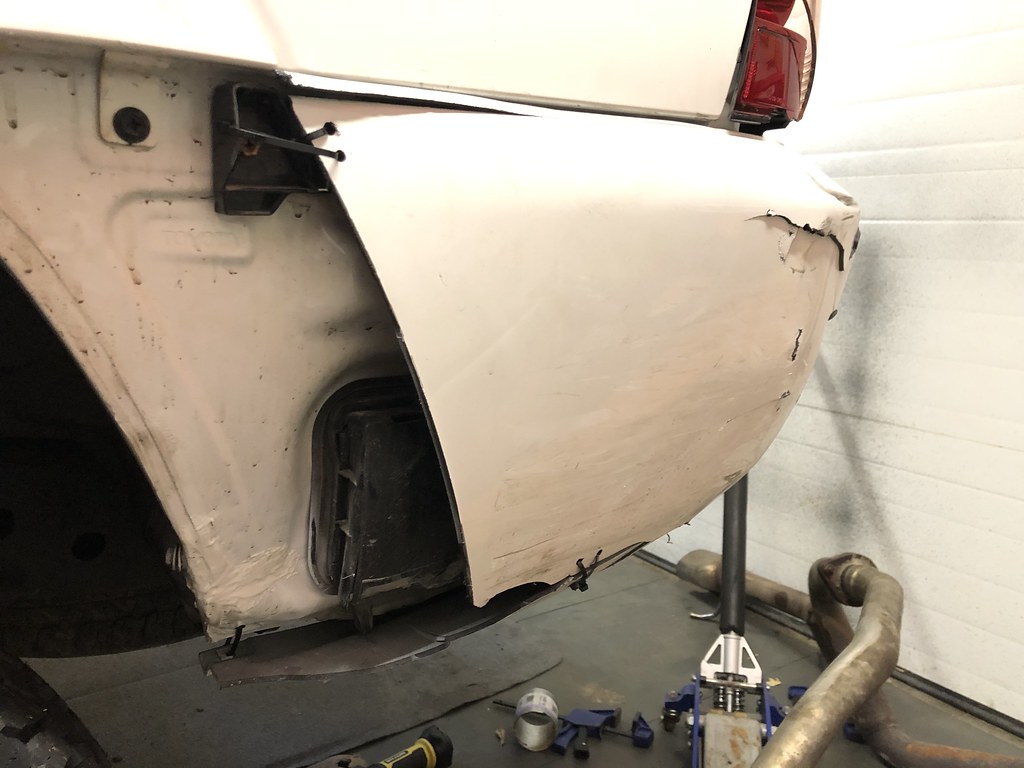
Rear bumper was "repaired" before and had been hit as well, still better than missing part of the bumper completely.

Untitled by John Van Cleave, on Flickr

Rear door got bent at the top of the door, should be able to bend it back slightly and shouldnt be too noticeable

Untitled by John Van Cleave, on Flickr

Pulled the rear bumper to install the new one. Spent a little time scraping and wire wheeling off some of the flaky rust from the rear bumper section. Once I get a welder I'll hop in here and reinforce/repair/replace some of it.

Untitled by John Van Cleave, on Flickr

This area is a bit rougher than I anticipated, but everything lined up so it looks like most the damage is superficial. I'll go back in and seal up some of the gaps around the black vent in the spring.

Untitled by John Van Cleave, on Flickr

Bumper on!

Untitled by John Van Cleave, on Flickr

I might try to grind down that weird "repair" and repaint just this wing in the spring.

Untitled by John Van Cleave, on Flickr

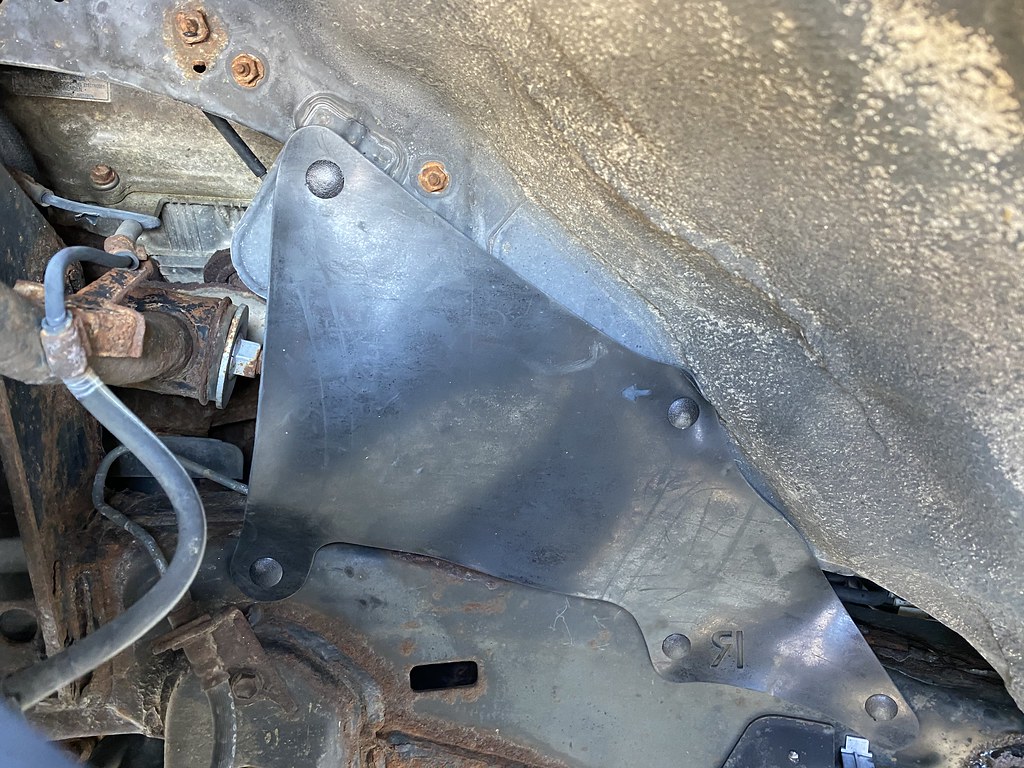
Also installed my front rubber splash shield replacements. Only one of my factory ones was still there and was very brittle when removed. I just bought these on eBay for like $40

Untitled by John Van Cleave, on Flickr

Untitled by John Van Cleave, on Flickr

Next update for the next post!
 
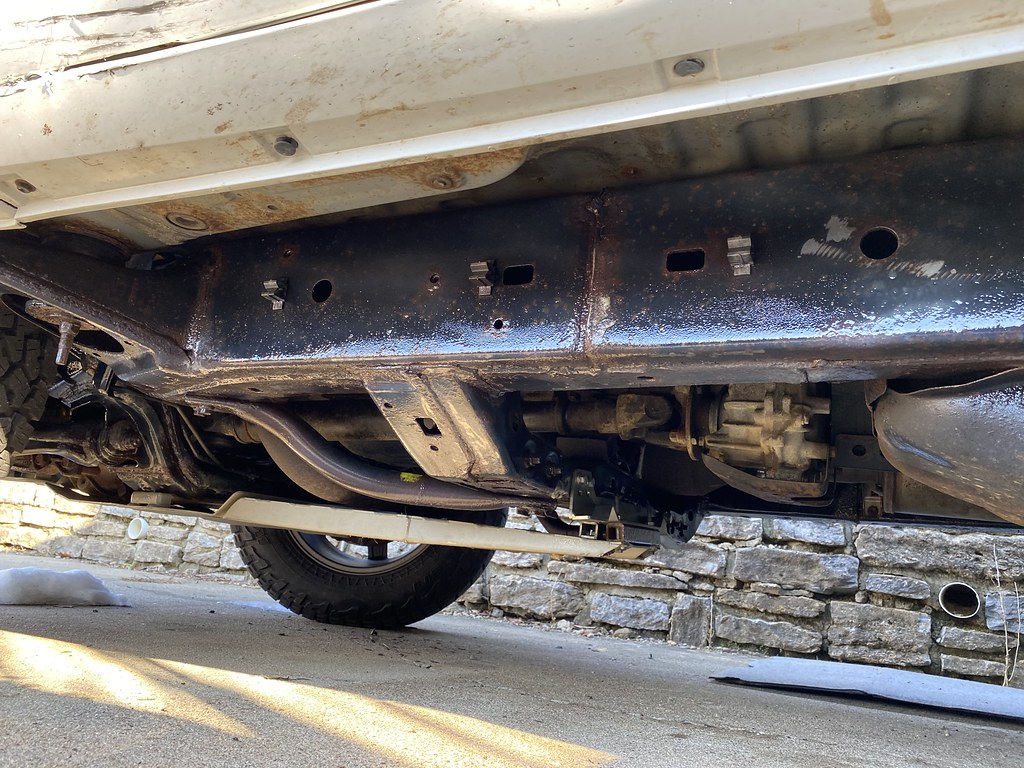
Sprayed on some Wool Wax to the frame (from the can) and also got the 5100's installed in the rear since one of the shocks was bent following the accident. They're definitely a bit stiffer than the 4600's that were in there, nothing to complain about yet. Still have to swap the rear sway bar since it was bent so is currently only connected on the passenger side.

Untitled by John Van Cleave, on Flickr

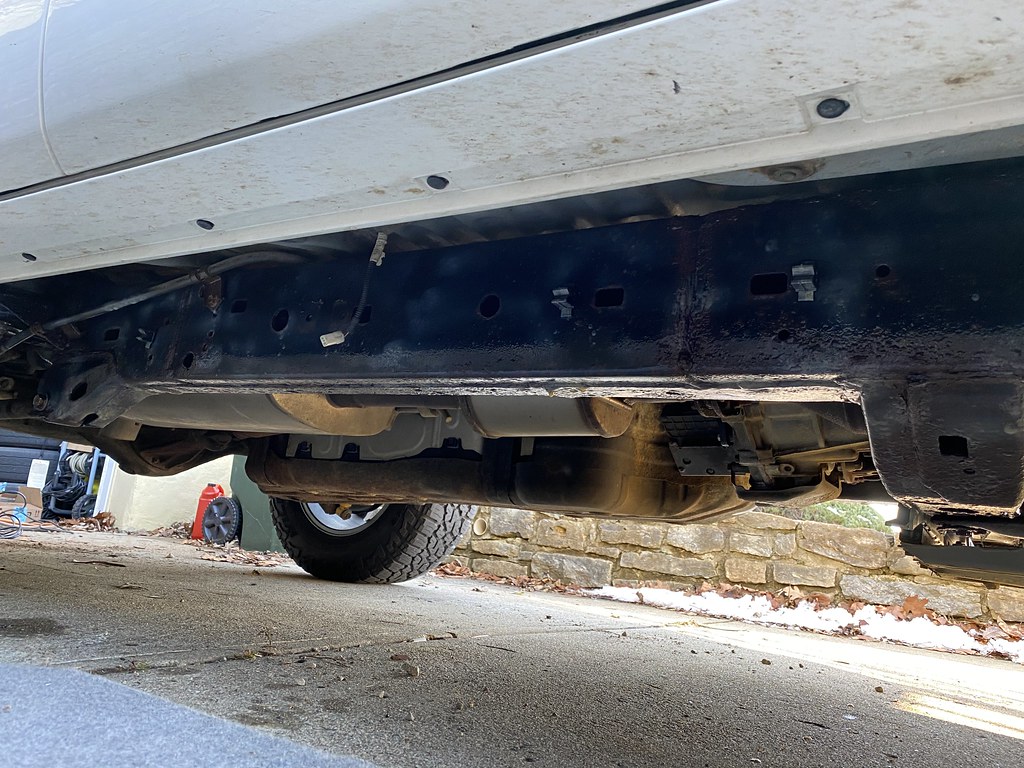
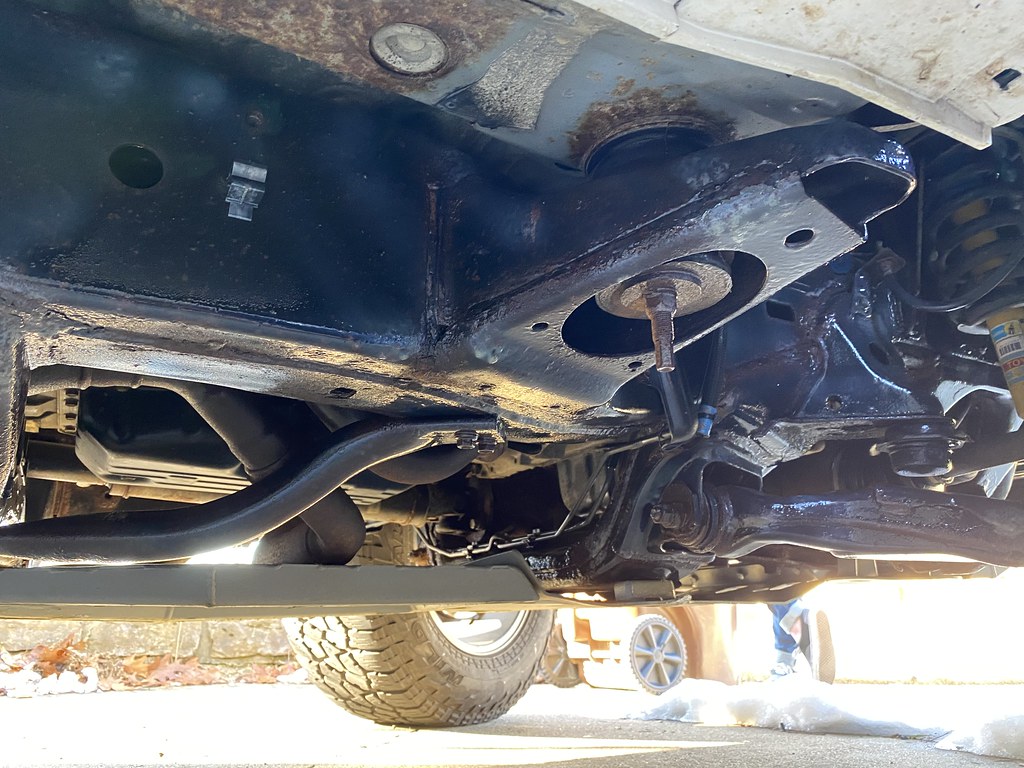
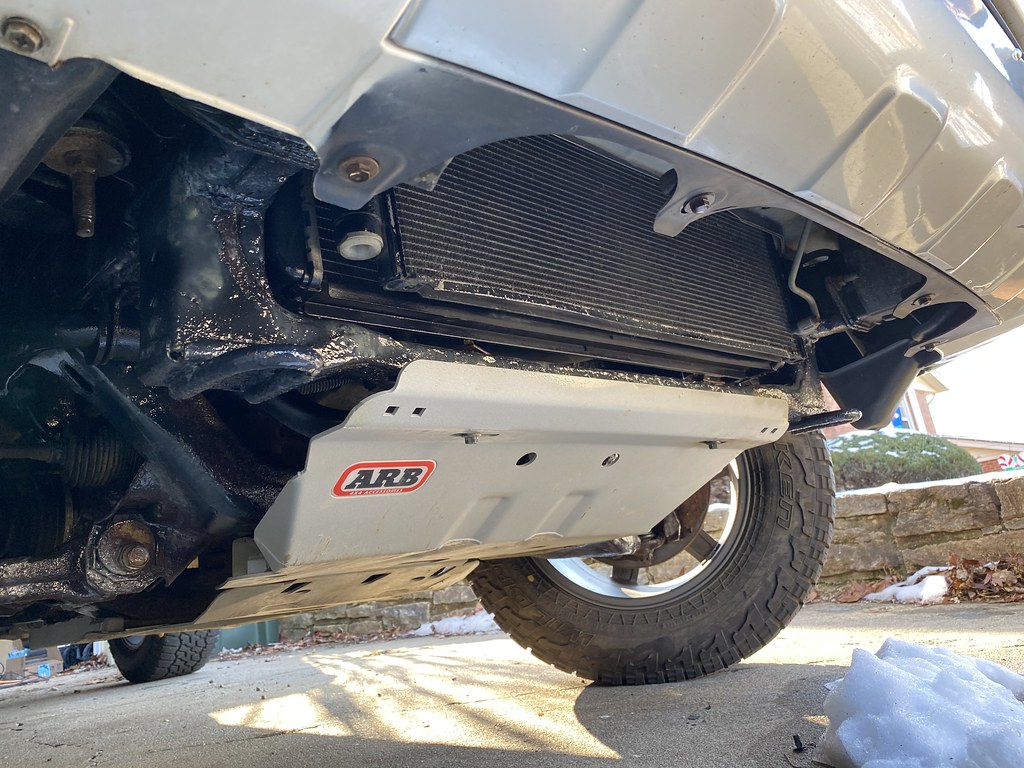
Frame doesn't look too bad for the midwest. The core of the frame is still solid, no rust through, but Wool wax is definitely a preventative for the time being with future more in depth wire wheel/repair work planned for the spring.

Untitled by John Van Cleave, on Flickr

Untitled by John Van Cleave, on Flickr

Untitled by John Van Cleave, on Flickr

The lower core support is probably the worst rust area on the truck. Plan is to find a replacement and weld it in, or possibly just fab my own out of box steel and chop out the rotted part at the bottom.

Untitled by John Van Cleave, on Flickr

5100's in! I had to slightly trim the rubber bushings to get the nut on the shock shaft. Not sure if there is a trick, but shaving about 1/8" off of each bushing made everything go together nicely and shouldn't impact the performance much at all from my eyes.

Untitled by John Van Cleave, on Flickr

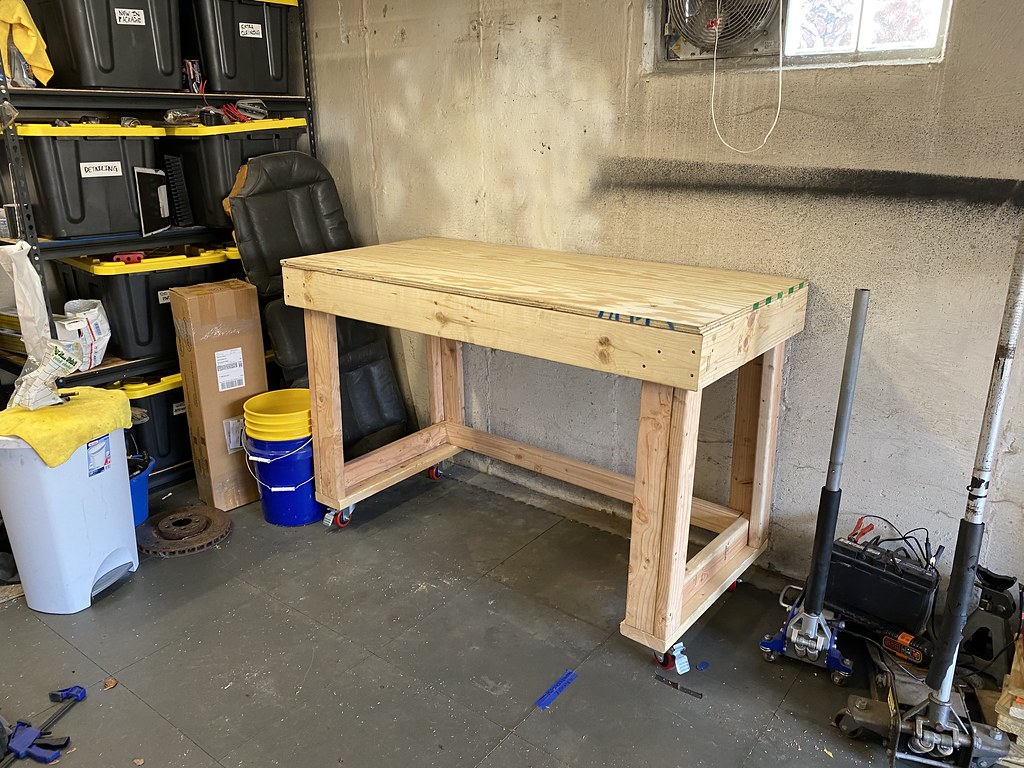
Also took some time to build a work bench in the garage on casters. About $120 in parts/wood from Lowes and got it knocked out in a few days with waiting for the paint/stain to dry. Added a Harbor Freight Stool and Vice to top it all off. This should make working in the garage much nicer as I previously was working from the ground or a folding table when needed.

Untitled by John Van Cleave, on Flickr

Untitled by John Van Cleave, on Flickr

Also painted the recovery points I have yet to install. I broke off one of the rear bolts so more heat/penetrating oil and I'll go back after the install in a week or two when time frees up. But meantime they're nice and painted!

Untitled by John Van Cleave, on Flickr
 
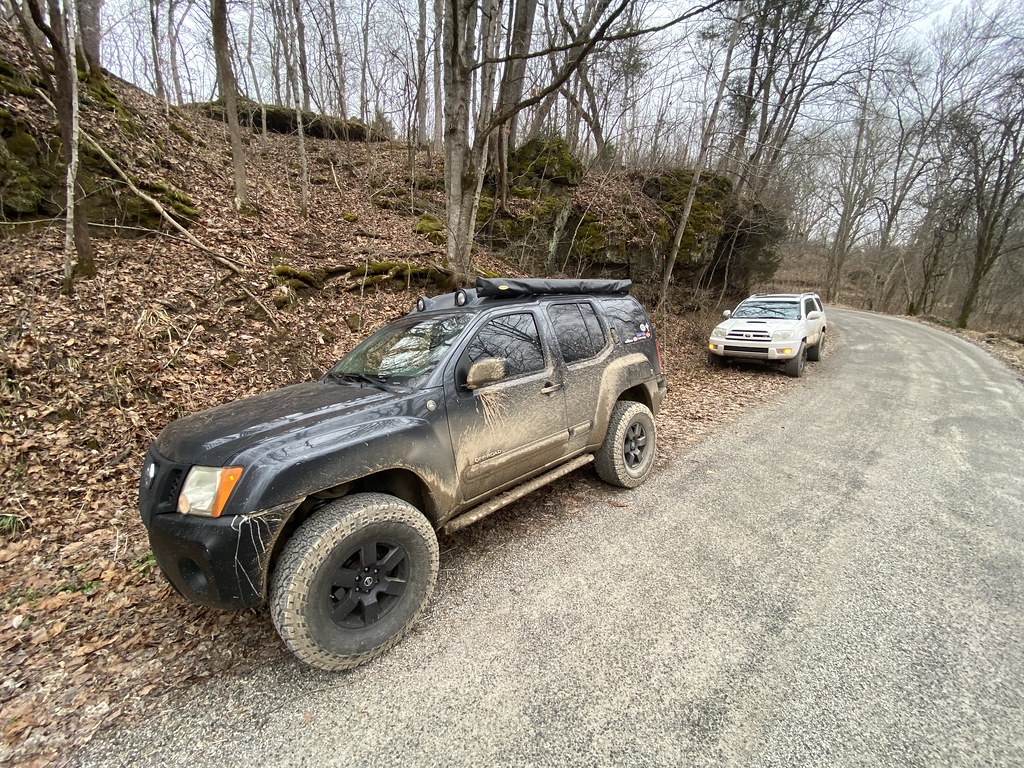
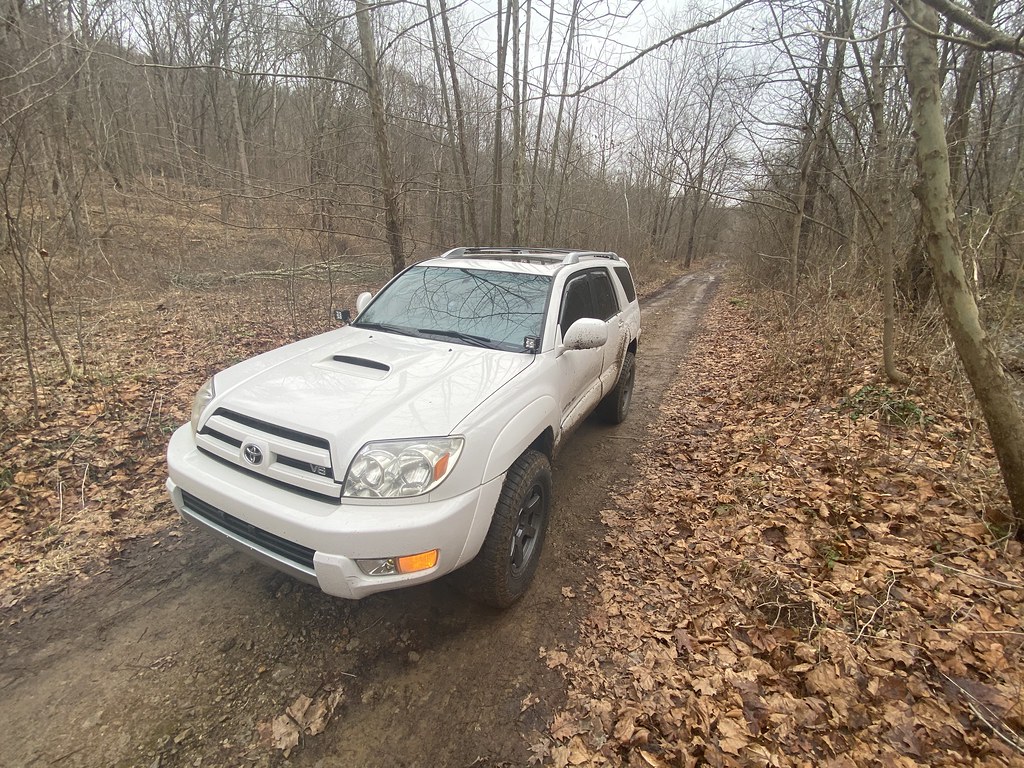
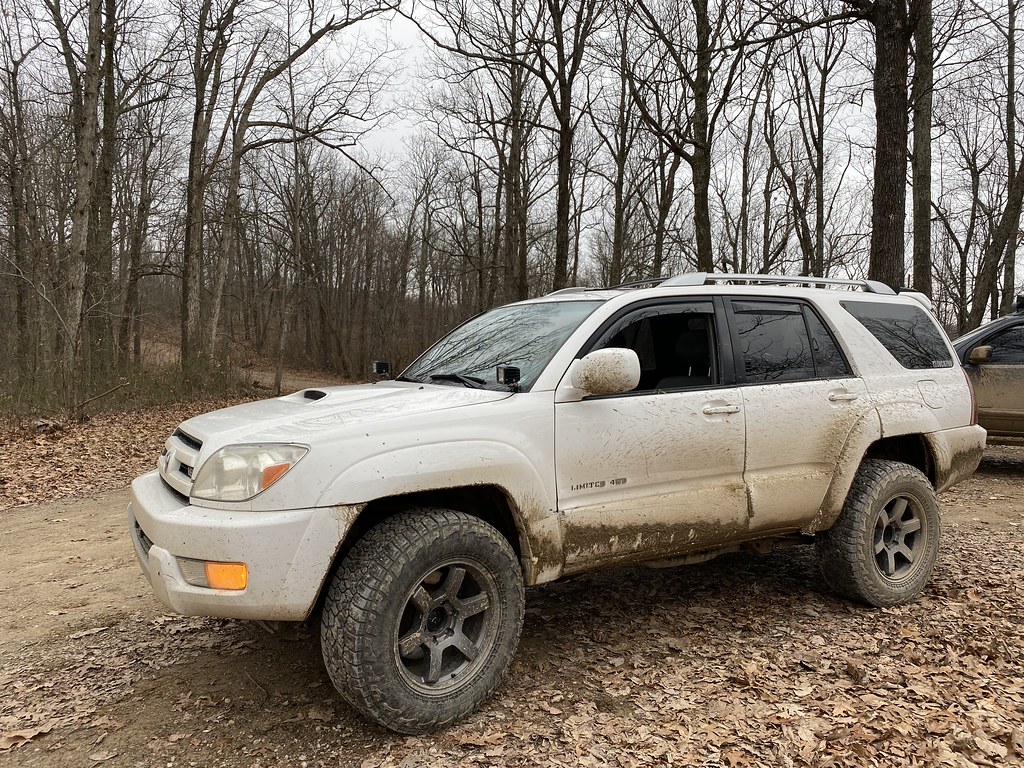
And now a little trip update from last week. Since I had some time off, a friend of mine and I decided to do a day run out to the Shawnee State Forest area in south eastern Ohio to check out some roads he was told about. All in all, most of it was gravel/fire/national forest roads. But a few areas were a bit slick or rutted out. It was a good day exploring and getting dirty regardless!

Untitled by John Van Cleave, on Flickr

Untitled by John Van Cleave, on Flickr

Untitled by John Van Cleave, on Flickr

Untitled by John Van Cleave, on Flickr

Untitled by John Van Cleave, on Flickr

Untitled by John Van Cleave, on Flickr

Untitled by John Van Cleave, on Flickr

Untitled by John Van Cleave, on Flickr

Untitled by John Van Cleave, on Flickr

Untitled by John Van Cleave, on Flickr

and a before and after pic from the next day

Untitled by John Van Cleave, on Flickr

Untitled by John Van Cleave, on Flickr
 
Small update!

Replaced the bent sway bar from the accident. Much better now that that connected, highway driving feel is improved although I will admit it wasn't awful without it, but sometimes it felt a little extra sway-y, especially on on-ramps and tight turns on throttle.

49389550338_3e0b3376df_b.jpg


Also had a stubborn rear wiper arm that didn't want to come off so I could grind it down to make better contact with the rear wiper and window. Got creative and busted out the trusty Harbor Freight Fluxcore 90amp welder and splattered this together.

49390220957_42d38bbca0_b.jpg


Ugly, but it worked!

49389550228_1462e21423_b.jpg


Which leads me into the next thing... I've been talking about doing it, but just haven't pulled the trigger. Once I got the payout from the 4Runner accident, and the fact that all of my expenses had already been paid off. I found myself with some extra savings, and a decision to make.

I had been looking at a nicer welder for a while, looked all over the Titanium ones at HF, but ultimately a conversation with a friend of mine led me to spending about twice what I was thinking initially.

Insert Miller 211!

49389549823_c1cf2ff242_b.jpg


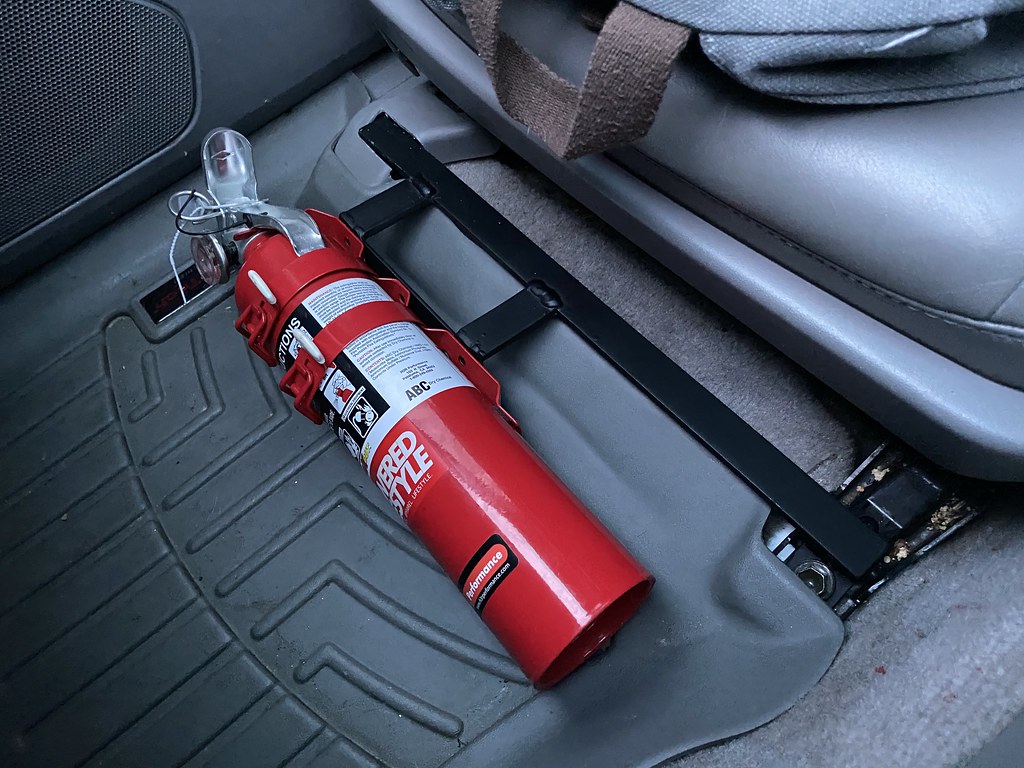
Once I got it all set up, I decided to make my first project, which was to get the fire extinguisher to stop rolling around on the floor.

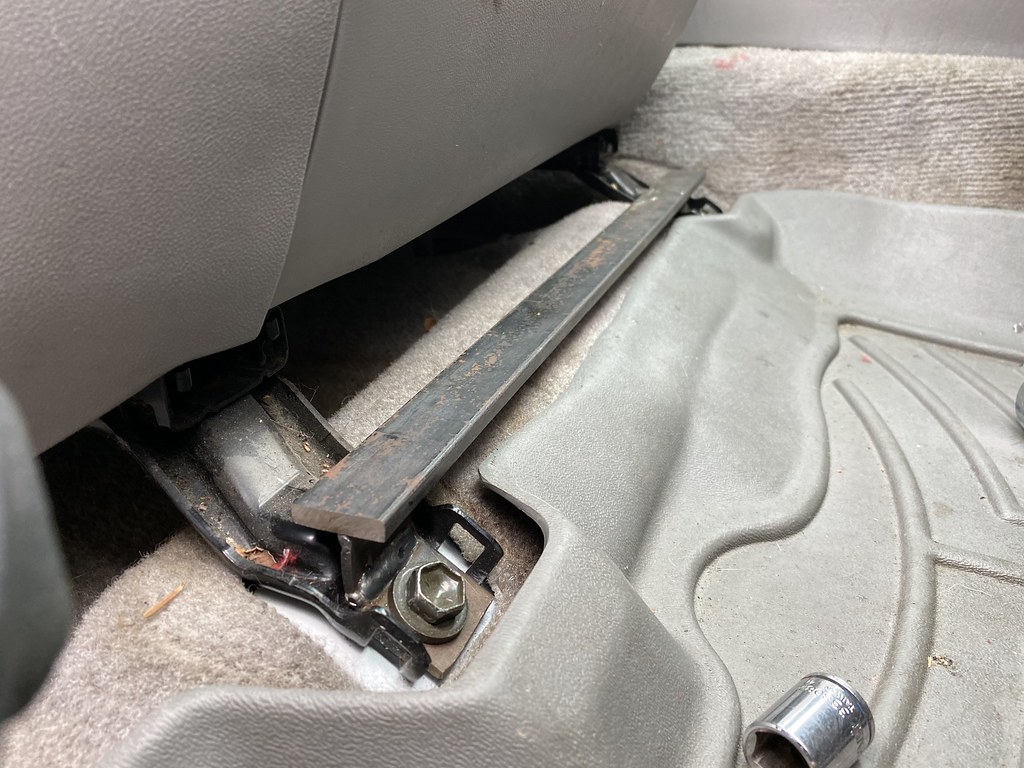
Started with a rail bolted to the seat fastening bolts.

49390221027_66a5bde421_b.jpg


Added a few supports and a plate to mount the extinguisher.

49390221082_7704bf2c70_b.jpg


It doesn't sit on the floor, and is quite strong. I placed it here because the seat can go most of the way forward without contacting it, and I believe it's the most "out of the way" it could be in the passengers footwell. 99% of my driving is done solo to and from work and on trails, so I don't anticipate any real issue with footspace.

49390023756_cc58ab33ab_b.jpg


Slapped some flat black on it, trimmed one of the plastic caps around it (still gotta do the other) and it's all done!

49390023506_237f37782f_b.jpg


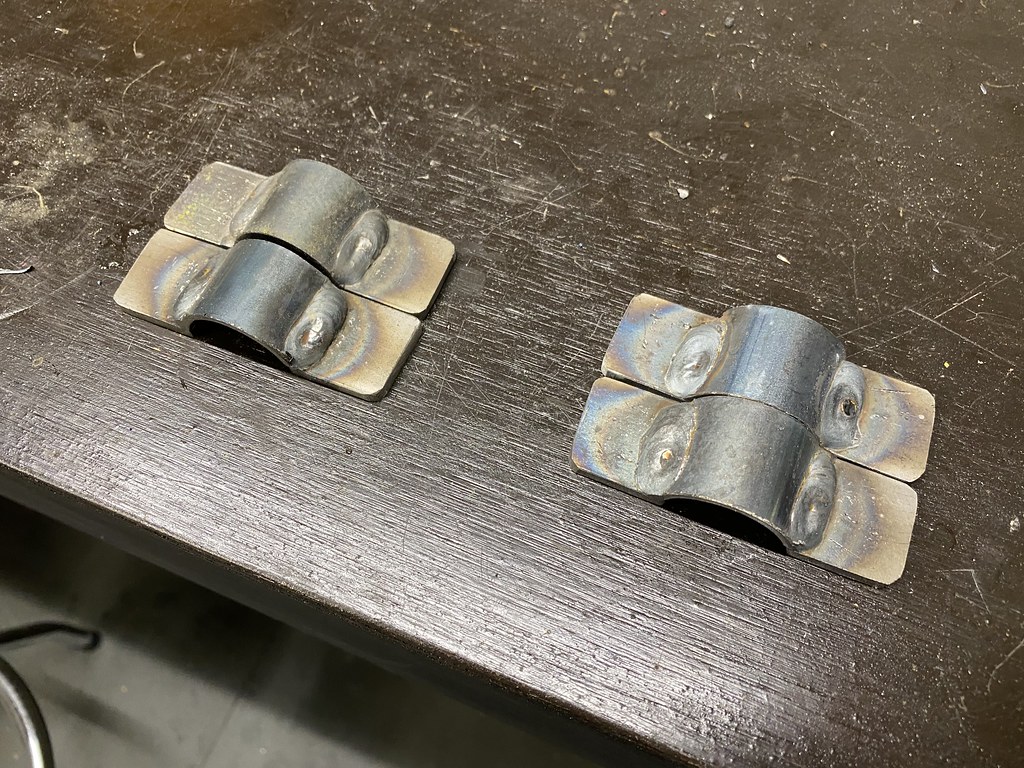
I've got some ideas for future plans, but nothing concrete yet. I'd like to get some weld-together sliders, but make them on a bracket that allows them to be bolted to the frame instead of welded. I'll be making a CB antenna mount at some point as well, and a friend has already asked about making a jerry-can carrying holder for his GOBI ladder on his x-terra! If you all have any ideas for small welding projects send them my way!
 
Jerry can mounts?


Sent from my iPhone using Tapatalk

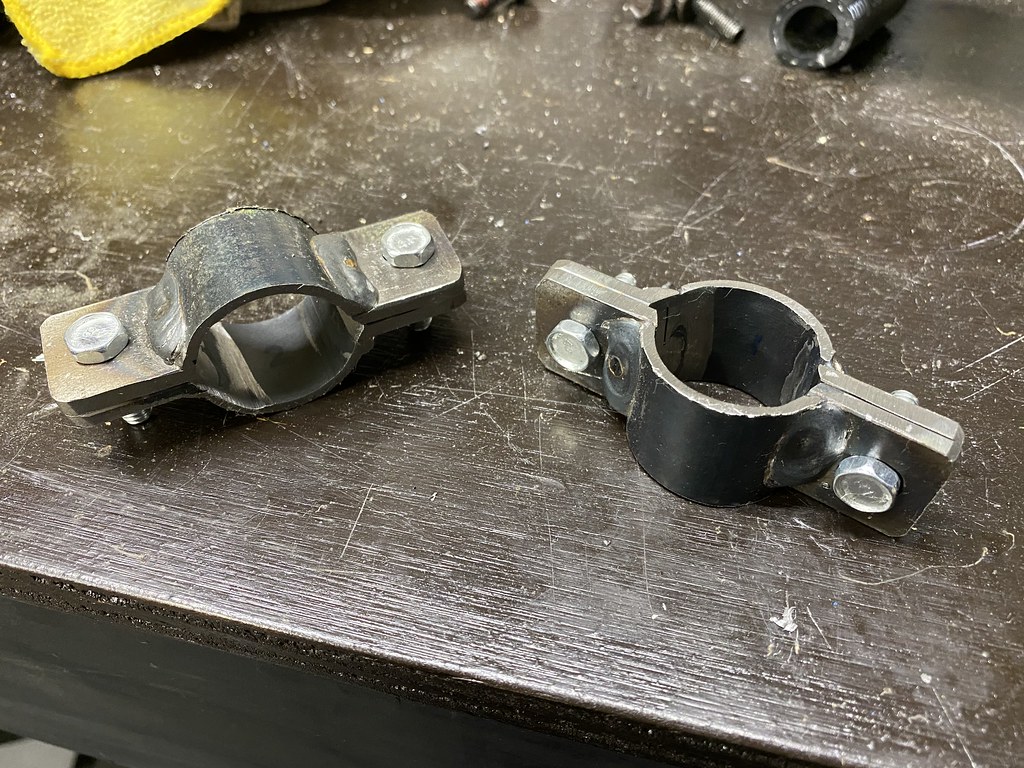
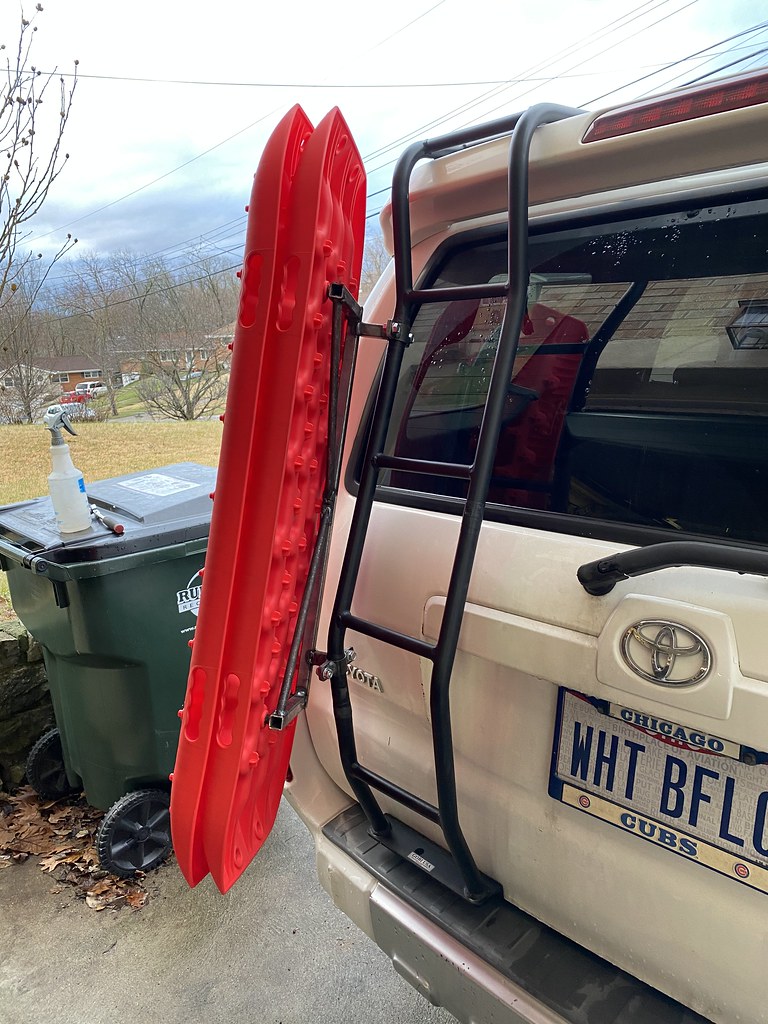
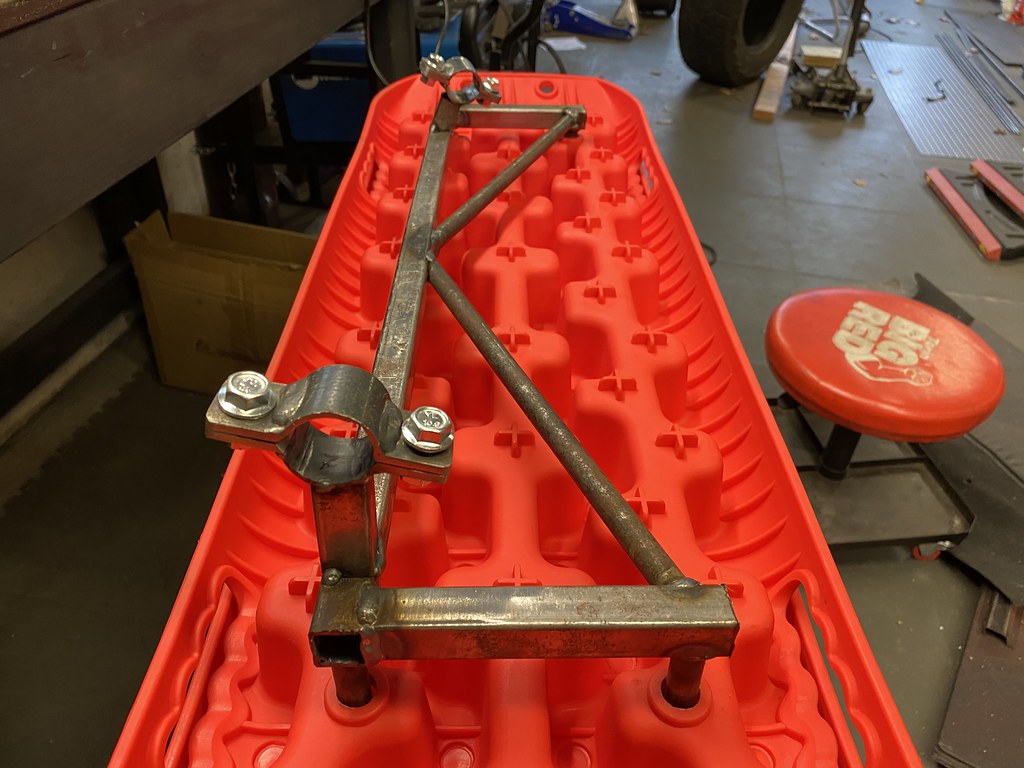
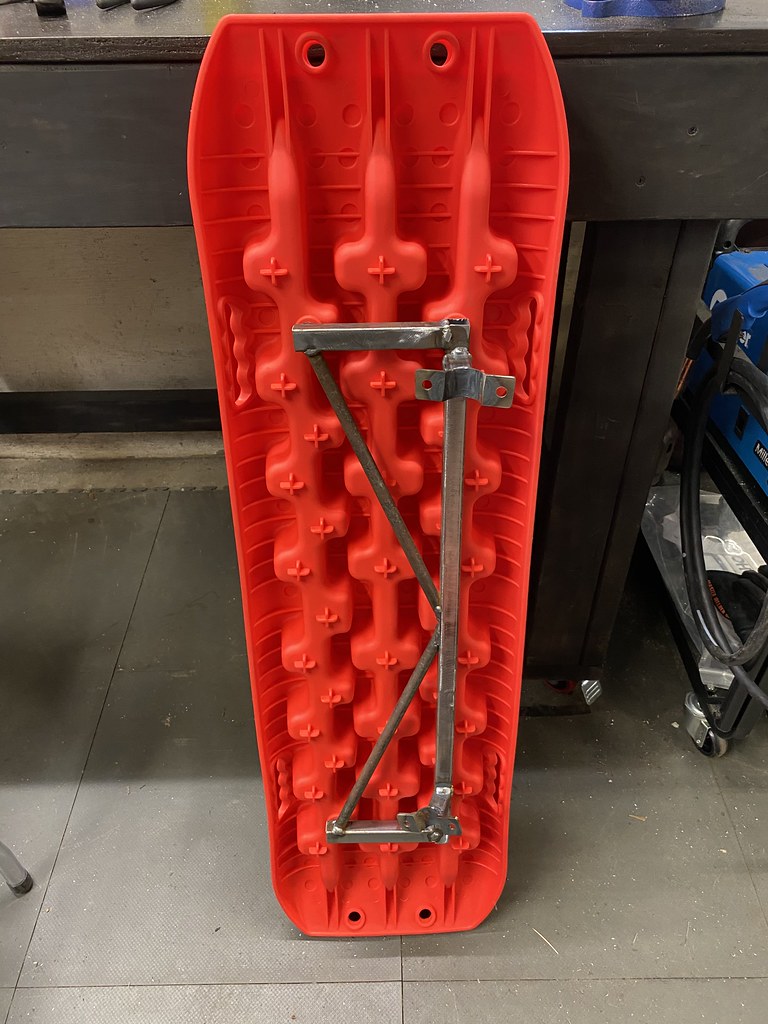
Close! I actually started making those clamps for that exactly, but then changed my mind on what I wanted to mount.

49413629418_5a74ab3000_b.jpg


49414106051_4d9456a475_b.jpg


49414106021_ae764c4dfc_b.jpg


49413629303_8d49129464_b.jpg


49414306282_39c6cc39e6_b.jpg


49414306832_6f6c46abf1_b.jpg


49414306427_b1b7e93edc_b.jpg


Also picked up this little buddy from Summit Racing they had on sale last week for $99. M12 tire inflator, I'll give it a go this week since the temps are dropping and I'm likely going to need to check tire pressures in my wifes car.

49414306407_c1a7e823ff_b.jpg
 
i like the traction pad carrier...hopefully drag isnt too bad there for your mpg. i currently run 4 of them under my double decker cargo (xbull, fit perfect/tight, horizontally). you going to get a lock on them back there?

do you use Bauer power cordless tools??

diggin the little weld projects
 

Members online

Forum statistics

Threads
278,316
Messages
3,554,120
Members
248,016
Latest member
Advally Service

Trending content

Back
Top