May 2008 T4ROTM - Dirt4dinner

Wow, I haven't checked in forever on this site! I have been spending my spare time working on the new pop-up trailer. It doesn't look like it did when I first got it. NEW EVERYTHING! See the photo below.

Big news with the 4Runner. I have convinced my wife that it needs new shocks, and I told her I might as well do the lift I want while I am at it. So it looks like my 4 new shocks are going to cost about $1200 and convienetly come with a Sonoran Steel System 1.2 lift. :D

Should be in January if I can get through the holidays with a few dollars left in the account.

Here are a couple recent photos of the Runner and trailer in tow.

ColdweekendatAshurst089.jpg~original


ColdweekendatAshurst080.jpg~original


ColdweekendatAshurst068.jpg~original


ColdweekendatAshurst052.jpg~original
 
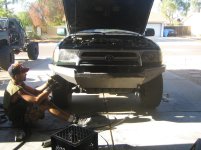
I recruited an experienced mechanic buddy of mine and we knocked out a few projects that I had been holding off on.

We replaced my radiator, hoses, and drive belts, as well as replaced the front rotors and pads and flushed the brake system.

I had planned on doing the water pump and had the part, but we were surprised to see it was powered by the timing belt and decided to hold off on it, until it's time to replace the timing belt and all those bearings (in about a year).

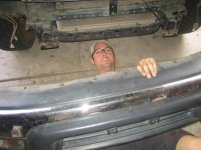
Here was a photo I enjoyed showing my wife....she gets nervous when I take the 4Runner apart.

1111080933.jpg~original
 
Well, I haven't posted in a LONG time...but I still linger in the shadows.

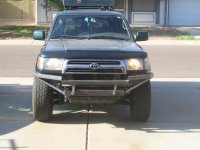
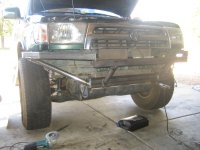
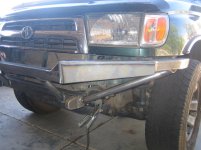
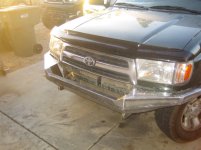
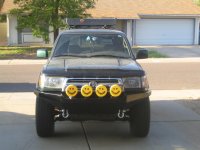
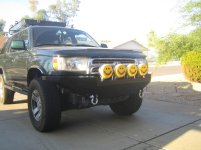
The 4Runner got a full day of fabrication today. See the photos for the story and you can expect the finished product photos very soon. We will be skinning the entire thing, adding 4 KC Daylighters across the front and there will be a light loop following the outline of the grill made out of round bar. I also have two nice shackles that will be poking out of the skin...it will look pretty sharp!

This is first permanent thing I have done to the 4Runner...I suppose it's all fun and games once you break the ice. I was sweating bullets cutting the bumper mounts off the frame...

p.s.- It's a little crocked...we didn't notice until we got it out of the garage. We will work on it in the morning....so no poking fun! :cursin:
 

Attachments

  • Front Bumper Build - Day 1 002.jpg
    Front Bumper Build - Day 1 002.jpg
    130.8 KB · Views: 337
  • Front Bumper Build - Day 1 023.jpg
    Front Bumper Build - Day 1 023.jpg
    131.2 KB · Views: 403
A few more to show the depth of the bumper.
 

Attachments

  • Front Bumper Build - Day 1 015.jpg
    Front Bumper Build - Day 1 015.jpg
    127.7 KB · Views: 353
  • Front Bumper Build - Day 1 017.jpg
    Front Bumper Build - Day 1 017.jpg
    128.2 KB · Views: 525
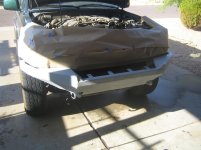
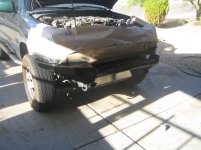
Day two of the bumper build went well. We weren't able to complete it, but we got it looking like a bumper.

Here are a few photos. More to come...we still have LOTS of work to do!
 

Attachments

  • Front Bumper Build - Day 2 006.jpg
    Front Bumper Build - Day 2 006.jpg
    132.6 KB · Views: 521
  • Front Bumper Build - Day 2 008.jpg
    Front Bumper Build - Day 2 008.jpg
    131.8 KB · Views: 400
  • Front Bumper Build - Day 2 012.jpg
    Front Bumper Build - Day 2 012.jpg
    133.6 KB · Views: 336
  • Front Bumper Build - Day 2 013.jpg
    Front Bumper Build - Day 2 013.jpg
    132.9 KB · Views: 324
We only had two hours last night to work on the bumper, but we got the last welds done on the side panels of the skid and I got one side totally sanded down and cleaned up. We also got the top plates done to cover the area under the head lights. One step at a time....
 

Attachments

  • Front Bumper Build - Day 3.jpg
    Front Bumper Build - Day 3.jpg
    130.7 KB · Views: 340
We got a little more work done last night. We added one more small triangle under the headlights to make it look cleaner. I got my grind on BIG TIME and got all the grinding done. So left to do...

1. Drill holes in tow points
2. Finish skid plate around the tow points
3. Add the 4 tabs for KC lights
4. Drill (3) 3" holes in the front skid
5. Add round bar light hoop
6. Add round bar light guard
7. PAINT
8. PAINT
9. PAINT the areas I missed in step 7 and 8

Here is one photo of the new triangles we added.

FrontBumperBuild-Day5001.jpg~original


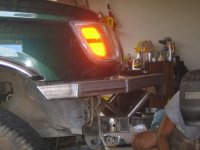
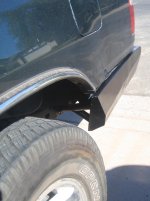
We also got tired of looking at the front of the truck, so we yanked the back bumper and tow package off to see what it was going to take to build the back bumper. We are hoping to get something started for the back today.

BackBumper002.jpg~original


BackBumperBuild.jpg~original
 
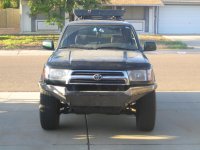
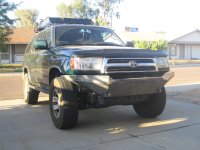
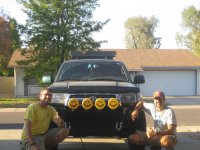
The bumper is done!

I am beyond happy with the way it turned out. Even better than I had expected. I am not going to add the round bar or the holes in the front skid. I don't think it needs anything at all!
 

Attachments

  • Front Bumper Build - Day 5 006.jpg
    Front Bumper Build - Day 5 006.jpg
    130 KB · Views: 358
  • Front Bumper Build - Day 5 007.jpg
    Front Bumper Build - Day 5 007.jpg
    132.4 KB · Views: 315
  • Front Bumper Build - Day 5 010.jpg
    Front Bumper Build - Day 5 010.jpg
    131.9 KB · Views: 321
  • Front Bumper Build - Day 5 011.jpg
    Front Bumper Build - Day 5 011.jpg
    131.6 KB · Views: 314
  • Front Bumper Build - Day 5 012.jpg
    Front Bumper Build - Day 5 012.jpg
    137.7 KB · Views: 303
Wow! It's like if I'm watching Xtreme 4x4. The front bumper looks great.

BTW, any more pics of the Tacoma with the exo-skeleton?
 
LOL....it only got extreme a few times during the build.


I suppose I can take a couple photos of his Taco....it looks like it's been to hell and back! I will be back over at his place on Wen. to get more work done on my back bumper build so I will take a few then.
 
Just about done with the back bumper!

Today is Wen: Tomorrow it gets the shackle points added, and painted so it will be completely done. Saturday the 2.5" Daystar lift goes no, and Sunday the 33's get mounted up and installed. Monday...the truck is FREAKING DONE...


....for awhile. :)
 

Attachments

  • Tire Rack.jpg
    Tire Rack.jpg
    134.1 KB · Views: 266
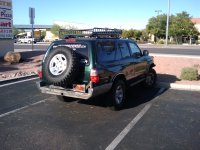
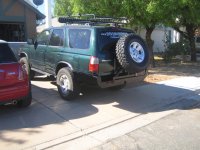
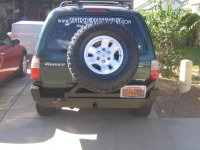
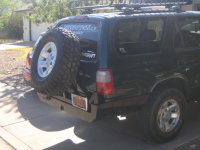
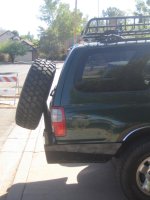
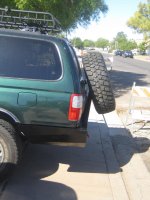
The swing out assembly we fabbed, isn't to heavy...maybe 50 lbs. But that damn 33" tire is WAY heavier than my 31"s. Oh well....looks bad ass!
 
Ok, the back bumper has paint and is VERY VERY close to done...close enough to post a few photos.

The plasma cutter decided to go on strike as we were cutting my shackle mounts, so those didn't get done. I ordered a set of pre-fabbed ones off ebay to save me the headache. We also had a colosal failure of the spare tire carrier latch, it popped open when I was driving it....that was EXCITING! So, we had to grind off some paint, add a small metal tab, and slide a pin through it to lock it shut. I haven't touched up the paint yet. The reason I haven't repainted is I am an idiot and bought Gloss paint on accident....didn't notice until I was through the first coat. So I am going to have to go back, remask it and paint it with the satin gloss in the next few days. I also need to repaint the sliders so it will look sharp then.

Anyways here are some photos for my official gallery thread...I will post a few build photos at some point if someone is interested.

...the 2.5" lift goes on tomorrow and the 33"s go on Sunday. So, the spare tire looks a tad larger than the rest of the tires...2" bigger to exact.
 

Attachments

  • 9-24-09 001.jpg
    9-24-09 001.jpg
    138 KB · Views: 381
  • 9-24-09 002.jpg
    9-24-09 002.jpg
    132.5 KB · Views: 367
  • 9-24-09 003.jpg
    9-24-09 003.jpg
    131.8 KB · Views: 357
  • 9-24-09 004.jpg
    9-24-09 004.jpg
    130 KB · Views: 369
  • 9-24-09 005.jpg
    9-24-09 005.jpg
    133.2 KB · Views: 354
  • 9-24-09 007.jpg
    9-24-09 007.jpg
    127.8 KB · Views: 382
LIFTED!

Don't even get me started on the 11 hour install of the lift kit. We made some mistakes, that cost us big time and I am sore from head to toe today from all the work to get those damn spacers installed.

I got the 33's installed today and the fronts rub a little bit, so I ordered some small wheel spacers from WabFab to get them to clear the top of the a-arms.

Here are a couple photos out in the driveway. As soon as the spacers show up, I will hopefully get some photos from a trail!

:roadkill: (that's just a cool smiley!)

Lifted001.jpg~original


Lifted002.jpg~original


Lifted003.jpg~original
 
I think I made the 4Runner angry with all this work lately!

I woke up this morning to a nice big puddle of coolant in the driveway. Upon further inspection it was found to be coming from the water pump.

SON OF A $*#*@*$#.....off to the auto parts store.

Timing Belt Kit
Water Pump
Thermostat

$190....6 hours in the driveway throwing tools and cursing. All better...no more leak. Time to drink heavily.
 

Forum statistics

Threads
278,312
Messages
3,554,089
Members
248,016
Latest member
Advally Service

Trending content

Back
Top