Jeffrey.sherry7
New member
Show us some of you sweet mods done for under $50
u got a write up on how you did this? Dad and i both hate not having lights down there
pm me or send me a link if u did a write up. Don't want to get the thread to off topic
************************************************
Brake Drum Painting (From rust to silver)
************************************************
Hope everyone's Sunday is going well. I decided today would be a good day to refinish the rear brake drums. They look pretty sh$tty right now since they are covered in rust and I want to paint them before I have my new 5-star wheels mounted on Monday.
Here are some pics of the job.
Before
Removal ~ be sure to release the eBrake or it won't come off :redbrick:
After Sanding it Down with 3M Tough Grit Sanding Sponge
First Coat of Primer
Second Coat
SEM XRP Silver, 2nd Coat
Mounted on the truck
FINAL COMPARISON SHOTS
:bat:
.

Solar Panel - I recently purchased a 14.4V solar panel trickle charger off of Amazon for about $35. The goal is to keep the battery charged when I don't drive the car for several days or weeks. Since installing it about a month ago, I haven't had any battery issues. My yellow top optima is about a year old but it had been draining. I have a lot of electronics on the truck so it is difficult to really trace out the problem. This was the simplest solution.
Schumacher 2.4 Watt SP-200 Solar Battery Maintainer
Schumacher SP-200 2.4W Solar Battery Maintainer : Amazon.com : Patio, Lawn & Garden
I also decided to sand down some parts of my undercarriage. 1st up was the gas tank skid plate which looked terrible an hadn't been touched in 15 years.
Solar Charger
5. Repainting rusted Gas Tank Skid
Gas Tank Skid Plate - Sanded
Gas Tank Skid Plate - Painted SEM Gunmetal Grey
:biggrin2:
****** Repainted rear undercarriage in anticipation of new bumper *****
I also recently decided that after 15 years (10 of which I've had the truck), it was finally time to repaint the rear undercarriage of my truck.
I removed each rear tire and sanded down everything shown with a power sander and 80 grit sandpaper. This actually took much longer than I thought it would but I think it was worth the effort since the rust is now gone.
I really wanted to do this because with the low profile tube bumper on the rear, you can see a lot more of the rear end and it wasn't pretty.
Pictures
1.
2.
3.
4.
5.
6.
7.
:guitar2:
Update - Big Three Upgrade Part I (with pics)
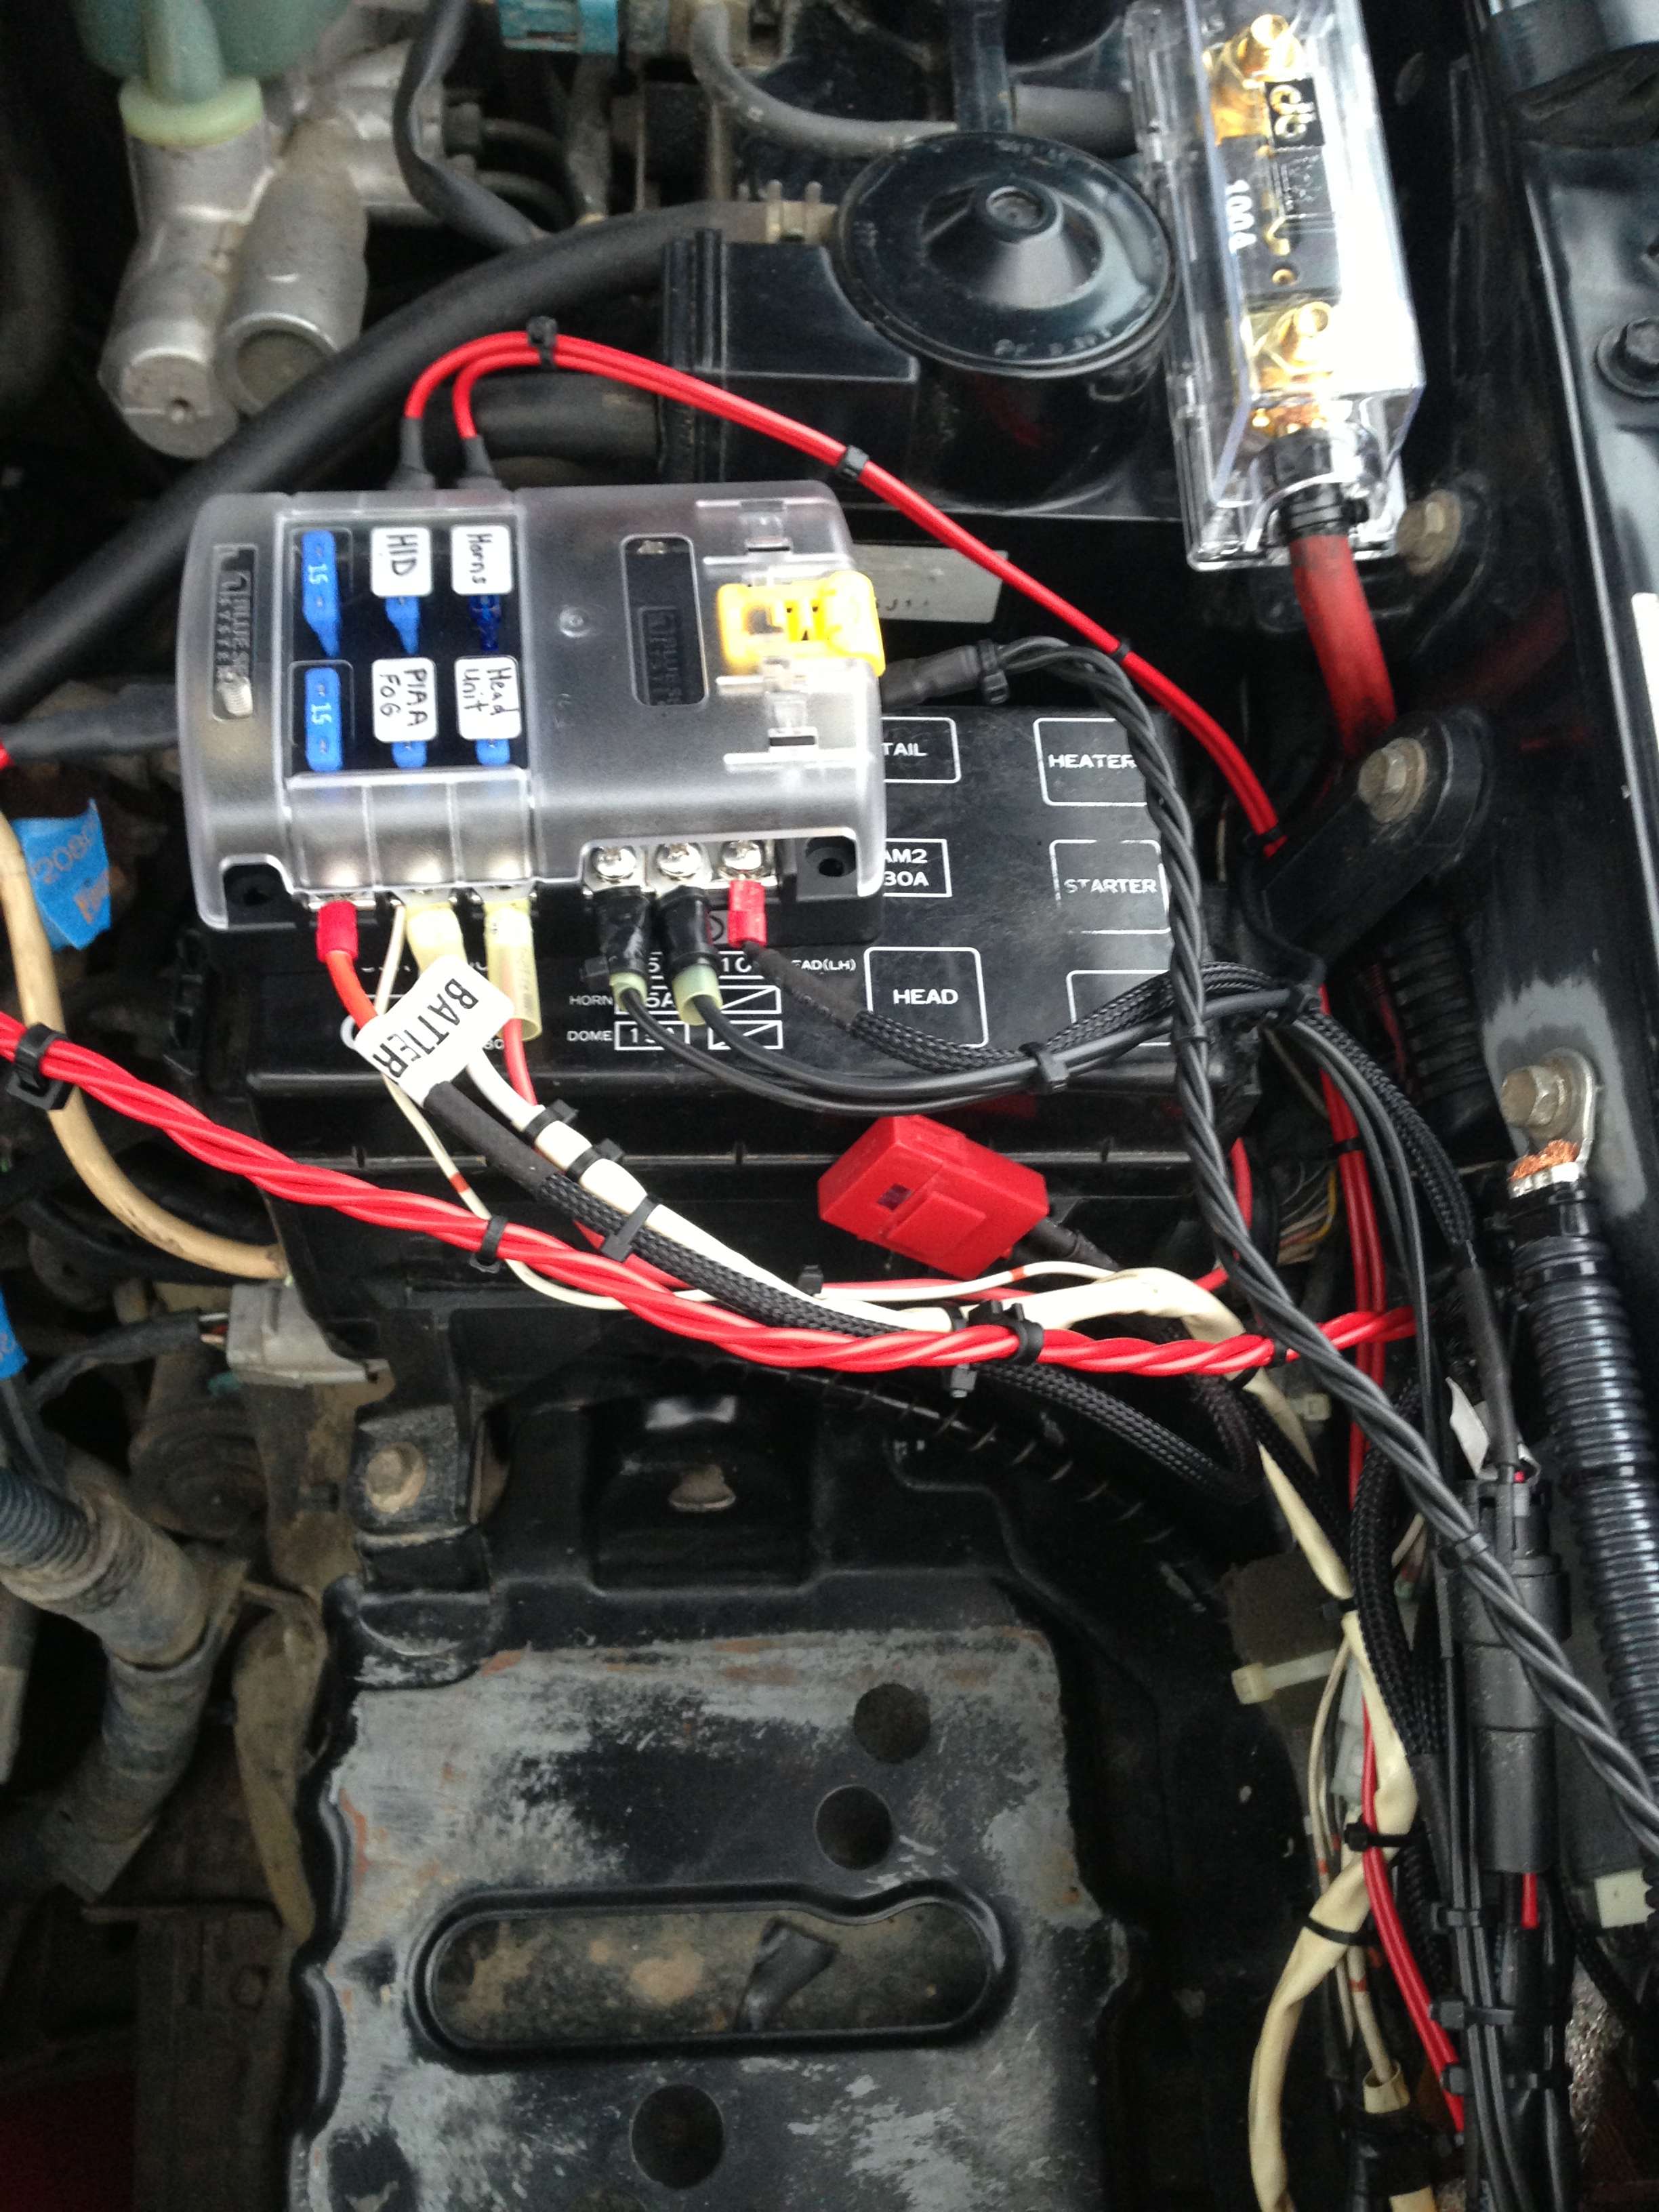
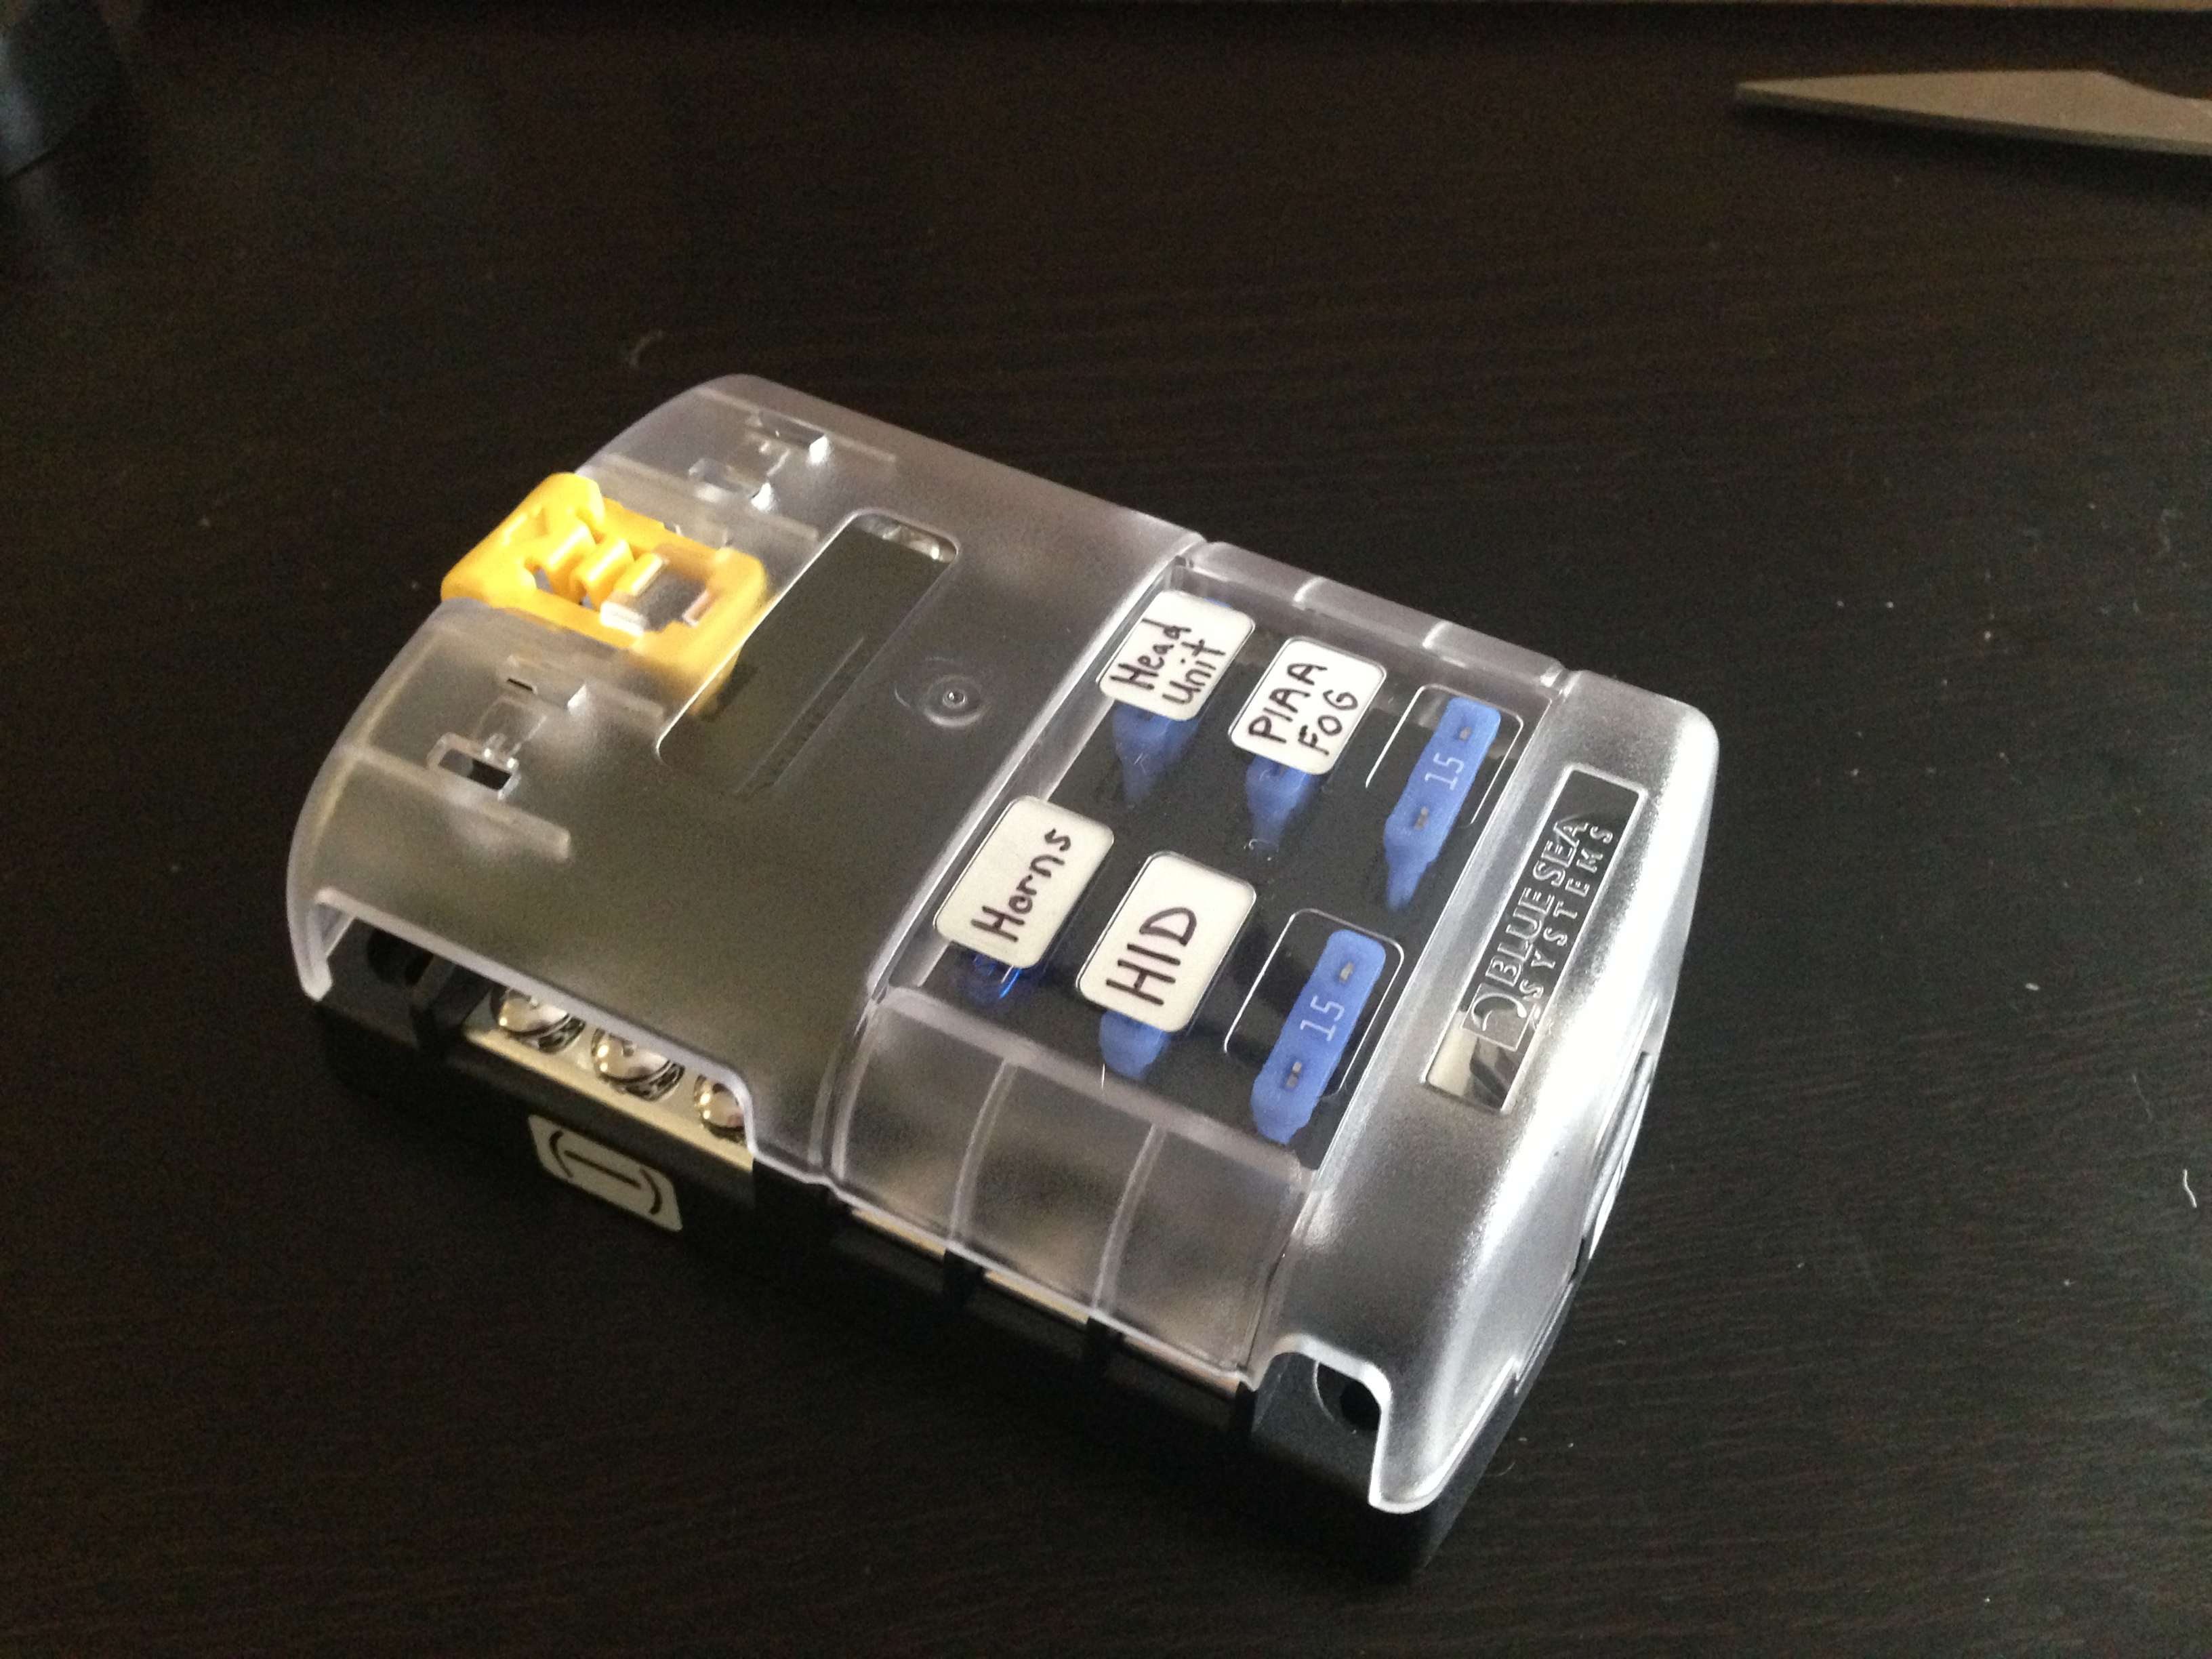
This past Saturday I started working on the Big Three upgrade as well installing a new fuse box for all the electronics I've accumulated over the years.
As you can see from the first picture, the area around my battery was a total mess of wires. I still cringe just looking at the pictures.
Installing the fuse box made a huge difference in cable management plus safety.
Next is the Big-Three upgrade. I first heard about the Big-3 from BigFishAllDay's thread back in 2012. Since then I have been stalking his rig and planning to do this mod.
Quick Source:
http://www.toyota-4runner.org/3rd-g...wiring-ugrade-3rd-gen-toyota-4runner-how.html
Pictures!
Before:
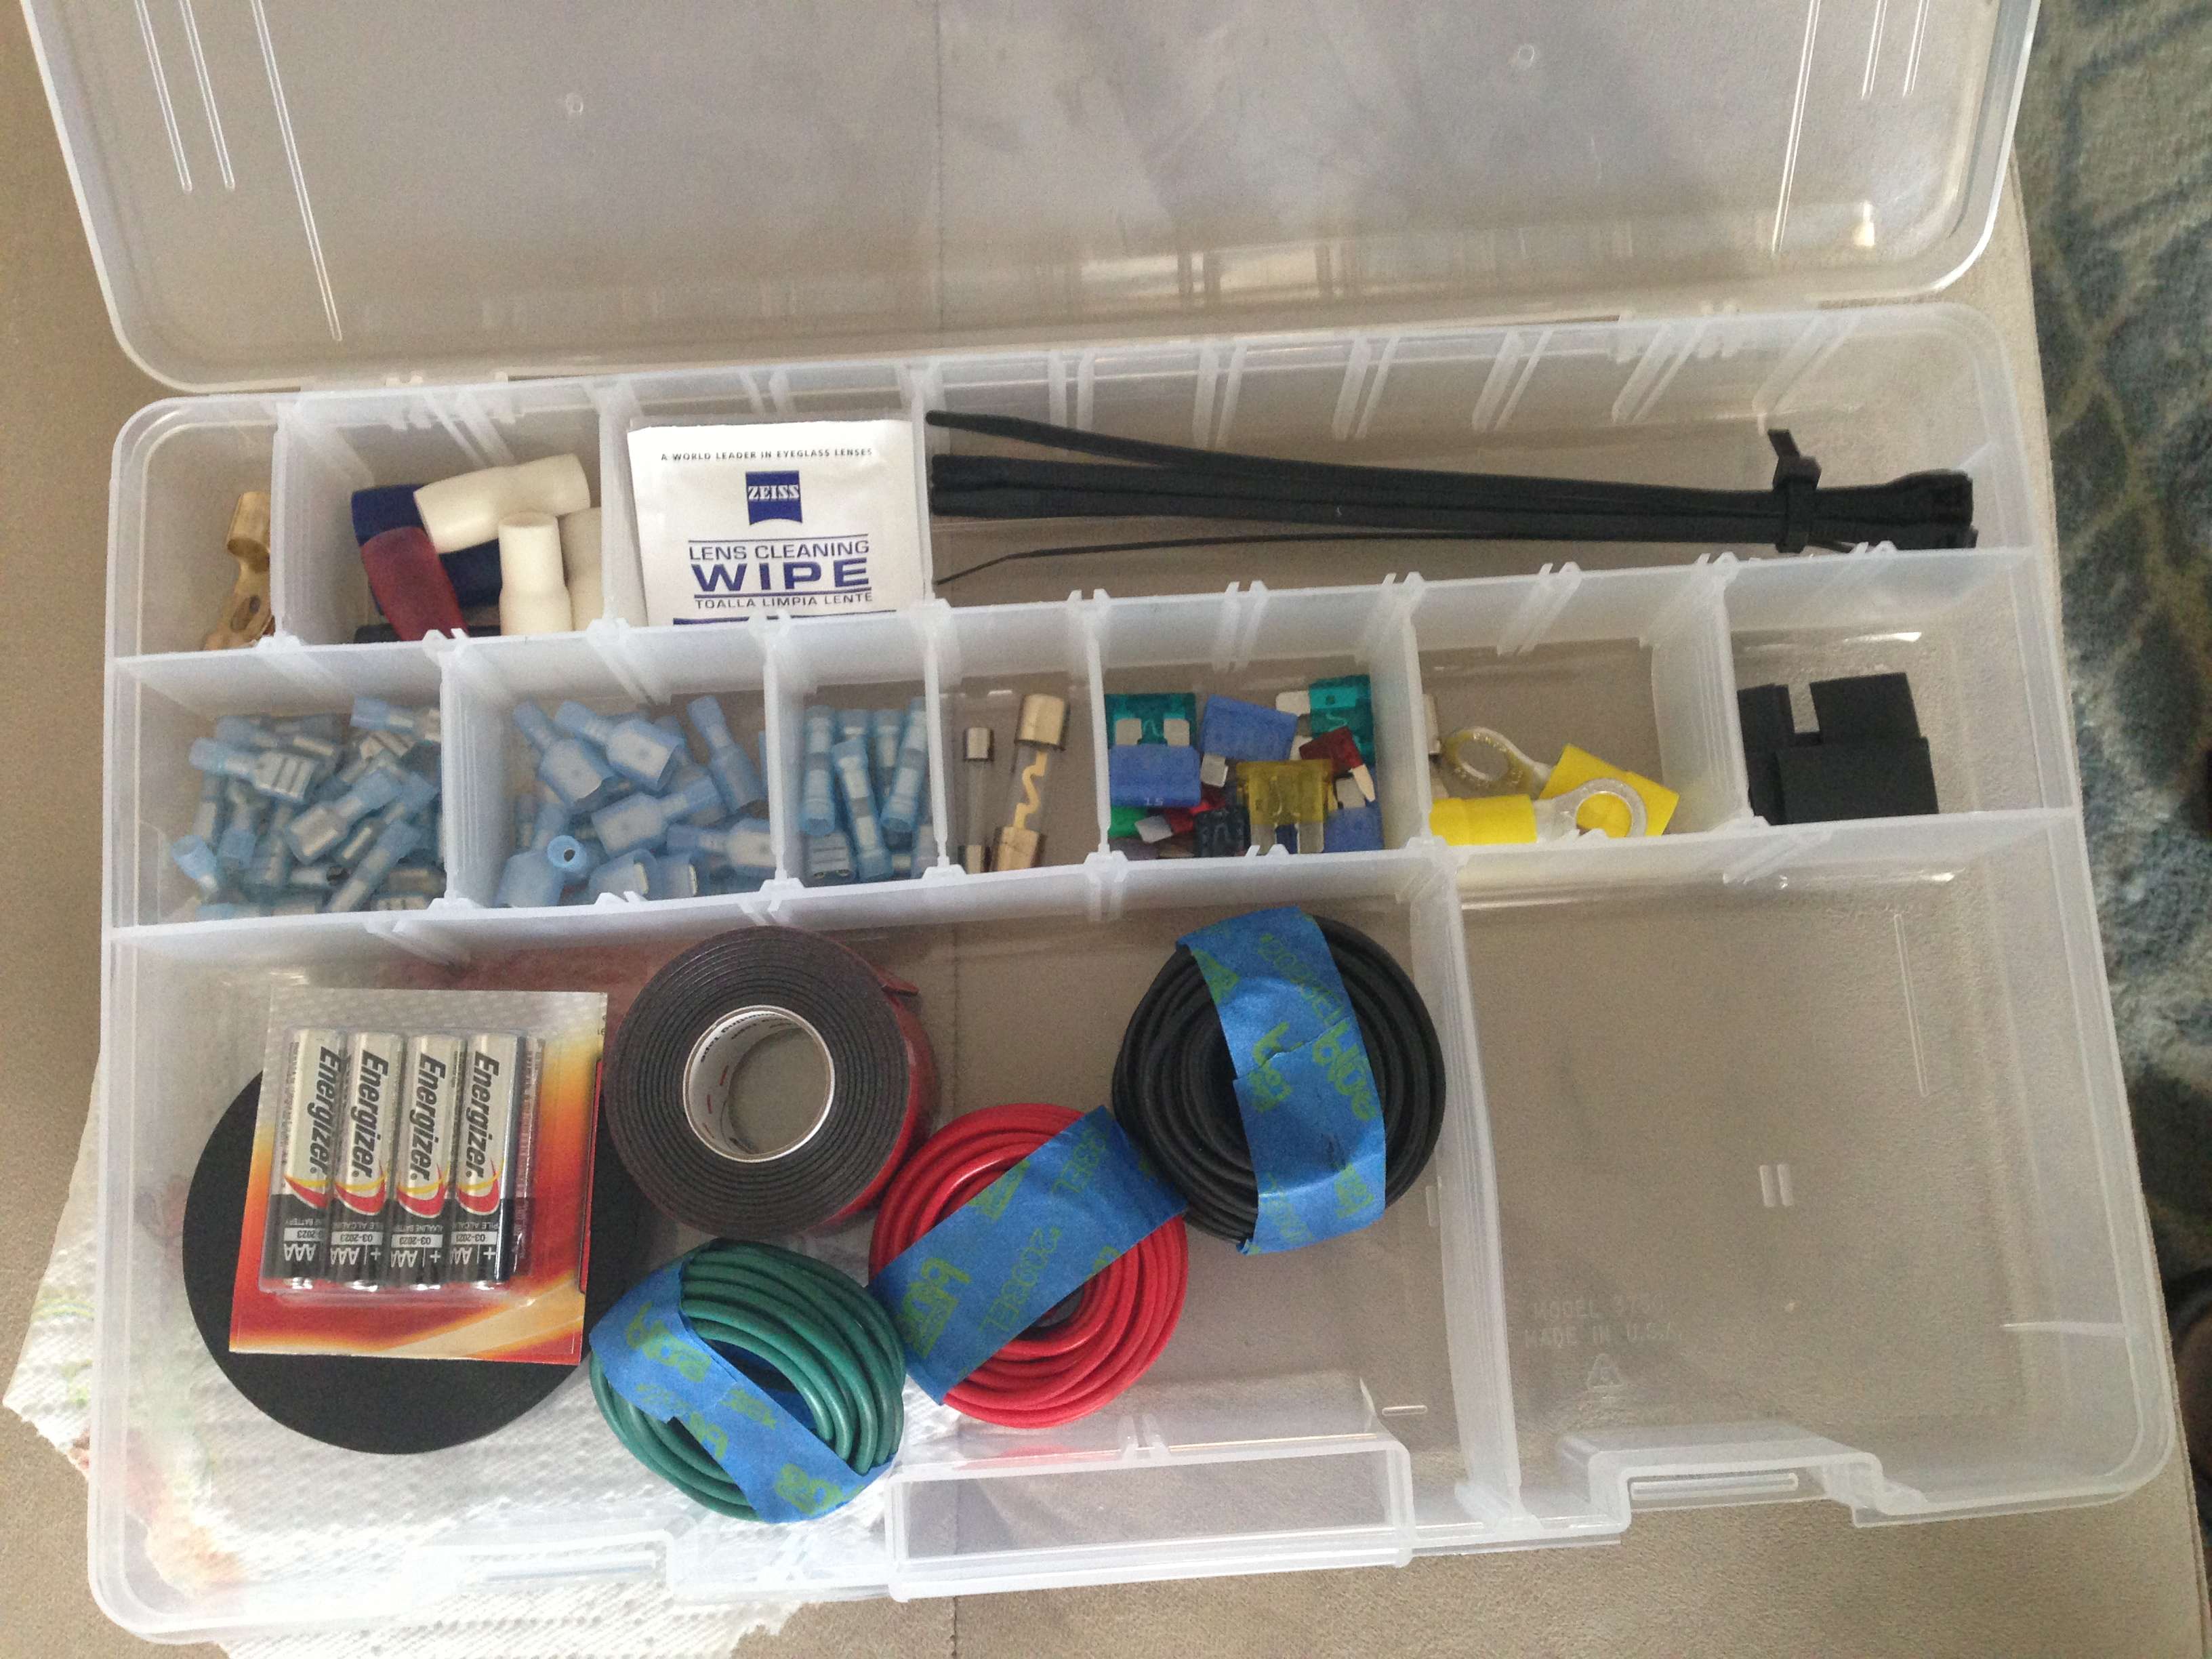
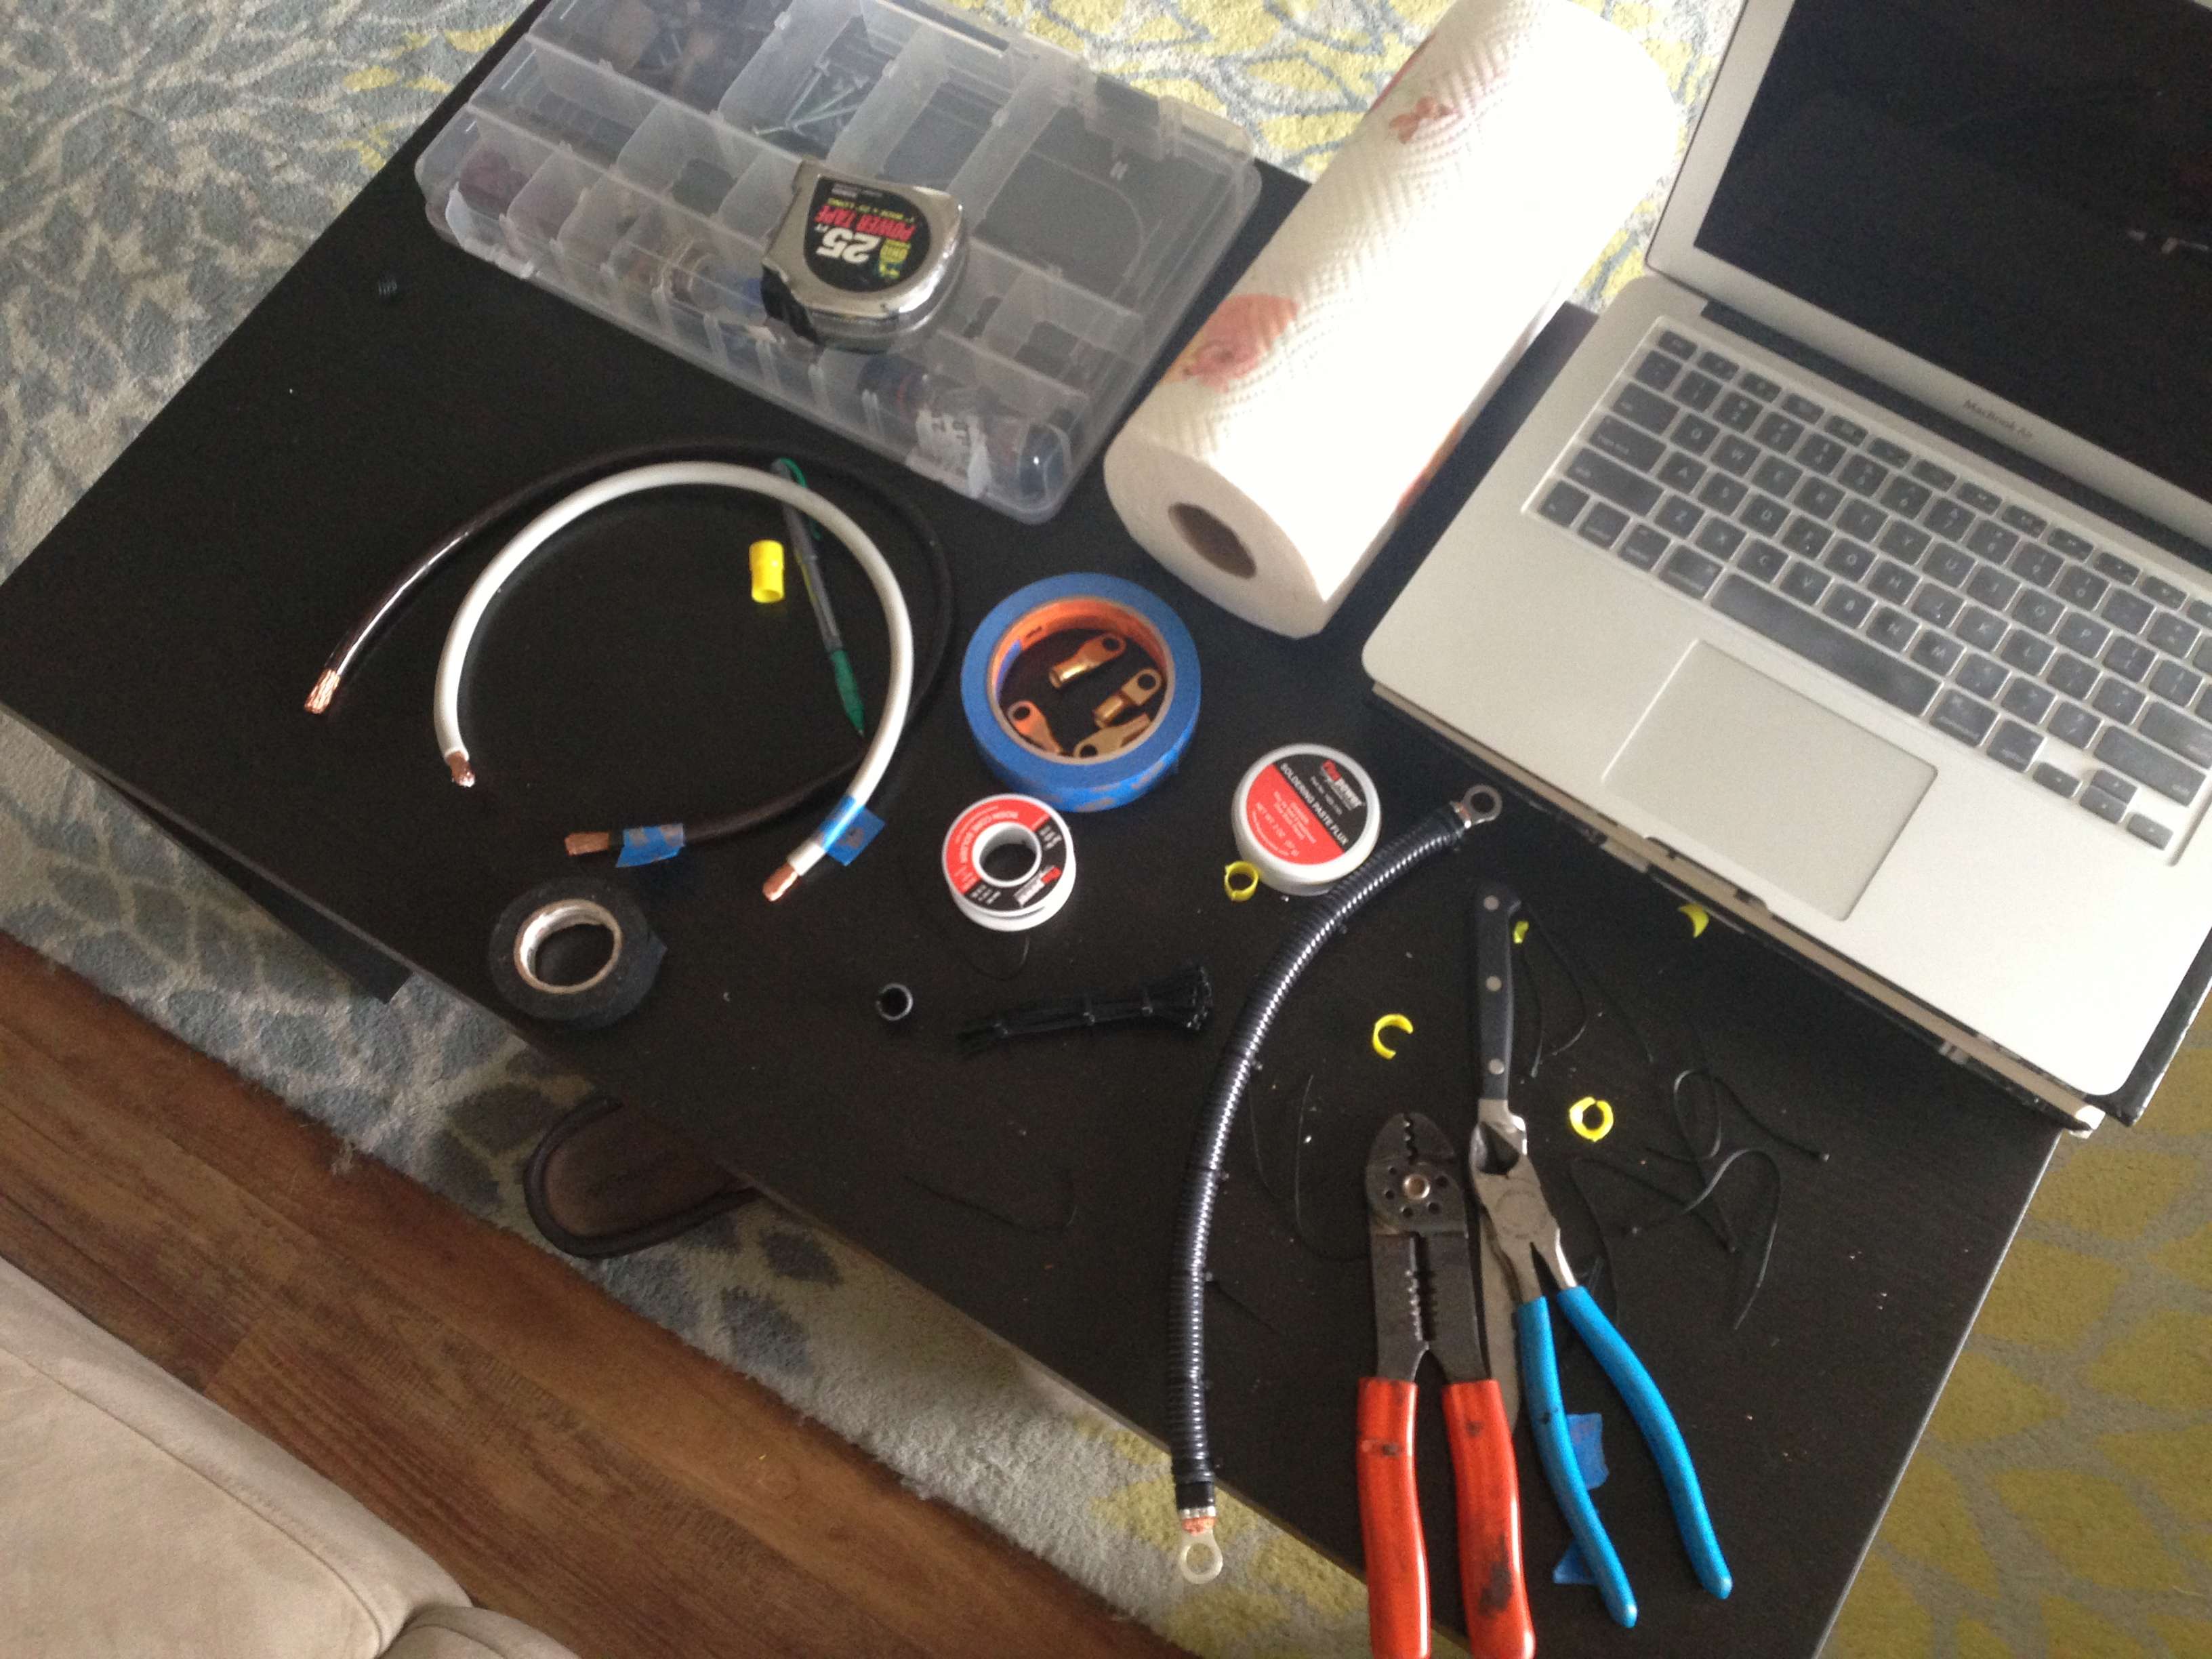
Setup & Tools (see link above):
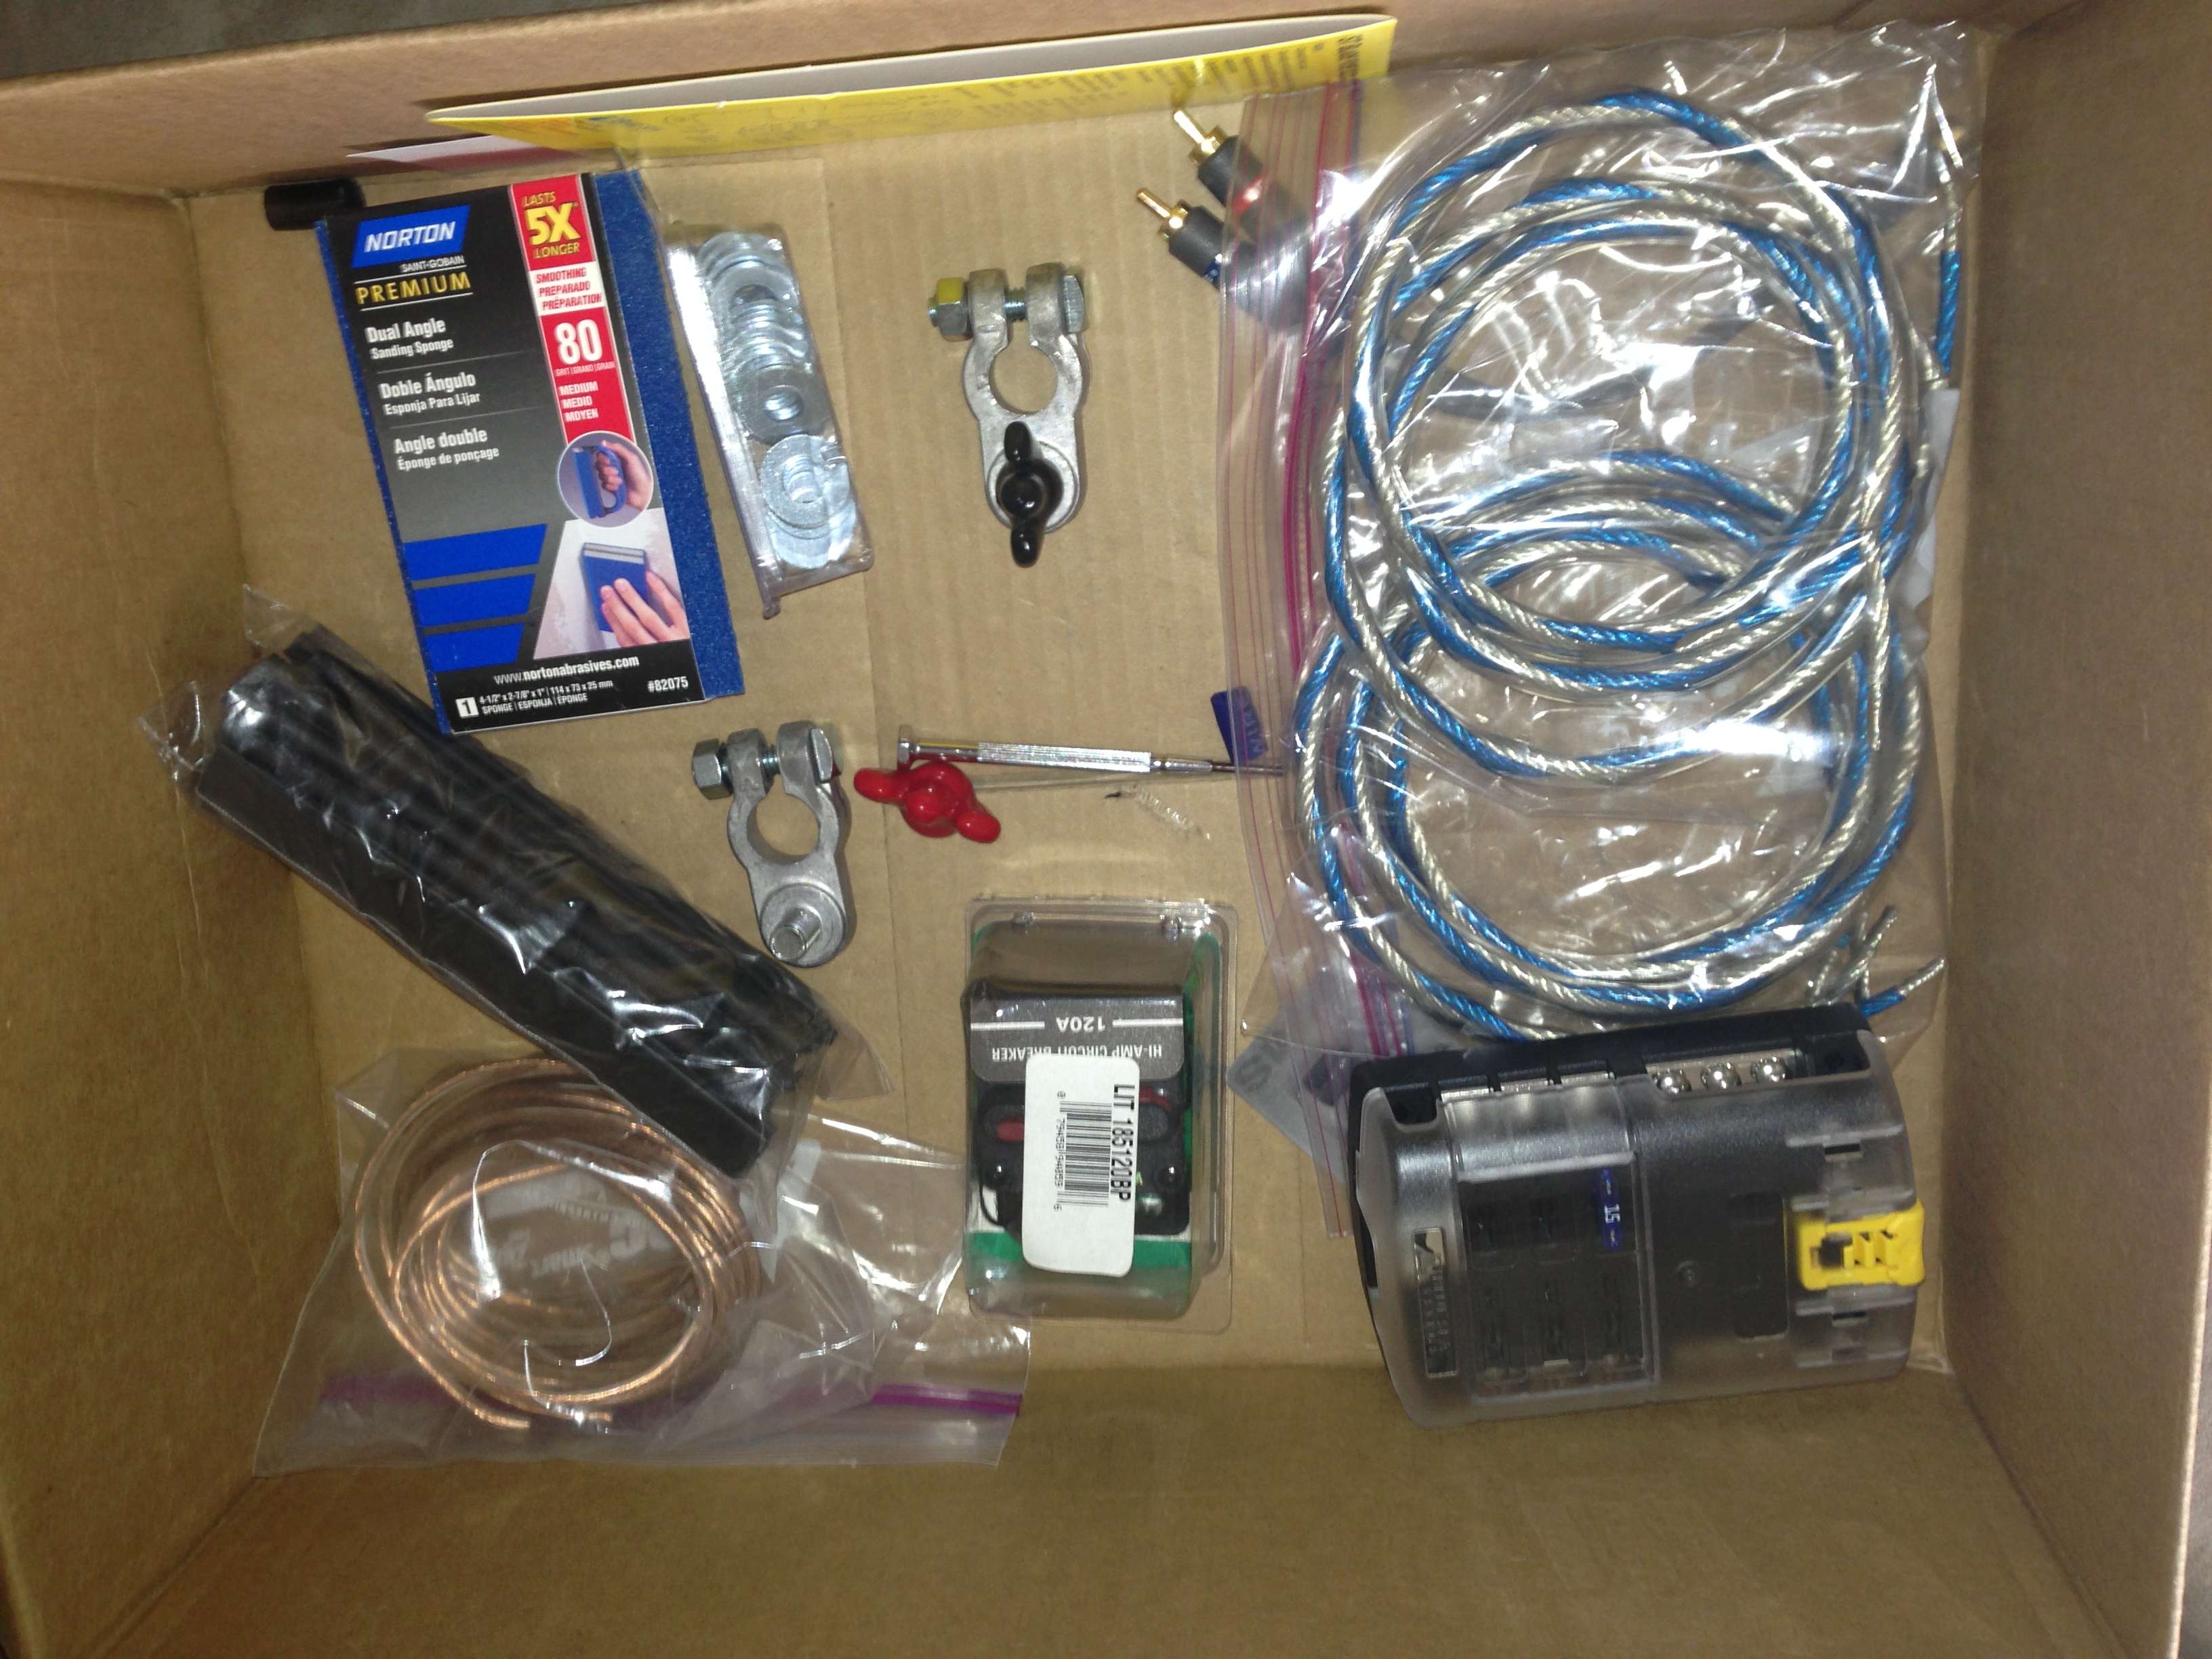
My workbench is my living room(side affect of living near downtown)
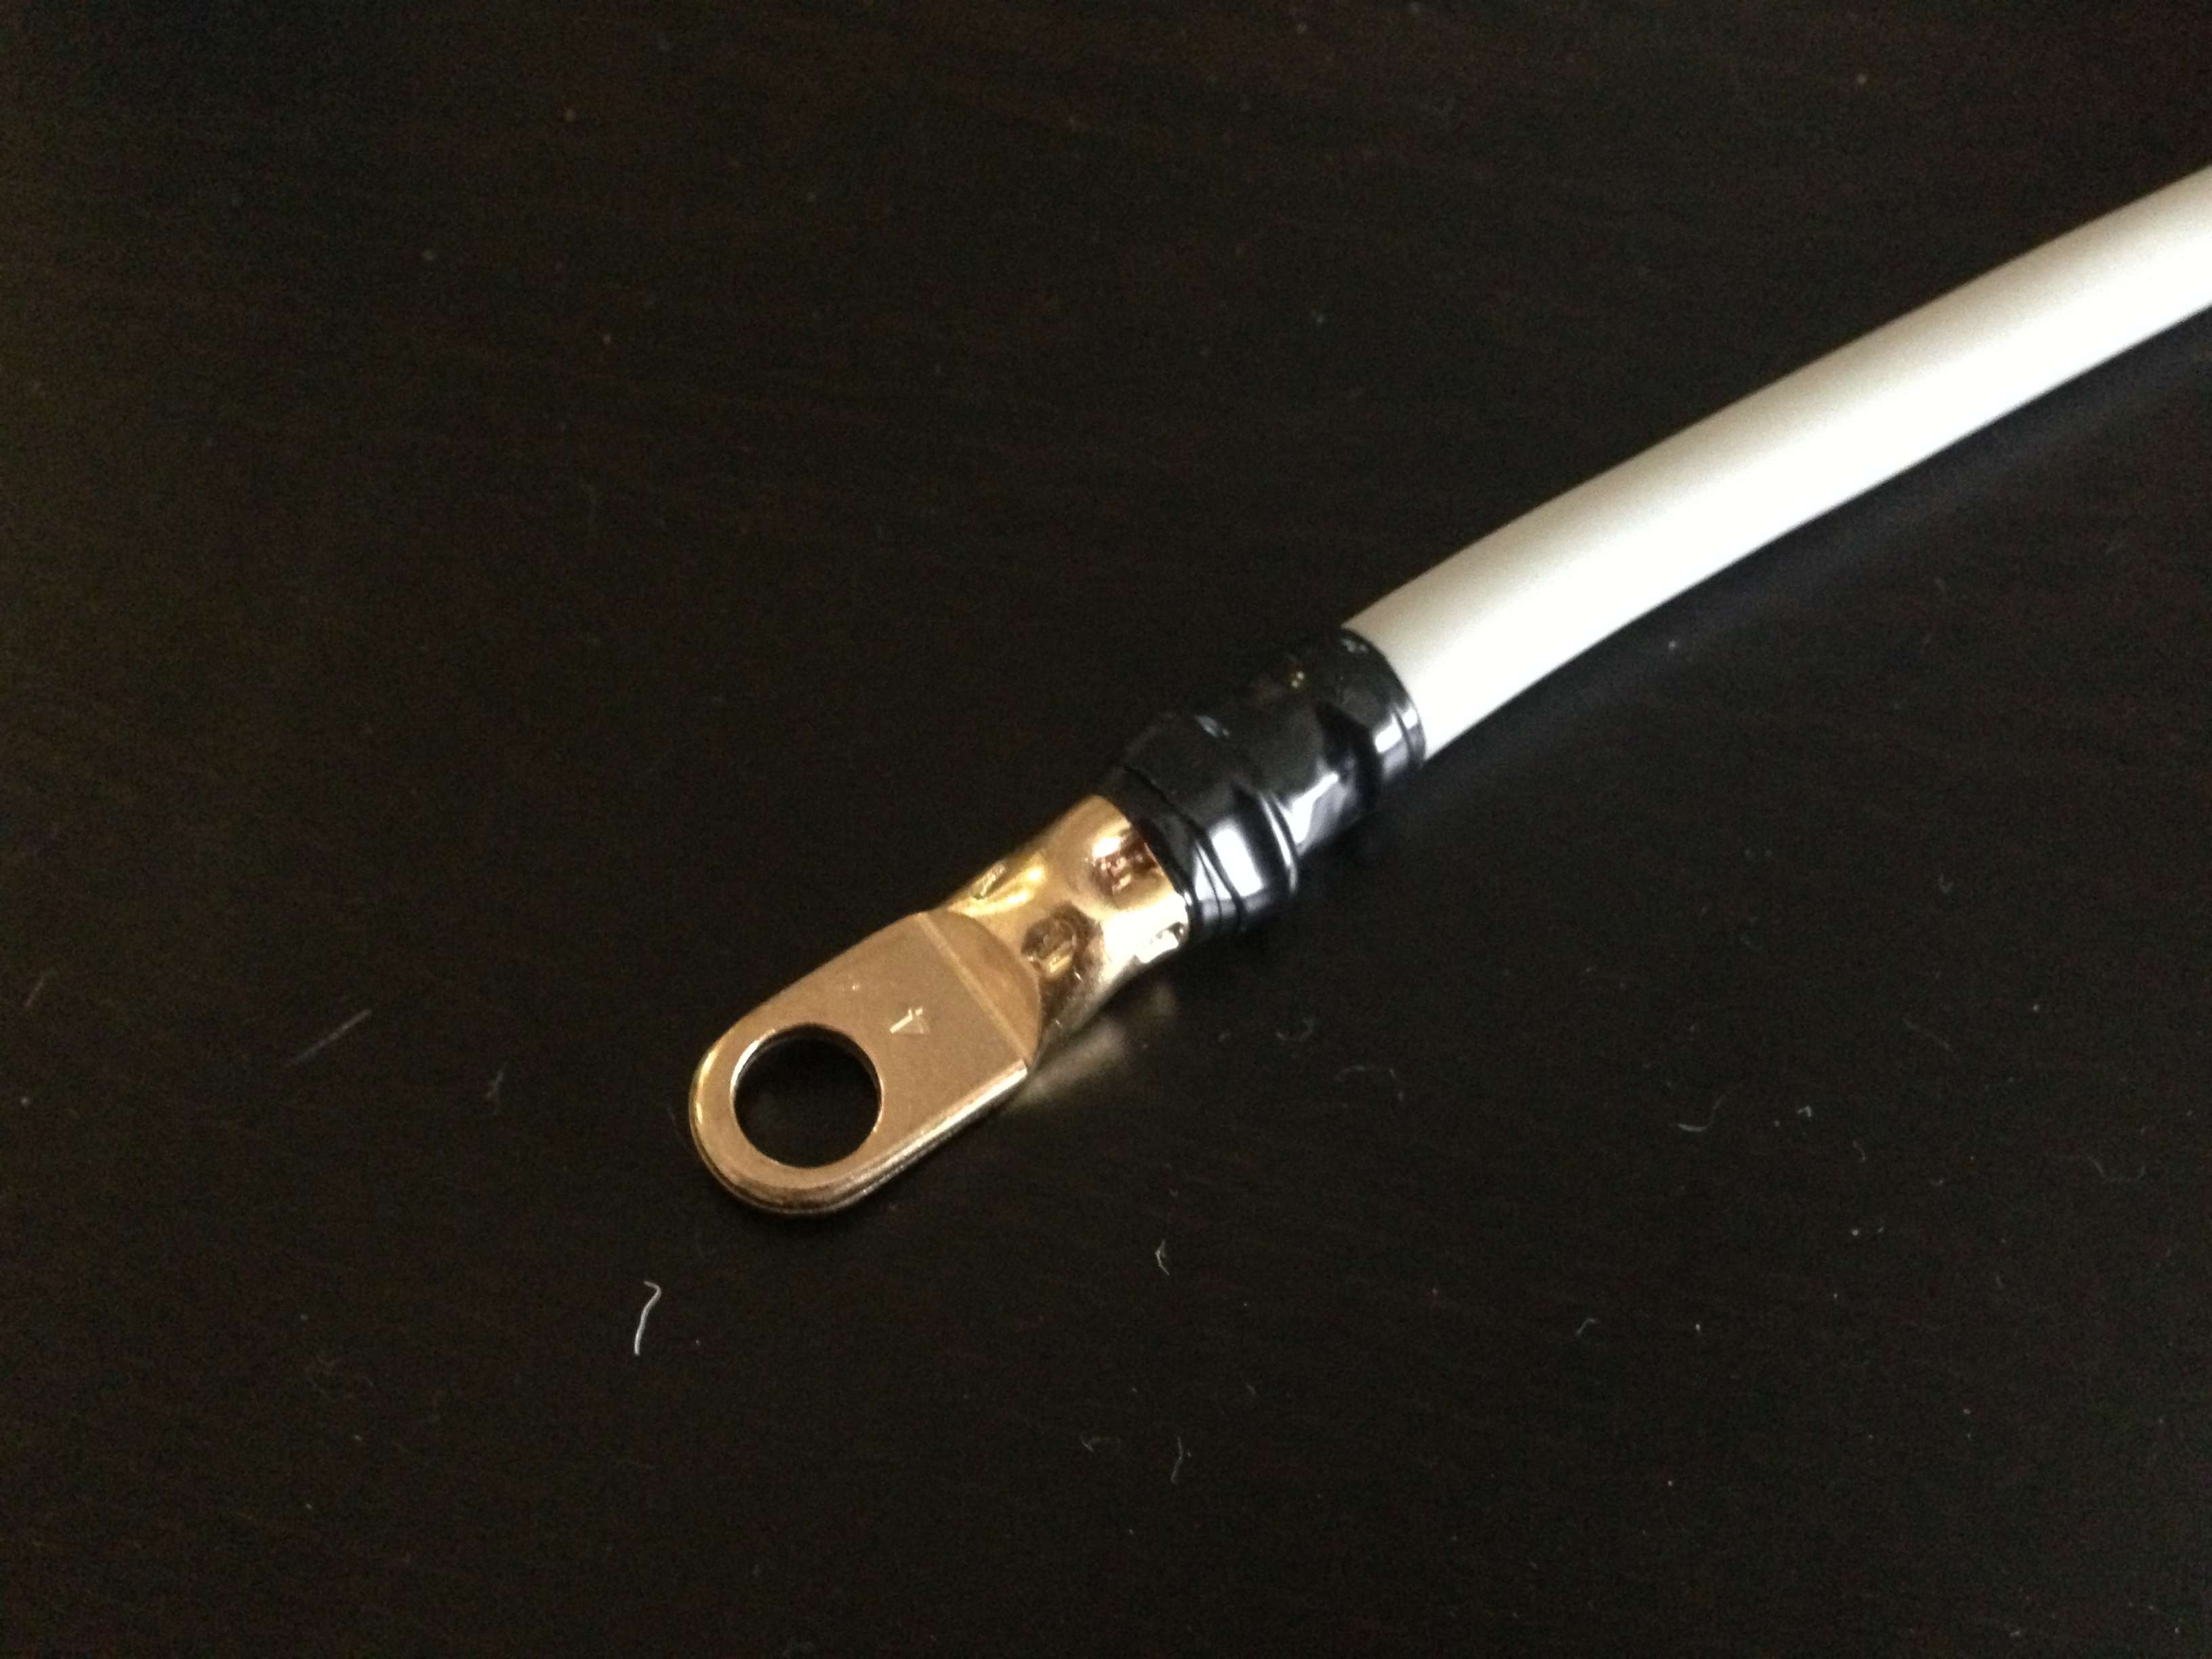
Prepping the first cable. Not shown: crimping the connector and holding tip over the gas stove for 45 to melt the lead.
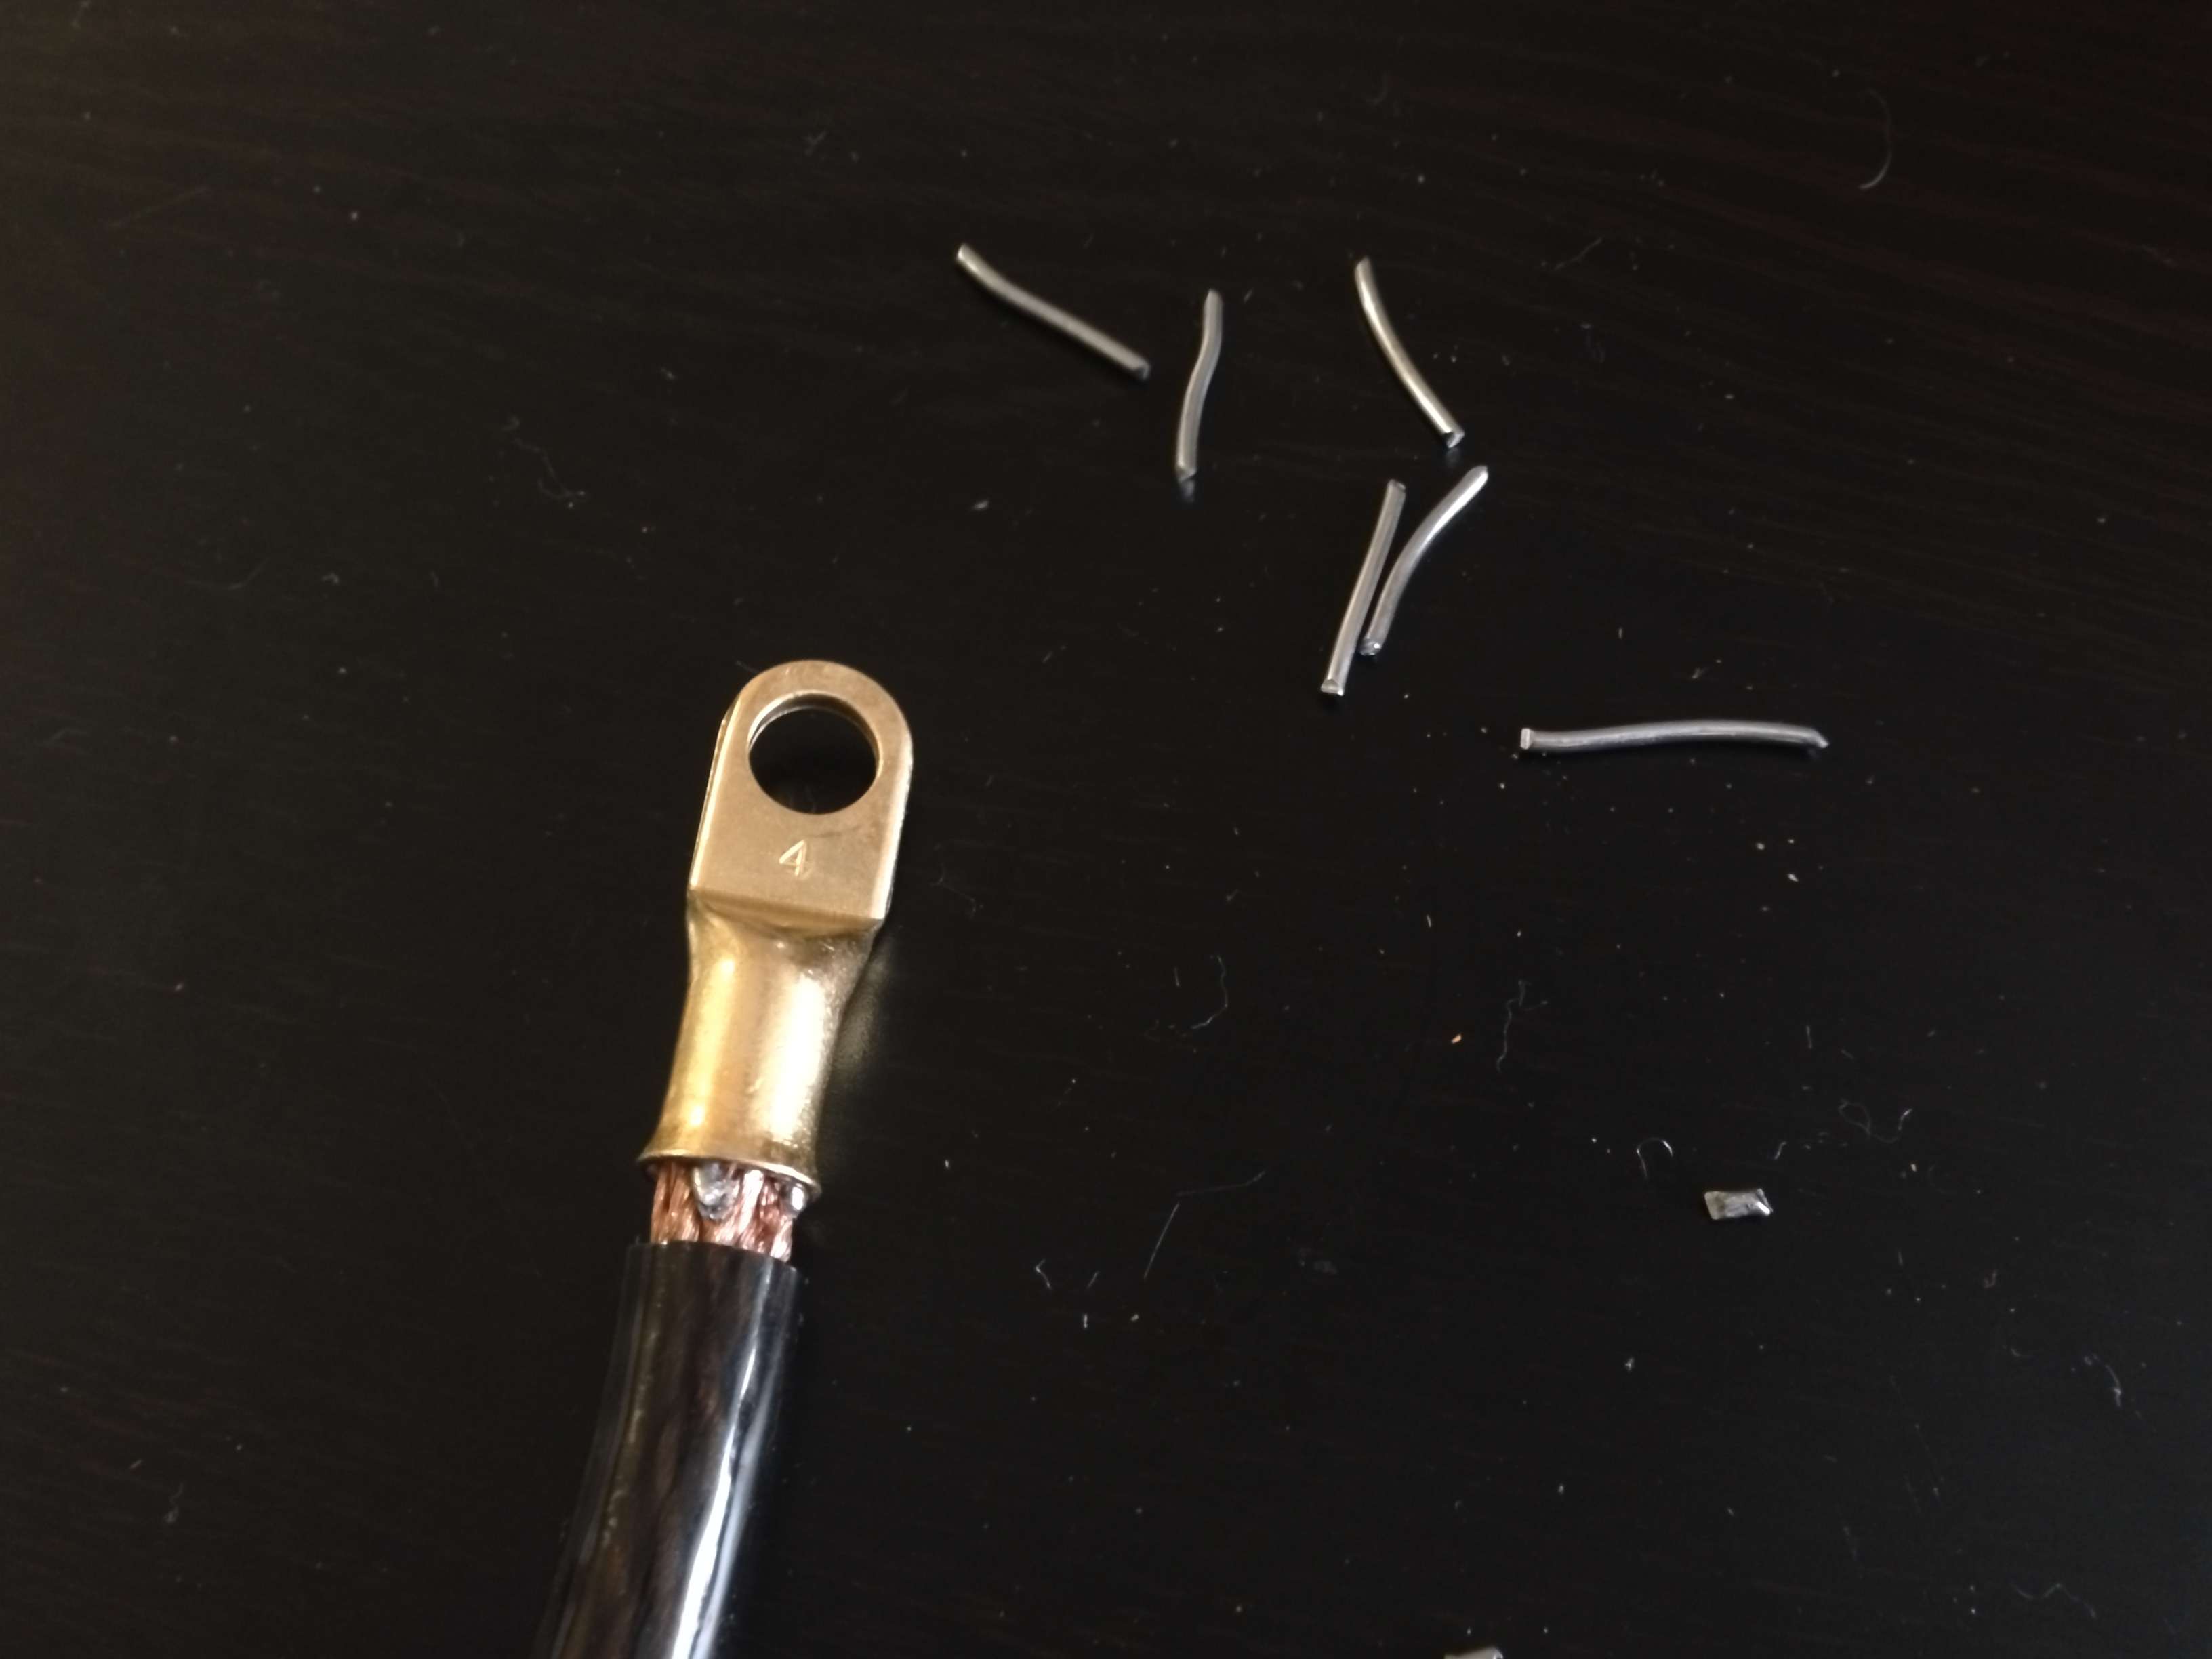
First 4-gauge wire completed:
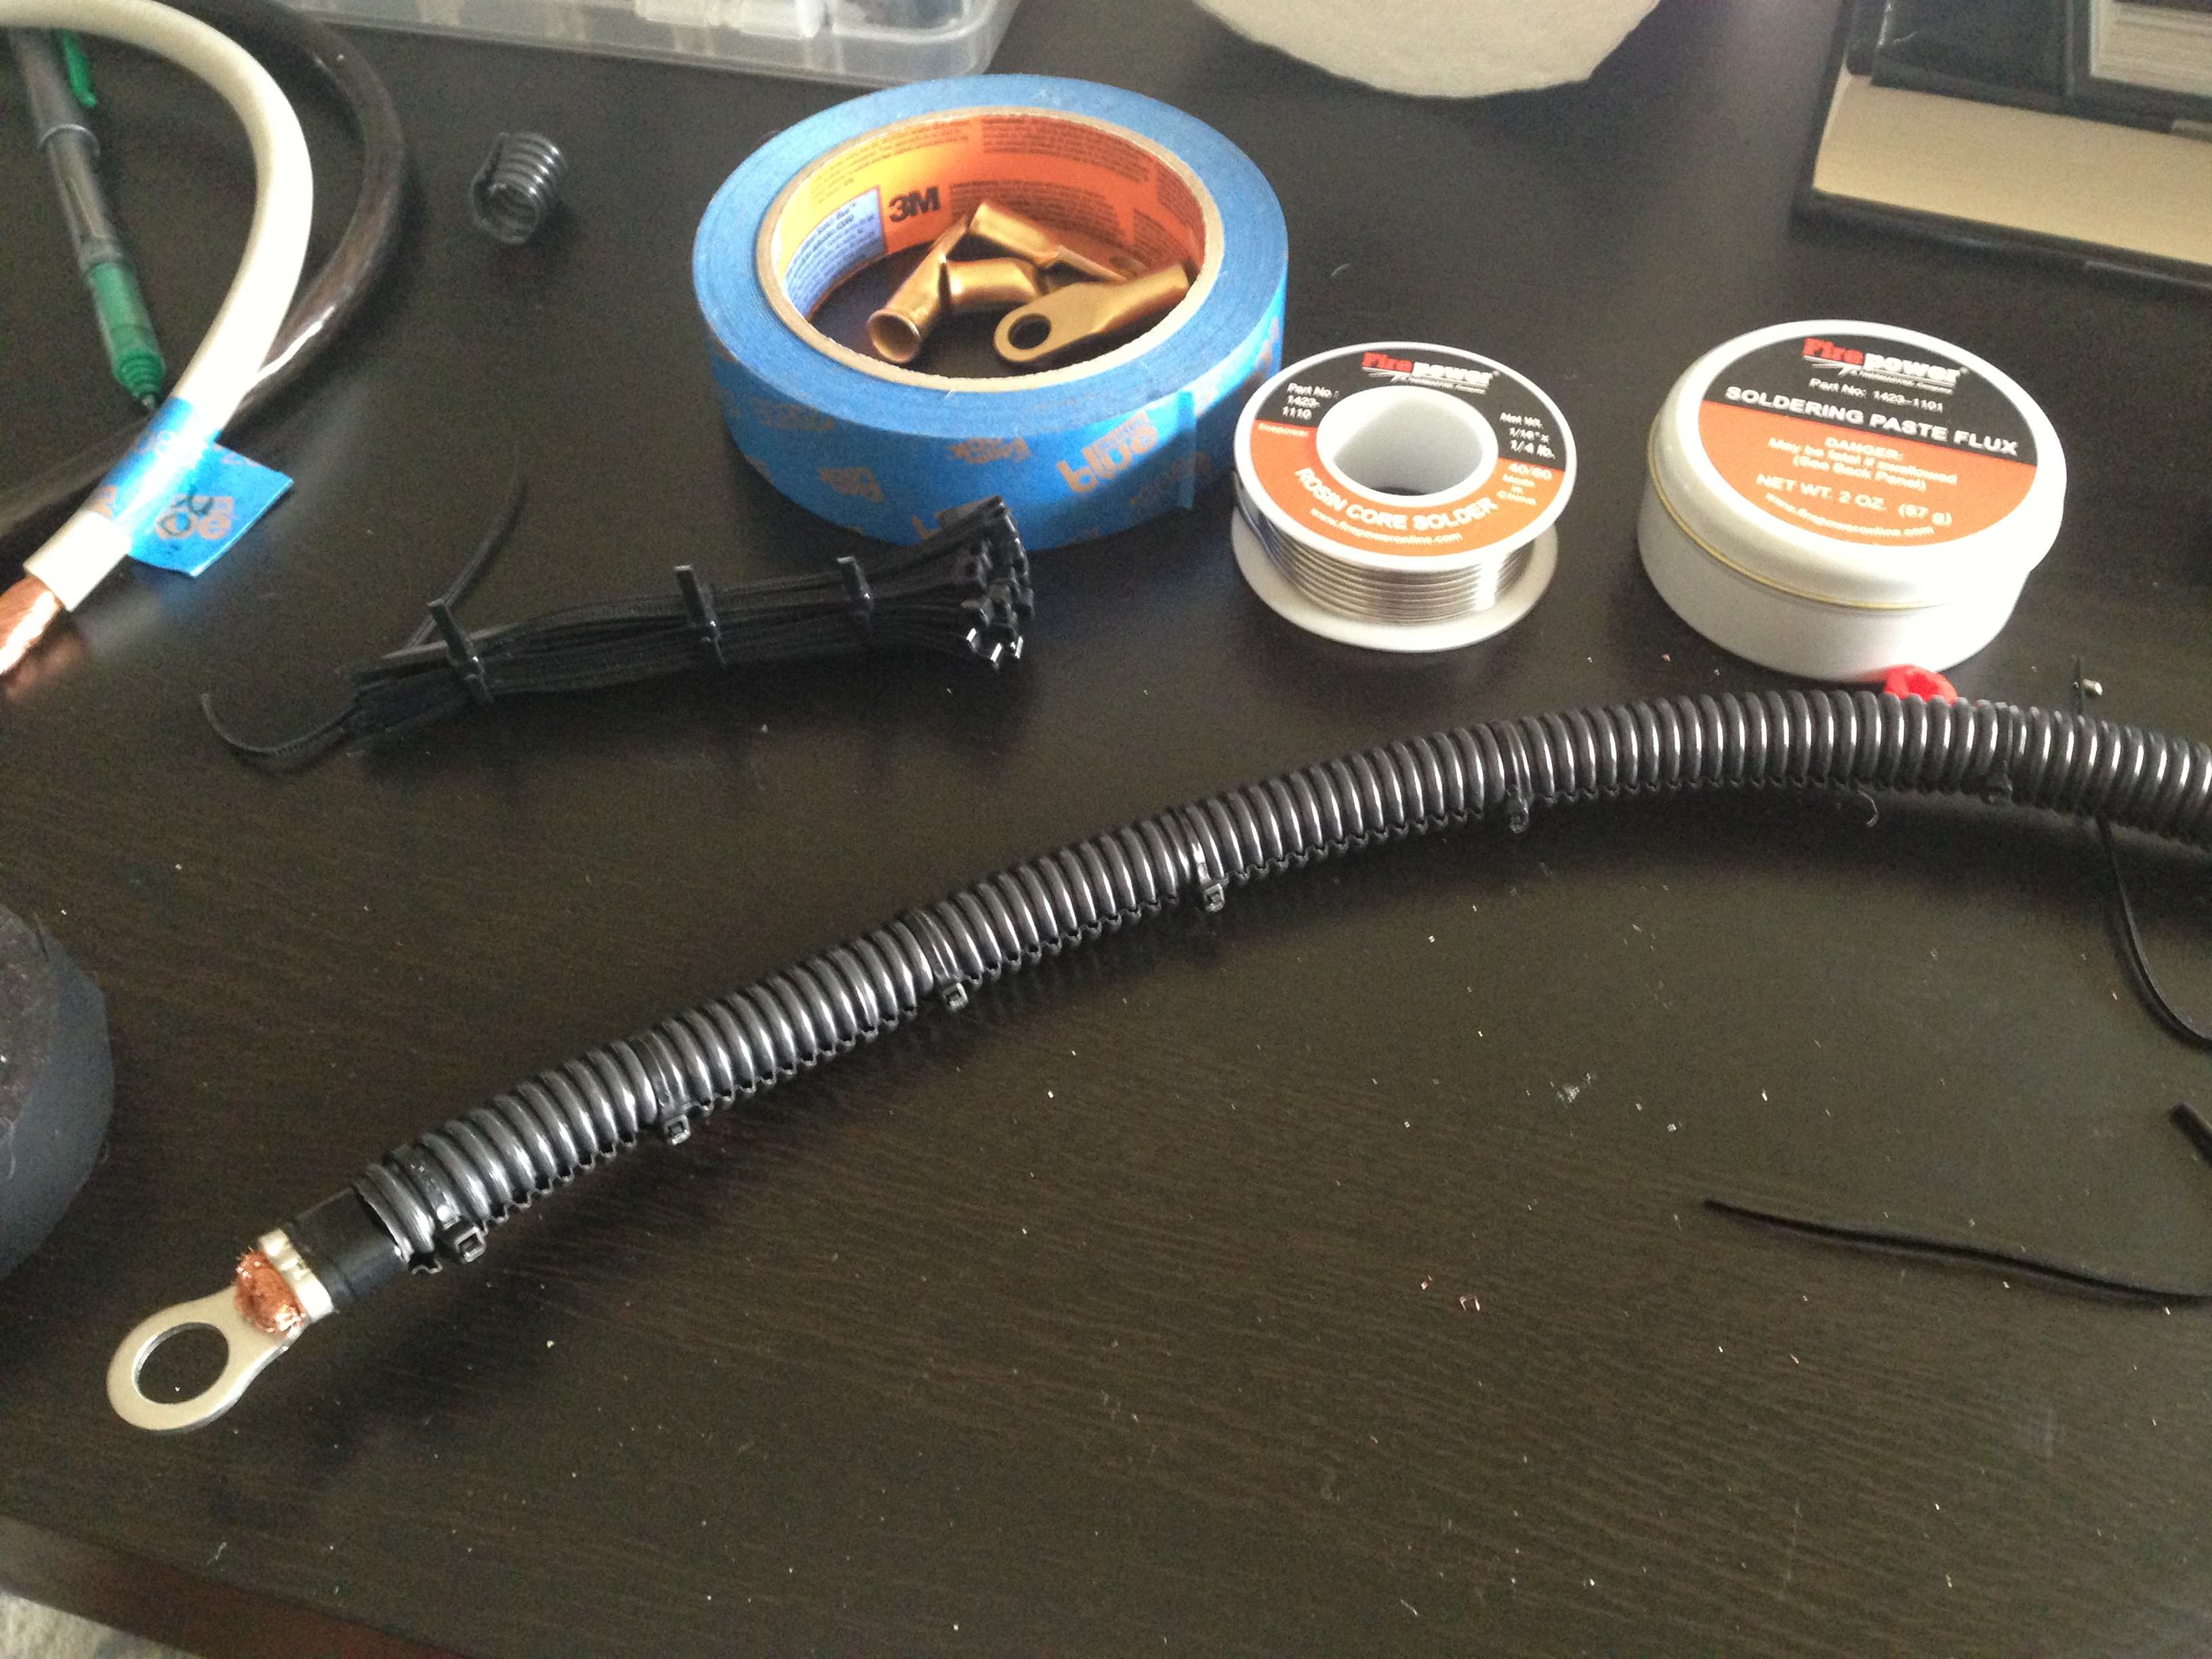
// So ends part 1. I will install the final 2 cables tomorrow and post pics. //

Finished up the Big Three Upgrade today.
All I had left was connecting the 4g wires however I needed to change out a few of my end terminals. I had originally bought 5/16 and needed 3/8. A quick trip to West Marine and I had everything I needed.
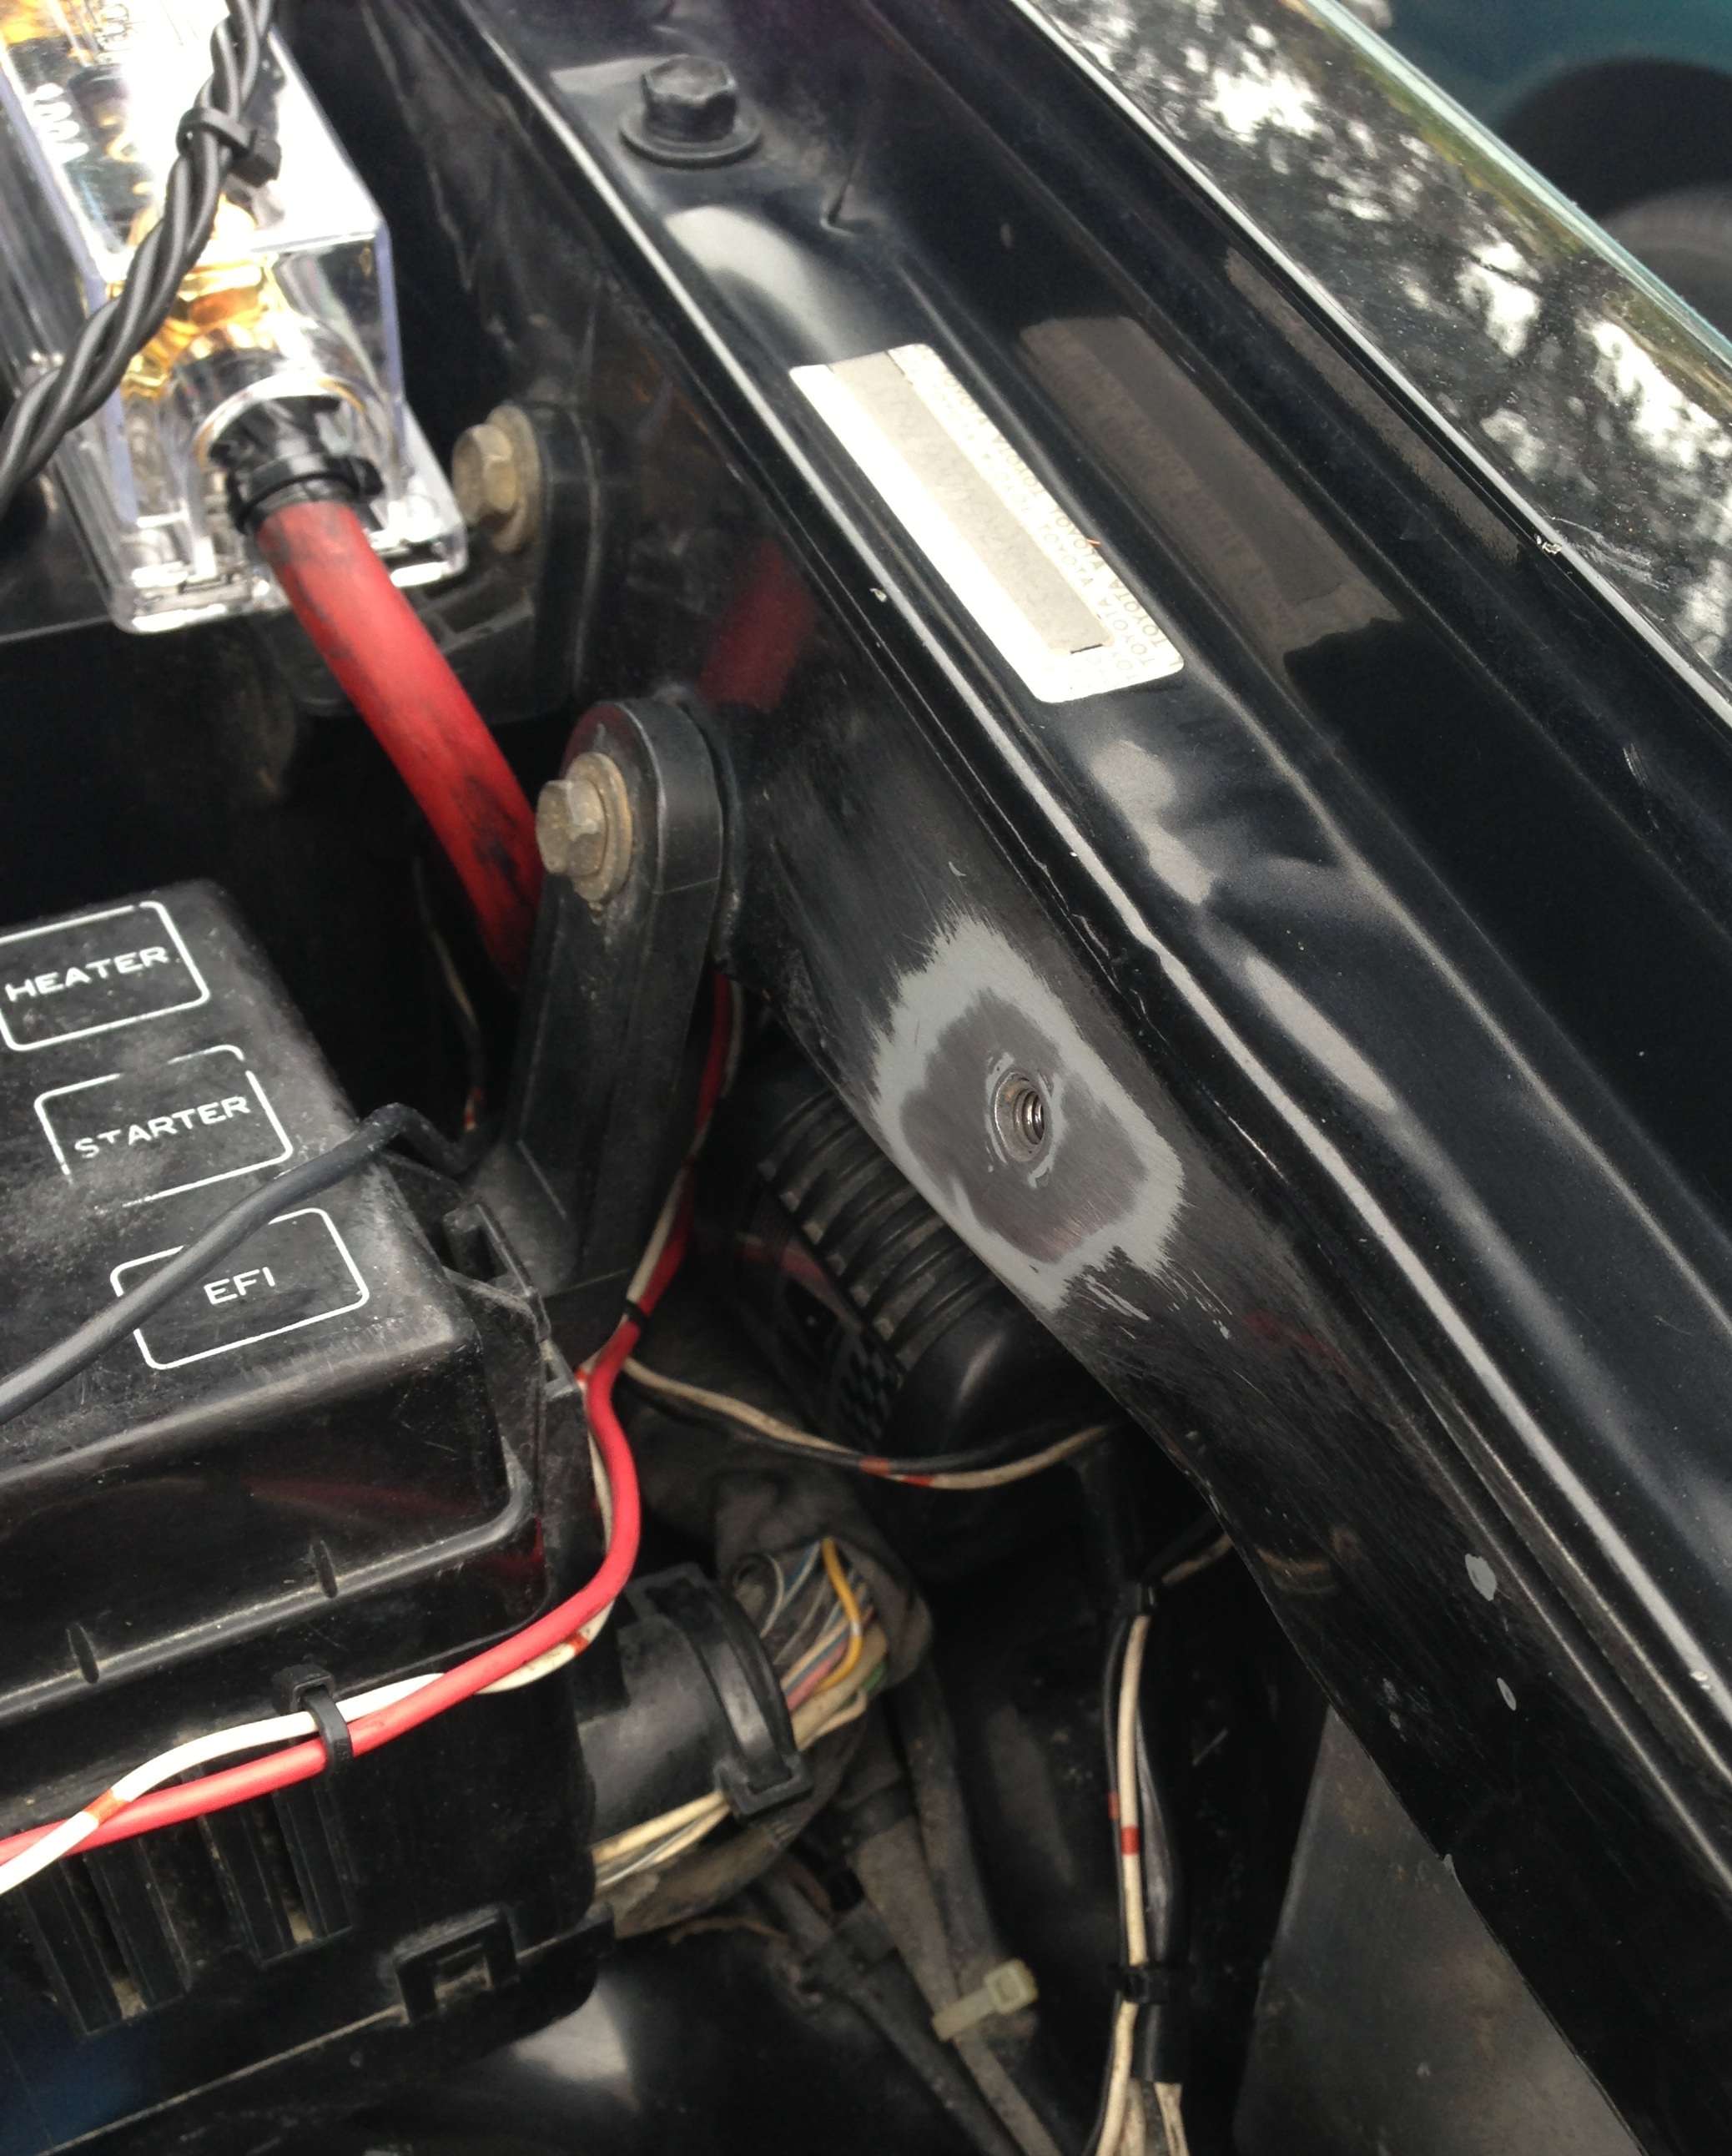
Picture: New connections on the alternator
Picture 2: overview of the engine bay featuring my new fuse block, new audio fuse, and new wires.
![]()
I just put Highland (brand, not reference to Highlander package/model) mudflaps on my 02 Sport w/o running boards. Pretty happy with them. I found them for under $30 shipped on eBay - I think they are discontinued.
Deets here: http://www.toyota-4runner.org/3rd-g...ner-sport-edition-4wd-thread.html#post1357543
![]()


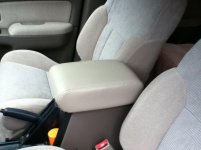
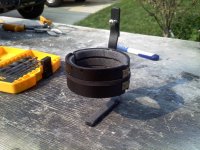
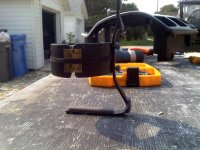
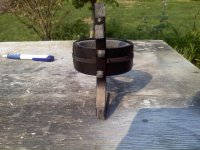
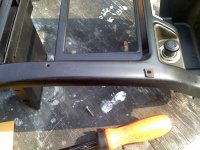
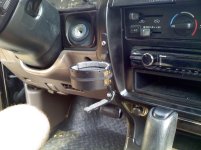
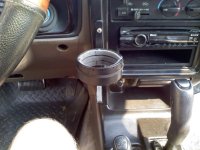
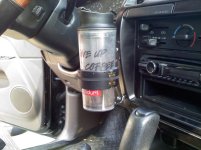
For me, my home made cup holder is easily my favorite mod for under 50.
Picture?
This mod is already on my list. I'm installing it this weekend.
>>> continued from previous post >>>
Here's what it lookes like with eveything back into place.
View attachment 71540
View attachment 71541
View attachment 71542
And with a large cup in place.
View attachment 71543
View attachment 71544
View attachment 71545
MY CONCLUSIONS:
This little cup holder is sweet! It works perfectly and holds any size cup you throw in it. The mounting is rigid and strong, while the foam allows some cushion. I think it looks pretty cool empty. Its not too big or gaudy. The tension from the cord is perfect. It holds just tight enough, but not so tightly that its a pain pulling the cup out and putting it back into place. No more dealing with the cup sliding all over every time I hit a bump. And the location is perfect. No more blocking the ac/heater and clock. It does'nt interfere with the steering wheel or wiper lever at all, and is at a perfect distance for my short arm to reach. For all of you 96 to 98 guys out there, I think you would really enjoy this little mod. For 3 to 4 hours of work, and $15, it's well worth it!
it should cost less than $50 to install a switch for the powered antenna, right?