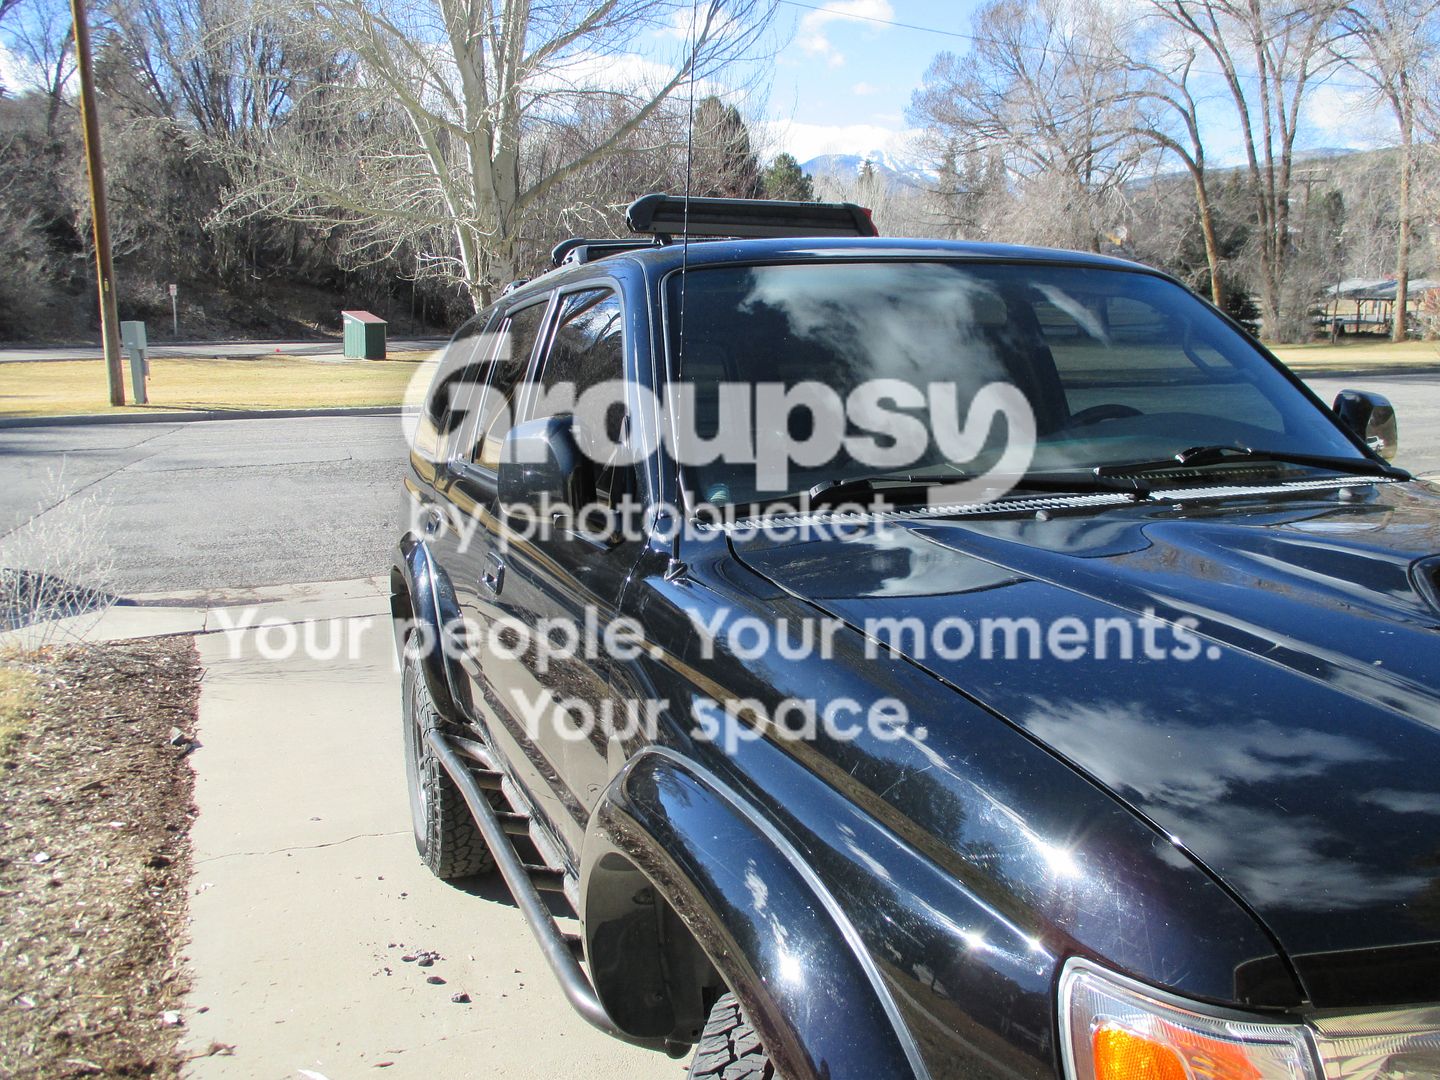
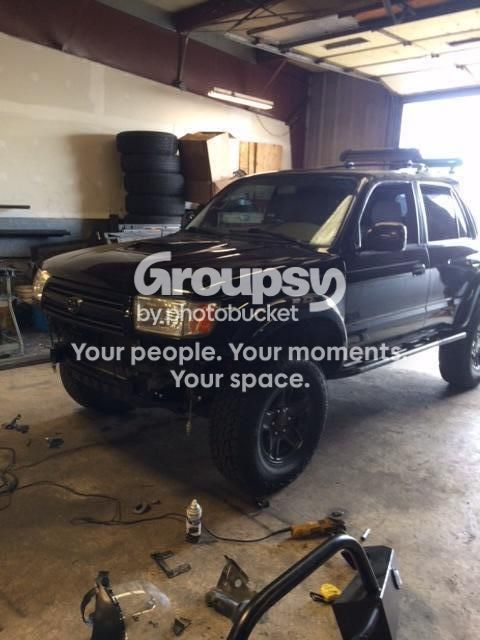
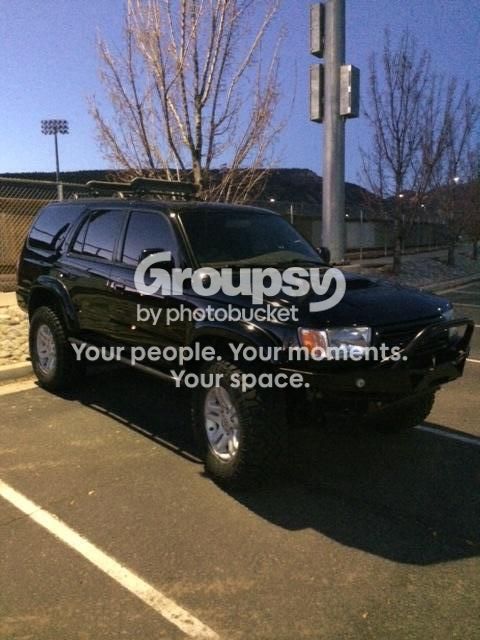
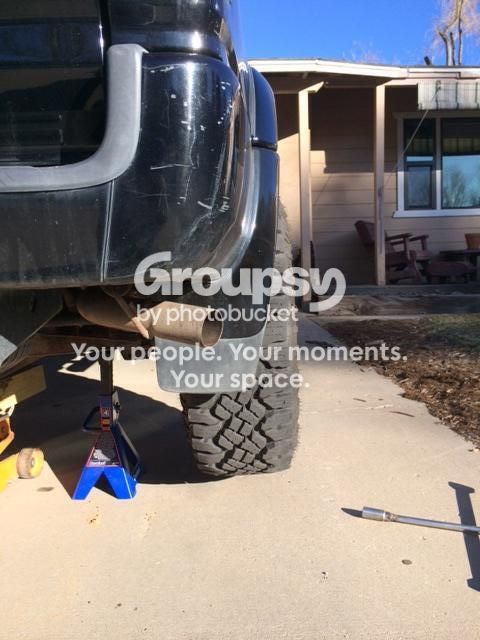
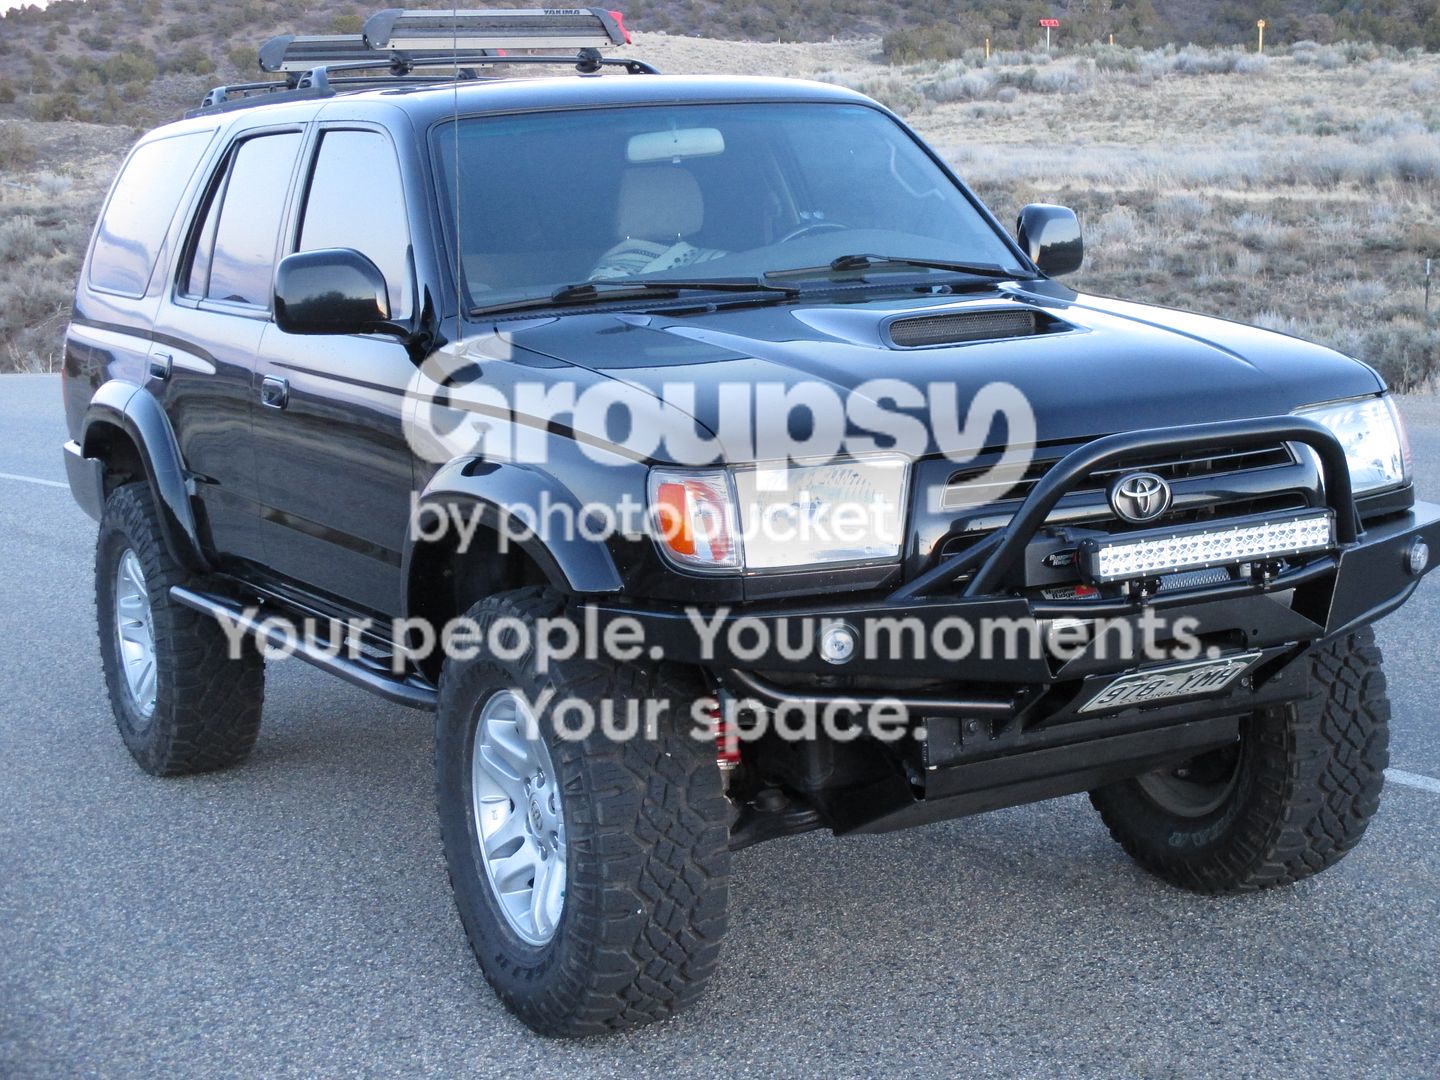
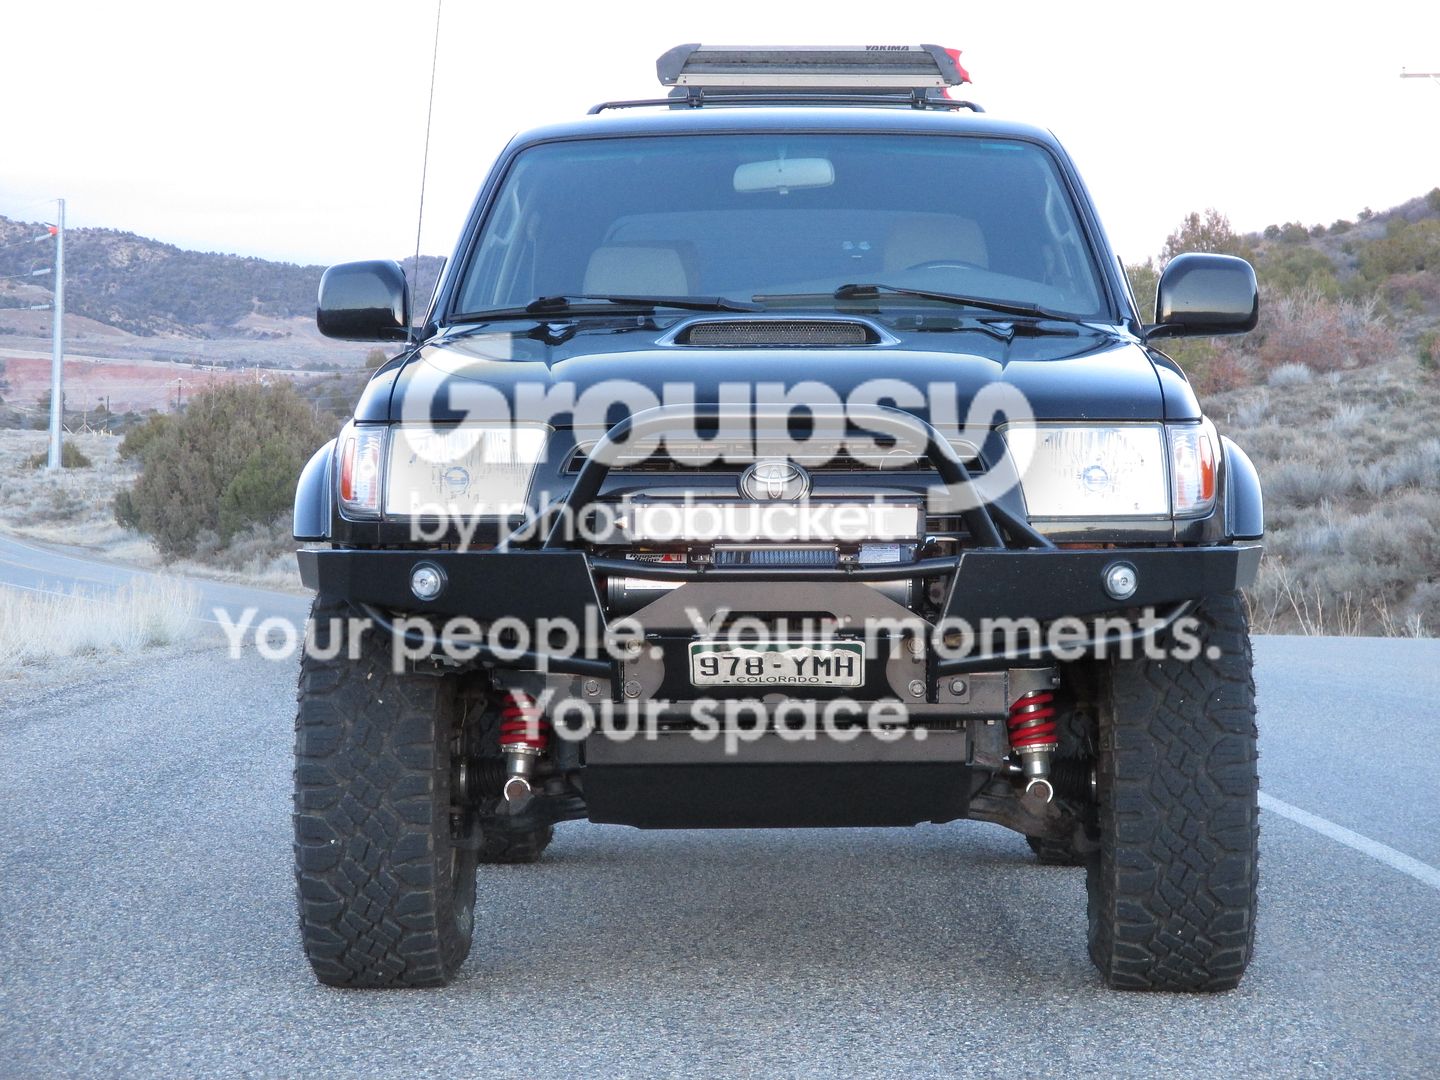
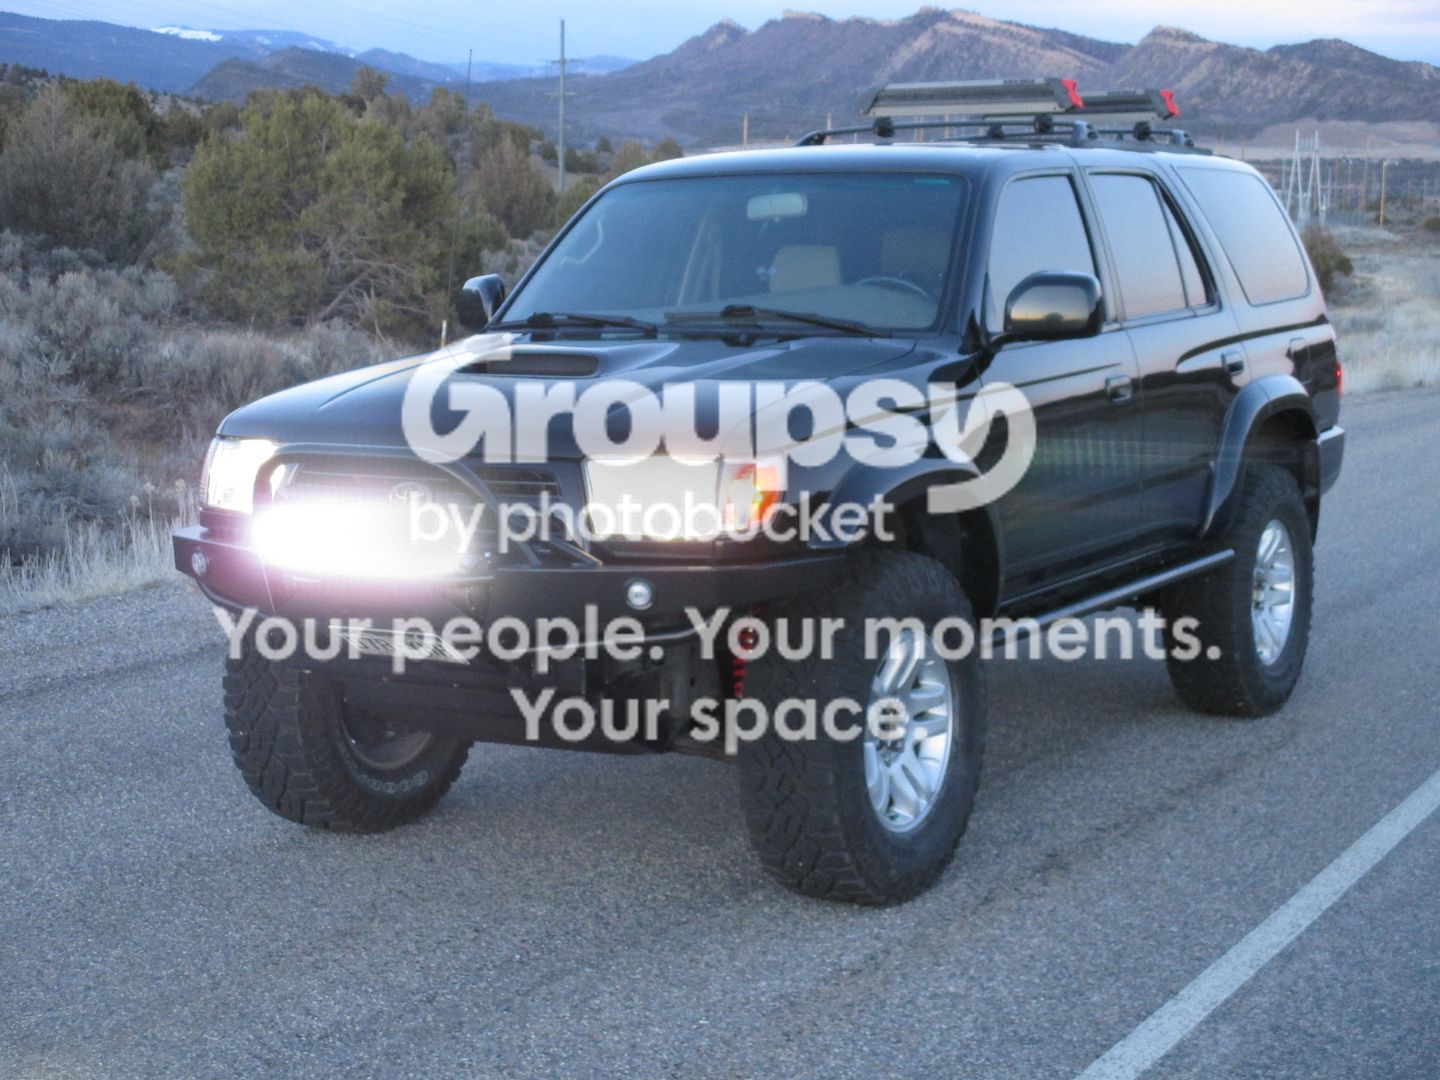
My 00' Highlander build

TBuzz

New member
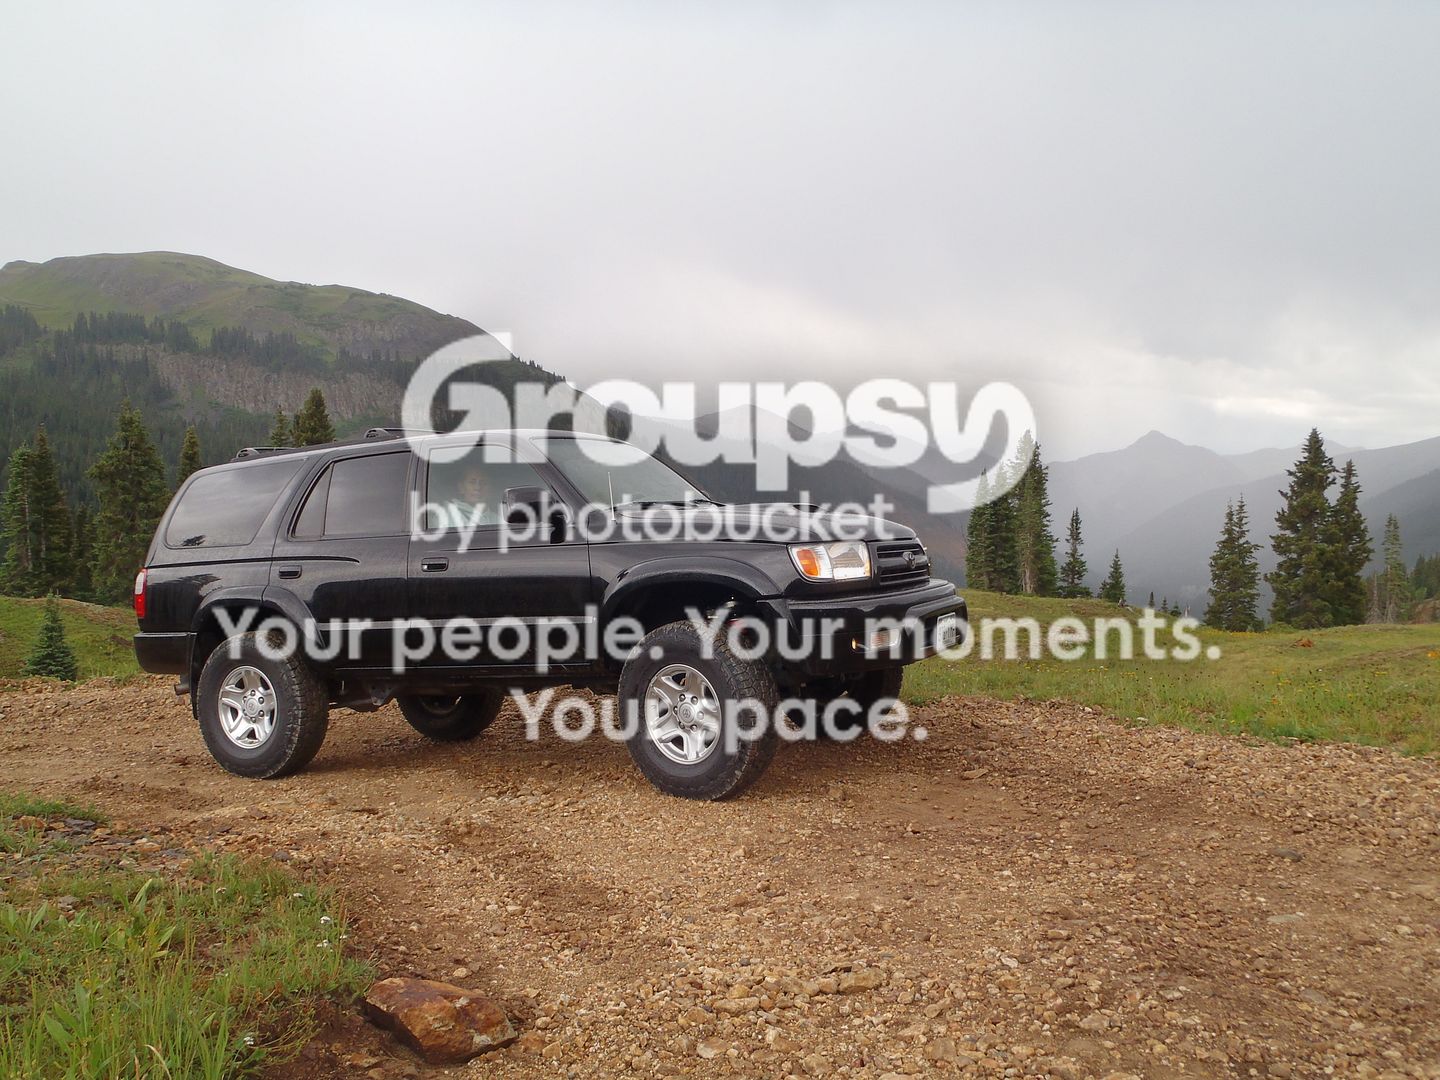
00' Highlander is built/now enjoying it Picture thread

I changed the title-Because I built the truck for a year and a half basically. Had some issues, got them sorted out and have been cruising ever since. I may change a couple things and will continue maintenance as needed. But the endless research, trouble shooting, thinking about some new part I want but don't need and stress have been replaced with many miles of good times.

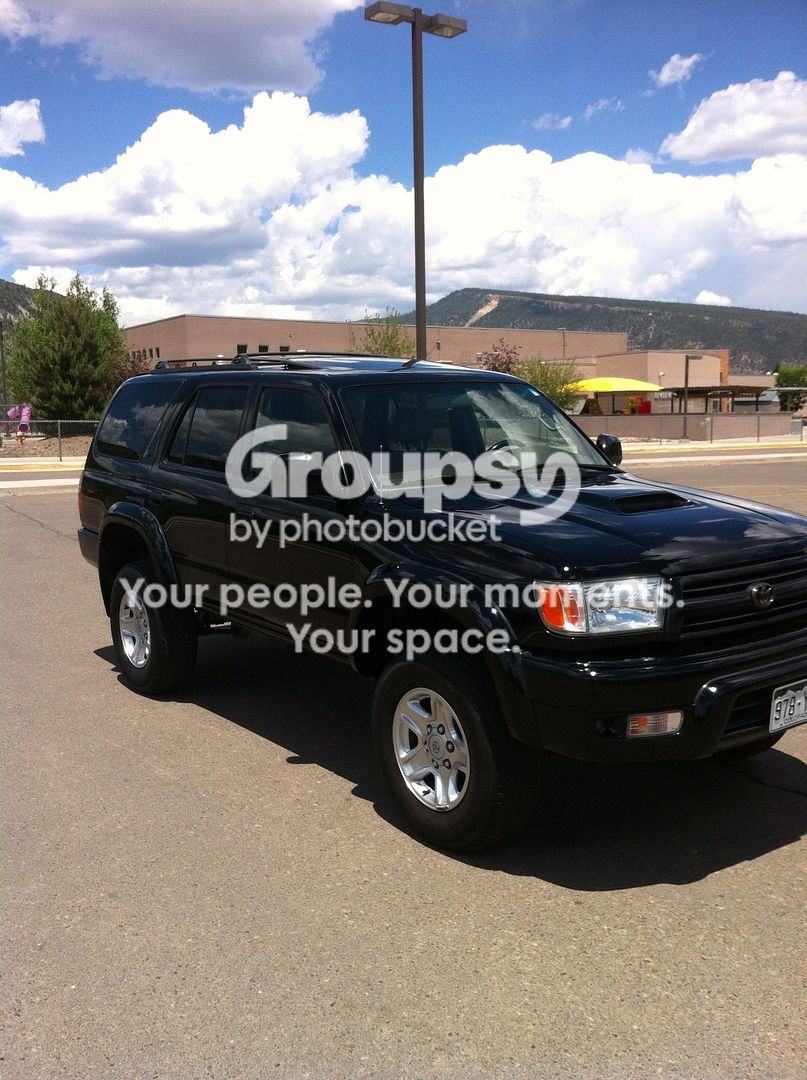
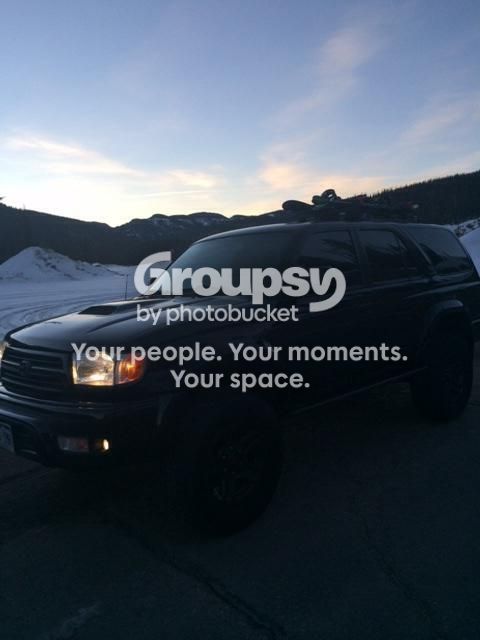
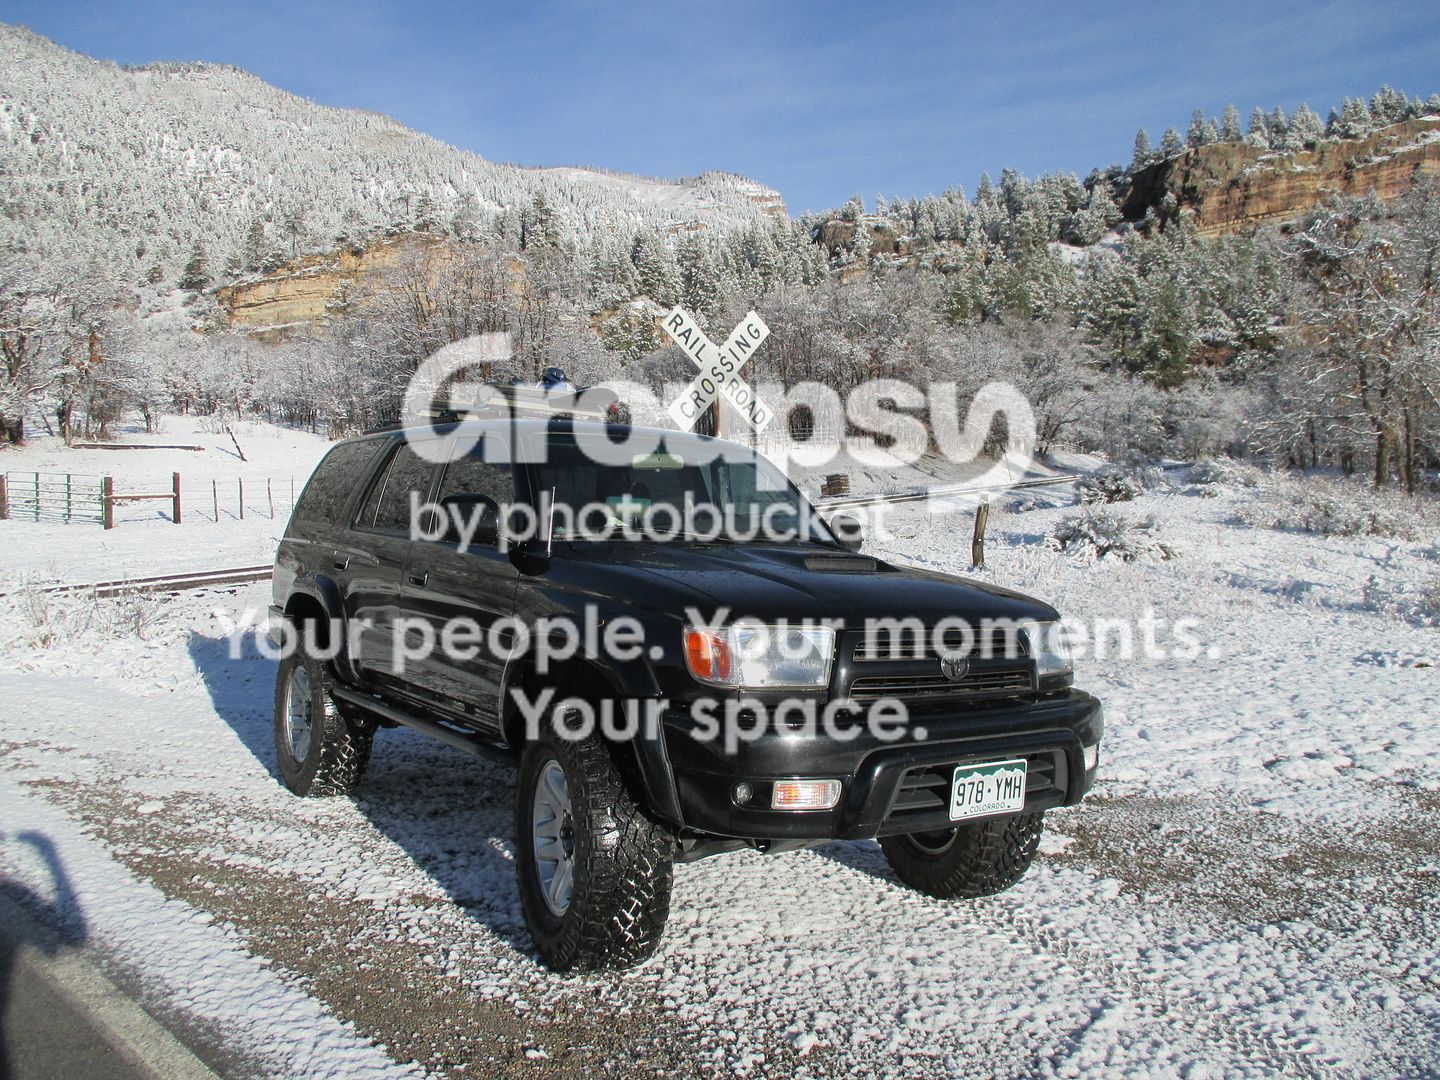
As it sits on12/28/2015
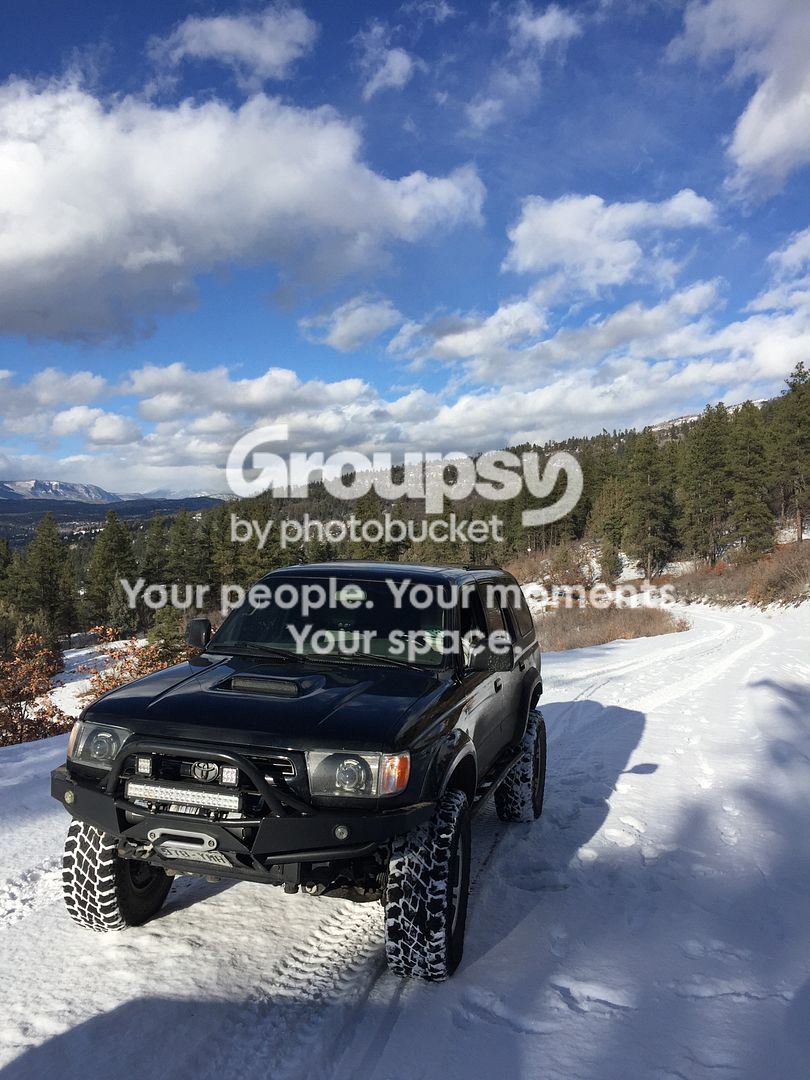
image_143.jpeg~original

Current upgrades and mods

H151,000 miles now
TRD supercharger
URD 7th injector
2.2 pulley
170 degree thermostat
Innovative AFR gauge
Scangauge

ECGS 4.88 front and rear with ARB's

Front-
King 2.5 OEM coils
LR uca's-new bushings
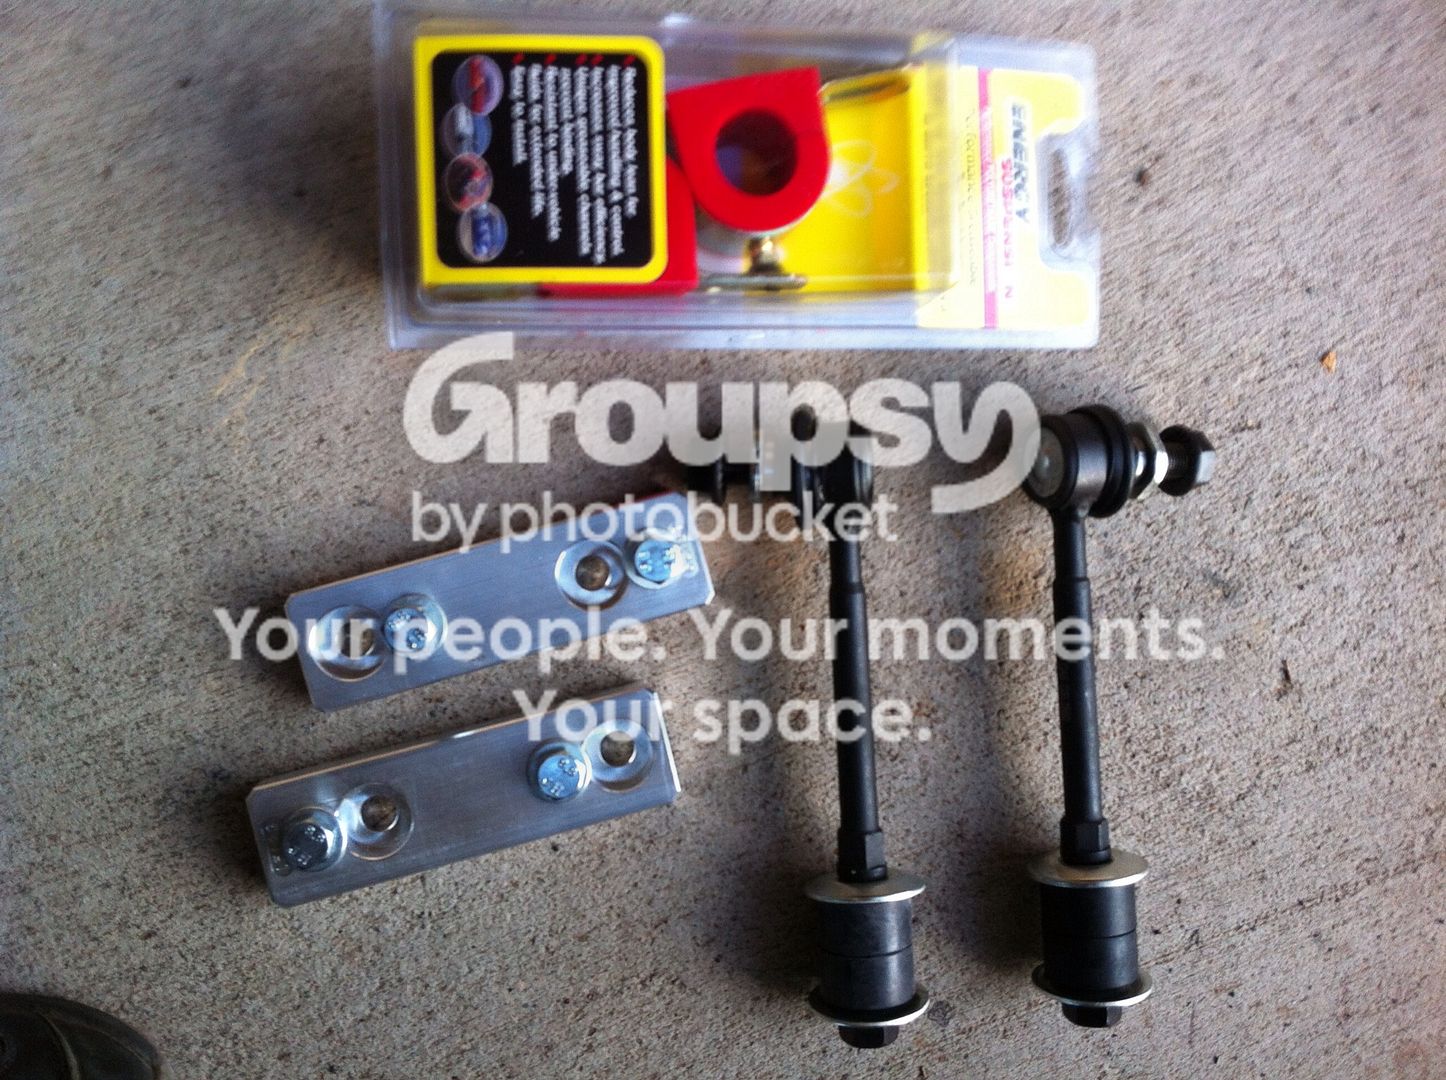
Energy suspension sway bar bushings
Safari Rack w/tre's
ENergy suspension rack bushings
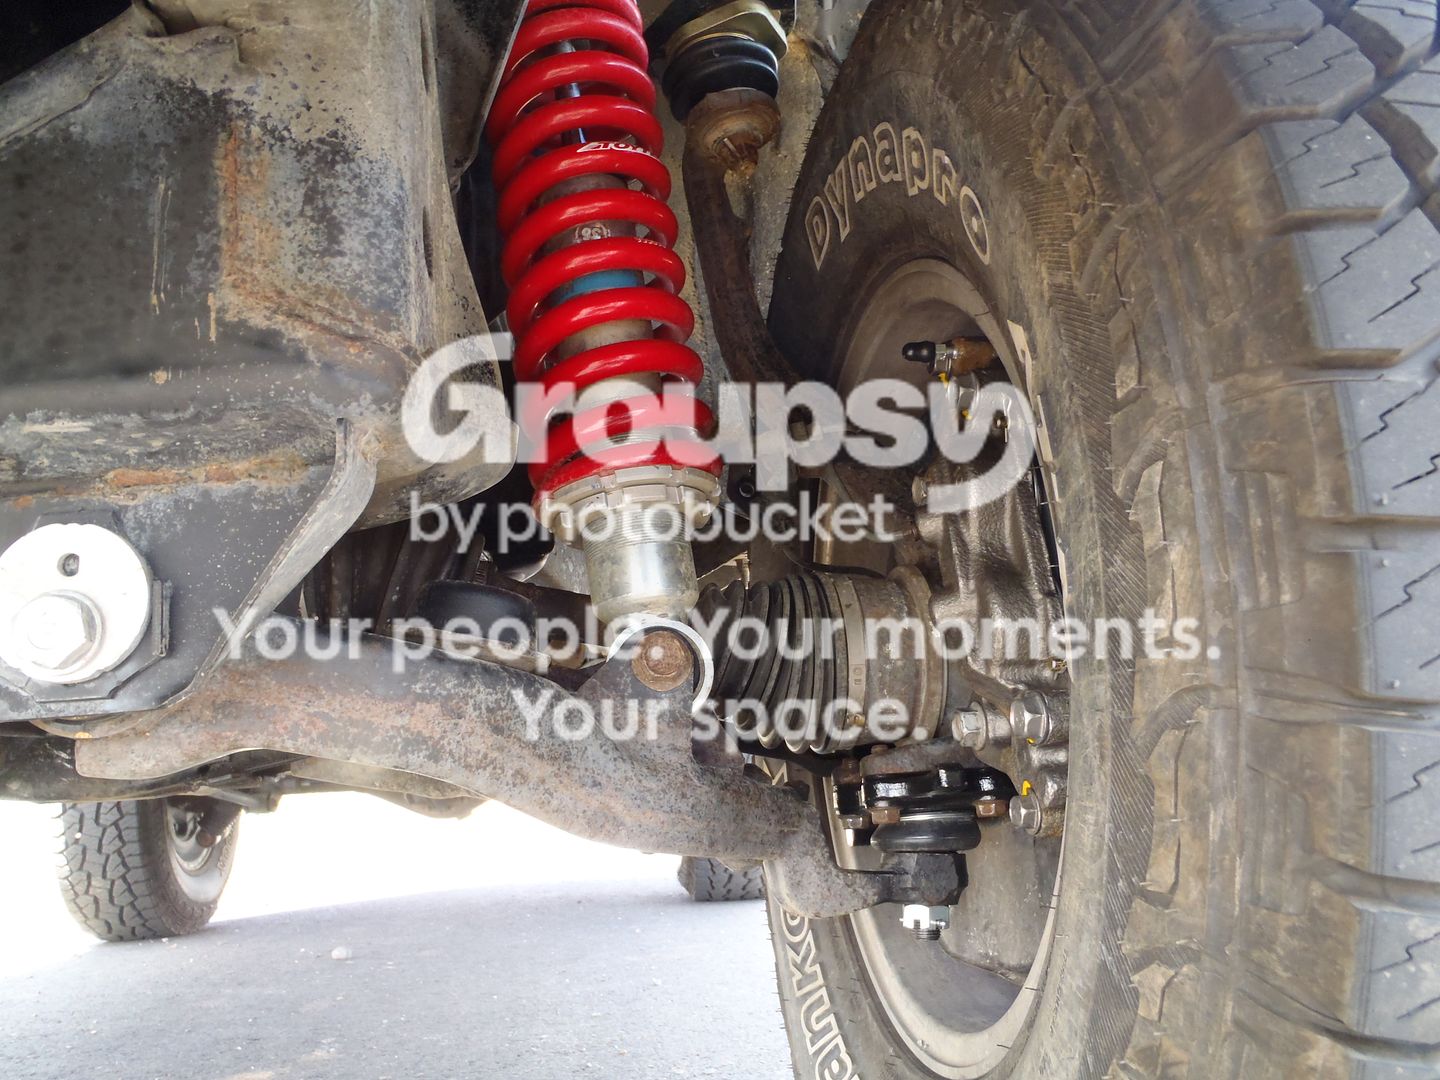
OEM LBJ's at 150.5 k
Sonoran steel limit strap mounts
Poly performance limit straps

Rear-
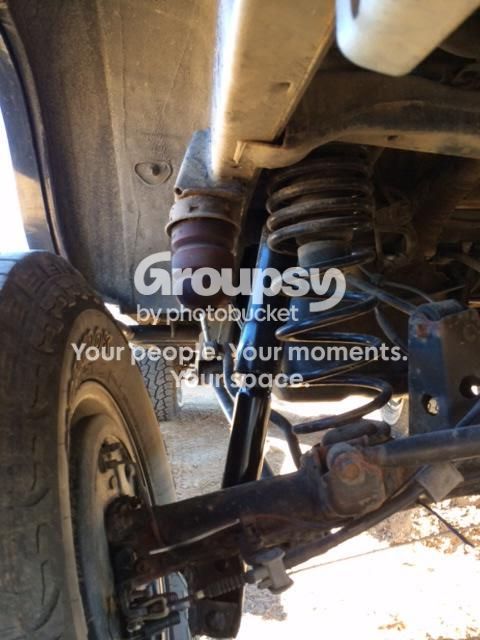
OME 861's
Icon 56505
Energy suspension sway bar bushing
Energy suspension sway bar bracket bushings
Toytec rear adjustable UCA's
OEM bushings replaced in rear LCA's
Sonoran steel adj. Panhard bar
Poly Performance limit straps

Armor
AOR front bumper
Bud Built front skid
Custom belly skid
LilSkip's GT skid
Custom rear bumper and tire carrier
Custom rack

RR 8500lb winch w/synthetic line
Ebay LED bar
285/75r16 Cooper ST Maxx on LX450's
20lb CO2 tank

Welded steering shaft
Dual B&M 70264's


Hola everyone, I started lurking for info in April. After gaining some serious insight from the many members and frequent posters, I felt ready to track down and competently invest in a truck. Initially it was to replace my wife's vehicle if she liked it or I was going to bring the maintenance up to date and flip it. They are pretty valueable in my area. I have a lifted 03' tundra and wasn't really looking for a 3rd vehicle ins. Well I ended up finding a 2000 Highlander in pretty good condition with, pretty good records, etc and 136k miles. Two days later it was home.


Within 3 days it received
Plates
Seafoam
Mobil 1 Synthetic rear diff and ATF fluids
Mobil 1 Synthetic engine oil
OEM spark plug wires
OEM spark plugs
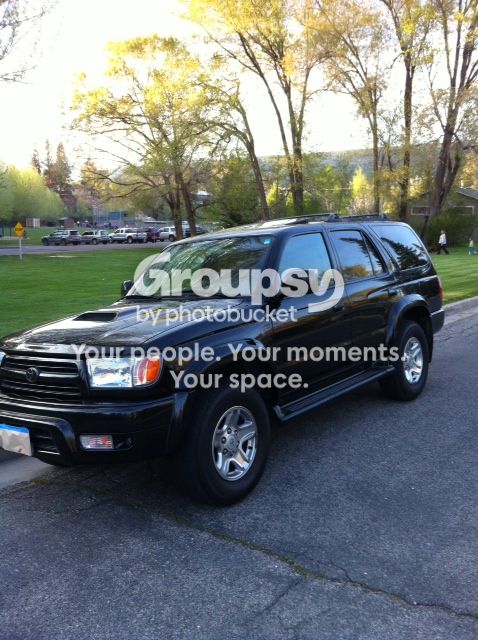
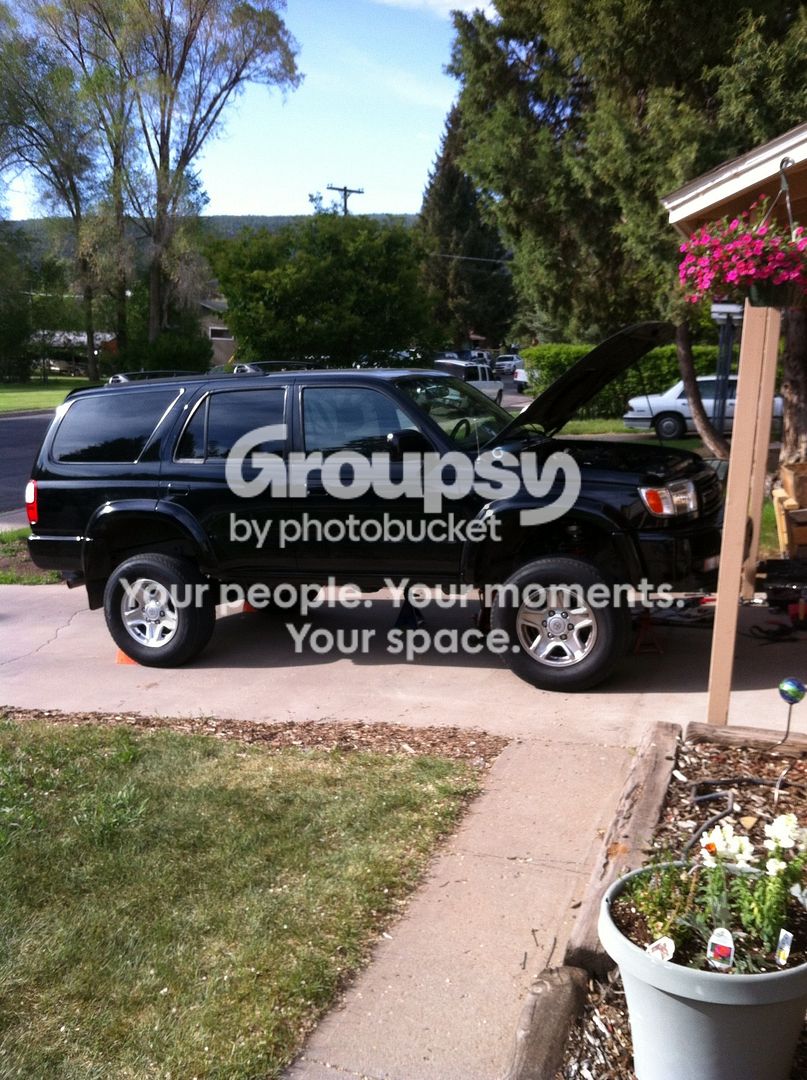
photo.jpg~original


Cleaned the MAF and Throttle body
OEM air filter
OEM rear shoes and rear driver side seal
Took off the running boards, then I started not wanting to sell it but to make it look and work like RIPcords, BFADs, Dirtcos
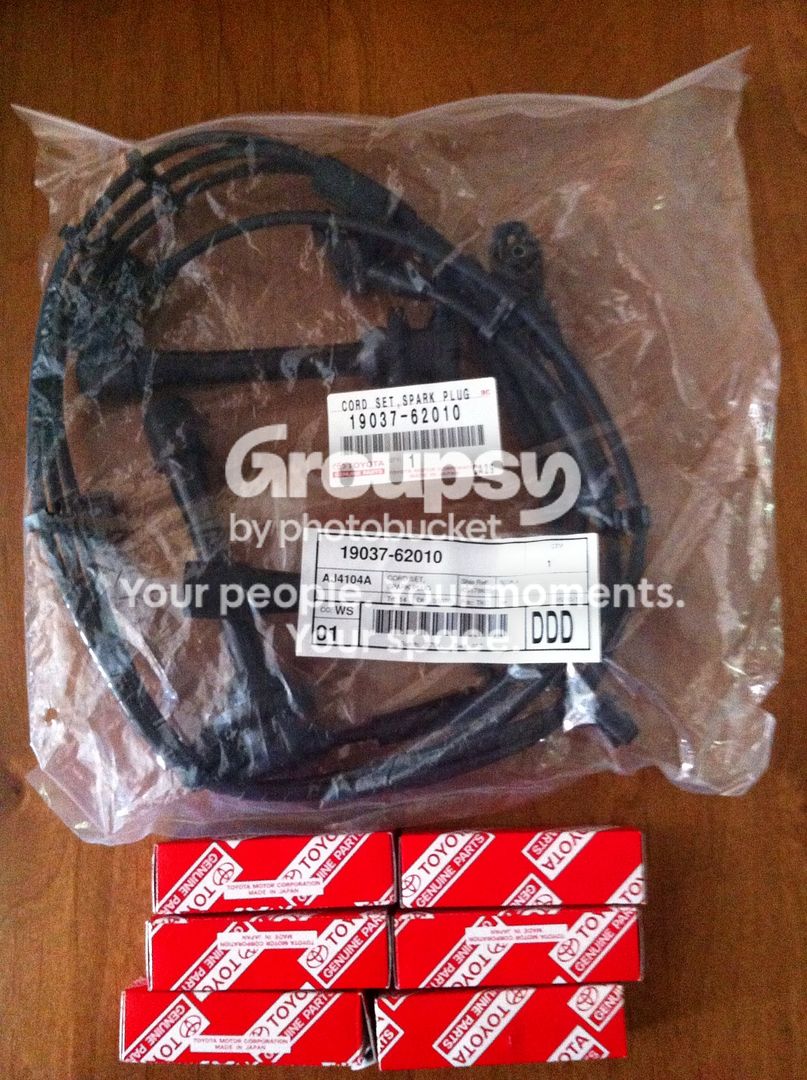
image.jpg~original


2days later I picked up a lightly used Toytec ultimate lift with super lift rears, 5100's, LR uca's, extended end links and diff drop for a great price.
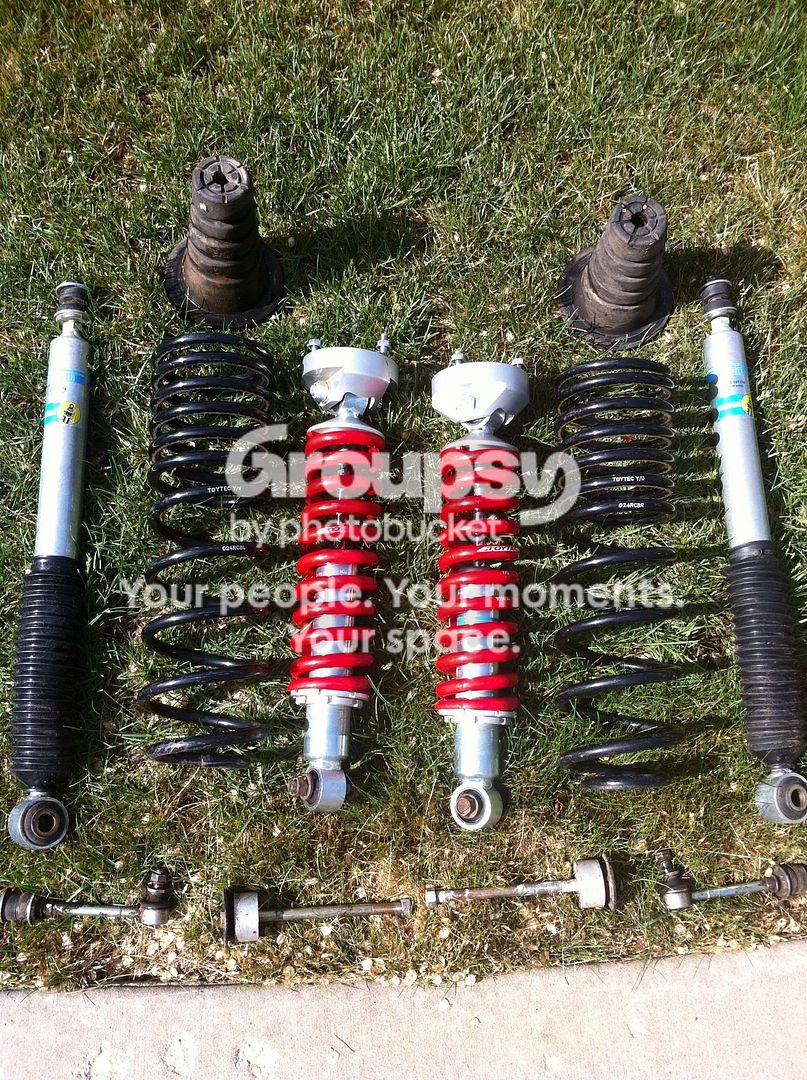
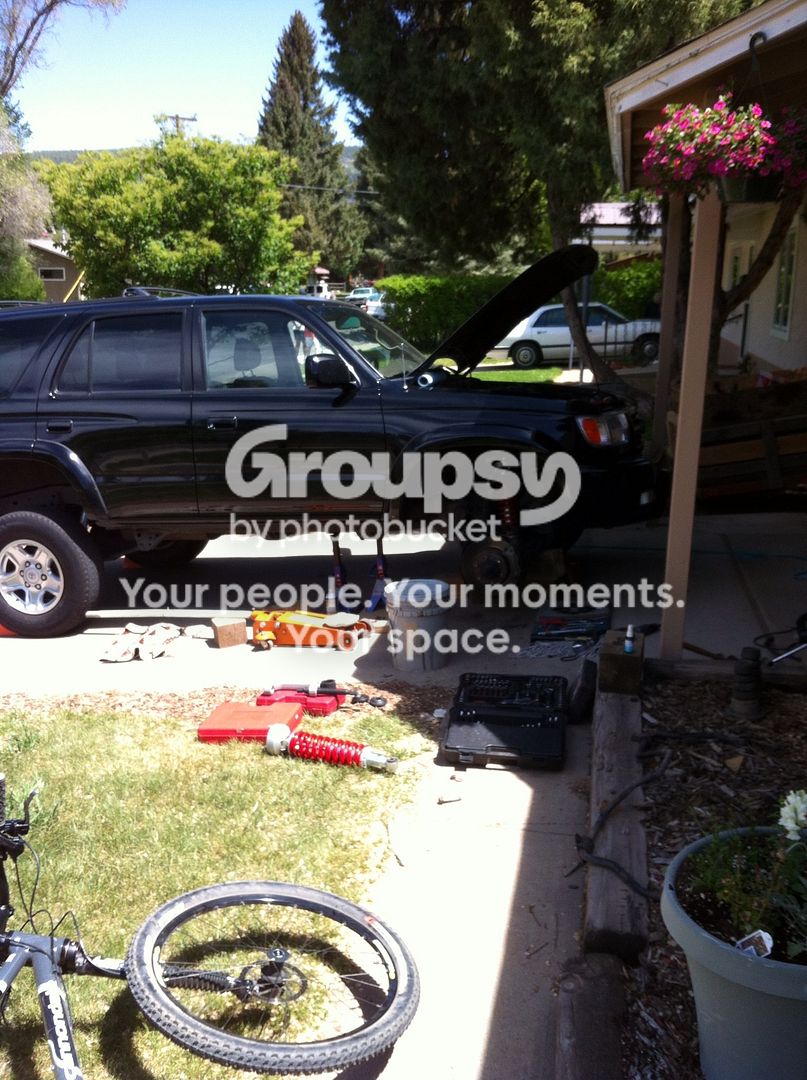
image-7.jpg~original


image-3.jpg~original


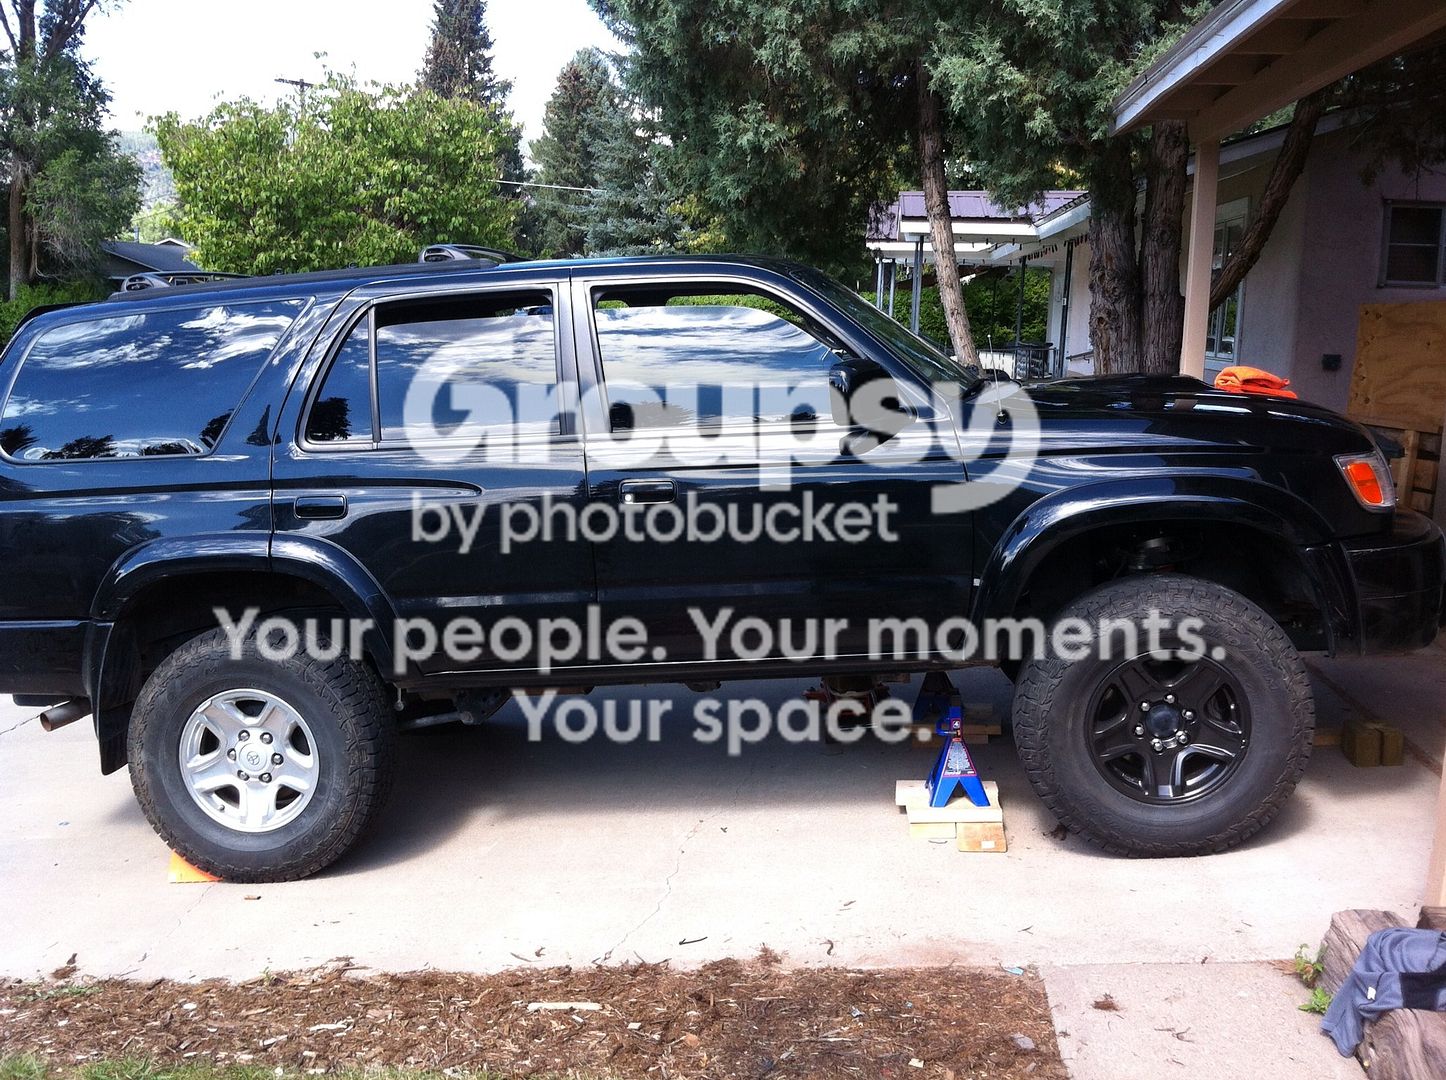
Then it looked like this
image-8.jpg~original


I was on a mission and unfortunately had zero time to drive it so I put it up for sale. Well kinda I asked almost twice what I paid figuring if it sells fine if not We might have to keep it.
More to come
Chris
 
Last edited:
Register to hide this ad
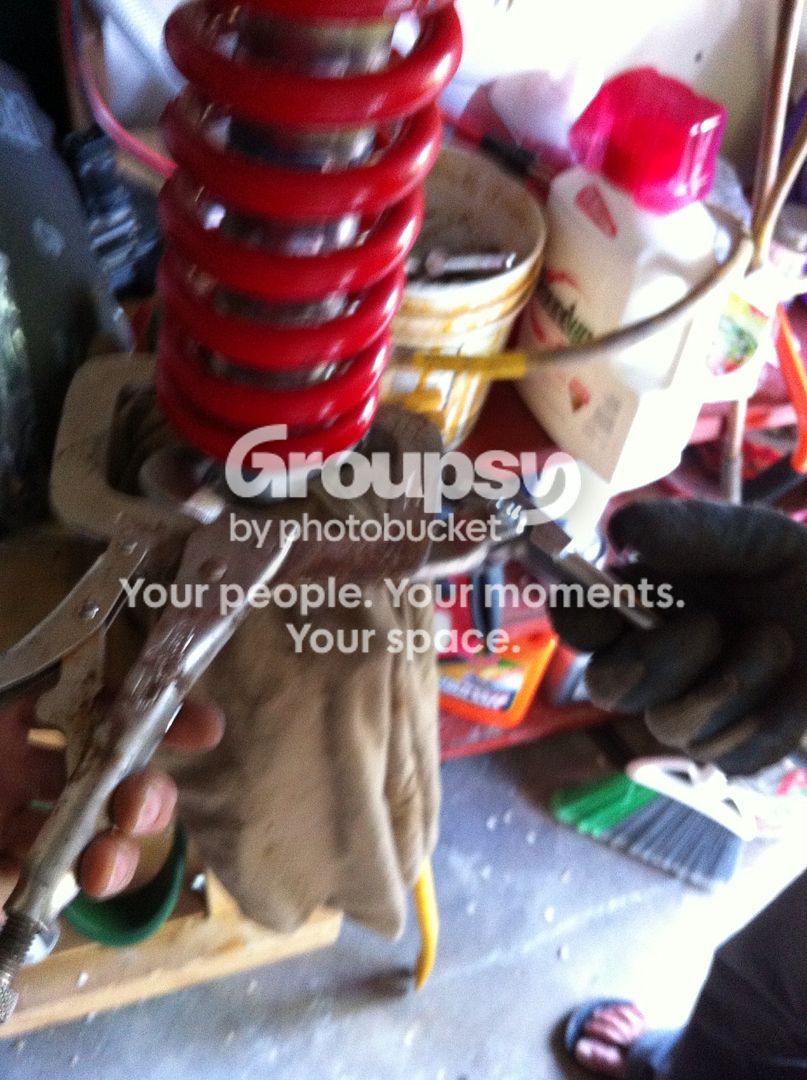
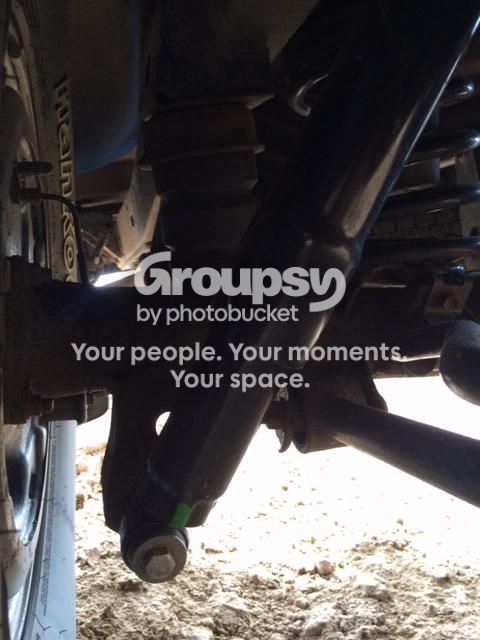
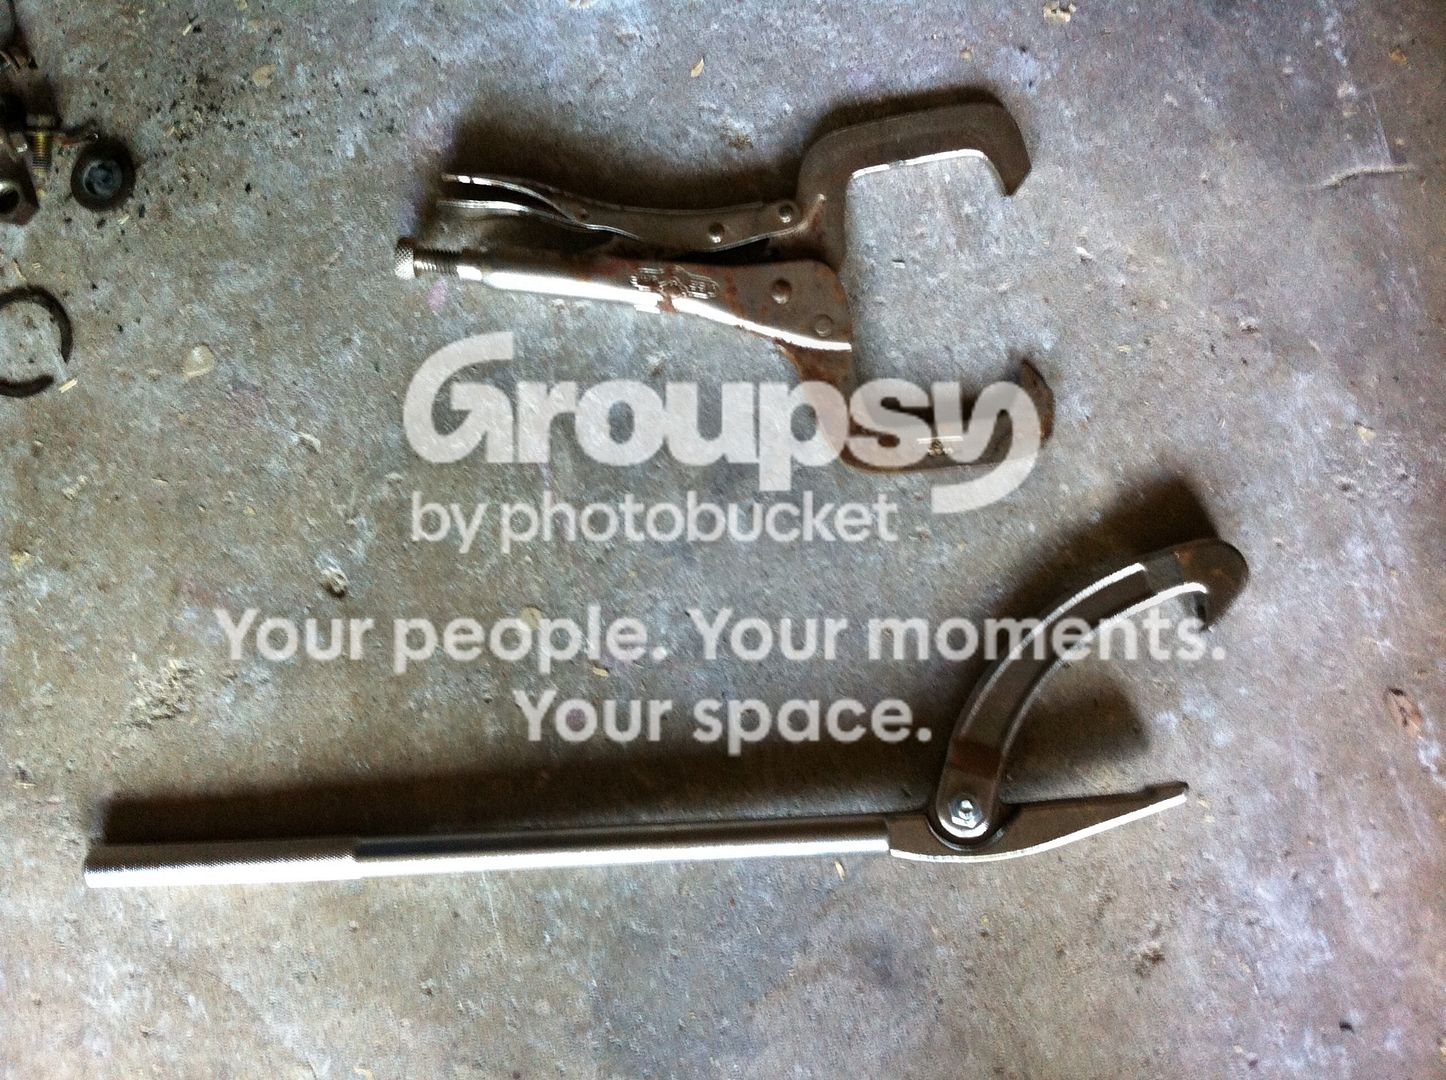
Whoa that's tall. Being that I had a used kit I didn't have the proper spanner wrenches. So I got more practice and took out the coilovers. I had to cut up a vise grip pliers and use another spanner but it worked.
image-10.jpg~original

Like this
image-9.jpg~original


With the proper spanners I now can easily make adjustments to coilovers w/o removing. After getting the height adjusted and 200 lbs of gravel in the back it settled out nicely.
Next up was a full detail including wash, clay bar and waxing.
image-11.jpg~original
 
Last edited:
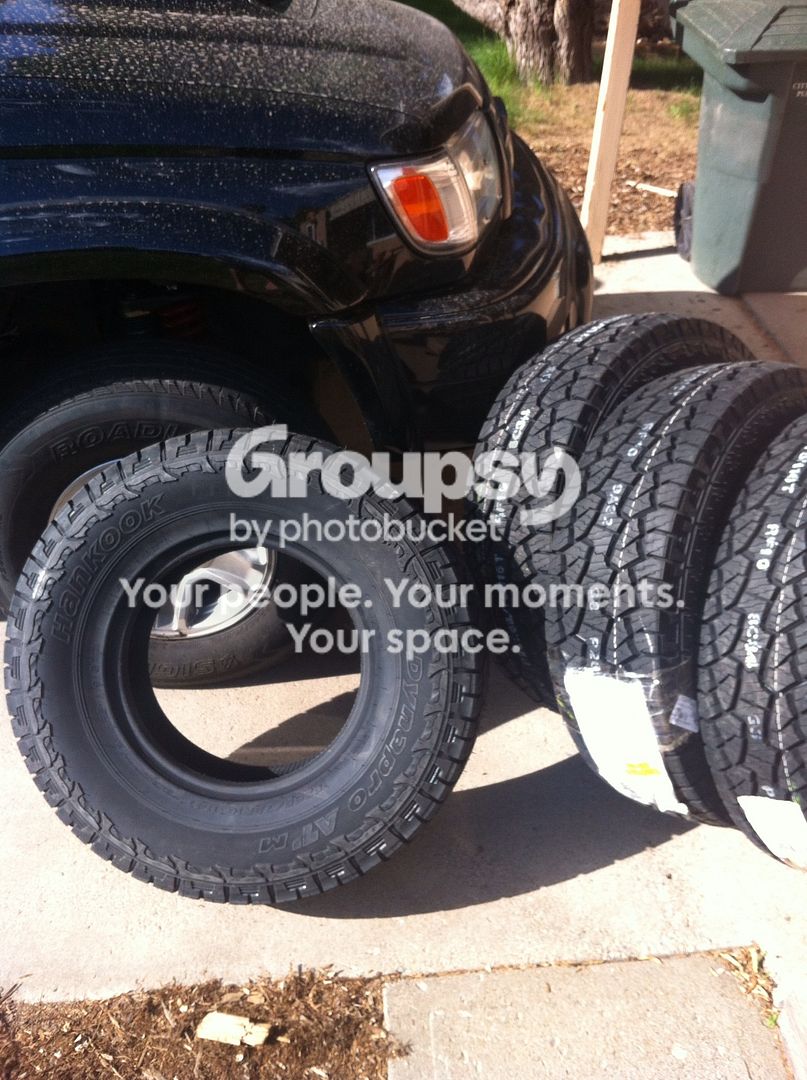
Next up was Hankook Dynapro Atm RF10 in a 265/75r16 for now
image-15.jpg~original


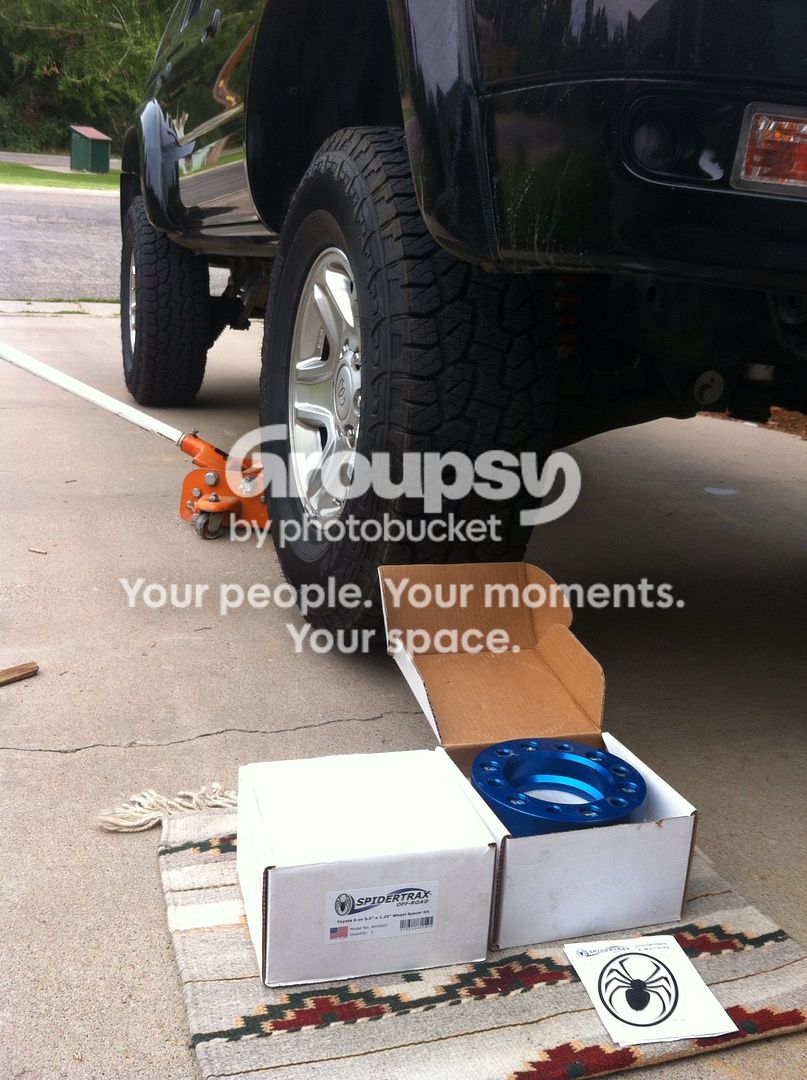
Brought it home and put on some spacers

image-14.jpg~original


Then in accordance with most recommendations added a B&M 70264 and bypassed the radiator. Did the DRL mod, CV boot mod, changed the transfer case fluid changed to mobil 1 synthetic and hit the high country. this was the maiden 4wd drive trip and didn't really push it but used low and the e locker.
oct32013141-1.jpg~original

oct32013142.jpg~original

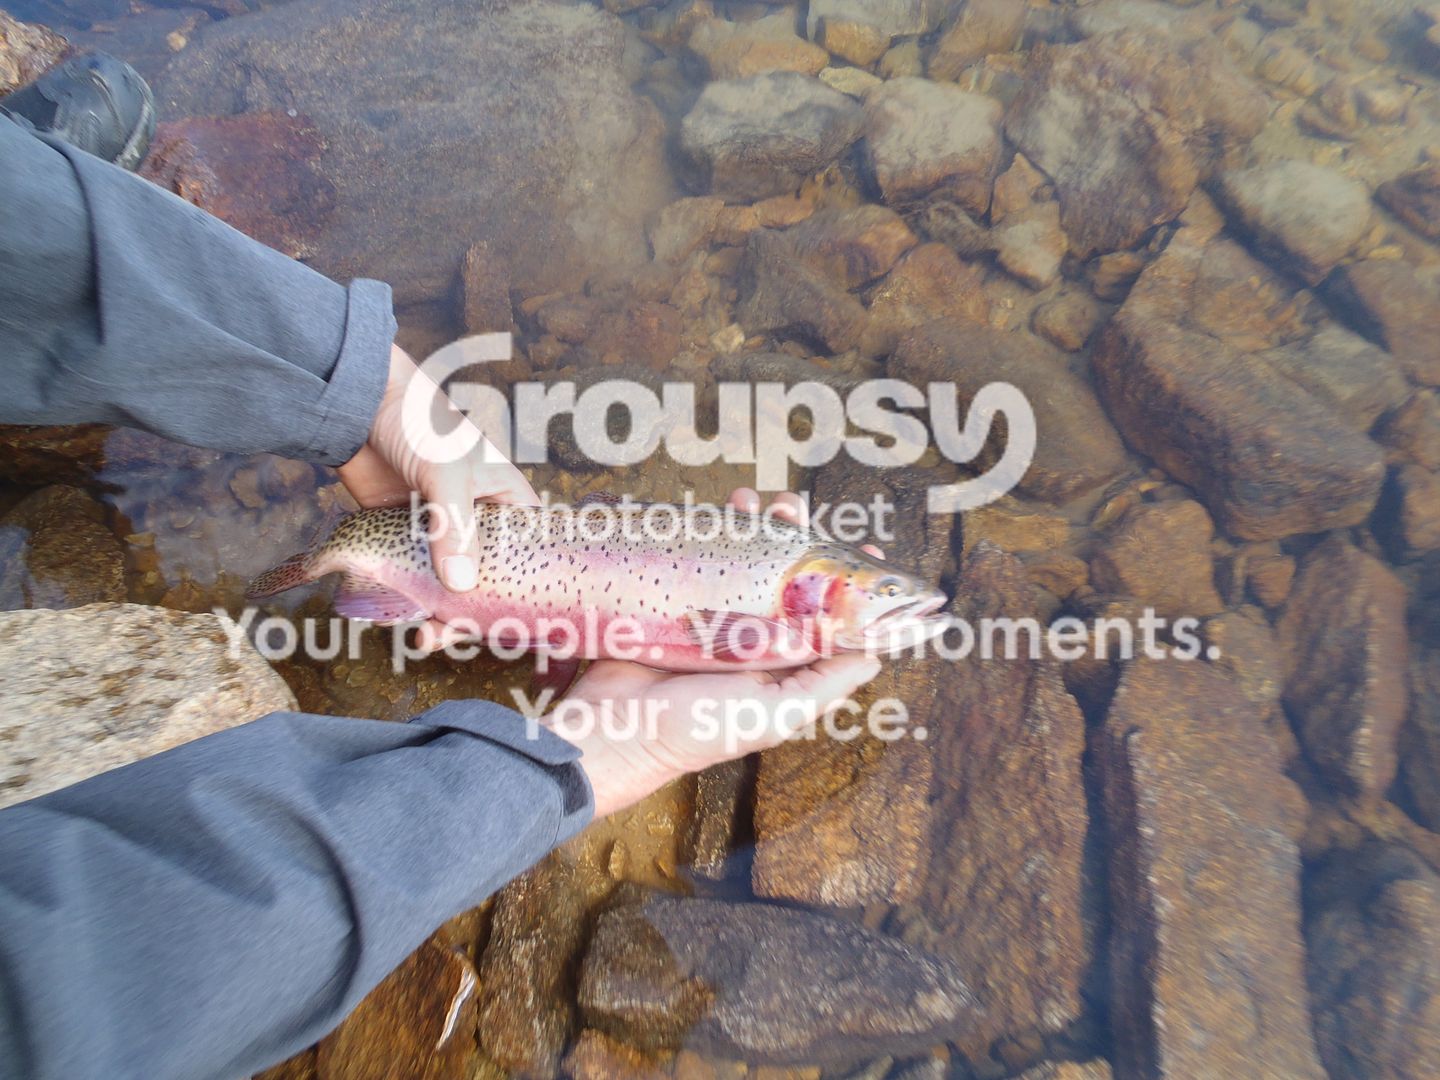
Caught some of these
oct32013156.jpg~original


At this point we had had the truck 3 months and put only 1000 miles on it. I t was becoming more obvious that it wasn't really for sale.
 
Last edited:
More maintenance

-Scangauge ii, which I have thoroughly enjoyed. It's only sitting on the string column but that's good with me. Cool thing about that is I can take it out and slip it into the tundra and it works perfectly. Odd thing to me is that my tundra with a V8 runs both cooler water temp and ATF temp.
-Napa fuel filter
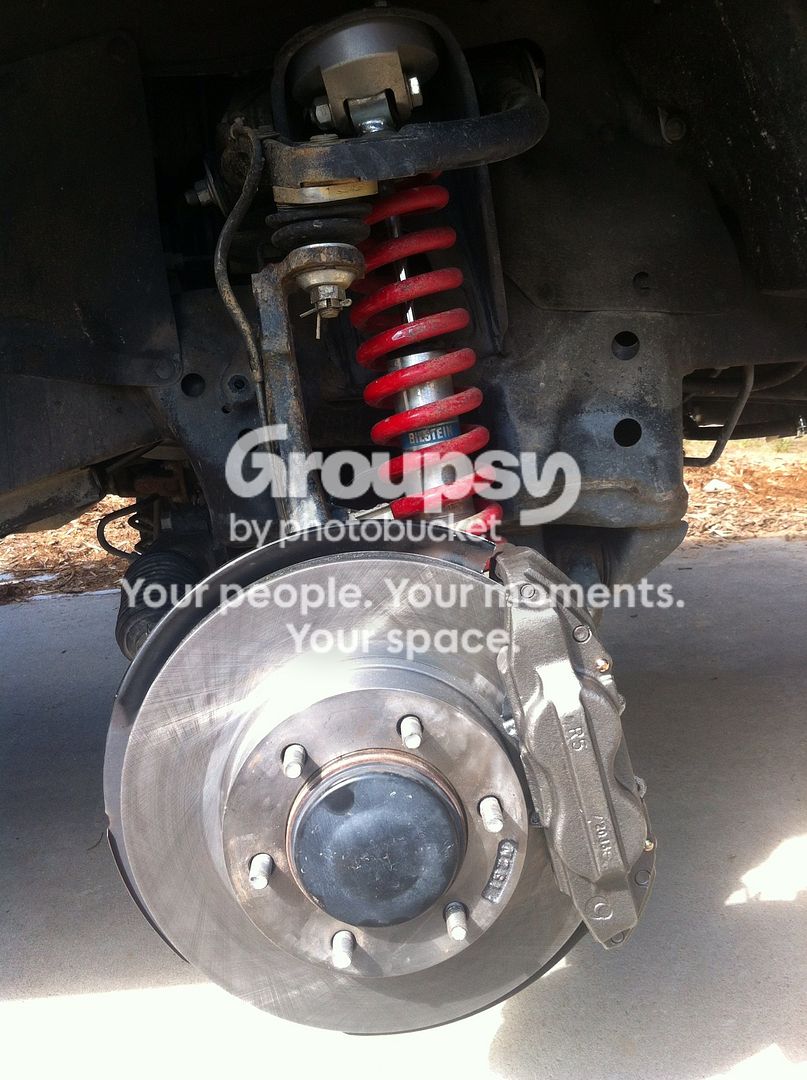
-Tundra brake upgrade. Which I put on without realizing the calipers needed to be painted. The quickly started getting surface rust and have to be sanded/wire wheeled down, prime and painted. I finally did one side tonight and fixed some area on the spindle and lca.
image-19.jpg~original


I took it in for an alignment and gave them my numbers. Of course they didn't hit them. But while the tech was doing it I saw him shaking my tire. That led me to taking it home and discovering a little play in what appeared to be the steering rack guide and ITRE. So I ordered
-OEM steering rack guide, spring, cap etc
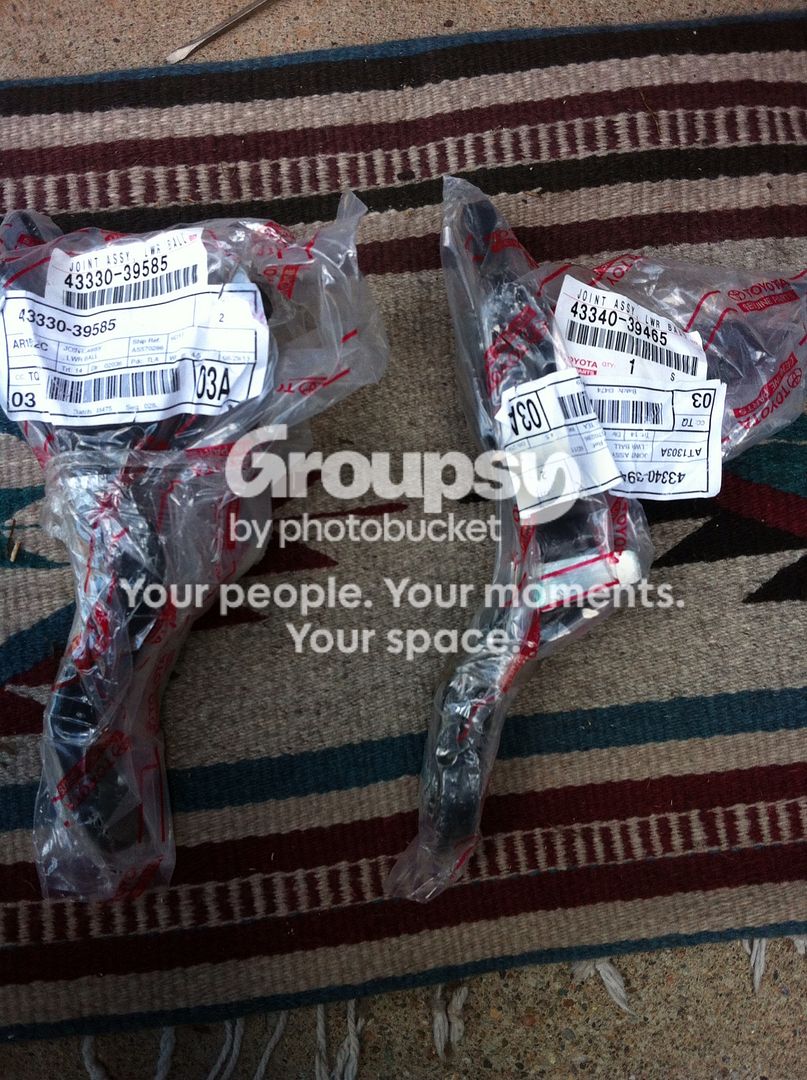
-OEM LBJ
image-23.jpg~original

And got some duralast ITRE and OTREs
Got it all installed and took it back for an alignment
oct32013171.jpg~original

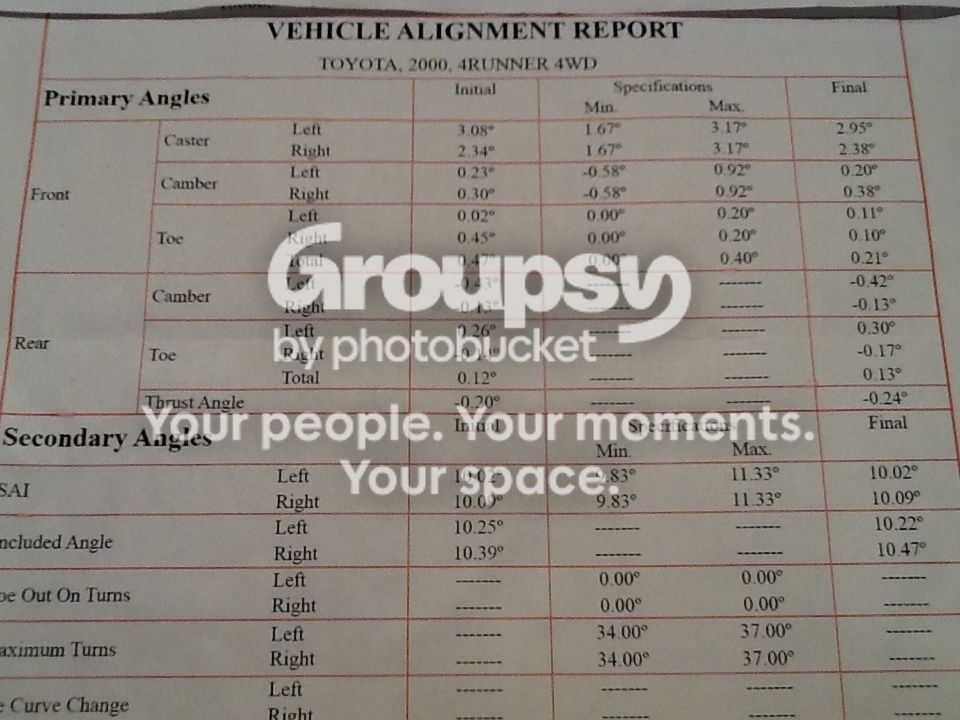
I took it to my local BIG o again and urged the owner and tipped the tech to get the right numbers. They were reluctant but agreed and gave it back to me with this. I won't be going back there. It drove ok but I inevitably took it somewhere else.
image-28.jpg~original

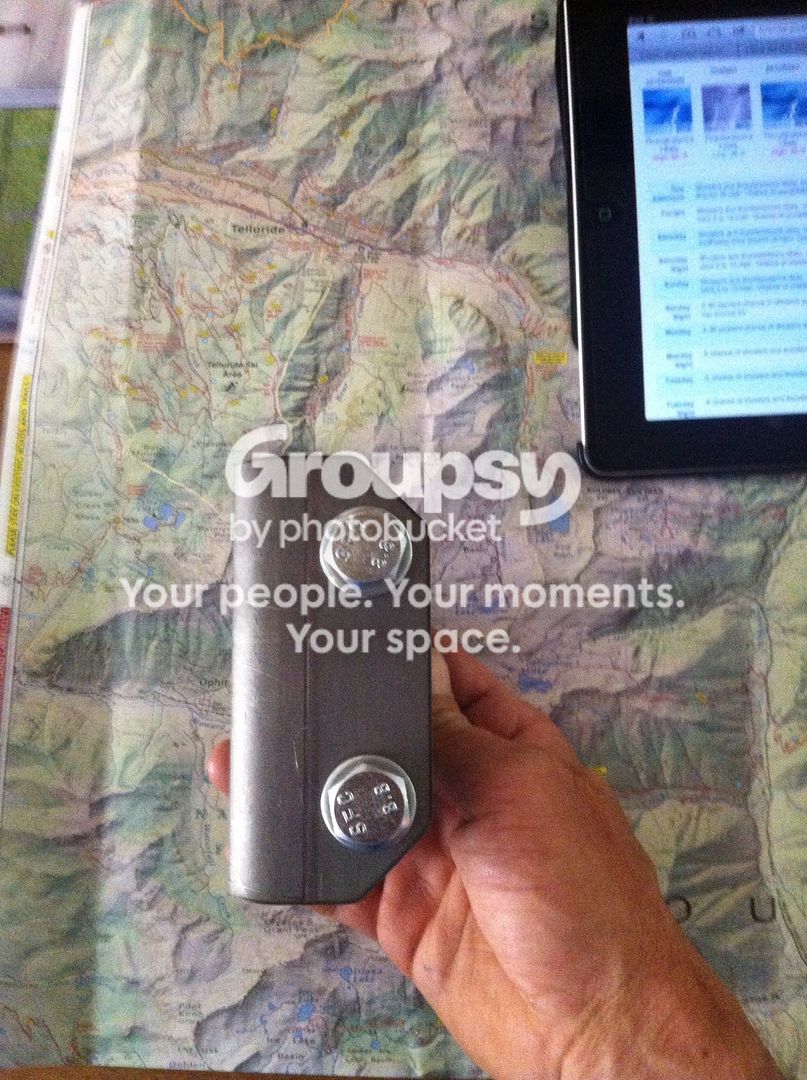
Then got one of these and had my buddy weld it on. Still should brace it i suppose.
image-20.jpg~original

Then did some more of this
image-21.jpg~original

TBuzz
 
The wheels were rubbing a little coming down some trails so I took off the spacers until I could get the alignment sorted out.
One thing led to another and I found my self sanding and spraying the five stars with rustoleum primer then hammered black. Finished off the caps with accent red in the Toyota.
image-24.jpg~original

Let it dry and took it wheeling.
Poser flex
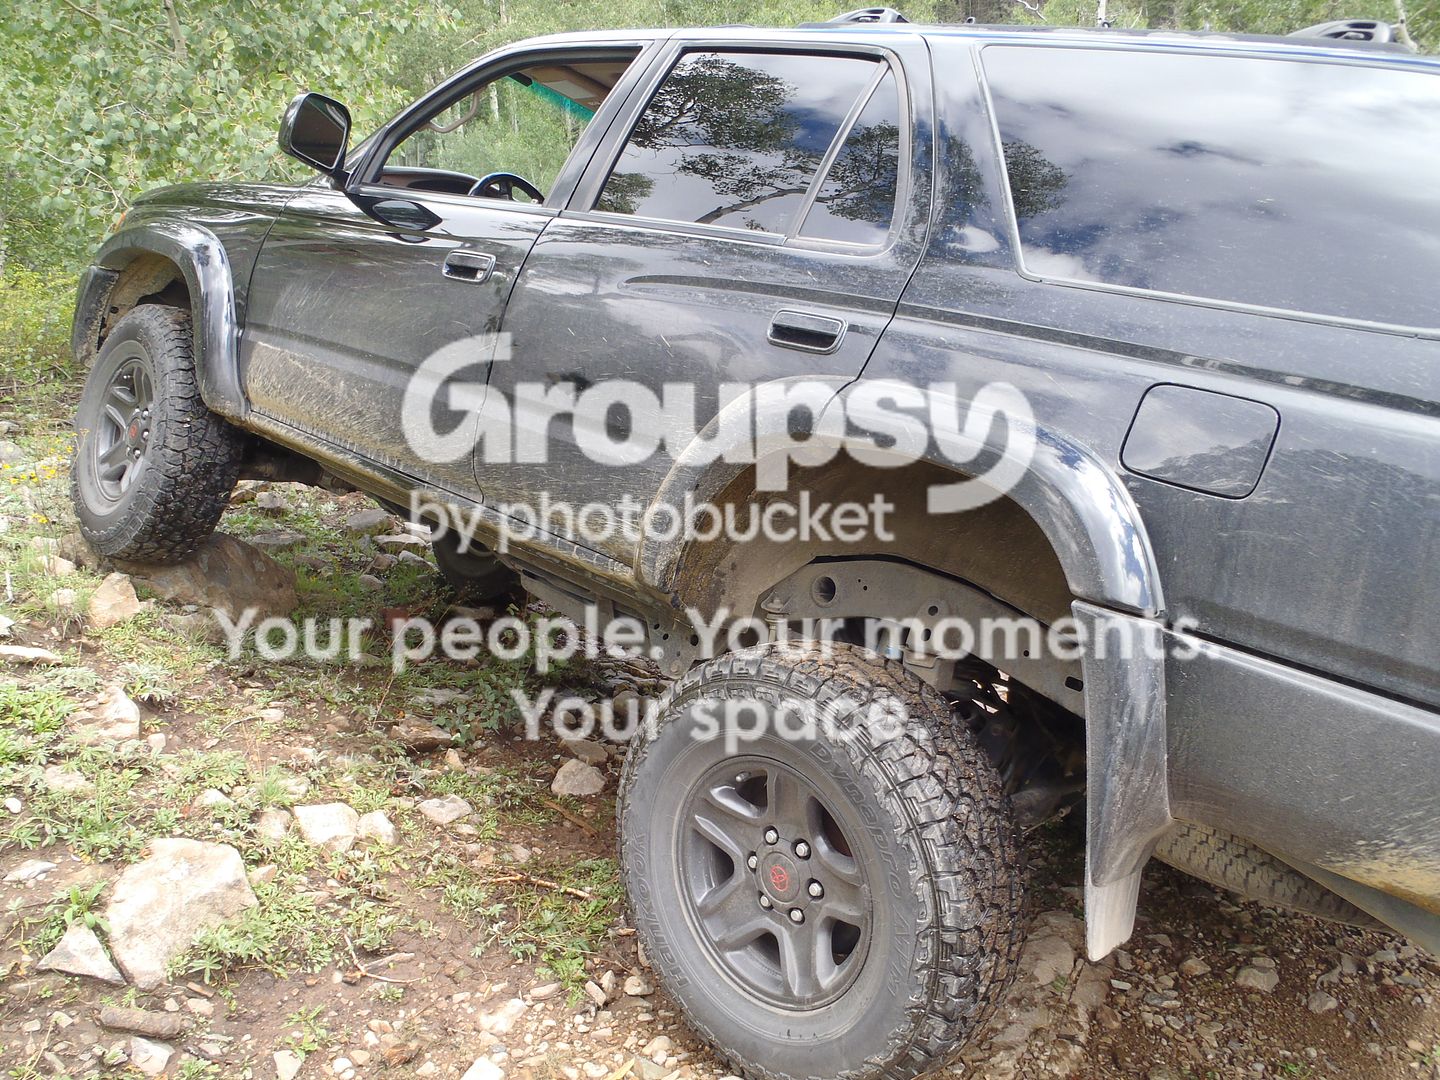
oct32013199.jpg~original

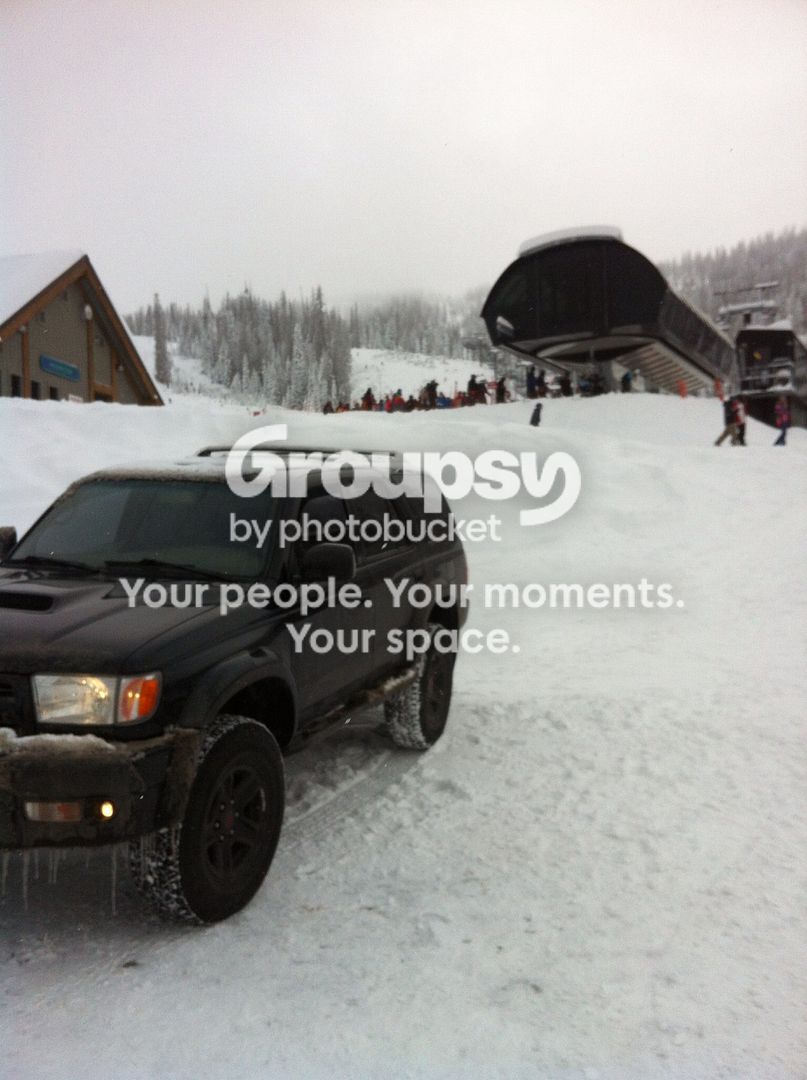
Final approach up the back of Kennebec pass and the first snow crossing of the year. Wife wasn't all that happy:ohwell:
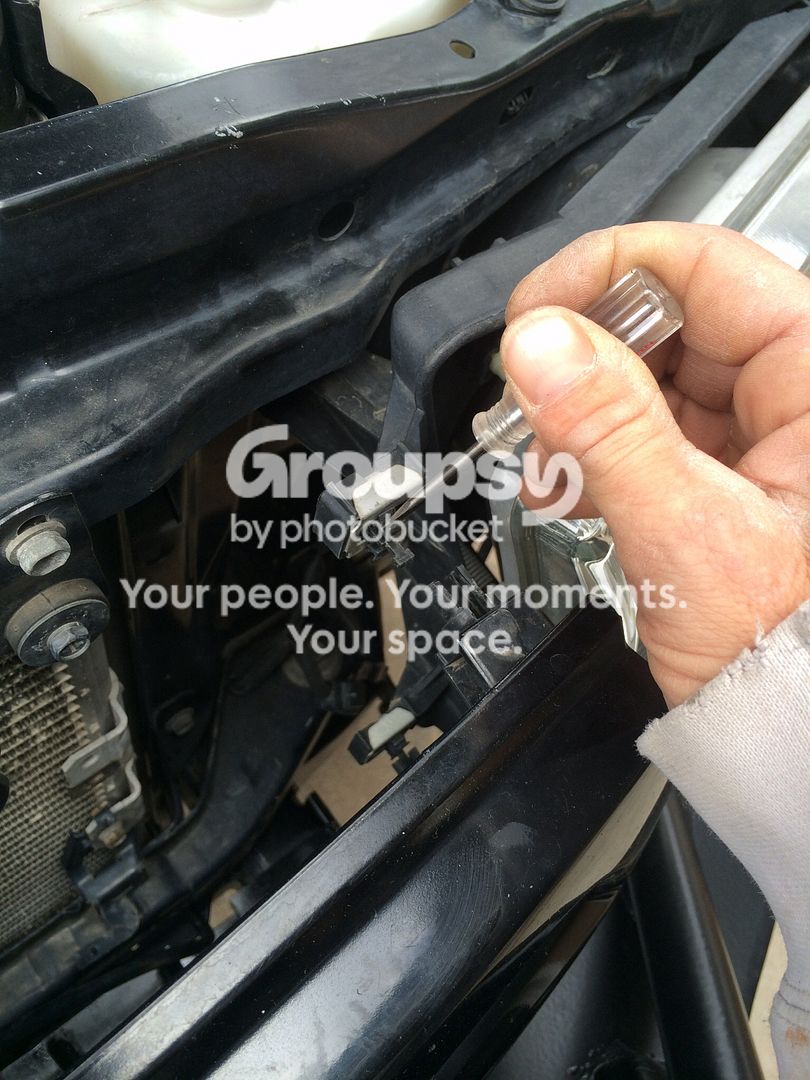
image-30.jpg~original

Summit overlook
image-31.jpg~original

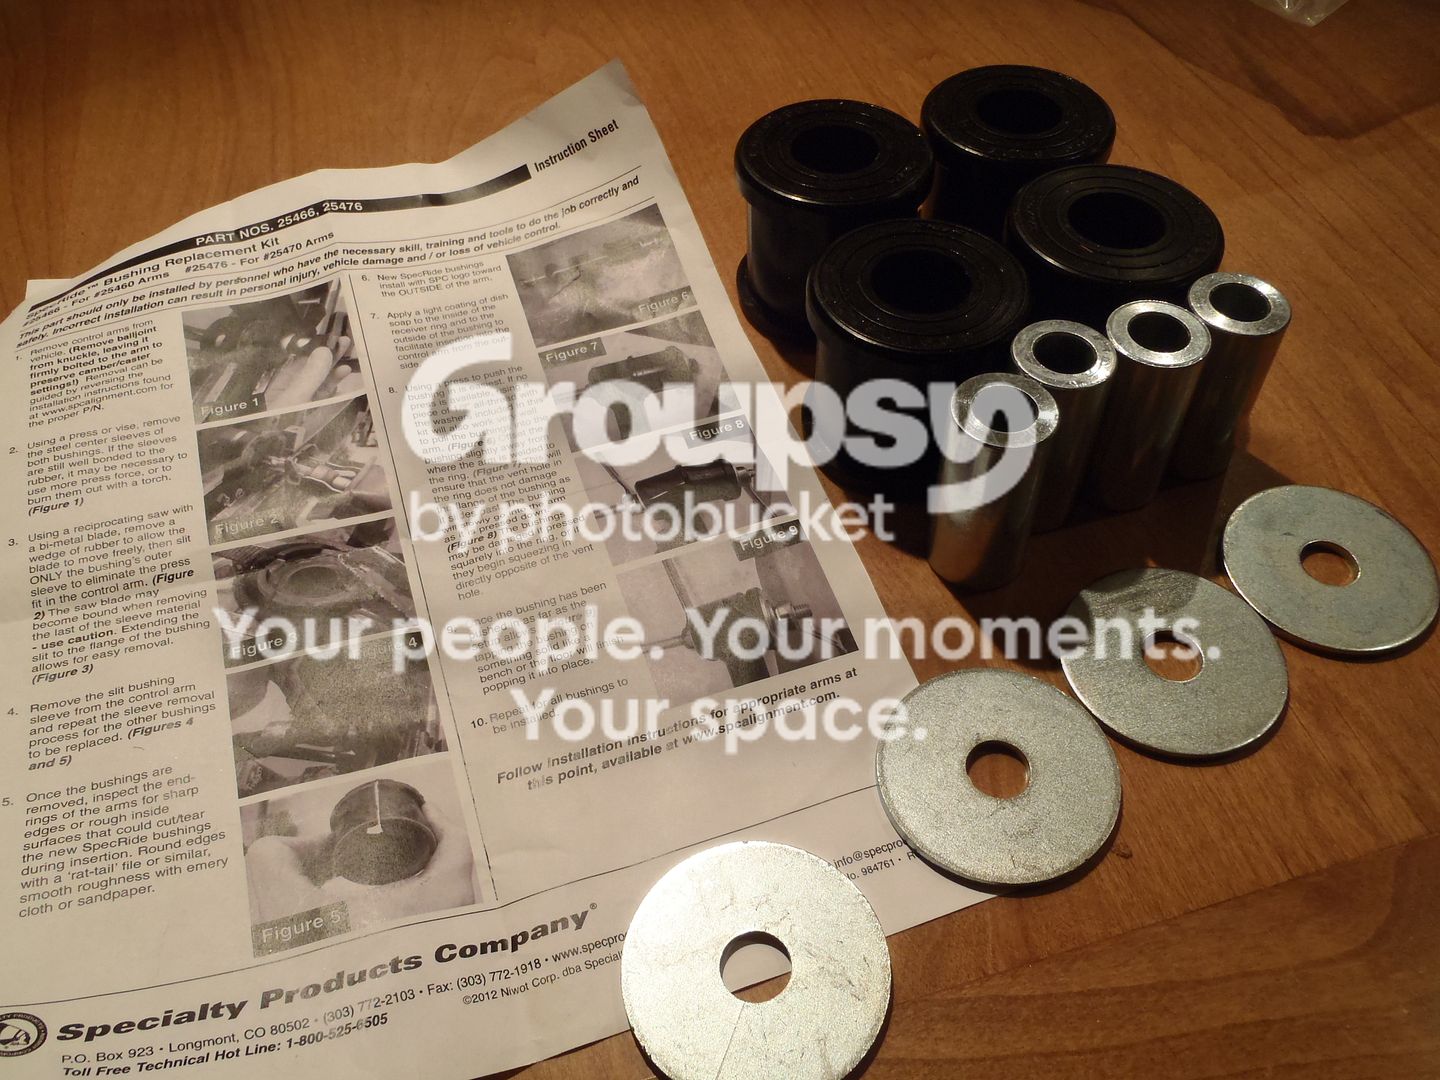
Then started noticing front end clunk is still there sometimes louder than others. Started working through the possibilities and searching this awesome forum for answers. I discover I had the old style bushing in the LR uca's and ordered new ones.
oct32013180.jpg~original

I made a mistake here. I had them shipped to me and couldn't get them installed myself, so I had to pay to have it done. That cost me $170:faint: I could have had them installed for free if I paid shipping one way. Also I have since found them on sale for under $200 somewhere, I can't remember off hand. Oh well they were in. I installed them and didnt have the instructions and thought it was self explanatory enough. Well I did put the provided grease inside the bushing prior to sliding metal sleeve in. However I didn't put grease between the washer face and bushing. One week later and they started squeeking real bad. Referred back to the SPC install PDF and made the corrections. Much better now. Then took it to a local 4x4 "expert" for steering rack bushing install and an alignment. I tipped the tech gave him my desired numbers and the LR uca's install sheet incase he needed it and left with high hopes. Came back to pick it up and was again disappointed. They didn't have a print out, but said they got the numbers I wanted. Left it like that a few weeks ago and have just been enjoying it on the weekends.

On order
-Koyo radiator
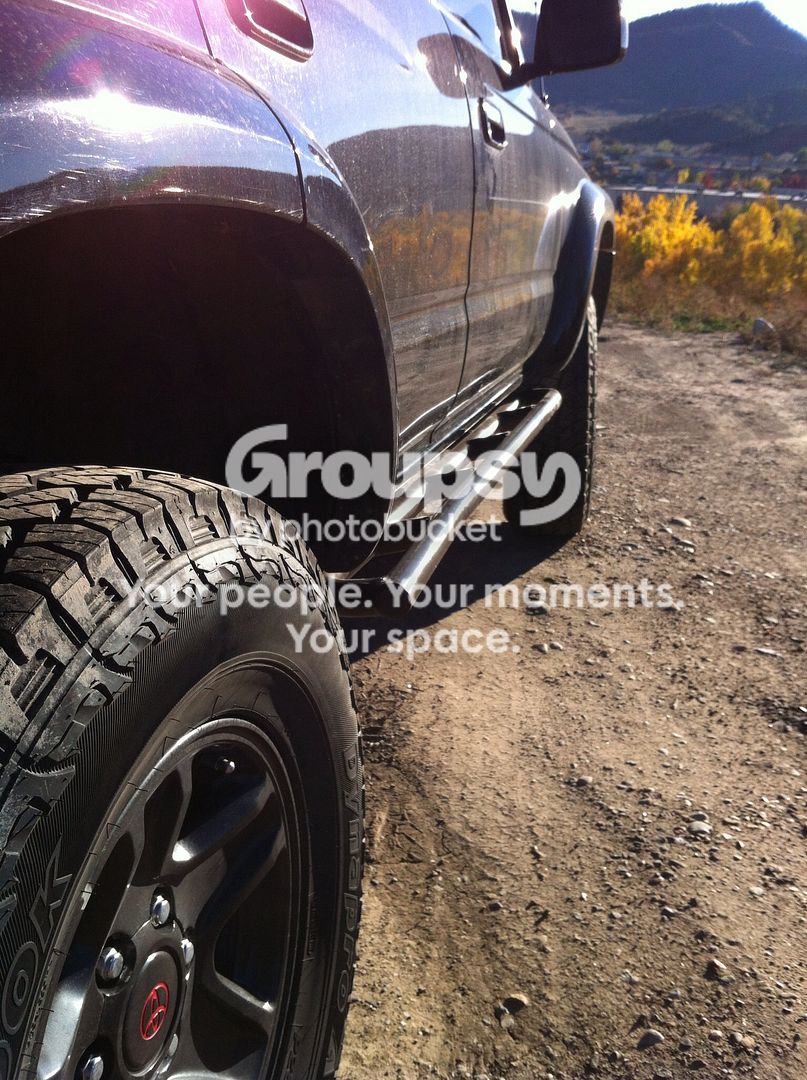
-Stubbs sliders
-tacoma whip mod parts
Next
-steering rack?
-bumpers-buddy is building those
-stereo
-wheels
 
Catching up to do..

Been a few months but I'm back with some updates and moving forward with preparations for spring and summer..I lost my camera end of October or so and only have a handful of pics. I was very busy this time of year and some things came up that took the majority of my time.

Last I left off I had replaced the SPC control arm bushings. That didn't fix my clunk. So I was still looking for the at that point. More maintenance items in October included, some sway bar bushings, Toytec sway bar relocate another marginal alignment.

image-29.jpg~original


Feeling winter quickly approaching went up for some more of this
image-31.jpg~original


Hiking to the little blue dot:biggrin2::
image-18.jpg~original


Which quickly turned to this and that was it for 2013 alpine for me

image-22.jpg~original


Next the SKO's came in
image-32.jpg~original


My buddy welded them on a few days later. I painted them with same rattle can paint recommended by Stubb's. The welding was god but placement at the pinch weld didn't get enough thought and it rubbed a little as I didn't make preparations and clearance it. THINk about this if you need to ever install them.
image-24.jpg~original


I ordered this from forum member ADH88? It didn't fit my rig as it was pretty used. I can vouch for the fact he needed and SAS swap. It has recently been properly bent back to shape, but not installed(no pics).

image-30.jpg~original


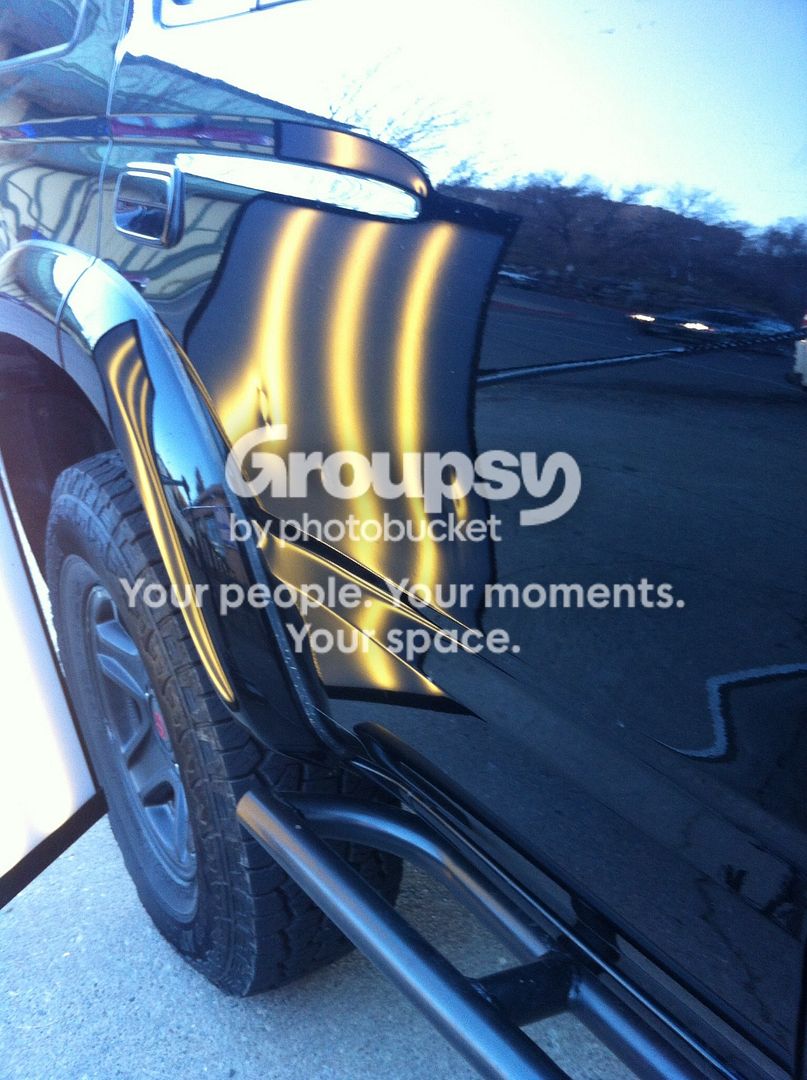
I had about 15 door dings on the truck. A new friend of mine specializes in paint less dent repair. He fixed all of them perfectly with some small pry bars. Worked that metal like it was butter from both sides, quite impressive. Took under 2 hours for $75. I gladly gave him $100.
image-25.jpg~original


image-26.jpg~original
 
Sometime in November I got some junkyard bumps for $5. Thanks for the idea BFAD, they work great. While I was down there I found this:shrug:

image-40.jpg~original


A quick reference back to the forum took me to the black tokico's. Again thanks Nick for the heads up as they didn't come with the retainers(washers) nor did the come eitht he centering washer that fit perfectly. This is the results.
image-36.jpg~original


image-35.jpg~original


December was a couple trips to wolf creek. I love this thing and it drives like a tank. These hankook tires rule but I knew that it's my 3rd set. They are very quite, light, excellent snow ice rain off road traction. I'm sure an mt would be better in the mud,,more on that later..

image-41.jpg~original


January was some family things took me to the front range and break for a week..again putting some miles on the rig and proving its reliability. Ran great and
image-43.jpg~original
 
February
-attempt to mount budbuilt
-oil change at 143,525 miles
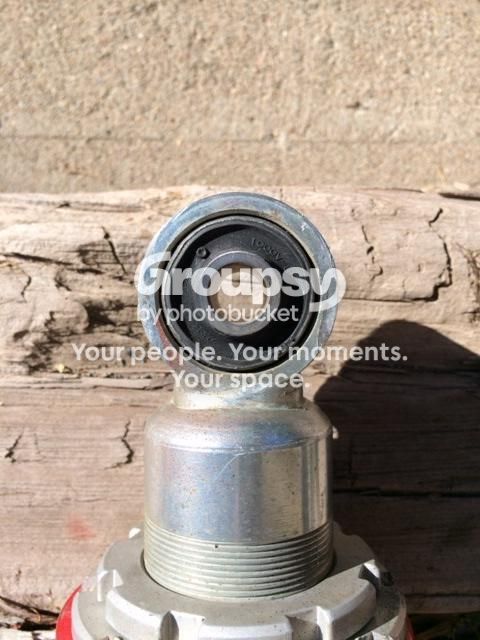
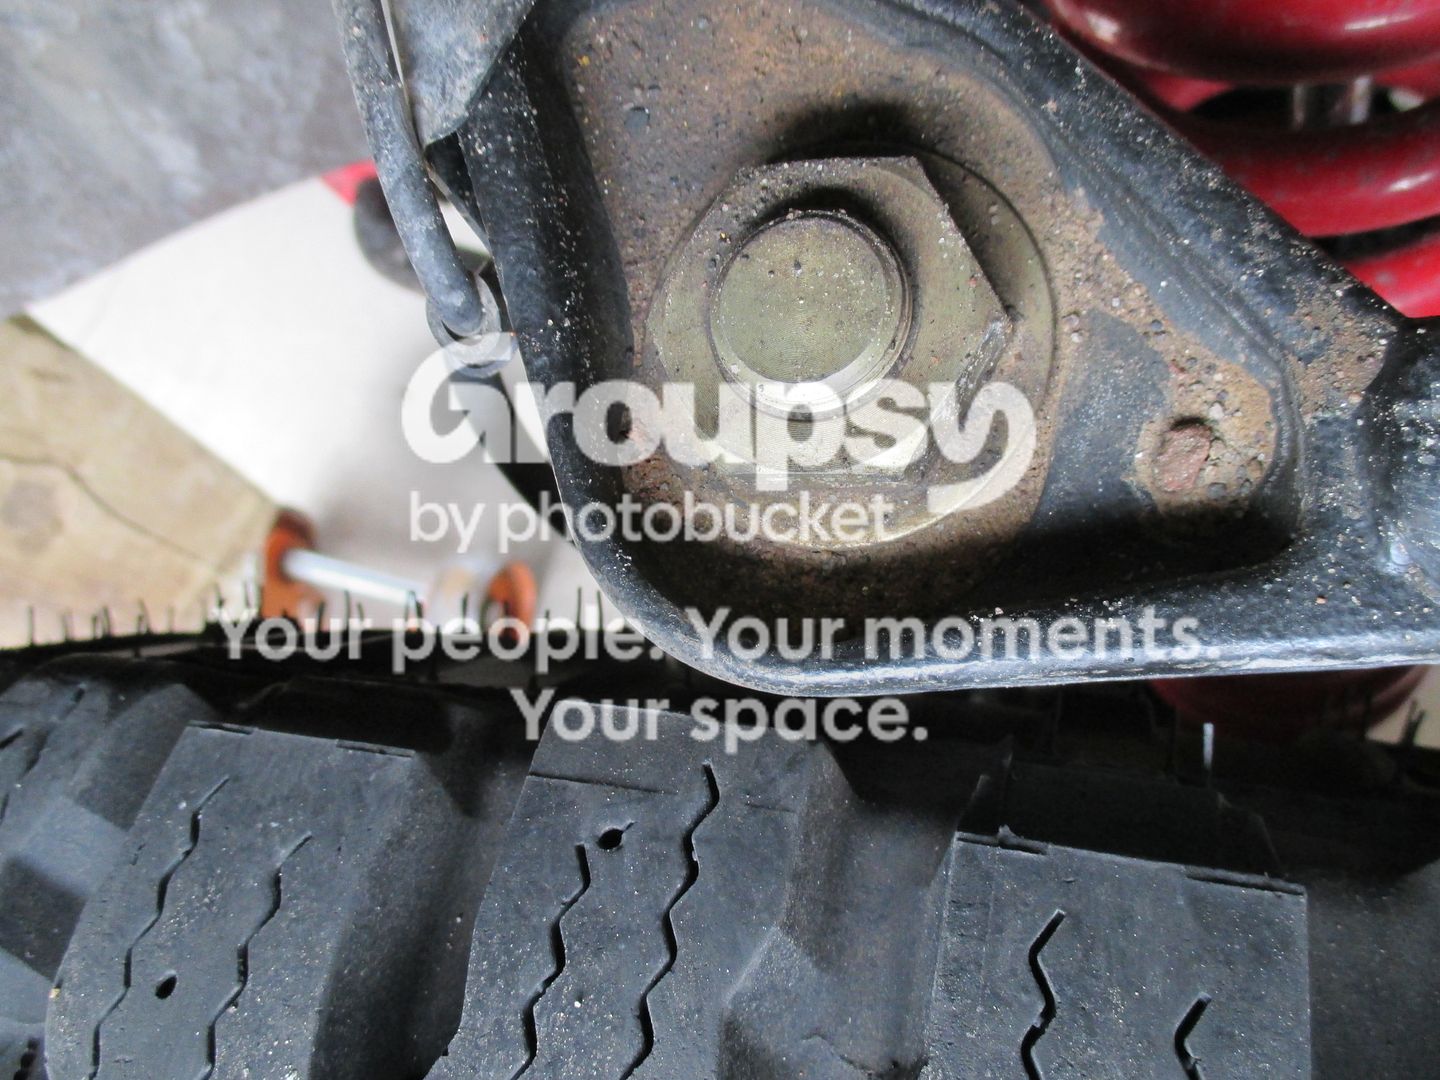
-replaced bushings in front coilovers
-new rear ujoint on rear shaft
-new 285/70 r17 duratrac 's
-tundra split stars

Back last year I'd bought a budbuilt skid plate from a forum member. It never fit and has been a thorn in my side trying to get up the holes to line up. I took it to a metal guy with a press that fixed it up pretty good, however it still didn't fit. Moving on I addressed the next items that were bugging me and an oil change.

I ordered replacement bushing from toytec and had the dealer install them. I dropped them off went to walmart came back and $40 later boom..
image-54.jpg~original


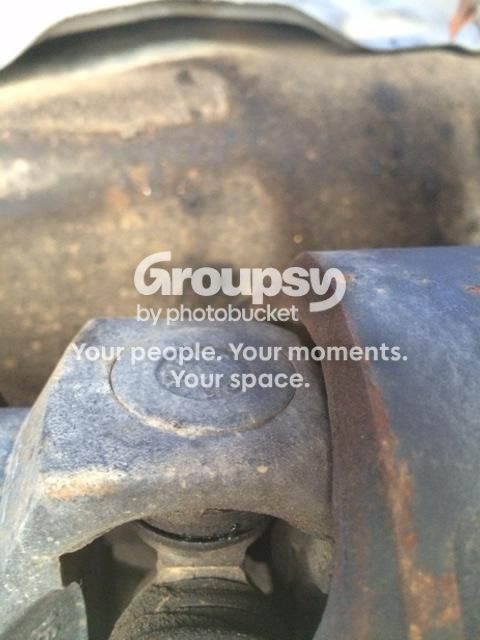
I had been troubleshooting what I thought was a vibration at about 2400 rpms when I was getting on it. Always thinking it was the drift shaft I'd inevitably bang on it with rubber mallet, try and pull it back and forth etc. One day I'd had it and got under there again to discover this., which i thought was the cause. I thought I could detect some looseness in there so out it came. It turned out the rear ujoint was the one that was the problem. I would have never known unless I pulled it out. It barely spun and had a very rough rotation. Also wanting to make sure the shaft was balanced I found a place to do the work. A $22 kangaroo express fee and $45 got me set up with a perfectly functioning smooth driveshaft.
image-56.jpg~original


The performance increase was outstanding. I couldn't believe the noticeable difference in a lack of resistance to rolling and I'd say increase in gas mileage.

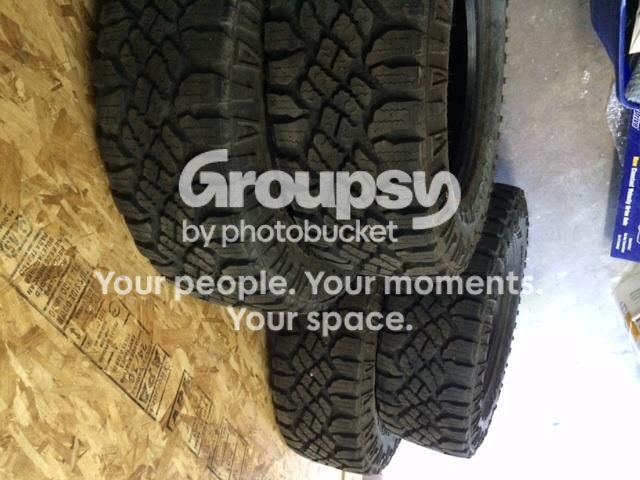
Then I scored these off Craigslist and some some tundra wheels from a buddy.
image-57.jpg~original


Initial fit with some spider trax spacers on a run up the mountain. Also my first experience driving with these tires. I can confidently say they scared the sh.t out of me on ice or packed snow conditions. They came off the next day to be replaced by the hankooks for the rest of the storm.
IMG_0017.jpg~original
 
March

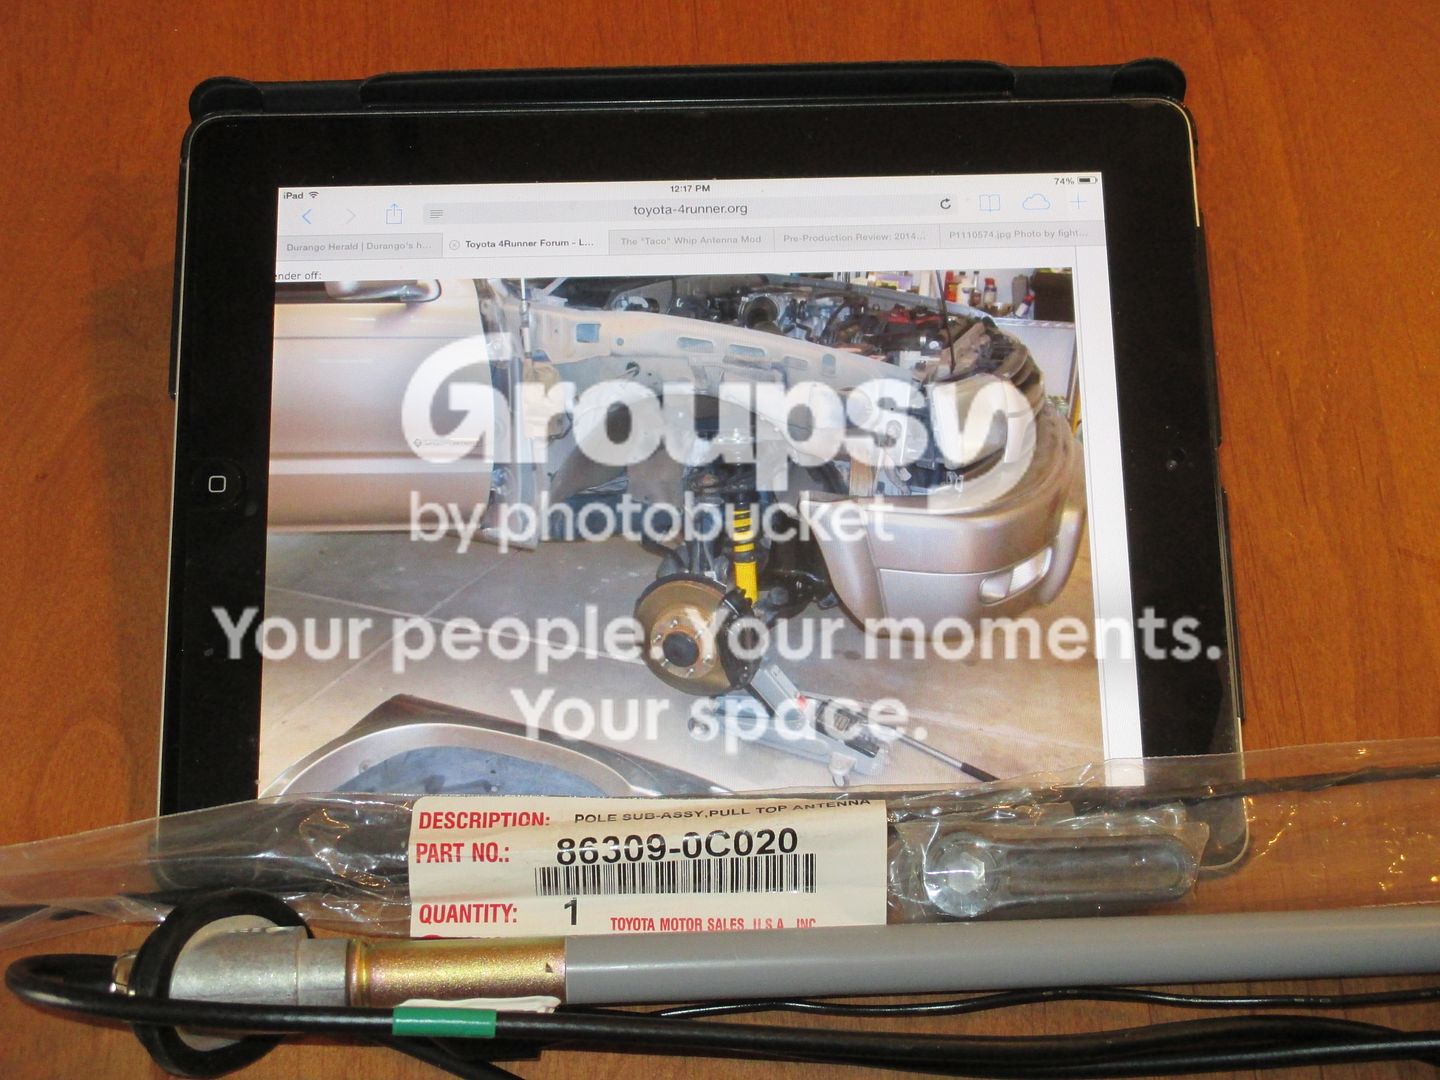
-Tacoma whip mod
-Ordered toytec adjustable UCA's
-Addicted Offroad front bumper
-TRD supercharge(new)
-Finally fit the bud built
-spacers on and off working on clearance issues

With the spacers the clearance on the uca's was minimal. It didn't touch though so I left it for the time being.
IMG_0024.jpg~original


Armed with ripcords write up and a couple of new parts I went at the whip mod
IMG_0054.jpg~original

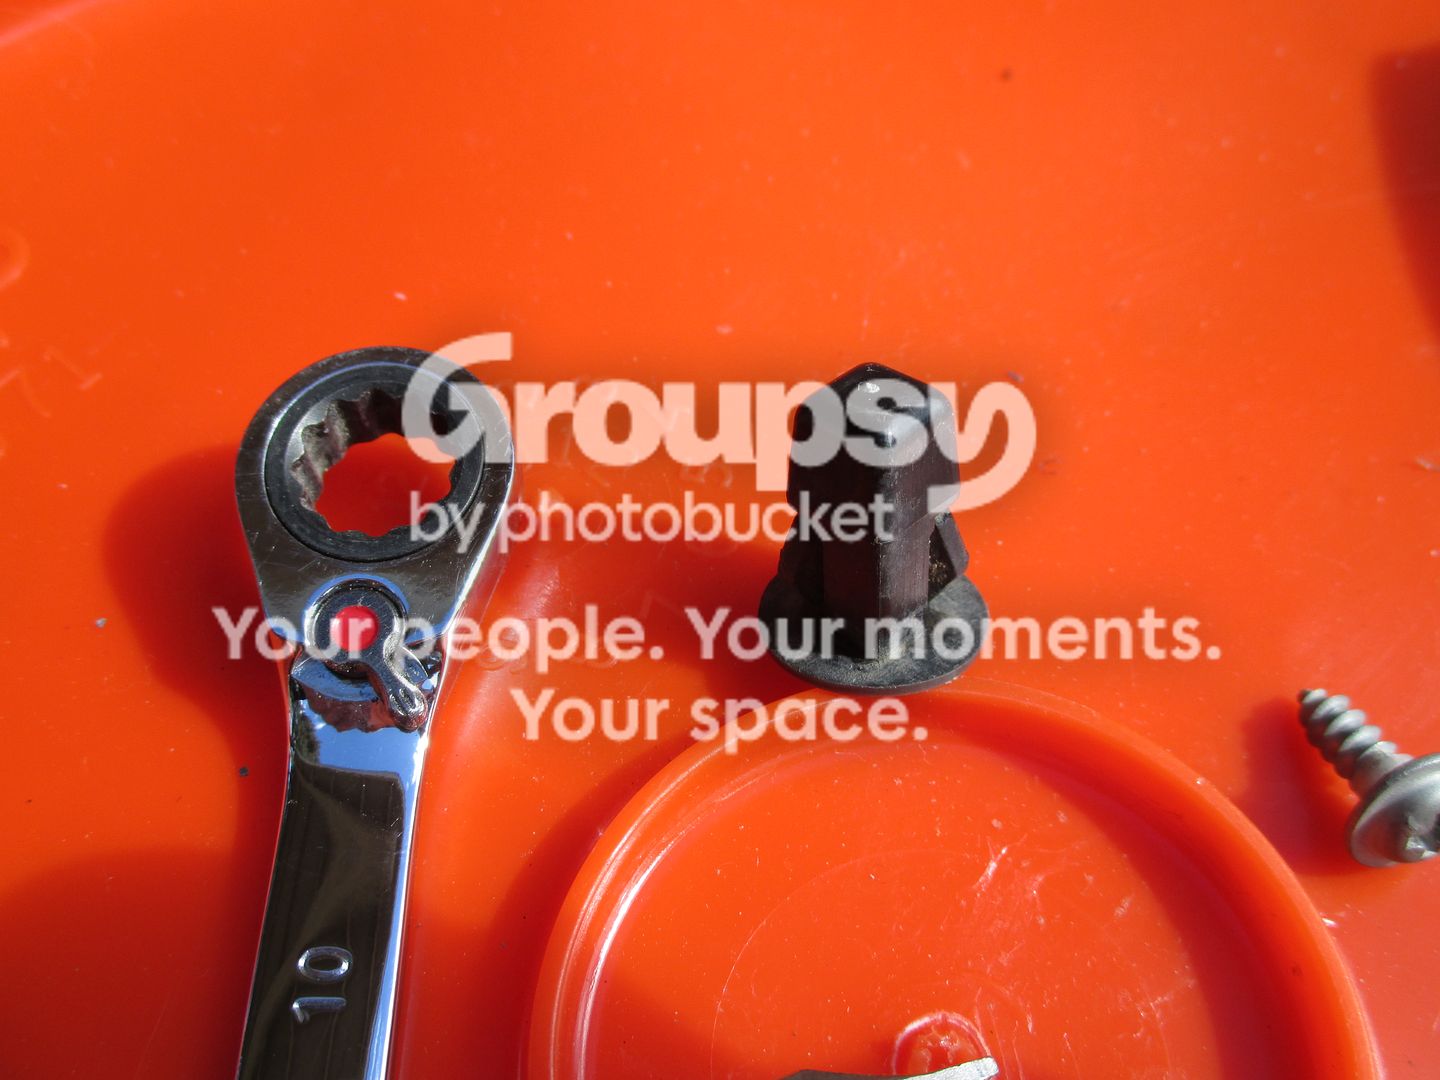
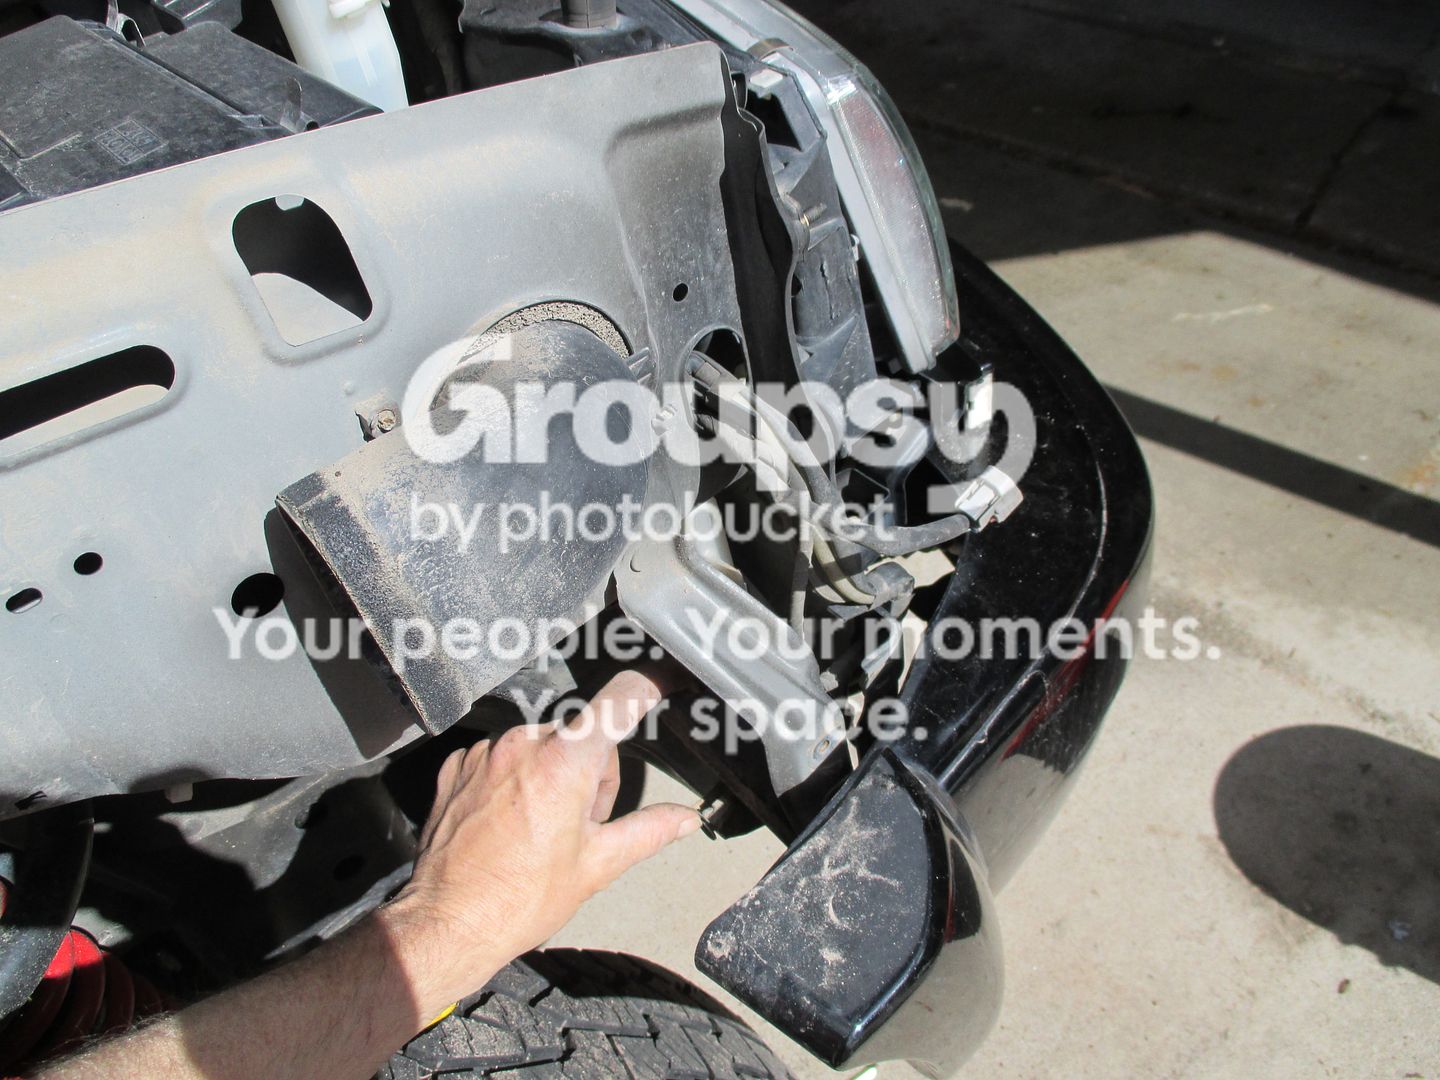
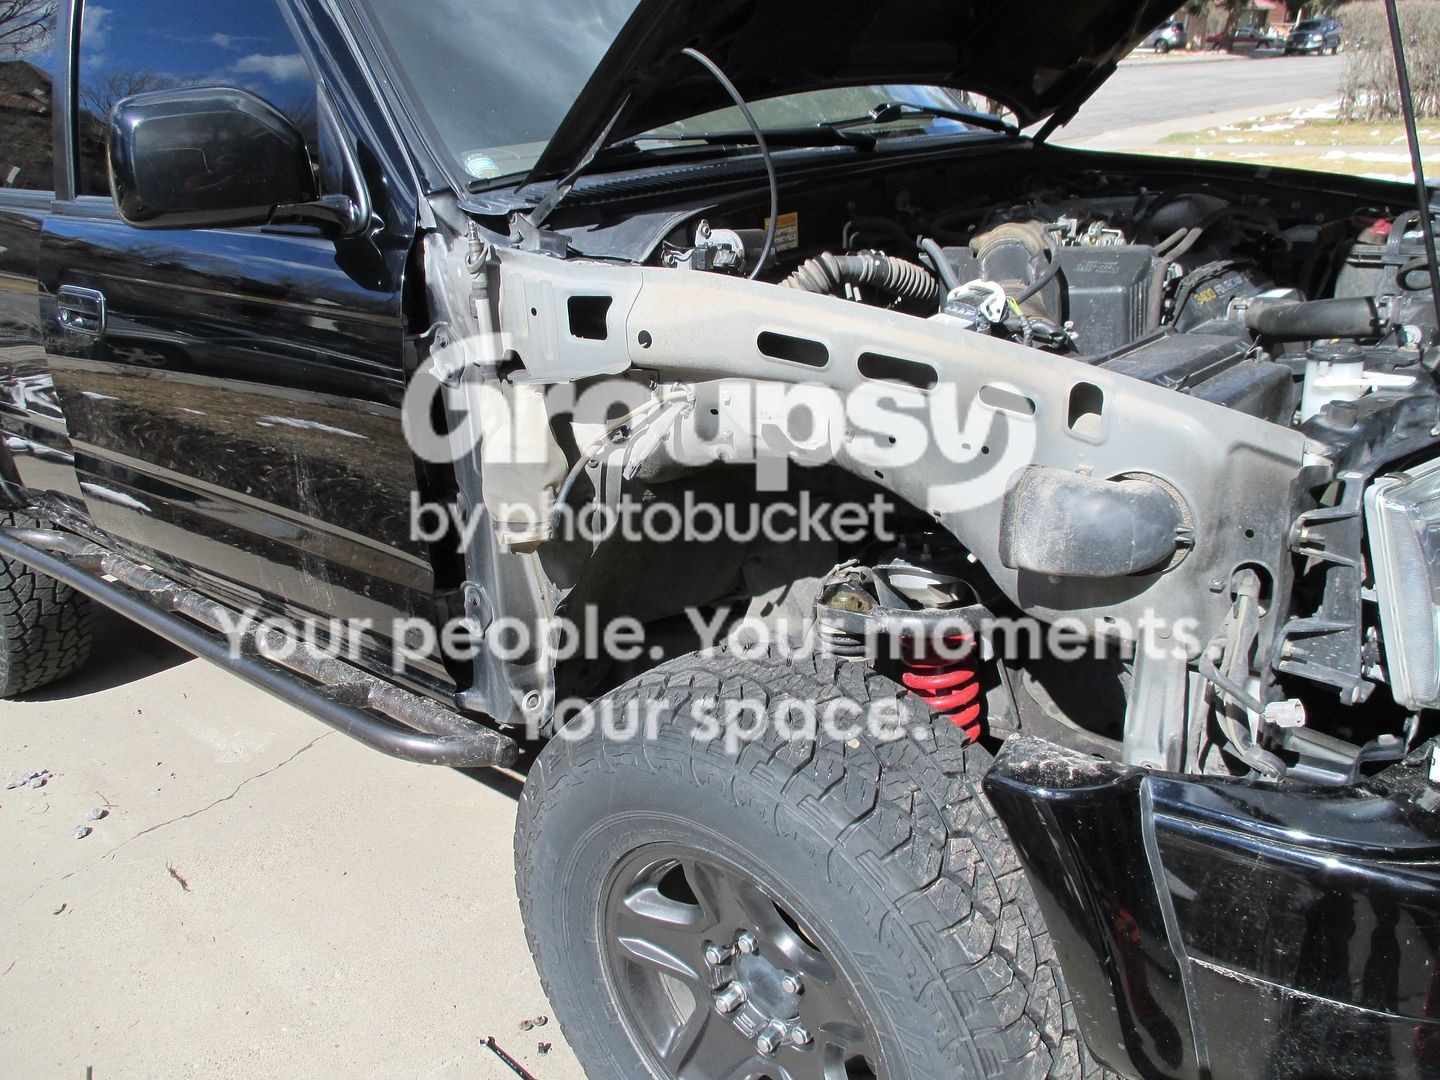
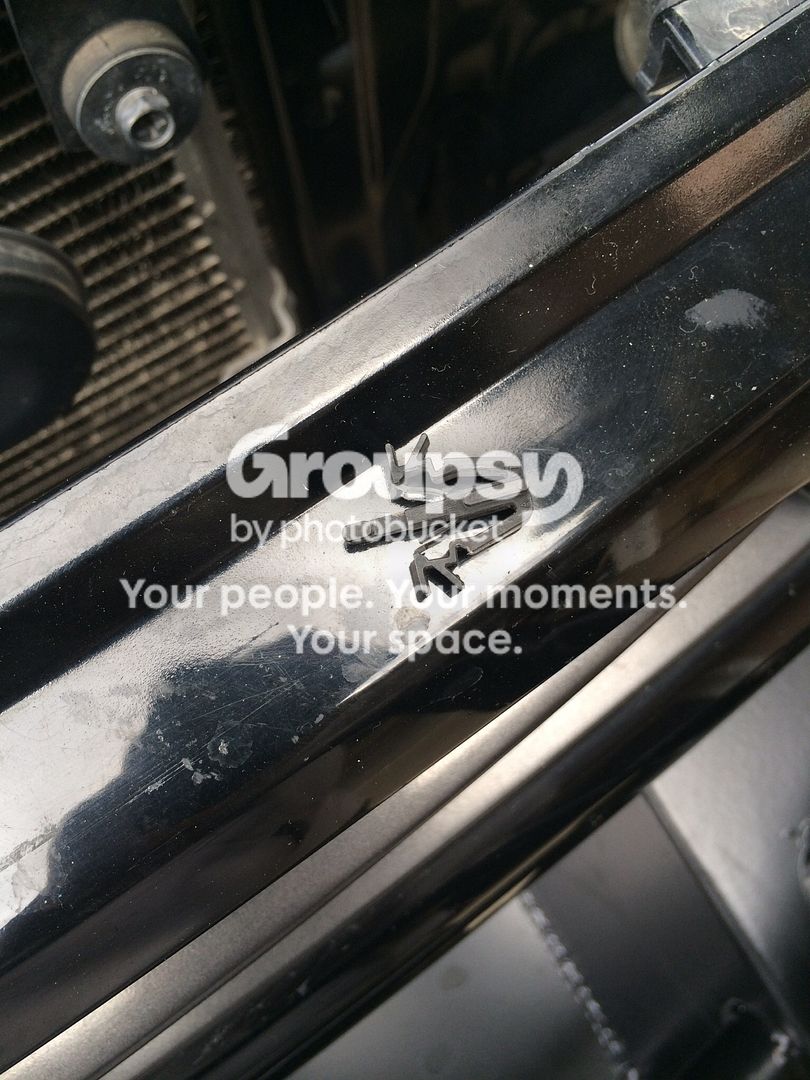
Went fairly smooth but the front nuts below the headlights are a bit tough. I also used a ratcheting 10mm wrench to reach them. Something that you also encounter is the little plastic clips that hold the liner in. The look like this and it is easy to see how they work. Not knowing this I broke the first one. Then I realized I could access 4 of them from the backside in the engine compartment which simplified the task.
IMG_0065.jpg~original

These 2 were the worst
IMG_0062.jpg~original

Pulled off the collector while I was in there
IMG_0059.jpg~original

IMG_0066-1.jpg~original
 
Last edited:
Next was the bumper from AOR. Scotty and Glade hooked me up with the install. It happened quick almost like ordering Chinese food at a restaurant style quick. That was a cool experience To BS with the guys and they did me good. Glades ride was in there and needless to say mine felt very inadequate next to that thing. I didn't take a photo not wanting to infringe.
Off with the bottom lip
image-68.jpg~original


New bumper Is so much better. Also added the duratracs and spacers

image-70.jpg~original


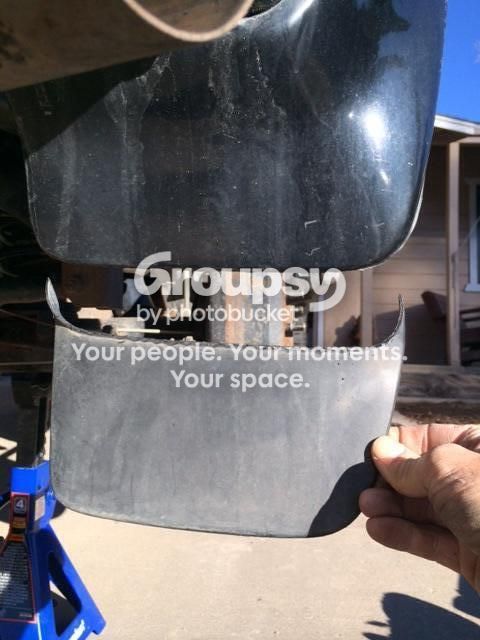
Off come the mud flaps
image-64.jpg~original

image-66.jpg~original


Needing to do some work on the front end I removed the grill. About 8 clips that'll break easy if too much force is used. I've had them out for the tranny cooler install and probably learned how to take it off then but here's a pic any how.
image-59.jpg~original

image-61.jpg~original


Which gave me a perfect space to work on this

image-62.jpg~original


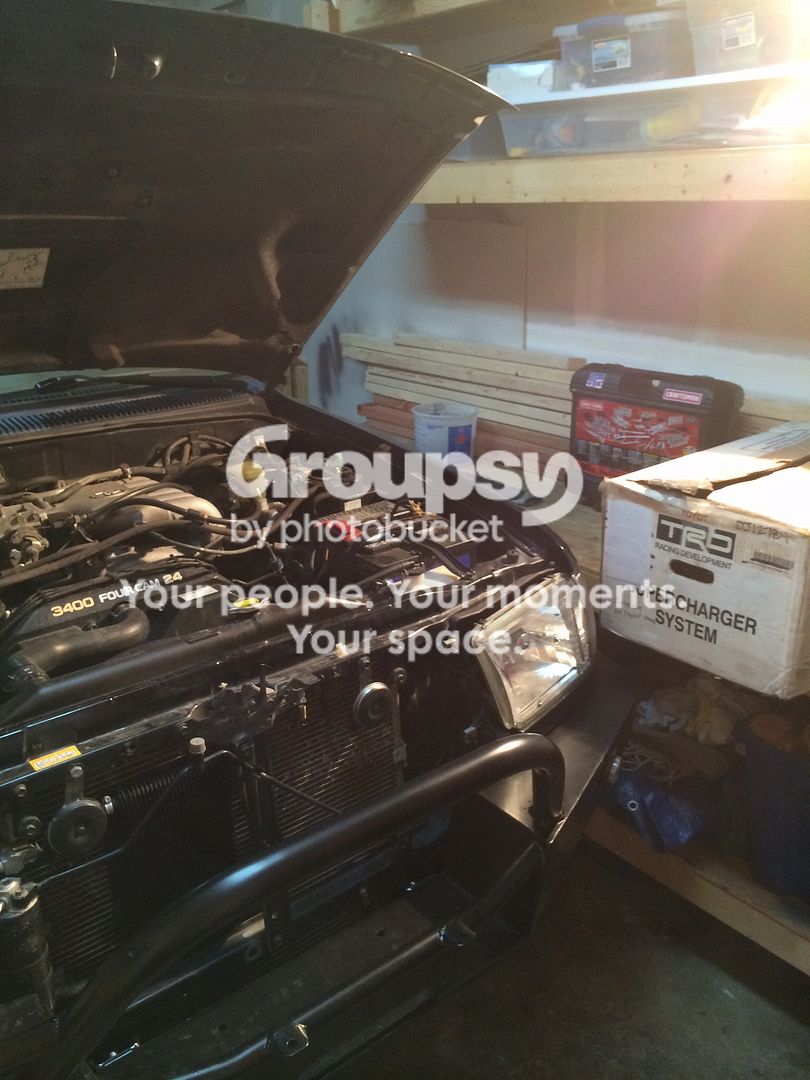
No grill or winch and the AOR bumper created a perfect bench to install the SC from..
image-63.jpg~original


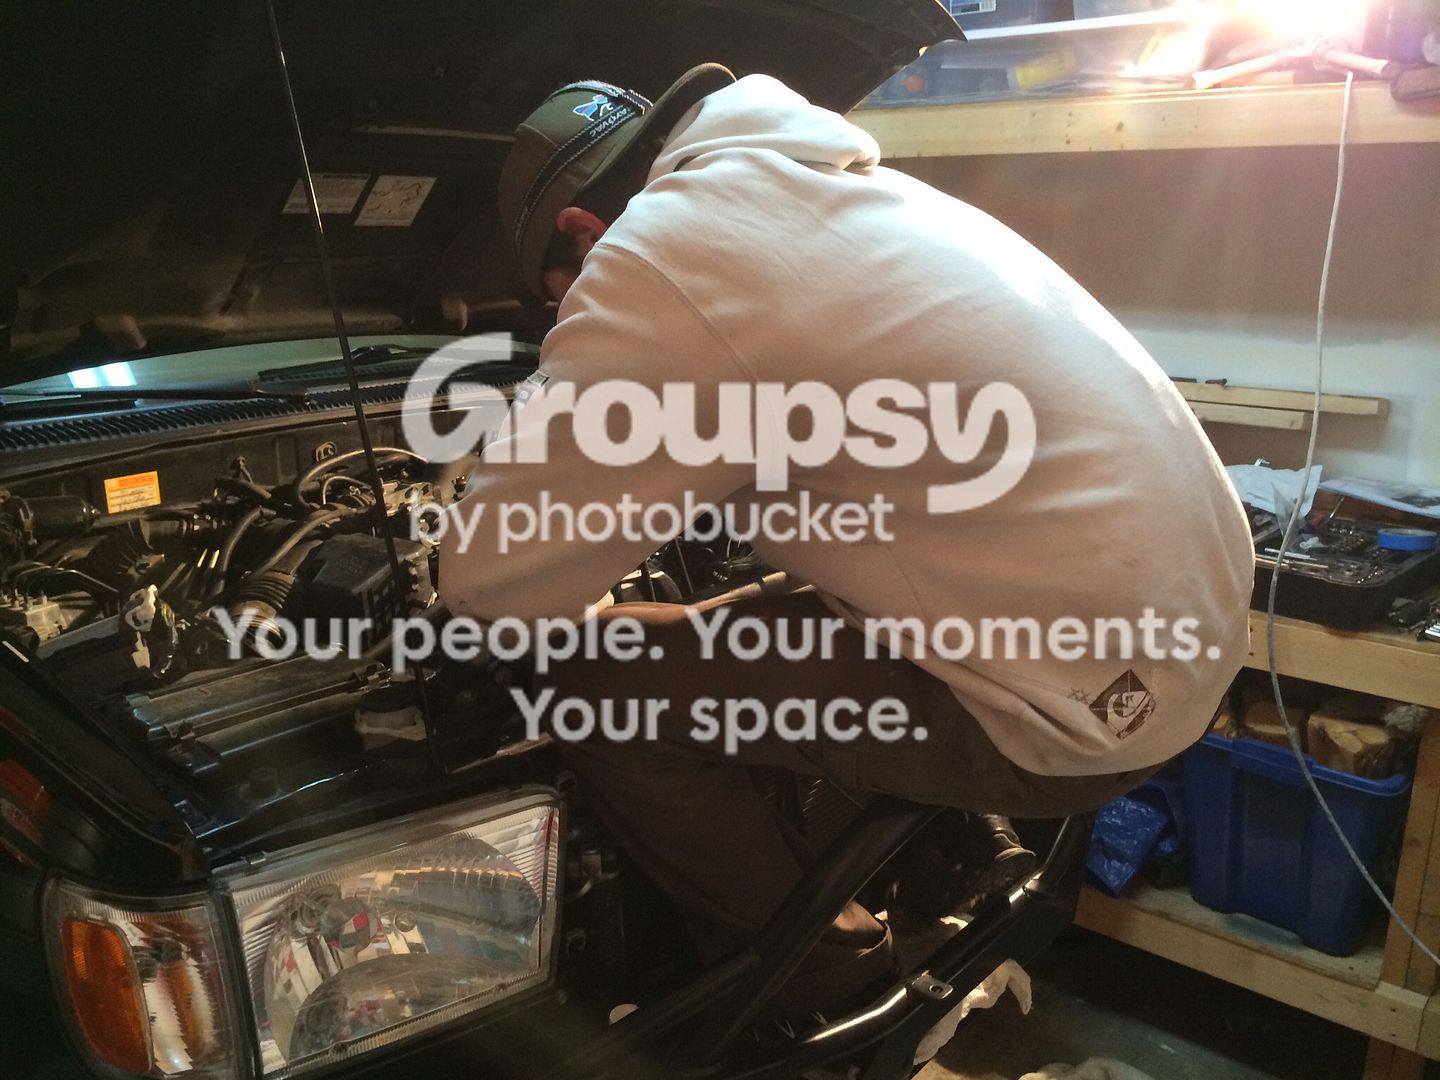
That went pretty smooth. I printed the instructions offline as it was 1 of only two items missing from the box. The other was the belt, that I got from TRdusa. A couple things that I struggled with that may help someone else.
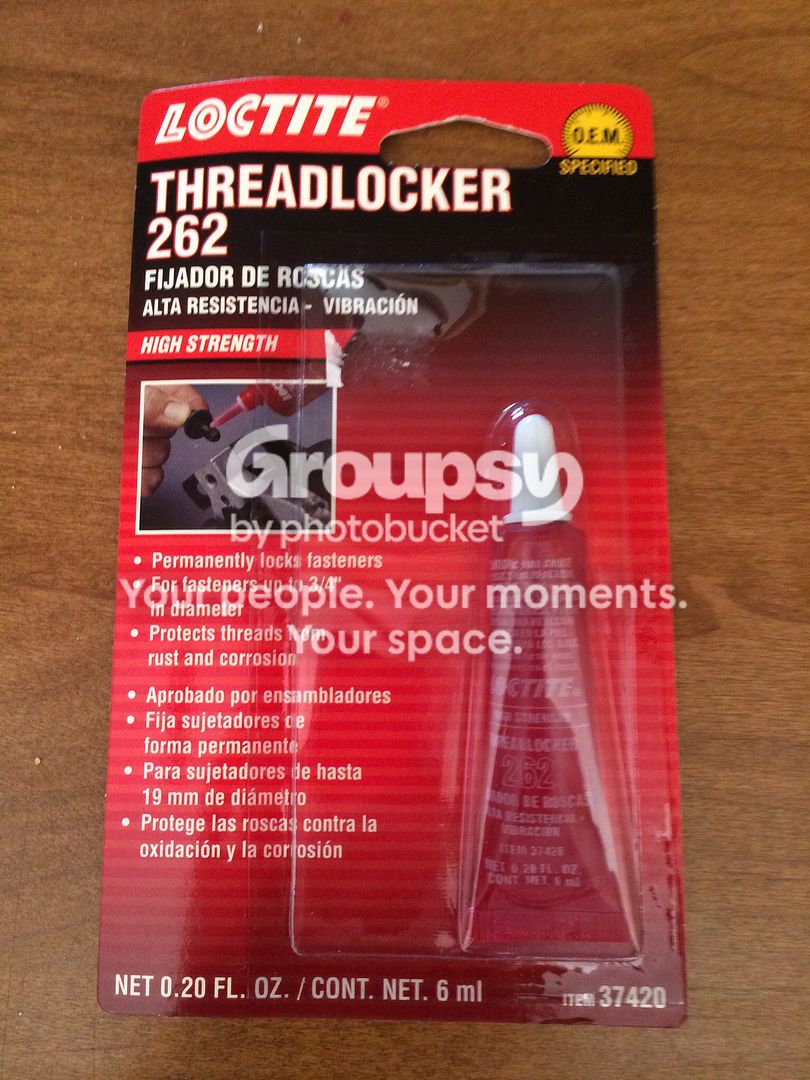
1) I couldn't find the Loctite 262, but inevitably did at the Harley dealer
image-71.jpg~original

2) The directions I had didn't have a diagram of the vacuum lines. Although I had an idea I wasn't sure. I eventually found this link that was helpful to me
Supercharger - TTORA Forum
 
To anyone considering doing the install themselves, I would suggest you do. Just read up and be prepared. Even with instructions and the internet I had to feel my way through a few things, such as the tensioner bracket and vacuum lines. Anyhow it started first try and didn't miss a beat. No CEl and is running great. I haven't pushed it over 3000 rpms at all but am looking forward to it. On to the other items in the front. First I bolted the winch in. Them I realized I couldn't fit the grill in so out came the winch. Put the grill back in then pulled the bumper out as far as possible and squeezed in the winch. It's a tight fit with this AOr bumper. This pic is up to that point. You can see where I was beginning to cut the grill for clearance for the solenoid box.

IMG_0072.jpg~original


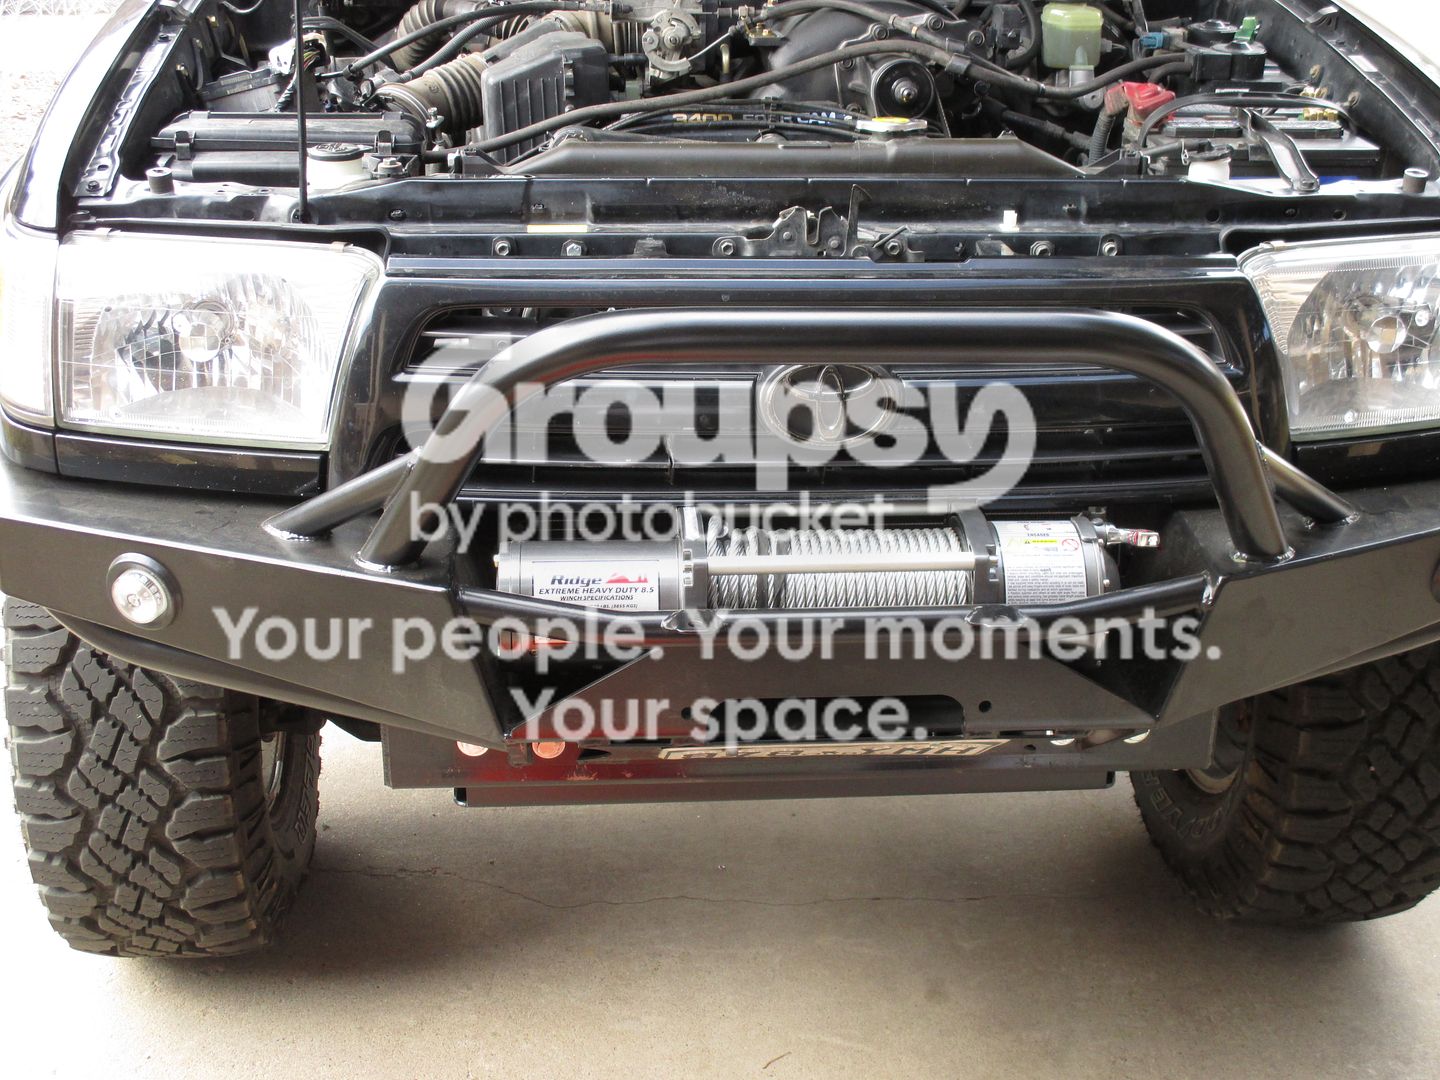
Little later the winch, 20"led bar and finally got the budbuilt lined up, well 5 of 7 bolts at least. I only hooked up the led to the factory fog light switch for now.
IMG_0080.jpg~original

IMG_0077.jpg~original

IMG_0083.jpg~original
 
Dang man, you've been busy!!! I'm pretty sure this is the first time I've seen your build thread. I didn't know you had put one together.

The rig is really coming along, and that new front bumper is :thumb: Between you and NateMob posting pics, I'm getting tempted to change it up.

Summer's coming. Let's put a plan together for some fishing.

Also, RE this...

Initial fit with some spider trax spacers on a run up the mountain. Also my first experience driving with these tires. I can confidently say they scared the sh.t out of me on ice or packed snow conditions. They came off the next day to be replaced by the hankooks for the rest of the storm.

Really??? I've had my duratracs in some nasty weather... driving on hard pack snow, ice, powder snow, rain... you name it, and they've never left me wanting more. I'm surprised at your review.
 
I am loving your build, since you are so detailed about all maintenance and all that.
A couple questions for you though:
Where did you get your new S/C?
Did you just buy the complete kit, and install everything and be done? (I didn't see that in there)
Did you buy/install anything else that didn't come with the kit that we should know?

Thanks!
Nate
 
Just read from top to bottom. Sexy!! Over the little time you have had it, you sure have put a lot of time and money into it making it just how you like it.

I did notice no body lift. Any thoughts of one to come?
 

Members online

Forum statistics

Threads
278,307
Messages
3,554,049
Members
248,016
Latest member
Advally Service

Trending content

Back
Top