
my 03-05 retrofit

vinnie_febs

New member
Decided to replaced my OE headlights since they were so yellowish/hazed and I refuse to polish them since I did this once with my wife's car and it was so much work IMO, just to have the haze come back a year later or so. So I bought a pair of Blacked out Depo headlights form eBay and although I enjoyed the look, the performance was beyond low standard. The reflectors are very crappy resulting in very low light reflection. Now I decided to give this Retrofitting a try and decided to purchase these items from TRS.com:
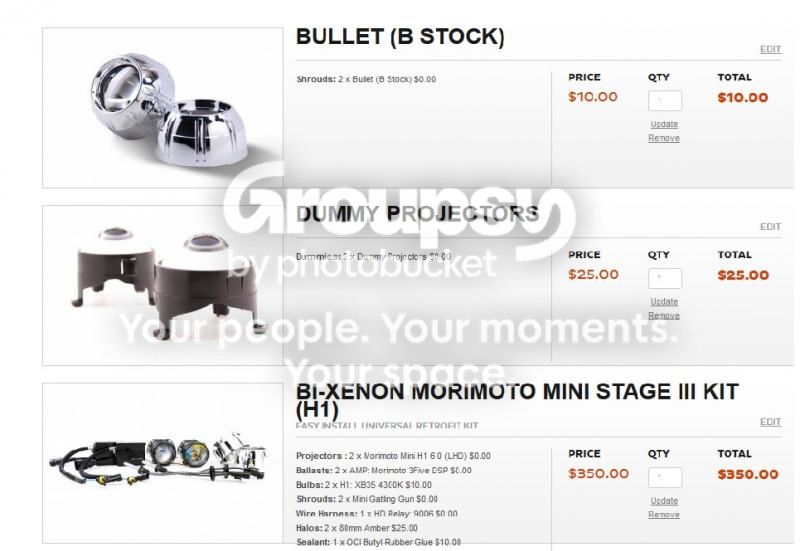

My plan is to use the kit in my low beam section of course with the bullet shrouds, and do a mock up in the high beam side with the mini gatling gun shrouds. I also purchased some amber Halos. I originally only purchased the 80mm for the bullet shroud, but now decided to also get the 70mm for the mini gatling gun, so that wont be delivered for a few more days.
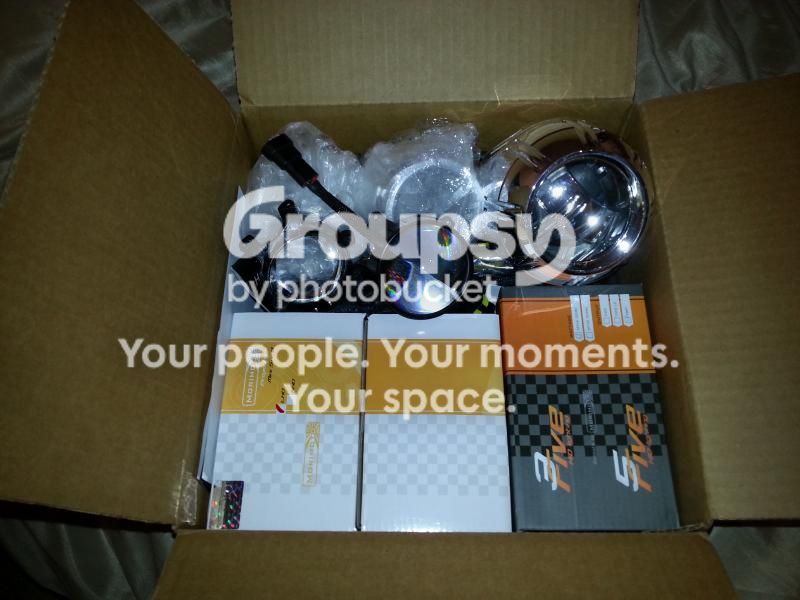

The first step is surprisingly very easy. For detailed step by step you can use the resources I used:

http://www.toyota-4runner.org/4th-g...acked-out-headlight-thread-diy-lots-pics.html

and or:

How To: Headlight Projector Retofit (Step 1: Opening headlights) - YouTube

265 degrees for 7 minutes worked perfect for me, now remember I started with the Depo brand headlights and not OEM. I found it was easier to start from the side, where the tabs are located, and then work yourself around slowly. I only used the flat tip screwdriver to initially pry it open, after that I just did it by hand.
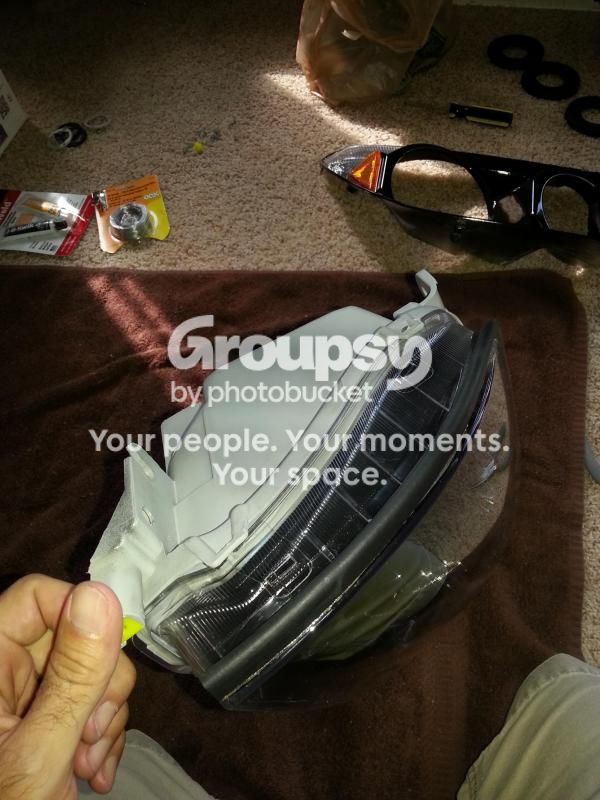
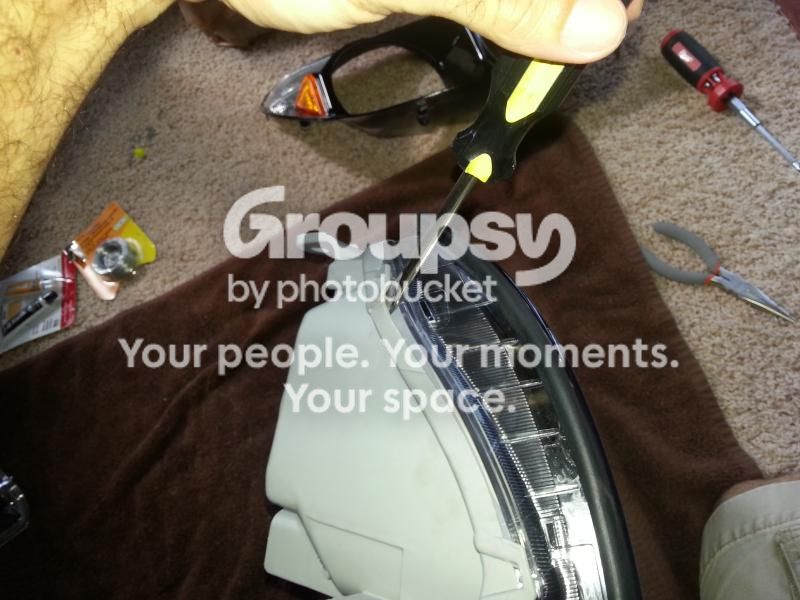

TIPS: Here is what I learned, used gloves (i didn't). It's feasible to pry it open without gloves, but it will much better if you wear some. Also, TAKE YOUR TIME! After you initially pry the housing open, use your finger tips and muscles, start to pull it apart but do this SLOW. It will take a lot of strength but it has to be done slowly. Pull apart and hold, the rubber will begin to stretch, as it does, relax, move to the next section and repeat. If anything remember this, do not yank, it is a steady, slow, but strong pull.
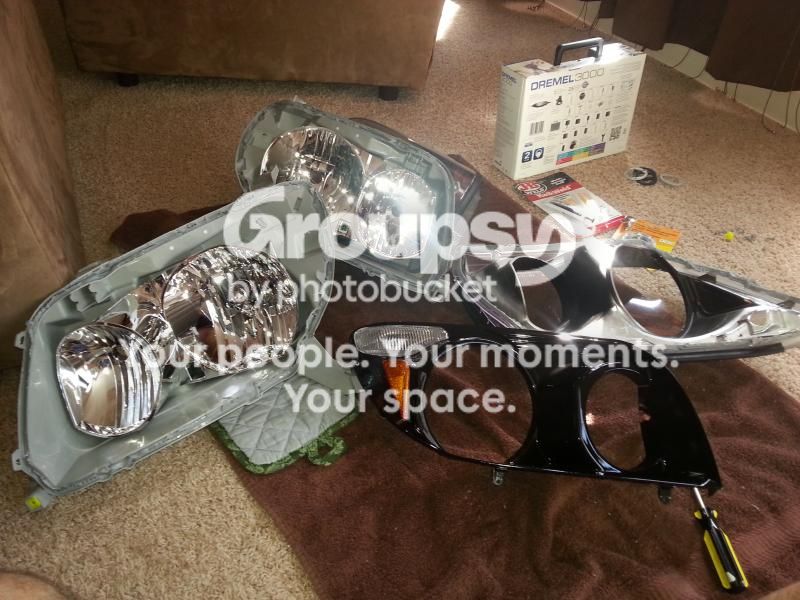

Now, in my case I had to take the reflectors completely apart because the HID reflectors does not come out far enough in order for me to use the nut to secure it properly.
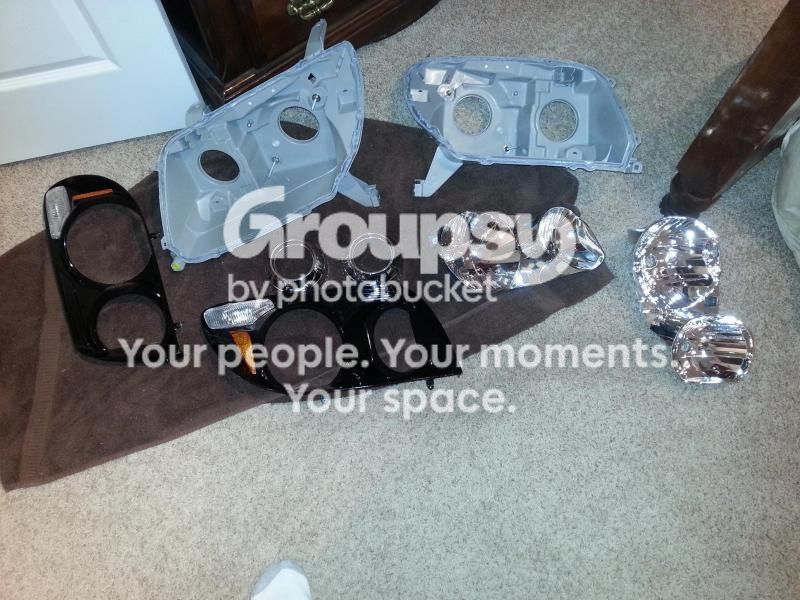
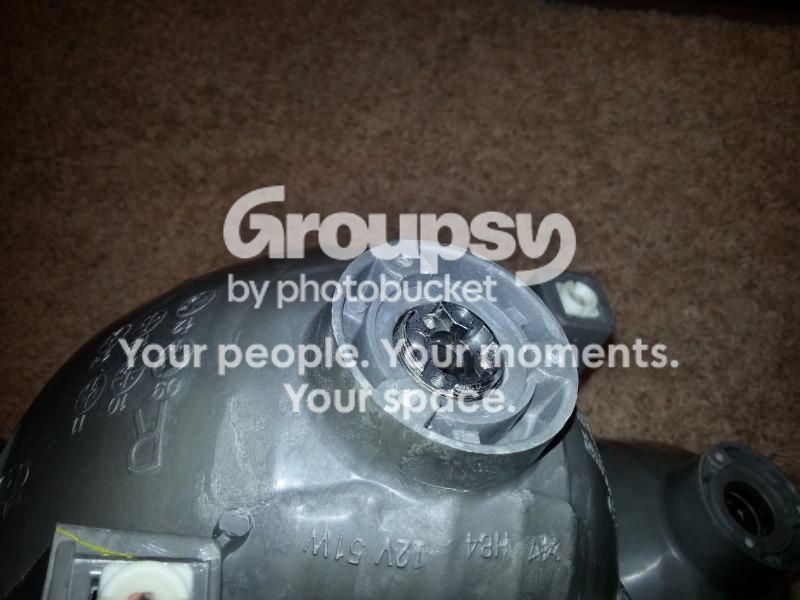

So now I will have to use my dremel to shave down some. I'm using this video as a reference:
how to beginners projector retrofit (1of2) - YouTube

More to follow....................
 
Last edited:
Register to hide this ad
Quick update, I was not able to do anything yesterday, but today I finally got around shaving down the headlights. I used the dremel and it was pretty easy and straight forward.


Next shrouds, because it is so easy and just to be on the safe side, before painting, I de-chrome the shrouds with easy-off. Simply spray on, let it seat for about 10 minutes, spray again, 10 minutes, wash off. TIP: do yourself a favor and wear latex gloves or something, your fingers will appreciate it. To chrome or not to chrome it's a subject that many debate about, at the end of the day it is about what you like. I'm not a fan of a lot of chrome so for me, black was the better choice. Remember it is your ride, do what you like, not what other think you should.


Chrome no more!
 
Last edited:
Quick update, I was not able to do anything yesterday, but today I finally got around shaving down the headlights. I used the dremel and it was pretty easy and straight forward.


Next shrouds, because it is so easy and just to be on the safe side before painting, I de-chrome the shrouds with easy-off. Simply spray on, let it seat for about 10 minutes, spray again, 10 minutes, wash off. TIP: do yourself a favor and wear latex gloves or something, your fingers will appreciate it. To chrome or not to chrome it's a subject that many debate about, at the end of the day it is about what you like. I'm not a fan of a lot of chrome so for me, black was the better choice. Remember it is your ride, do what you like, not what other think you should.


Chrome no more!

Looking Good.
 
Shrouds sanded with 800 grit, drilled holes to secure HALOs with 28 gauge wire and rinsed them with running water. Also drilled some bigger holes on the Bullet shrouds so i can feed the HALOS wire through it.


Painted with black semi-gloss, now we wait for it to dry.
 
Well, project will be on hold for a few days I guess. It looks like I will need some reflector housings so I can hold my dummy projectors in place properly. Thought about just screwing them to the reflectors but I'm afraid it will just snap off. Will be getting these tomorrow once thye open.
 
Last edited:
note:

whne shaving the rear down make sure that is flat. or els you will have aiming issues. it will point down left right up....all over the place. i would find a belt sander or use a file so you can get it flat. dremel can but harder.

also put the locking nut on, put the bulb holder on and bulb in to make sure you can. you might need to shave it down a little more if the locking nut is in the way.

buy some dap silicone to hold the back of the projector to the OEM shroud. this will aid the projector from moving and bouncing in the future. its to help the locking nut.

i'm sure you saw my two versions of projectors right?
 
Yeah, it took more TLC when using the dremel but I got it pretty flat. I already did a mock up including silicone washer and all the rest and it fits just perfect. Now I'm just waiting on my extra set of HALOs and the extra reflectors I ordered today, should be here Wednesday hopefully. Really taking my time on this one.
 
Last edited:
Awesome as this has helped me tremendously because I am in the process of ordering mine. Quick question, are you going to use any sealant to put the cover back onto the housing or silicone on the back like I see on other builds. Thanks
 
I got the rubber glue sealant from TRS with my order, it was only $10 more. Pending on the housing, a lot of times you can just re-use the sealant already in the housing, but for $10 bucks more why not get the extra. As far as the back, I don't foresee using any sealant. TRS kit comes with a large silicone washer that goes between the HID reflector housing and the original reflectors headlights, it seals it pretty good. I might just use aluminium tape but not sure. I've put the project on hold for now due to work and still waiting on some extra items that I decided to add to my project. I will definitely let you know. Below is a link to TRS.com "do it yourself" link so you can have a visual of what I'm talking about, the video is pretty good also.

Projectors: Mini H1 6.0 Guide - DIY Installation Guides

()
 
I got the rubber glue sealant from TRS with my order, it was only $10 more. Pending on the housing, a lot of times you can just re-use the sealant already in the housing, but for $10 bucks more why not get the extra. As far as the back, I don't foresee using any sealant. TRS kit comes with a large silicone washer that goes between the HID reflector housing and the original reflectors headlights, it seals it pretty good. I might just use aluminium tape but not sure. I've put the project on hold for now due to work and still waiting on some extra items that I decided to add to my project. I will definitely let you know. Below is a link to TRS.com "do it yourself" link so you can have a visual of what I'm talking about, the video is pretty good also.

Projectors: Mini H1 6.0 Guide - DIY Installation Guides

()


Thanks for the info and link. Can't wait to get started on mine; whenever it comes.
 
Progress update:

Paint job is done, pretty happy with the semi gloss black choice.


Got my extra HID reflector bowls and HALOs today, so figured I at least put together the mockup reflectors.


Added some JB to the nut just for good measure


Shaved down the mini gatling gun shroud front side to give the HALOs wire somewhere to pass through. I also insulated them so it would blend with the shroud.

Before

After


Used thin hanging wire and bit of JB epoxy just because.


All assembled


Because I fed the wires through the small shroud opening/vent, I had to splice them.


Placed some aluminum tape on the side to secure the wires so they wouldn't show after installation.


Teaser:


Same exact procedures for the bullet shrouds, but after I installed the HALOs, I decided to spray them one last time.


the mad lab lol, taking a dinner dreak
 
Last edited:
DO IT! hahaha

I'm done for tonight, just finished installing the mockup projectors to the high beam housing. Made a last minute change and decided to re-route the HALOs wire through the H1 reflector housings since I wont be using them. Installed a silicone washer in one end, metal washer on the other, tight it down pretty good and decided to add some JB weld (stick) afterwards, just to make sure it stays in place. Then wrapped it with aluminum tape.


DO IT! hahaha

I'm done for tonight, just finished installing the mockup projectors to the high beam housing. Made a last minute change and decided to re-route the HALOs wire through the H1 reflector housings since I wont be using them. Installed a silicone washer in one end, metal washer on the other, tight it down pretty good and decided to add some JB weld (stick) afterwards, just to make sure it stays in place. Then wrapped it with aluminum tape.


I'll stick with the stock high beam so I'll have both function when high beam is switched on.
 
Finally done!!!!!!!!!! I just got in auto pilot mode and spent all day finishing this up, made a few mistakes along the way, and lessons were learned. Number one lesson, don't retrofit cheap Taiwanese headlights, stick to OEMs. I kind of stop taking pictures towards the end, I just wanted to be done. To be honest, install is pretty straight forward and luckily there are a plethora of info out there. I used TRS website about 80% of the time, the rest was just YouTube really. Anyways, it got a bit dark by the time I was done and it started to rain so I will post some more pics tomorrow. In the mean time, here are two quick photos I took before I took her for a test ride.

 
Last edited:

Members online

Forum statistics

Threads
278,313
Messages
3,554,090
Members
248,016
Latest member
Advally Service

Trending content

Back
Top