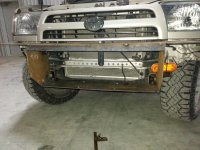
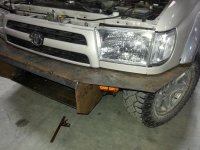
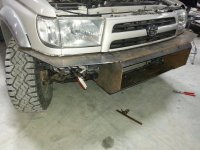
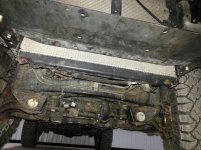
My first plate bumper build

shaunredone

New member
20140304_131959.jpg
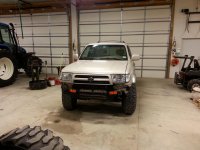
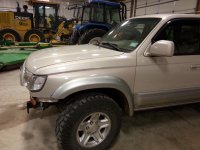
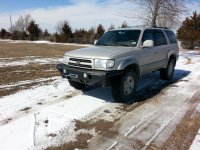
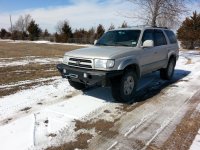
Ok, first off, this is my first post on any forum, so bear with me. I've had my 2000 Limited for about 2 years, and I love it. I actually did some research on here to see what things I should look for, and I found a one with the multi-mode 4wd and the rear locker. I've done just a few little mods to it like the grey wire mod, '99 springs all around (1" higher), stereo with custom sub box, fat mat on all the doors (and door skins) and entire hatch area, and threw some 265/75 duratracs on.
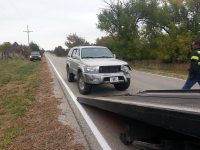
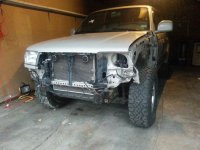
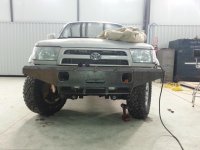
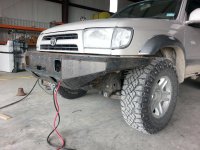
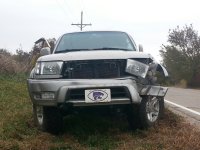
I always liked the shrockworks plate bumper, but didn't have that kind of cash lying around. Then a couple months ago I fell asleep at the wheel, went off the road and hit tree. It mangled the bumper and front fender and broke a tie rod. Long story short(er), it was totaled, but totally fixable, so I kept it and got a check for 7600 (most of that went to the loan). So I decided to fix it myself and make a plate bumper for it.
 

Attachments
  • 20131028_171222-1.jpg
    20131028_171222-1.jpg
    135.7 KB · Views: 9,604
  • 20131028_171259.jpg
    20131028_171259.jpg
    135.4 KB · Views: 9,458
  • 20131028_172500.jpg
    20131028_172500.jpg
    136.8 KB · Views: 9,582
  • 20131111_164418.jpg
    20131111_164418.jpg
    135.4 KB · Views: 9,541
  • 20140304_131959.jpg
    20140304_131959.jpg
    138 KB · Views: 11,141
Last edited:
Register to hide this ad
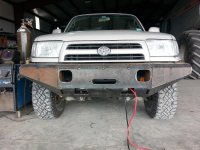
Getting it back to how it was minus the bumper wasn't that bad. I have a buddy that's a painter, so I just bought a new fender, grill, headlight, and little filler piece, had them painted and put em on. I did have to massage the headlight support piece back into shape, but it wasn't too bad. All together I had $400 in to it to get it back to factory looking, just without the bumper.
 

Attachments

  • 20131213_151845.jpg
    20131213_151845.jpg
    131.2 KB · Views: 9,524
  • 20131213_151859.jpg
    20131213_151859.jpg
    128.2 KB · Views: 9,606
I had looked at a bunch of plate bumpers and kinda had an idea of what I wanted to make. I basically took some of the design features I liked from shrockworks, 4xinnovations, the awesome bumper bandit made, and a few others, and put them together to make my own.
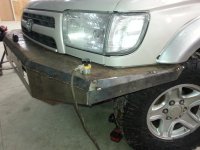
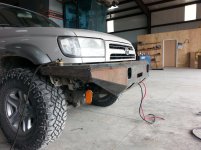
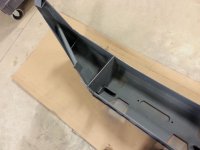
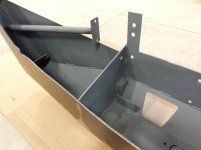
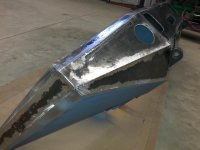
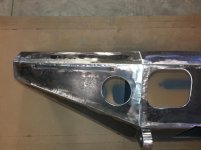
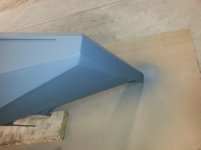
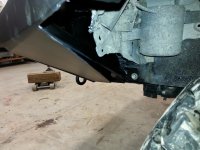
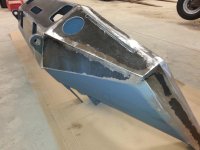
I got a 4x8 sheet of 3/16ths plate and got to work. I used a piece of plywood to get the top piece shaped how I wanted, then cut that out of steel. I cut the front plates off of the frame rails to weld in some nuts for more mounting holes(there will be 12 bolts that hold it on). I just used a flat piece of steel that connects the two frame rails as a winch mount. Then two vertical pieces against the outside of the frame rails that have the profile of the bumper cut out. These go all the way to the top piece and make a box at the front.
 

Attachments

  • 20140131_161055.jpg
    20140131_161055.jpg
    136.9 KB · Views: 9,444
  • 20140131_161104.jpg
    20140131_161104.jpg
    136.8 KB · Views: 13,769
  • 20140131_161113.jpg
    20140131_161113.jpg
    136.8 KB · Views: 9,679
  • 20140131_161130.jpg
    20140131_161130.jpg
    137.3 KB · Views: 9,297
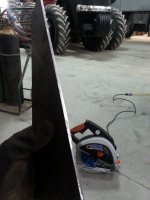
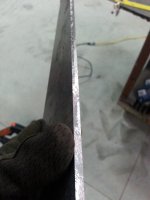
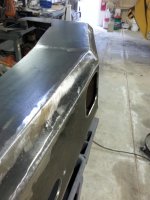
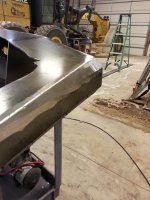
Since I cut the profile into the verticals, it was basically measure, cut, tack in place. I wanted it to be that easy on the corners too, so I cut another vertical profile piece and put them at the corners. It really made it pretty simple. Luckily my dad has about every tool known to man (he's a farmer), and so that means he has a 9" metal cutting circular saw. I had never used it, but it kicks ass! It's just like cutting wood, you just go slower, and you HAVE to wear hearing and eye protection. It's loud and throws a bunch of hot metal chips. But the cut edge is a mirror finish with no burrs at all (last 2 pictures)
 

Attachments

  • 20140201_104239.jpg
    20140201_104239.jpg
    136 KB · Views: 9,301
  • 20140201_104248.jpg
    20140201_104248.jpg
    136.4 KB · Views: 10,487
  • 20140201_104312.jpg
    20140201_104312.jpg
    135.5 KB · Views: 15,563
  • 20140215_084251.jpg
    20140215_084251.jpg
    134.9 KB · Views: 9,199
  • 20140215_084343.jpg
    20140215_084343.jpg
    143.8 KB · Views: 9,243
From the location of the damage, it looks like it was a glancing blow against that tree. Count yourself blessed, my friend.

This looks like it's gonna be awesome. Can't wait to see the finished product!
 
Well the front middle piece actually did take some time, but that's just because I wanted to flush mount my new led spotlights, and center up the hole for the fairlead. Then the others were pretty simple. Although the vertical pieces on either side of the center piece is just barely tacked in place, cause they have to come back off to flush mount my led floods (on backorder for a couple weeks) and turn signals. I think the turn signals are going to be sweet, not like any other ones I've seen, but you'll have to wait for that.
 

Attachments

  • 20140214_103503.jpg
    20140214_103503.jpg
    131.3 KB · Views: 9,363
  • 20140214_112038.jpg
    20140214_112038.jpg
    135.6 KB · Views: 9,285
  • 20140214_153233.jpg
    20140214_153233.jpg
    130 KB · Views: 9,528
  • 20140214_153247.jpg
    20140214_153247.jpg
    128 KB · Views: 9,179
  • 20140214_153300.jpg
    20140214_153300.jpg
    129.3 KB · Views: 12,629
I love using the skill saws with a metal blade. Makes one nasty noise but it works so well. Bumper is lookin good so far but might I suggest beveling all the edges that your going to weld.
 
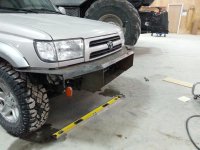
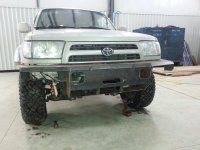
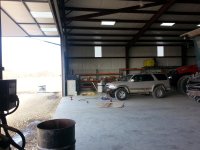
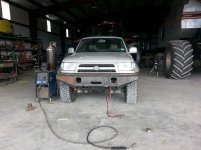
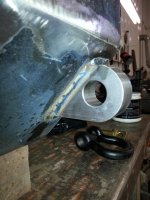
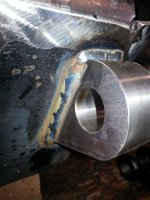
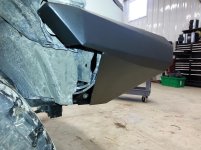
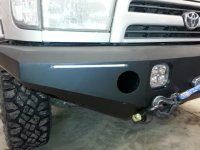
Well today was much nicer out, so I could open up the BIG door at dads new shop, and I could see much better! I finished up the little pieces and put the front lower on. The front lower has 2 bigger holes in it for a few reasons. I needed a place to put my hand in there to engage/disengage the winch clutch. I also had to have a way to adjust/aim my spot lights with the bumper on. They'll also let some air in to the radiator. And last but not least, I will be able to stick a hi-lift jack in either hole to jack the front up since it will be lifting from a much stronger vertical piece. The other 2 smaller holes are where the shackle mounts will come through (they aren't in yet either). So that's how its sitting as of today.
 

Attachments

  • 20140215_085405.jpg
    20140215_085405.jpg
    129.7 KB · Views: 9,114
  • 20140215_112510.jpg
    20140215_112510.jpg
    130.8 KB · Views: 9,115
  • 20140215_112530.jpg
    20140215_112530.jpg
    134.1 KB · Views: 9,134
  • 20140215_112543.jpg
    20140215_112543.jpg
    135.3 KB · Views: 9,057
  • 20140215_112602.jpg
    20140215_112602.jpg
    134.7 KB · Views: 12,492
I'm not going to lie....I was expecting something different, but I think you are doing a great job. You may have inspired me to get in the shop and start mine.
 
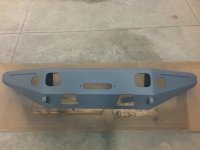
Well, I've gotten quite a bit more work done on the bumper. When last I left I had it mostly tacked in place and was waiting on some lights and shackle hangers, but other than that it was ready to be fully welded. The shackle hangers came in, so I went to work. After about an hour welding and around 10 days grinding I had this.

20140219_152154.jpg

20140219_152239.jpg

20140221_135851.jpg

20140221_135917.jpg

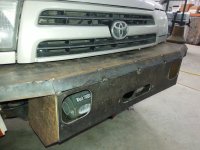
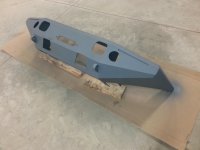
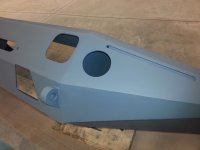
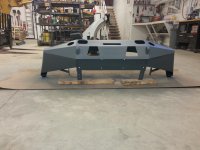
It was around this point that I kinda forgot to keep taking pictures. After test fitting I decided that it needed another horizontal piece on the bottom to clean up the look from the side. I was still waiting on the lights, so I went ahead and made those pieces out of 1/8" to save weight, and welded them on. Then I made some side supports out of 1" round stock. Then waited some more for the damn lights. I have ordered a few things from superbrightleds.com and they have always been excellent quality, good price, with great customer service. But these flood lights that I've been waiting on is a different story. At first they said they were on backorder til 2/6, then it changed to 2/14, then 2/28, 3/7, now 3/14. :redbrick: So I decided to say F it, guess where they will be mounted and finish it up. So here it is getting primer.
 

Attachments

  • 20140219_152154.jpg
    20140219_152154.jpg
    127 KB · Views: 9,029
  • 20140219_152239.jpg
    20140219_152239.jpg
    134.3 KB · Views: 8,890
  • 20140221_135851.jpg
    20140221_135851.jpg
    131.6 KB · Views: 9,134
  • 20140221_135917.jpg
    20140221_135917.jpg
    135.4 KB · Views: 8,824
  • 20140303_161232.jpg
    20140303_161232.jpg
    127.2 KB · Views: 8,804
  • 20140303_161255.jpg
    20140303_161255.jpg
    135.3 KB · Views: 8,803
  • 20140303_162223.jpg
    20140303_162223.jpg
    124.8 KB · Views: 9,011
  • 20140303_162235.jpg
    20140303_162235.jpg
    126.7 KB · Views: 8,960
Primered
 

Attachments

  • 20140303_162255.jpg
    20140303_162255.jpg
    129.7 KB · Views: 3,981
  • 20140303_163640.jpg
    20140303_163640.jpg
    126.1 KB · Views: 3,225
  • 20140303_163650.jpg
    20140303_163650.jpg
    120.8 KB · Views: 3,207
  • 20140303_163658.jpg
    20140303_163658.jpg
    130.4 KB · Views: 3,178
  • 20140303_163707.jpg
    20140303_163707.jpg
    128.5 KB · Views: 3,200
  • 20140303_163734.jpg
    20140303_163734.jpg
    129.1 KB · Views: 3,304
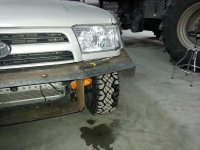
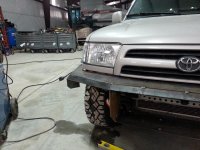
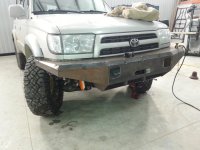
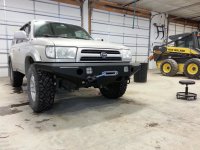
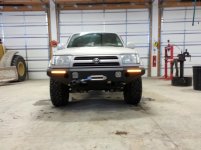
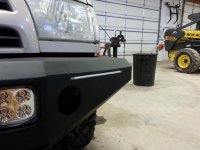
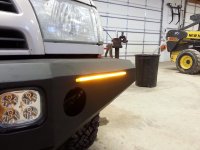
And here it is mounted up, only missing the led floods, and a rubber seal that I'm going to put in between the bumper and body. I really like how the turn signals came out. They are about 10" long, 1/4" thick and are packed with 75 amber leds. The leds are on 1mm spacing, so close together that it looks like a very bright thin solid line when lit up.
 

Attachments

  • 20140304_131417.jpg
    20140304_131417.jpg
    132.2 KB · Views: 4,140
  • 20140304_131442.jpg
    20140304_131442.jpg
    133.3 KB · Views: 3,206
  • 20140304_131456.jpg
    20140304_131456.jpg
    128 KB · Views: 3,686
  • 20140304_131514.jpg
    20140304_131514.jpg
    130.8 KB · Views: 3,221
  • 20140304_131553.jpg
    20140304_131553.jpg
    119.6 KB · Views: 3,225
  • 20140304_131604.jpg
    20140304_131604.jpg
    127.5 KB · Views: 3,177
  • 20140304_131607.jpg
    20140304_131607.jpg
    130.5 KB · Views: 3,181
  • 20140304_131959.jpg
    20140304_131959.jpg
    138 KB · Views: 3,248
Yours is easily my favorite front plate of them all thought about ever selling those i love that design!
 

Members online

Forum statistics

Threads
278,310
Messages
3,554,078
Members
248,016
Latest member
Advally Service

Trending content

Back
Top