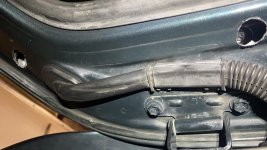
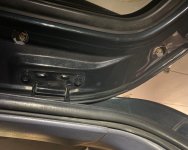
First post in this forum so take it easy on me

I was hesitant to pick up the Burtman spoiler because I didn't want to drill into my 4Runner, but it looked pretty damn cool and that carried more weight in my decision to add this mod.
Preferred to make a video as someone mentioned above but I had no idea what I was doing or how I was going to do it. I did capture some photos of my install.
I just removed the original spoiler, few screws/simple task.
Here are some photos with it on and removed.
You need to remove the stock break light just to wire in the new one on the Burtman spoiler.


The next step was to align the new spoiler where I wanted it to go, Burtman provides the white alignment strips.
You pretty much use these stickers as guides on where to drill (it's a white strip of paper that has a drill hole in the center).
I used painters tape to hold the spoiler in place. Once you remove the spoiler in this step, it leaves the white tabs you see sticking out, this shows where to drill.

I drilled a pilot hole from the outside all the way through, there were 3 layers to go through.
I then used a unibit from the inside of the hatch to get the hole big enough to fit the head of the screws.
On the inner right hole, I drilled an additional hole to run the electrical for the break light.
I opted to keep the original break light as well and added T connectors for the spoiler break light.
I did all wiring and reinstalled the stock break light before doing the final install of the Burtman spoiler.
You can see the screws from this photo. The spoiler has 4 areas to attached the screws.
The hole on the left side marked in RED interfered too close to the current electrical line so I decided to use Gorilla Heavy Duty Mounting Tape for this area.


In hindsight, knowing what I know now... I would have just used 2 screws on the inner mounts and would have opted to use the mounting tape to the two ends.
Also want to note regarding the 3 layers you have to drill through, I opted to find the same but longer screws at my local HD store.
This allowed me to not widen the inner layer hole (tough for me to explain, but worked well for me).
Here are some shots of the finished job.


I consider myself a novice, was able to do this mod and happy with the results.