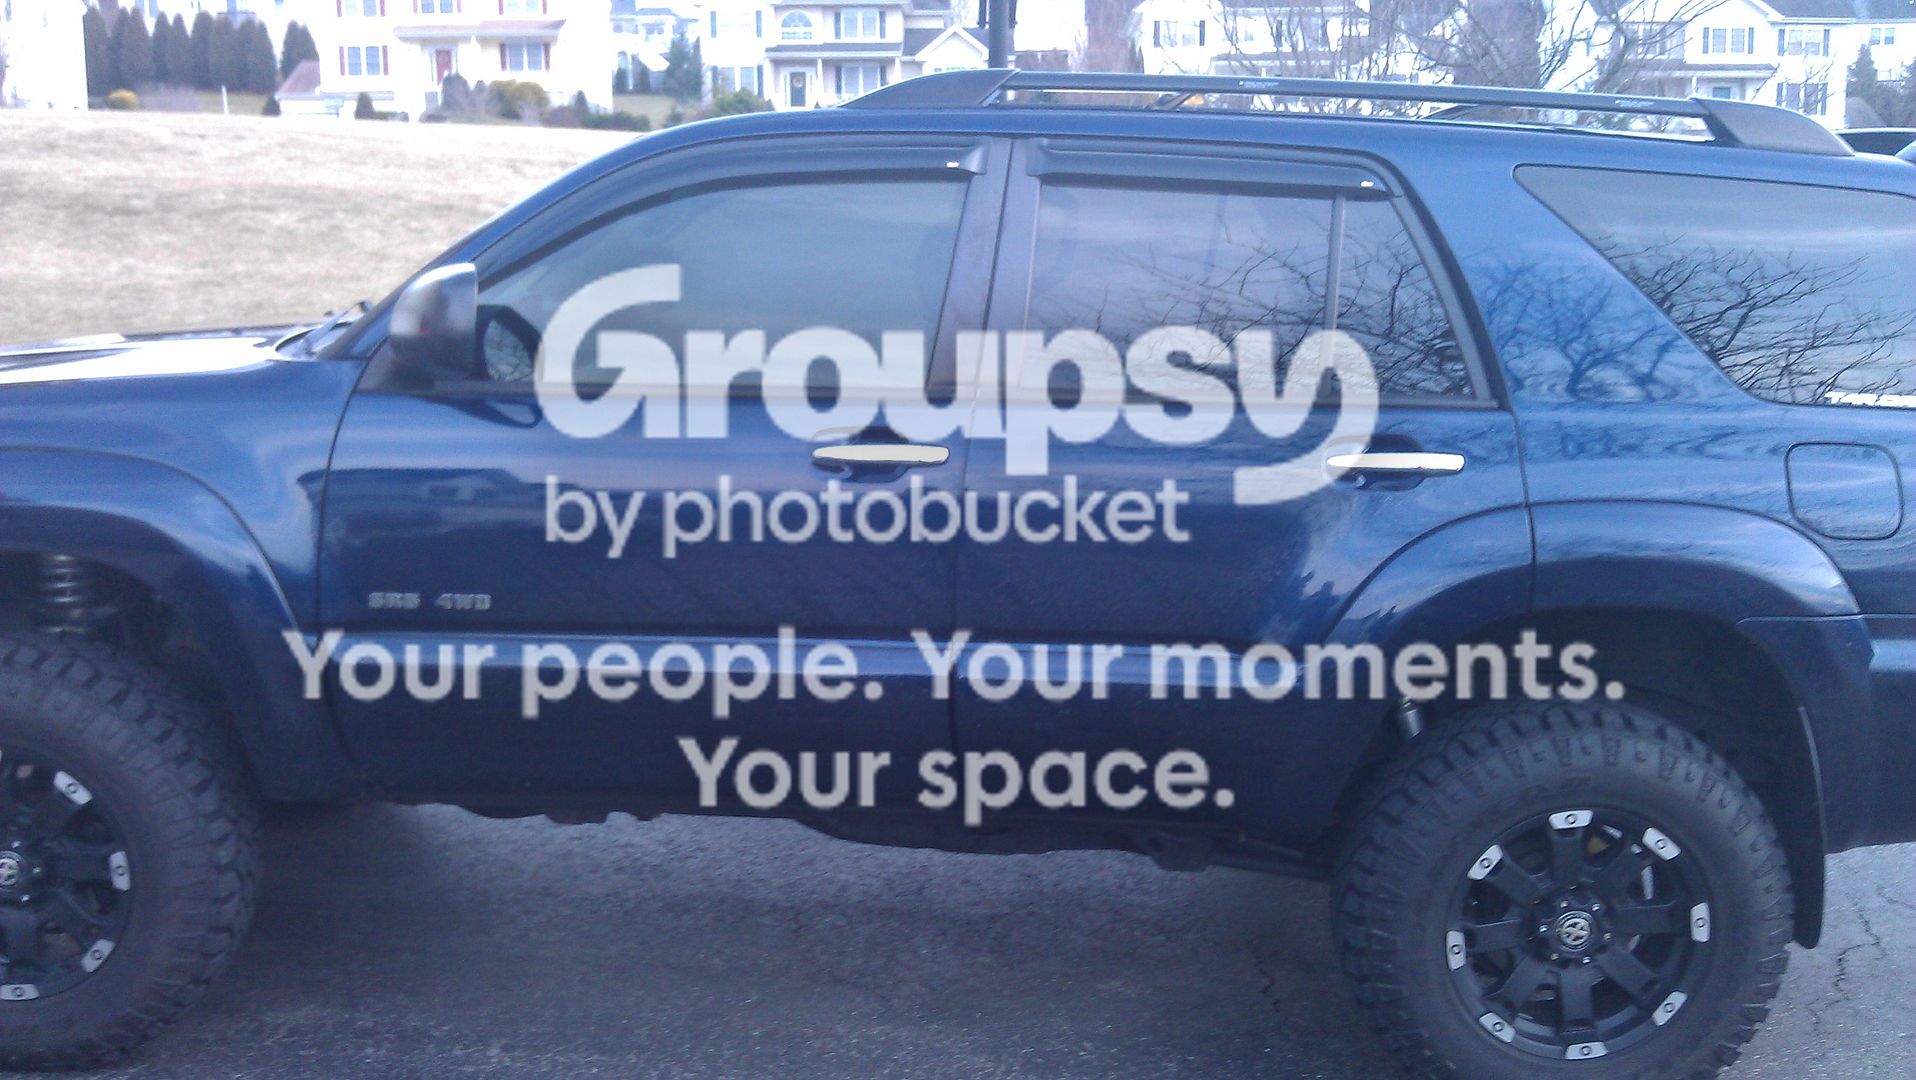
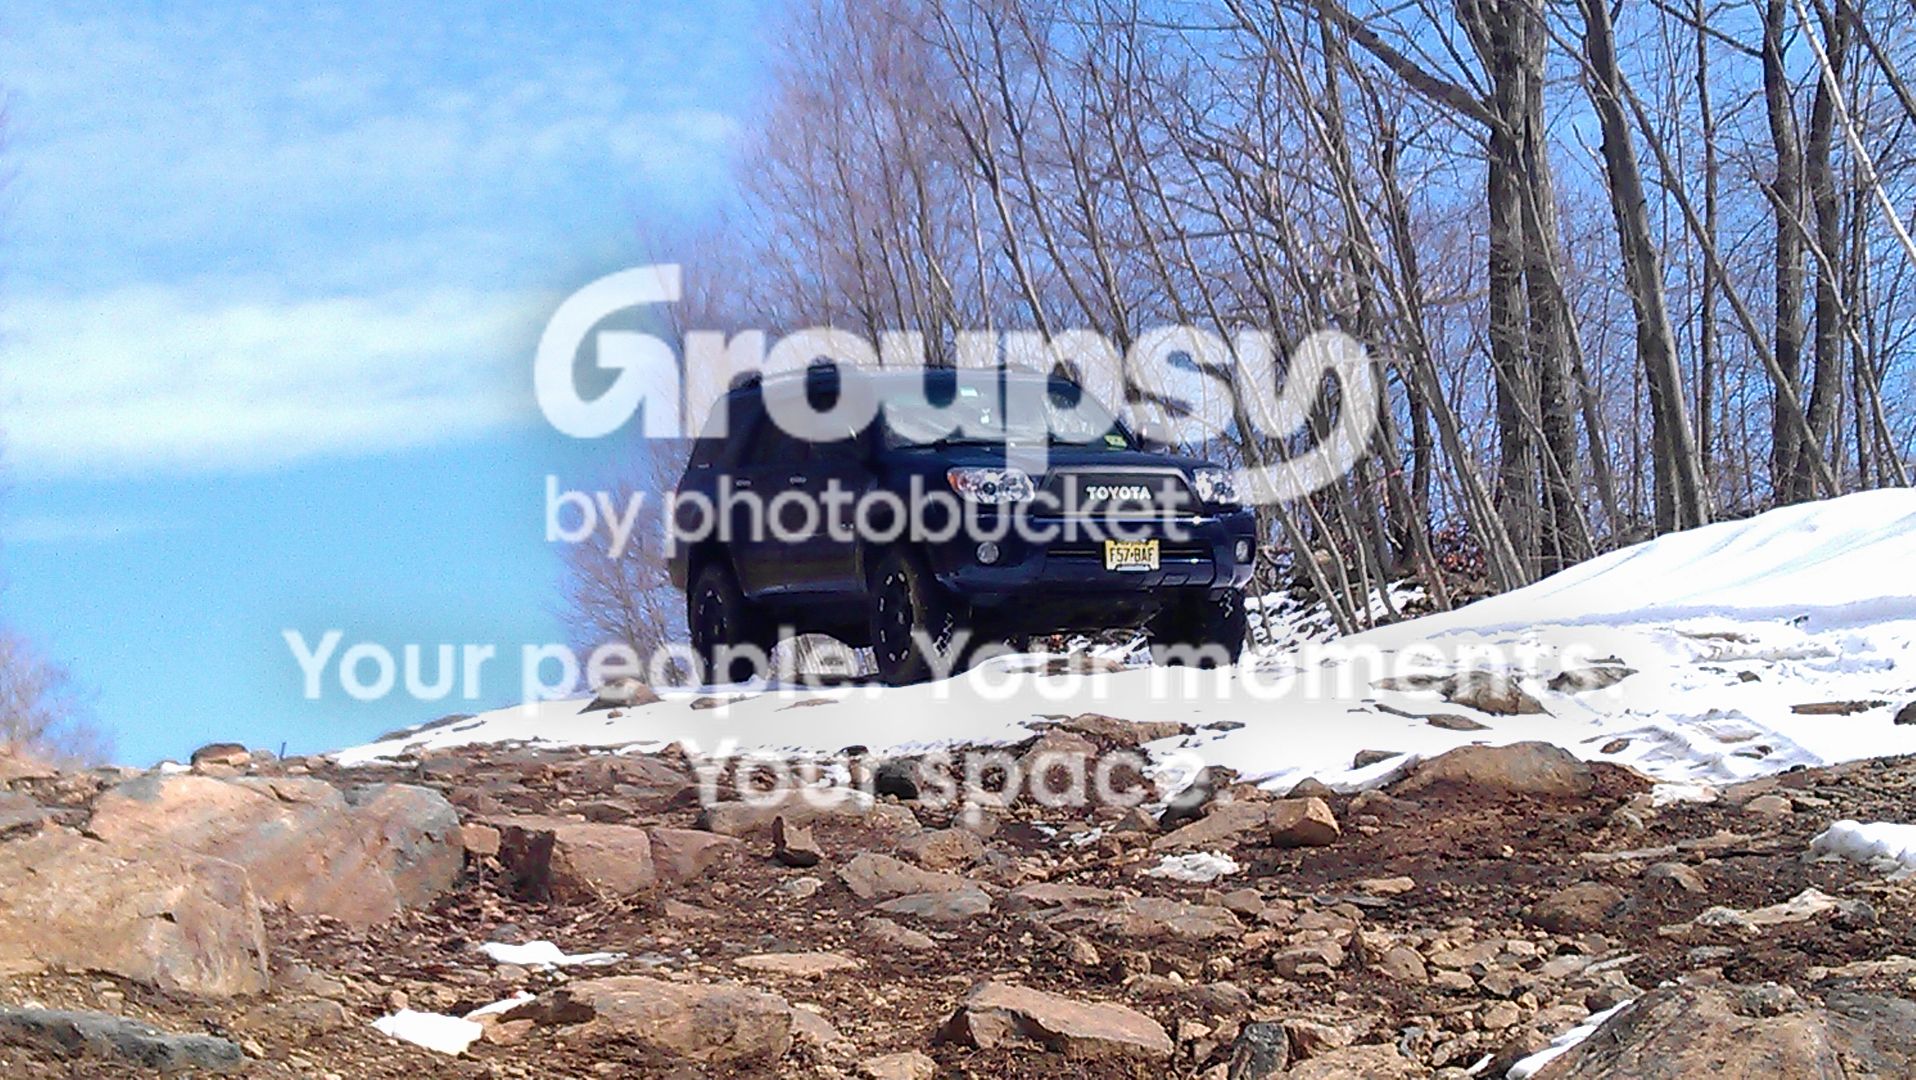
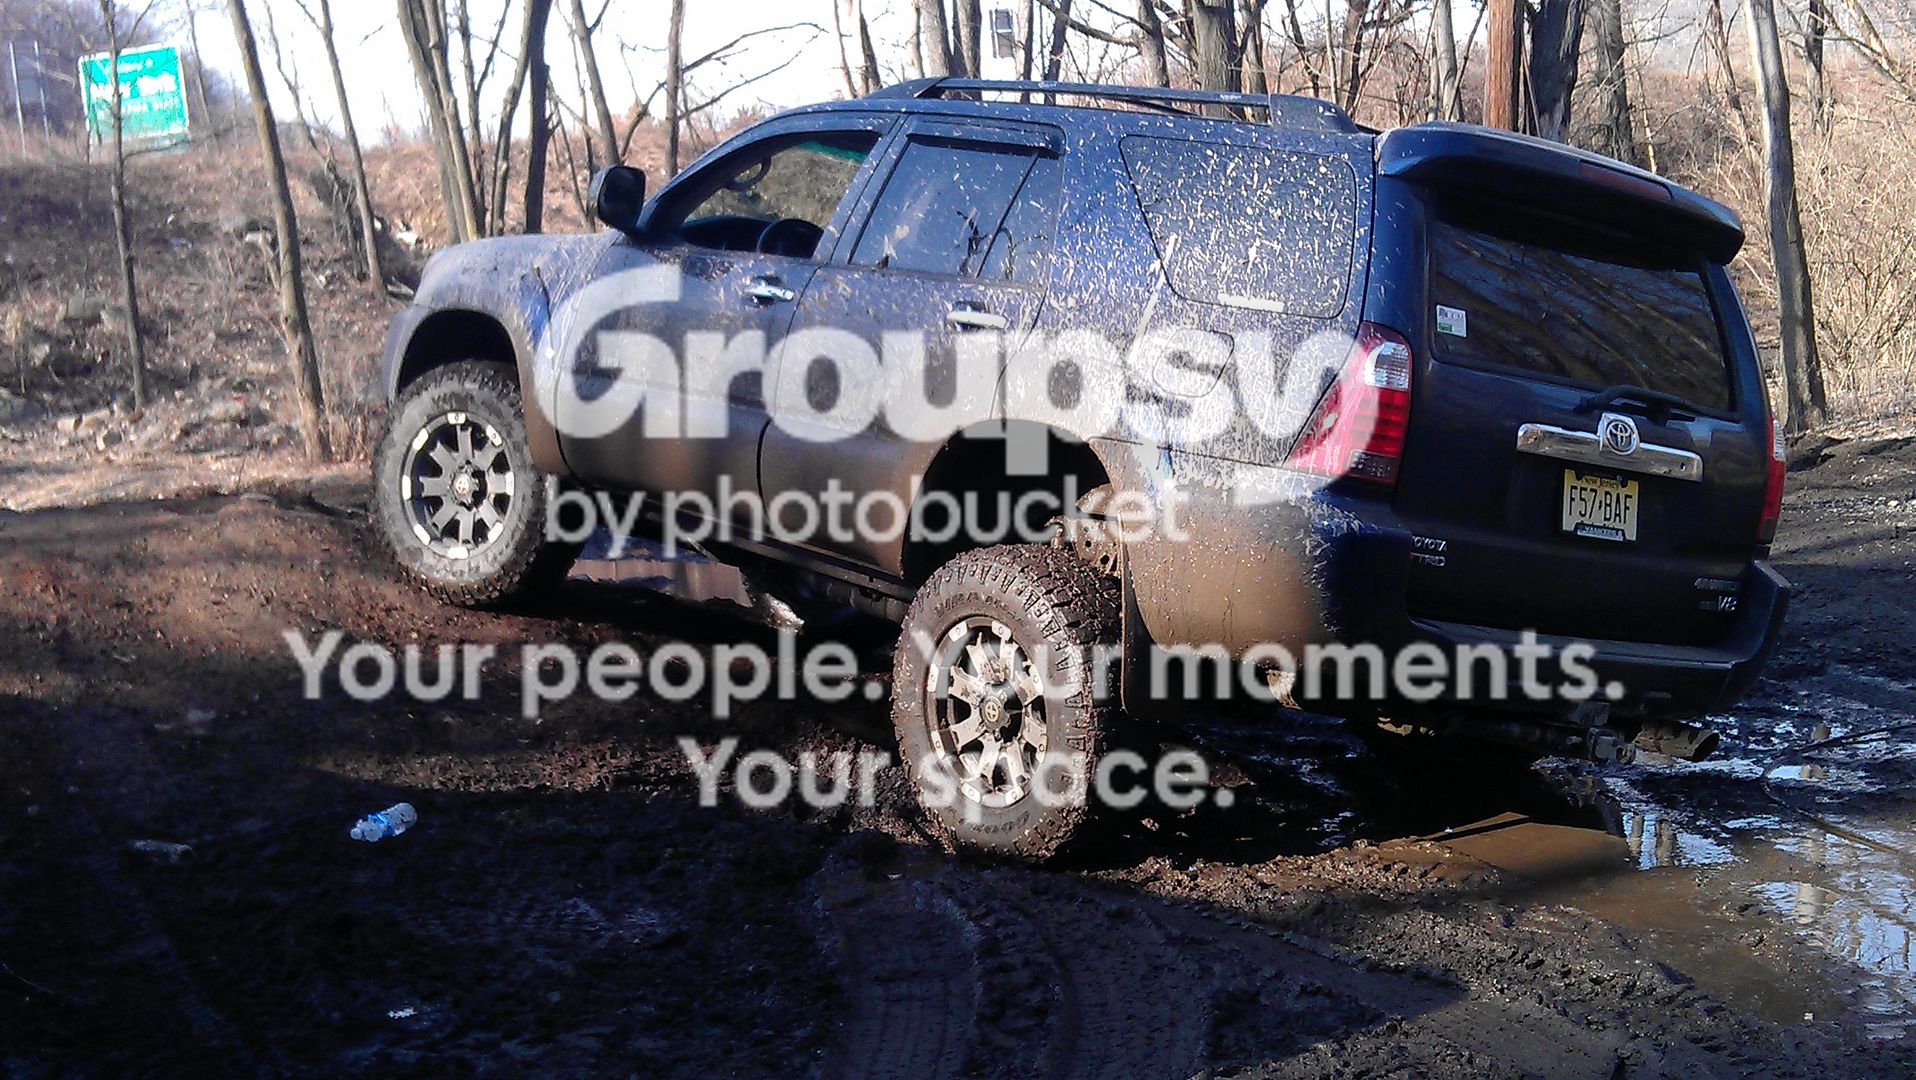
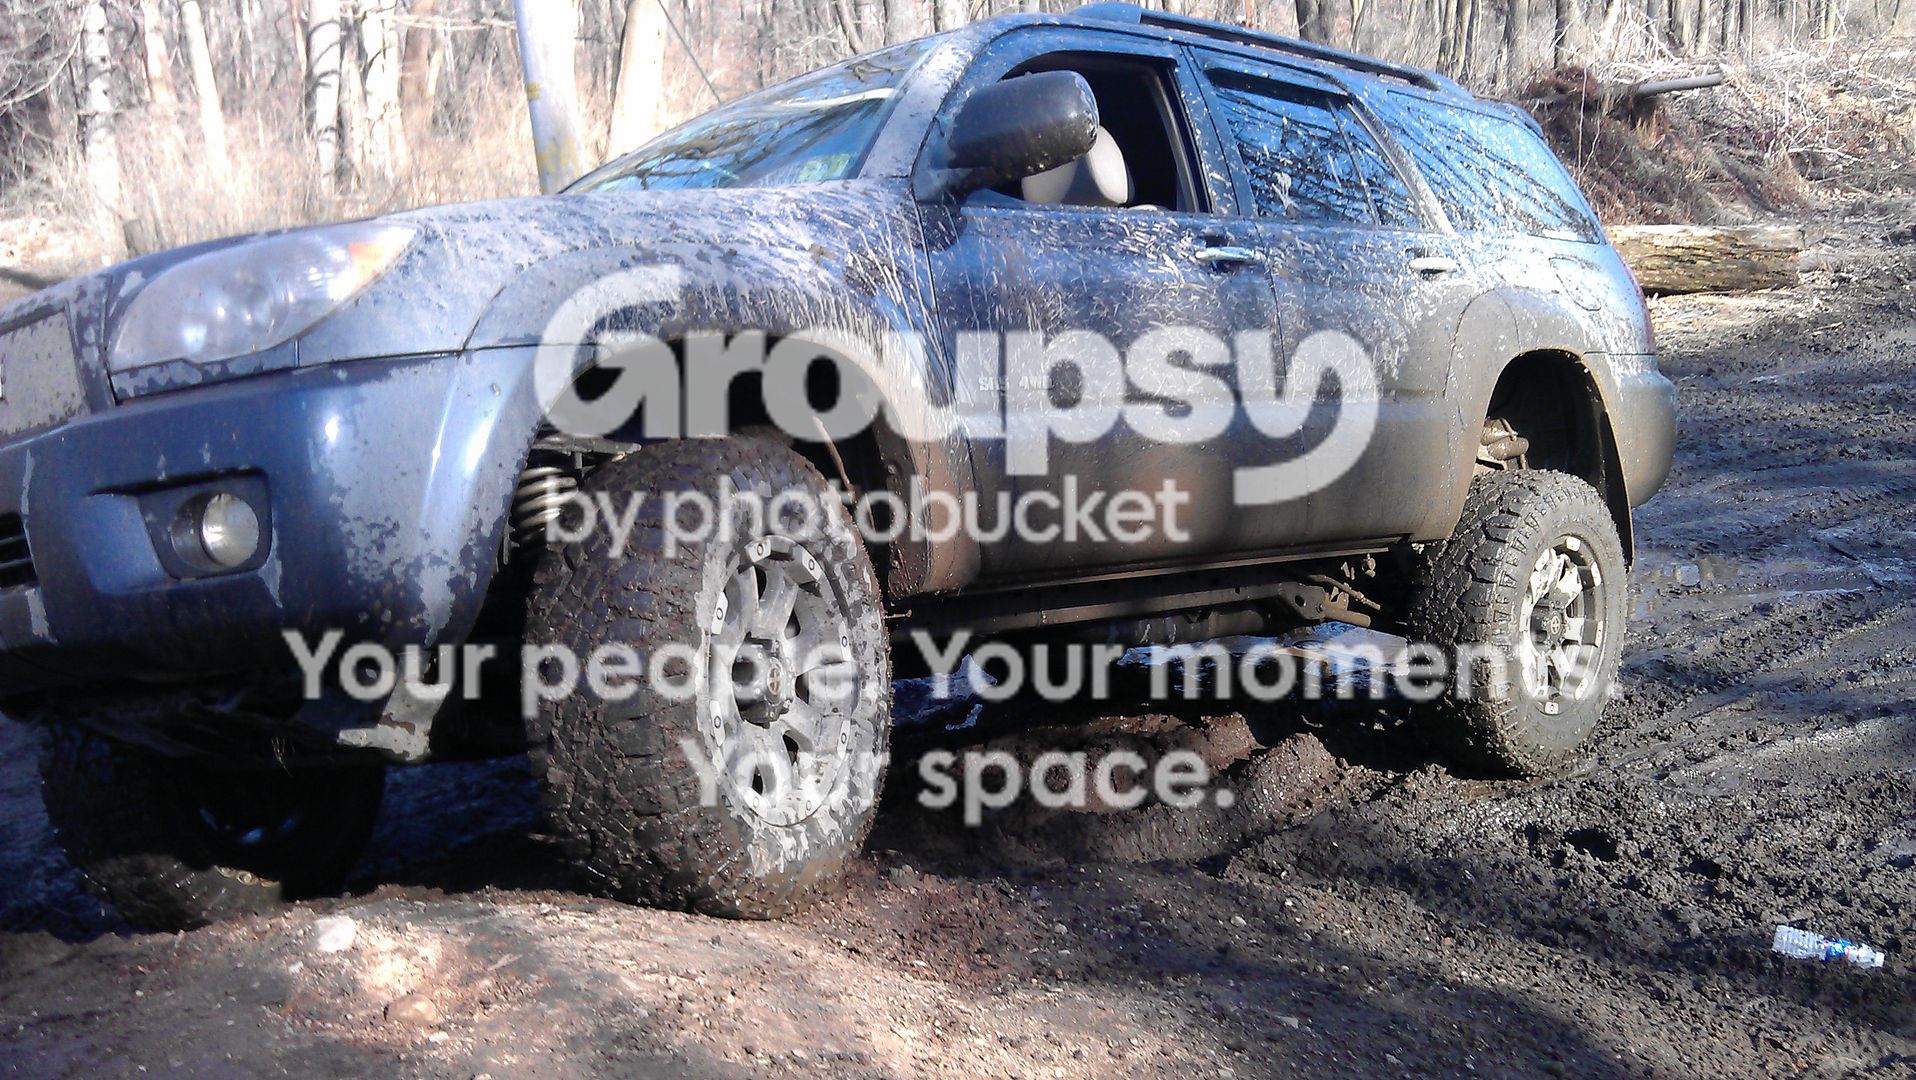
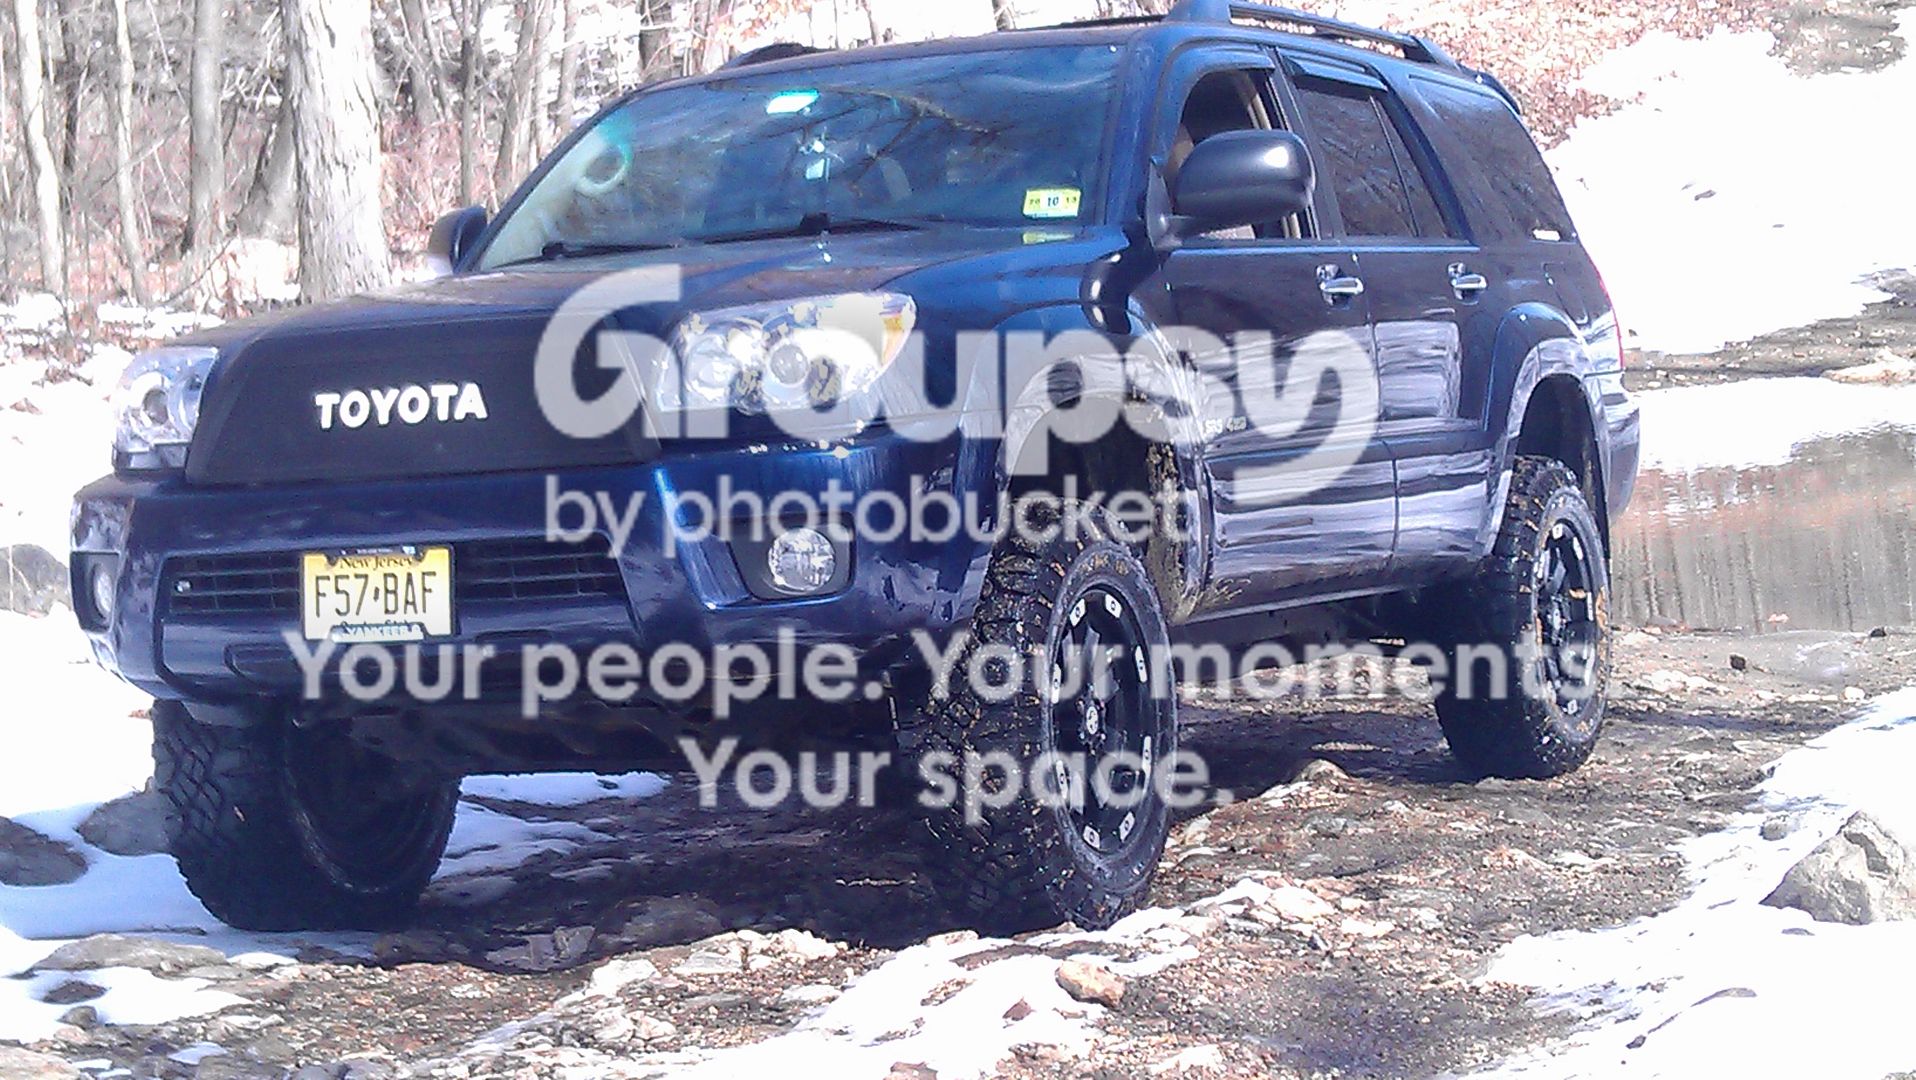
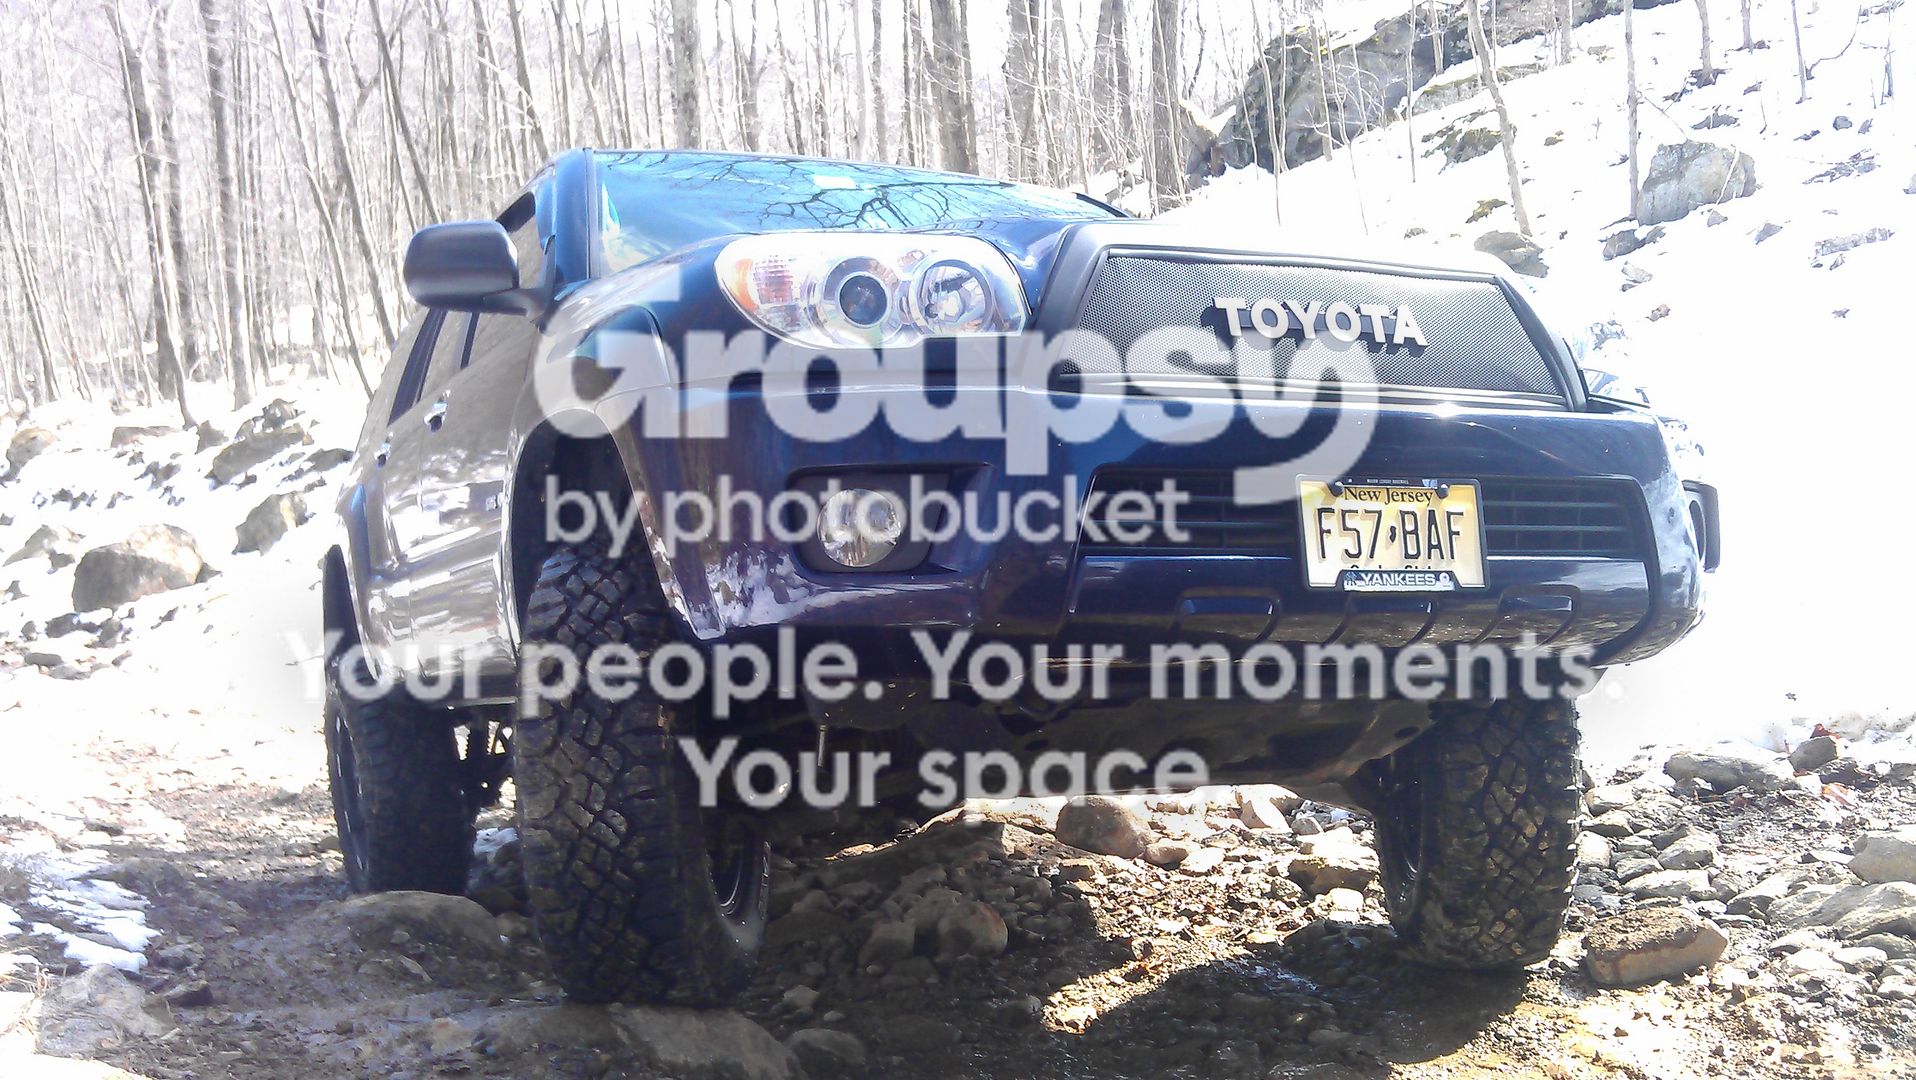
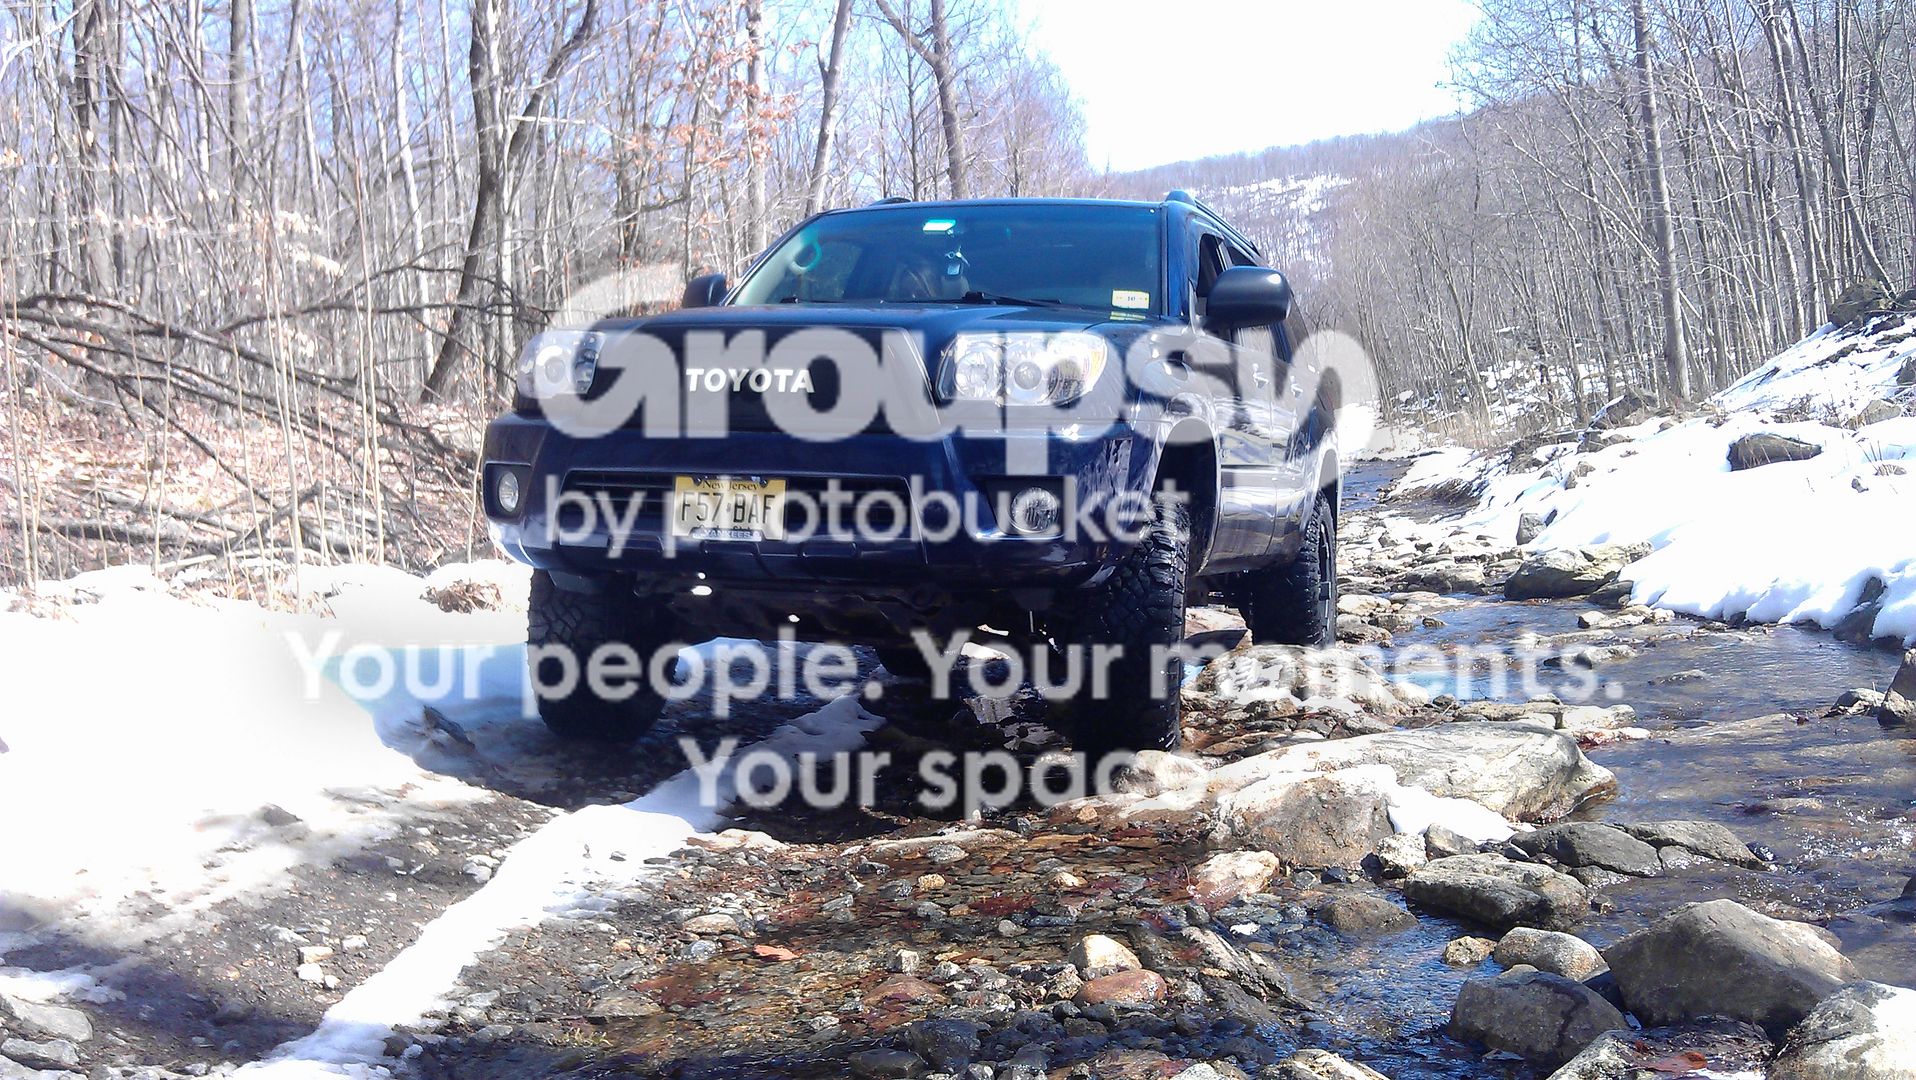
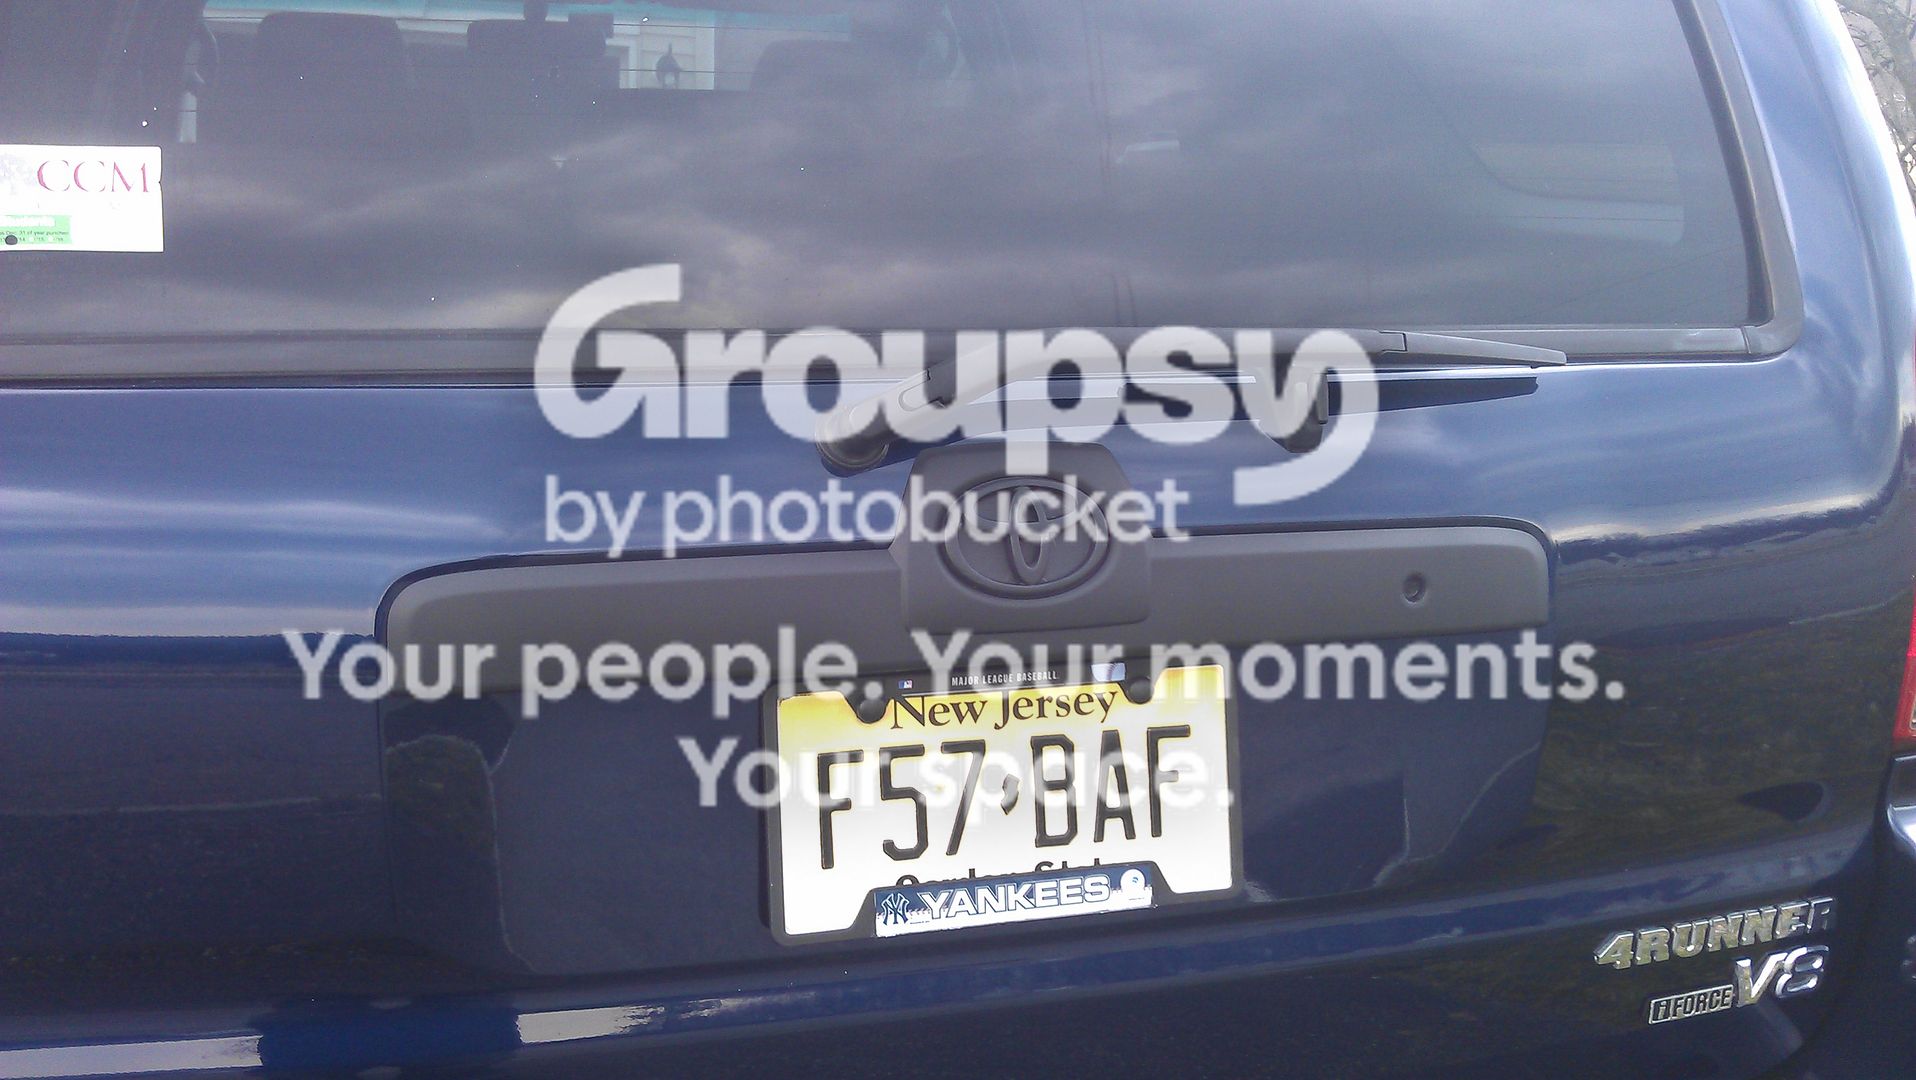
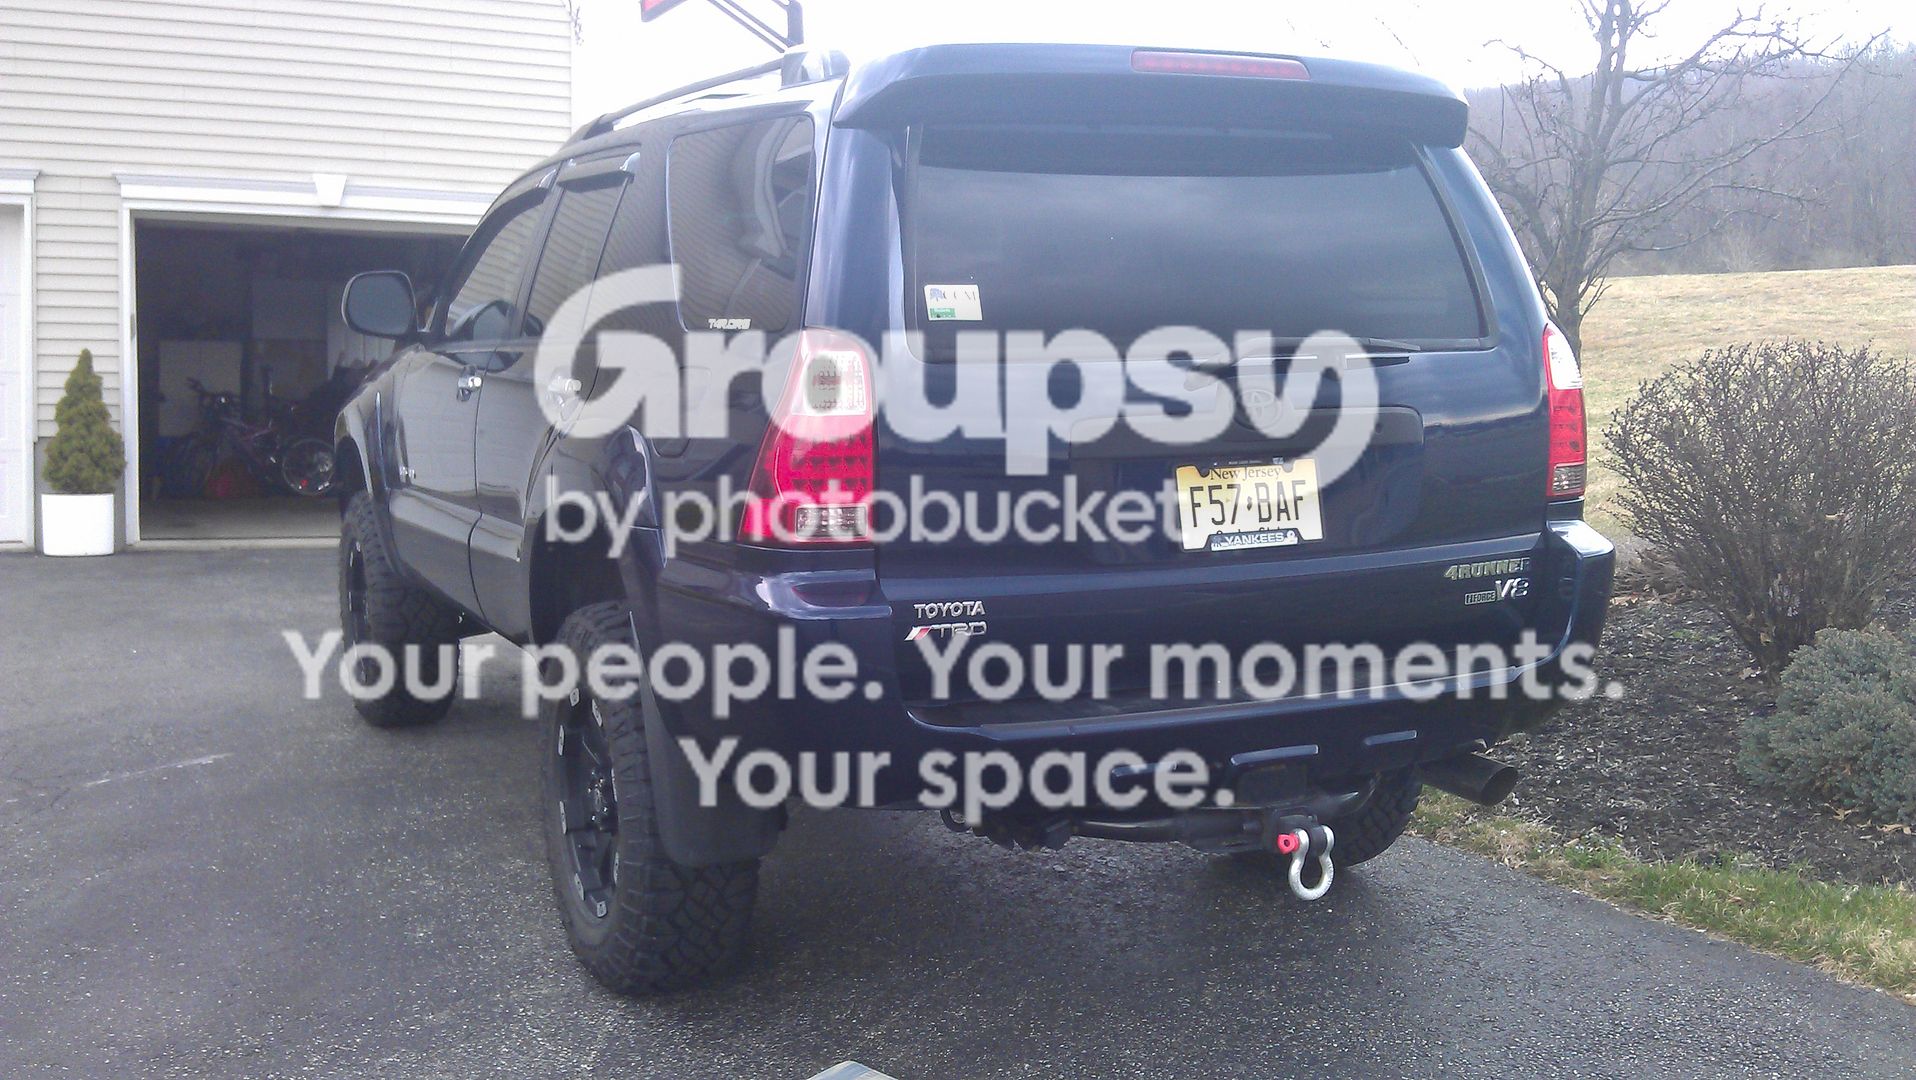
NJshadow93's 2006 SR5 Build

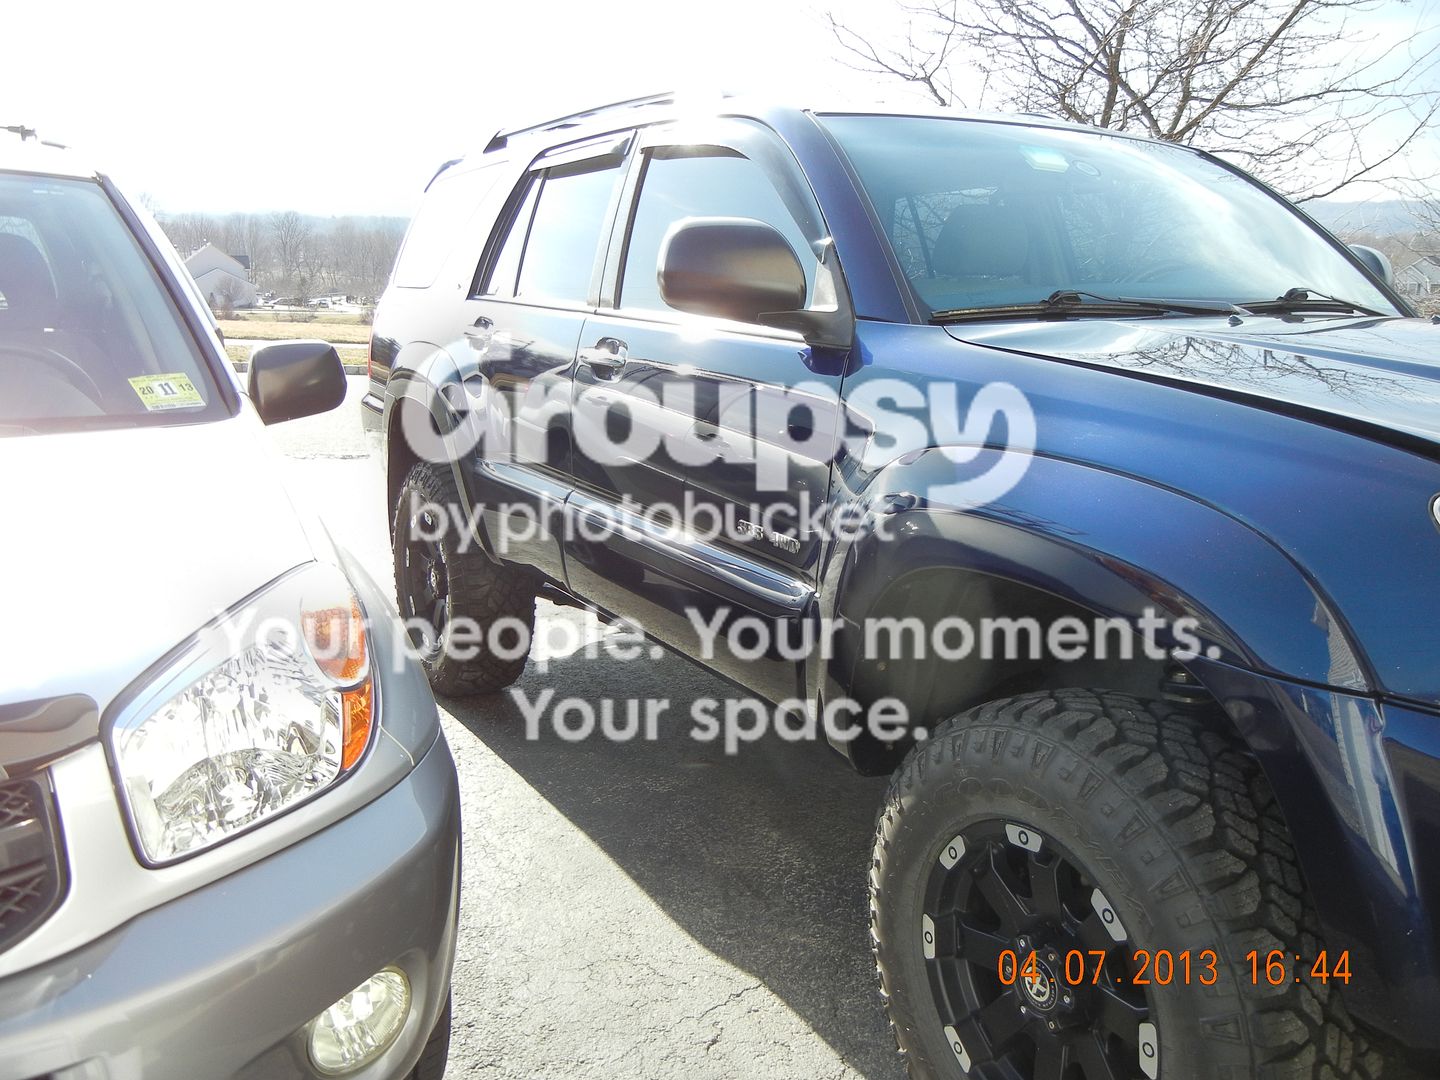
20% tint up front
IMAG0736_zps704b3a15.jpg~original

IMAG0737_zpsb7e14e55.jpg~original
 
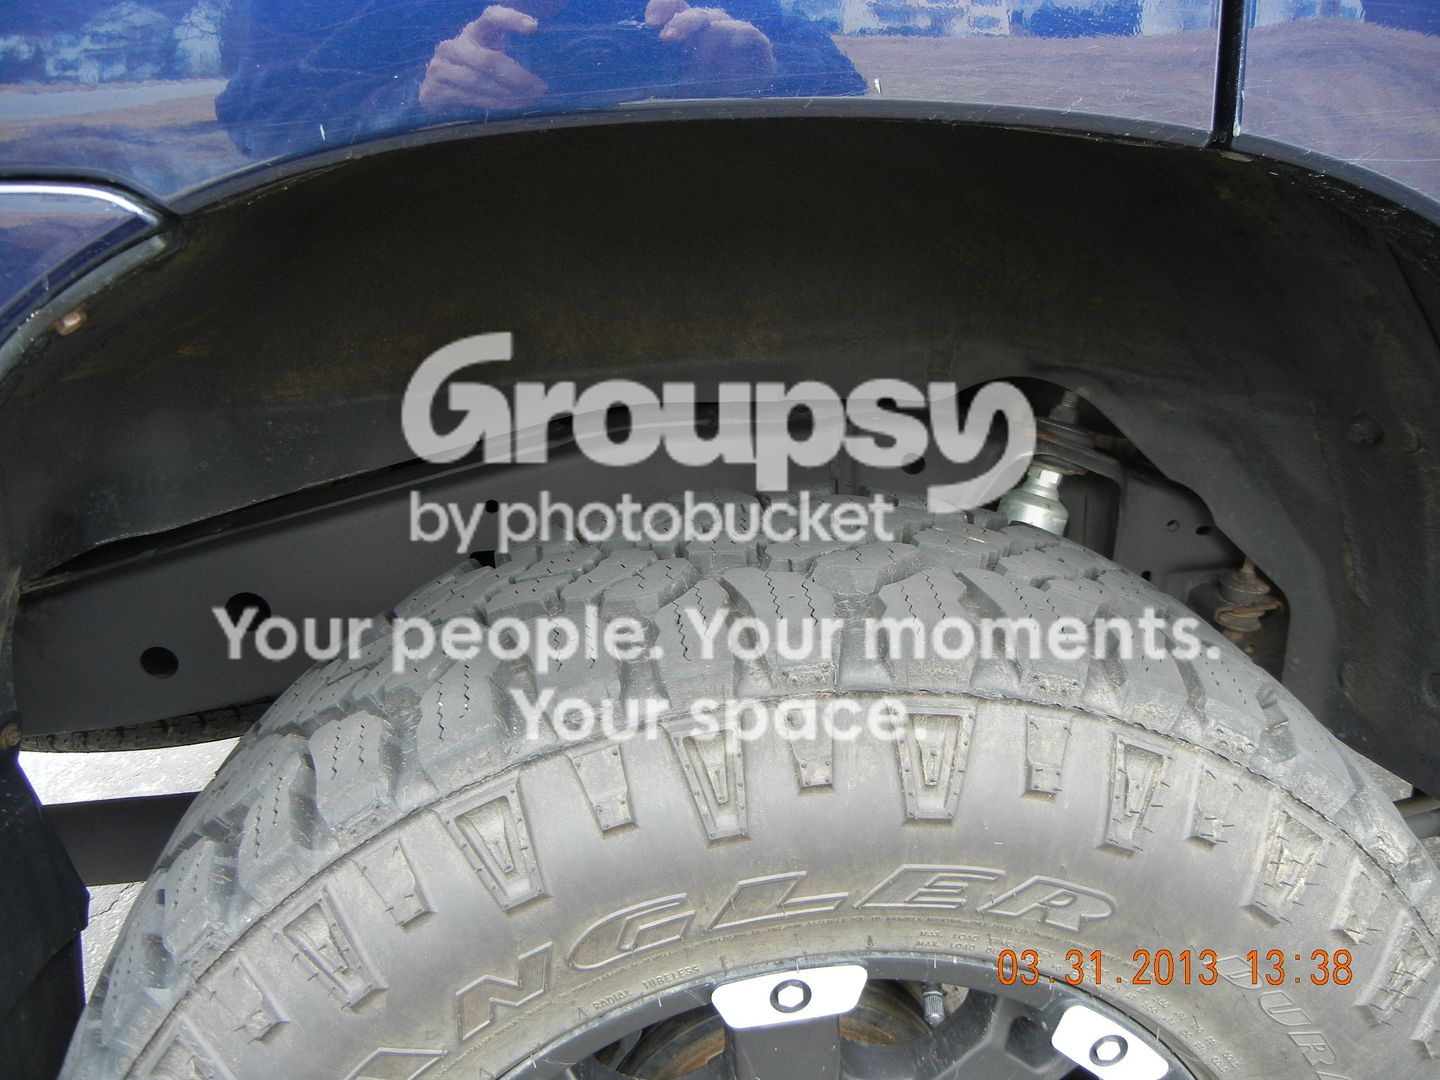
Hey read through your build again, and had a couple ephiphanies . . .1. We have the same lift, I am just waiting for my front coil-overs that are on back order, 2. I have the same Wade visors just waiting for it to be warm out to put on, 3. Was there really a noticeable difference in steering with the lift BEFORE you put on the LCA, 4. I now really want to do the Satoshi grille. . .. THANKS A Lot for making my g/f mad at me for spending more time on the truck. . .:boom:
 
Hey read through your build again, and had a couple ephiphanies . . .1. We have the same lift, I am just waiting for my front coil-overs that are on back order, 2. I have the same Wade visors just waiting for it to be warm out to put on, 3. Was there really a noticeable difference in steering with the lift BEFORE you put on the LCA, 4. I now really want to do the Satoshi grille. . .. THANKS A Lot for making my g/f mad at me for spending more time on the truck. . .:boom:


Haha awesome. The UCAs greatly improved handling. It was honestly night and day difference. The steering wheel felt tighter and the truck didn't wander as much.
 
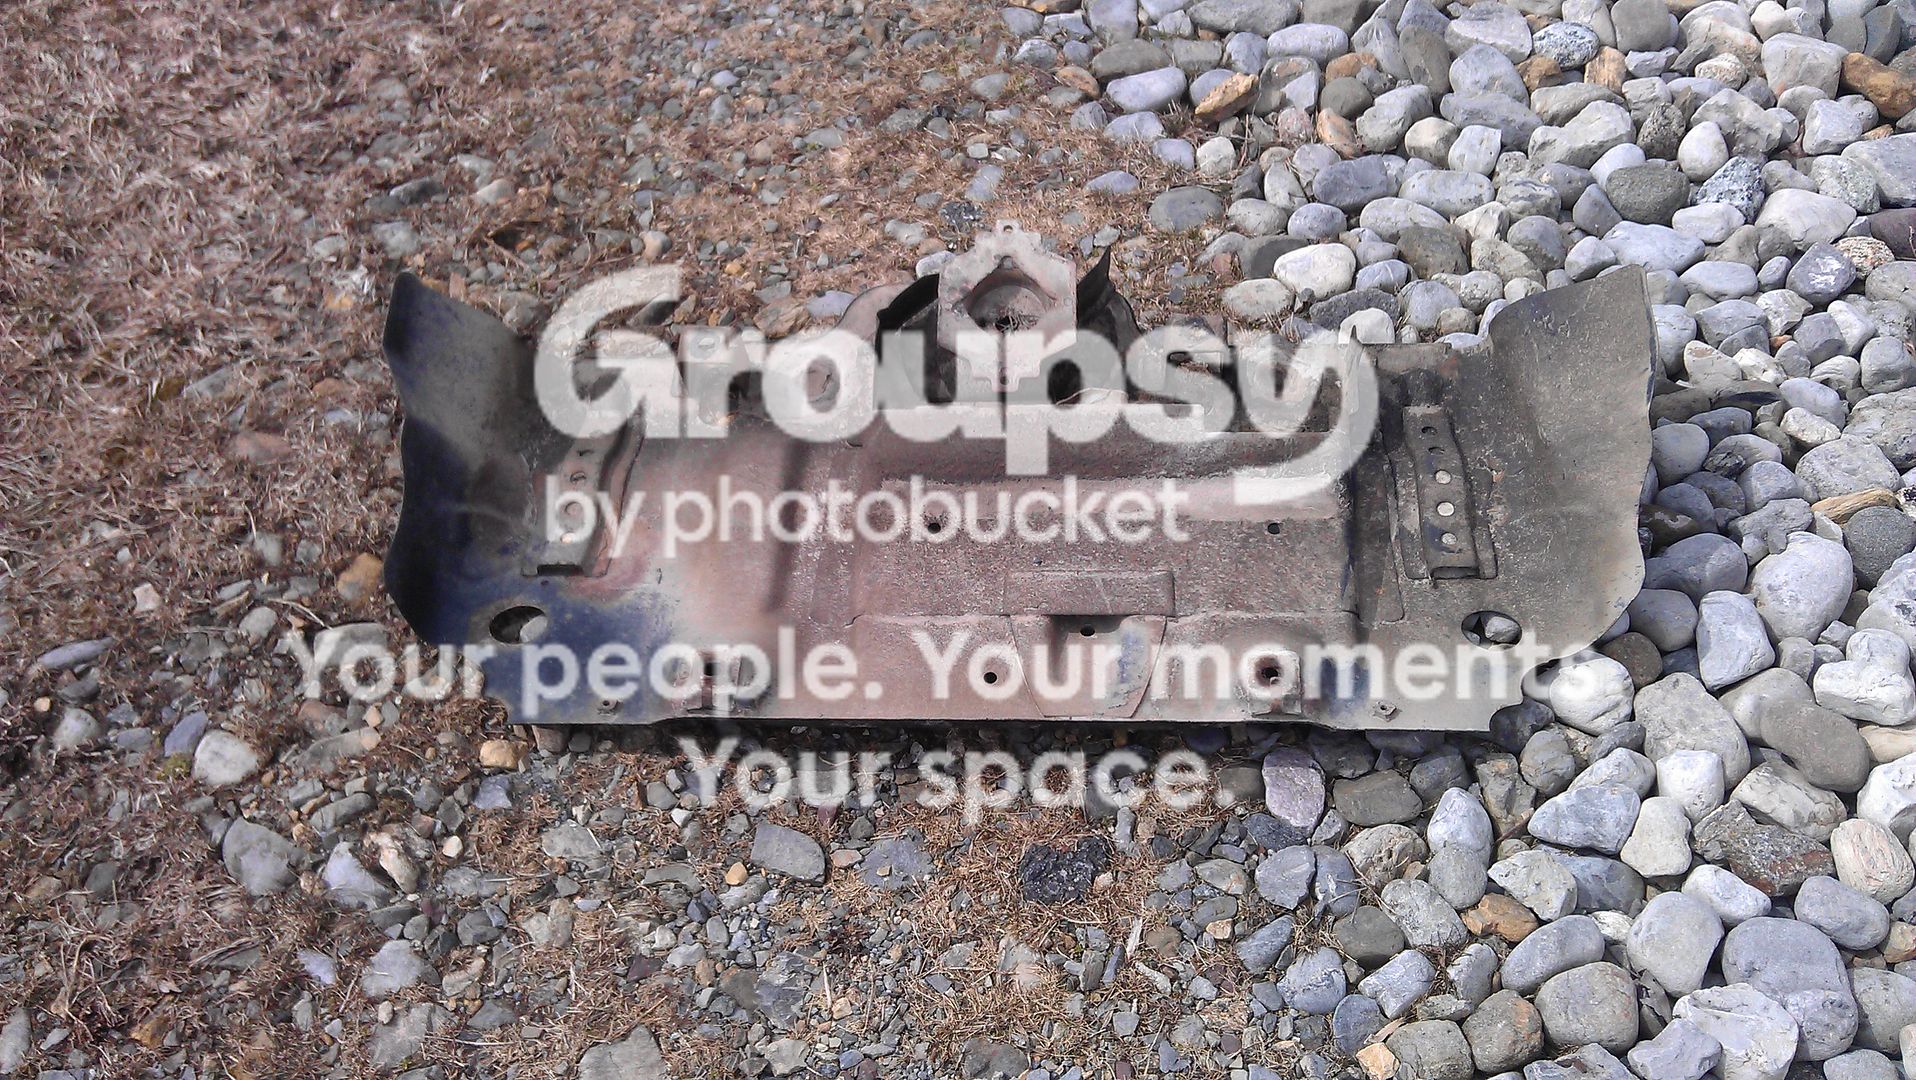
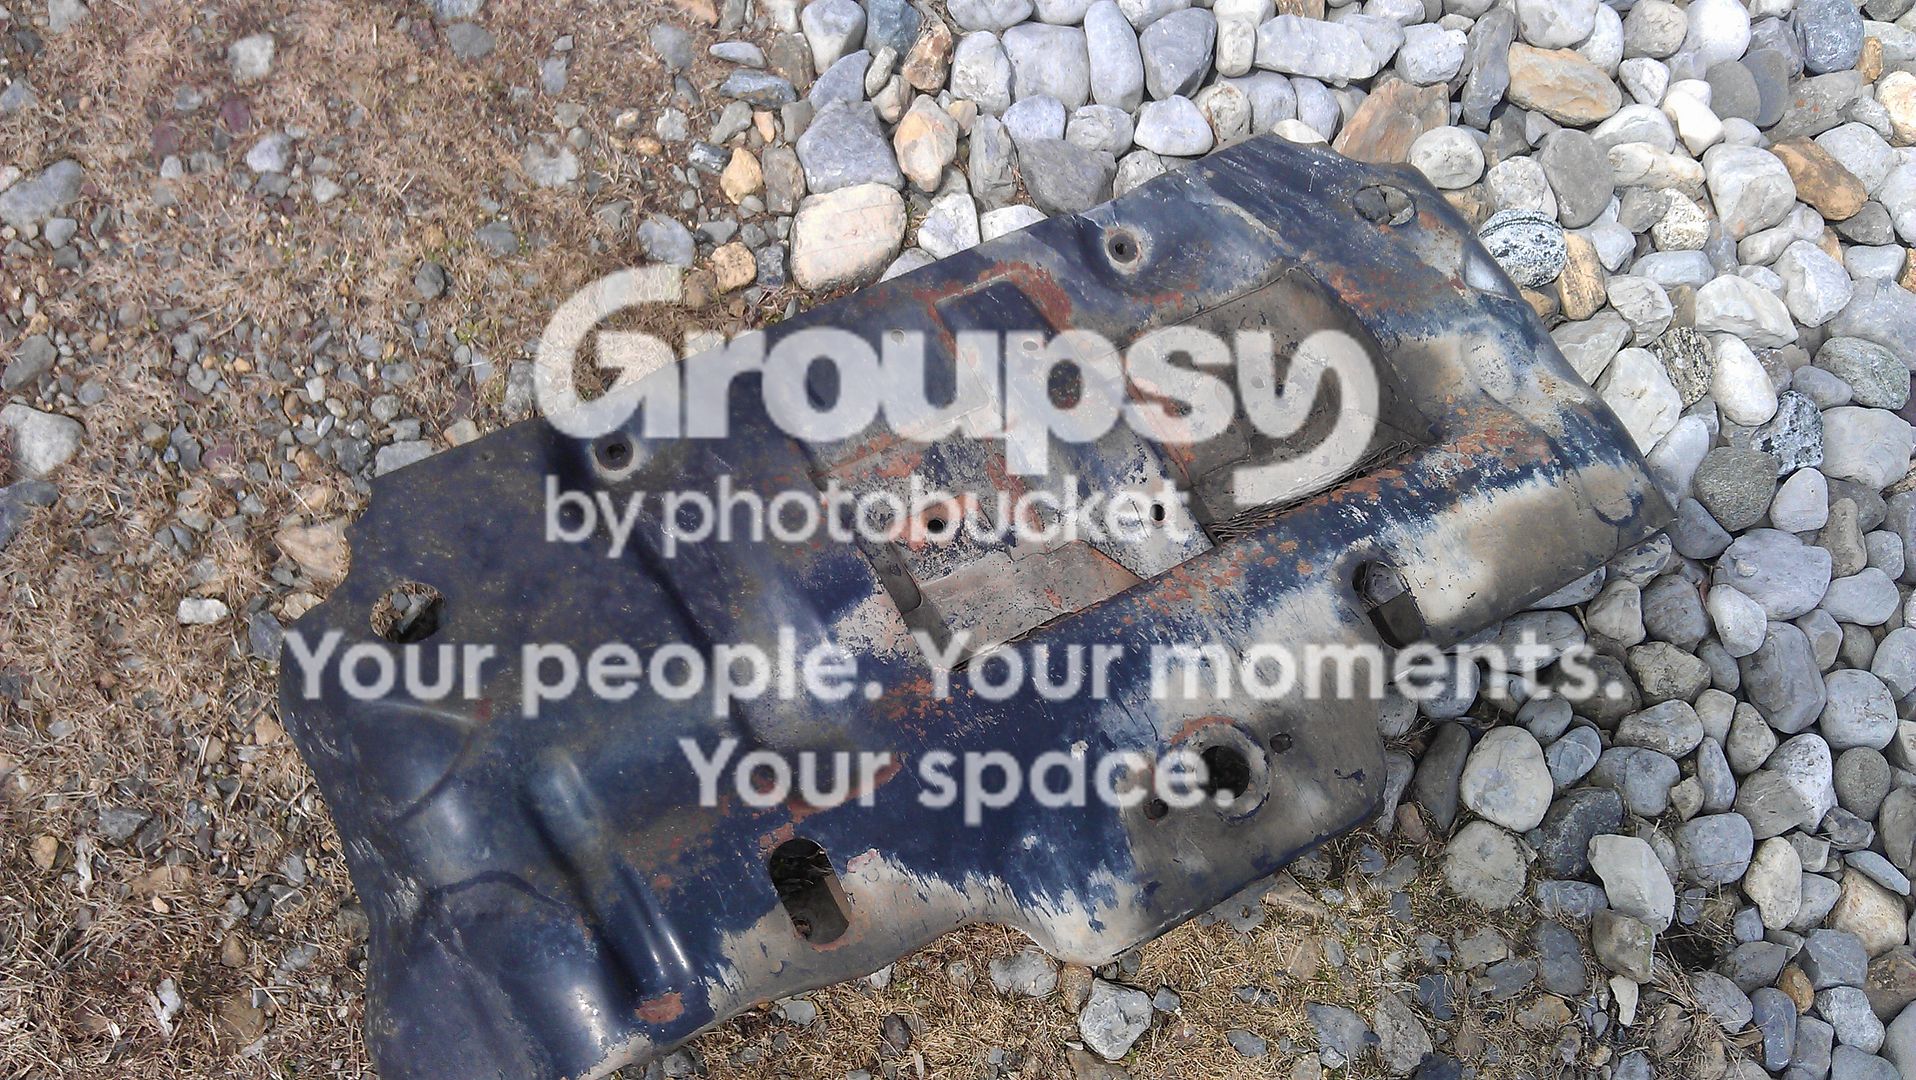
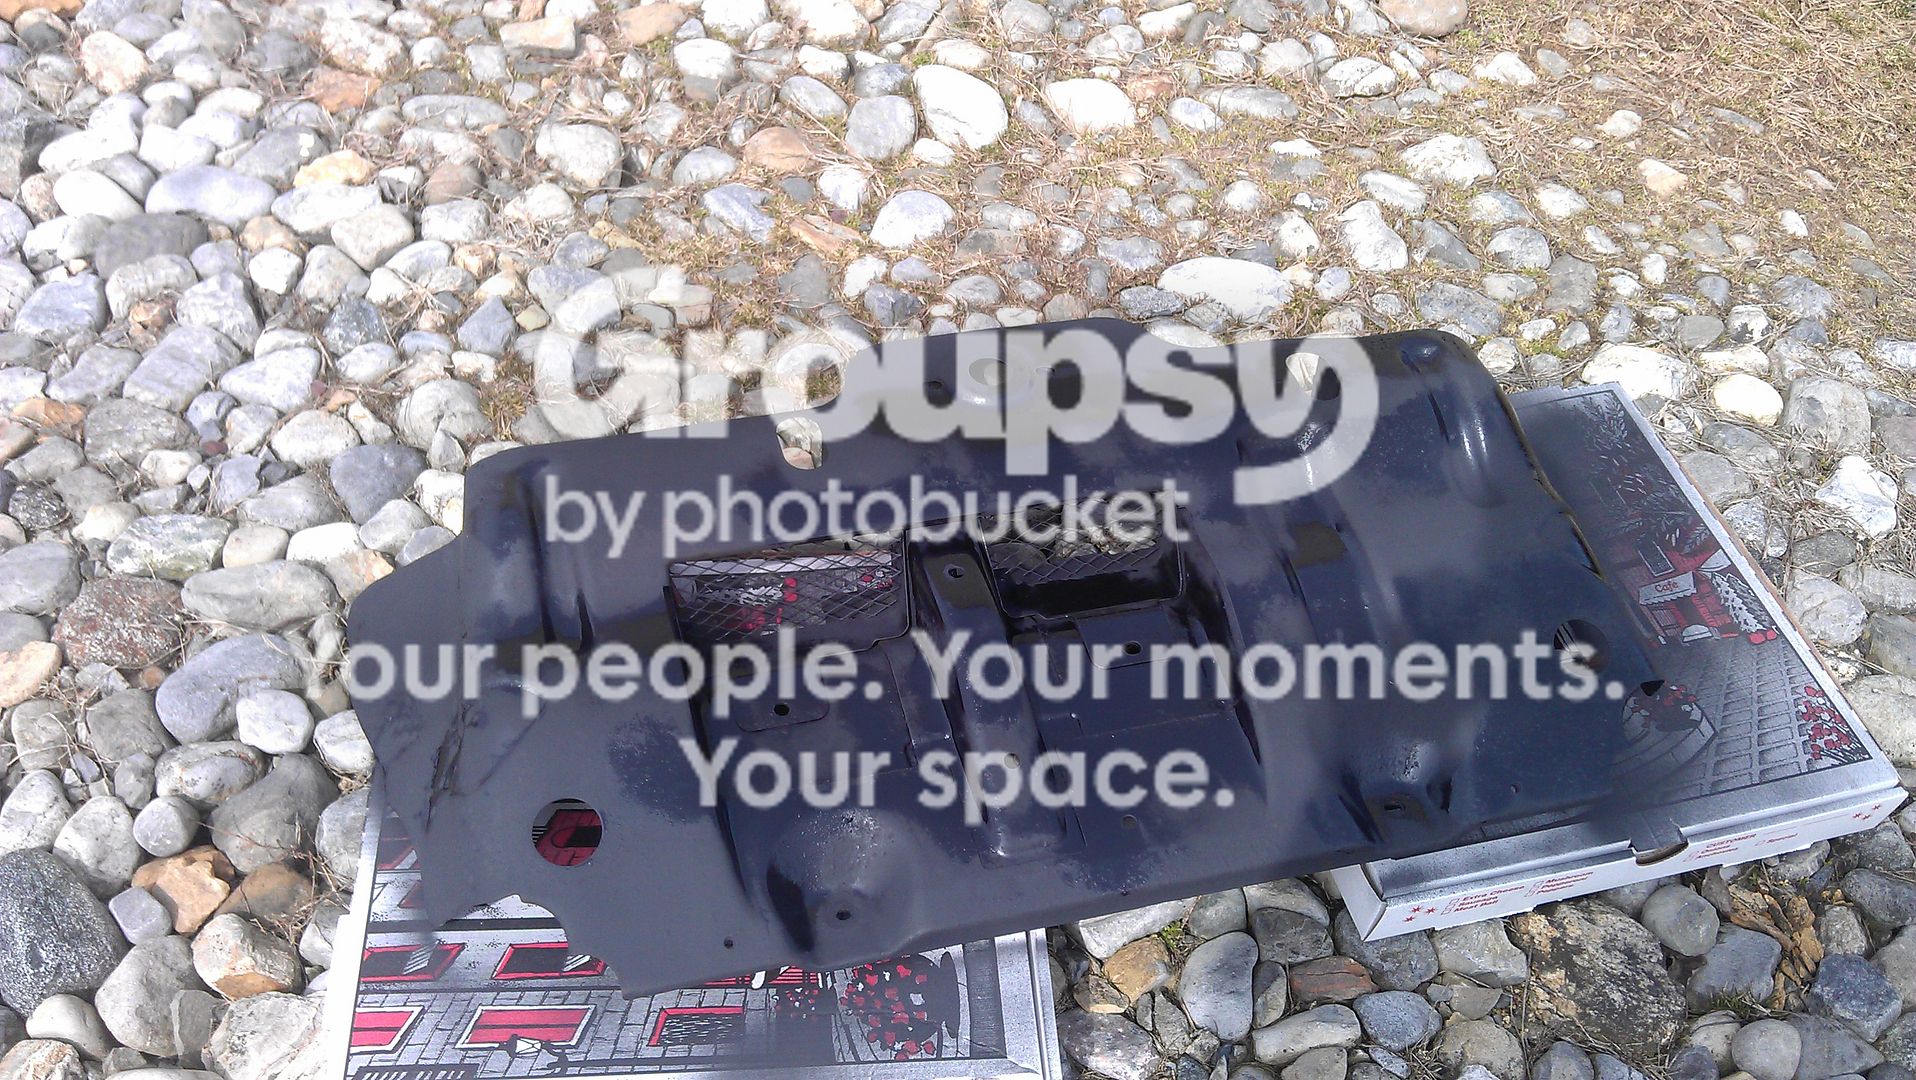
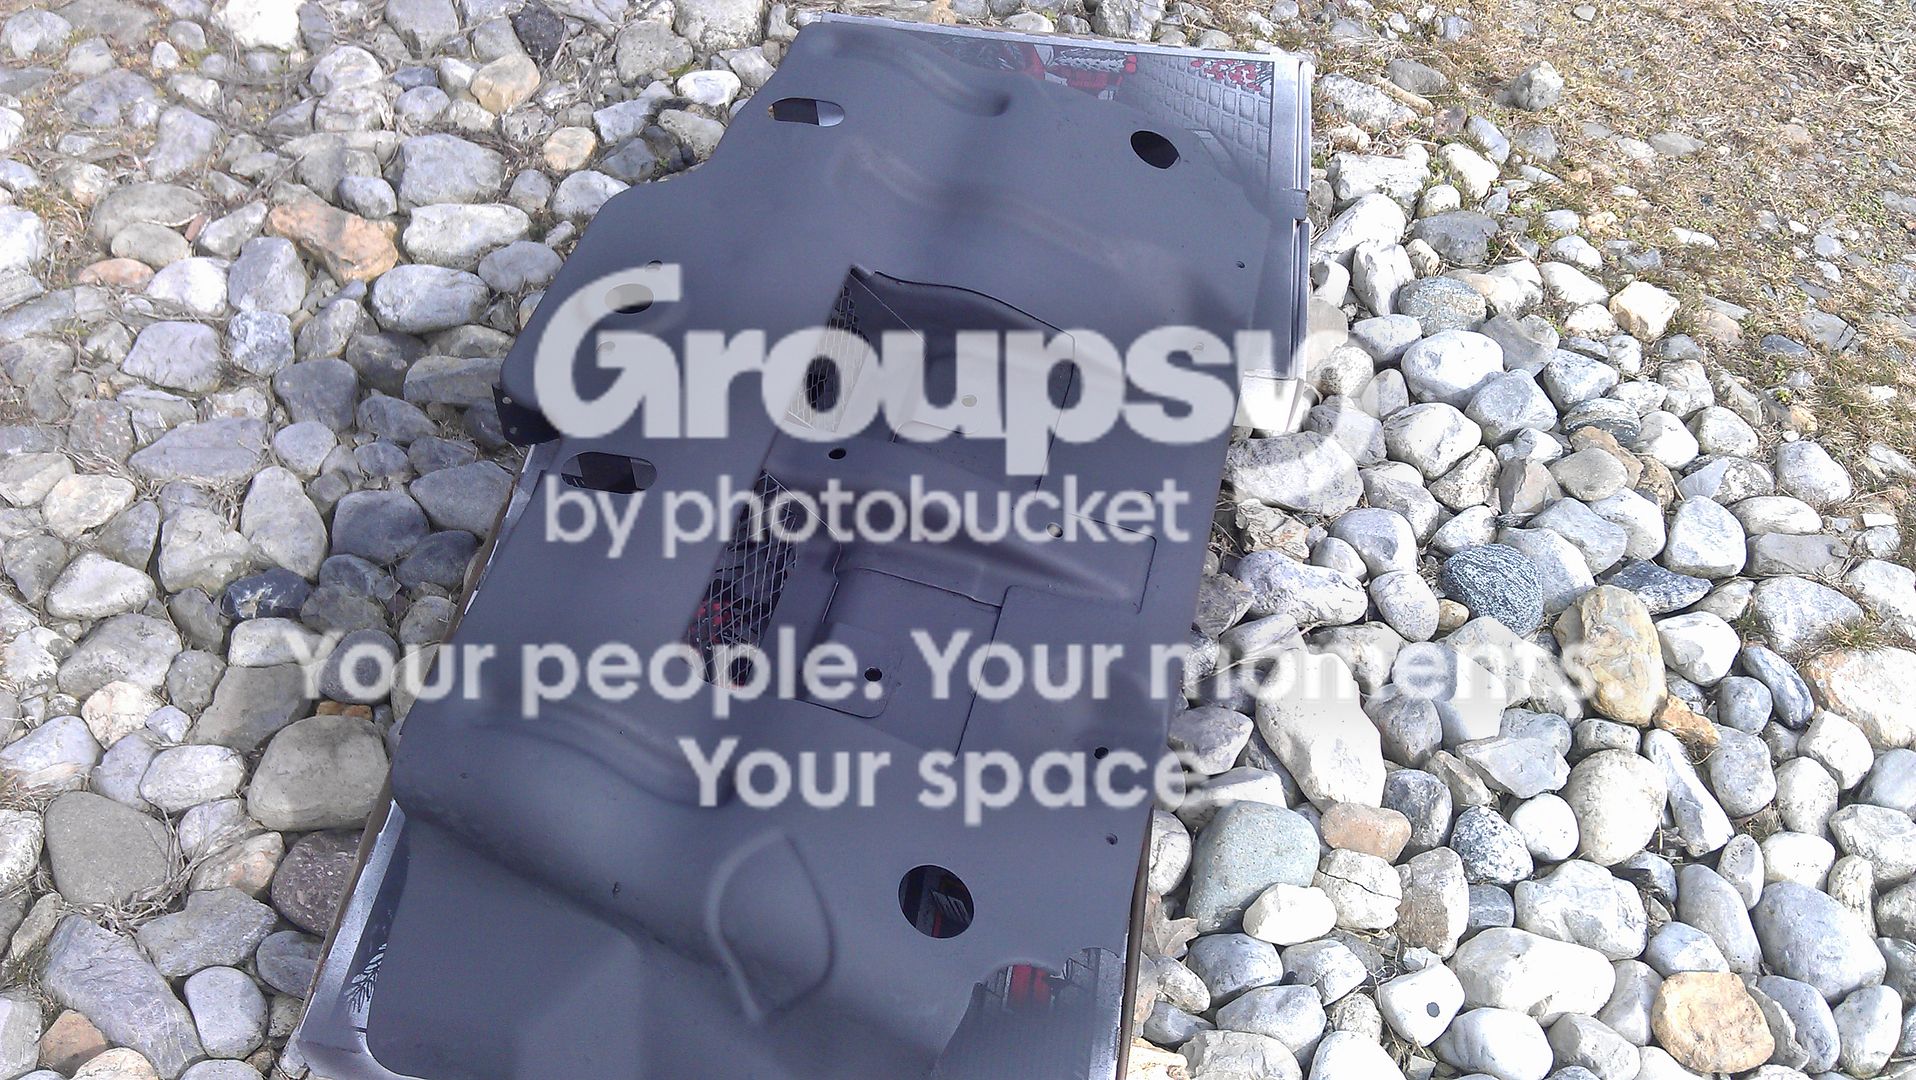
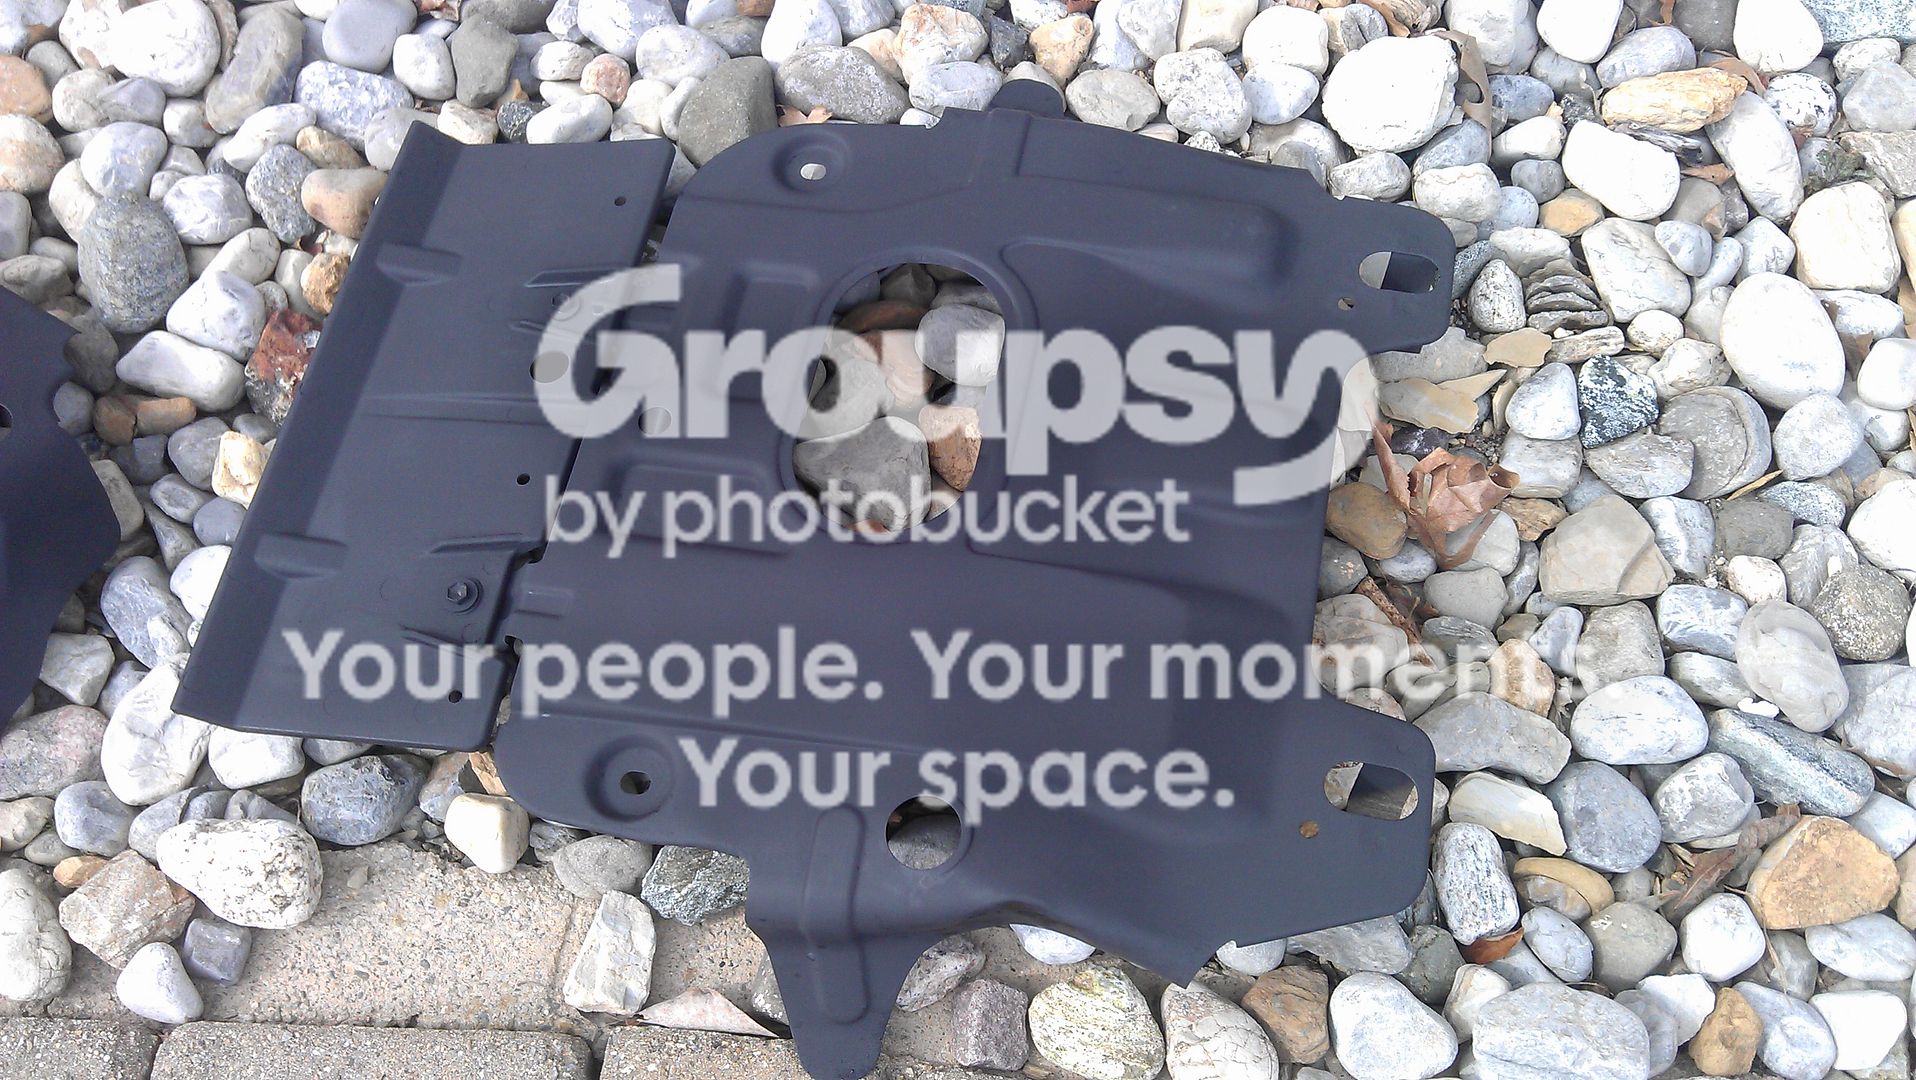
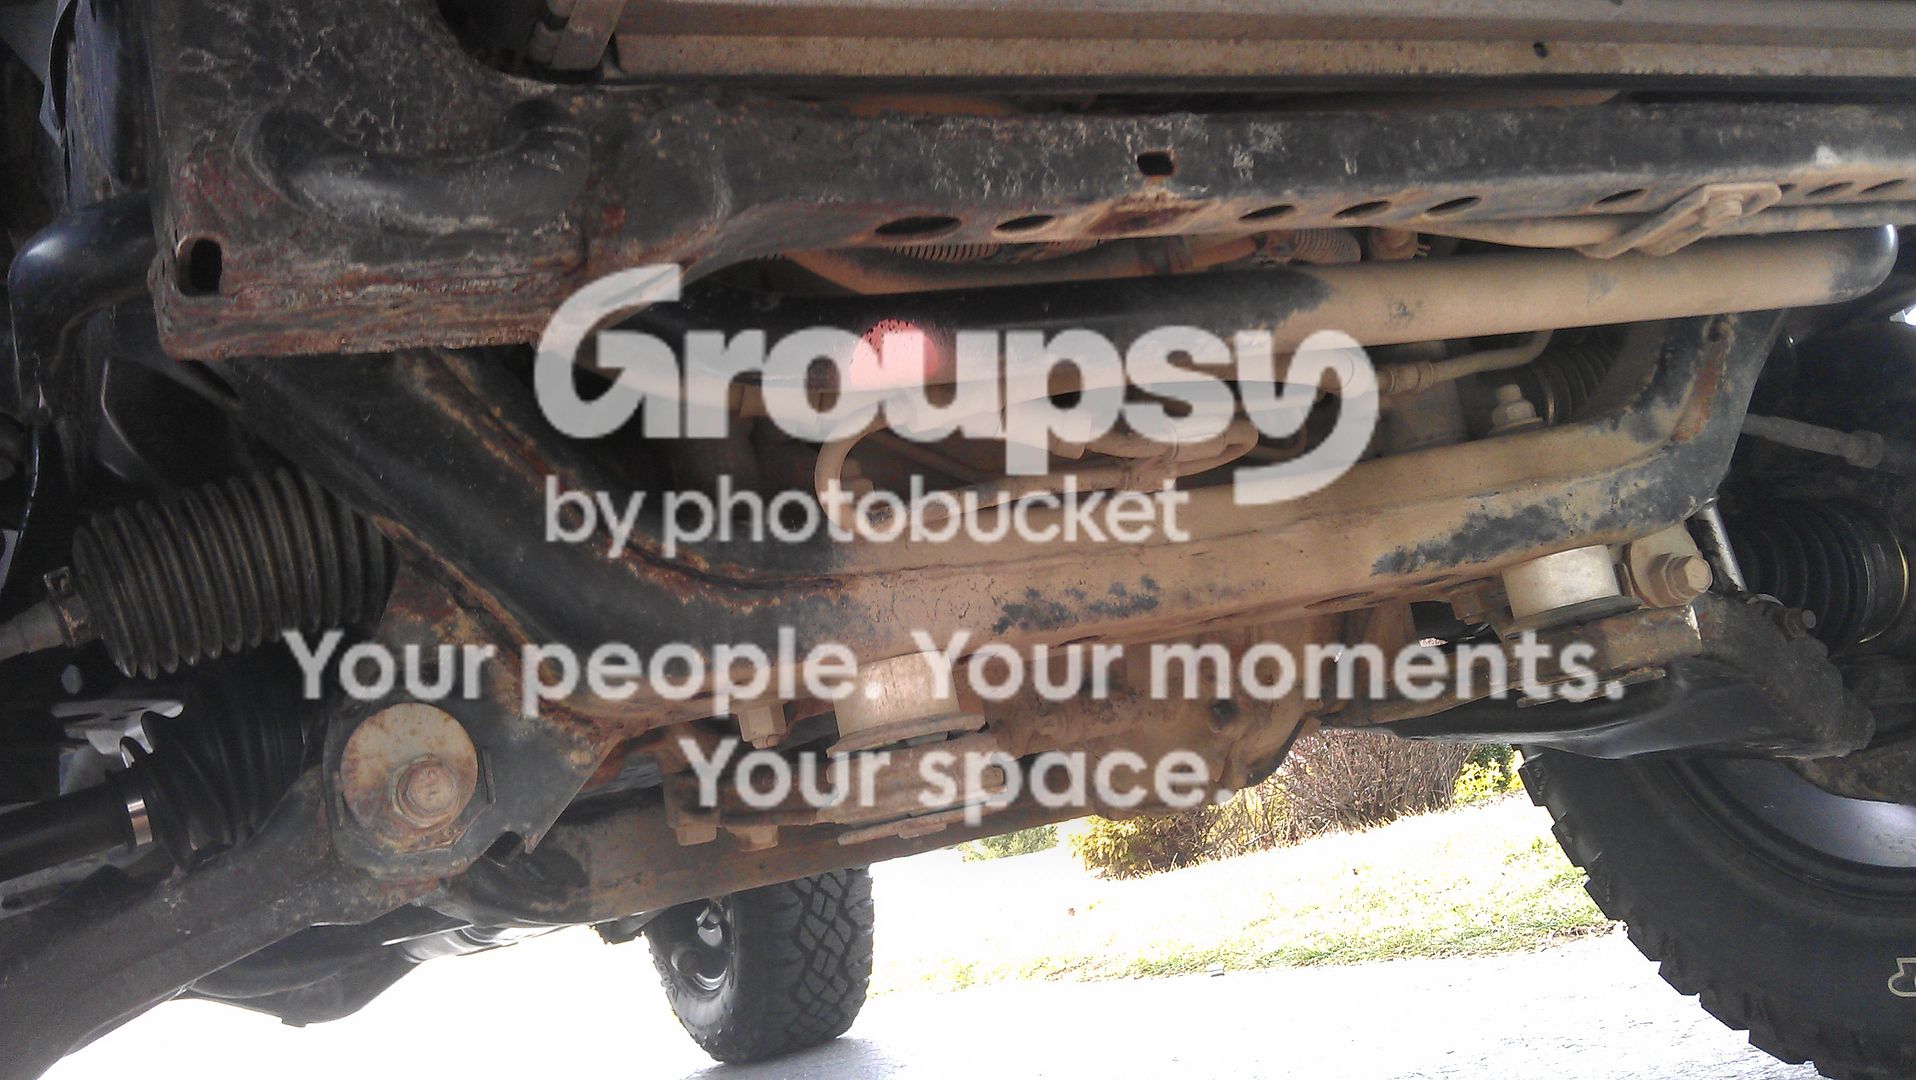
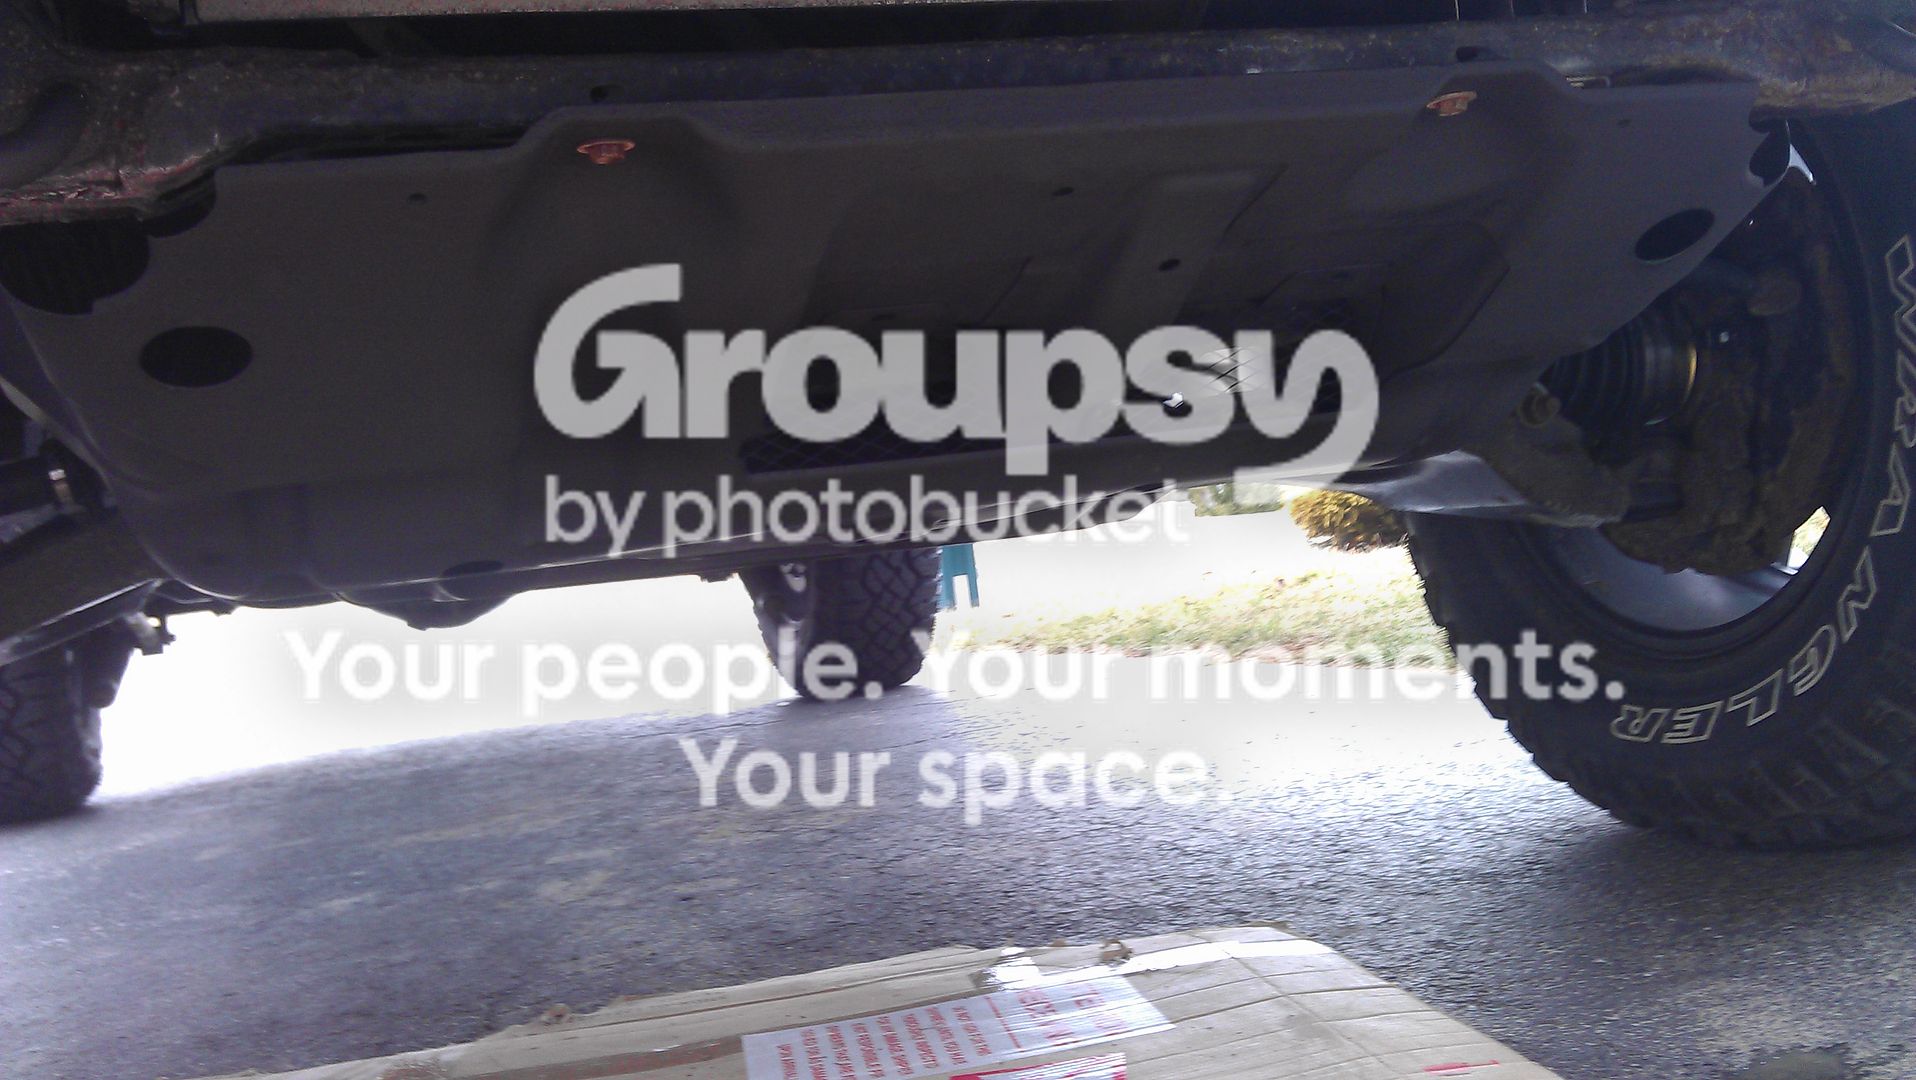
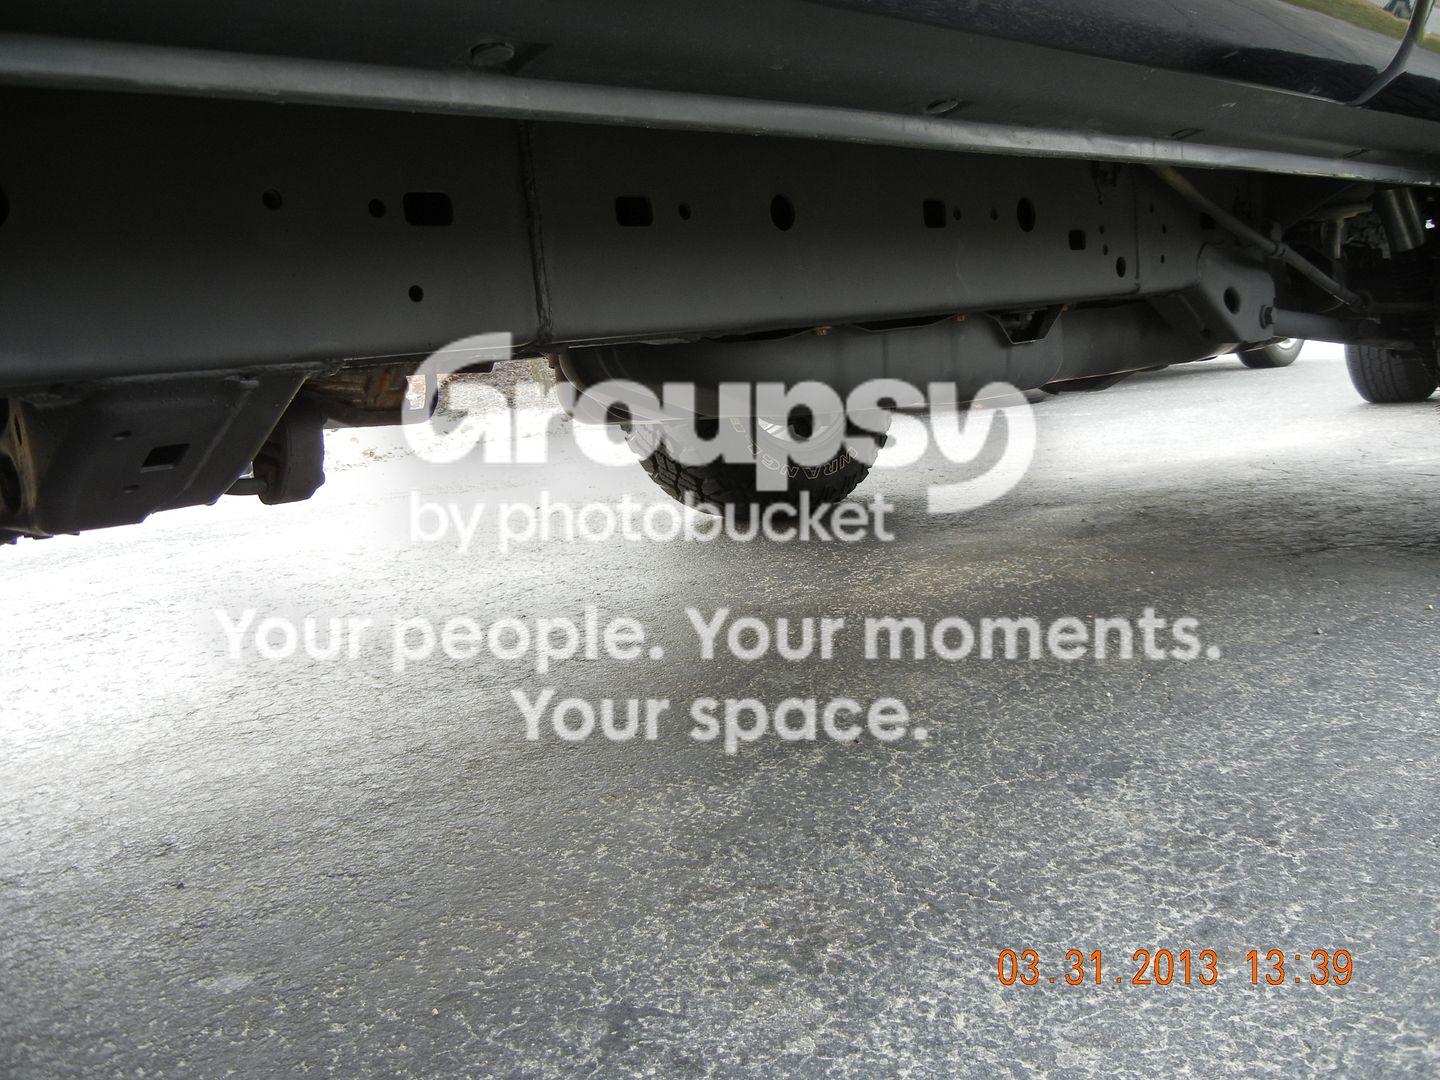
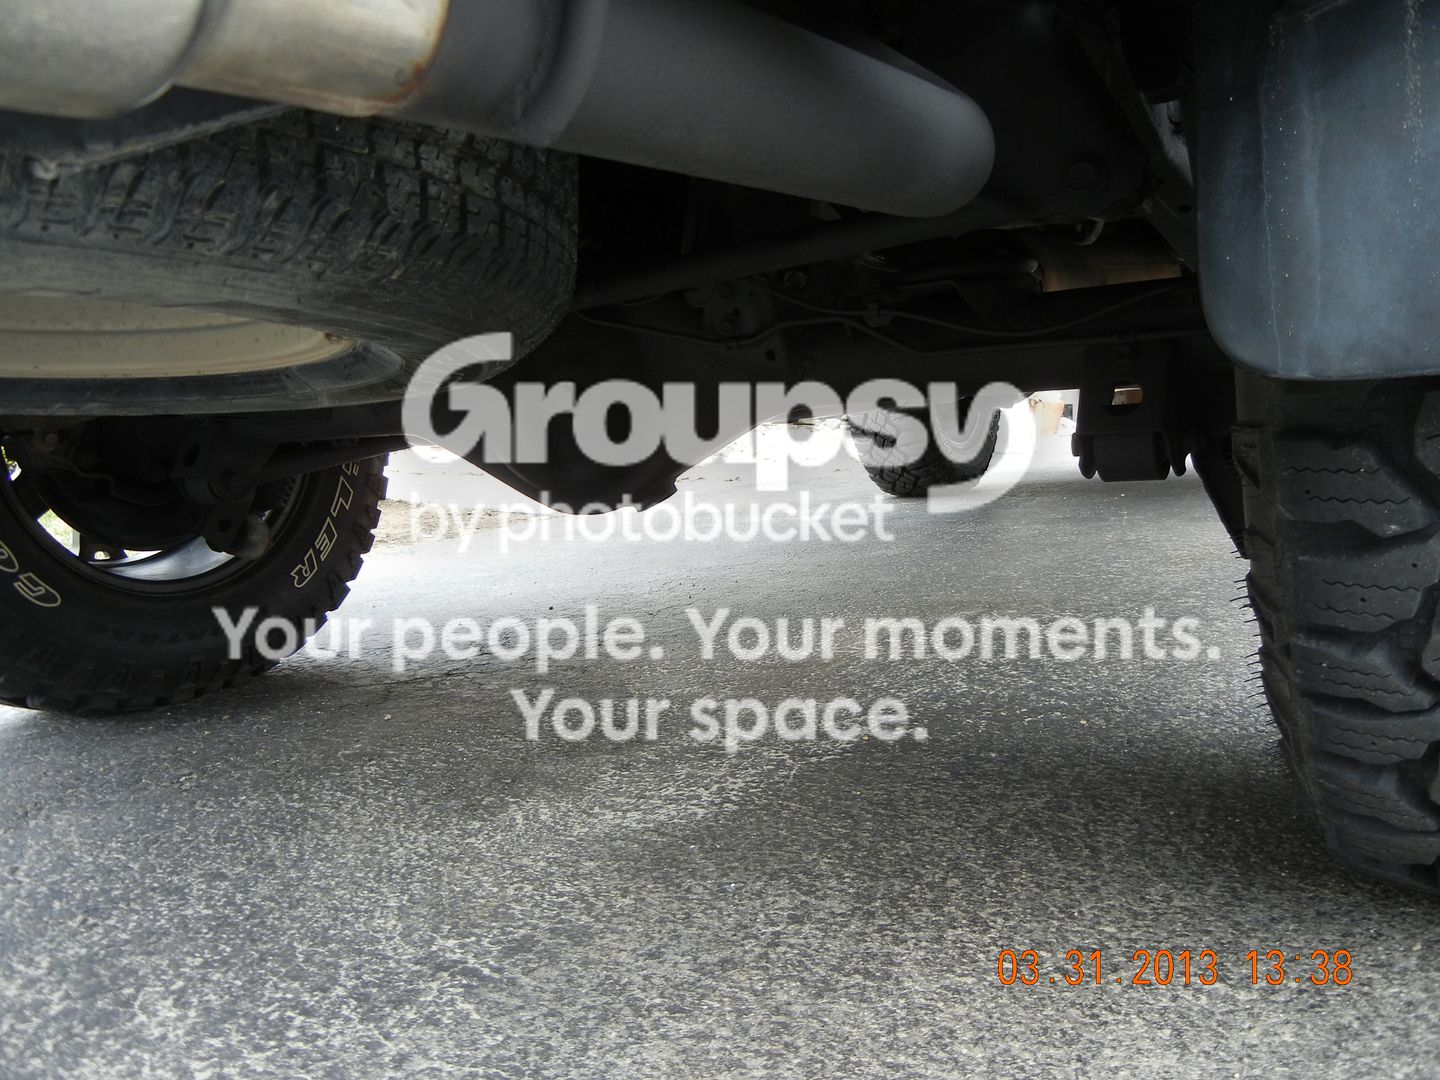
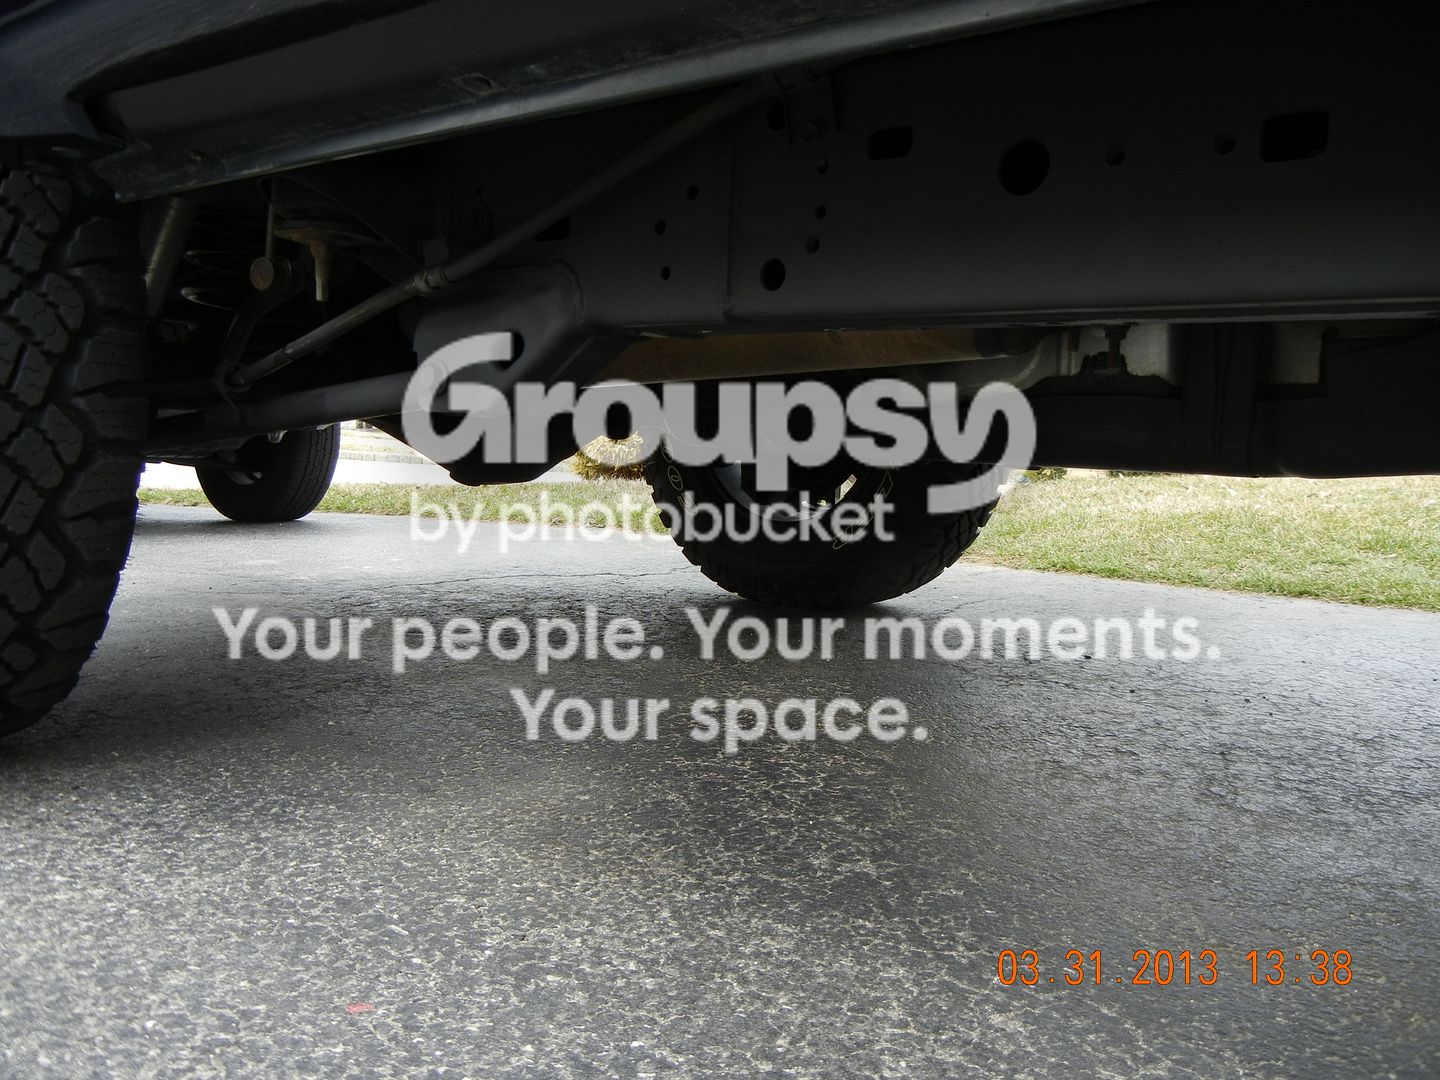
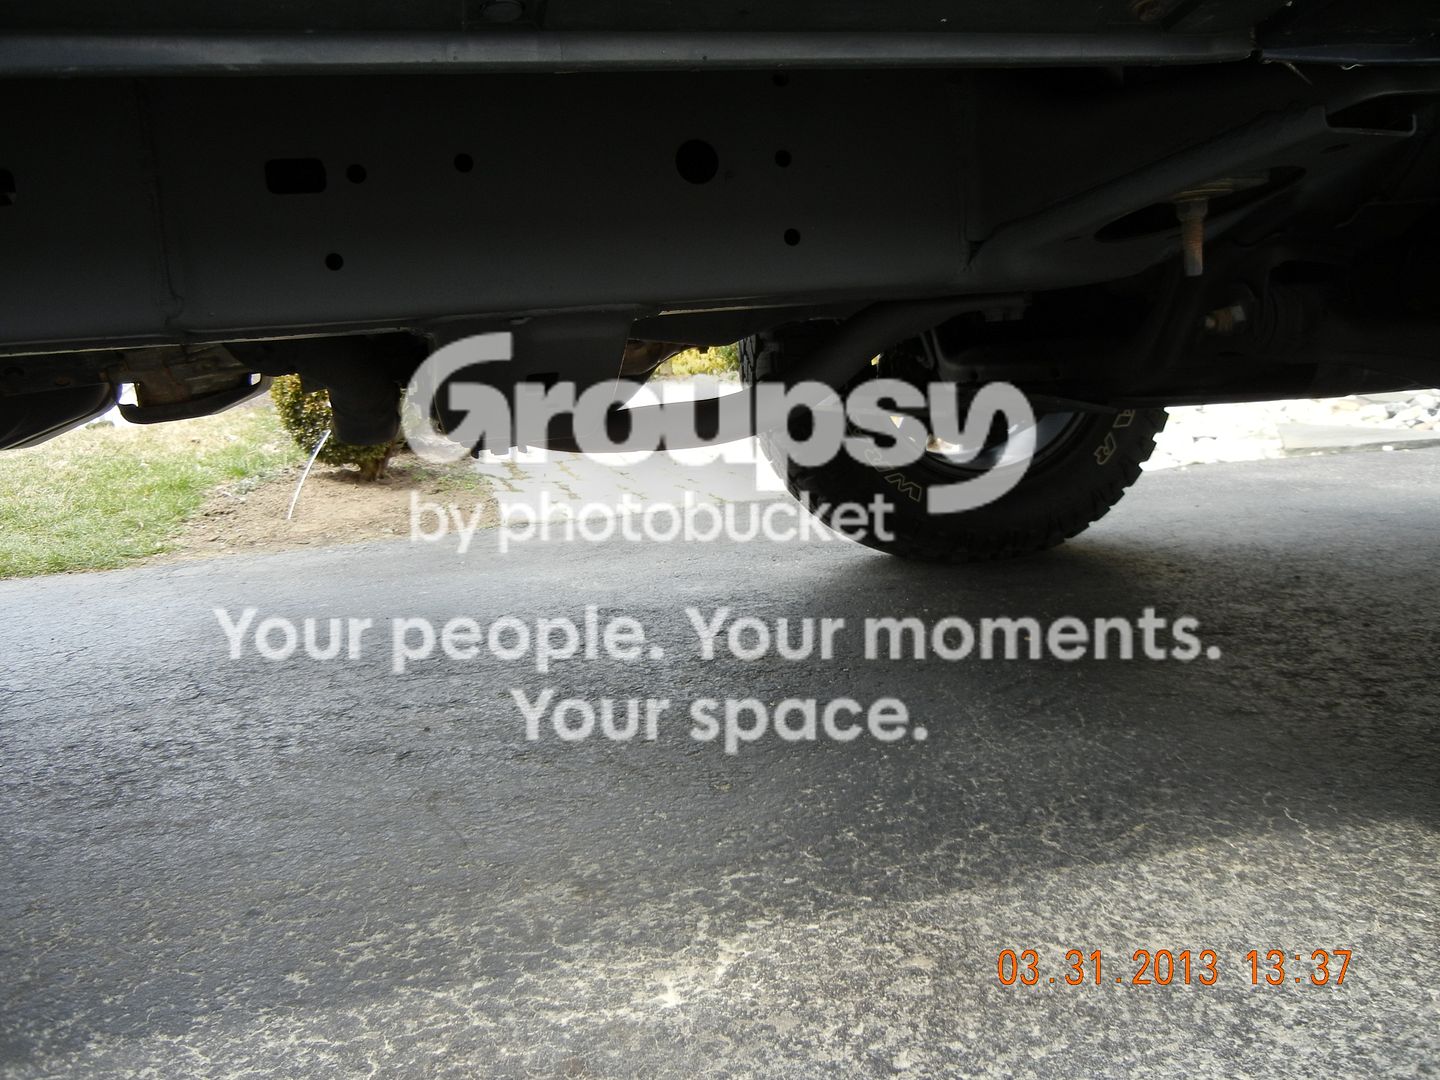
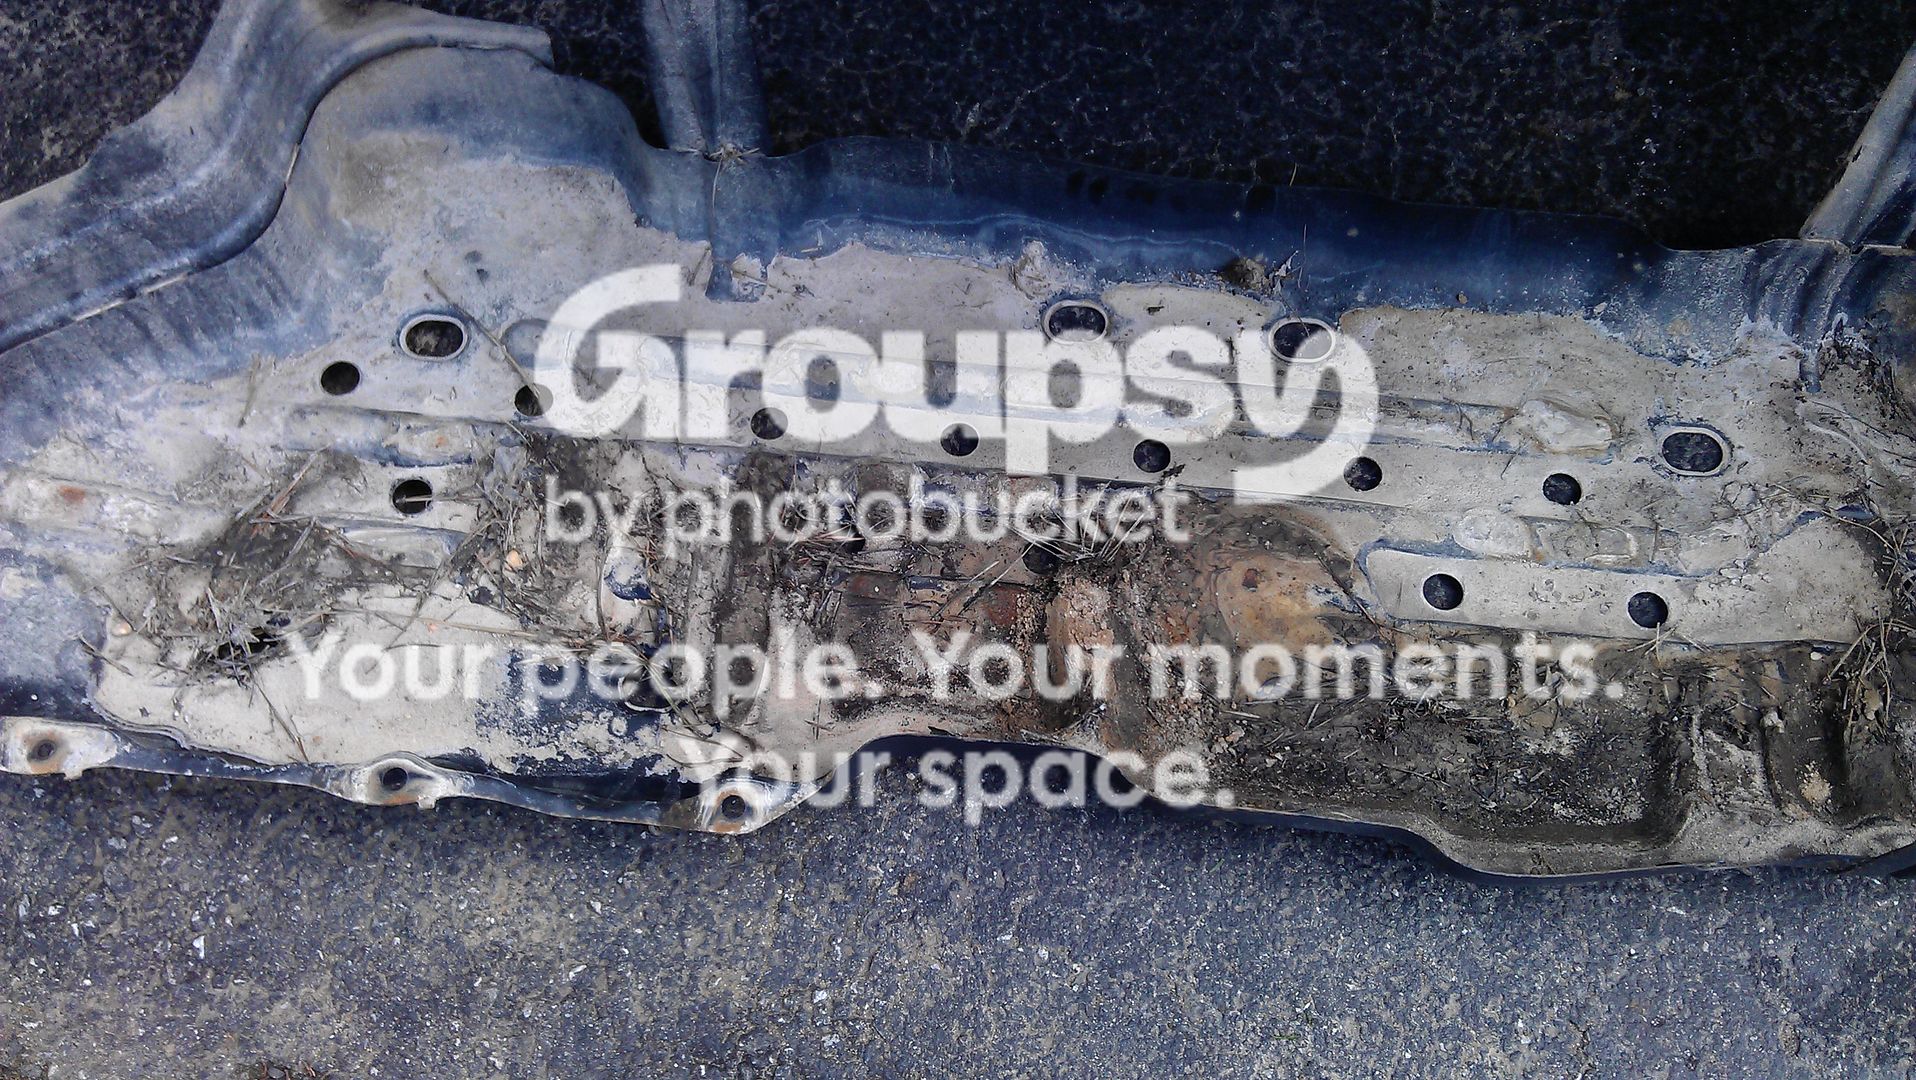
Pulled off my stock skids wire brushed the rust and layers of dirt off, washed them, and painted them with some Rustoleum high heat. Looks a lot better under there now.

Layers of dirt and sand:
IMAG0786_zps3a71d4aa.jpg~original

IMAG0787_zps2a53506a.jpg~original


One coat:
IMAG0788_zpsecb11fe6.jpg~original


Here's the other one too:
IMAG0789_zps92296169.jpg~original


Looks much better:
IMAG0790_zps791bfab1.jpg~original

IMAG0791_zps1b72bf7a.jpg~original


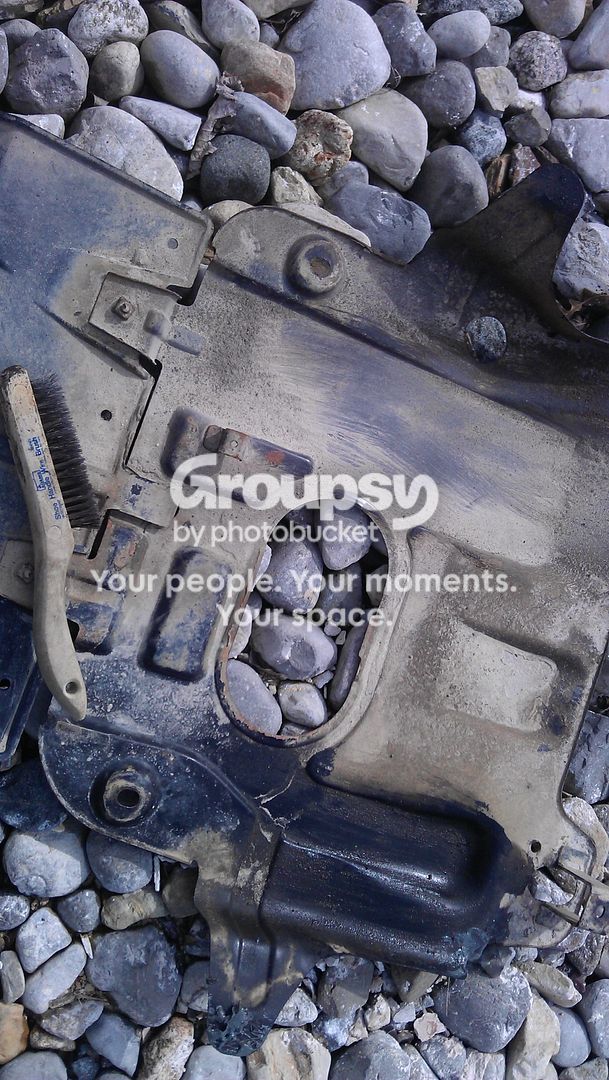
While I had the skid plates off, I washed under there too, this was before I washed it. Didn't take an after pic because it started getting cold, but most of the mud is gone now.
IMAG0793_zpse2a8e497.jpg~original


All done:
IMAG0794_zps5d0b7ddc.jpg~original
 
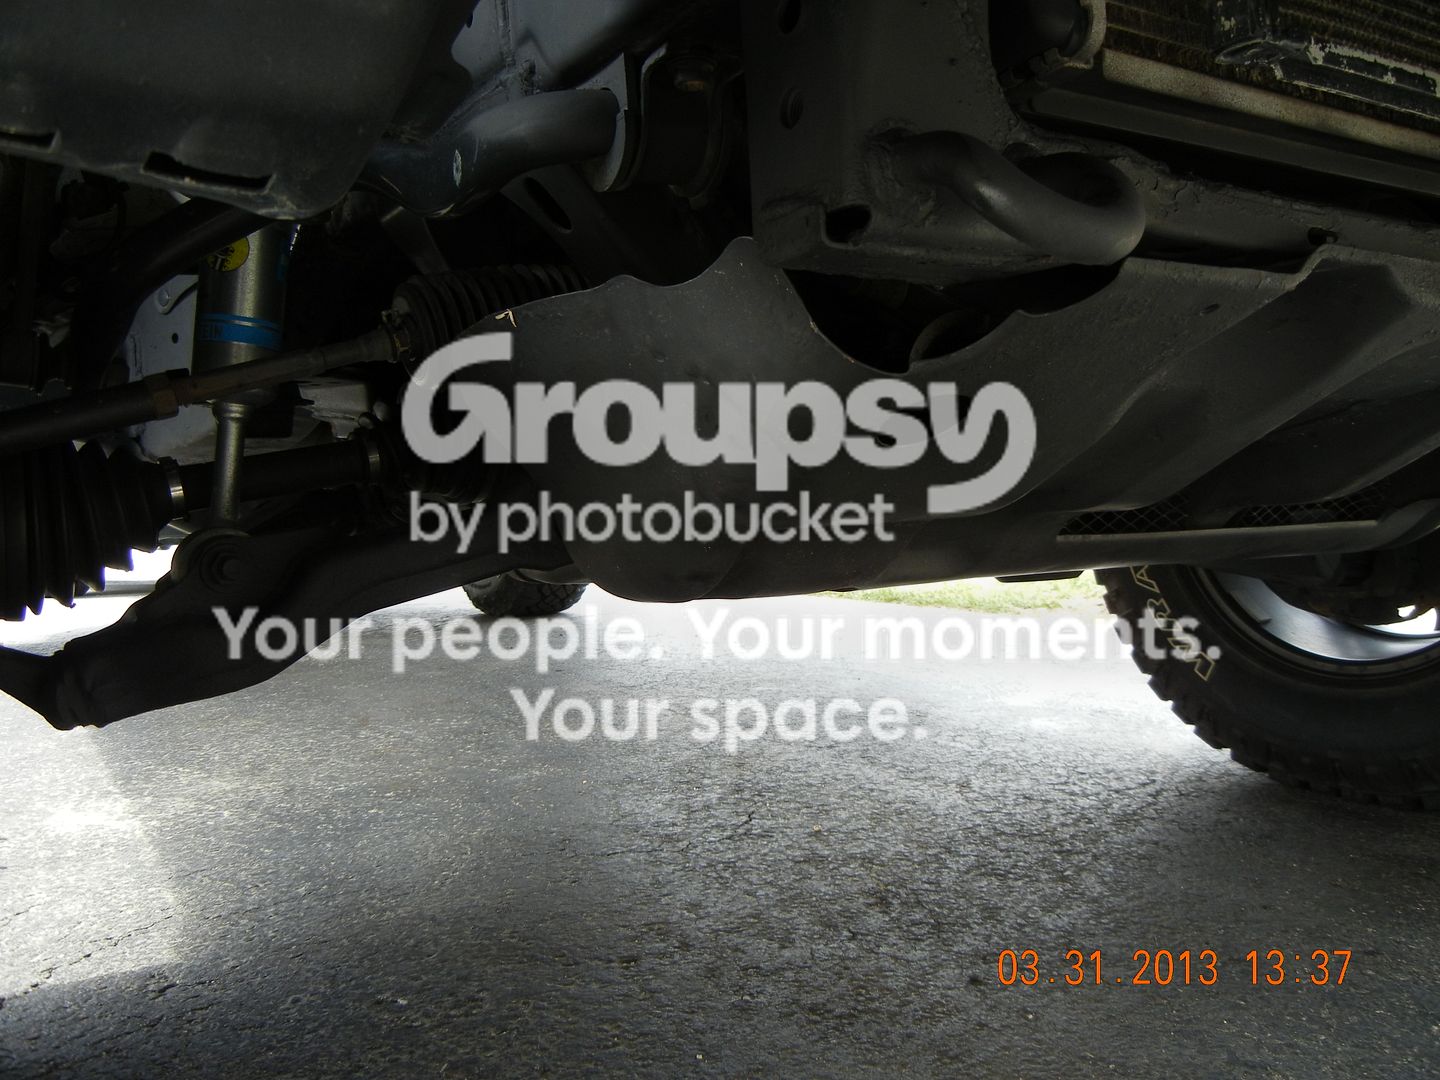
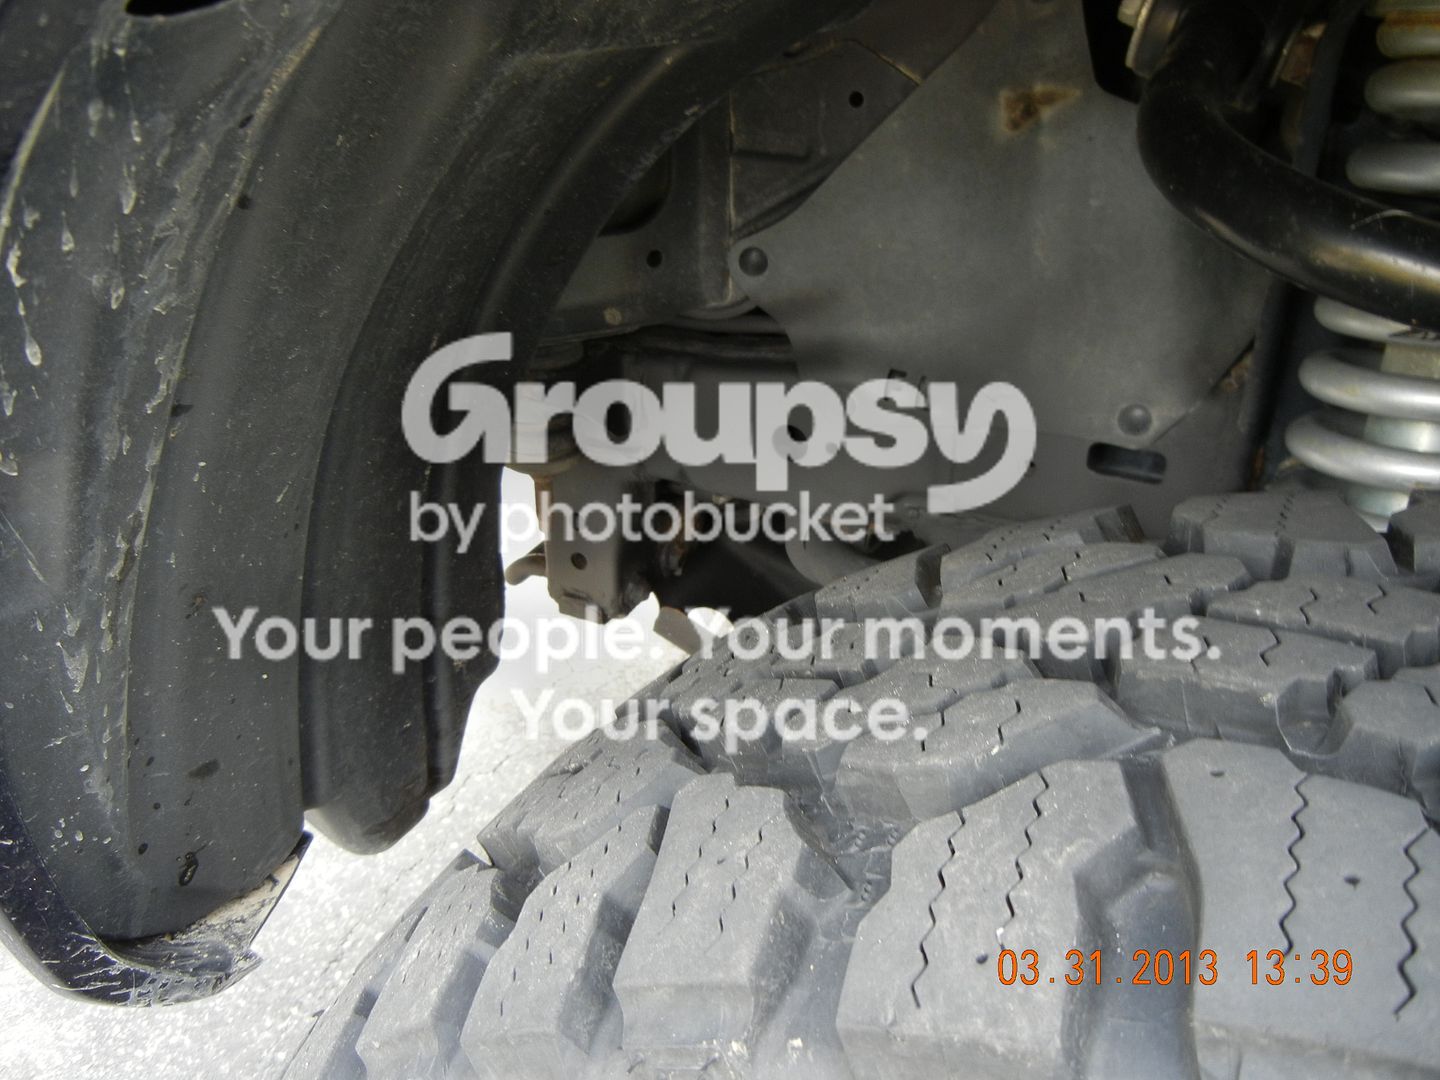
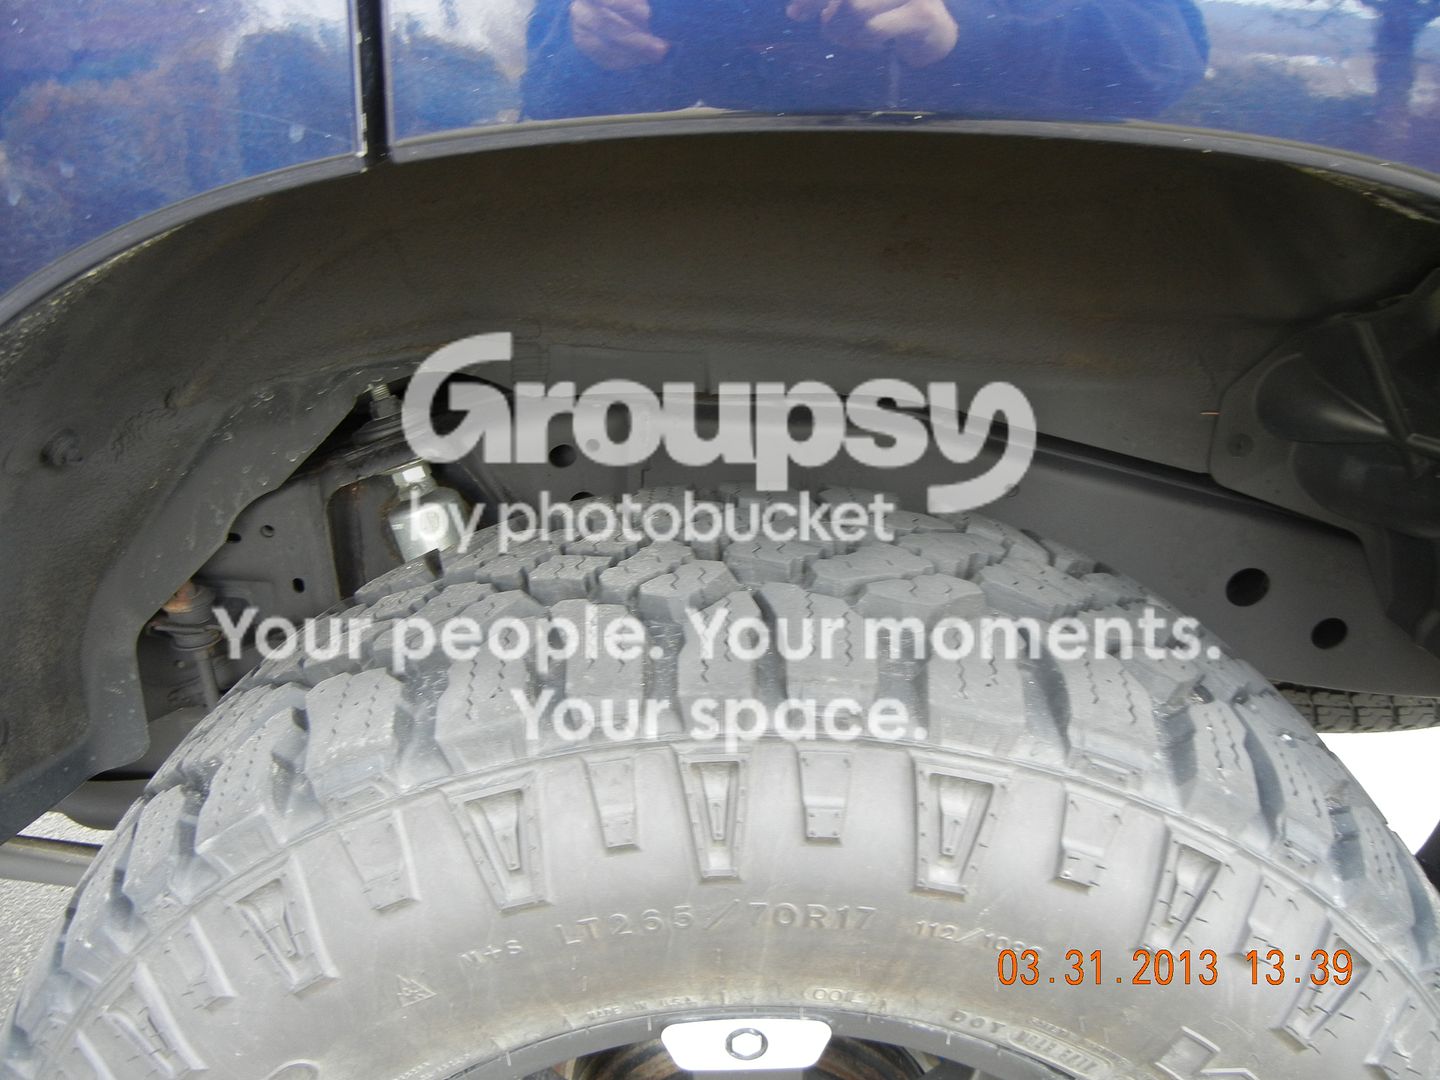
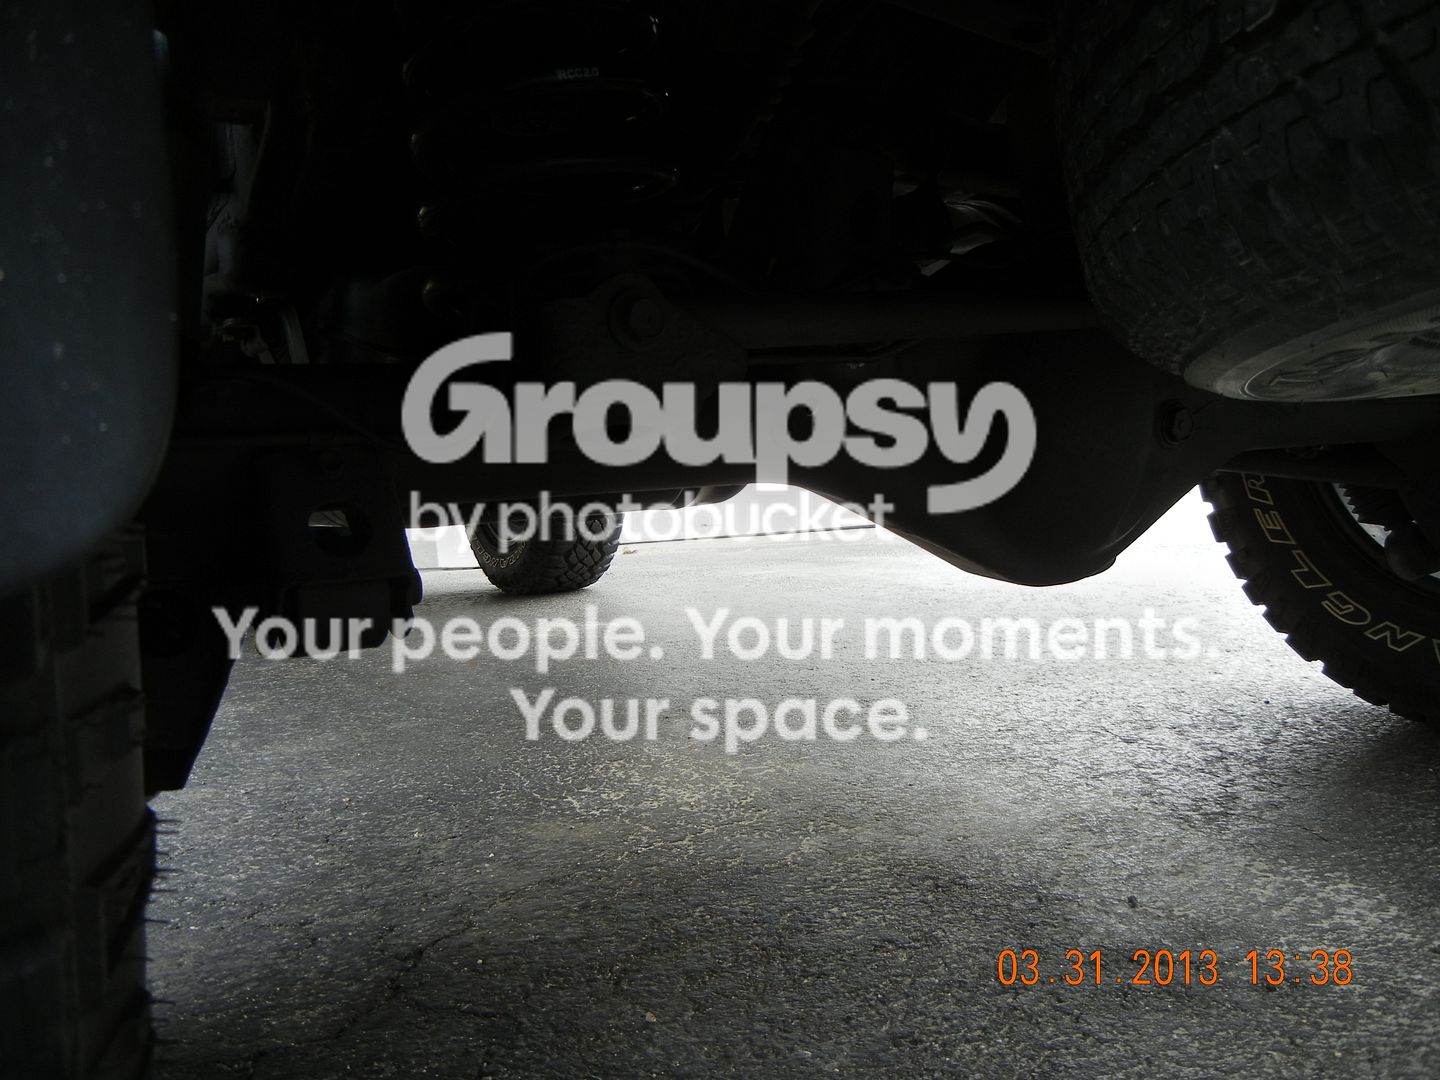
Did some more thorough undercoating yesterday. Pulled off all the skid plates (taking off the gas tank one sucked) and went through about 4 cans of Rustoleum high heat (2000 degrees). Looks much better and is hopefully better protected from the elements too. Here are some pics I got of the finished result. Didn't take any of the process but it's pretty straight forward, just very time consuming and tiring from crawling under there all day.

DSCN1410_zpsf1a041ab.jpg
DSCN1419_zps3715f154.jpg
DSCN1418_zpsc390d1b8.jpg
DSCN1417_zps86a527b5.jpg
DSCN1416_zpsed8cfa1a.jpg
DSCN1415_zps4b17a213.jpg
DSCN1414_zps22d59dcb.jpg
DSCN1413_zps5926947e.jpg
DSCN1412_zpse8f28bf9.jpg~original
 
Nicely done Mike, planing to do the same once it gets warmer. Did you wire brush some of it off or just paint right on top?

Rust its a *****!:gun5:
 
Nicely done Mike, planing to do the same once it gets warmer. Did you wire brush some of it off or just paint right on top?

Rust its a *****!:gun5:

I wire brushed whatever loose rust and paint I could get at, and sprayed some Rust Reformer on the rust spots before painting the entire thing over. Even after washing it down there, there was still a lot of sand so I just had to get a towel and dust whatever sand I could get out of the way lol

Here is a picture of the gas tank skid right when I pulled it off. There was so much crap under there!
IMAG0812_zps5ff85479.jpg~original
 
Last edited:
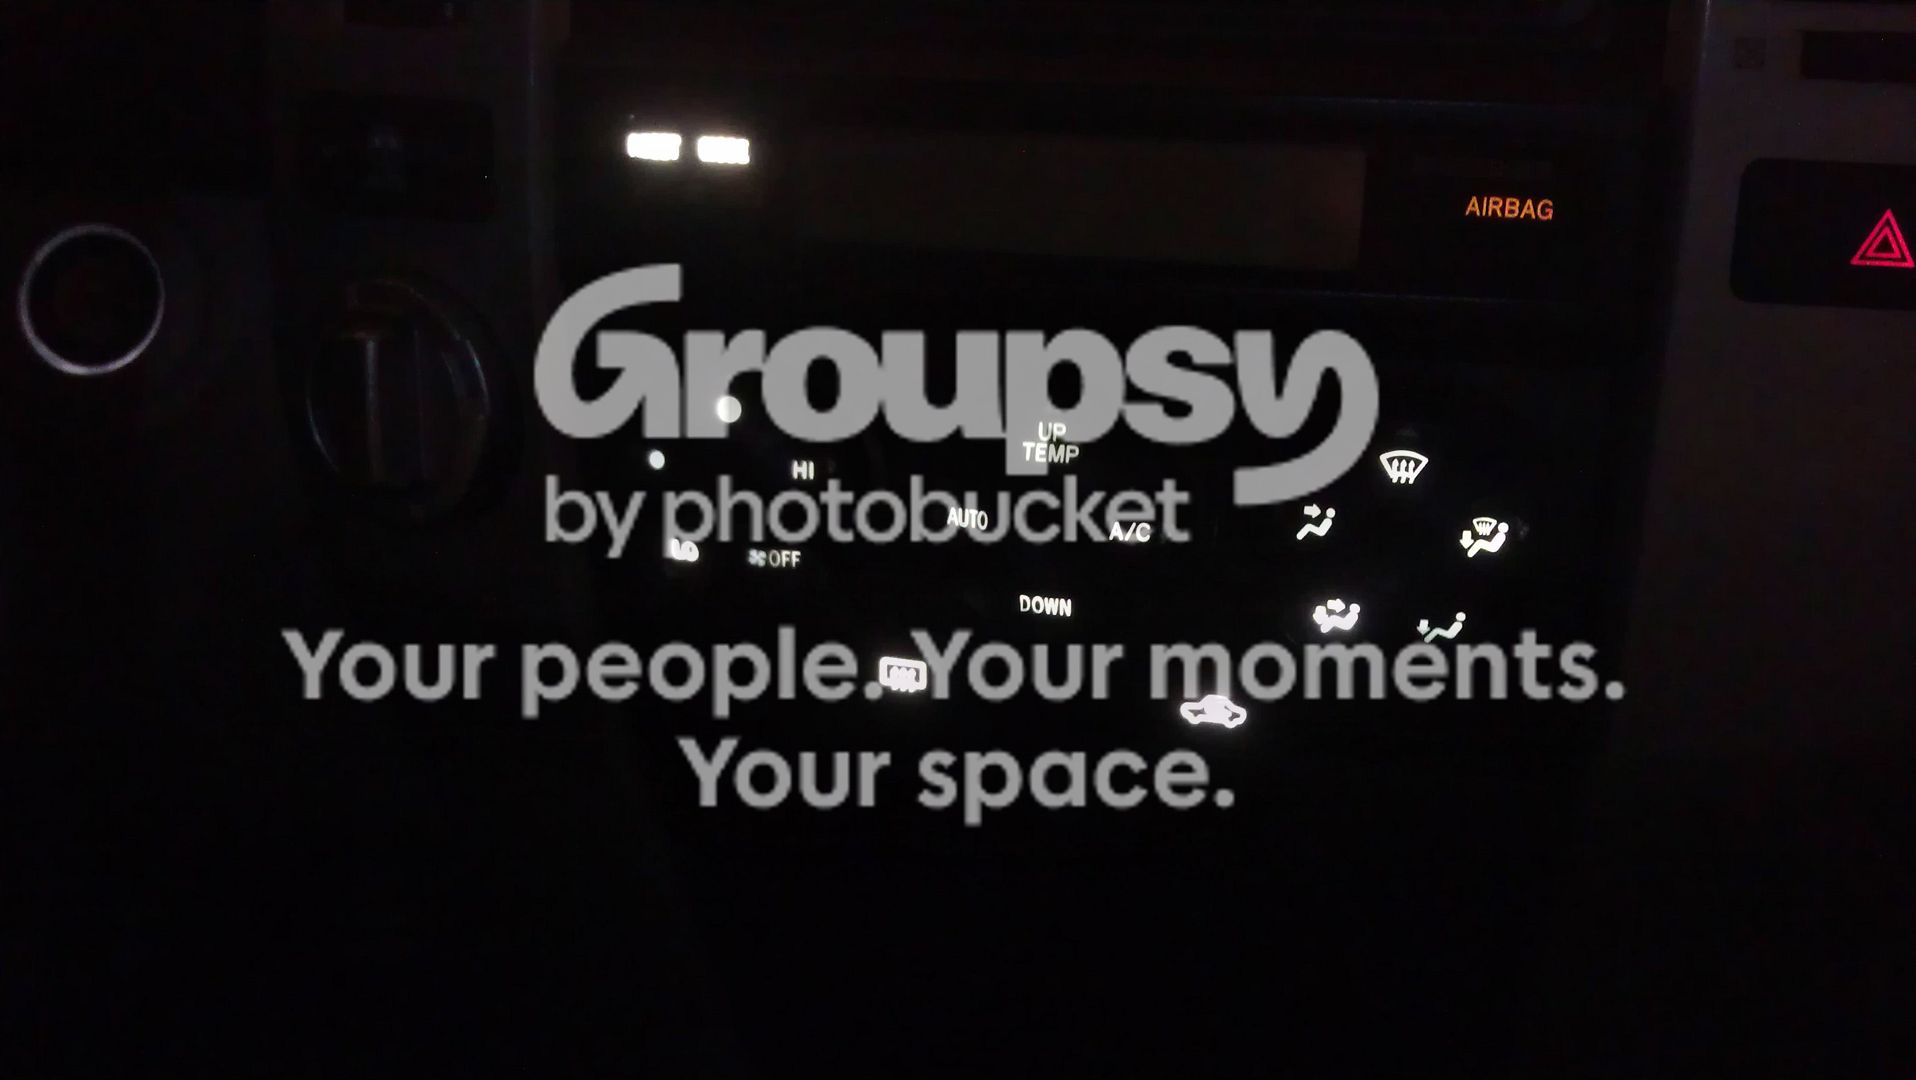
Started on my LED conversion. Did the DAC, RSCA OFF, and Center Diff Lock switches tonight. Working on some issues with the HVAC unit at the moment.

Decided to go with white. Not regretting that decison. :rockon:

IMAG0836_zps9ab21359.jpg~original

IMAG0837_zps6a0f4d88.jpg~original


And this is the extent of the HVAC Display I can do until I figure out why my screen won't light up.
IMAG0841_zps30268de0.jpg~original
 
Last edited:
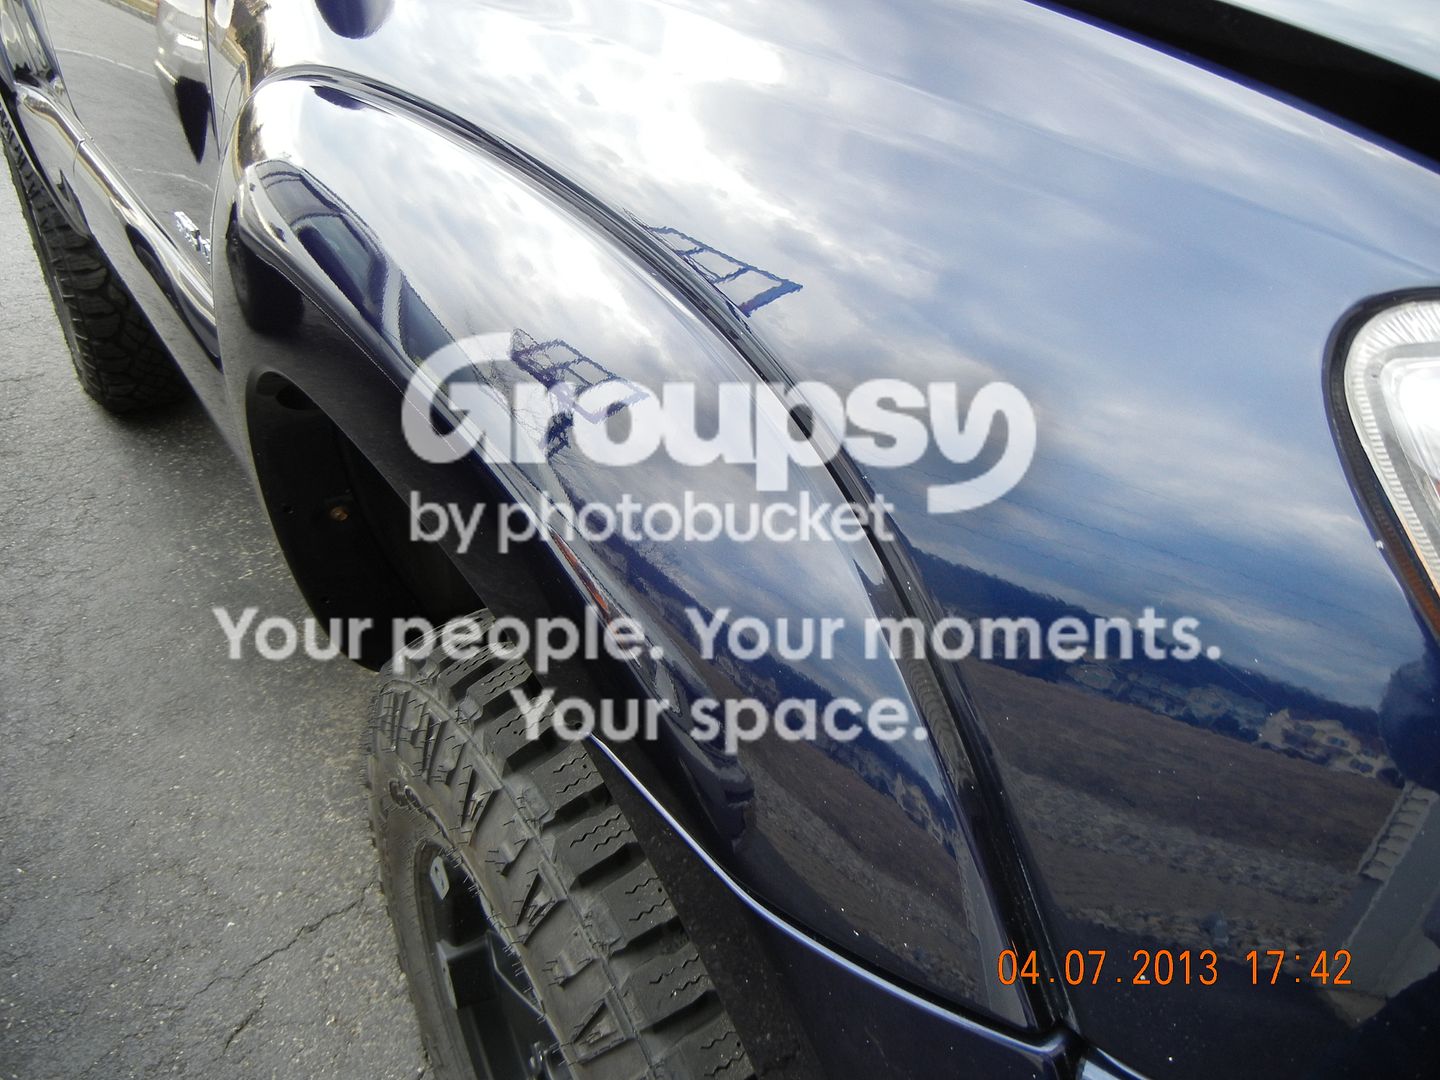
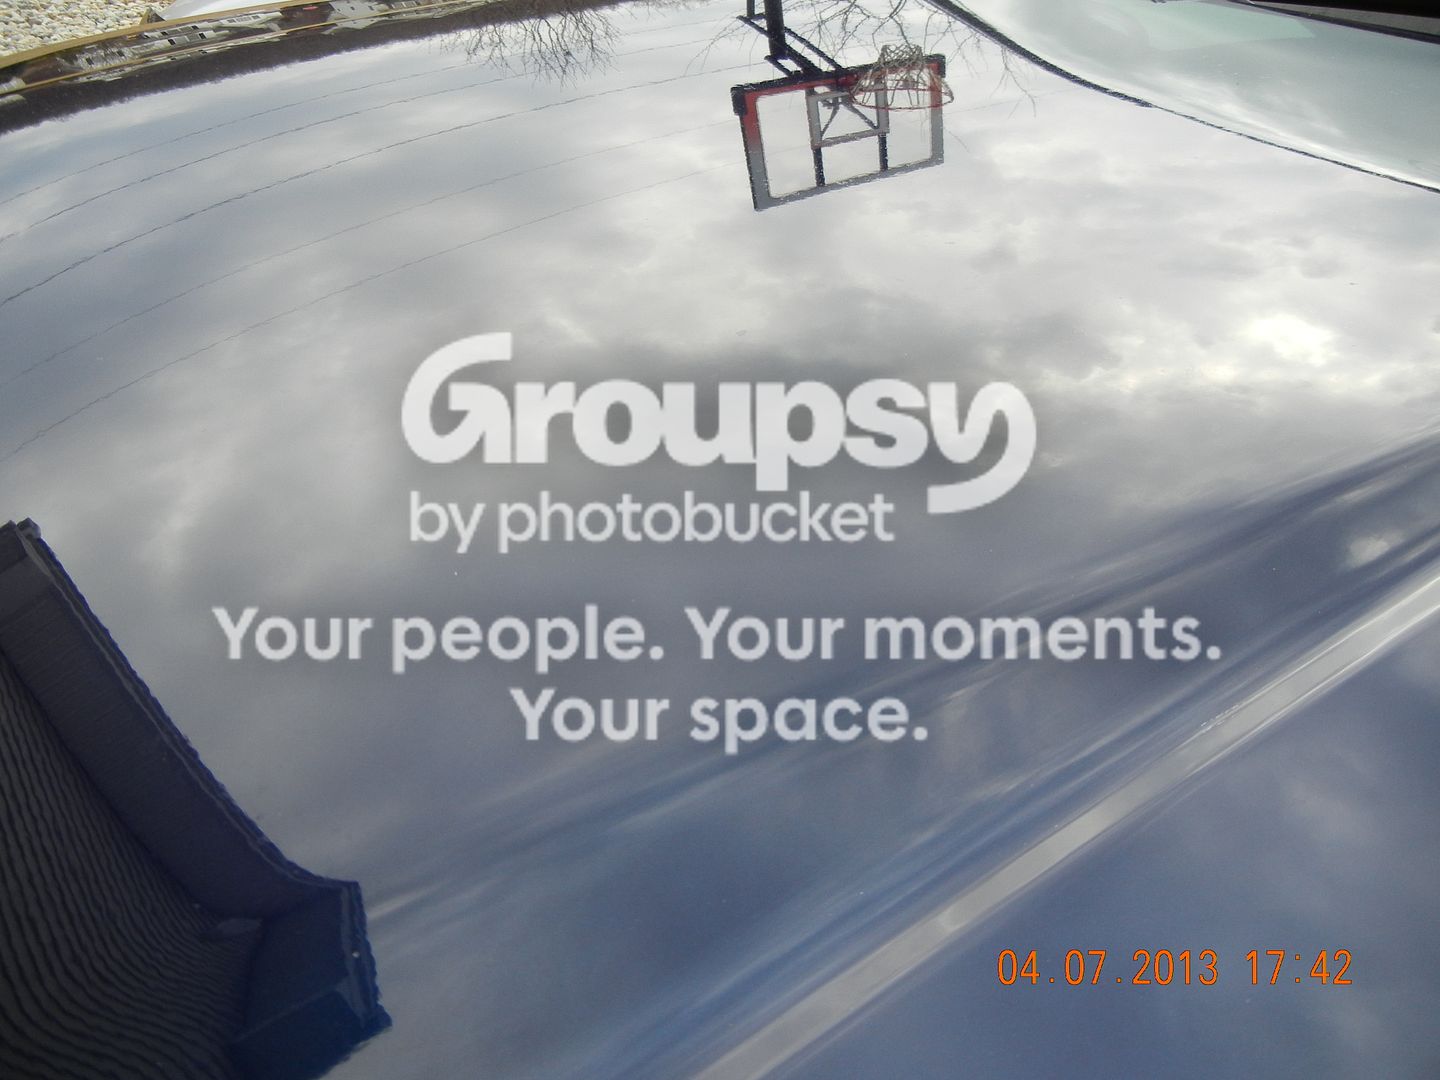
Detailed it over the weekend. Wash and dry, clay bar, two step polish followed by two coats of wax. It needed it too after all the wheeling it's been put through lately! I don't have the best after pics because I was in the process of repainting the rear hatch piece and grille. Rear hatch piece is done and will be put back together in the morning, followed by some pics!

Before (taken after it has been washed and dried):
DSCN1428_zps255ed830.jpg~original

DSCN1427_zps82b93659.jpg~original

DSCN1426_zps407bb6c2.jpg
DSCN1423_zps7453373d.jpg
DSCN1421_zps90147347.jpg~original


After:
DSCN1435_zps8662ebec.jpg~original

DSCN1434_zps3894b958.jpg
DSCN1433_zps0c78096e.jpg
DSCN1430_zps5d3dc29a.jpg
~original[/IMG]
DSCN1429_zps9bb2dcef.jpg~original

DSCN1431_zpsbc187f45.jpg~original
 
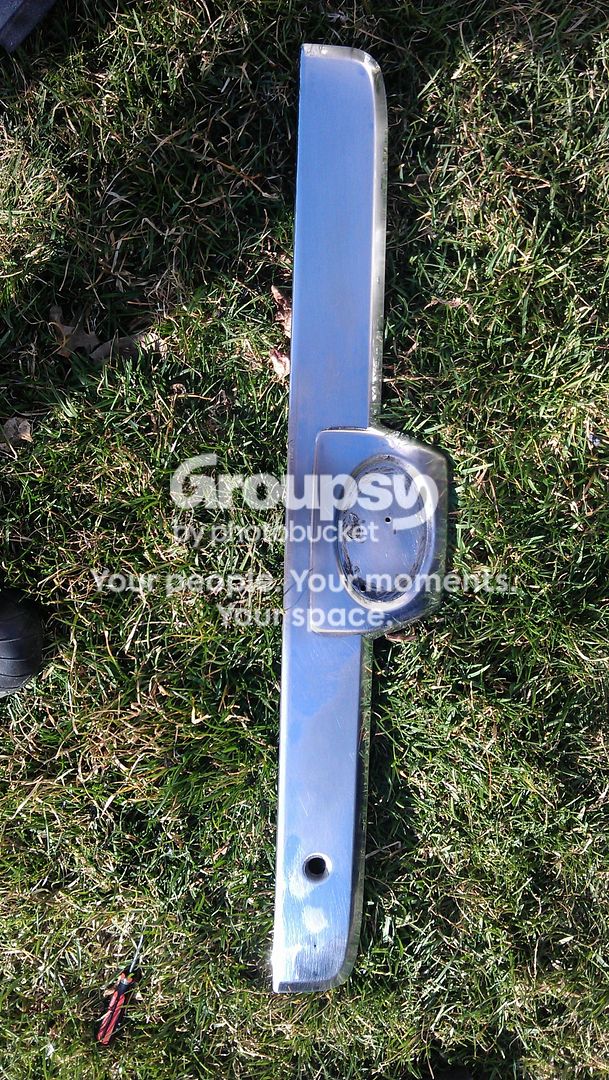
Got the rear hatch piece done. Slowly but surely getting rid of all the chrome!

Sanded down:
IMAG0848_zps987c8832.jpg~original


Used primer and enamel:
IMAG0850_zps14f3b4e6.jpg~original

IMAG0849_zpsa02de469.jpg~original
 

Members online

Forum statistics

Threads
278,312
Messages
3,554,086
Members
248,016
Latest member
Advally Service

Trending content

Back
Top