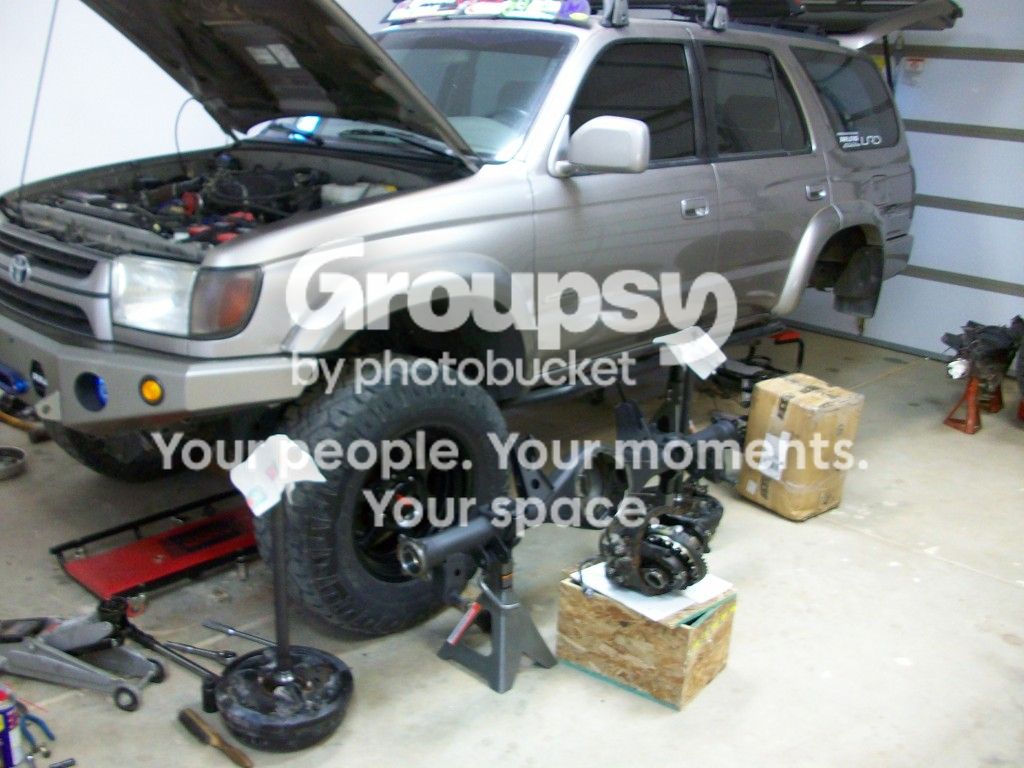
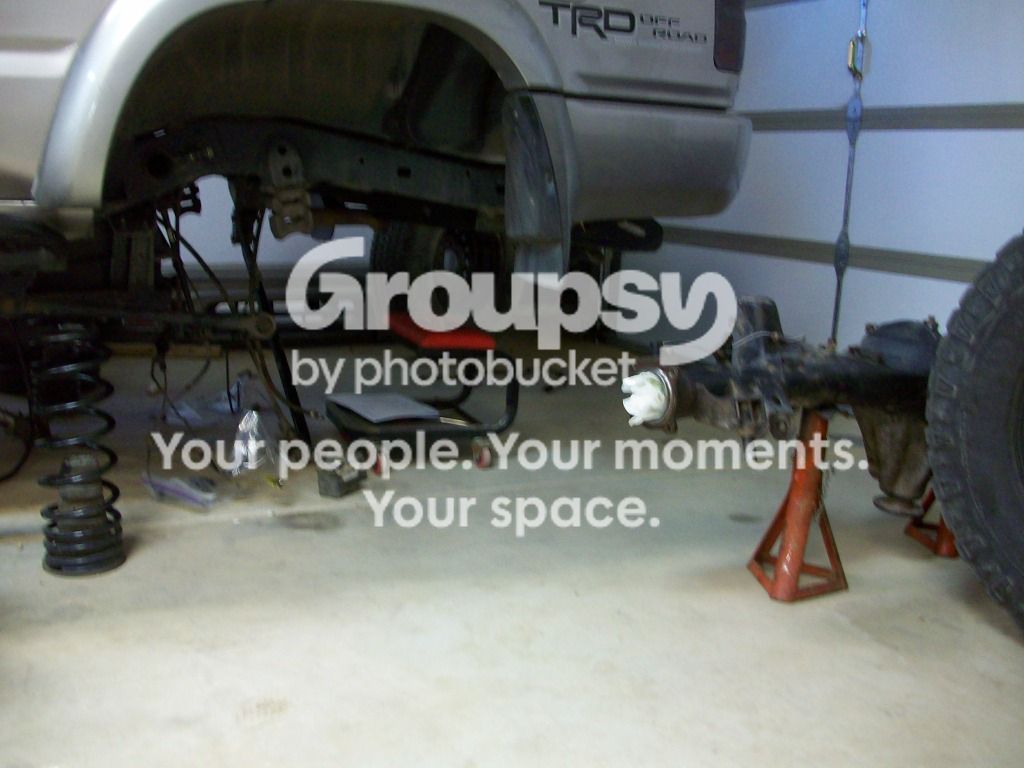
it could be worse... i mean you could have been stuck on the trail and had those broken teeth chew chit up in there and lock you up good... but hey now you get a locker and some new gears
It did lock up a few times on the way out of the trail, I would just put it in reverse and then back into drive and it would clear up. But yeah, could have really blown that diff up.
Think of it this way.....things could always be worse. A busted diff or cv, etc. would be minimal to the likes of totalling your 4runner.
I don't know how much of a difference your feel going from 4.10 to 4.30. When I did the elocker swap on my 4runner with 4.30's front and rear I didn't really notice any difference. Maybe, you will since your 4runner is modified heavier than mine.
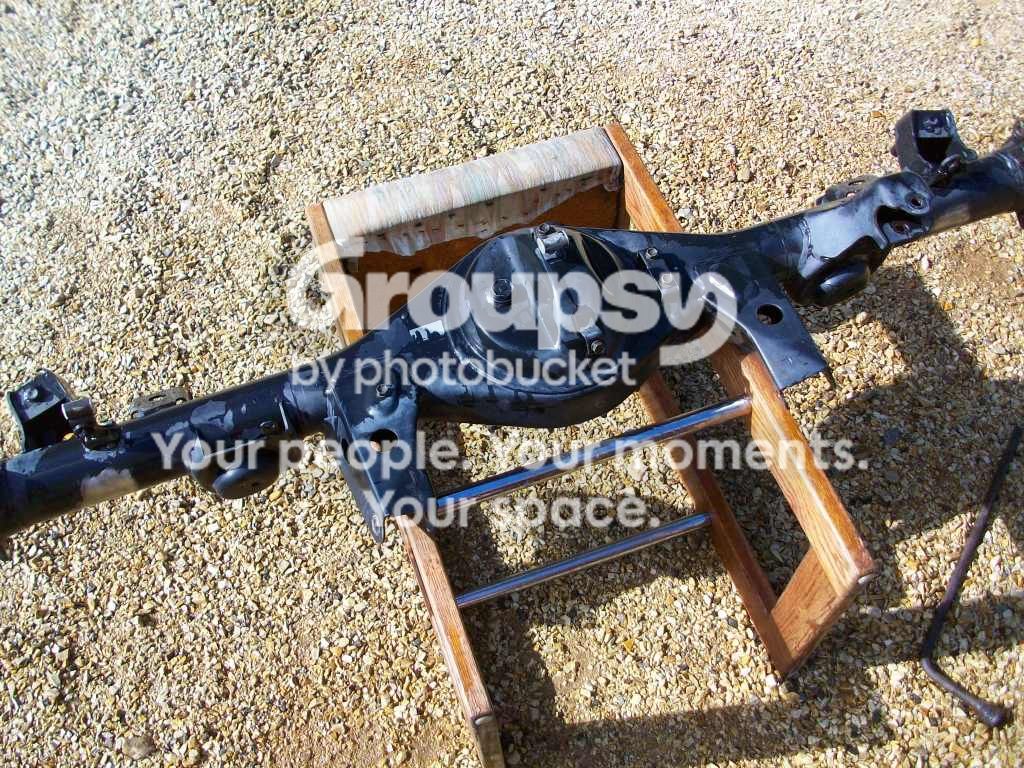
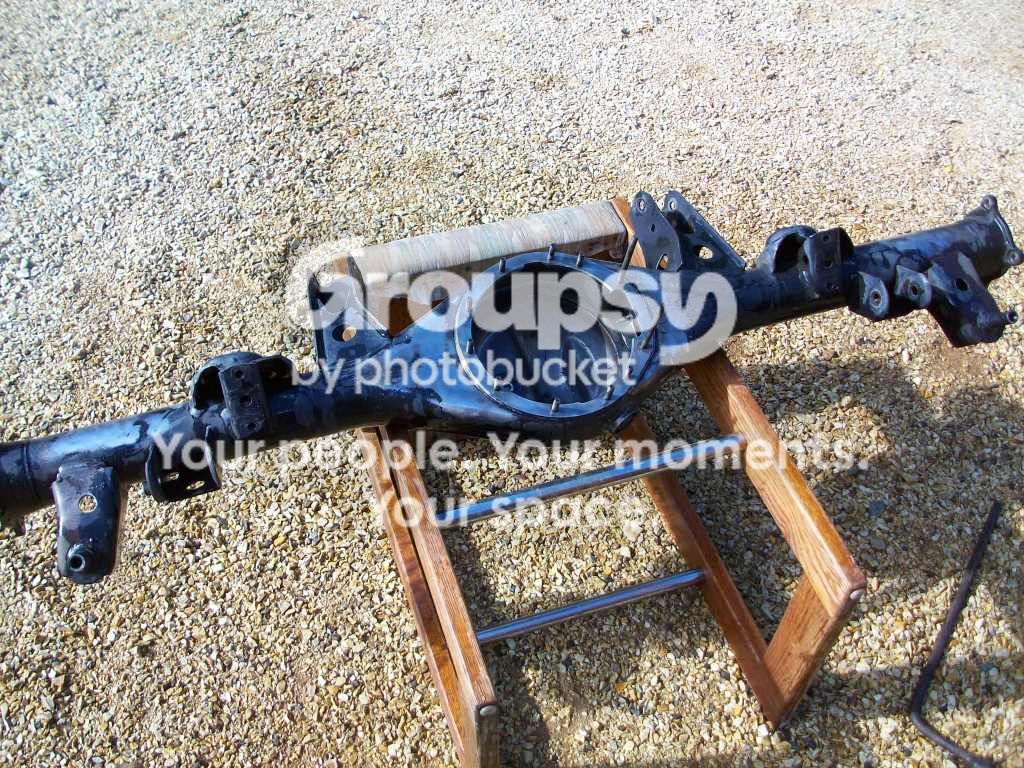
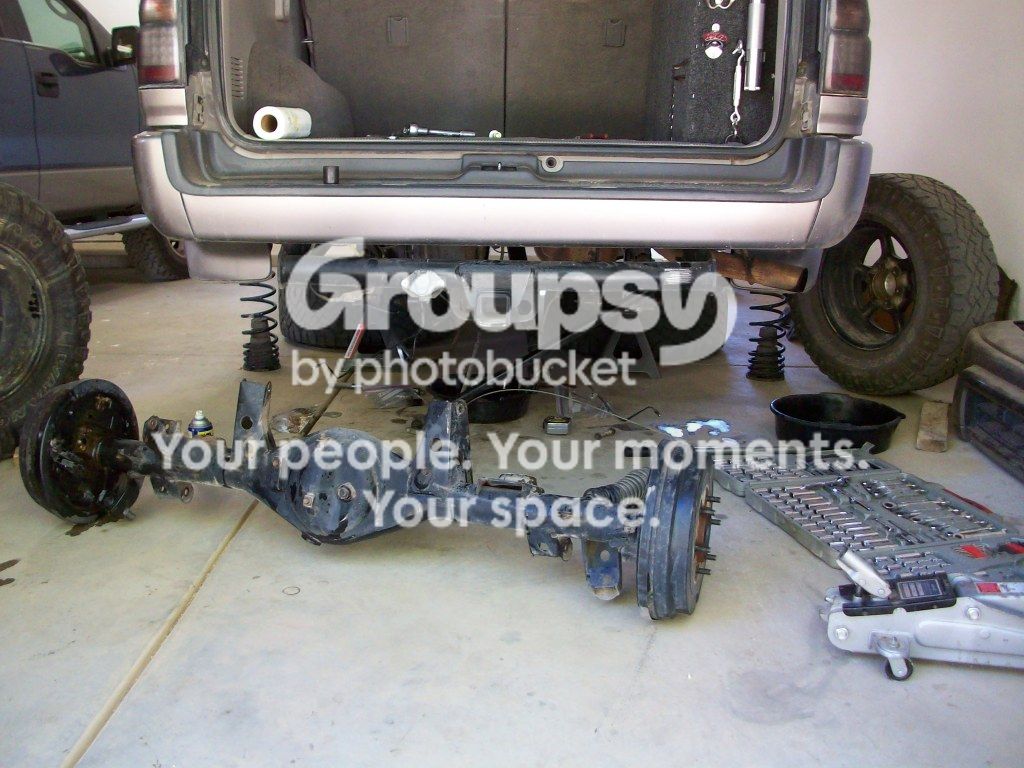
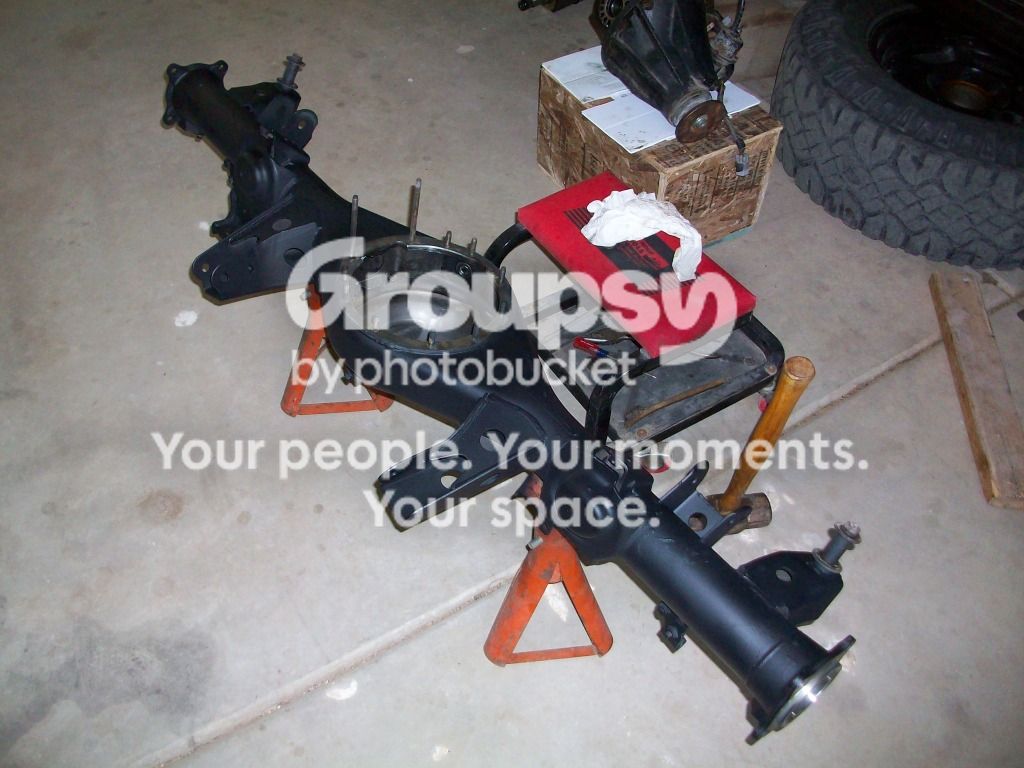
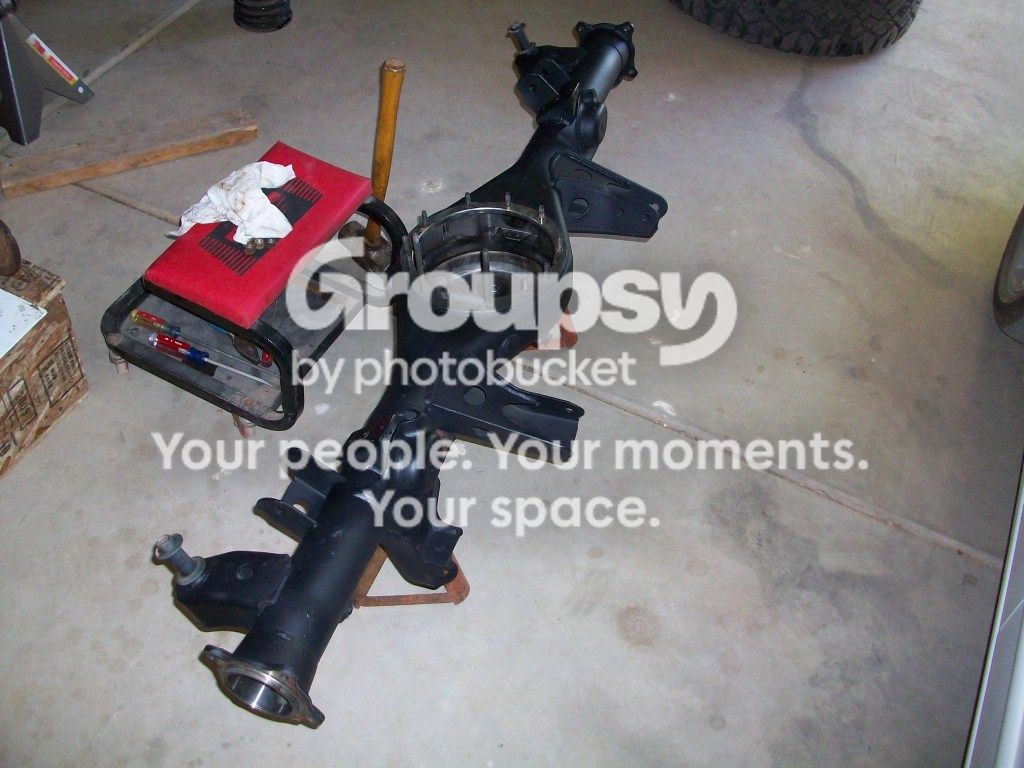
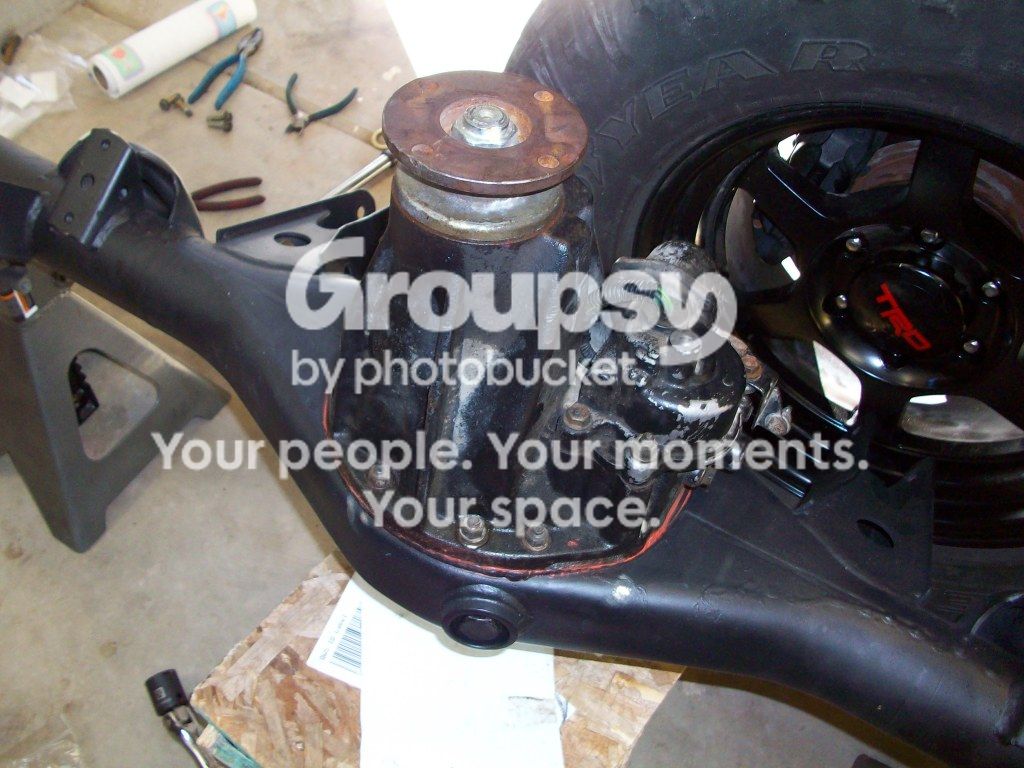
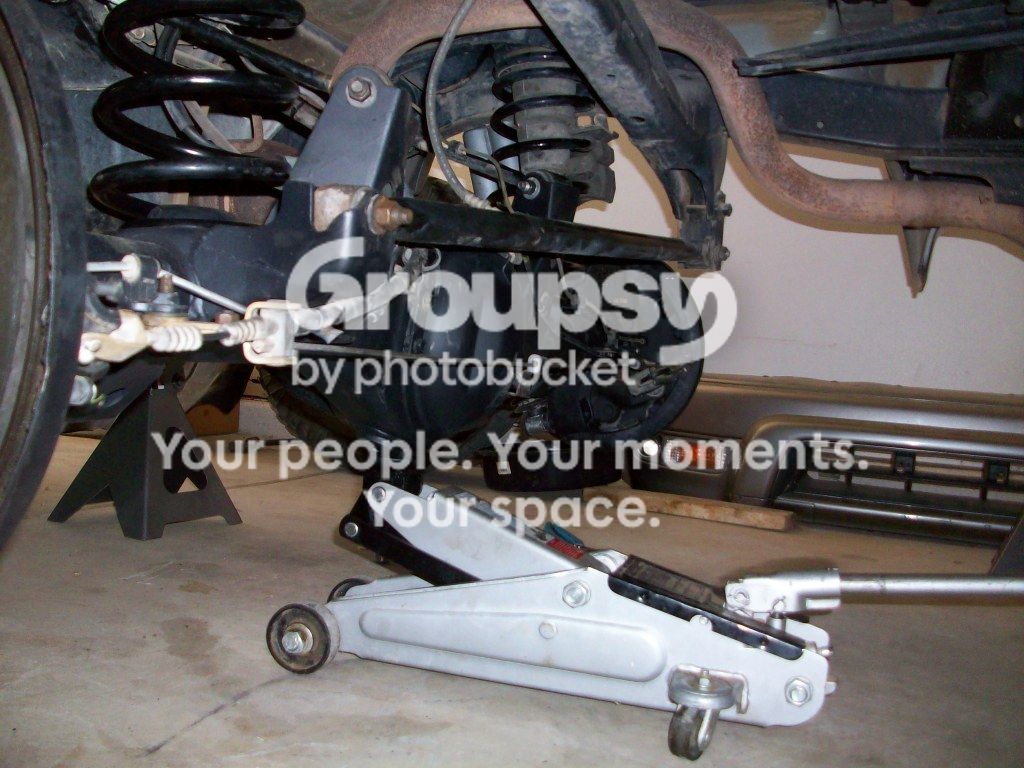
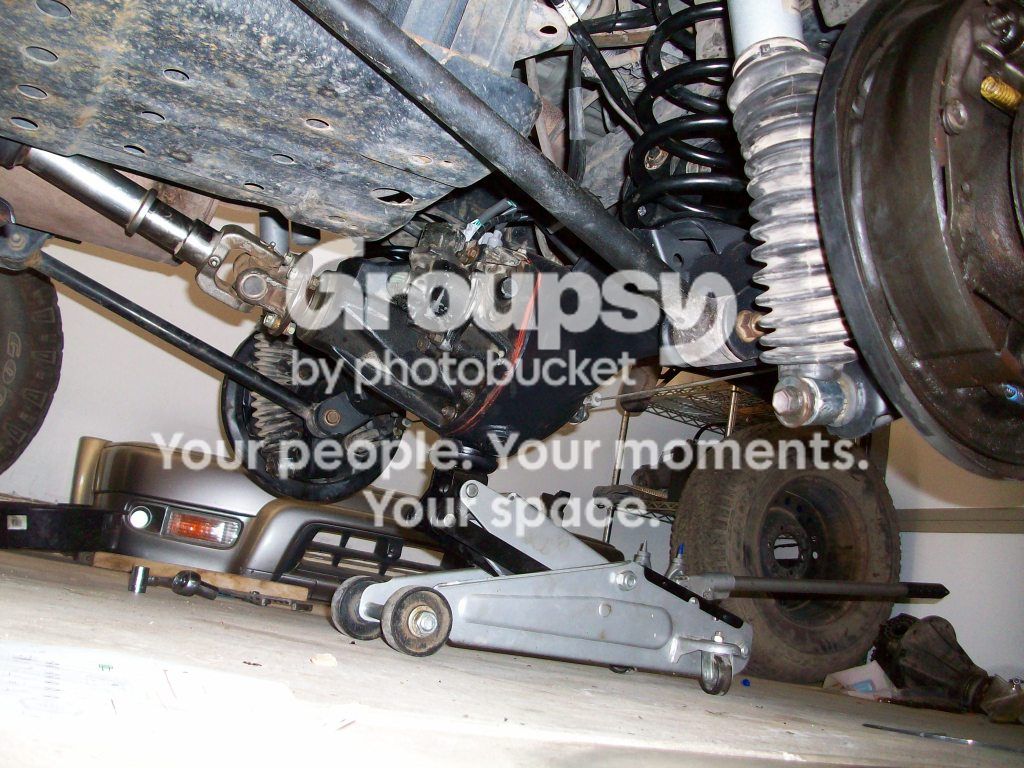
I went to the U-pull it junkyard the other day after Bigfish mentioned he found a few noteworthy items there. I picked up an E-locker housing and an extra CV axle.
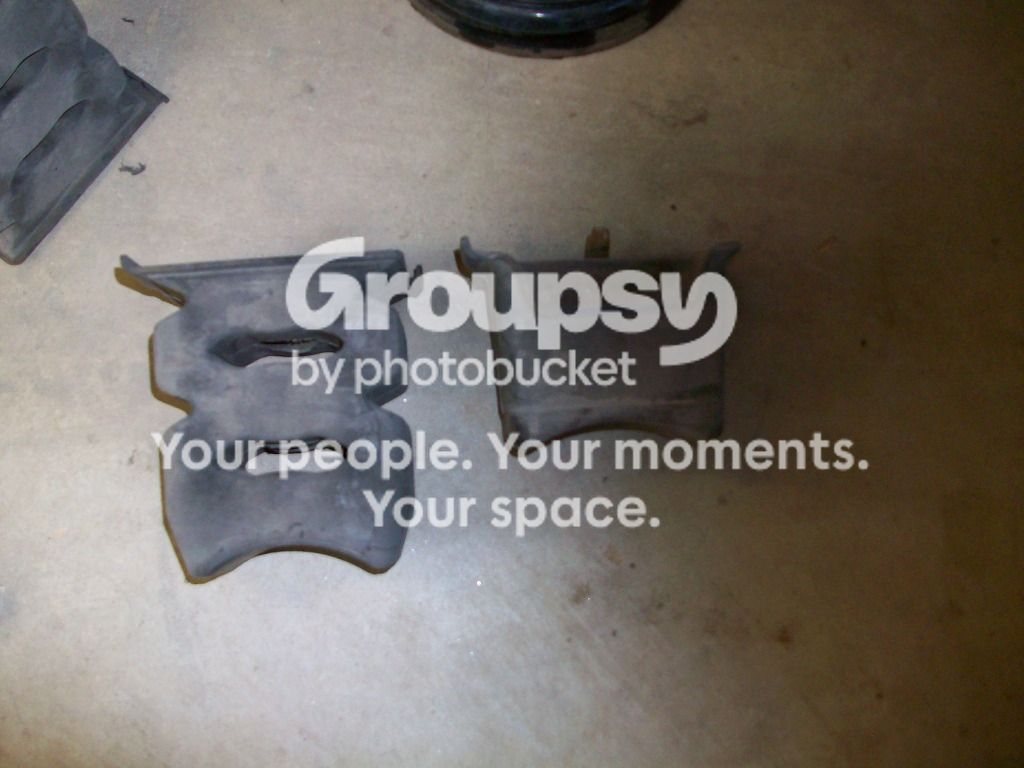
The 4runner I pulled the elocker housing from had extended bump stops in the back and I meant to pick them up, but I completely forgot after I got the axle out and just left. Ill go back and get them later.
This housing is SUPER clean, there was not a spec of rust on the entire thing. I cleaned it up a bit and will paint in the next few days. The Elocker diff is supposed to be here the 9th (tuesday) and the new Front clamshell from ECGS is supposed to be here on the 11th (thursday). So I should be up and running by saturday!
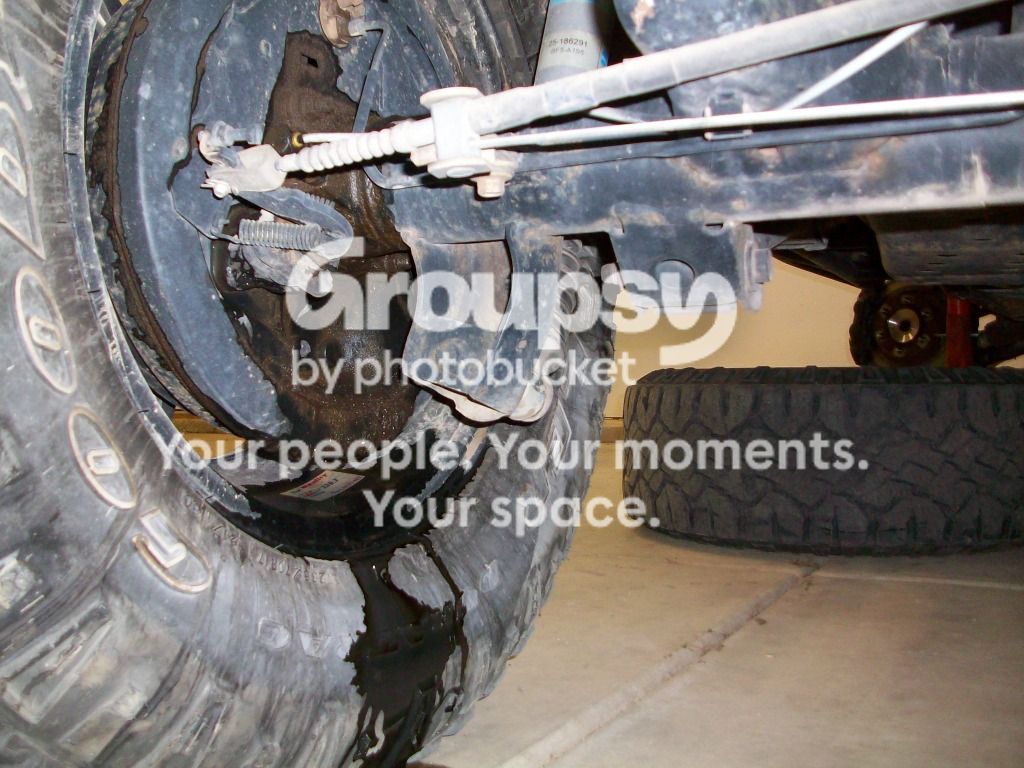
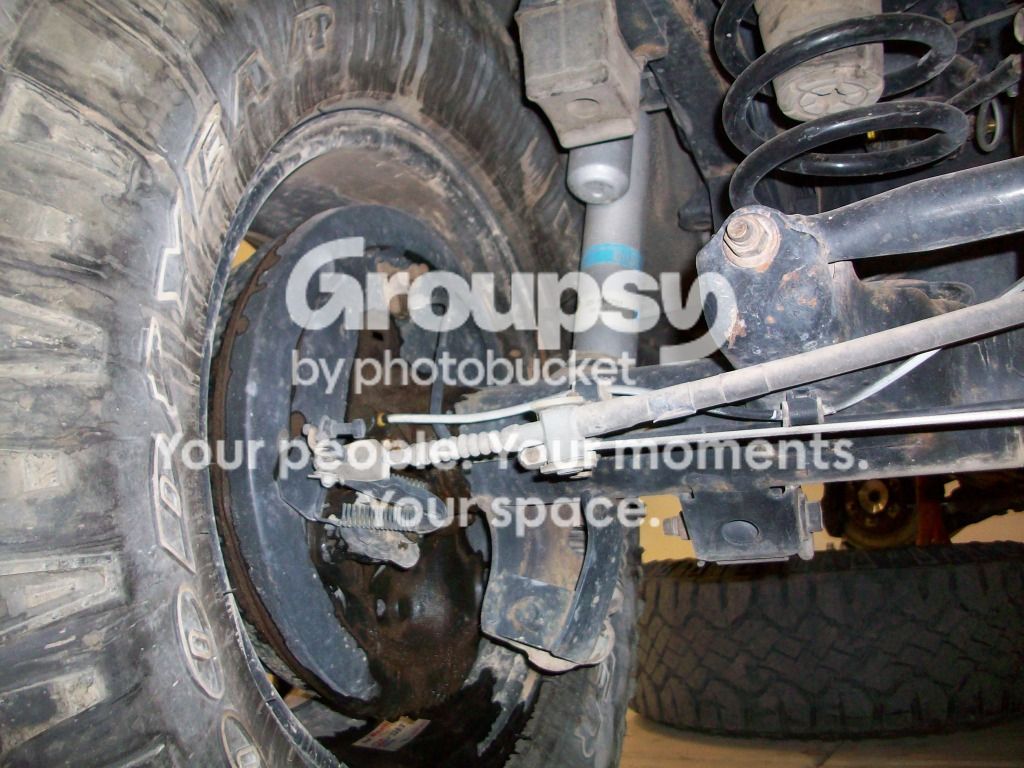
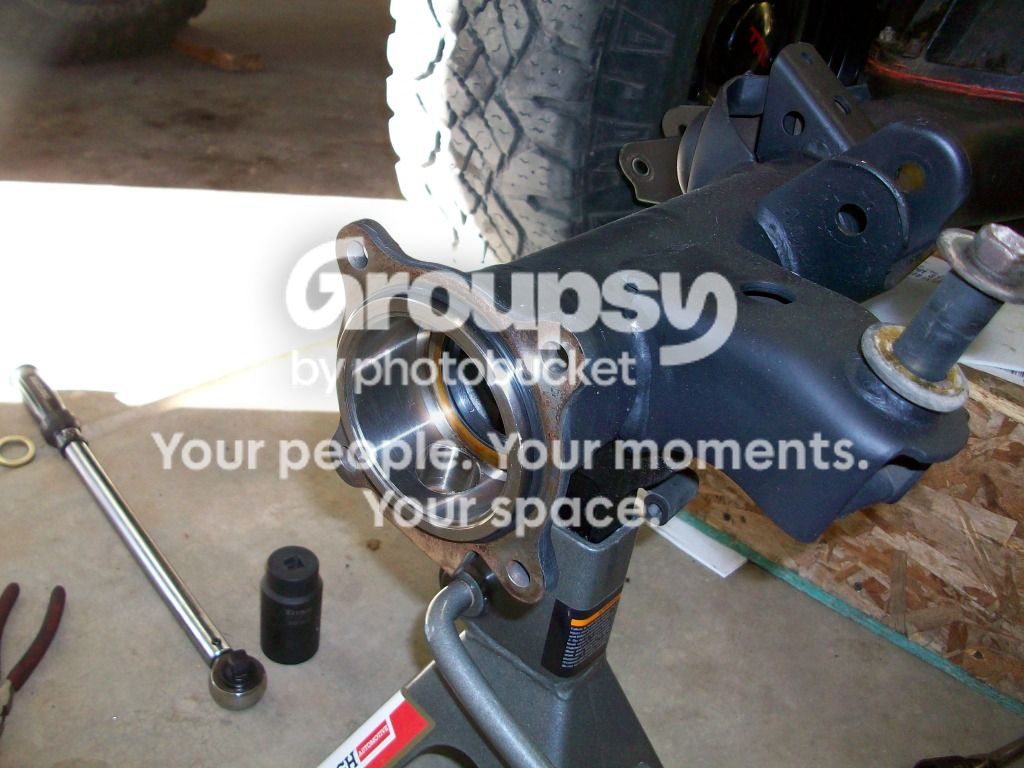
I also recently noticed my brakes on the driver's side is leaking. The truck has been sitting for a week so that is why there is a lot of spillage on that one spot..
I went to the U-pull it junkyard the other day after Bigfish mentioned he found a few noteworthy items there. I picked up an E-locker housing and an extra CV axle.
The 4runner I pulled the elocker housing from had extended bump stops in the back and I meant to pick them up, but I completely forgot after I got the axle out and just left. Ill go back and get them later.
This housing is SUPER clean, there was not a spec of rust on the entire thing. I cleaned it up a bit and will paint in the next few days. The Elocker diff is supposed to be here the 9th (tuesday) and the new Front clamshell from ECGS is supposed to be here on the 11th (thursday). So I should be up and running by saturday!
NICE, dude. That housing is even a little cleaner than the one I picked up. If you hadn't been in your predicament I might have picked that thing up for the hell of it and done an e-locker swap on the '97 too. I'm glad I could throw you a bone there.
I noticed the wear spots on the axle from the bumpstops, but I didn't look @ the bumpstops themselves. They were extended huh? That's weird because that truck was on a stock suspension. I figured the wear spots were due to saggy springs.
Looks like you'll be able to make that TW meet after all. Swapping the entire housing saves so much time, it'll be a piece of cake.
It really sucks about the front diff , however, you've turned misfortune into opportunity! I know this must be an expensive "opportunity" but if you don't mind me asking, what did the new front diff set you back and the elocker? What about the housing, it looks perfect! I really like your 4runner and the upgrades...always food for thought wrt future mods.....
NICE, dude. That housing is even a little cleaner than the one I picked up. If you hadn't been in your predicament I might have picked that thing up for the hell of it and done an e-locker swap on the '97 too. I'm glad I could throw you a bone there.
I noticed the wear spots on the axle from the bumpstops, but I didn't look @ the bumpstops themselves. They were extended huh? That's weird because that truck was on a stock suspension. I figured the wear spots were due to saggy springs.
Looks like you'll be able to make that TW meet after all. Swapping the entire housing saves so much time, it'll be a piece of cake.
Yeah Im not sure what brand the bump stops were, but they are about twice as long as the OEM ones. Im not going to be able to go back there until maybe friday, so I hope they are still there!
I really want to make the meet, never been to Cedro. Hopefully everything works 100% once its installed.
It really sucks about the front diff , however, you've turned misfortune into opportunity! I know this must be an expensive "opportunity" but if you don't mind me asking, what did the new front diff set you back and the elocker? What about the housing, it looks perfect! I really like your 4runner and the upgrades...always food for thought wrt future mods.....
Ill do a more accurate price break down on the final write-up, but the front diff will be about 650 after the core chard refund, the rear diff was 460, the housing was 60, then plus some random little parts here and there. Then minus whatever I get for the old rear diff and housing
Wrenching time has been VERY limited lately. Classes are really taking all my time so I only have maybe 1 afternoon every WEEK that I can work on my truck.. which sucks because I keep having to get rides everywhere.
Anywho.. the front is all done. Got the new 4.30 clamshell from ECGS, gave it a once over and tested the gear ratio to be sure, then started swapping parts.
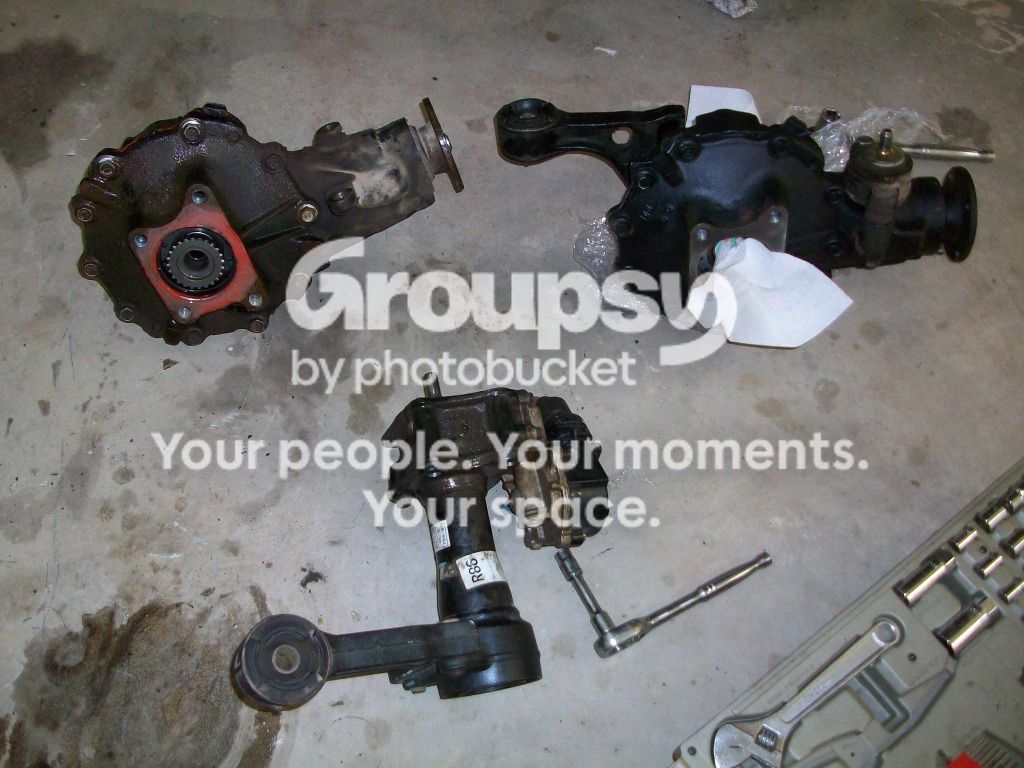
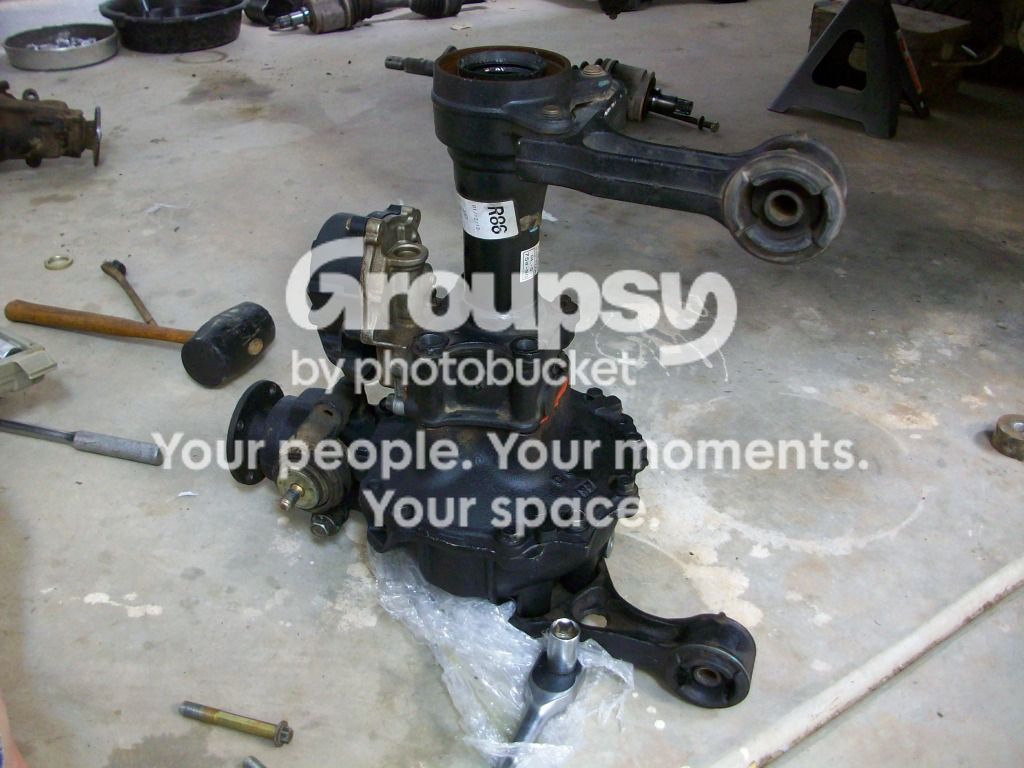
The Clamshell they send is just the barebones differential. No mounting arms, no ADD stuff, no main input shaft. So I had to transfer a bunch of stuff over from the old diff.
For those that didn't see the last page. This is what happened to the old front diff..
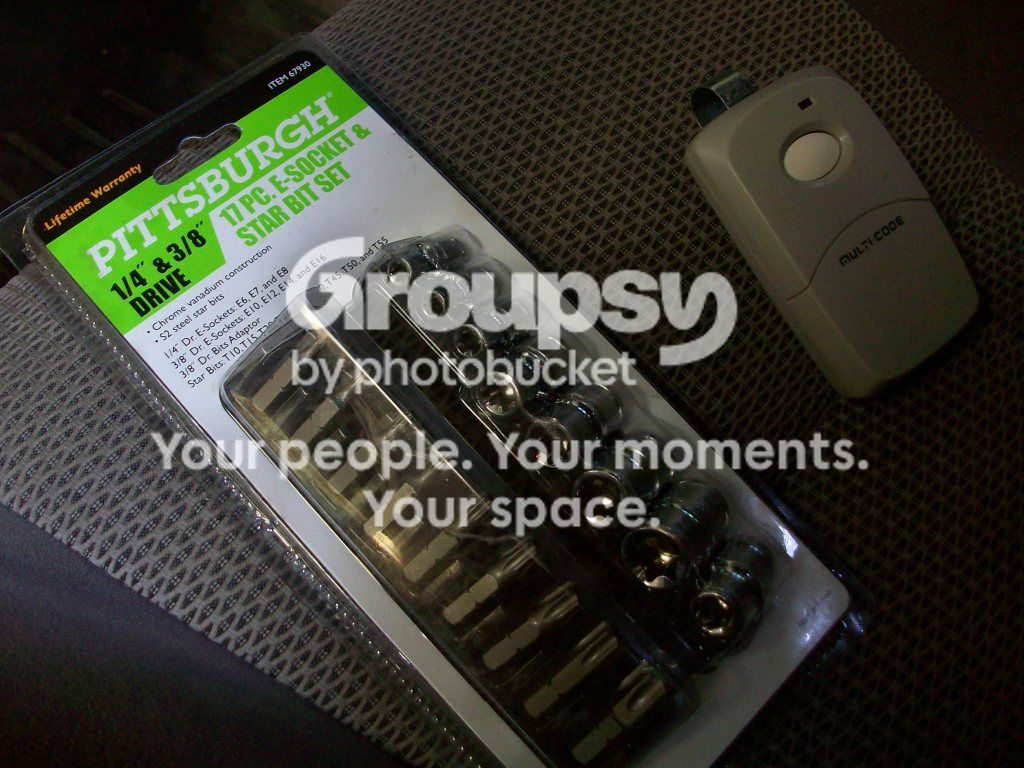
The only hiccup I ran into was that the ADD tube on the front diff is held in place with TORX head bolts. So I ran by harbor freight and picked up a set of torx sockets and bits.
Its an E14 torx head if anyone cares.
ADD tube off. You can see the main input shaft still in the old diff.
I didnt take any pics of when I pulled the input shaft and popped it in the new diff..
But, here is the new diff all together ready to go in. After cleaning up the mounting surfaces and applying new toyota FIPG.
-------------
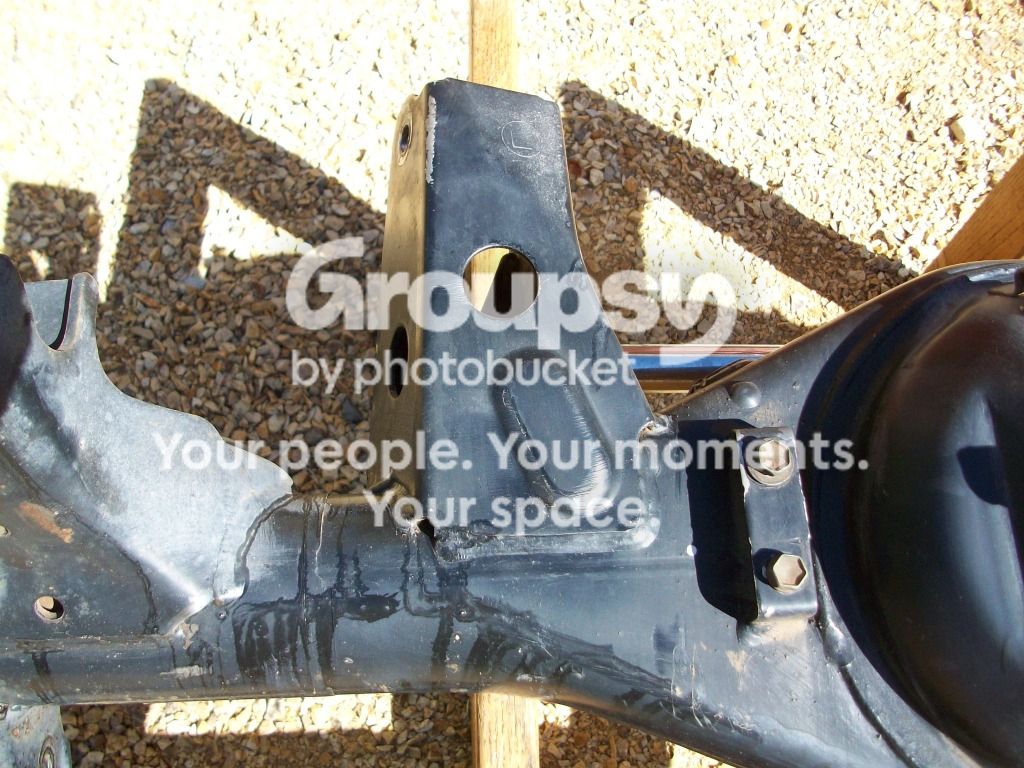
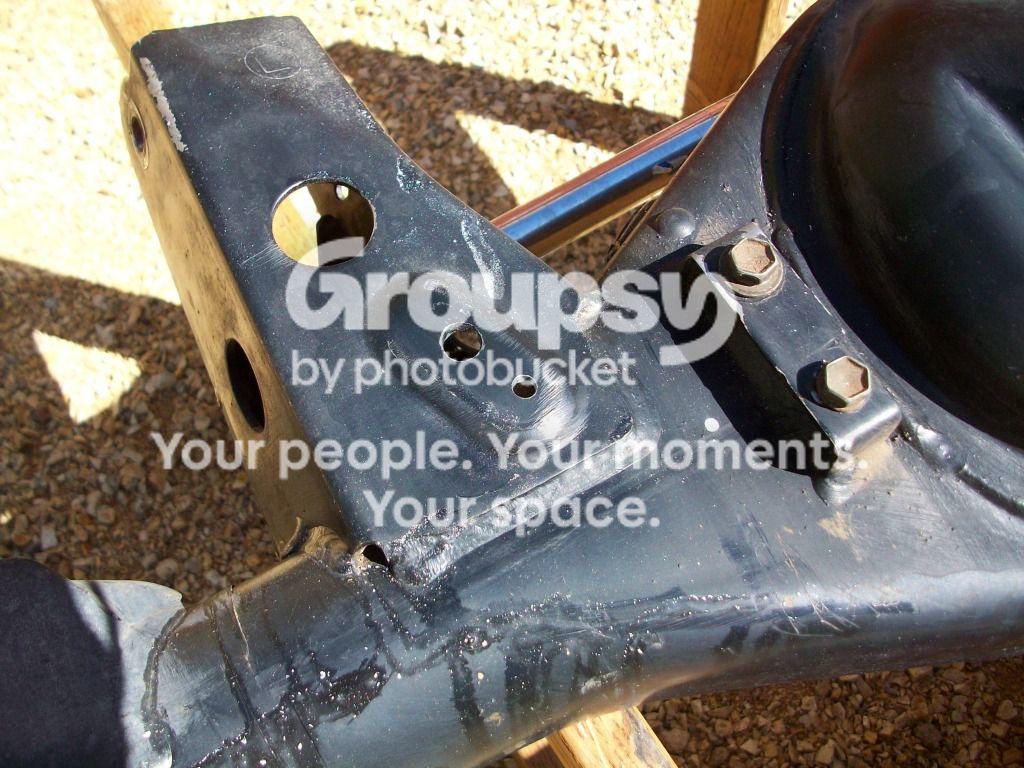
Also put in some work on the rear axle housing. As bigfish mentioned in his thread, the only difference between the 96-00 and 01-02 axles is the 01-02 have 2 rear brake lines so they have two mounting spots.
5 minutes, a drill, and a file fixed that right up!
So that's where we are right now. The front end is all done, diff is in and filled with Mobil 1 75w-90, plugs attached, CV axles on, everything torqued. I have been working on the wiring for the elocker a bit when I can. I have all day off friday so I should get it done this week I hope..
That box on the right is the old diff heading back to ECGS.
Your pics remind me of a time last spring when my truck was hanging there with the axle out.... good times... haha
Some awesome progress there Rip, and I'm sure your gunna put that E-locker to good use. Did I mention, I love thundercloud?? Seriously everytime I'm on this thread I get bad ideas... I was just on autotrader trying to find a nice thundercloud 3rd gen. If I ever find a clean one with low miles and NO sunroof, I'd be tempted to run dual 4Runners. Thanks for the inspiration.
nice work man...u never stop!! 4Runner always looks great and top notch on the write ups...wished i lived next to you and bigfishallday! Glad your getting your runner back together and congrats on the Elocker! Whats ur thoughts on an Aussie Locker?
Making my own control circuit and bought the inchworm elocker harness. Although its a bit late, I wish I would have gone with the inchworm control kit as well. It was on sale by alot when I bought the harness..
Your pics remind me of a time last spring when my truck was hanging there with the axle out.... good times... haha
Some awesome progress there Rip, and I'm sure your gunna put that E-locker to good use. Did I mention, I love thundercloud?? Seriously everytime I'm on this thread I get bad ideas... I was just on autotrader trying to find a nice thundercloud 3rd gen. If I ever find a clean one with low miles and NO sunroof, I'd be tempted to run dual 4Runners. Thanks for the inspiration.
Thanks dude, im just trying to keep up with you guys!
whats wrong with sunroofs? I love mine.. havnt used it in forever but I love it like a brother. haha
nice work man...u never stop!! 4Runner always looks great and top notch on the write ups...wished i lived next to you and bigfishallday! Glad your getting your runner back together and congrats on the Elocker! Whats ur thoughts on an Aussie Locker?
First I want to thank BigFishAllDay, nick you were a great help through all this. Your thread is a great resource!
Ok guys, the swap is all done! Here is the report.
$460- Used 4.30 Elocker 3rd w/shipping
$60 - Used Elocker axle housing
$650- New 4.30 Clamshell diff from ECGS w/shipping
$45- Elocker harness from Inchworm offroad
$18 - 11' of 6 conduit trailer cable
$16 - New Rear brake cylinder
$100- Gear oil, wiring stuff, brake cleaner, paint -$200- Sell old housing and diff.
$1104 (IMO not bad for a slight re-gear and e-locker retrofit together. Could have been better if I sourced a used front diff)
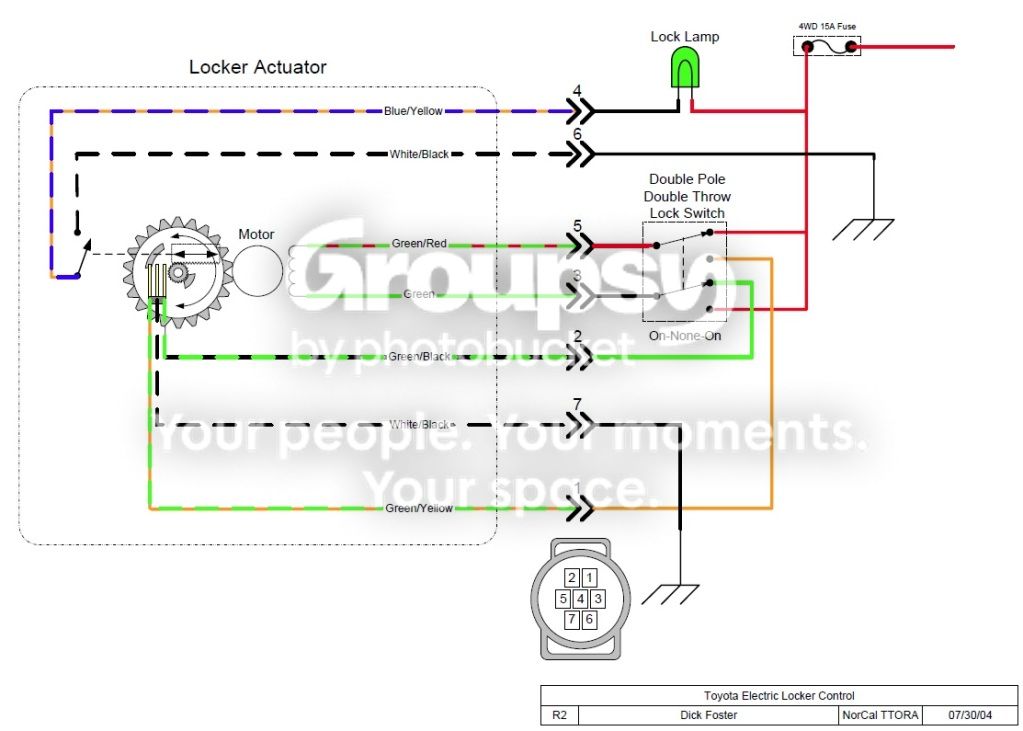
There are many ways to setup the wiring for the elocker. You can get the stock elocker ECU and go with that route. Or you can make your own in many different ways.
The method I went with was what I found in this write up: http://www.norcalttora.com/~d*ck/Writeup Stuff/toyota_elock_control.pdf
(replace the * with an i for it to work)
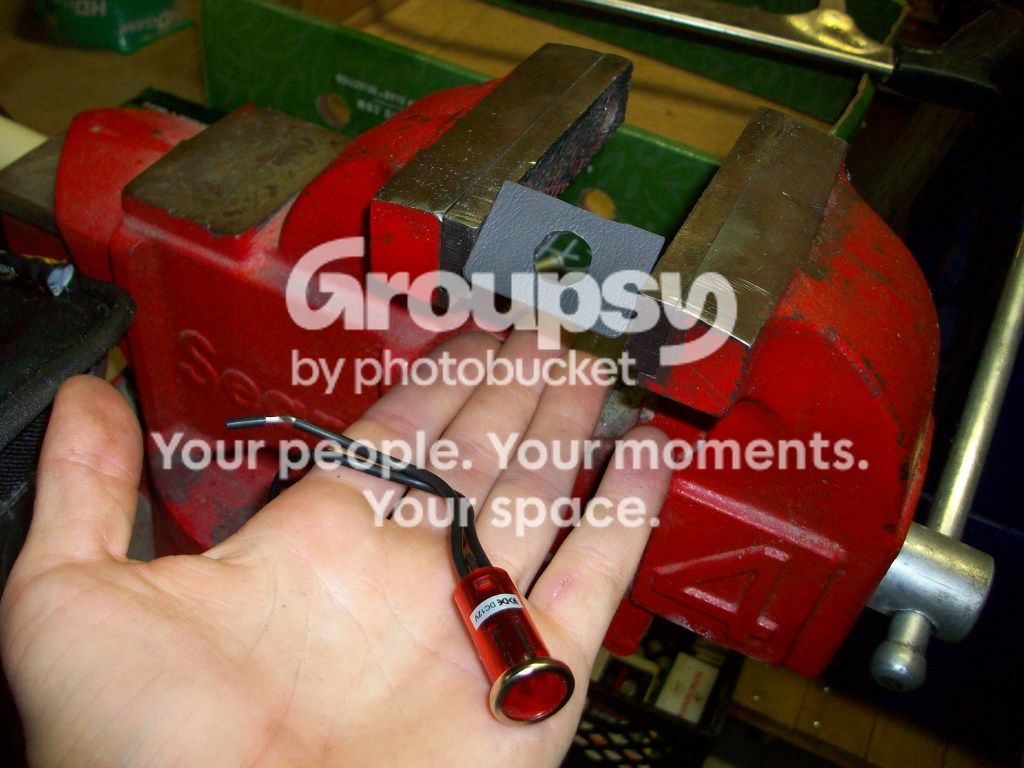
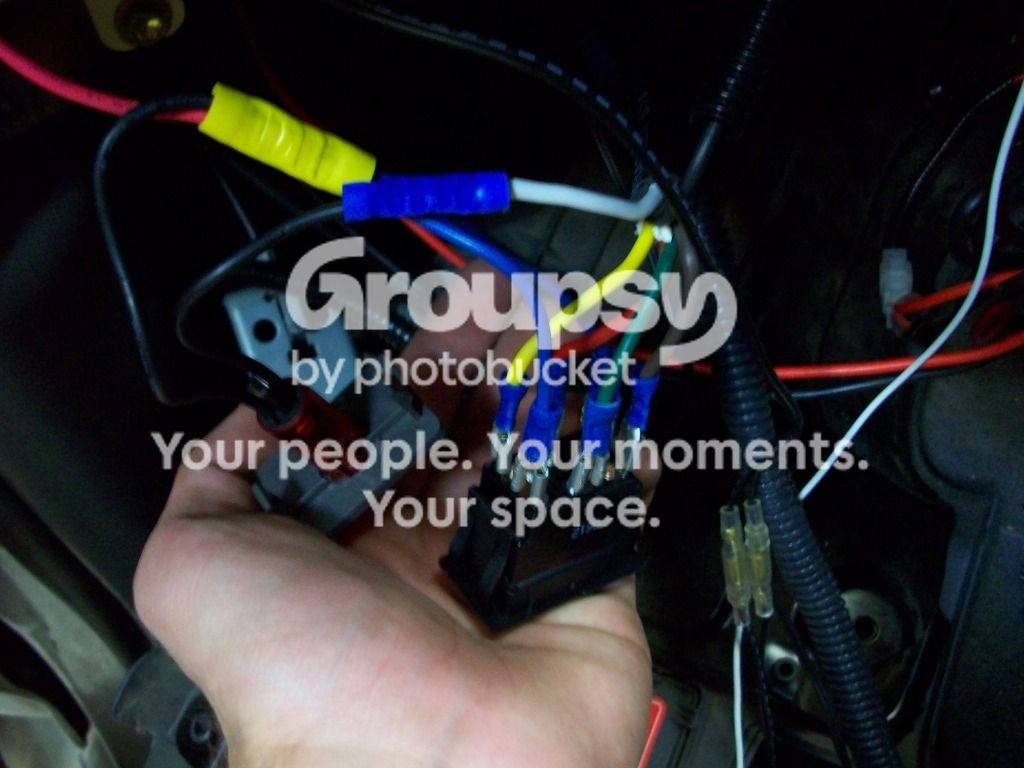
In this write up, all you need is a 12V LED, a DPDT on-none-on (aka. on-on) rocker switch, and a length of 6 conduit trailer cable.
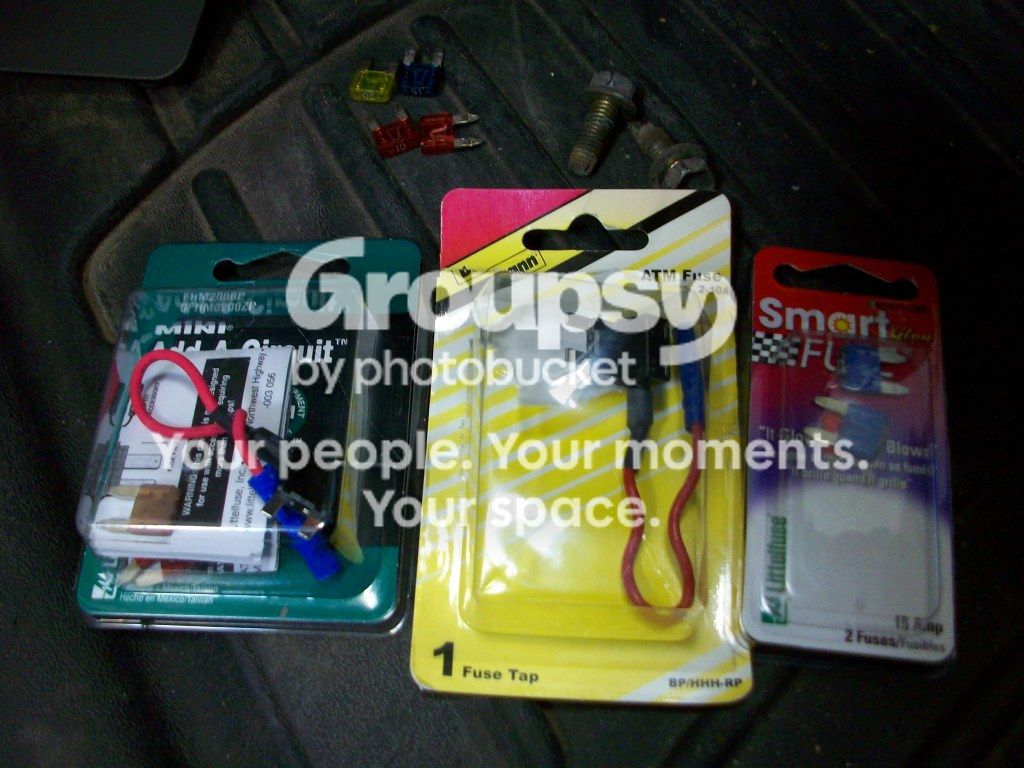
Picked up some Add-a-circuits. $5 each at autozone.
Thanks to BigFish's thread, I knew where to get the power from:
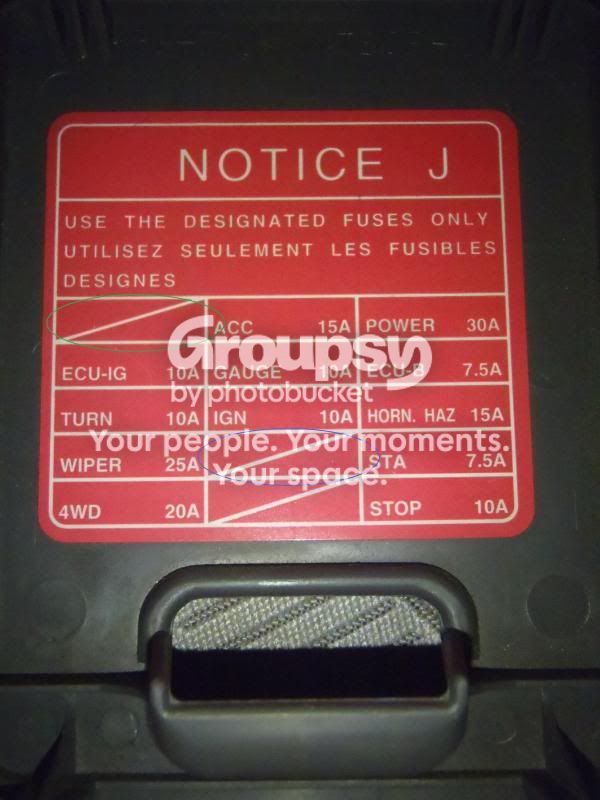
First, I had to source some 12V power (+). I started at the fuse box and decided to see if any of the empty slots in the fuse box were actually live.
The one circled in BLUE turned up 12V power, but was a constant ON (not ignition switched). The one circled in GREEN had 12V power in both the ACC and IGN ON positions, but not with the key off, so I went ahead and used it.
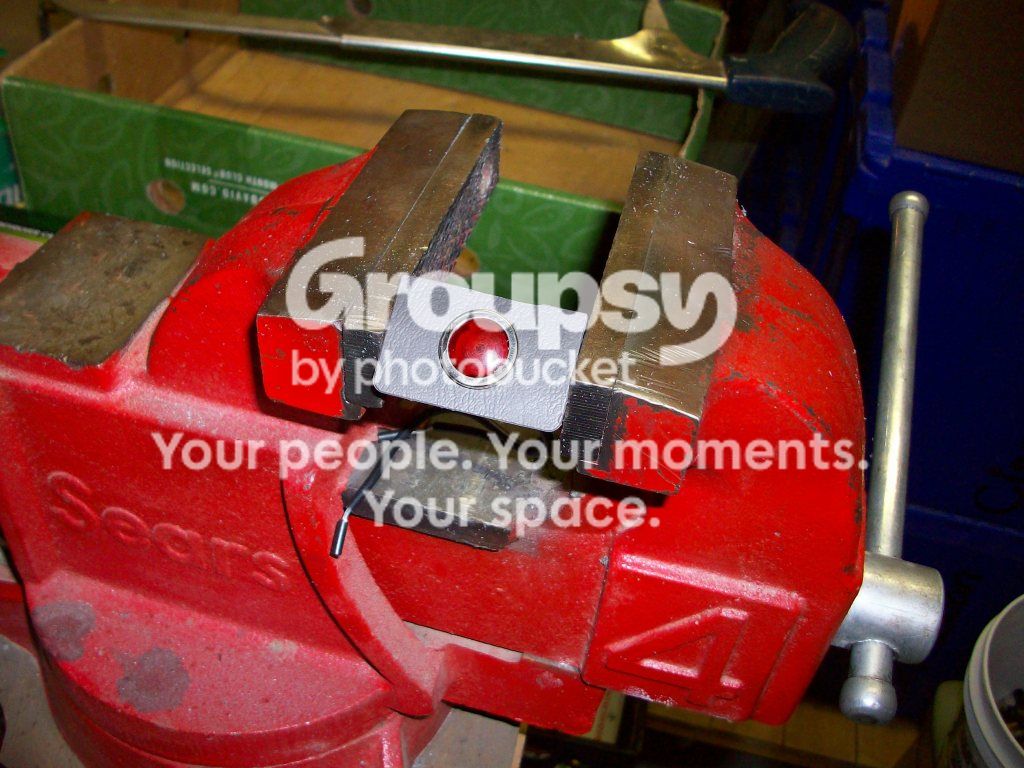
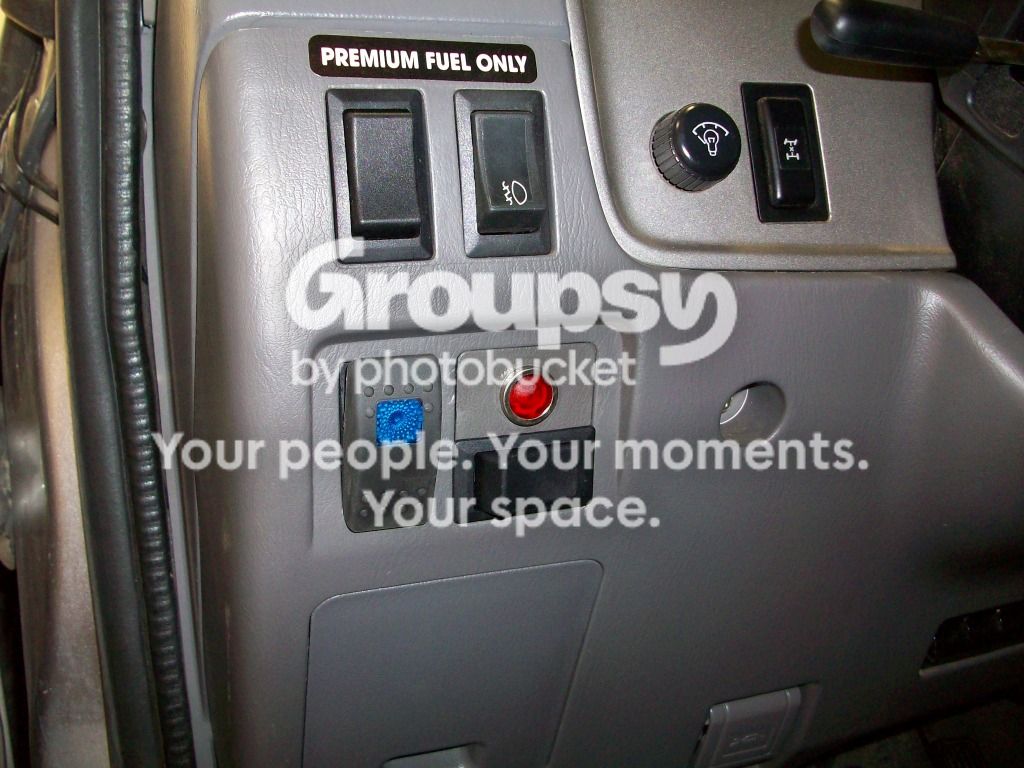
For the switch, I have already filled up the 3 extra switch locations. So I had to use the big one. With that one, the switches have to be mounted sideways becuase of the dimensions. I just planed to use the extra space left over for a light!
I am very happy with this setup, I think it looks great!
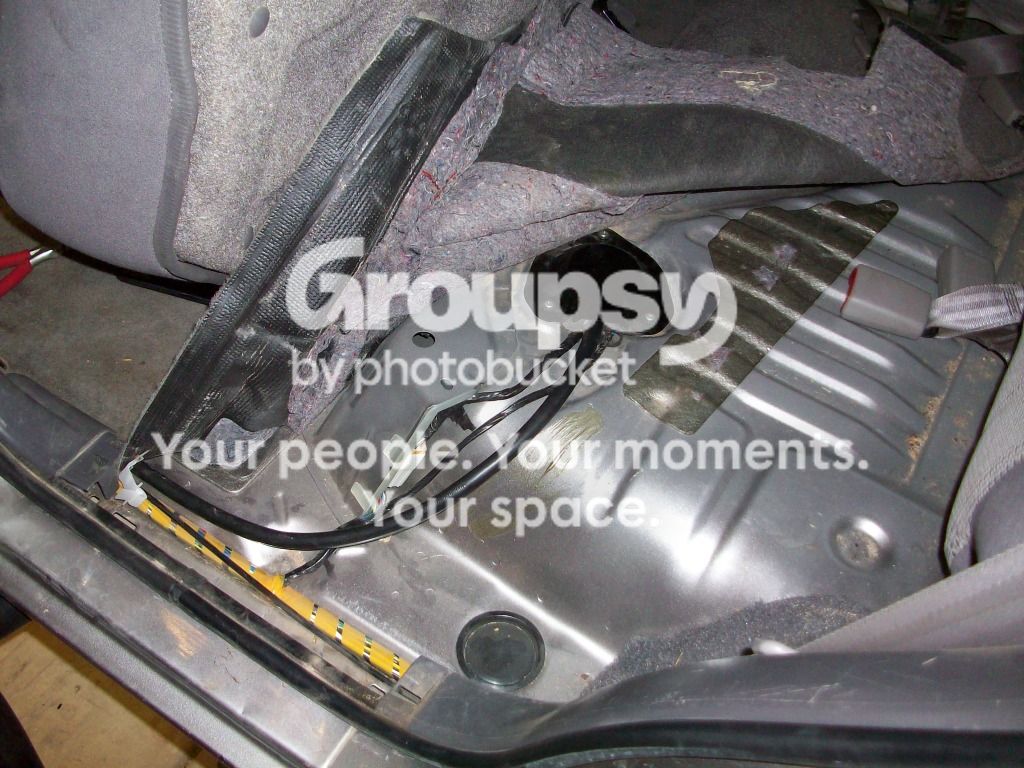
Routed the wire down through the Rear seat access hatch:
Ignore the Zip-tie used to hold the bracket down, I have since replaced it with a bolt!
Testing the E-locker:
I know, I know!! I need to label the switches. Luckily I know what they all do, haha!
These are getting made at the local sign shop, "soon".
As I mentioned, I picked up a used Elocker housing from a '96 4runner at the local U-pull-it yard for $60.
You'll remember I had to drilla few holes for the brake brackets.
Got the new axle painted.
Picked up some extended bump stops from the parts yard.
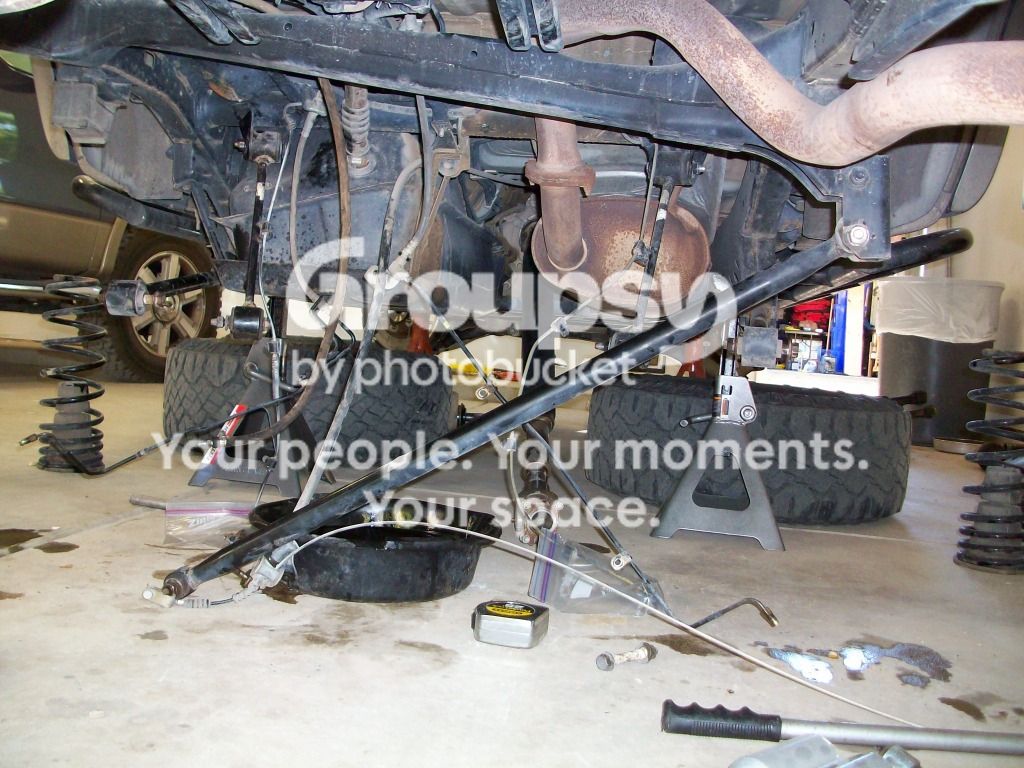
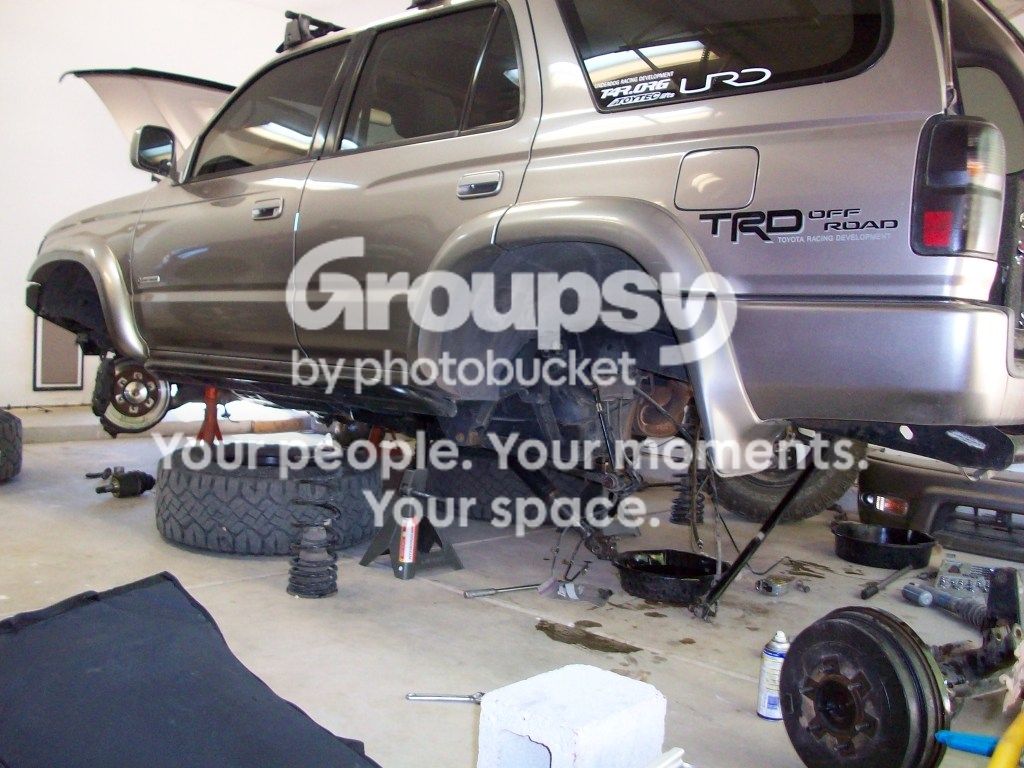
Starting to get the new axle ready:
Dropped in the new Elocker 3rd.
Used toyota FIPG and waited the prescribed amount of time for it to dry before torquing the nuts.
Axle in:
---------------
So you may remember a few weeks ago I posted this picture thinking I had a leaking rear axle seal. Well If you actually LOOK at it, you can obviously see it is not the axle seal leaking, its the brake drum.
I had been experiencing a very scary brake problem in the days before I parked the 4runner and pulled the diff. The pedal would go to the floor and not have any pressure, but a second pump would net me the brake pressure I needed to stop.
So what do these have to to with each other??
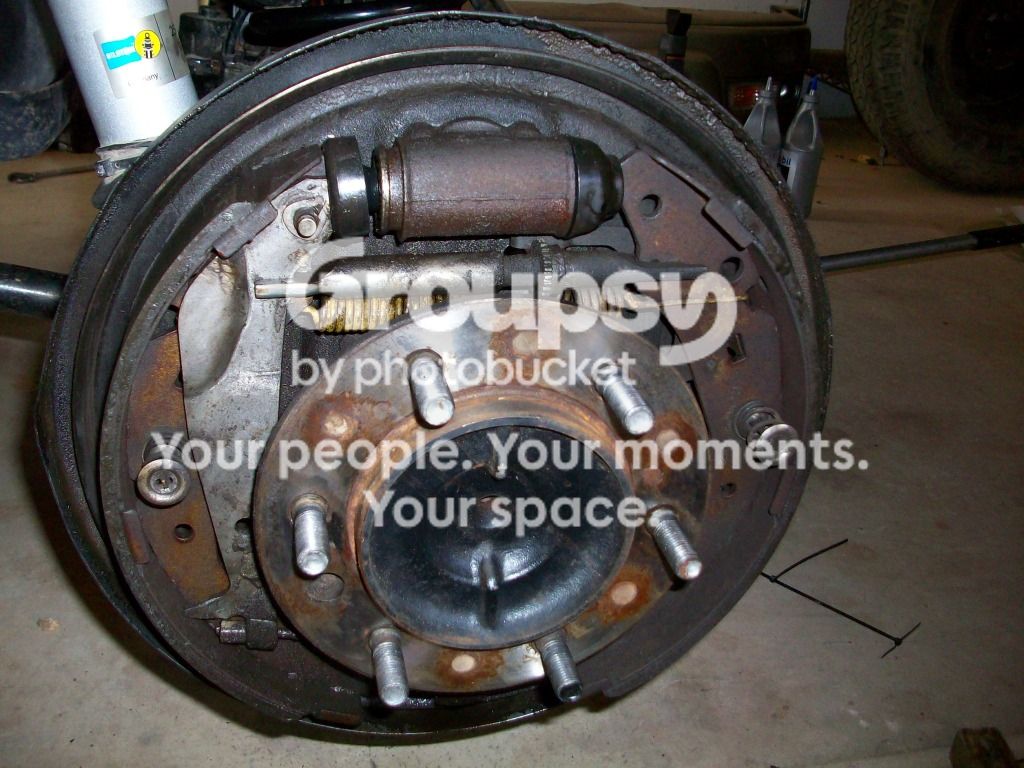
The rear brake cylinder was what was leaking, and boy was it! So I went to napa and picked up a new one for like $15, what a deal.
Brake drum off:
This the cylinder in question:
Out!
It was actually really easy to replace, 20mins easy. Don't have to take anything apart in the drum.
After I got the new one in I bleed the brakes and finished up putting the axle in and went for a test drive!
Everything works great! The locker engages and works perfectly, gears have been tested up to 60 mph and have no vibes or whistle or anything. Smooth sailing!