Sp8Ball’s Mod Thread (Stealing Other Poster’s Ideas Since Mid-2010)

Is that a faux TRD shifter boot? Was a hot glue gun involved? I'm looking forward to that one! I sure wish I could find a talented/charitable/automotive savvy T4R runner owner who was willing to donate his/her time and labor to the modification of my truck...anyone like that in/around Indy? Just thought I'd ask.
 
Is that a faux TRD shifter boot? Was a hot glue gun involved? I'm looking forward to that one!

Truth be told, it's a Pilot brand shifter boot from Pep Boys. I was going to include it in the "shifter knob changeout" write-up, whenever my main shifter knob gets here (my leather ball TRD shift knob is already installed on the 4WD shifter). I think it looks pretty good, despite a lot of folks on here knocking Pep Boys stuff. Is it the greatest quality? No, of course not - but it's not terrible either. Since the OEM shifter boot is stapled to a positioning ring, Antman and I brainstormed (only a mild drizzle of rain was created) and decided...let's just throw this one OVER the OEM shifter boot so we don't have to remove staples! I did (though it took some wrestling and maneuvering because it was a tight fit - the boot has an elastic bottom), and it still clipped back into place. So that's that!

I sure wish I could find a talented/charitable/automotive savvy T4R runner owner who was willing to donate his/her time and labor to the modification of my truck...anyone like that in/around Indy? Just thought I'd ask.

So basically, you're longing for your own Antman!? I'm telling you - meeting someone who knows what they're doing - and has done these mods to THEIR truck so they have all the "lessons learned" - has been the real difference for me. And he's a nice guy and stuff.
 
Amazingly, you answered every question I ever had about PIAA lights in one post.

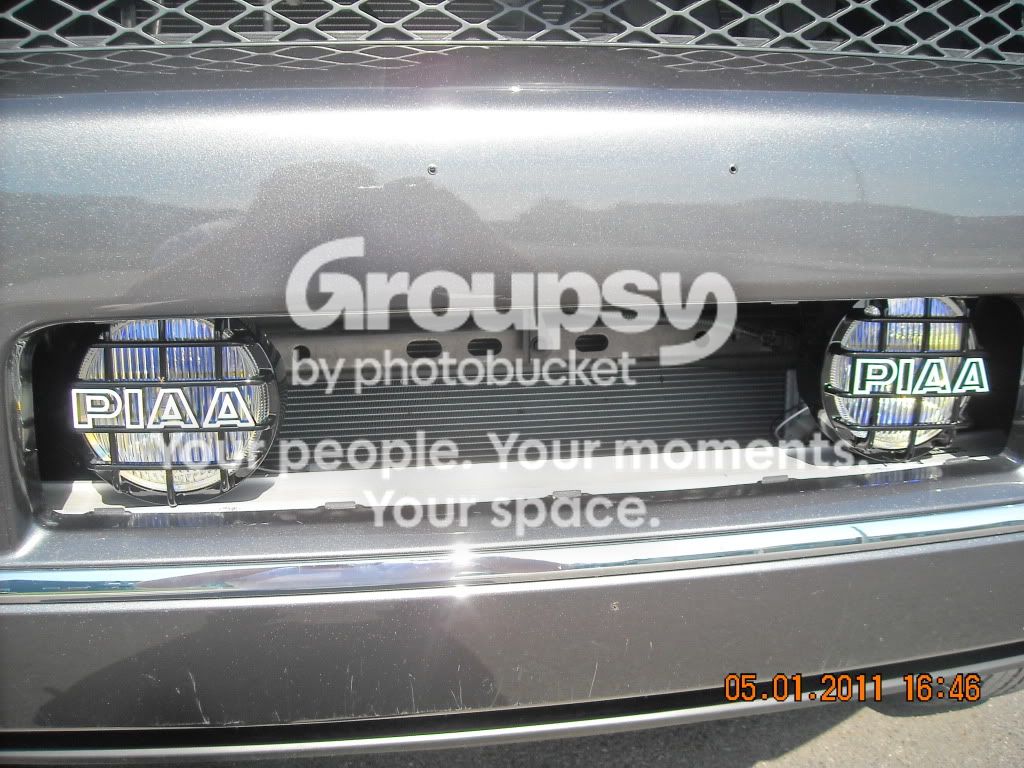
uum i have the 540's in the lower grill, i used a 3/8 tap to put them right in and as you can see thay fit and dont hit the bumper and iam going to mod the grill back in or i mite just put one more pare in. thay are 540 ion fog and i think i will git a high beem and thin i wont need to put the grill back in the light's will be the grill

DSCN2715.jpg~original
 
Last edited:
Holy crap! I almost fell to the third page! My stupidity and moronic sense of humor must have worn off on people!

Lots to catch up on, and some stuff to do going forward. In reverse order...

I have my Kappa Speakers, Grillcraft MX grill, "Toyota" emblem, TE fog bezels, and Putco fog lights in my garage, ready for installation. Still trying to convince Mrs. Sp8ball to do the speaker change-out, and I'm going to hold the bezels and new fog bulbs for the same time that I do the Satoshi grille mod, which will be...when I lose 15-20 pounds. In the past week, I lost 1 pound! (note: I think these numbers are skewed)

Anyway, some write-ups should be making their way on here in the next 24 hours. Please bear with me - I took over 200 pictures during the all-day mod session at Antman's house, and had to sort through them, delete the crappy ones, compress them, etc. etc.

I'm going to lead off with two "Tutorials" - one on how we make/prep LEDs for install, and one on removing door panels. You need each of those Tutorials to do 2 of the 3 mods I'm going to write up.

1) Color-matched Door Handles: need to remove door panel
2) Interior Door Handle LEDs: need to remove door panel, and need to build LEDs
3) Cup holder LEDs: need to build LEDs

Let's get started!

(Quick personal note: I hope a whale has already taken a crap on Bin Laden's corpse)
 
TUTORIAL: How to Make the LEDs to Install in a Cup Holder or Door Handle

Below are the steps used to pre-fabricate the LED lights used in the Interior Door Handle and Cup Holder LED mods.

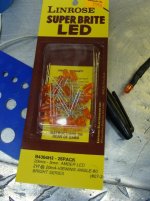
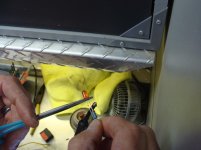
Get an Amber-colored LED. We use these, from a local electronics store. It's about $10 for the box. They are nearly identical to the amber color emitted by the dash lights (for those of us with SR5s).

DSC05397.jpg
DSC05396.jpg

Get some two-wire speaker wire, preferably of a thin gauge.

DSC05395.jpg

The long side of the LED is the “positive” side. You’ll need to cut this to add a resistor.

DSC05398.jpg

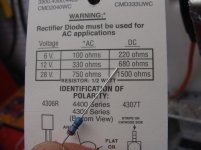
Here’s the chart on the back of the LEDs that tells you what resistor to use. We’re using 680 ohm resistors because these LEDs are fed by a 12-volt power source.

DSC05399.jpg

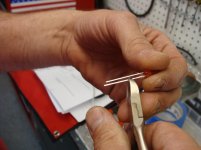
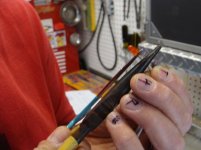
The legs on the resistors are a little long for our application, so you can cut them to be shorter.

DSC05402.jpg

Add some solder to the end of the resistor.

DSC05403.jpg

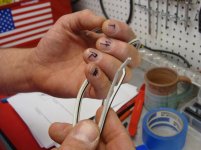
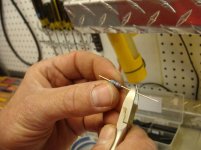
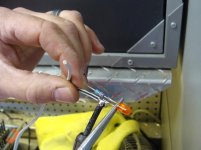
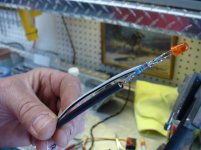
Then, solder the resistor to the LED. (note how the LED is being held in such a manner as to protect it from the heat – the pliers will act as a heat sink and absorb the heat before it can “travel” up the metal leg and damage the light)

DSC05405.jpg
 

Attachments

  • DSC05395.jpg
    DSC05395.jpg
    71.4 KB · Views: 17,501
  • DSC05396.jpg
    DSC05396.jpg
    62.1 KB · Views: 17,441
  • DSC05397.jpg
    DSC05397.jpg
    112.3 KB · Views: 17,482
  • DSC05398.jpg
    DSC05398.jpg
    59.4 KB · Views: 17,442
  • DSC05399.jpg
    DSC05399.jpg
    65.5 KB · Views: 17,532
  • DSC05402.jpg
    DSC05402.jpg
    67.1 KB · Views: 17,399
  • DSC05403.jpg
    DSC05403.jpg
    63.7 KB · Views: 17,384
  • DSC05405.jpg
    DSC05405.jpg
    64.3 KB · Views: 17,480
Last edited:
TUTORIAL: Making LEDs (cont.)​

Solder the other end of the LED to the striped wire of the speaker wire.

DSC05407.jpg

Crimp down on the soldered connection to eliminate burrs.

DSC05408.jpg

Eye up the second wire in the speaker wire pair and cut it to length (because of the length of the resistor, this wire will be too long initially).

DSC05410.jpg

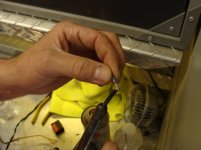
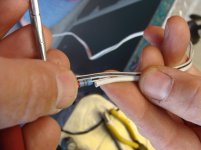
Put an shrink sleeve on the speaker wire, and then solder it to the other end of the resistor.

DSC05411.jpg

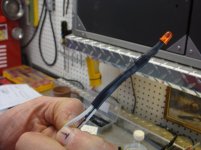
Shrink the first wrap, and then place a larger wrap (or tape) over the pair of connections and shrink/wrap them to secure all connections.

DSC05412.jpg

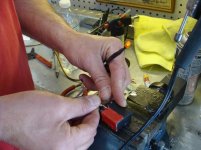
Test using battery or the little power source that comes with some LED strands.

DSC05413.jpg

And that’s it! Read through the write-ups, determine how many you’ll need, and make them ahead of time. It’ll minimize the amount of time that your truck is apart, and will give you a really good idea if you’ve built the LEDs correctly. Once you have that confirmation, it also makes troubleshooting easy once you’re installing (as you should be fairly certain that any failures in your install aren’t a result of a bad LED/wire).
 

Attachments

  • DSC05407.jpg
    DSC05407.jpg
    65.1 KB · Views: 17,430
  • DSC05408.jpg
    DSC05408.jpg
    60.7 KB · Views: 17,372
  • DSC05410.jpg
    DSC05410.jpg
    59.3 KB · Views: 17,447
  • DSC05411.jpg
    DSC05411.jpg
    68.2 KB · Views: 17,396
  • DSC05412.jpg
    DSC05412.jpg
    65.8 KB · Views: 17,360
  • DSC05413.jpg
    DSC05413.jpg
    97.4 KB · Views: 17,389
TUTORIAL: Taking Off the Door Panels

The removal of the door panels to get to the outer door handles and to install the interior LEDs was a lot simpler than I first imagined, and was less intimidating than the instructions I saw on the Repair Manual. Here are some steps to get these panels off.

(note: because of a few “oh crap” and “does that look right to you?” moments, Antman and I took the door panels off about 19.4 times per door)

FRONT DOORS:

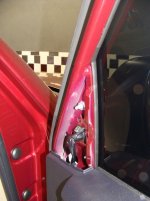
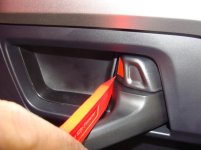
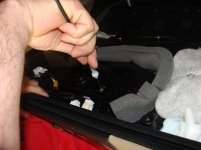
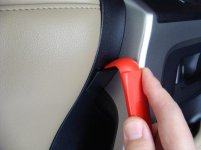
Reach in and pull the plastic cover piece off of the corner by the A pillar.

DSC05311.jpg

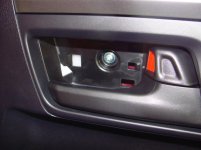
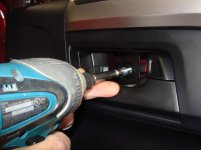
Gently pry open the three screw access points on the door, and remove the screws.

DSC05312.jpg

DSC05314.jpg

DSC05315.jpg

DSC05316.jpg

DSC05317.jpg

DSC05318.jpg

DSC05321.jpg
 

Attachments

  • DSC05311.jpg
    DSC05311.jpg
    75.1 KB · Views: 17,569
  • DSC05312.jpg
    DSC05312.jpg
    46.1 KB · Views: 17,468
  • DSC05314.jpg
    DSC05314.jpg
    66 KB · Views: 17,516
  • DSC05315.jpg
    DSC05315.jpg
    46.1 KB · Views: 17,496
  • DSC05316.jpg
    DSC05316.jpg
    65.2 KB · Views: 17,426
  • DSC05317.jpg
    DSC05317.jpg
    78.8 KB · Views: 17,457
  • DSC05318.jpg
    DSC05318.jpg
    92.2 KB · Views: 17,467
  • DSC05321.jpg
    DSC05321.jpg
    72.2 KB · Views: 17,494
TUTORIAL: Taking Off the Door Panels, Cont.

FRONT DOORS, Cont.:

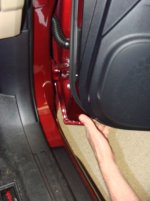
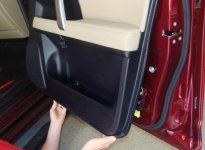
There is a spot to grab at the bottom of the panel, at the outermost corner from the door.

DSC05322.jpg

Give it a good yank, and the clips holding the door panel in place will give way. Work your hands up the side until the popping stops.

DSC05324.jpg

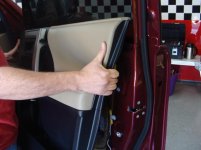
The only thing really holding the door panel to the door at this point is the attachment inside the top of the door (where it meets the window). Gently lift up to lift it off of this attachment point – but don’t go walking away from the door with the panel just yet.

DSC05326.jpg

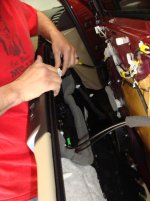
Reach in and disconnect the wiring harness, as shown below.

DSC05327.jpg

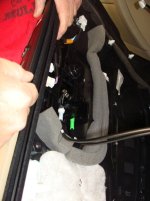
You will now be left with two cable connected to the door – these green and white connectors shown below. One controls the door handle operation, and the other controls your door locks, so remember what order they’re in (mine was white on top, green on bottom). Disconnect the cables.

DSC05329.jpg
DSC05330.jpg

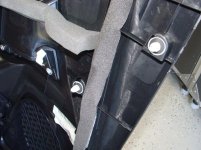
Now you can see the white pins that “popped” when you pulled on the door panel. See those black gasket/o-ring things? They may stick to the door instead of your door panel when you pull the panel away. Collect them off of the door and put them on the clips themselves for re-installation.

DSC05331.jpg

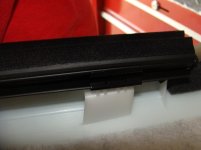
Here’s the metal clip (one of several) that run along the weatherstripping. This is what gets clipped in FIRST when you’re reinstalling the door panels.

DSC05457.jpg

That’s it for the front doors. To reinstall, simply reverse the order!
 

Attachments

  • DSC05322.jpg
    DSC05322.jpg
    61.4 KB · Views: 16,766
  • DSC05324.jpg
    DSC05324.jpg
    69.3 KB · Views: 16,950
  • DSC05326.jpg
    DSC05326.jpg
    64.5 KB · Views: 16,743
  • DSC05327.jpg
    DSC05327.jpg
    85.5 KB · Views: 16,711
  • DSC05329.jpg
    DSC05329.jpg
    79.2 KB · Views: 16,760
  • DSC05330.jpg
    DSC05330.jpg
    69 KB · Views: 16,750
  • DSC05331.jpg
    DSC05331.jpg
    103.7 KB · Views: 16,692
  • DSC05457.jpg
    DSC05457.jpg
    55.7 KB · Views: 16,678
TUTORIAL: Taking Off the Door Panels, Cont.

REAR DOORS:

The rear door panels are very, very similar to the front door panels.

Access the three screw locations.

DSC05414.jpg
DSC05415.jpg
DSC05417.jpg
DSC05420.jpg

Rear door panel grip area is on the truck side of the door.

DSC05421.jpg

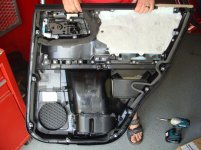
Here’s the rear door panel – see all the white clips around the edge? Remember those black o-rings!

DSC05427.jpg
DSC05422.jpg

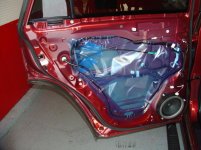
And here’s the inside of the rear door.

DSC05428.jpg

Reassembling the rear door can be a real hassle, as Harper7 alluded to in a post in a different thread. It takes a lot of patience to seat the top of the rear door panel before pushing it back in to pop-in the white pins. Take your time, and use the guide pin near the top of the door (goes into a square hole) to get things lined up.
 

Attachments

  • DSC05414.jpg
    DSC05414.jpg
    63 KB · Views: 9,822
  • DSC05415.jpg
    DSC05415.jpg
    72.3 KB · Views: 9,431
  • DSC05417.jpg
    DSC05417.jpg
    51.4 KB · Views: 9,353
  • DSC05420.jpg
    DSC05420.jpg
    69.2 KB · Views: 9,341
  • DSC05421.jpg
    DSC05421.jpg
    65.2 KB · Views: 9,370
  • DSC05427.jpg
    DSC05427.jpg
    105.1 KB · Views: 9,351
  • DSC05422.jpg
    DSC05422.jpg
    36 KB · Views: 9,350
  • DSC05428.jpg
    DSC05428.jpg
    101.8 KB · Views: 9,372
Great! So how hard was it putting the color matched handles on? I've taken the panels off a couple times already to put new speakers in but didnt really explore further into the handle replacement.
 
Last edited:
Great! So how hard was it putting the color matched handles on? I've taken the panels off a couple times already to put new speakers in but didnt really explore further into the handle replacement.

Incredibly easy - especially if you've had the panels off. We were shocked at how easily and smoothly it went. Write-up will get posted later this morning.
 
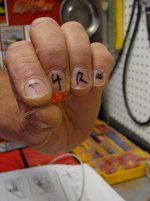
I'd love to hear your wives' comments when they saw T4R-dot-org on your fingernails!!

a) "you can't be serious"
b) "oh that's soooo gay"
c) "what is wrong with you two"?
d) "Can't I trust you two NOT to do stupid stuff when you're together"?
e) "OK, that's it, go to your room"
f) "I don't care if he does have hairy arms, that's just wrong"

g) Bueller? Class? Anyone?
 
I'd love to hear your wives' comments when they saw T4R-dot-org on your fingernails!!

a) "you can't be serious"
b) "oh that's soooo gay"
c) "what is wrong with you two"?
d) "Can't I trust you two NOT to do stupid stuff when you're together"?
e) "OK, that's it, go to your room"
f) "I don't care if he does have hairy arms, that's just wrong"

g) Bueller? Class? Anyone?

Correct answer (from my end, at least): [a], , [c], and [d] (with eye roll)
 
Modification: Door Handle Changeout

Body-color Front Door Handles
Main Handle (both sides): P/N 69211-60070-D1 $55.96 for both
Handle Cover, Right Side: P/N 69250-60030-D1 $17.22 for one
Handle Cover, Left Side: P/N 69217-60150-D1 $9.28 for one
Body-color Rear Door Handles
Main Handle (both sides): P/N 69211-60090-D1 $55.96 for both
Handle Cover (both sides): P/N 69250-60010-D1 $29.68 for both

(Note: these are the part numbers for Salsa Red Pearl door handles - check the Parts Manual for your color, or the TE option. Prices should be similar.)

Difficulty Scale (1 to 10): Four, because of door panel removal…which turned out to be easy.

Sp8ball’s Personal Intimidation Factor (1 to 10):
Eight, which is why it was delayed...and then we did it and it was easy.

Install Time:
3+ hours, because Antman and I also did the Interior Door Handle LED mod (write-up coming soon!) at the same time, since we had the door panels off.

Reason for Doing It: Because I just plain don’t like the chrome, and I wasn’t confident enough to paint them.

Benefit: No. More. Chrome. Handles. But I still have them if I ever want/need to change them back.

Cons: Price, effort required.

Other Products Considered: Trail Edition Door Handles, painting them.
_____________________________


I want to start off by saying that I thought this was going to be some grueling, all-day affair that required a bunch of precise tinkering coupled with ripping my truck apart from the inside out. I didn’t know what to expect.

Then we did the front passenger door handle in 3 minutes.

It’s not that hard. Seriously – it’s not. Had it helped that Antman had taken off a door panel before? Of course! But with the previously-posted Tutorial, you should be able to get the door panel off and start into the door handle removal process. I think this is especially good to know, since many people were taping off their door handles with paper and playing cards to paint them on the truck. Once you see how easy it is to get them off, you can remove them and paint them much more easily.

So, let’s go! We’ll start with the front doors, because they are different than the rears. (not drastically so, but different nonetheless)


REMOVING FRONT DOOR HANDLES:

Once you have the door panel off, you need to access the inside of the door. That will involve getting behind this plastic sheeting. Don’t cut it or rip into it! Just take a knife and gently cut the tar-like adhesive. When you’re done, and the time comes to close things back up, you just press the adhesive back together and voila!...you’re re-sealed.
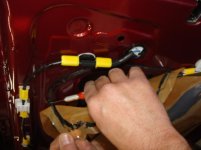
DSC05332.jpg

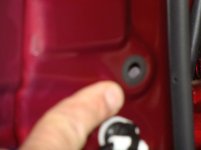
You’ll need to remove this little rubber/plastic doohickey that’s covering an access hole. I didn’t take a picture of us taking it off – so this is Antman pushing it back on. But that’s the piece you need to take off. Just gently pry it off, and it pops out.
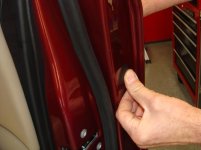
DSC05333.jpg

There’s a Torq screw inside, behind the doohickey. Remove it (use a magnetic Torq tip, so you don’t drop the screw).
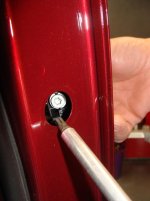
DSC05334.jpg

The Door Handle Cover comes right off after that screw is removed. Make sure your black gasket material is still in place.
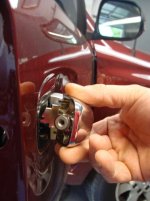
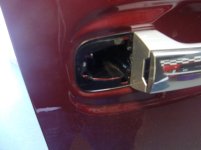
DSC05335.jpg
DSC05336.jpg

Inside the door, you need to rotate this yellow clip AWAY from the handle structure. Right now, it’s about halfway open in this picture. It will go all the way to the left, and that releases the main handle. (there are better pictures of this process in the “Rear Door Handle Removal” section of this write-up!)
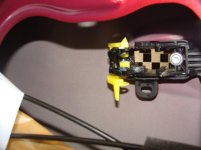
DSC05338.jpg

Pull the handle away from the door (as if you were opening it) and gently pull it in the direction of the now-missing door handle cover (towards the rear of the door). Do this in a CONTROLLED fashion, or it may come out wildly and scrape the truck.
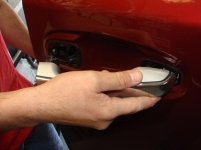
DSC05337.jpg

Congratulations, you’ve now removed the front door handles!
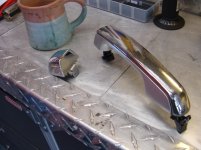
DSC05339.jpg
 

Attachments

  • DSC05332.jpg
    DSC05332.jpg
    54.5 KB · Views: 9,221
  • DSC05333.jpg
    DSC05333.jpg
    55.7 KB · Views: 9,202
  • DSC05334.jpg
    DSC05334.jpg
    63 KB · Views: 9,206
  • DSC05335.jpg
    DSC05335.jpg
    71.6 KB · Views: 9,284
  • DSC05336.jpg
    DSC05336.jpg
    44 KB · Views: 9,190
  • DSC05338.jpg
    DSC05338.jpg
    56.6 KB · Views: 9,208
  • DSC05337.jpg
    DSC05337.jpg
    51.6 KB · Views: 9,310
  • DSC05339.jpg
    DSC05339.jpg
    91.2 KB · Views: 9,264
Last edited:

Members online

Forum statistics

Threads
278,315
Messages
3,554,104
Members
248,016
Latest member
Advally Service

Trending content

Back
Top