#T4rv3 1999 4runner Limited build

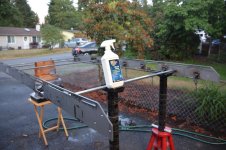
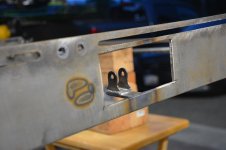
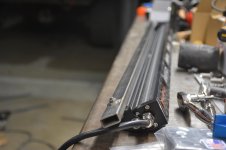
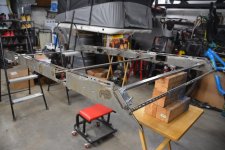
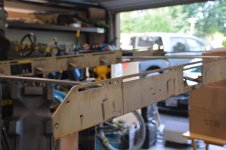
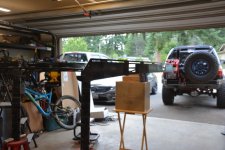
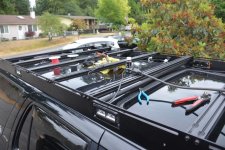
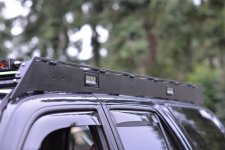
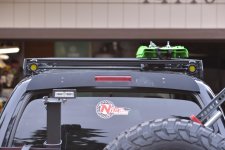
Continuation of the rack being prepped/painted and then bed lined
 

Attachments

  • EA4D7F0F-C2B8-4DA5-9A1C-9C3806710B47.jpg
    EA4D7F0F-C2B8-4DA5-9A1C-9C3806710B47.jpg
    134.4 KB · Views: 526
  • 58A97674-A189-4AE0-A4B3-AC3520C72080.jpg
    58A97674-A189-4AE0-A4B3-AC3520C72080.jpg
    97.7 KB · Views: 547
  • BFBA1641-0A1A-4F94-9BBD-813B12C5470A.jpg
    BFBA1641-0A1A-4F94-9BBD-813B12C5470A.jpg
    107.1 KB · Views: 548
  • 00835001-8599-472E-86D0-3860B84B9006.jpg
    00835001-8599-472E-86D0-3860B84B9006.jpg
    128 KB · Views: 508
  • E45BD361-EBC5-4AF5-9B8D-7C7BA2233EFC.jpg
    E45BD361-EBC5-4AF5-9B8D-7C7BA2233EFC.jpg
    118.4 KB · Views: 544
  • E313512A-805C-4C40-B259-C7D5D35A1836.jpg
    E313512A-805C-4C40-B259-C7D5D35A1836.jpg
    126.7 KB · Views: 503
Great progress, looks real good. What's your plan for bringing the power up to the light bar?

initially I was going to run it back between the hatch, under to the frame rails and back into my switch pros, but that seemed like too much wiring. I have something I want to try out and will post it up soon!
 
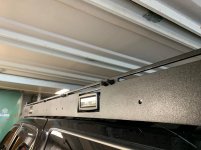
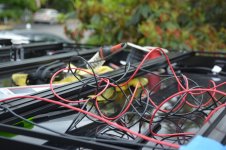
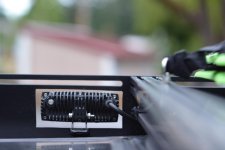
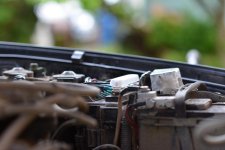
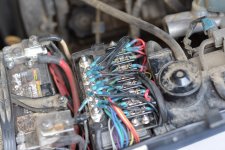
Wire routing and planning where to run the wires. I’m using Ancor marine grade 16 gauge wire. Also the finish came out nicely
 

Attachments

  • C72891BE-1771-49FF-A5F7-244C3E00905E.jpg
    C72891BE-1771-49FF-A5F7-244C3E00905E.jpg
    129.4 KB · Views: 509
  • FB32780F-CA79-486C-B722-5B9062F04863.jpg
    FB32780F-CA79-486C-B722-5B9062F04863.jpg
    135.6 KB · Views: 477
  • 1343D7AA-3B88-4E37-AACC-57CA9AE5E76B.jpg
    1343D7AA-3B88-4E37-AACC-57CA9AE5E76B.jpg
    139.7 KB · Views: 473
  • EB3A1042-4B07-4BF0-8D47-90CC4ECAEEB0.jpg
    EB3A1042-4B07-4BF0-8D47-90CC4ECAEEB0.jpg
    130.2 KB · Views: 466
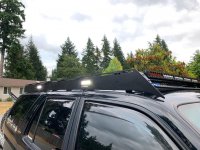
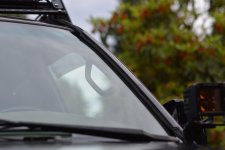
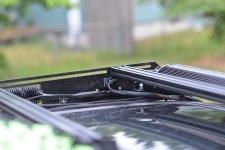
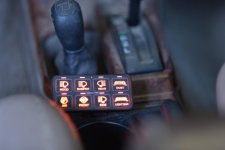
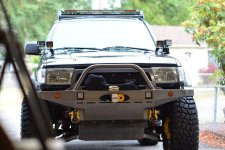
Used over 230 feet of wire and equally as much braided wire wrap to clean it up and tie everything together neatly. Used a wire channel piece up front on the driver side A-pillar (very low key and not very noticeable) to run my wires into the bay and into my switch pros (first picture) The rack is all buttoned up. original plans were to run a clear front lexan fairing but after hours of measuring and final install, it looked like shit. I just don't like the fairing look. so im gonna run it raw. I thought it looked great like that originally but wanted to keep some MPG's but that's just not in the books for me.. haha
 

Attachments

  • image8.jpg
    image8.jpg
    94 KB · Views: 503
  • image3.jpg
    image3.jpg
    120.9 KB · Views: 489
  • image5.jpg
    image5.jpg
    116 KB · Views: 496
  • image2.jpg
    image2.jpg
    89.8 KB · Views: 500
  • image4.jpg
    image4.jpg
    120.4 KB · Views: 507
  • image7.jpg
    image7.jpg
    109.5 KB · Views: 495
  • image6.jpg
    image6.jpg
    131.6 KB · Views: 457
  • image1.jpg
    image1.jpg
    85.6 KB · Views: 514
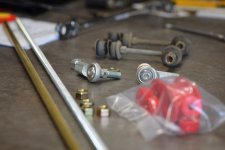
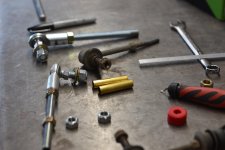
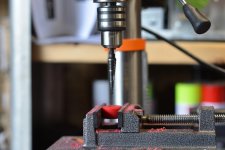
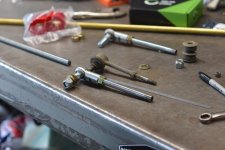
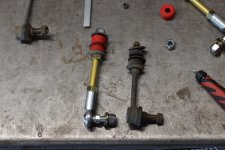
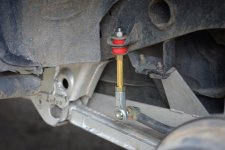
Some custom 1/2” end links I whipped up. Longer length and fine tune-able with the turn of a wrench.
 

Attachments

  • 81803456-E8D7-4612-B20F-8AB3C3626082.jpeg
    81803456-E8D7-4612-B20F-8AB3C3626082.jpeg
    96.9 KB · Views: 687
  • 835EC403-23B9-4842-AC2E-B6957A8F5897.jpg
    835EC403-23B9-4842-AC2E-B6957A8F5897.jpg
    119.9 KB · Views: 684
  • 4D03D2A6-4400-4107-920B-ECEEF25F894F.jpg
    4D03D2A6-4400-4107-920B-ECEEF25F894F.jpg
    122.3 KB · Views: 669
  • 7864520F-4094-4CD9-B1C5-AFAE045E7903.jpg
    7864520F-4094-4CD9-B1C5-AFAE045E7903.jpg
    122.3 KB · Views: 671
  • 0A52D5EA-02D9-4D12-A893-81AF70B5F17E.jpg
    0A52D5EA-02D9-4D12-A893-81AF70B5F17E.jpg
    137.1 KB · Views: 667
  • 79C34363-4E10-4A87-BCD8-6973F5AF12BA.jpg
    79C34363-4E10-4A87-BCD8-6973F5AF12BA.jpg
    79 KB · Views: 657
Love the fabrication

Great skills and imagination. I just bought my '99 Ltd the other day. I love fabricating but I'll just live through you for a while. Very impressive and fun to see.
 

Members online

Forum statistics

Threads
278,316
Messages
3,554,113
Members
248,016
Latest member
Advally Service

Trending content

Back
Top