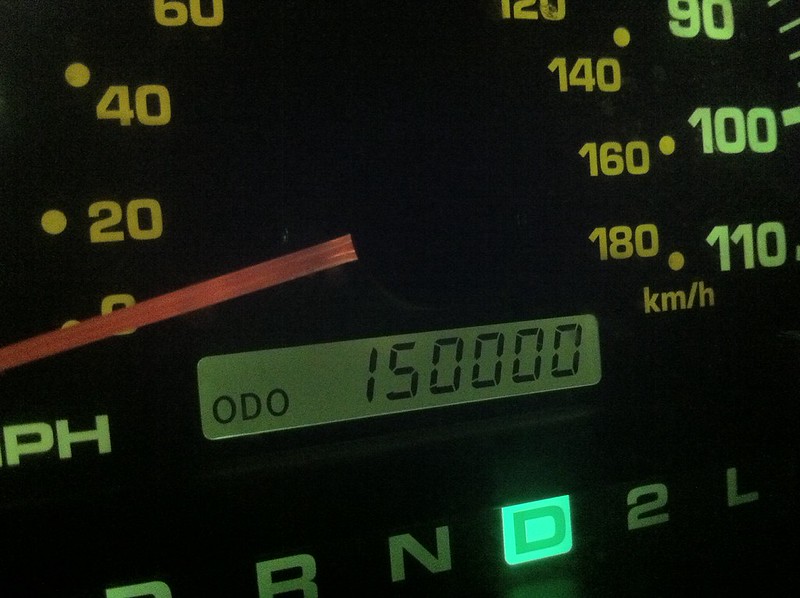
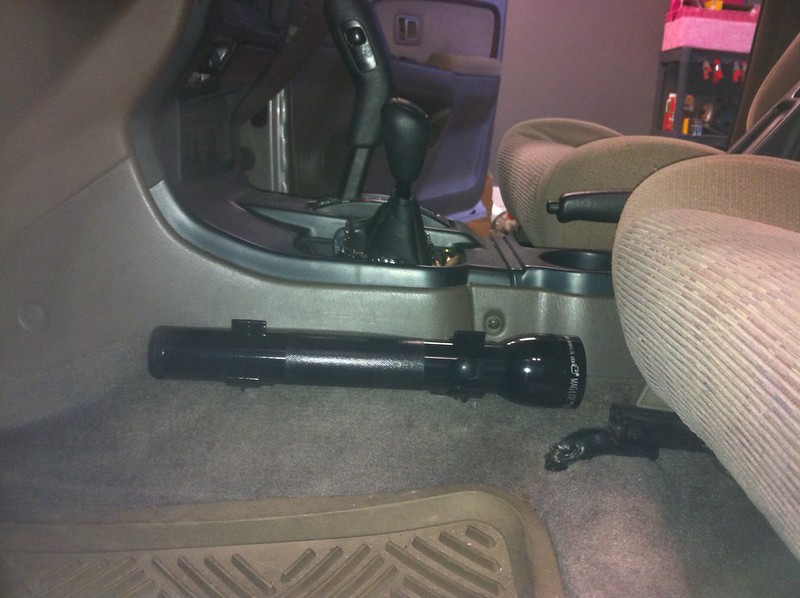
Taylor20
New member
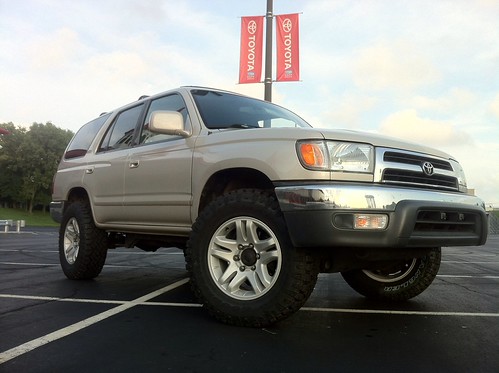
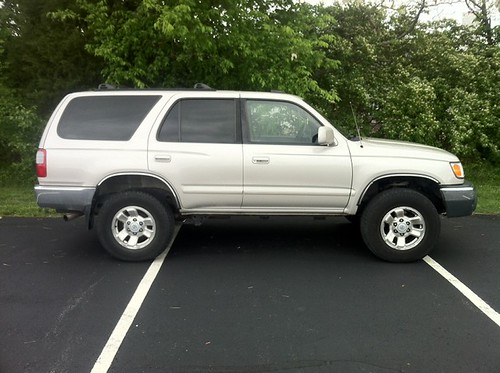
Welcome to my build thread. She is a 99 SR5 that I picked up on May 11, 2013 with 140,400 miles on her. She came equipped with the factory e-locker, an auto-dim compass mirror, and I have recently discovered that she sits on factory highlander springs.
The next weekend I installed a B&M trans cooler, completely bypassing the factory cooler. I also replace the leaking valve cover gaskets, and replaced the spark plugs and ignition wires.
Since then I have only done a few things. Mainly piecing together my lift and acquiring other odds and ends for her.
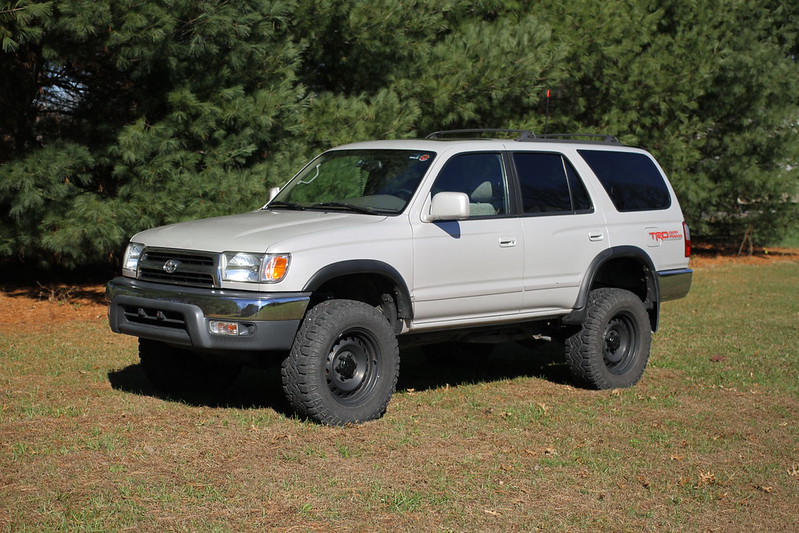
As she currently sits
Body
SR5 wide textured flares
Wheels & Tires
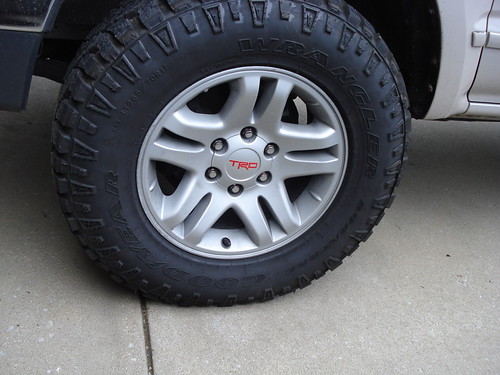
FJC 17x7.5 steel wheels
Goodyear Duratrac 265/70r17 C load tires
Suspension & Steering
Front - Tundra Bilstein 5100's 2nd perch with Tundra TRD Springs, SPC/LR UCA's
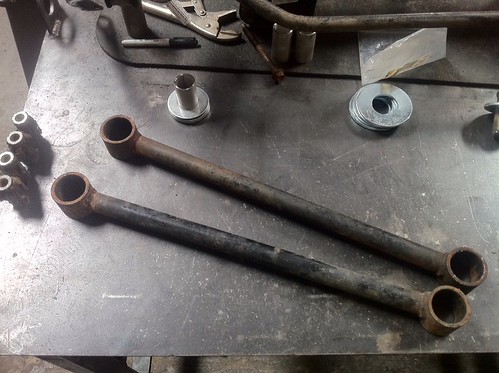
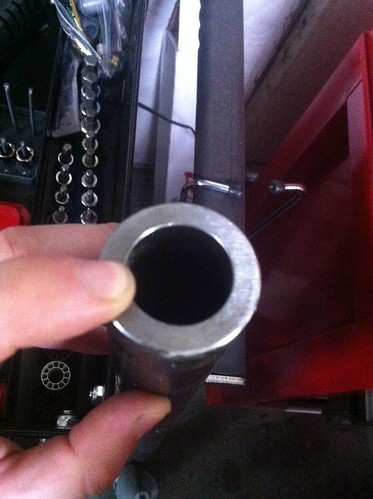
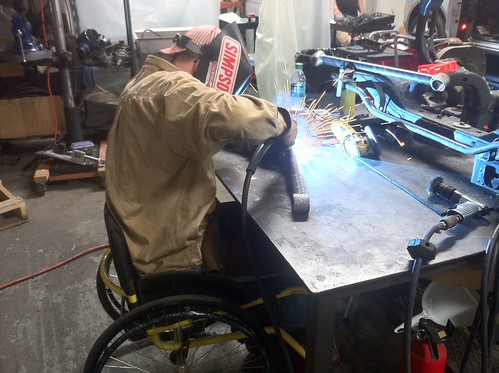
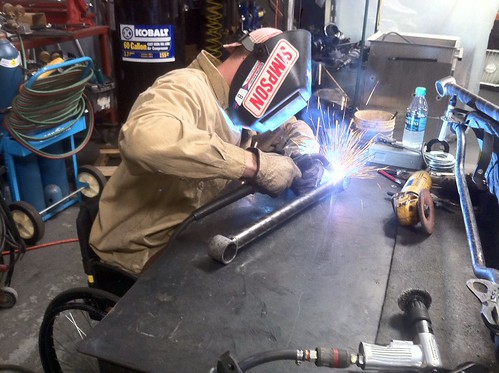
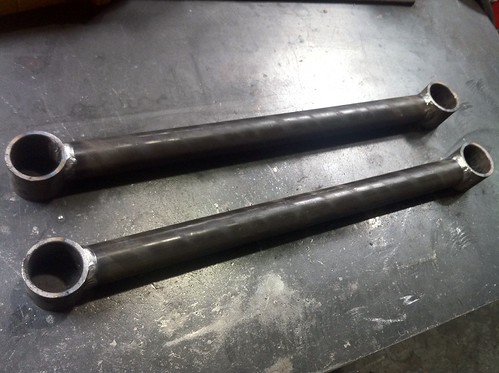
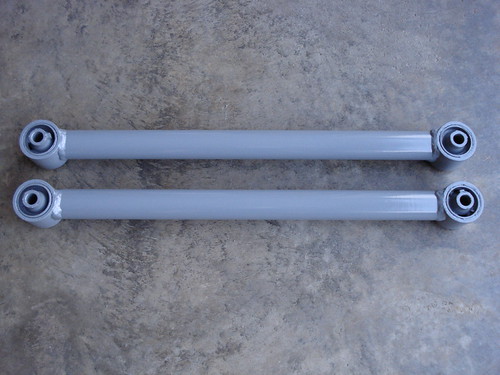
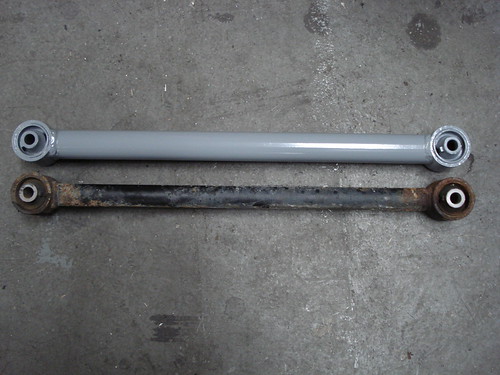
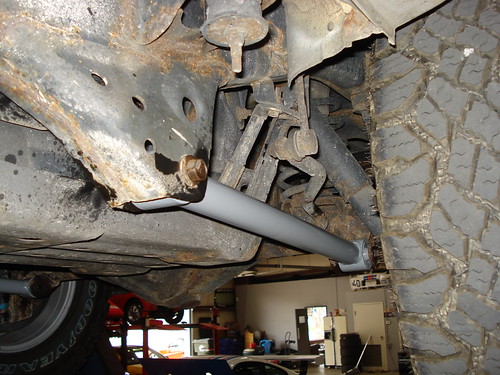
Rear - LC 8 wraps with LC Tokico black shocks, extended swaybar links, Toytec panhard drop bracket Custom build .250wall DOM rear LCA's, .250wall DOM adjustable rear UCA's S10 Blazer bump stops
Toytec diff drop
Energy Suspension Urethane Steering Rack Bushings from Wheeler's Offroad
Drivetrain
Factory E-locker
B&M 70268 Trans cooler
Electronics
Scanguage II
Cobra 19DXIV CB Radio
Kenwood DDX7019 In-dash DVD
Brakes
Wheeler's Offroad SS extended rear brake line
Tundra front calipers, rotors, pads, and shims
Misc.
1st Gen 4Runner Roll Bar
Maintenance
141,xxx - 5/18/13 - Spark plugs & wires, pcv valve, valve cover gaskets, B&M trans cooler
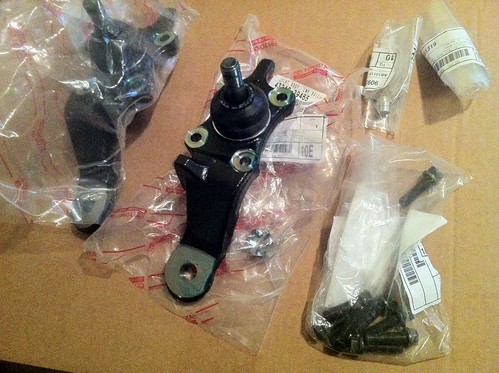
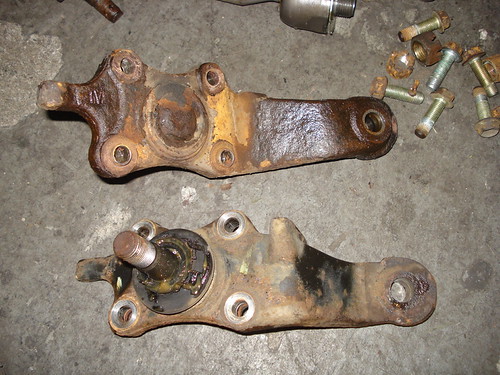
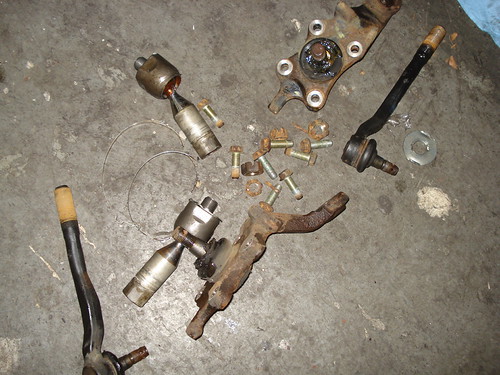
xxx,xxx - 8/10/13 - Replace front lower ball joints, inner & outer tie rod ends
152,101 - 3/21/14 - TRD throttle body gasket, clean throttle body and mass air flow sensor
153,396 - 5/3/14 - Replaced auto shifter bushings
153,396 - 5/3/14 - Replaced fuel filter and fuel line from filter to engine bay
153,396 - 5/3/14 - Extended rear differential breather
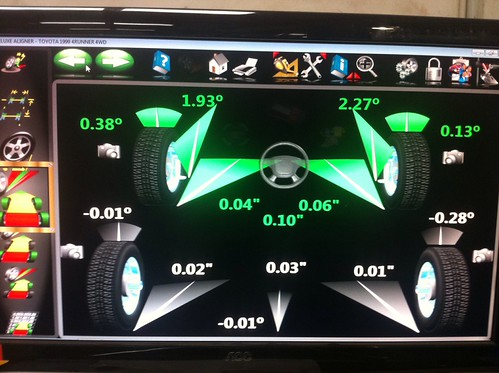
153,981 - 5/17/14 - Lift kit installed with alignment
154,902 - 7/5/14 - Replaced all drive belts and a/c idler pulley, blue wire mod
xxx,xxx - 10/12/14 - Installed SR5 wide textured flares
158,965 - 2/20/15 - Coolant flush (previous owner used green/universal, used BG coolant system cleaner and flush machine, replenished system with OE red Toyota coolant and distiller water as a 50/50 mix)
159,913 - 5/30/15 - Replace left and right front cv axles (napa new), rear Toyota brake shoes, Napa rear brake drums & wheel cylinders, parking brake bell crank kit, install SS extended rear brake line, flush brake fluid with Toyota brake fluid.
161,294 - 6/13/15 - Replace left and right inner and outer tie rod ends with Toyota parts, install LR UCA's, alignment, install FJC steel wheels.
xxx,xxx - 8/2/15 - TBU using NAPA calipers, OE rotors, pads, and shims
The next weekend I installed a B&M trans cooler, completely bypassing the factory cooler. I also replace the leaking valve cover gaskets, and replaced the spark plugs and ignition wires.
Since then I have only done a few things. Mainly piecing together my lift and acquiring other odds and ends for her.
As she currently sits
Body
SR5 wide textured flares
Wheels & Tires
FJC 17x7.5 steel wheels
Goodyear Duratrac 265/70r17 C load tires
Suspension & Steering
Front - Tundra Bilstein 5100's 2nd perch with Tundra TRD Springs, SPC/LR UCA's
Rear - LC 8 wraps with LC Tokico black shocks, extended swaybar links, Toytec panhard drop bracket Custom build .250wall DOM rear LCA's, .250wall DOM adjustable rear UCA's S10 Blazer bump stops
Toytec diff drop
Energy Suspension Urethane Steering Rack Bushings from Wheeler's Offroad
Drivetrain
Factory E-locker
B&M 70268 Trans cooler
Electronics
Scanguage II
Cobra 19DXIV CB Radio
Kenwood DDX7019 In-dash DVD
Brakes
Wheeler's Offroad SS extended rear brake line
Tundra front calipers, rotors, pads, and shims
Misc.
1st Gen 4Runner Roll Bar
Maintenance
141,xxx - 5/18/13 - Spark plugs & wires, pcv valve, valve cover gaskets, B&M trans cooler
xxx,xxx - 8/10/13 - Replace front lower ball joints, inner & outer tie rod ends
152,101 - 3/21/14 - TRD throttle body gasket, clean throttle body and mass air flow sensor
153,396 - 5/3/14 - Replaced auto shifter bushings
153,396 - 5/3/14 - Replaced fuel filter and fuel line from filter to engine bay
153,396 - 5/3/14 - Extended rear differential breather
153,981 - 5/17/14 - Lift kit installed with alignment
154,902 - 7/5/14 - Replaced all drive belts and a/c idler pulley, blue wire mod
xxx,xxx - 10/12/14 - Installed SR5 wide textured flares
158,965 - 2/20/15 - Coolant flush (previous owner used green/universal, used BG coolant system cleaner and flush machine, replenished system with OE red Toyota coolant and distiller water as a 50/50 mix)
159,913 - 5/30/15 - Replace left and right front cv axles (napa new), rear Toyota brake shoes, Napa rear brake drums & wheel cylinders, parking brake bell crank kit, install SS extended rear brake line, flush brake fluid with Toyota brake fluid.
161,294 - 6/13/15 - Replace left and right inner and outer tie rod ends with Toyota parts, install LR UCA's, alignment, install FJC steel wheels.
xxx,xxx - 8/2/15 - TBU using NAPA calipers, OE rotors, pads, and shims
Last edited: