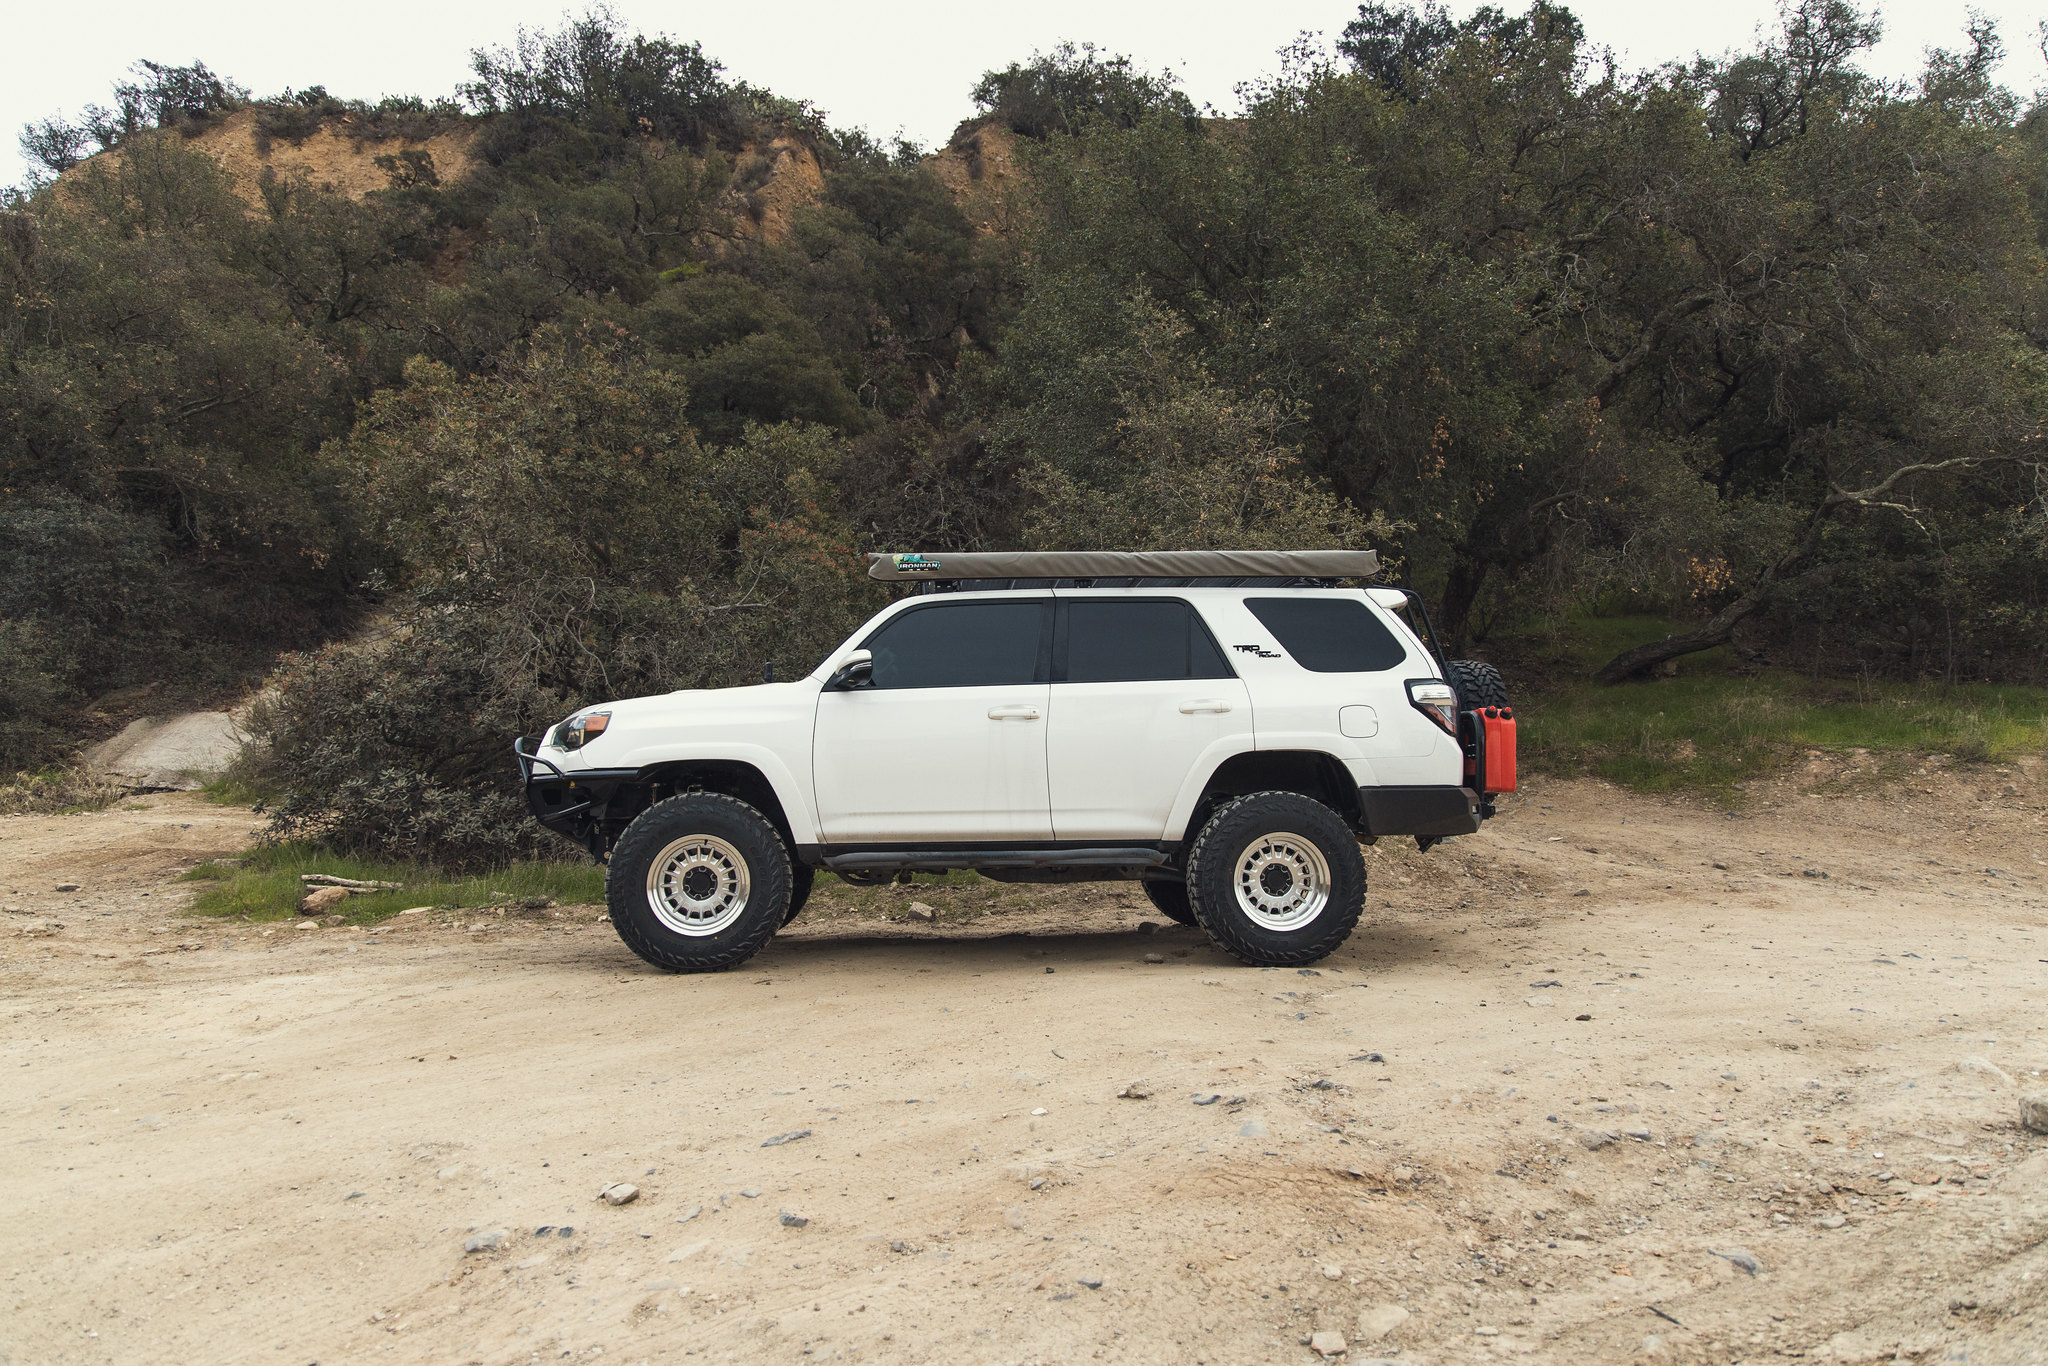
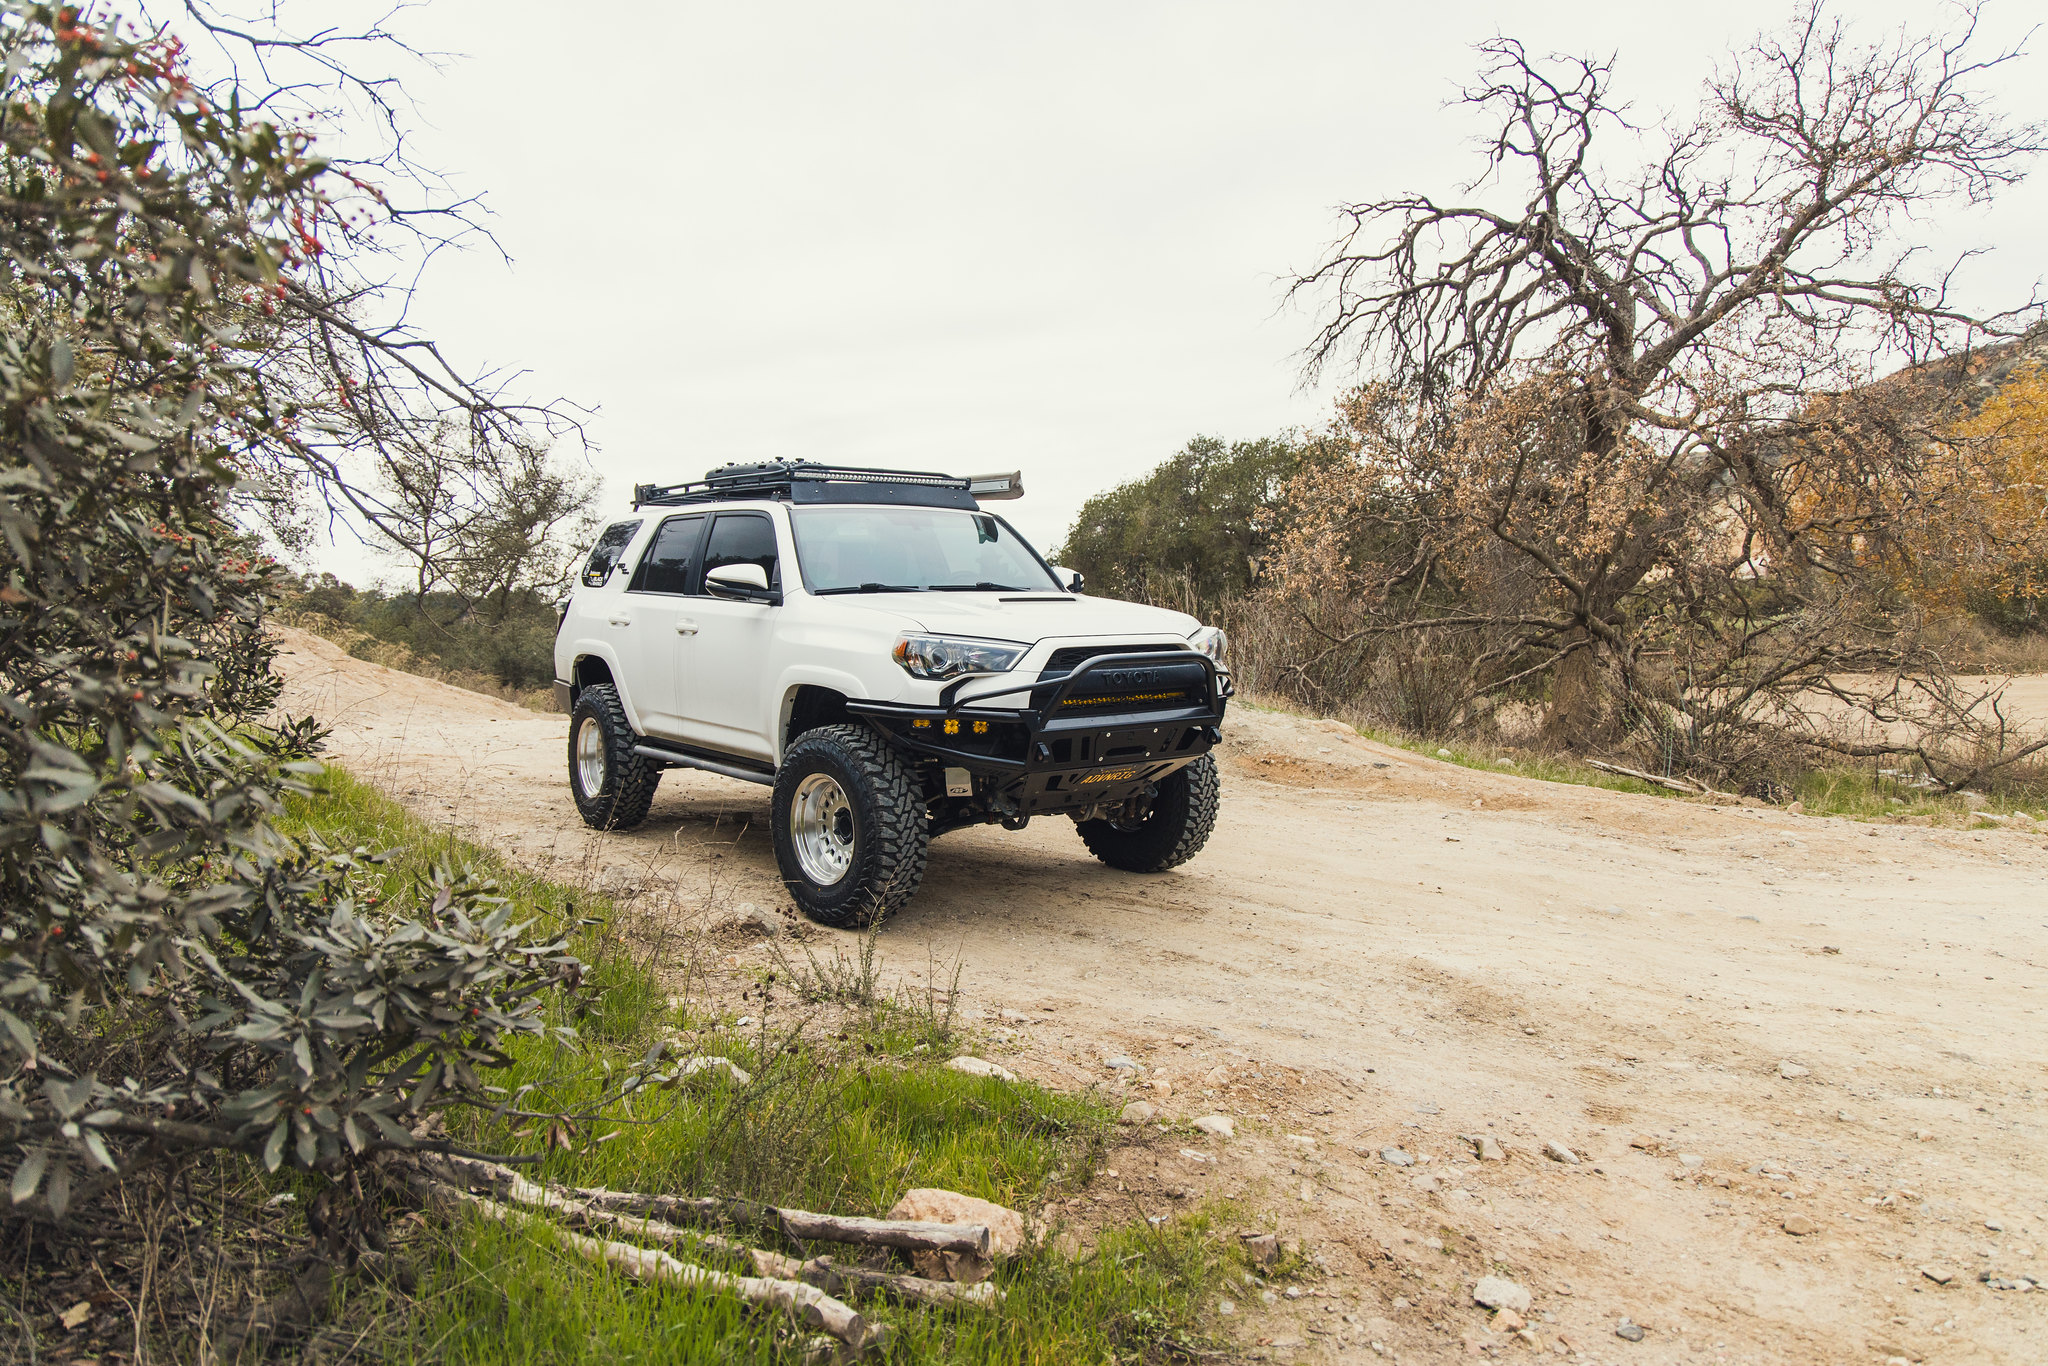
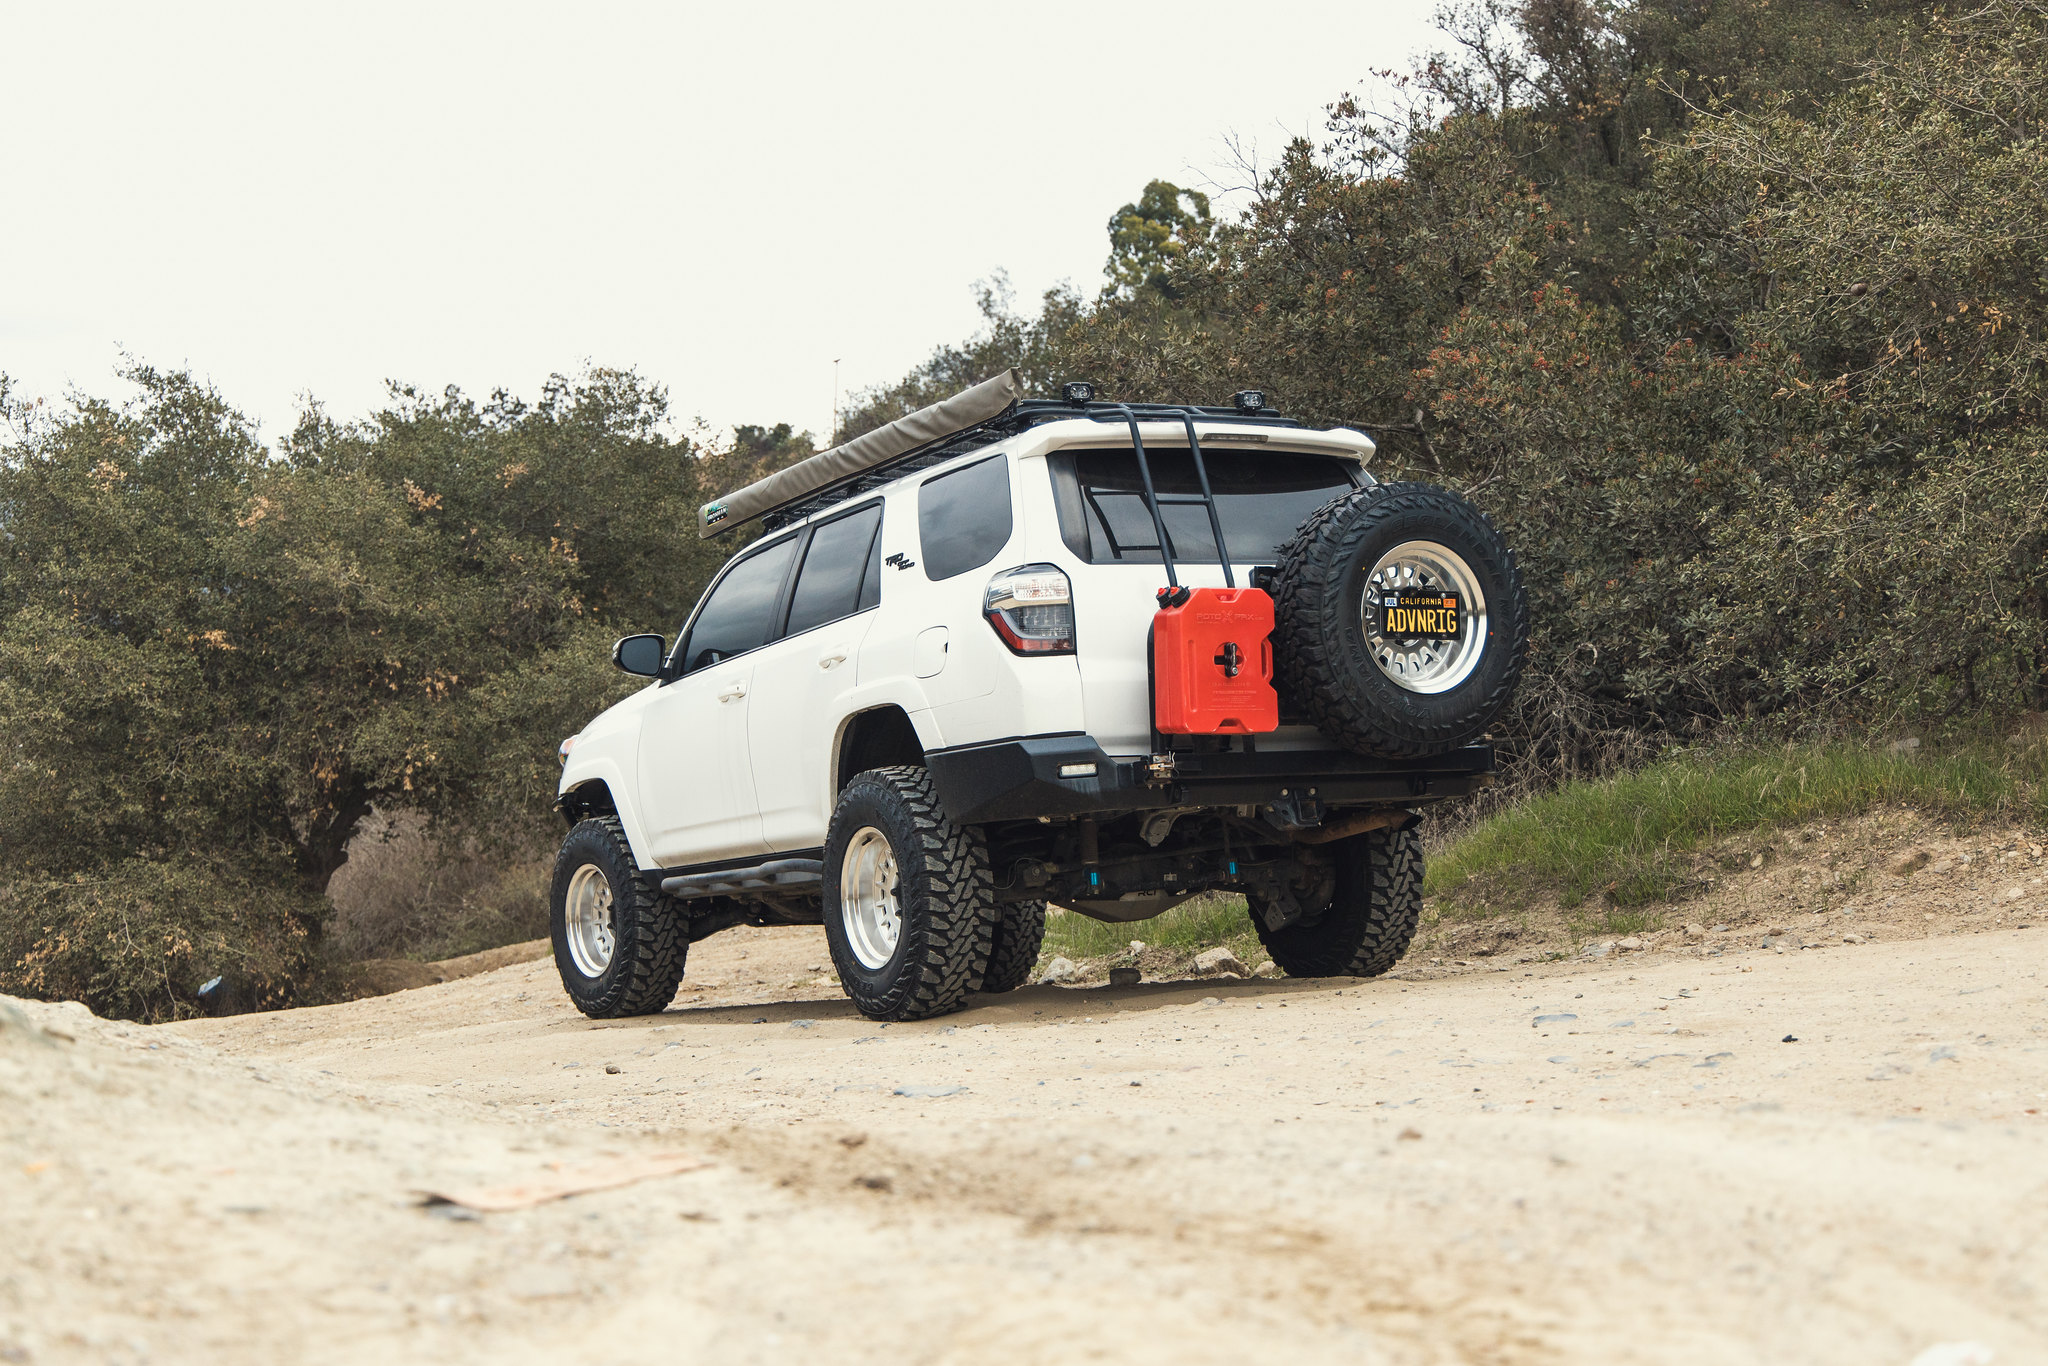
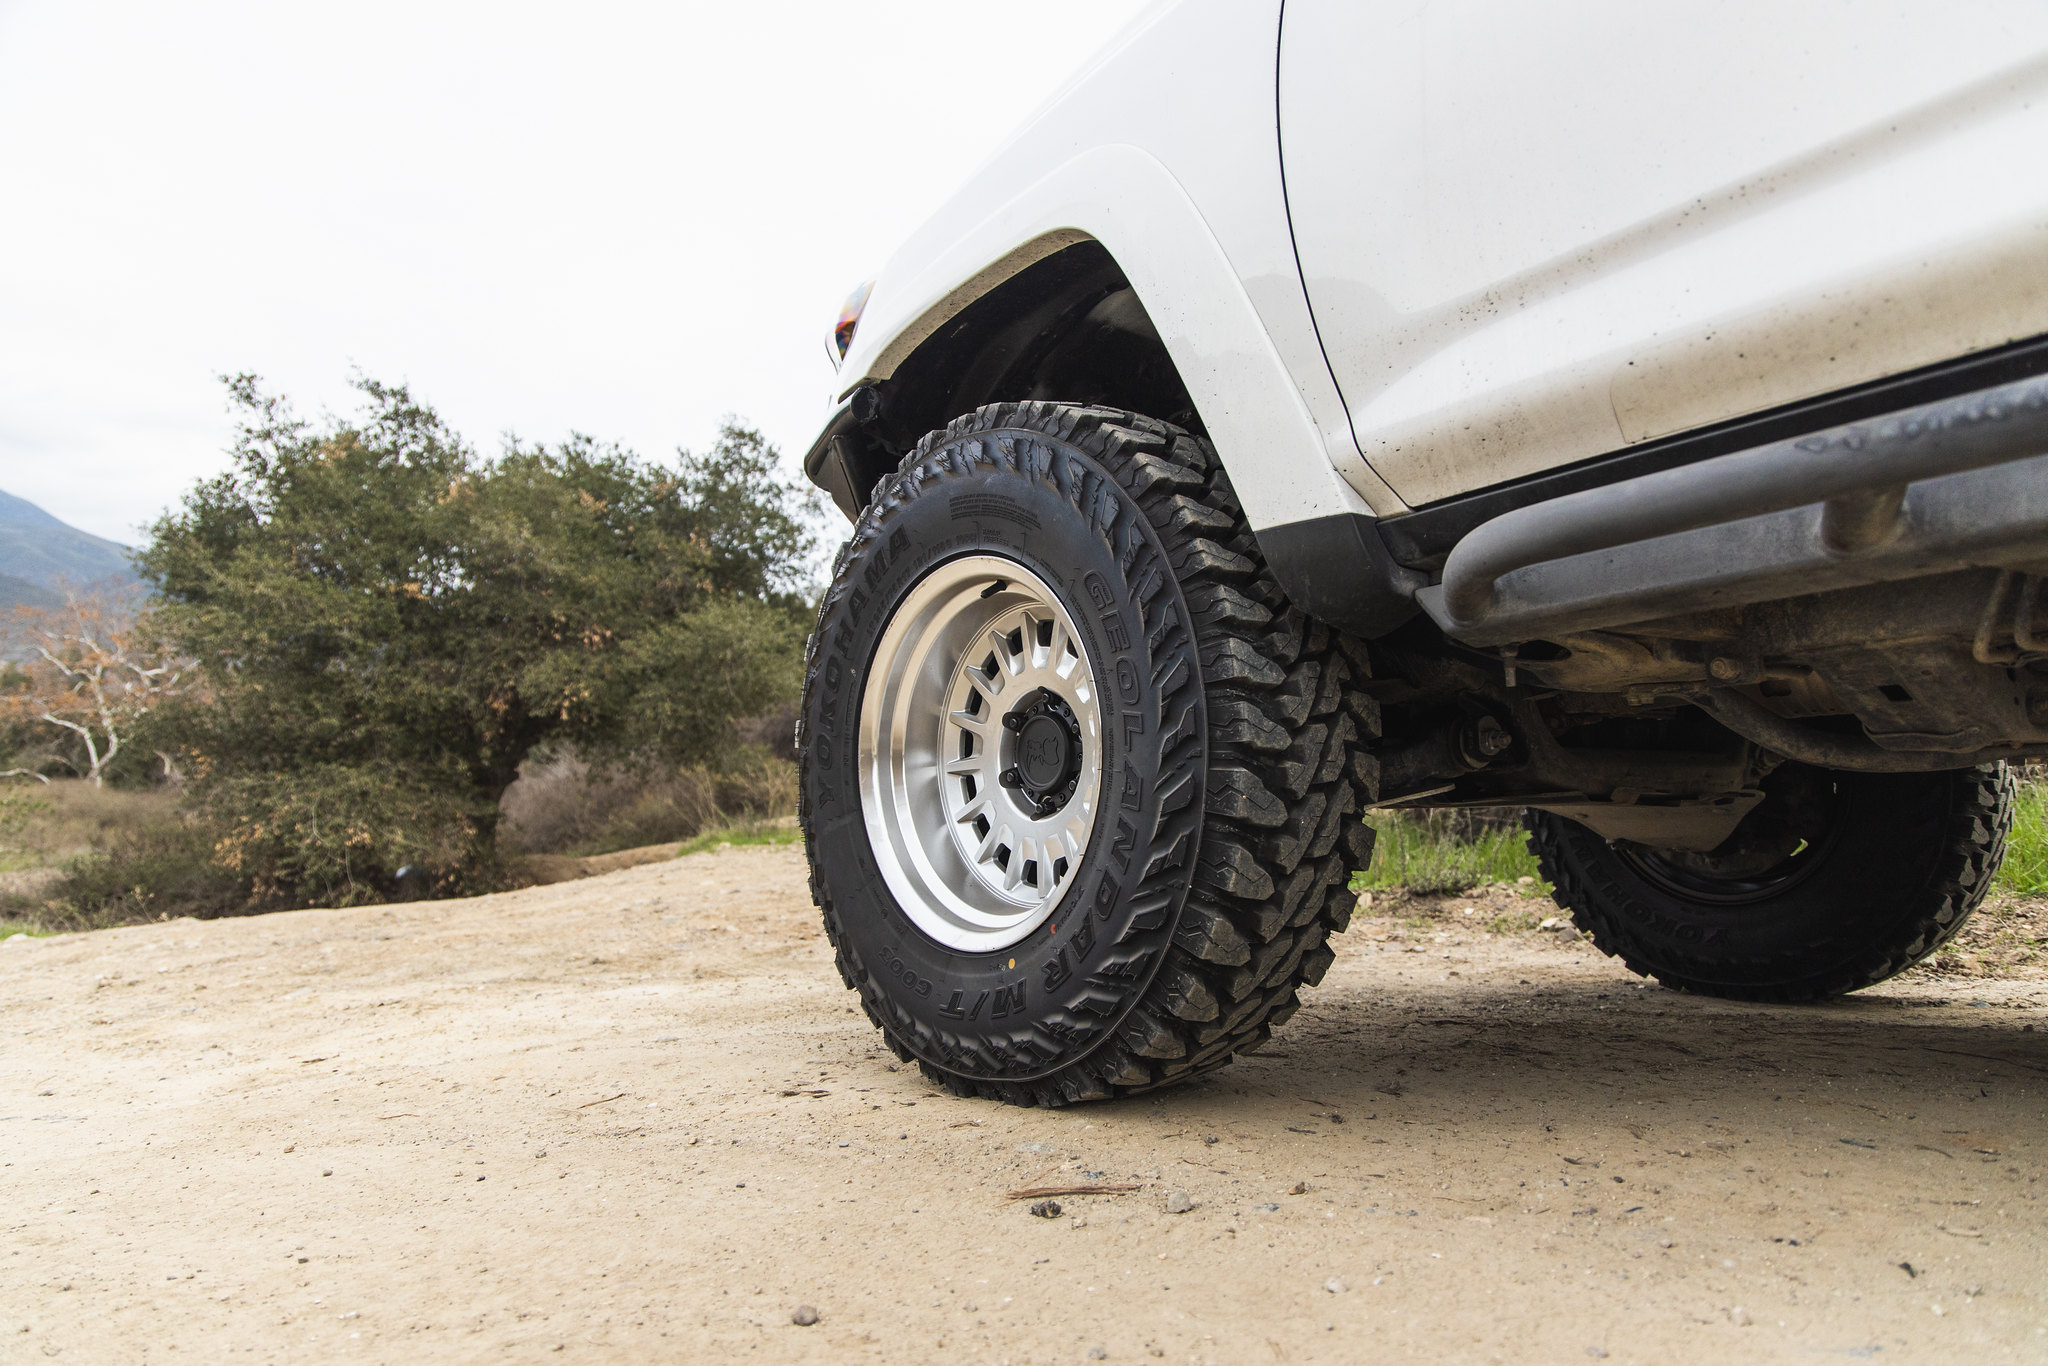
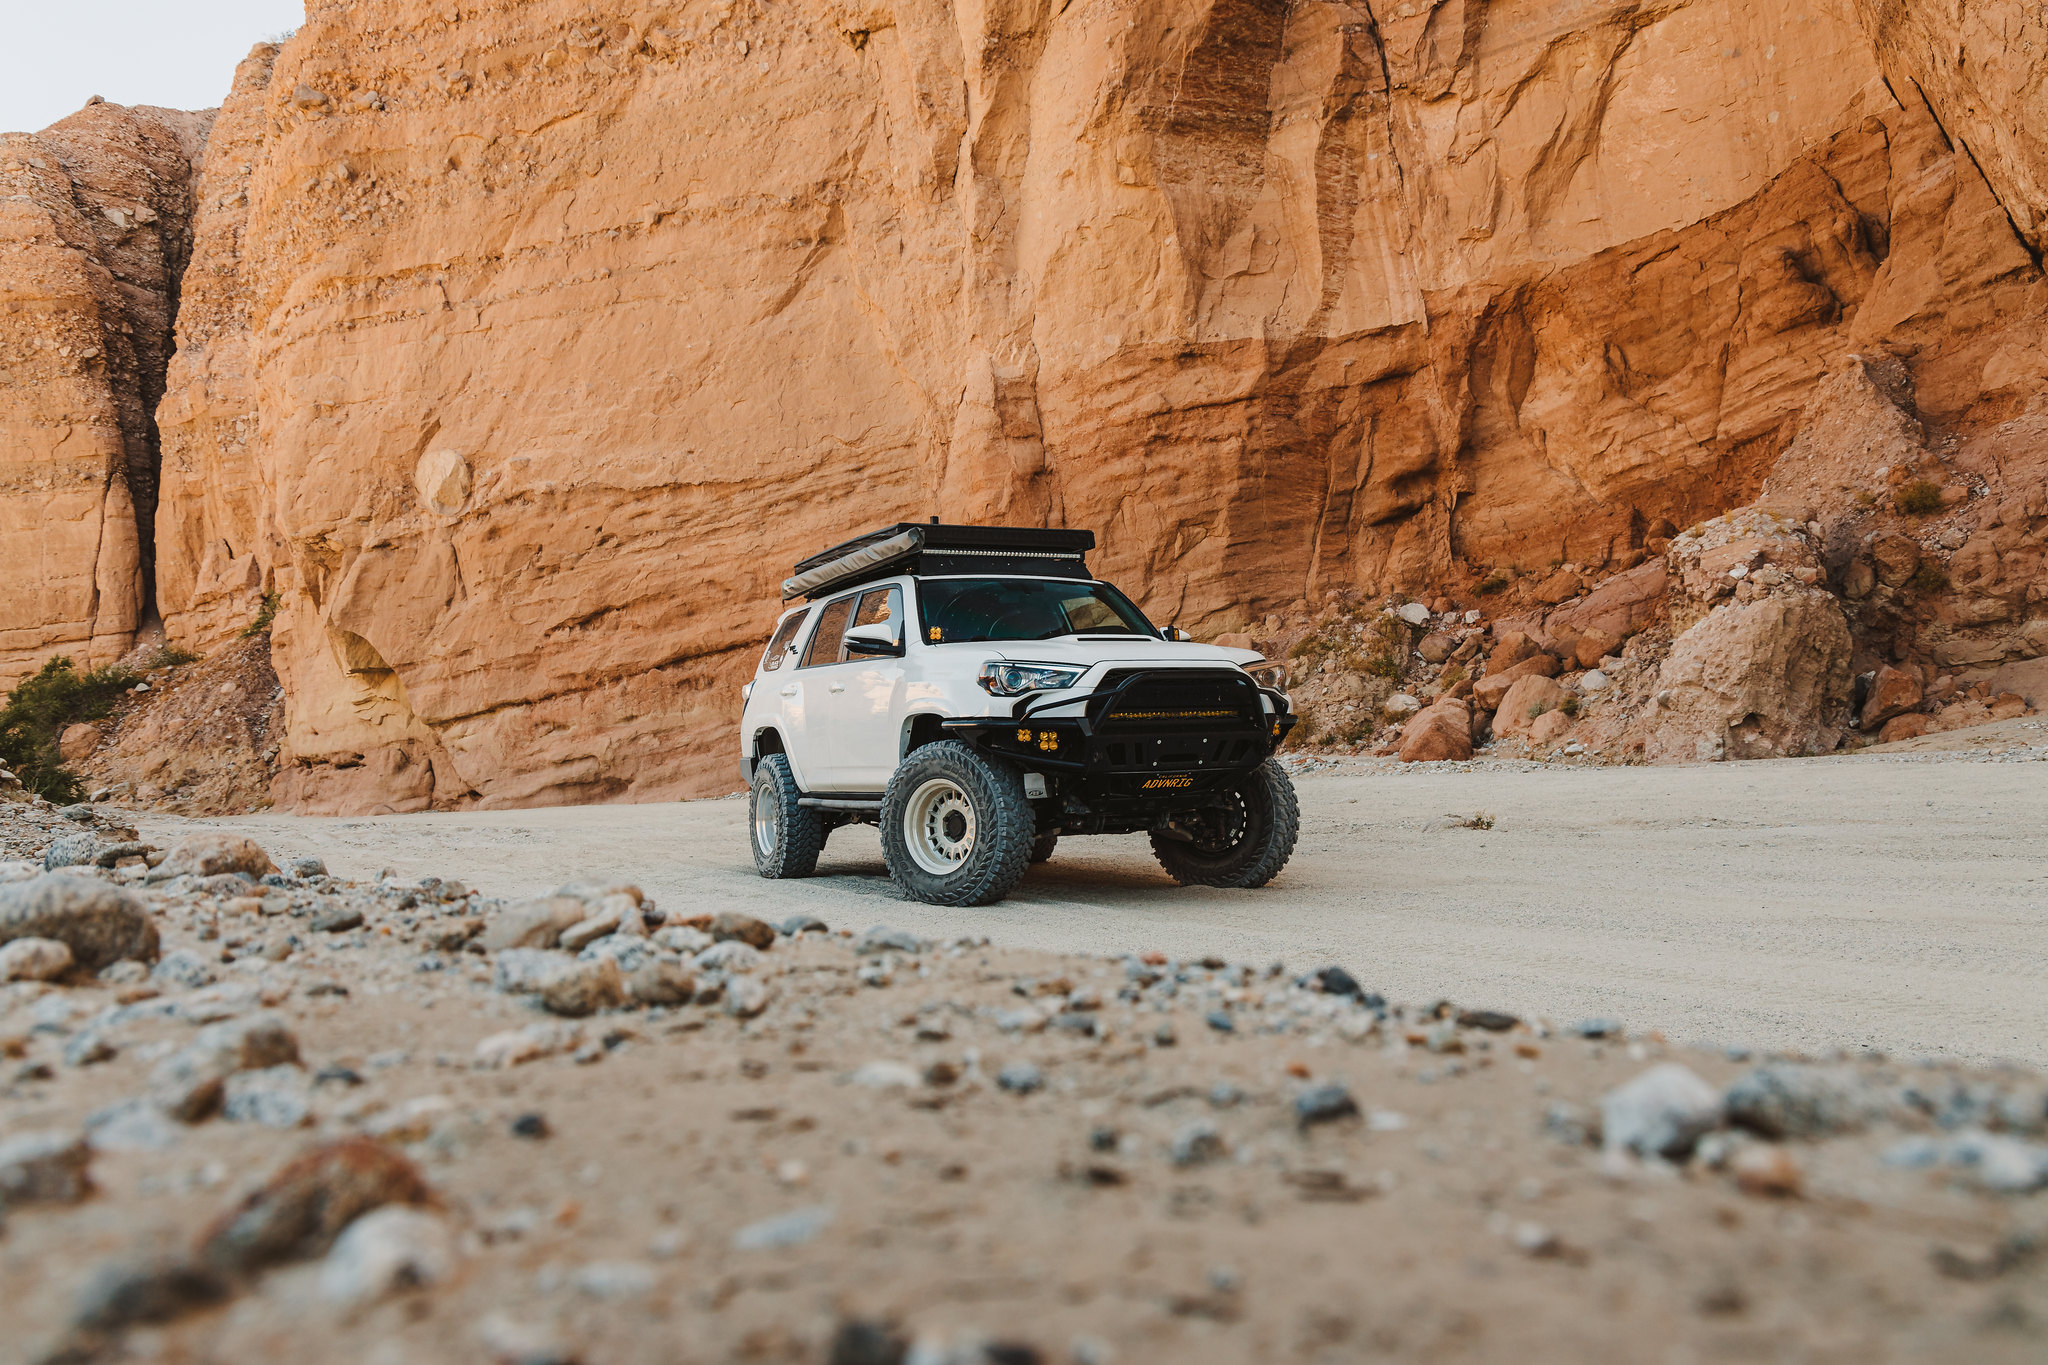
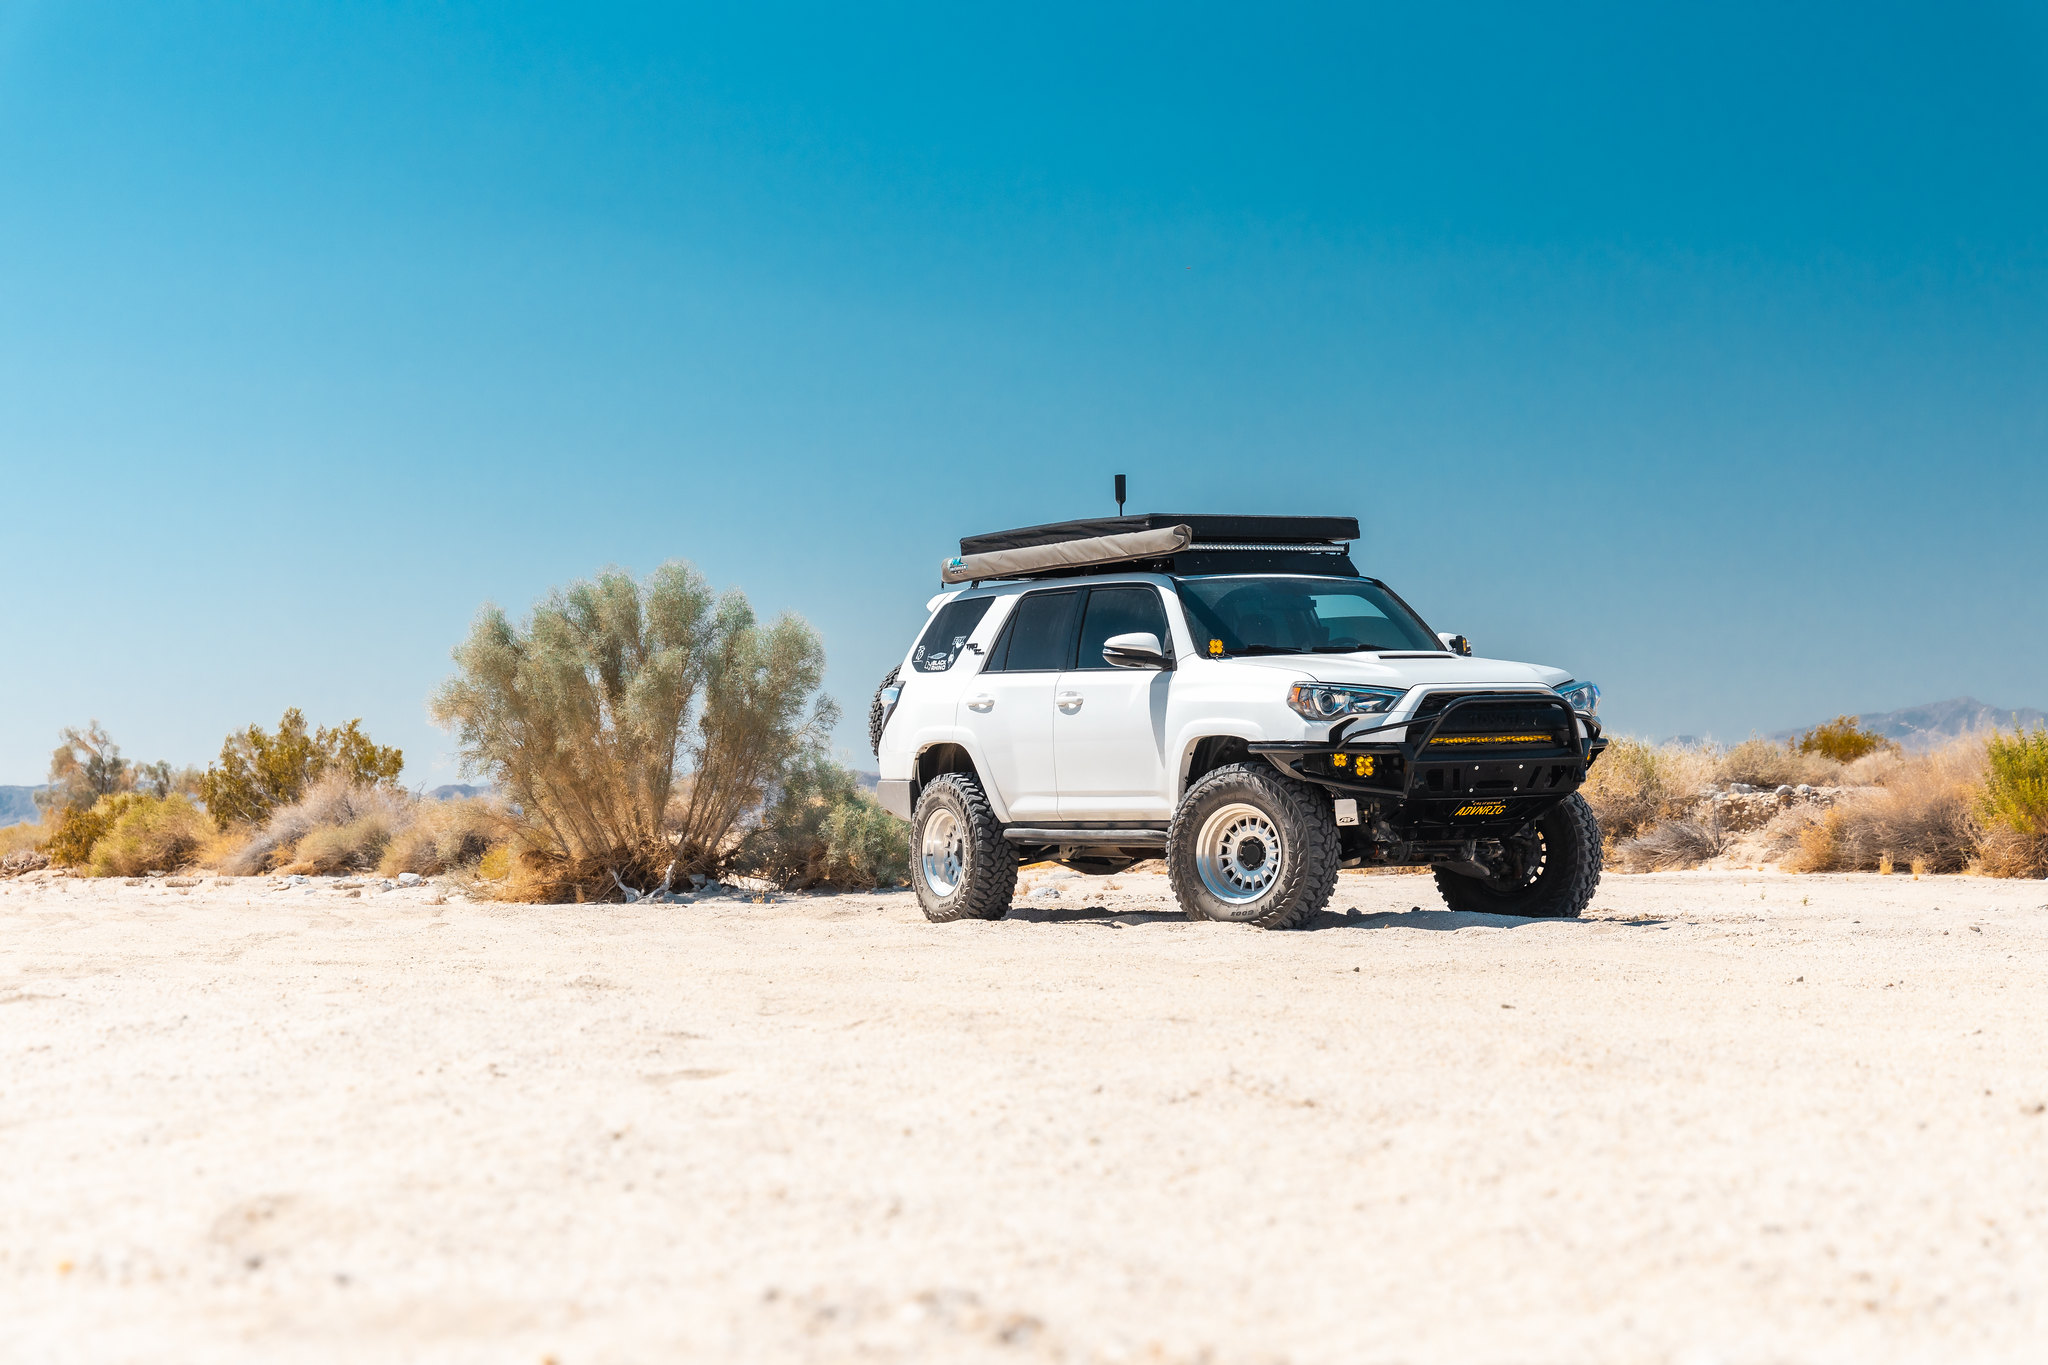
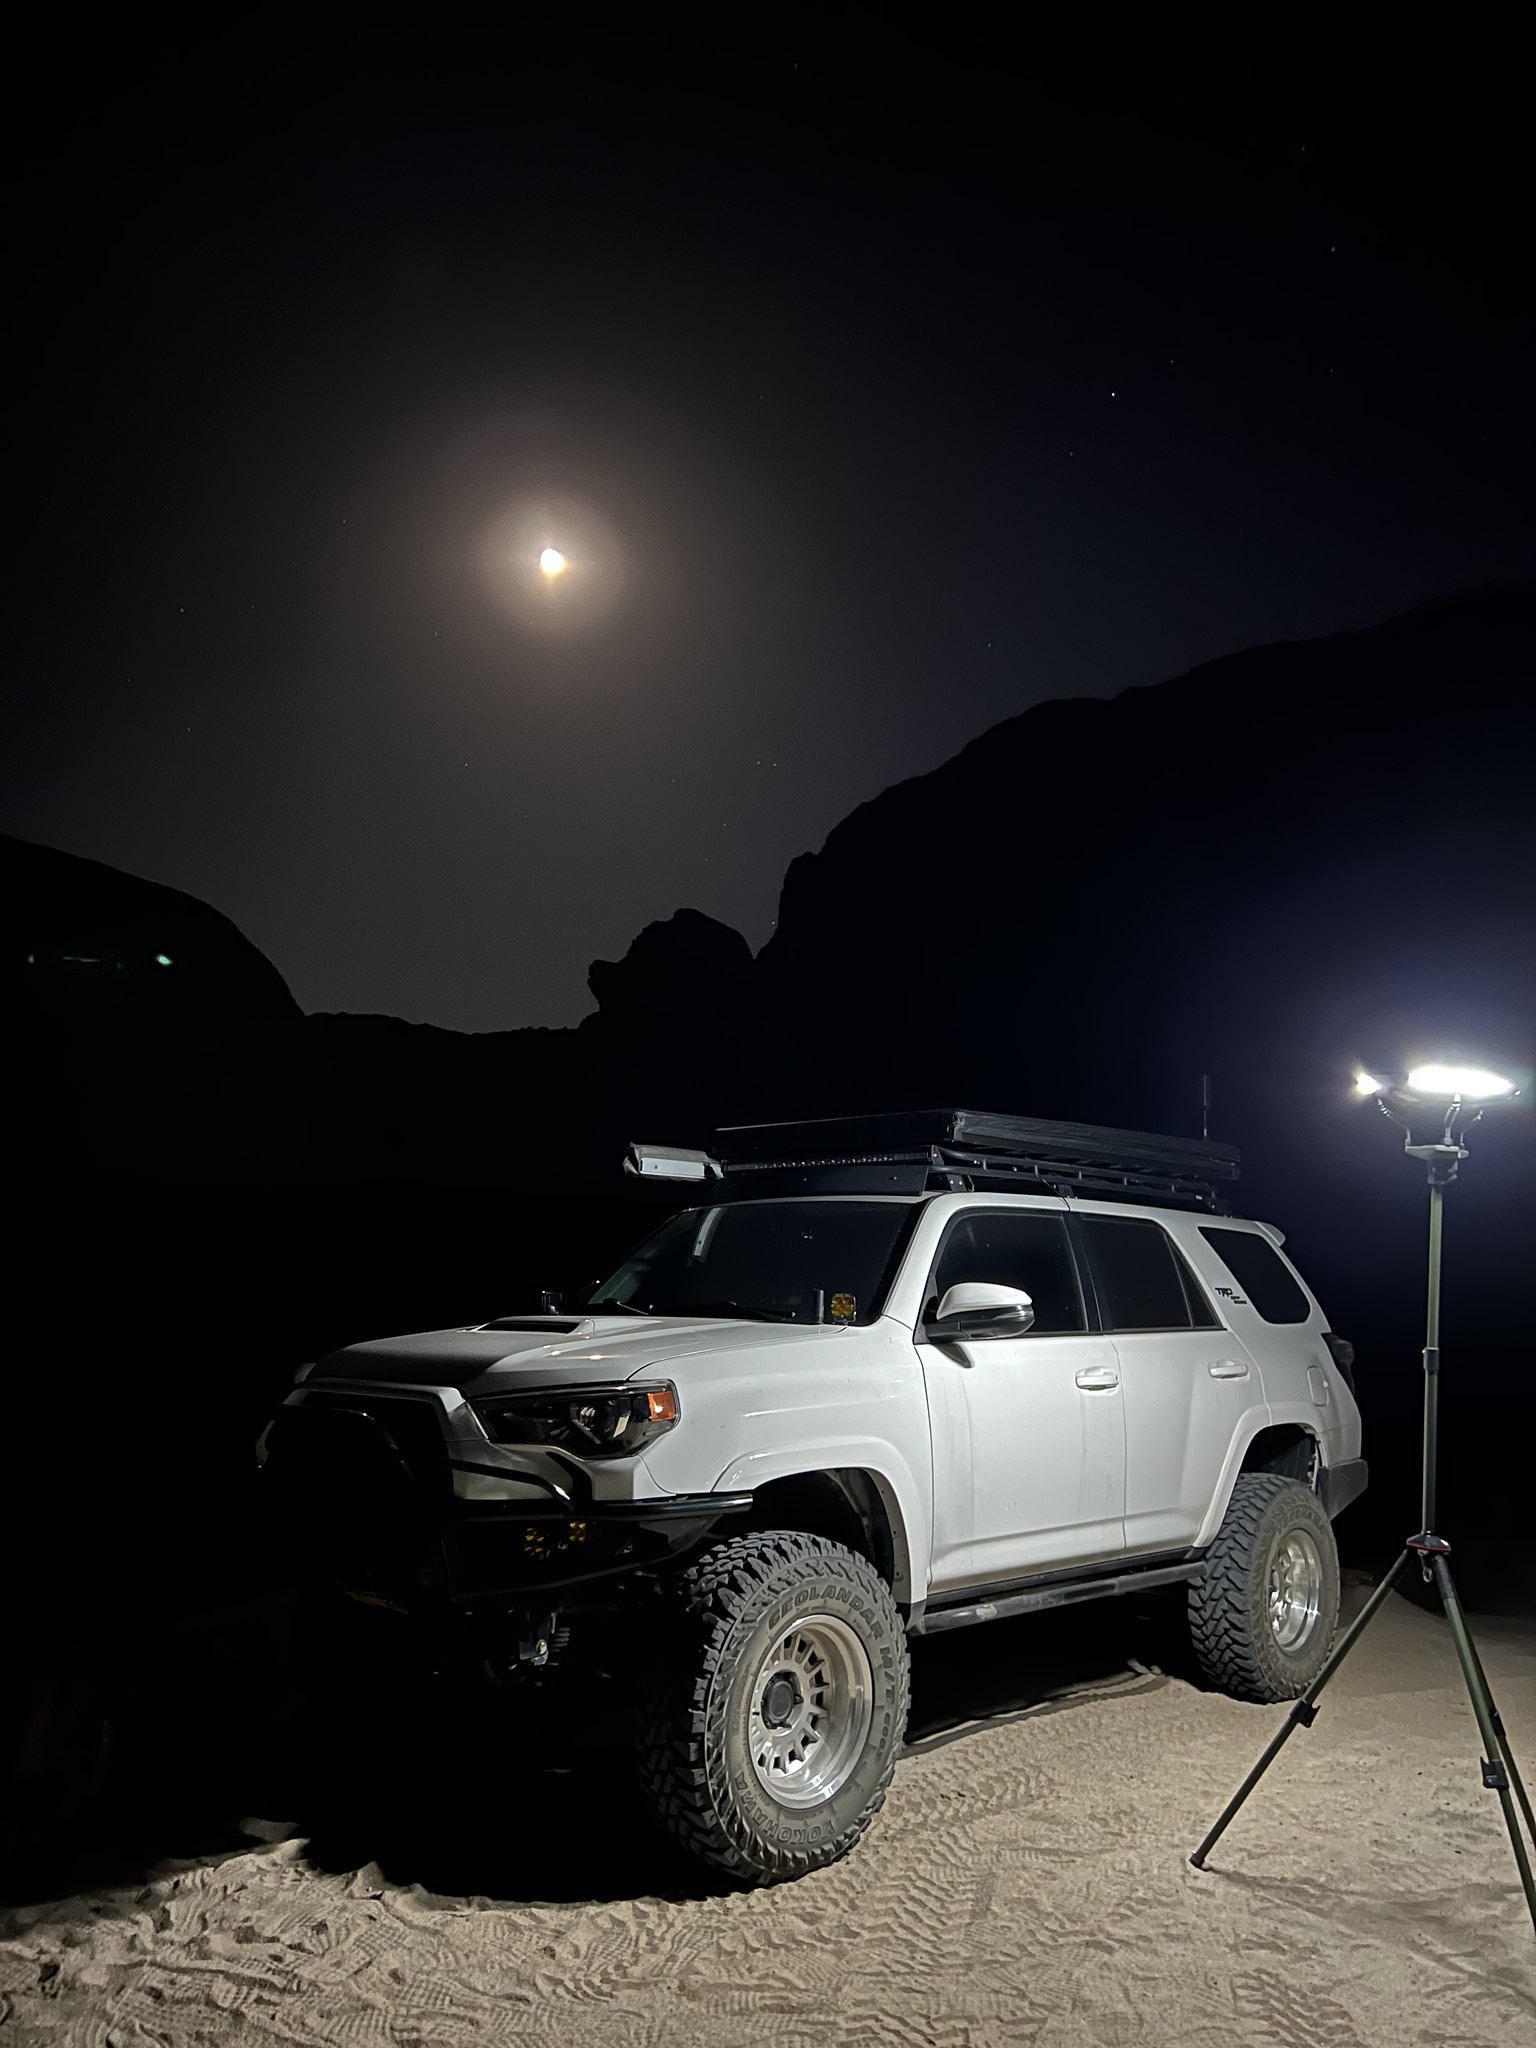
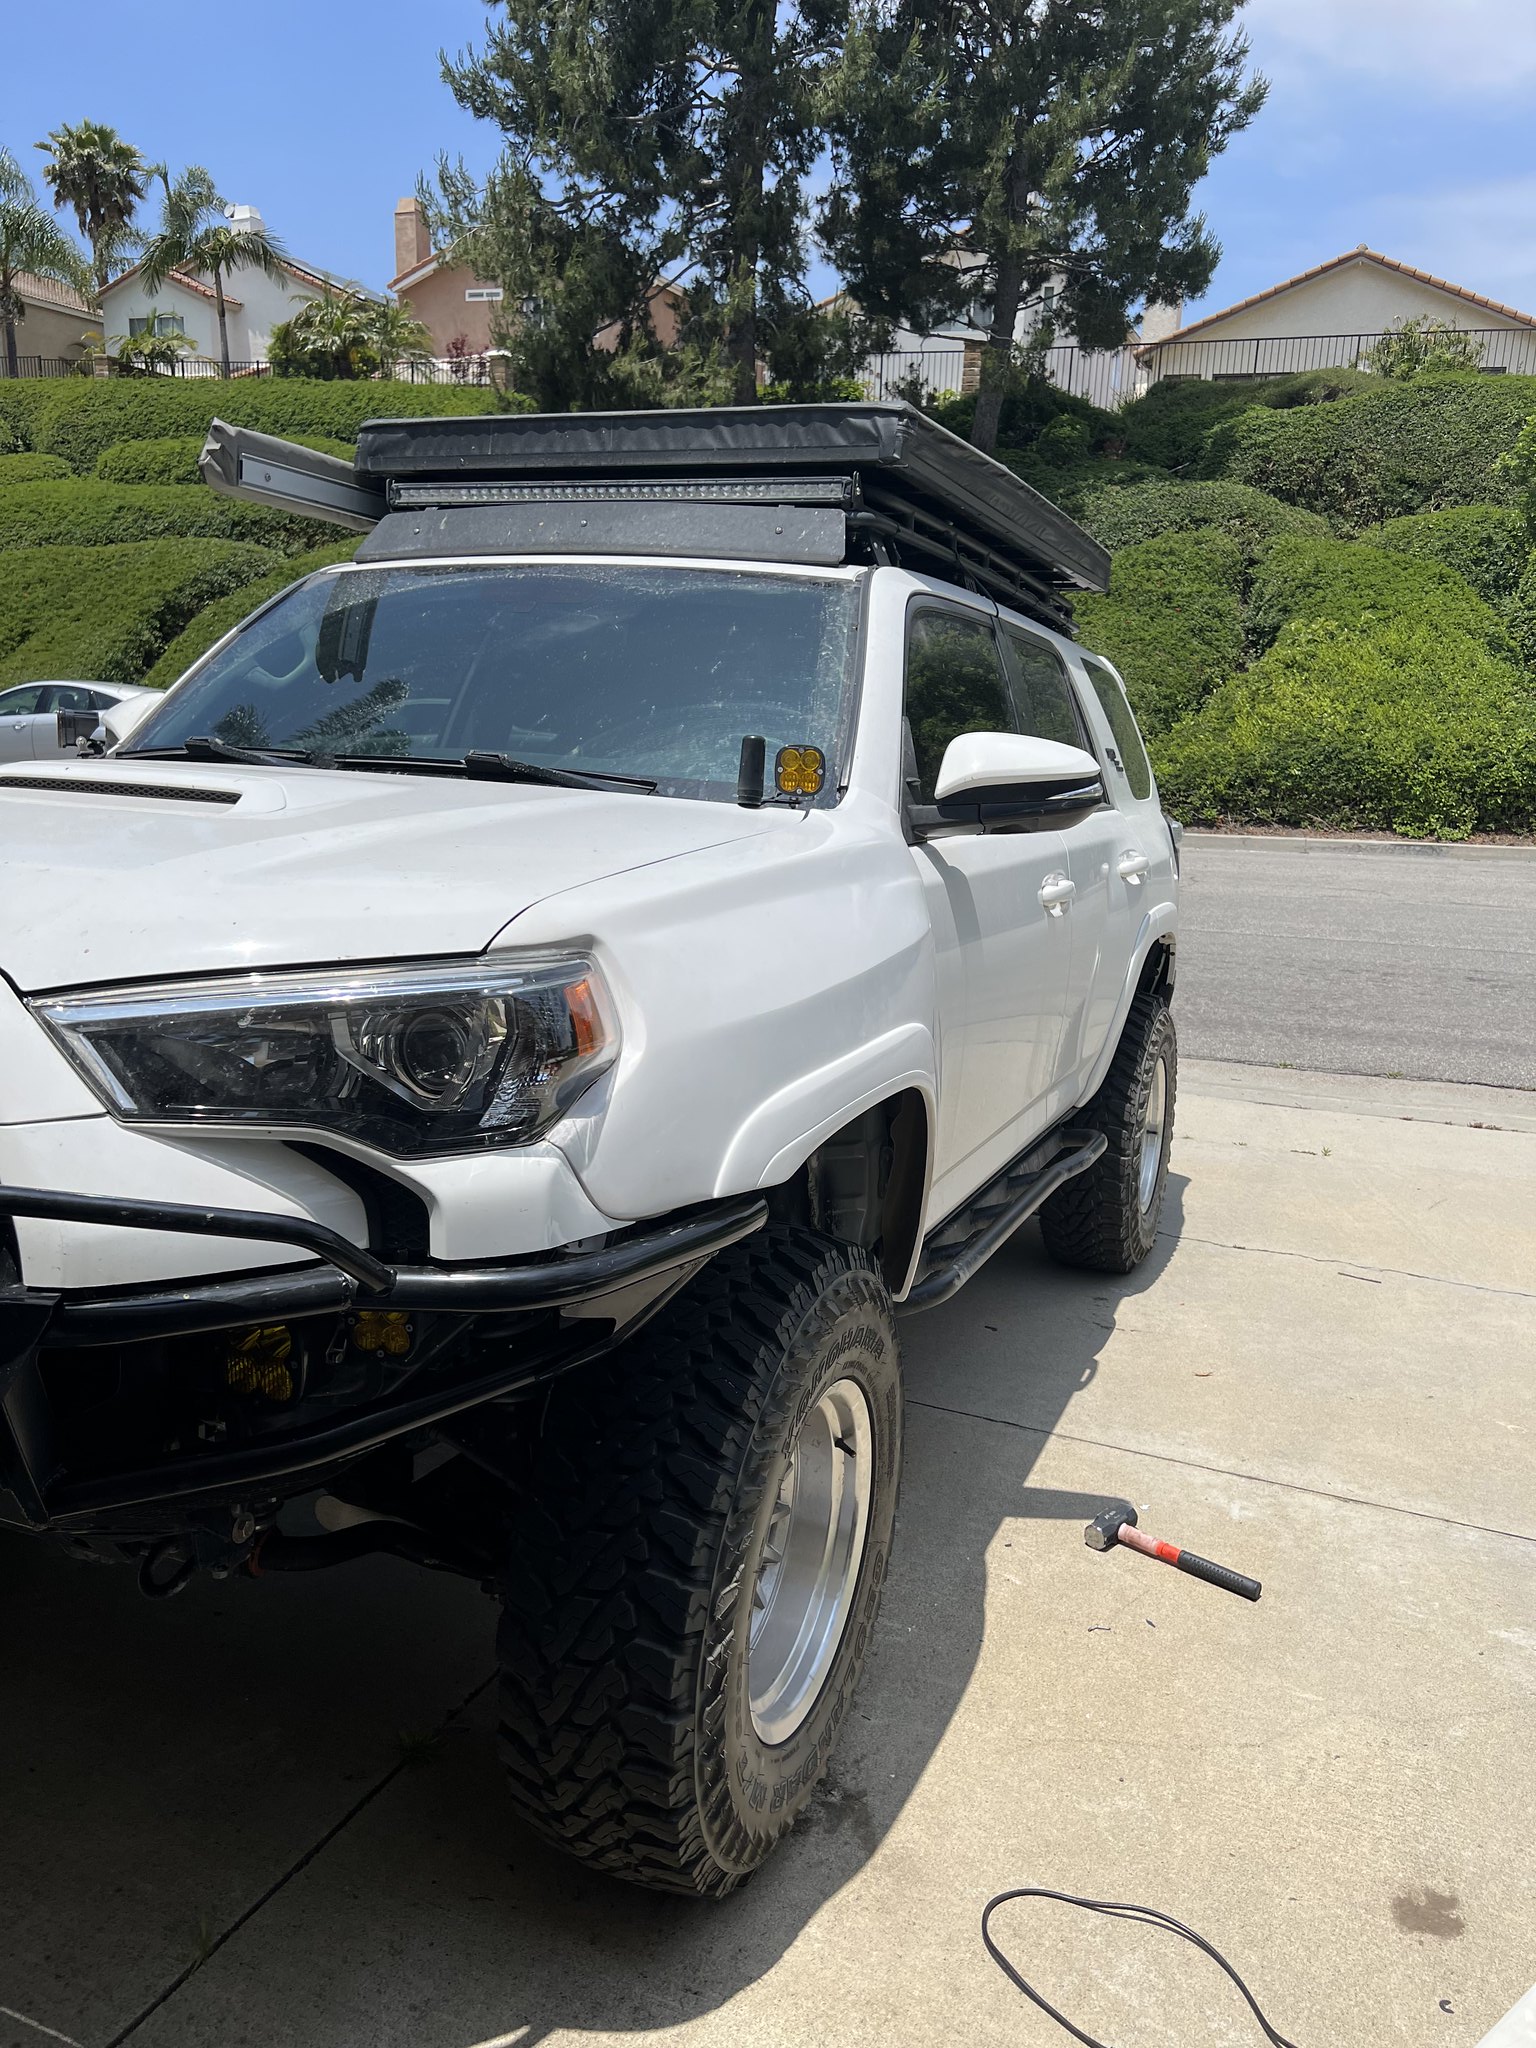
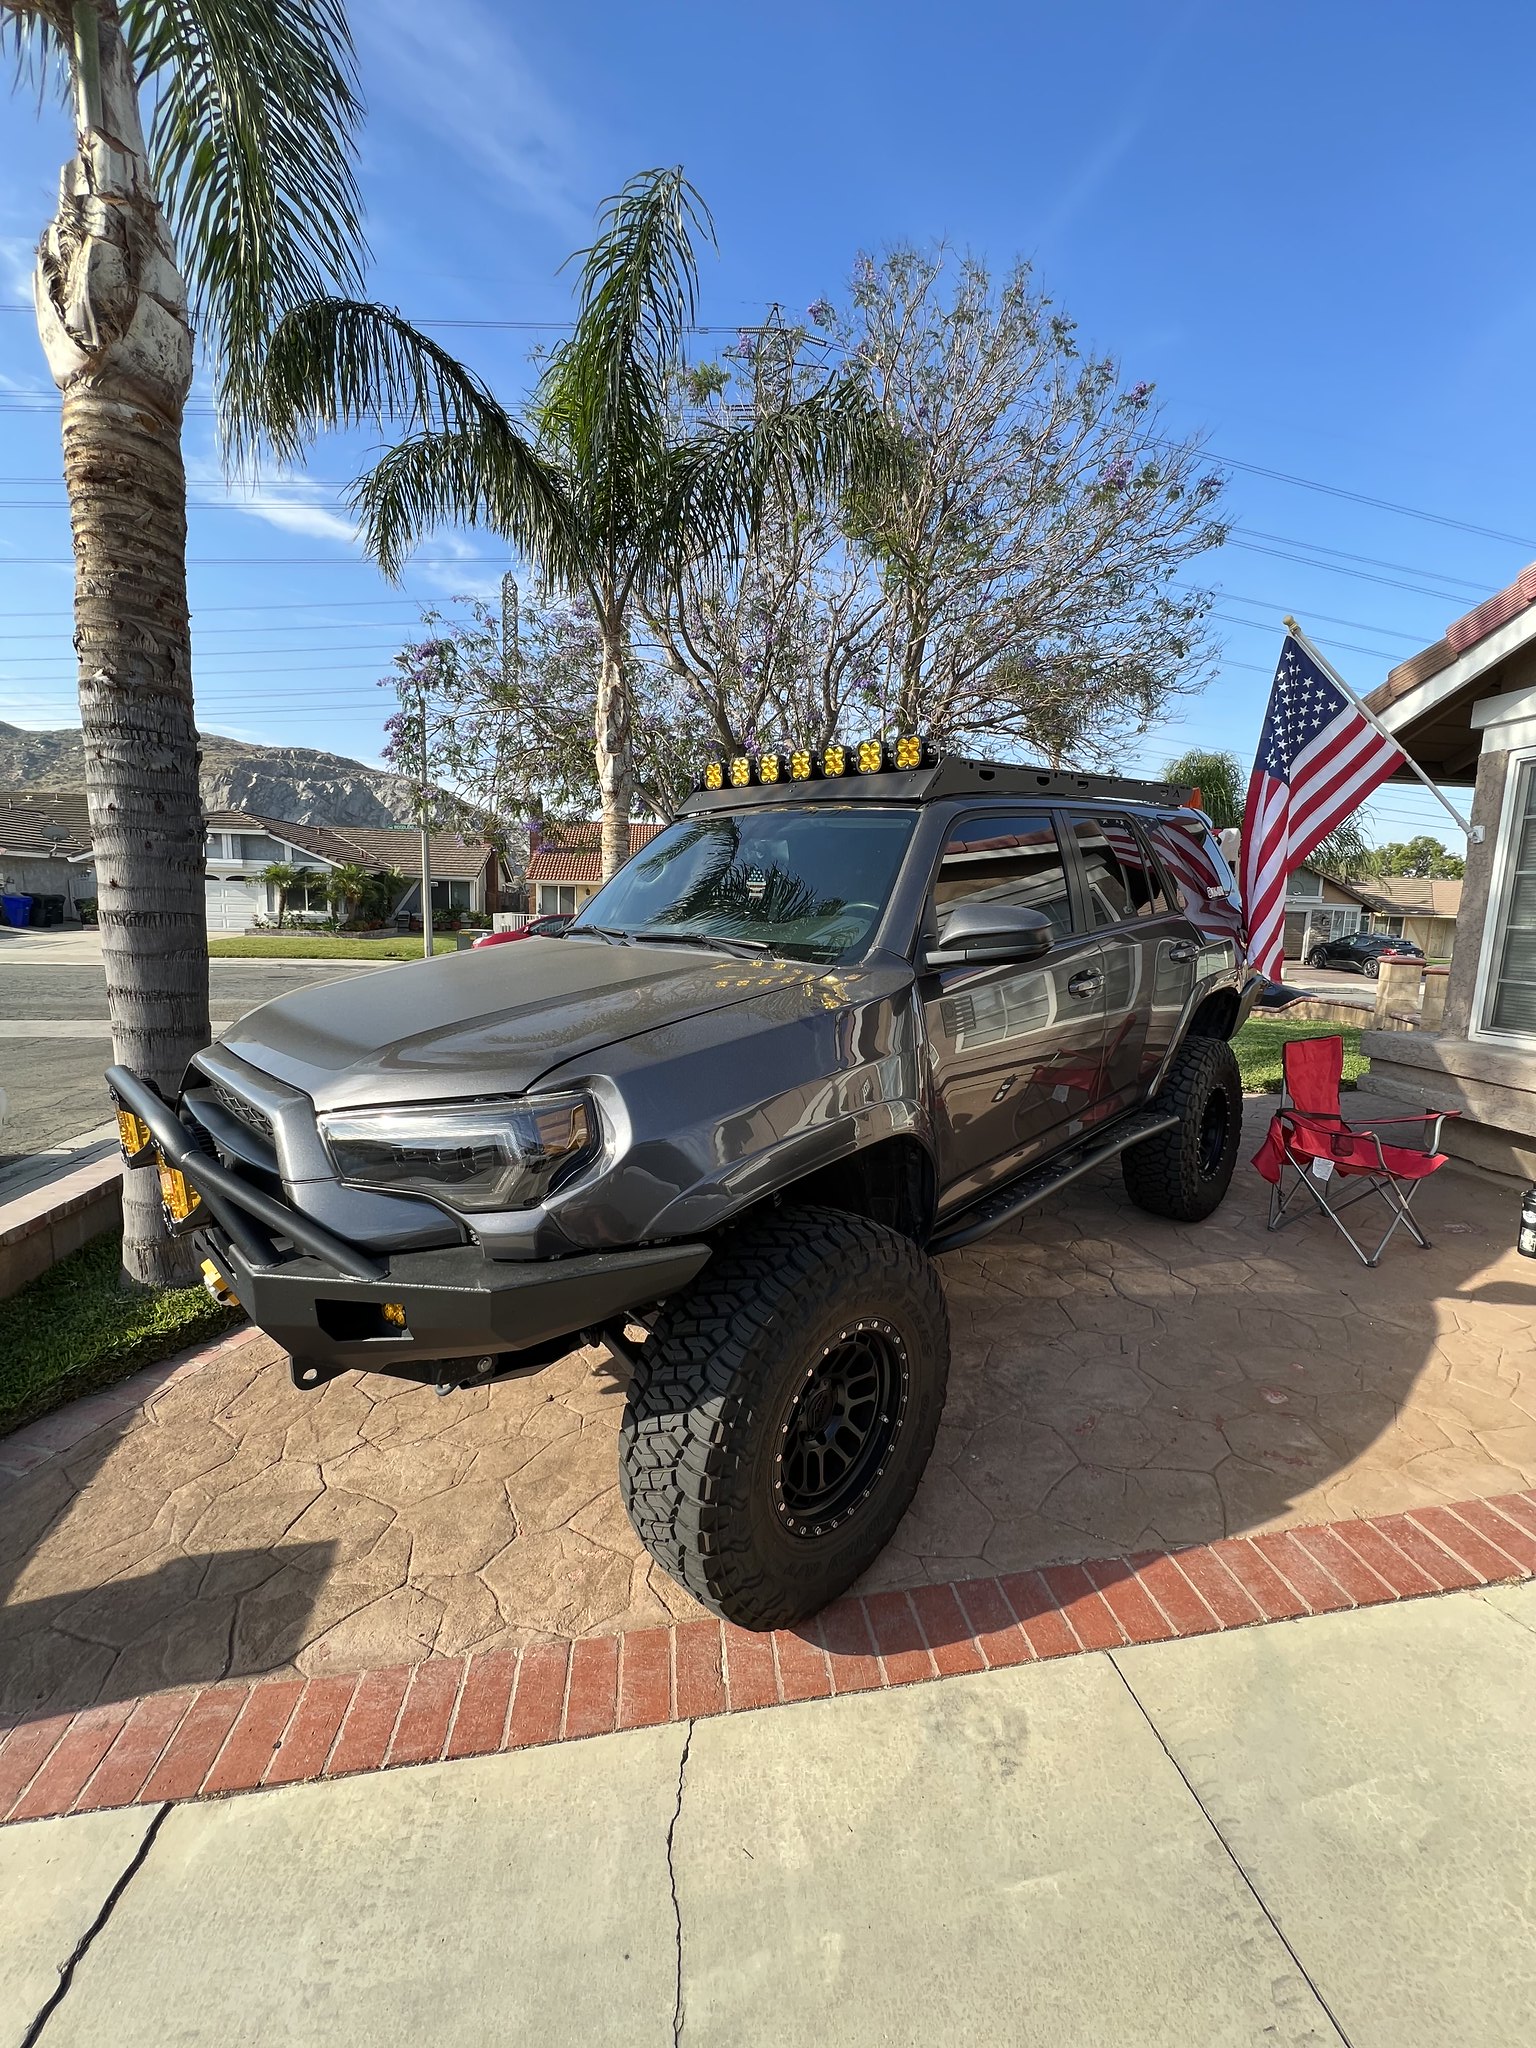
The Adventure Rig - TRD OR Build!

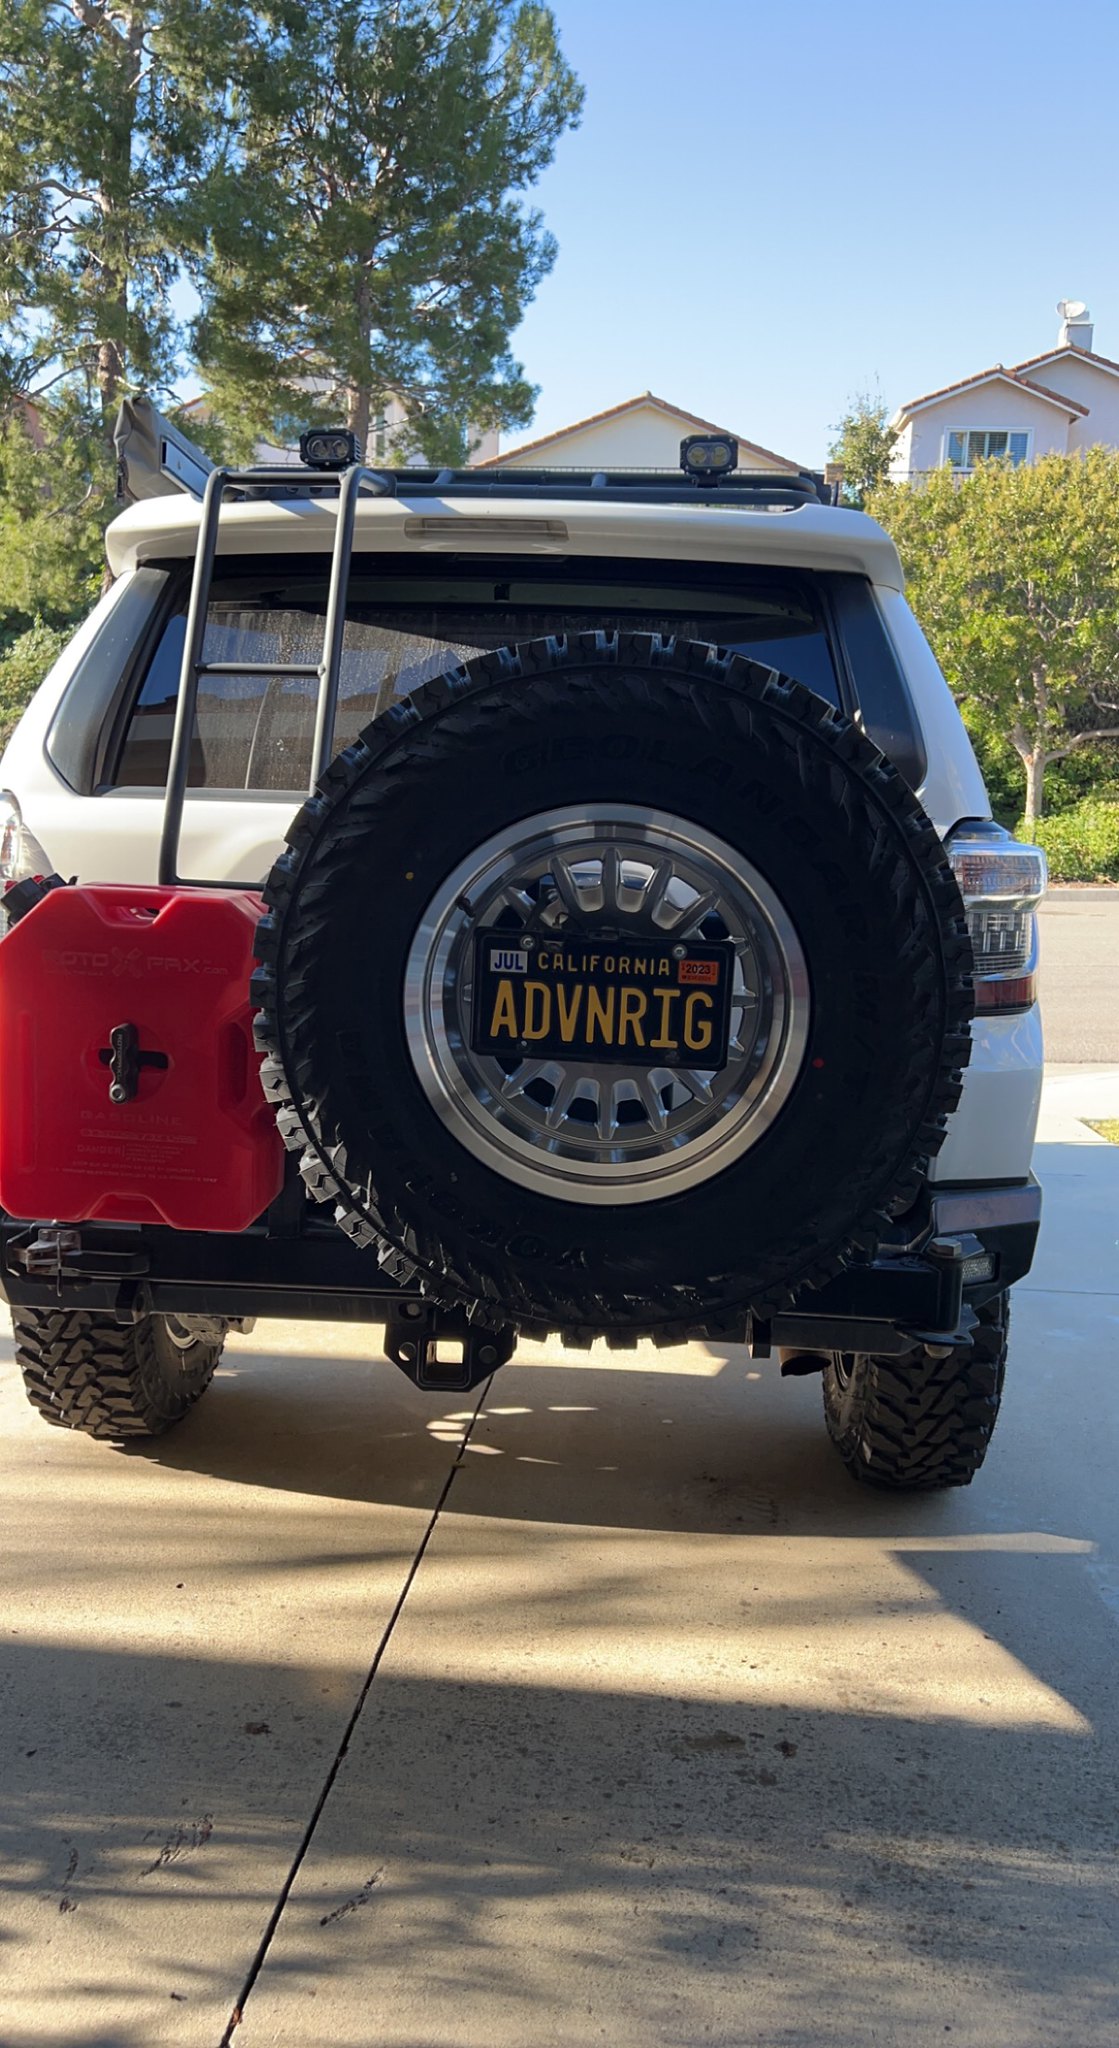
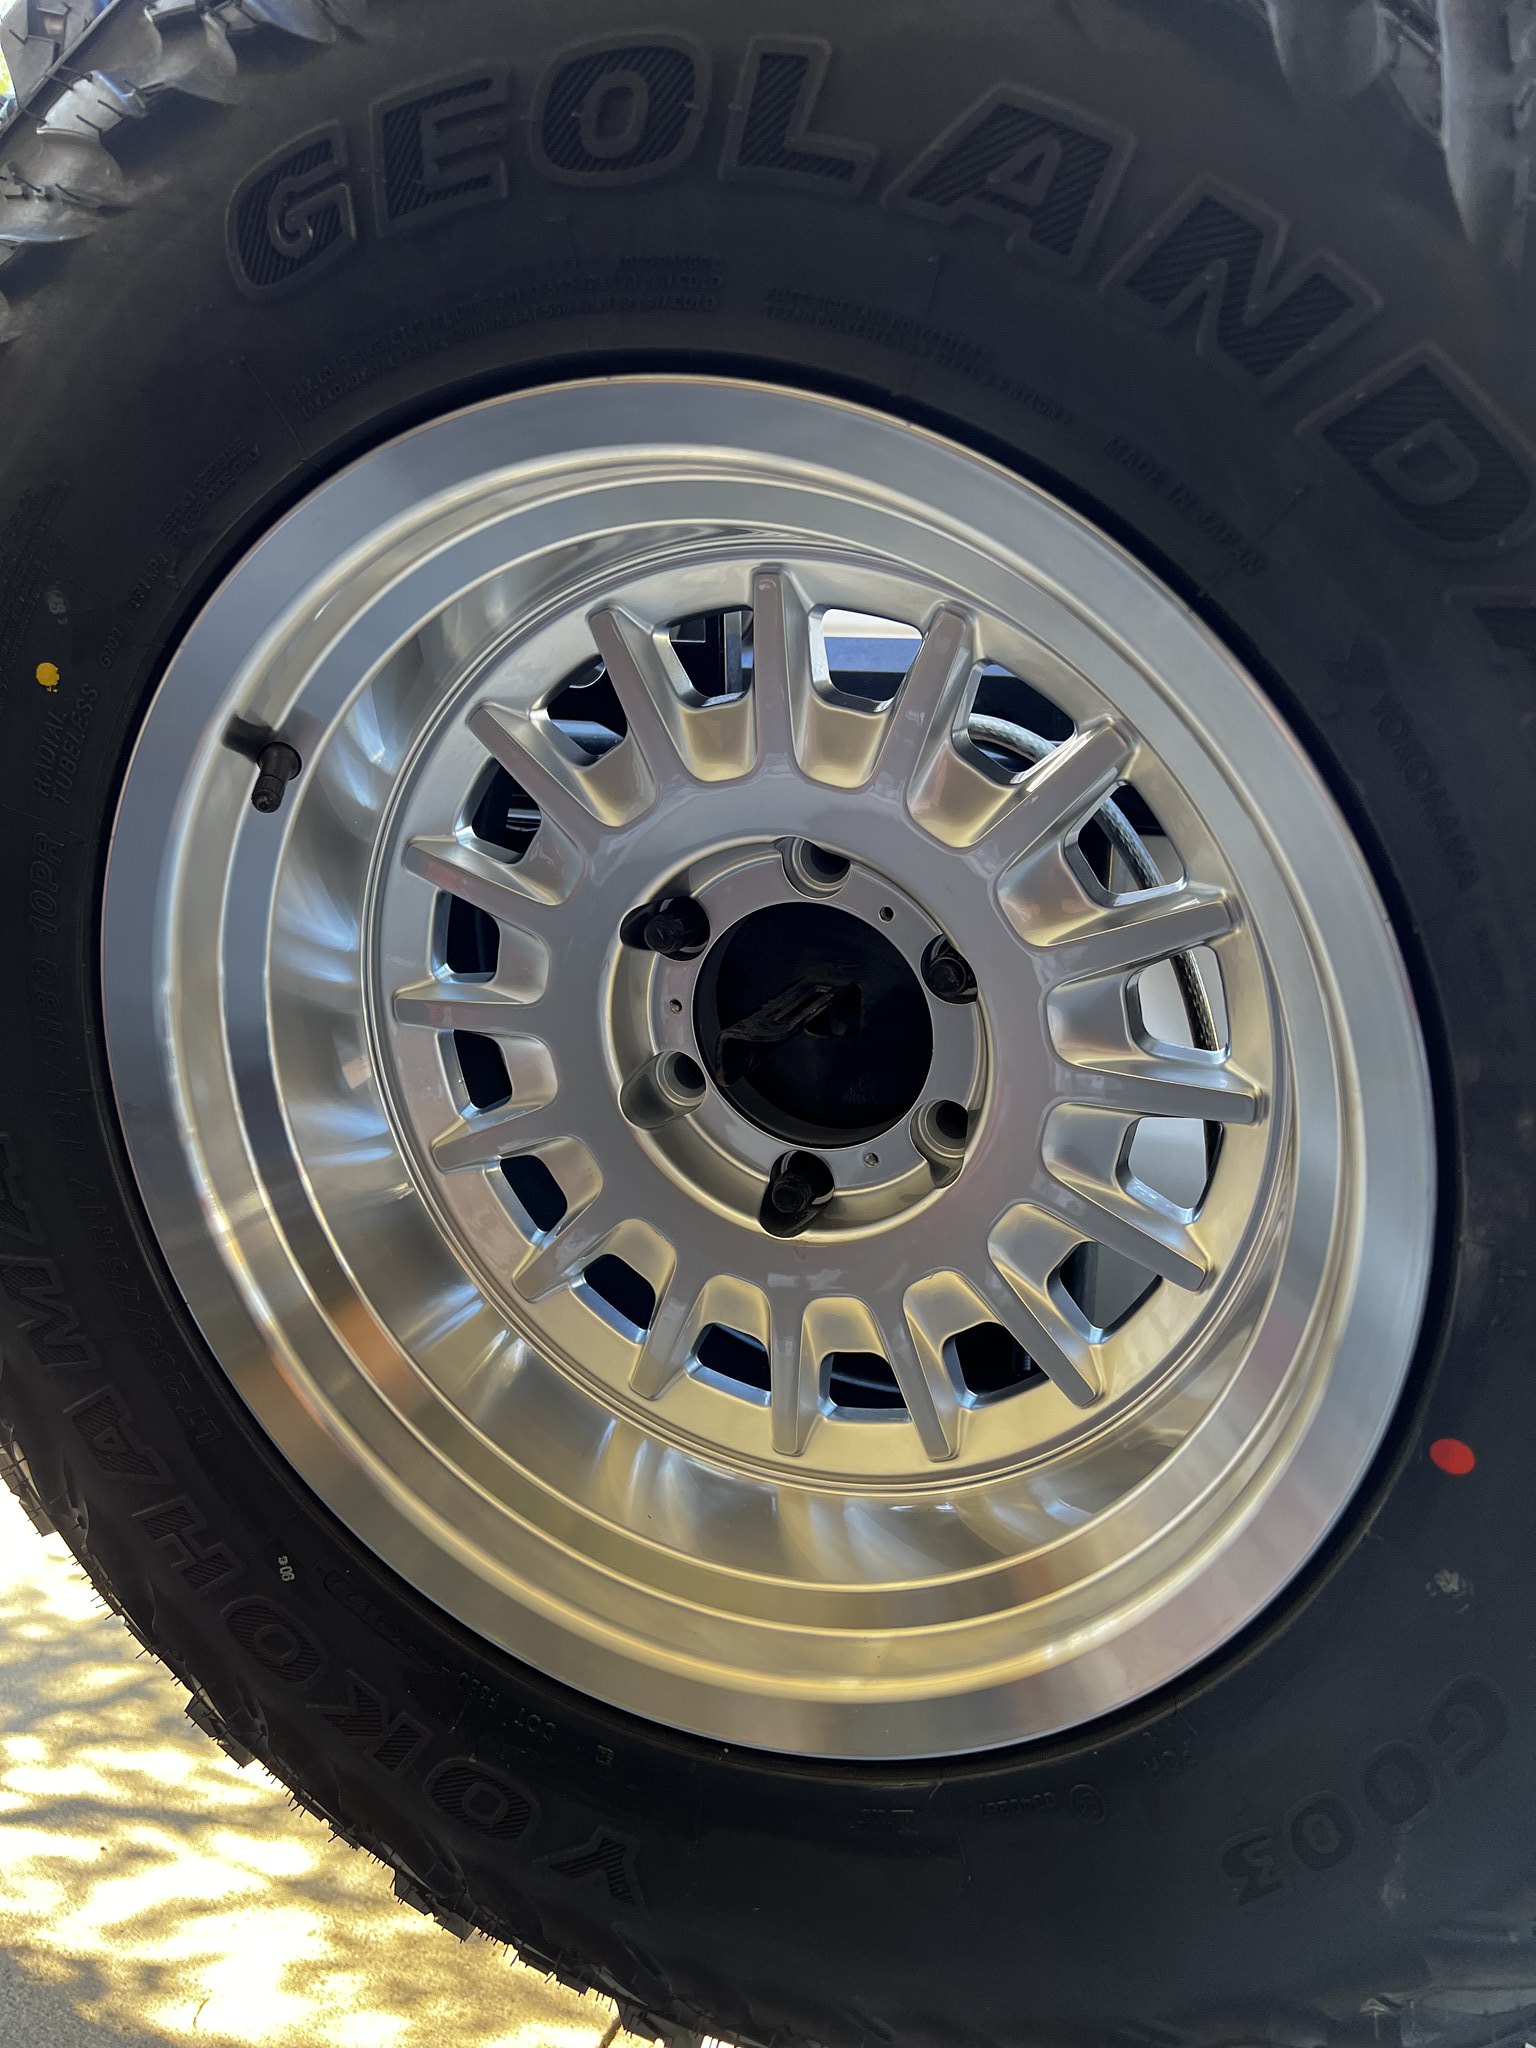
Finally got the spare wheel today, went and got it mounted and tossed it on the swingout. With the license plate lights and relocated rear camera it is an absolute pain lol The wheel design doesn't allow my rear camera and the light module to fit through the holes. Ended up having to disconnect it from under the drawers and run the wires through the outside of the wheels in. Thankfully when I first installed it, I left quick disconnects and in a fairly accessible place. Was toying with the idea of relocating both. Ideally the plate on the bottom of the swing out, but then I will lose clearance and it will rip out on any hit. Then the camera is too low to be useful. That is for another day though. I still can't get enough of the new wheels and tires, made me fall in love with the rig again.

Photo Nov 22 2022, 2 45 39 PM by rjtakesphotos, on Flickr

Photo Nov 22 2022, 1 43 17 PM by rjtakesphotos, on Flickr
 
you inspire my ass to get off the couch and put in work!!!!!

Remember i asked you a while back about your table mounting...well i figured out those padded stainless hose clamps (1.75 inch) will allow you to mount it on the tube, but you have to redrill some holes on the table, and then i put a bolt through the swing arm bump stop and bam....solid as a rock.... It clears the hatch by half a inch.

happy holidays
 

Attachments

  • thumbnail-67.jpeg
    thumbnail-67.jpeg
    26 KB · Views: 305
  • thumbnail-68.jpeg
    thumbnail-68.jpeg
    26.2 KB · Views: 283
Last edited:
you inspire my ass to get off the couch and put in work!!!!!

Remember i asked you a while back about your table mounting...well i figured out those padded stainless hose clamps (1.75 inch) will allow you to mount it on the tube, but you have to redrill some holes on the table, and then i put a bolt through the swing arm bump stop and bam....solid as a rock.... It clears the hatch by half a inch.

happy holidays

Nice work, I actually may have to add those if possible for a little extra support. The corners always seem to flex a bit and that may be the trick!
 
Nice work, I actually may have to add those if possible for a little extra support. The corners always seem to flex a bit and that may be the trick!

works well. the table kinda gets sandwiched and rests on the rubber part of the clamps, so it also acts like a shock absorber, no rattling, and it doesnt mar the powdercoat, and it doesnt move at all even at the corners.

yeah man, let me know how it works out for you.

peace out.
 
This pin will work if you still interested in the safety pin. I just sheared mine off and had to replace mine....just fyi.

Amazon.com: EMS Offroad Tire Carrier Pin Long : Automotive

You slide pin through bottom hole on main bumper from the bottom, and into the swing arm hole, and out the top...and put knob on. You do not have to remove the swingarm like all the internet videos tell you to.

Only thing is, the top knob doesnt clear the head of the 1 inch bolt. what you have to do, is hammer the bolt out just enough for where the knob clears the head of the 1 inch bolt, and viola...done.

I actually bought another knob head (that is circular) so i dont have to "move" the 1 inch bolt to do future maintenance on the pin.


I did have to remove all the accessories off the swing arm to relieve tension on the bolt, but thats about it. It took me 30 min to install the pin.

good luck if u do decide to go this route..

cheers.

 
Last edited:
This pin will work if you still interested in the safety pin. I just sheared mine off and had to replace mine....just fyi.

Amazon.com: EMS Offroad Tire Carrier Pin Long : Automotive

You slide pin through bottom hole on main bumper from the bottom, and into the swing arm hole, and out the top...and put knob on. You do not have to remove the swingarm like all the internet videos tell you to.

Only thing is, the top knob doesnt clear the head of the 1 inch bolt. what you have to do, is hammer the bolt out just enough for where the knob clears the head of the 1 inch bolt, and viola...done.

I actually bought another knob head (that is circular) so i dont have to "move" the 1 inch bolt to do future maintenance on the pin.


I did have to remove all the accessories off the swing arm to relieve tension on the bolt, but thats about it. It took me 30 min to install the pin.

good luck if u do decide to go this route..

cheers.

Awesome, thanks for the idea! I haven't really noticed the lack of the pin bothering me lately so I kind of just left it alone. I'll add it to the list of things to do eventually when I run out of other projects haha!
 
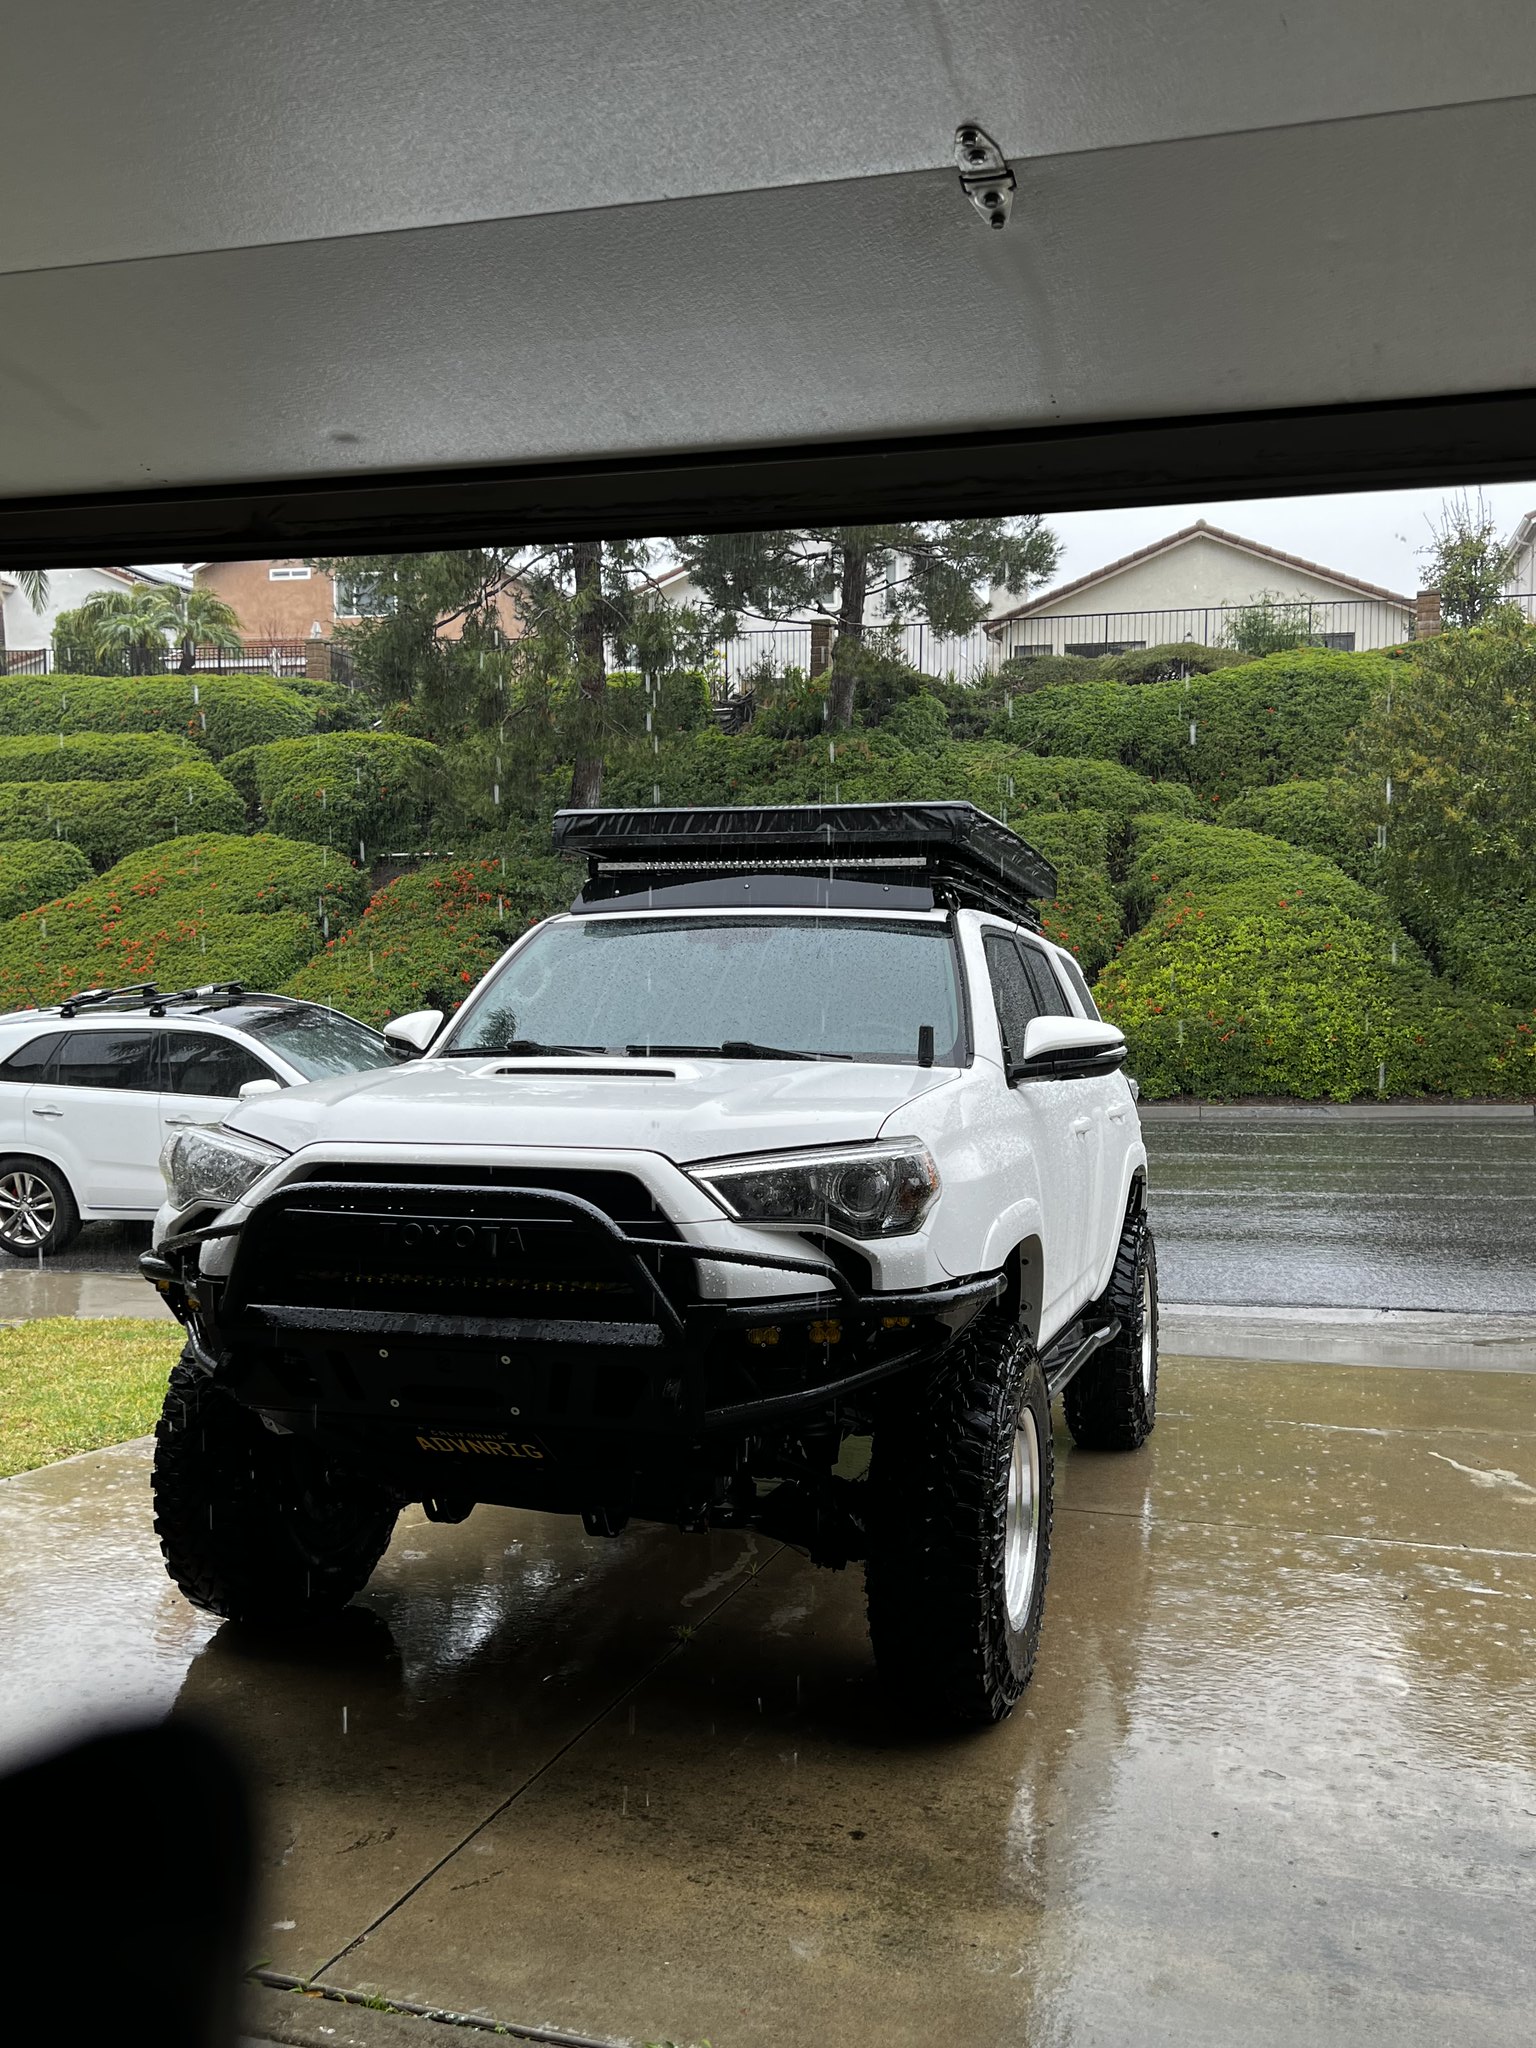
It's been slowing down as far as mods go for a while, but just got back from picking up my new RTT! I had been eyeing the Inspired Overland clamshell for a while and was close to picking up on Black Friday, but I am glad I waited as I was able to pick this up from a friend for a steal! Swapped it over in the rain which was fun, but super stoked to finally be able to camp up top and not use the sleeping platform all the time.

Photo Jan 14 2023, 12 54 33 PM by rjtakesphotos, on Flickr

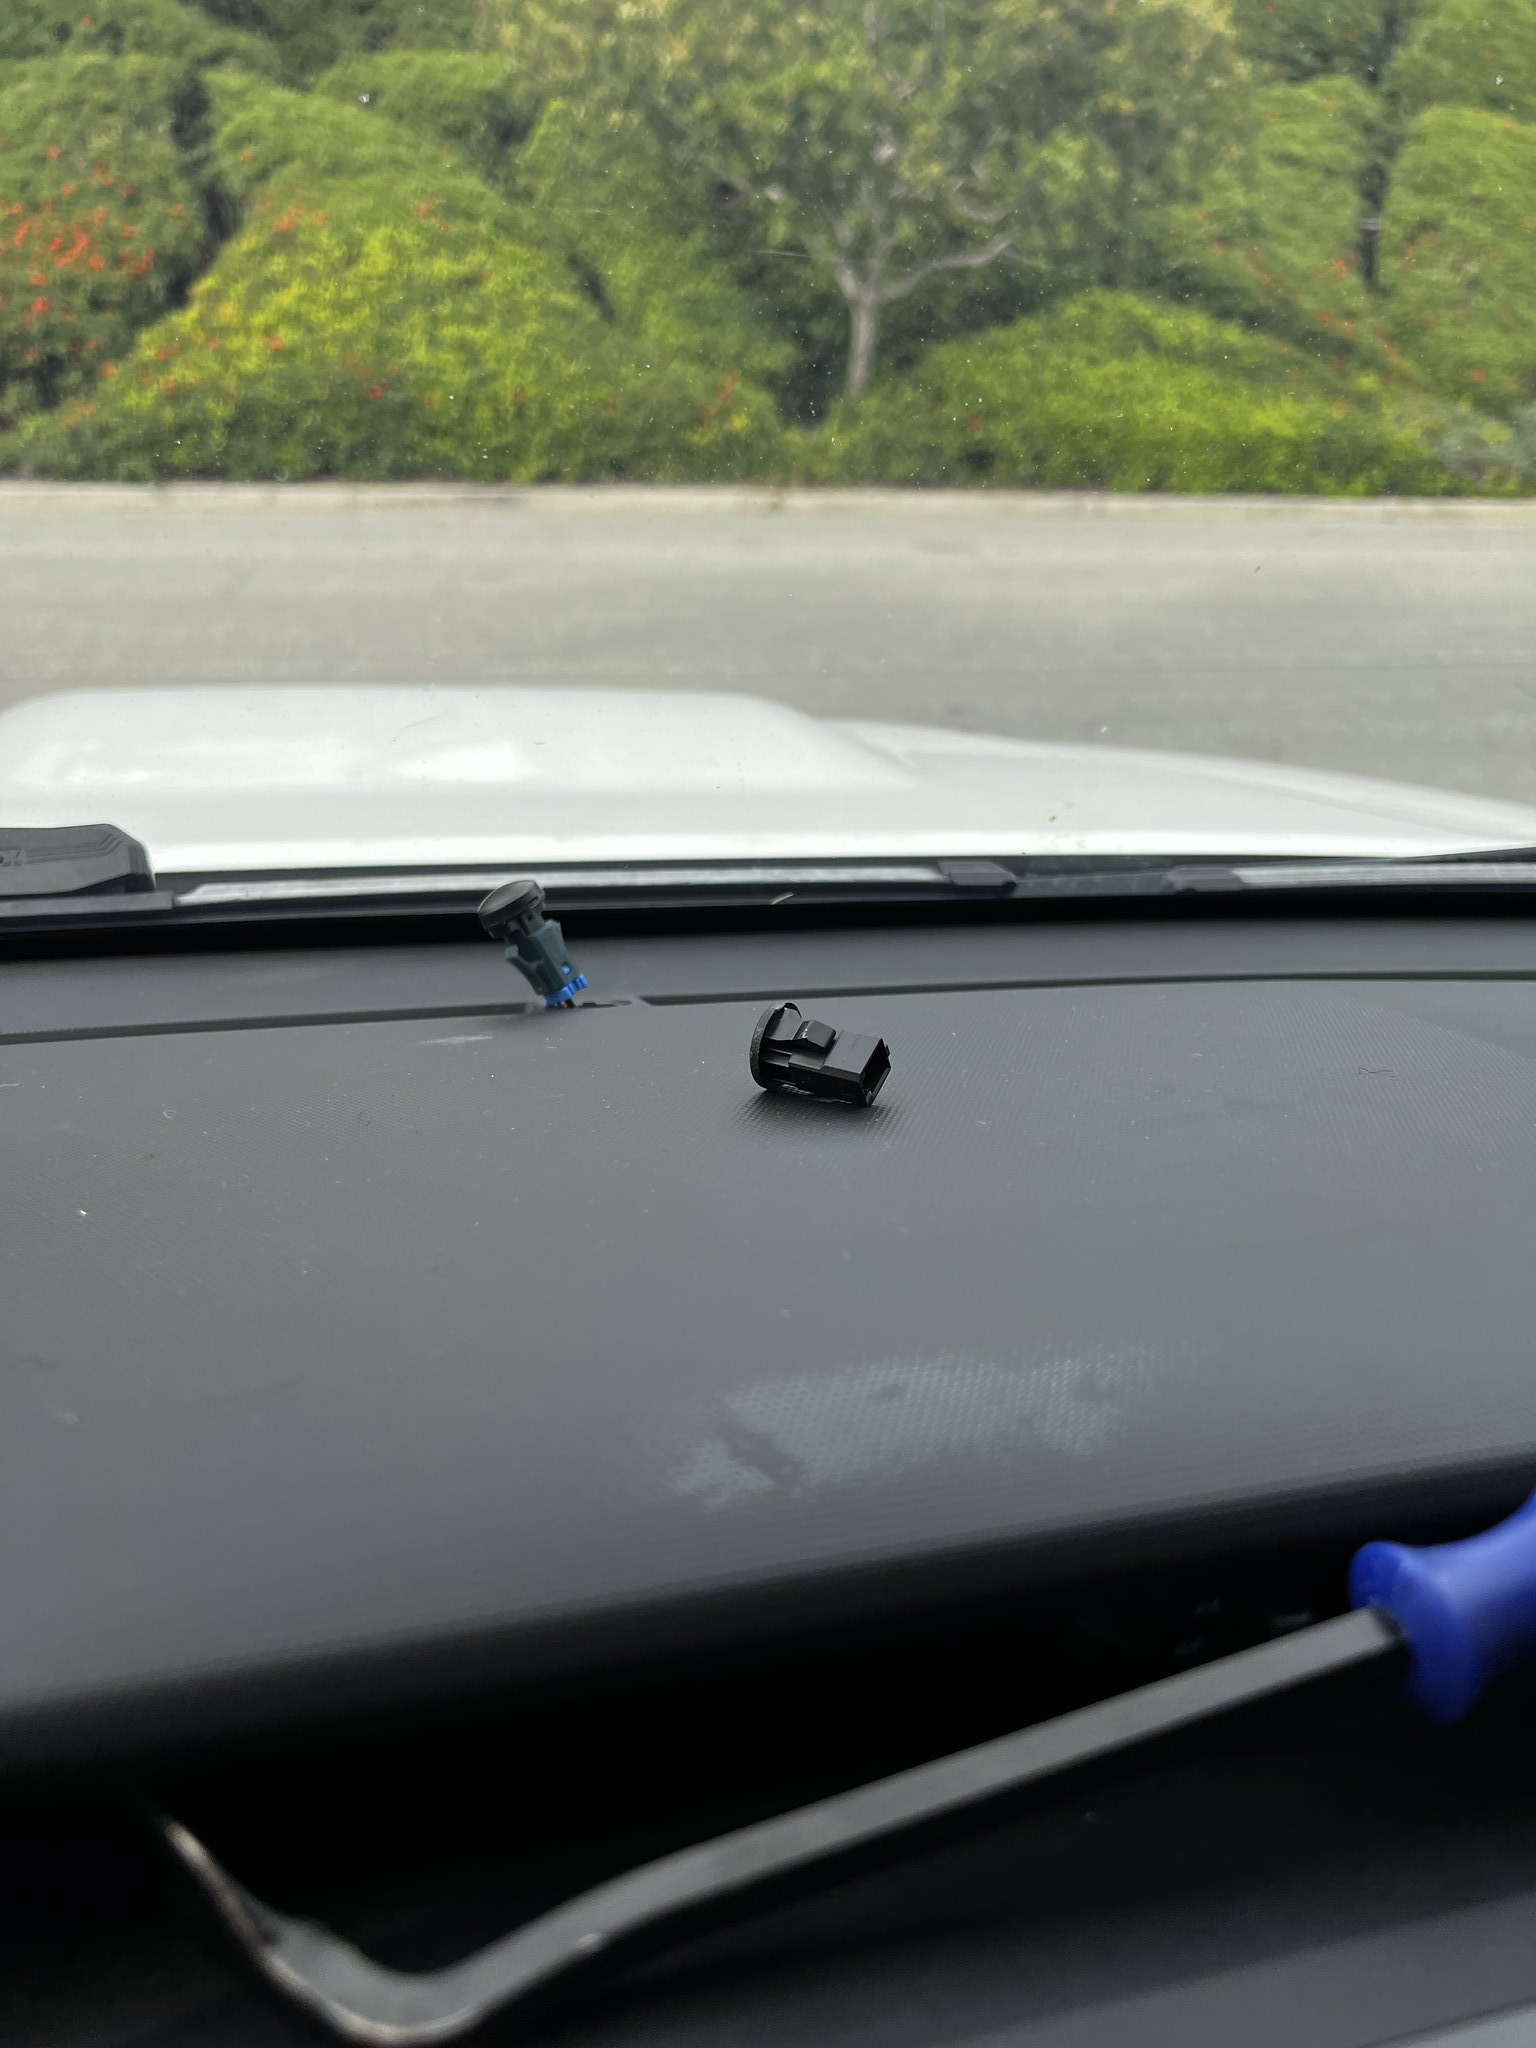
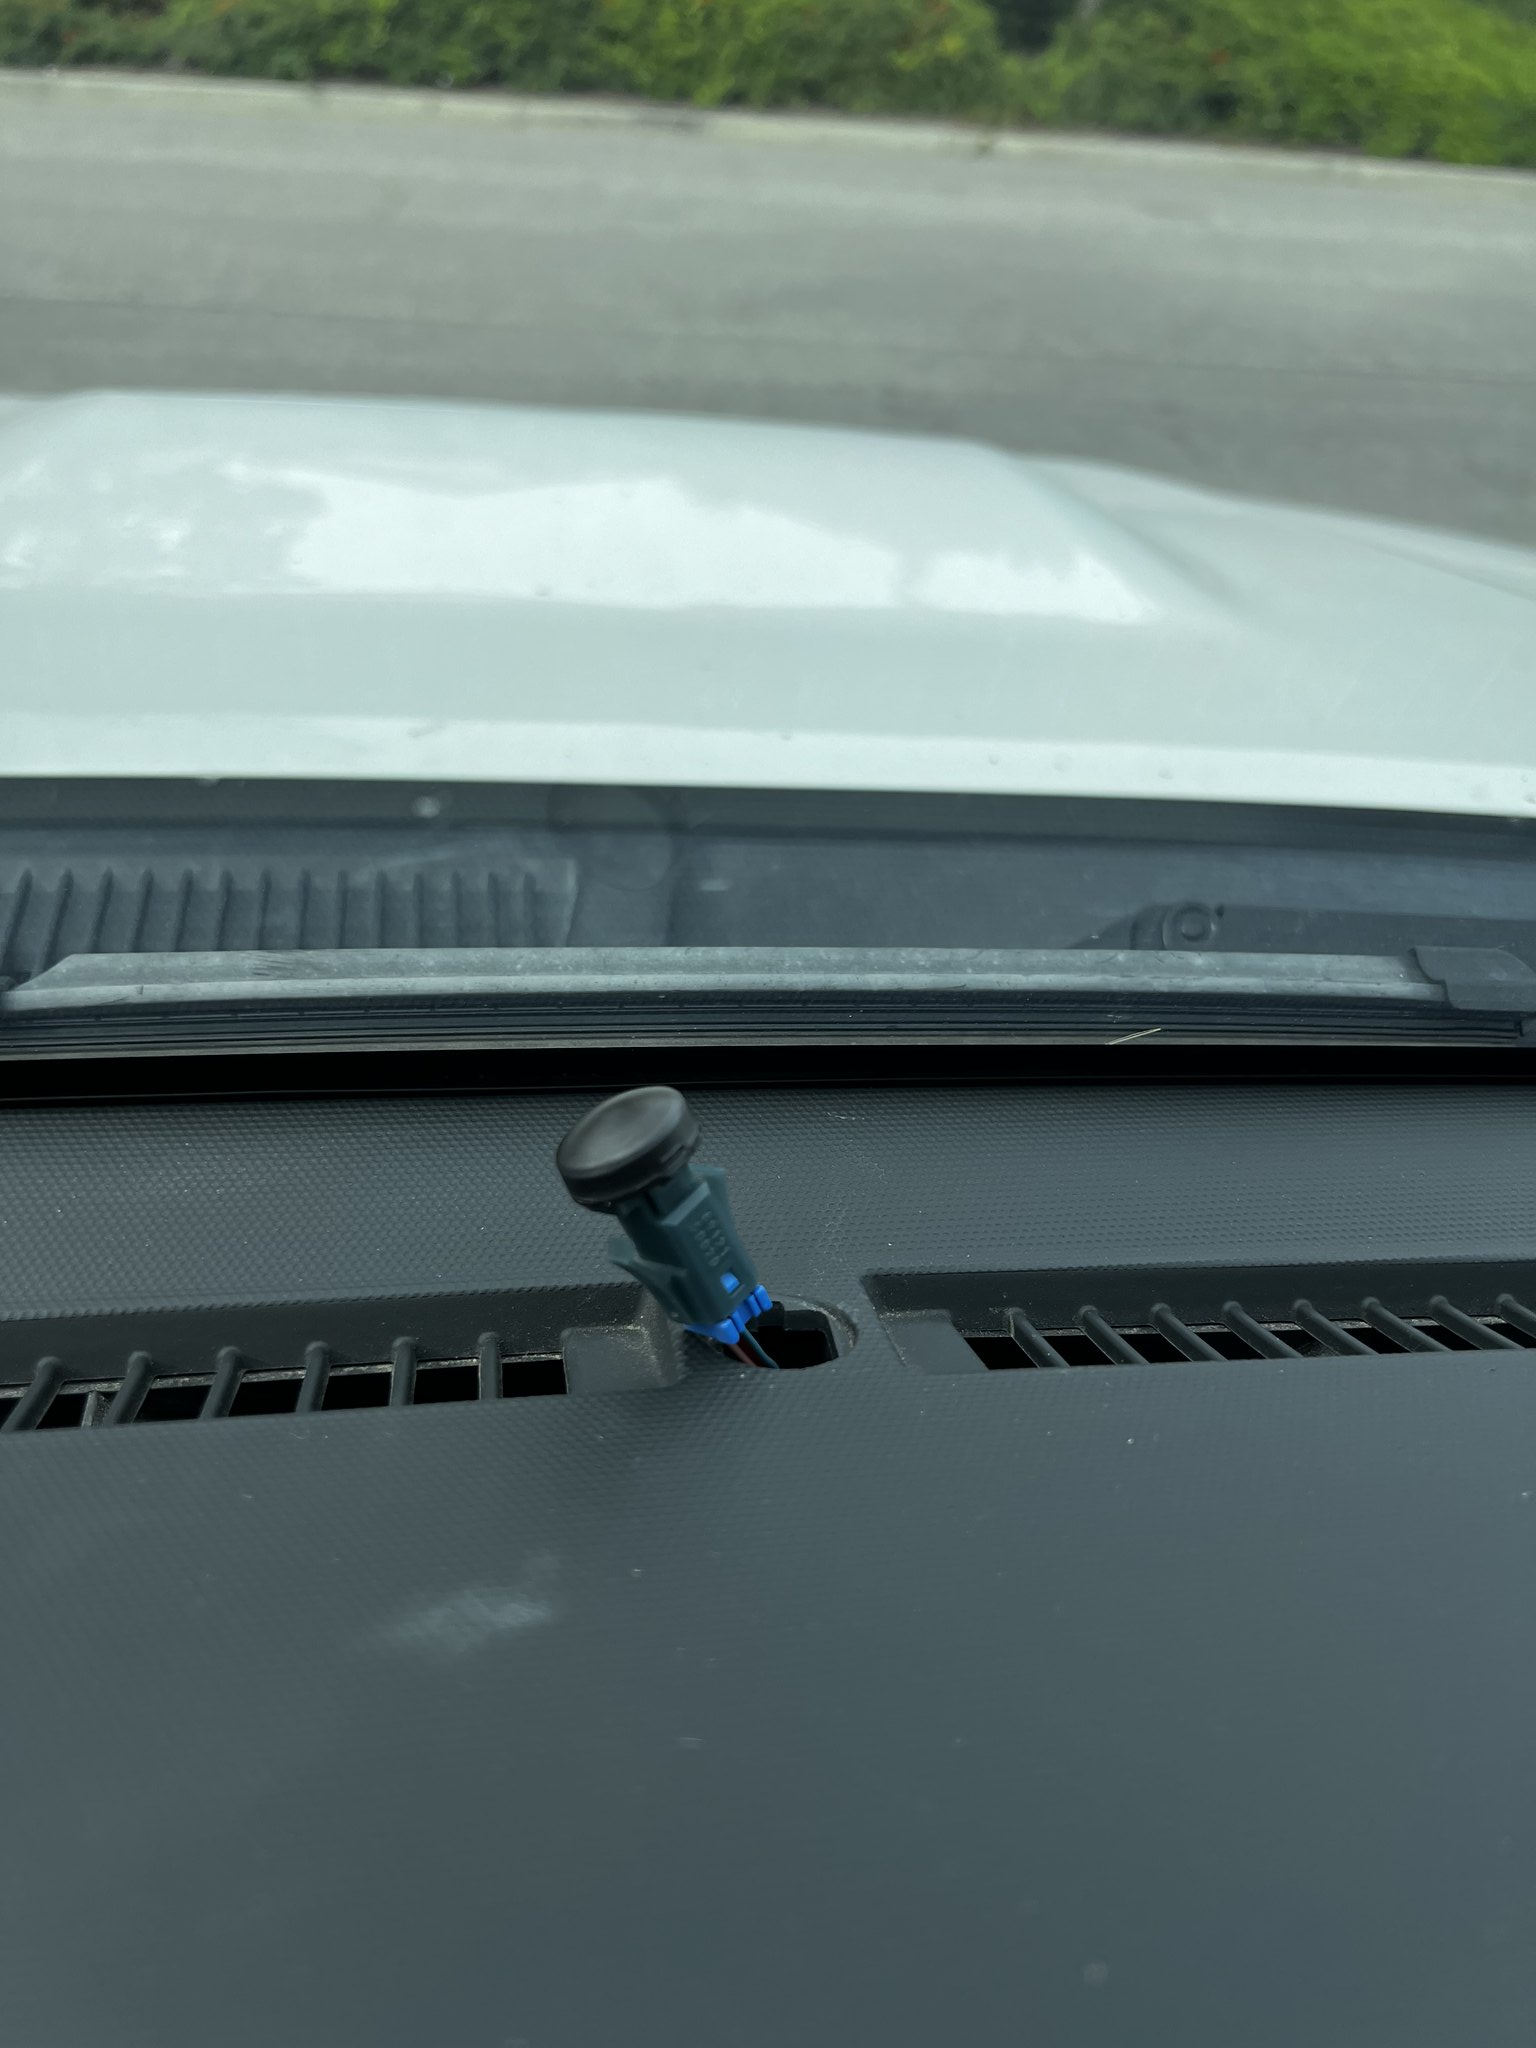
The other small mod was the auto light dimmer sensor swap! $10 mod, 5 minute install, and works flawlessly! Here is the link for anyone looking to also do the swap:
New Automatic Light Control Sensor for Toyota Camry Corola Lexus 89121-50020 | eBay
Photo Jan 13 2023, 1 07 55 PM by rjtakesphotos, on Flickr
Photo Jan 13 2023, 1 07 58 PM by rjtakesphotos, on Flickr
 
Checking in again! Haven't driven much anywhere lately, but still have been traveling. Spent a few weeks in the Philippines and another in Hawaii. Came back to some better weather and finally got to get out again.


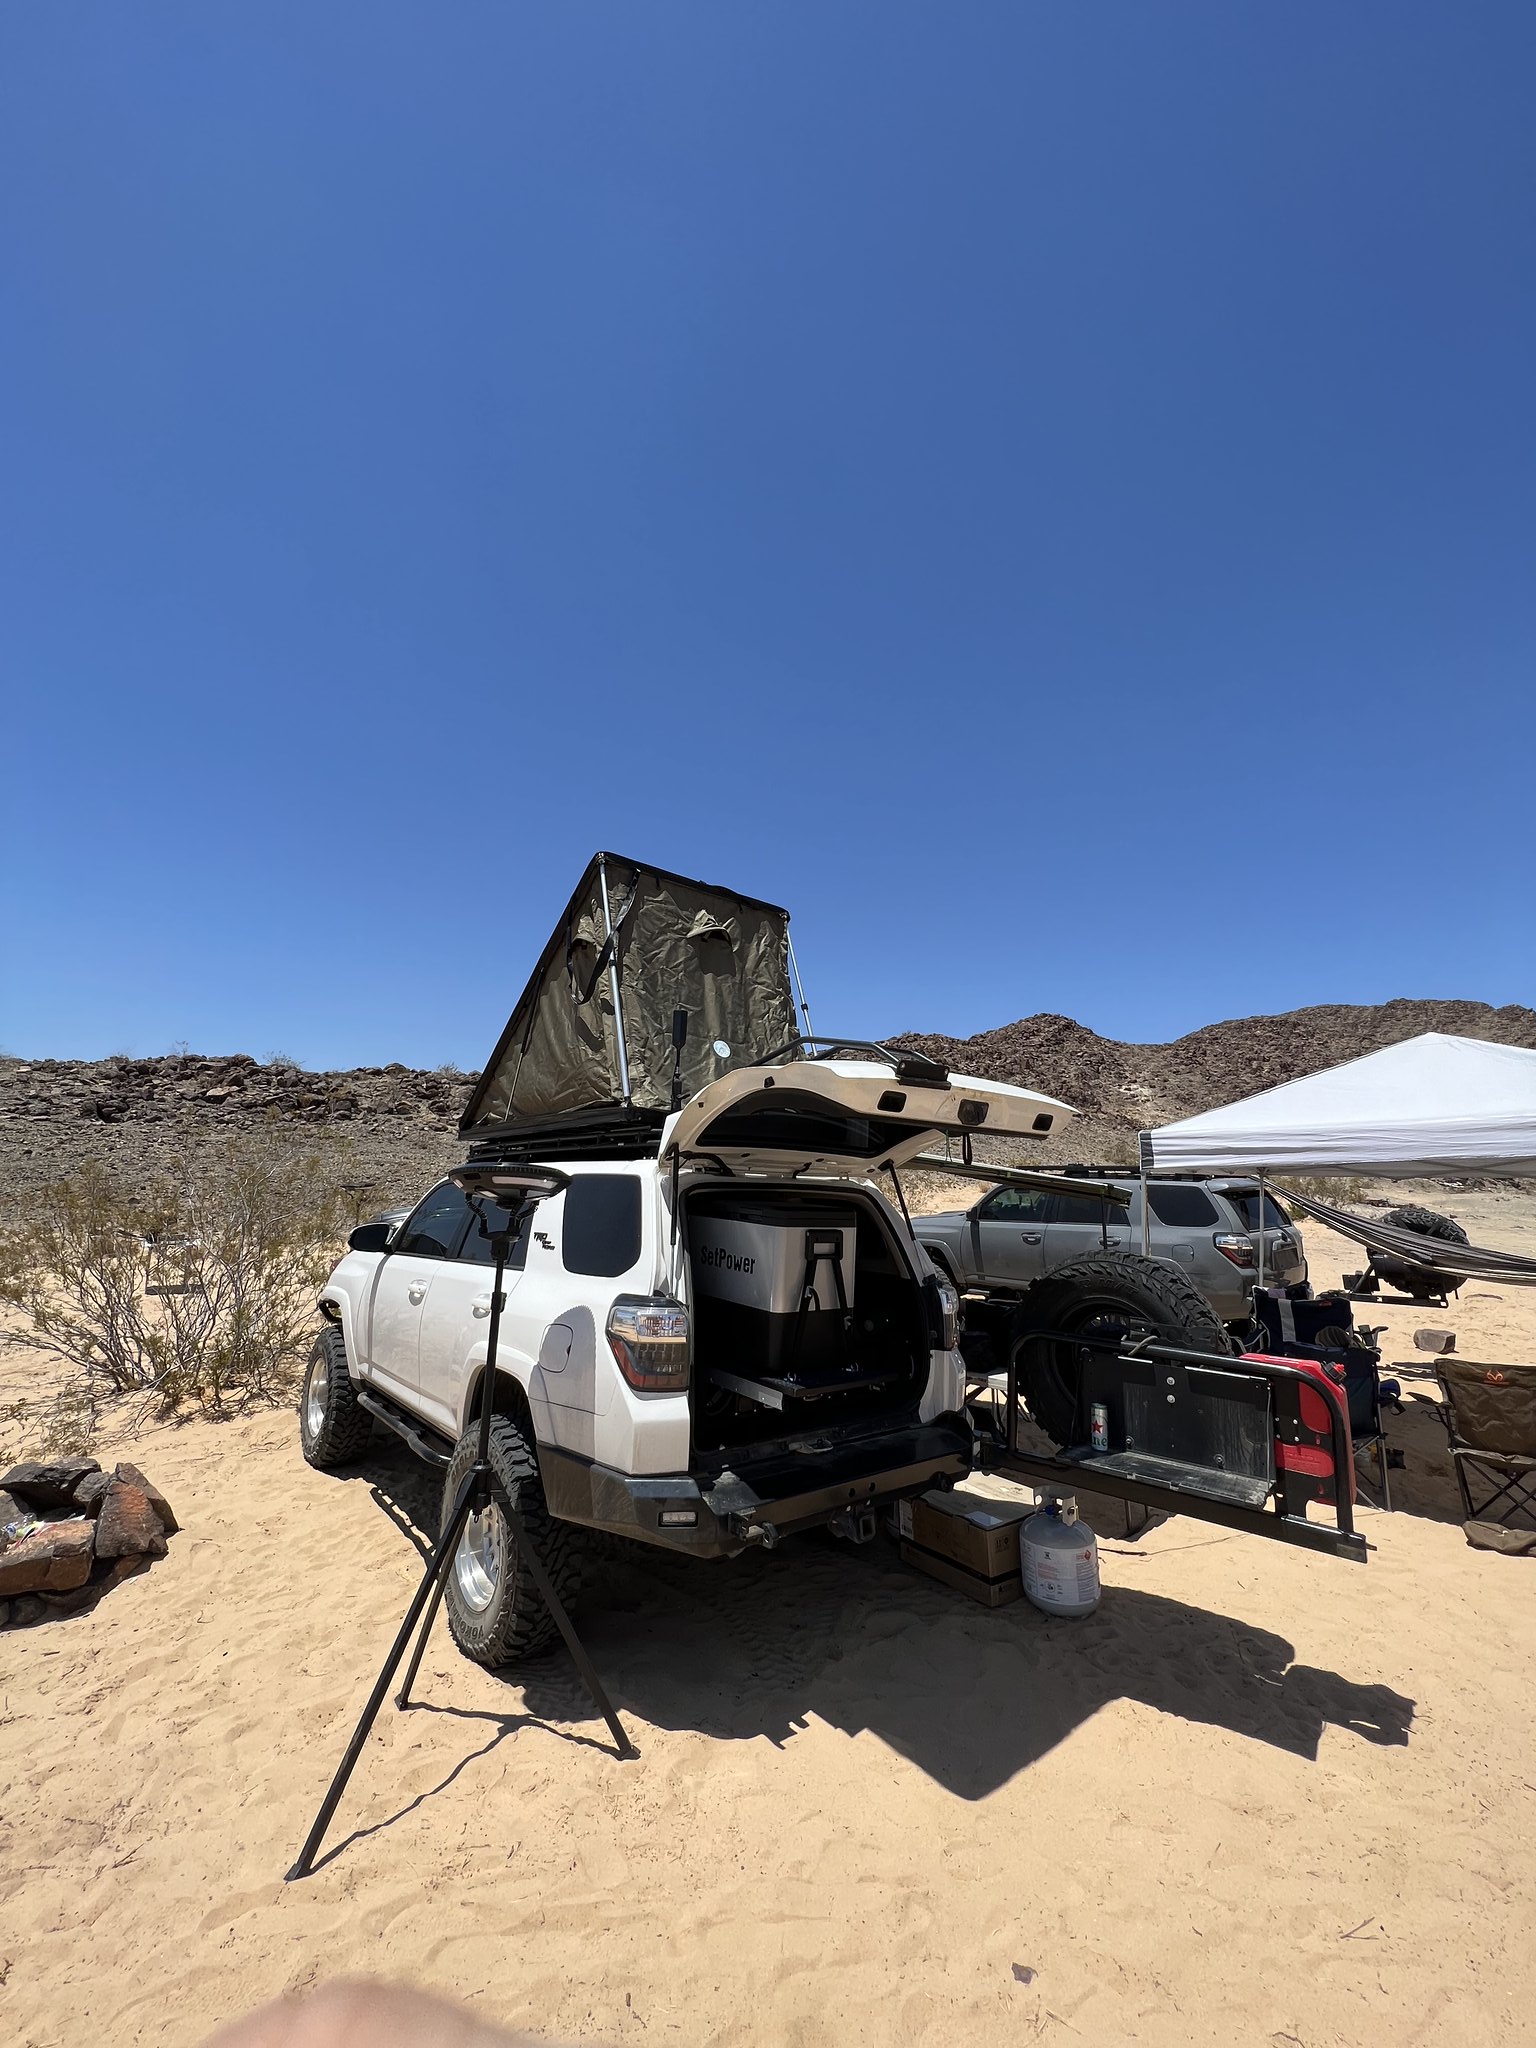
Spent an extended weekend in the outskirts of Joshua Tree.
2023-05-27 13.04.44 by rjtakesphotos, on Flickr

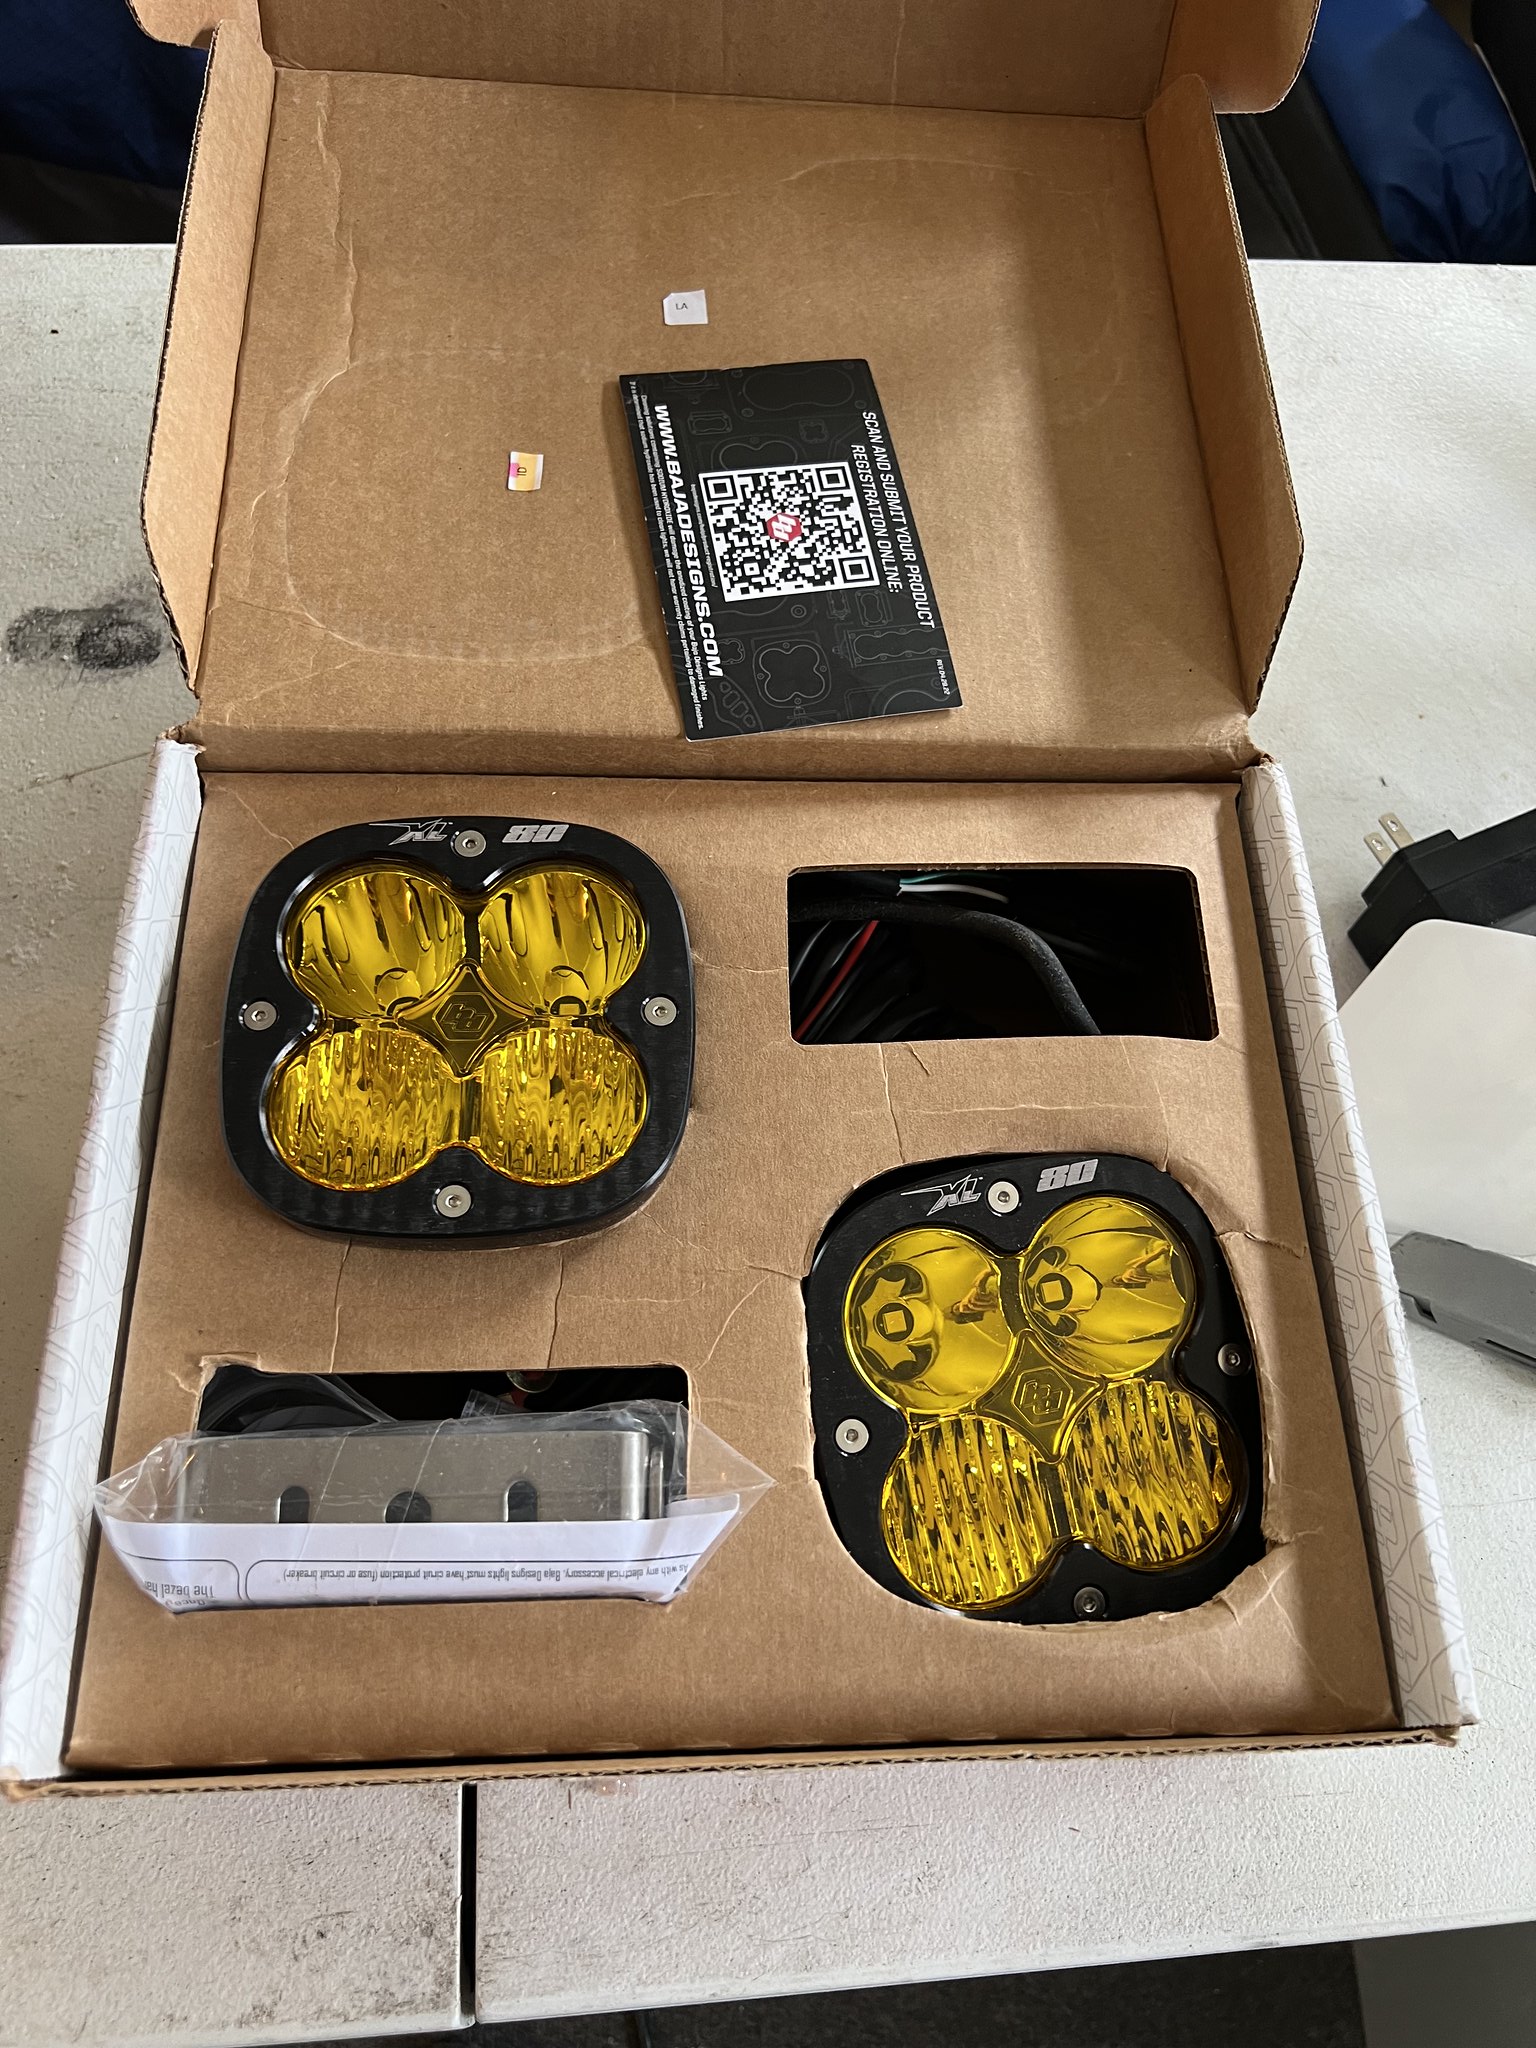
After that trip, I really wasn't liking my lighting setup so I decided to switch things around. Scored a deal on XL80's and couldn't pass up. After going back and fourth with options of where to put them and how to shuffle everything around I finally made my mind up.
2023-06-02 13.34.07 by rjtakesphotos, on Flickr

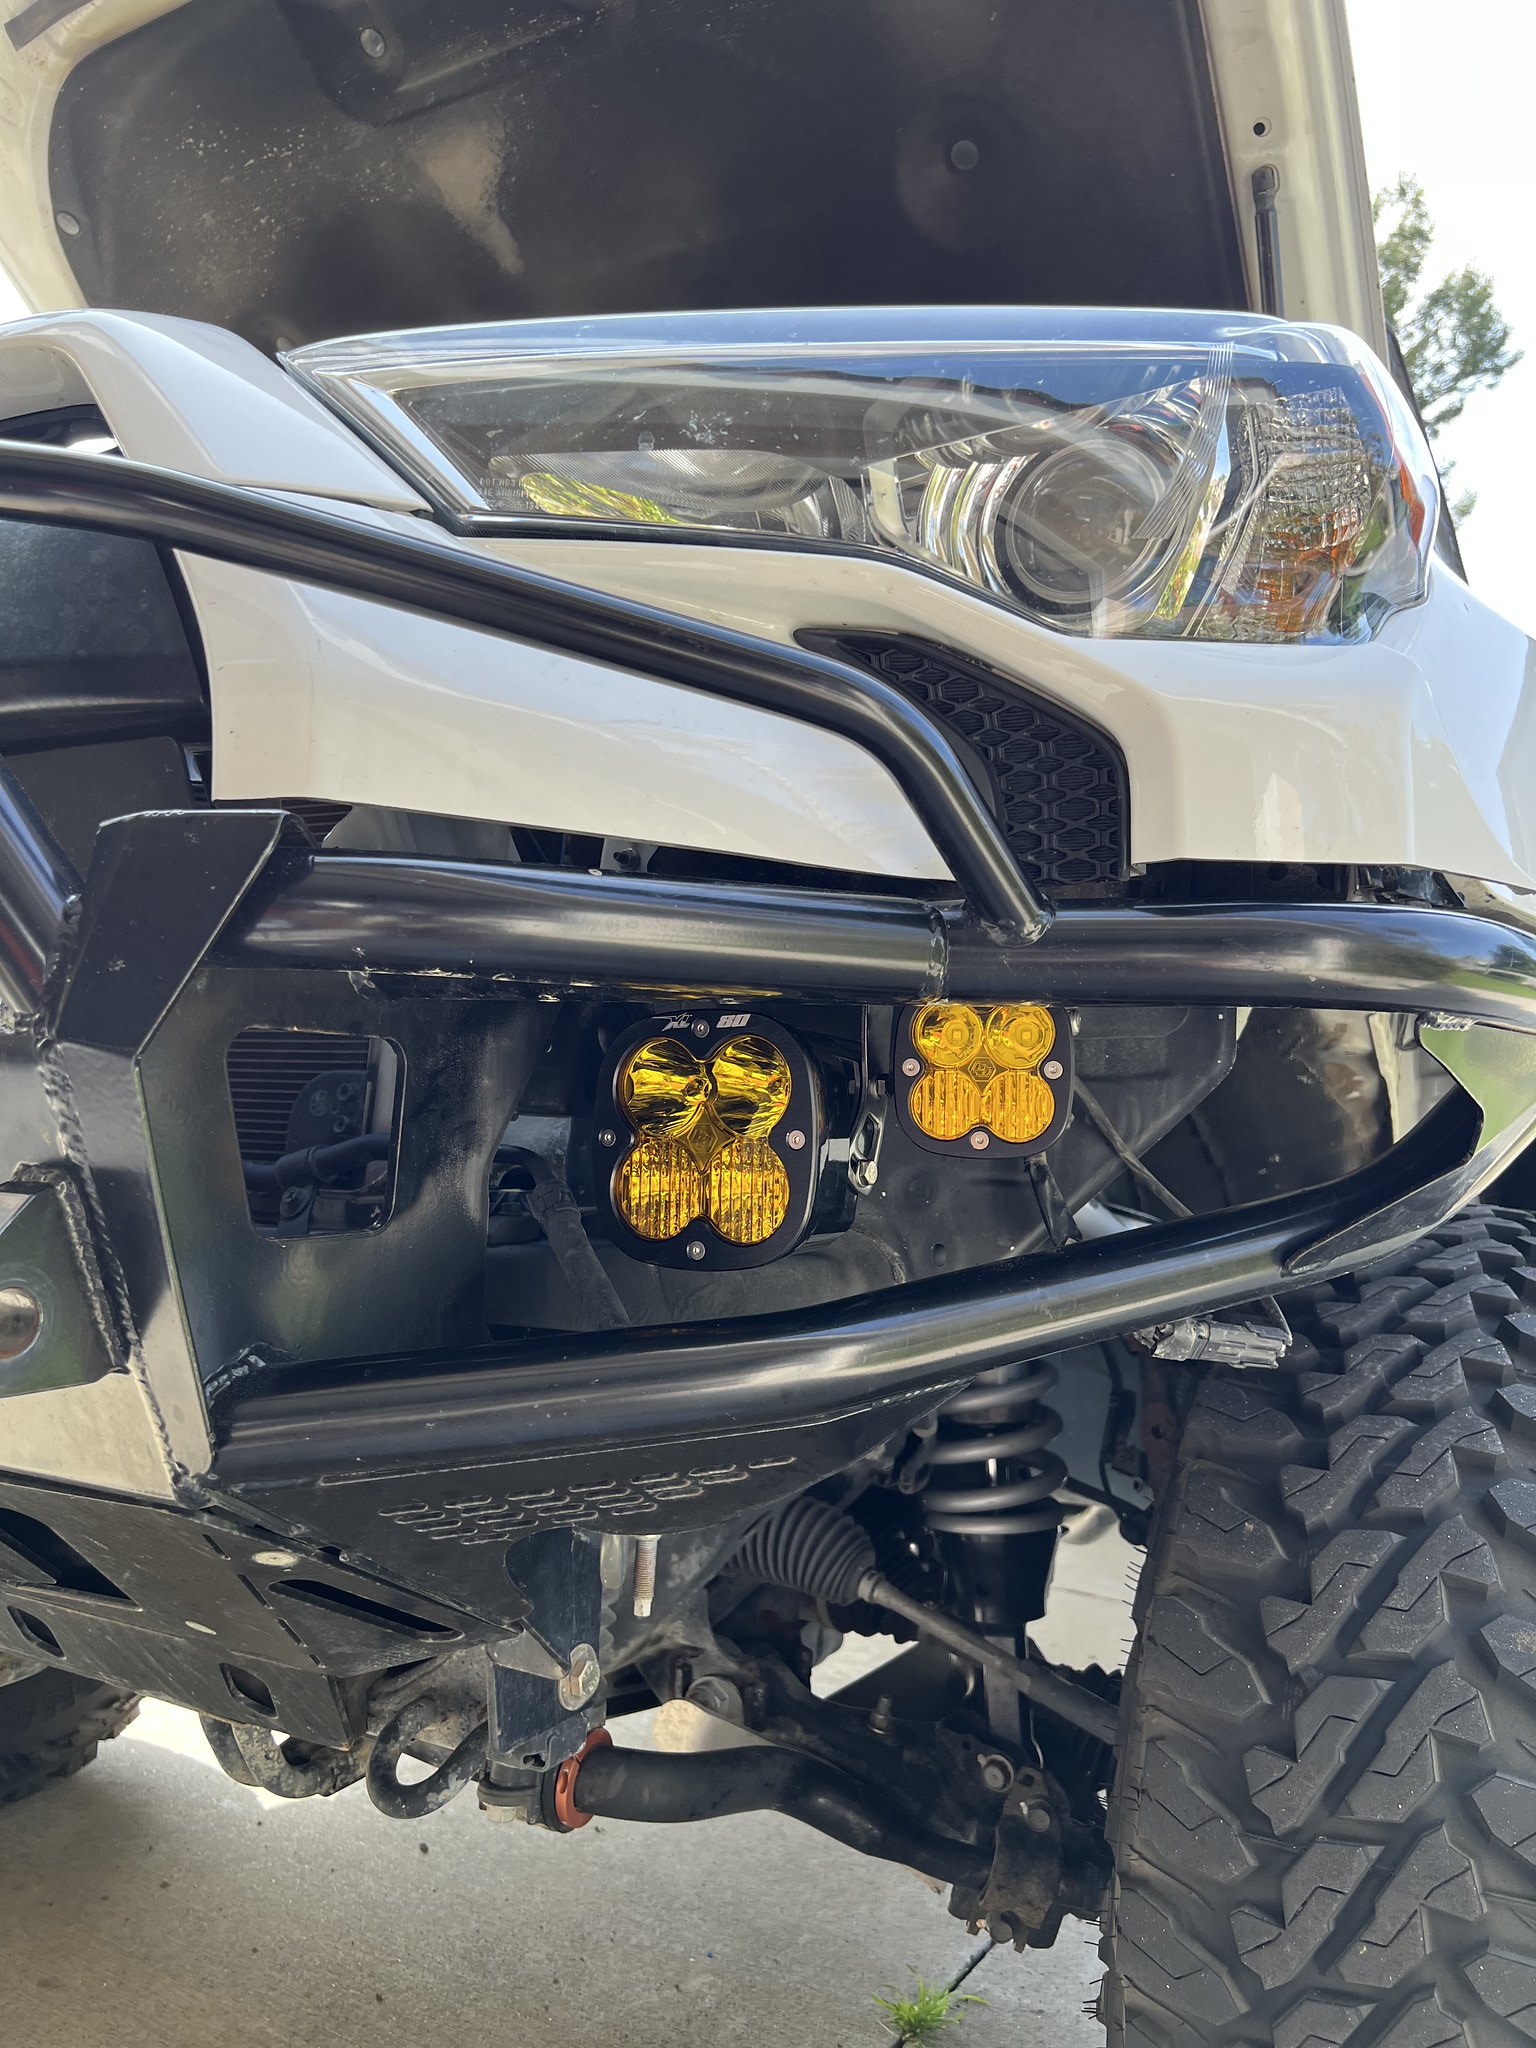
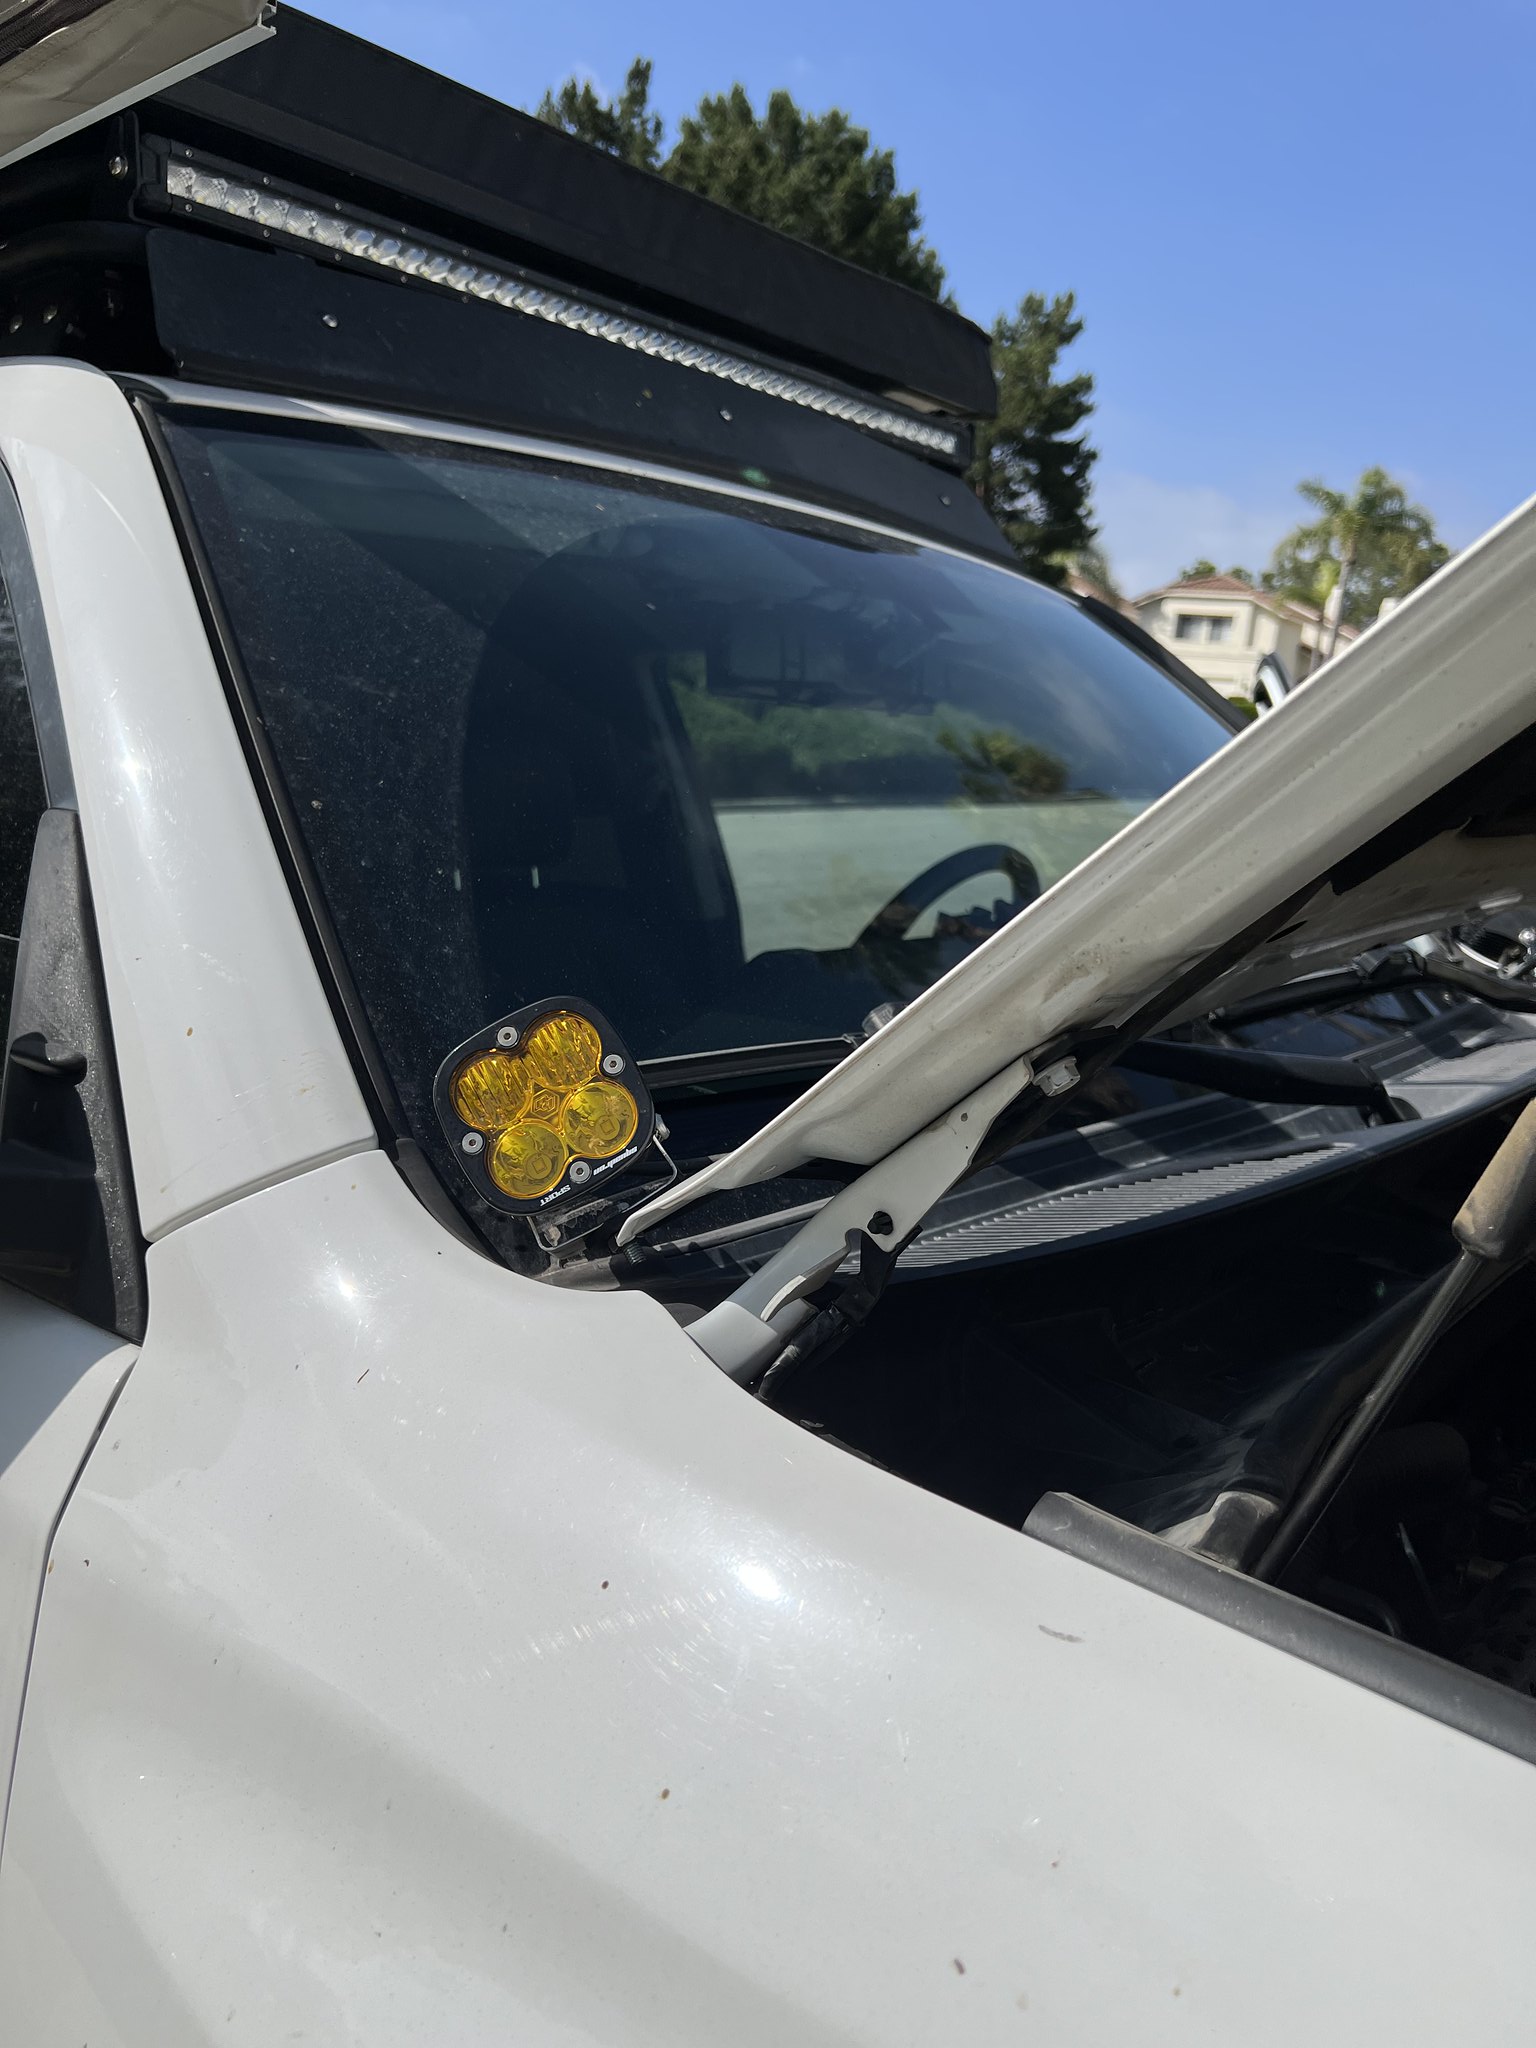
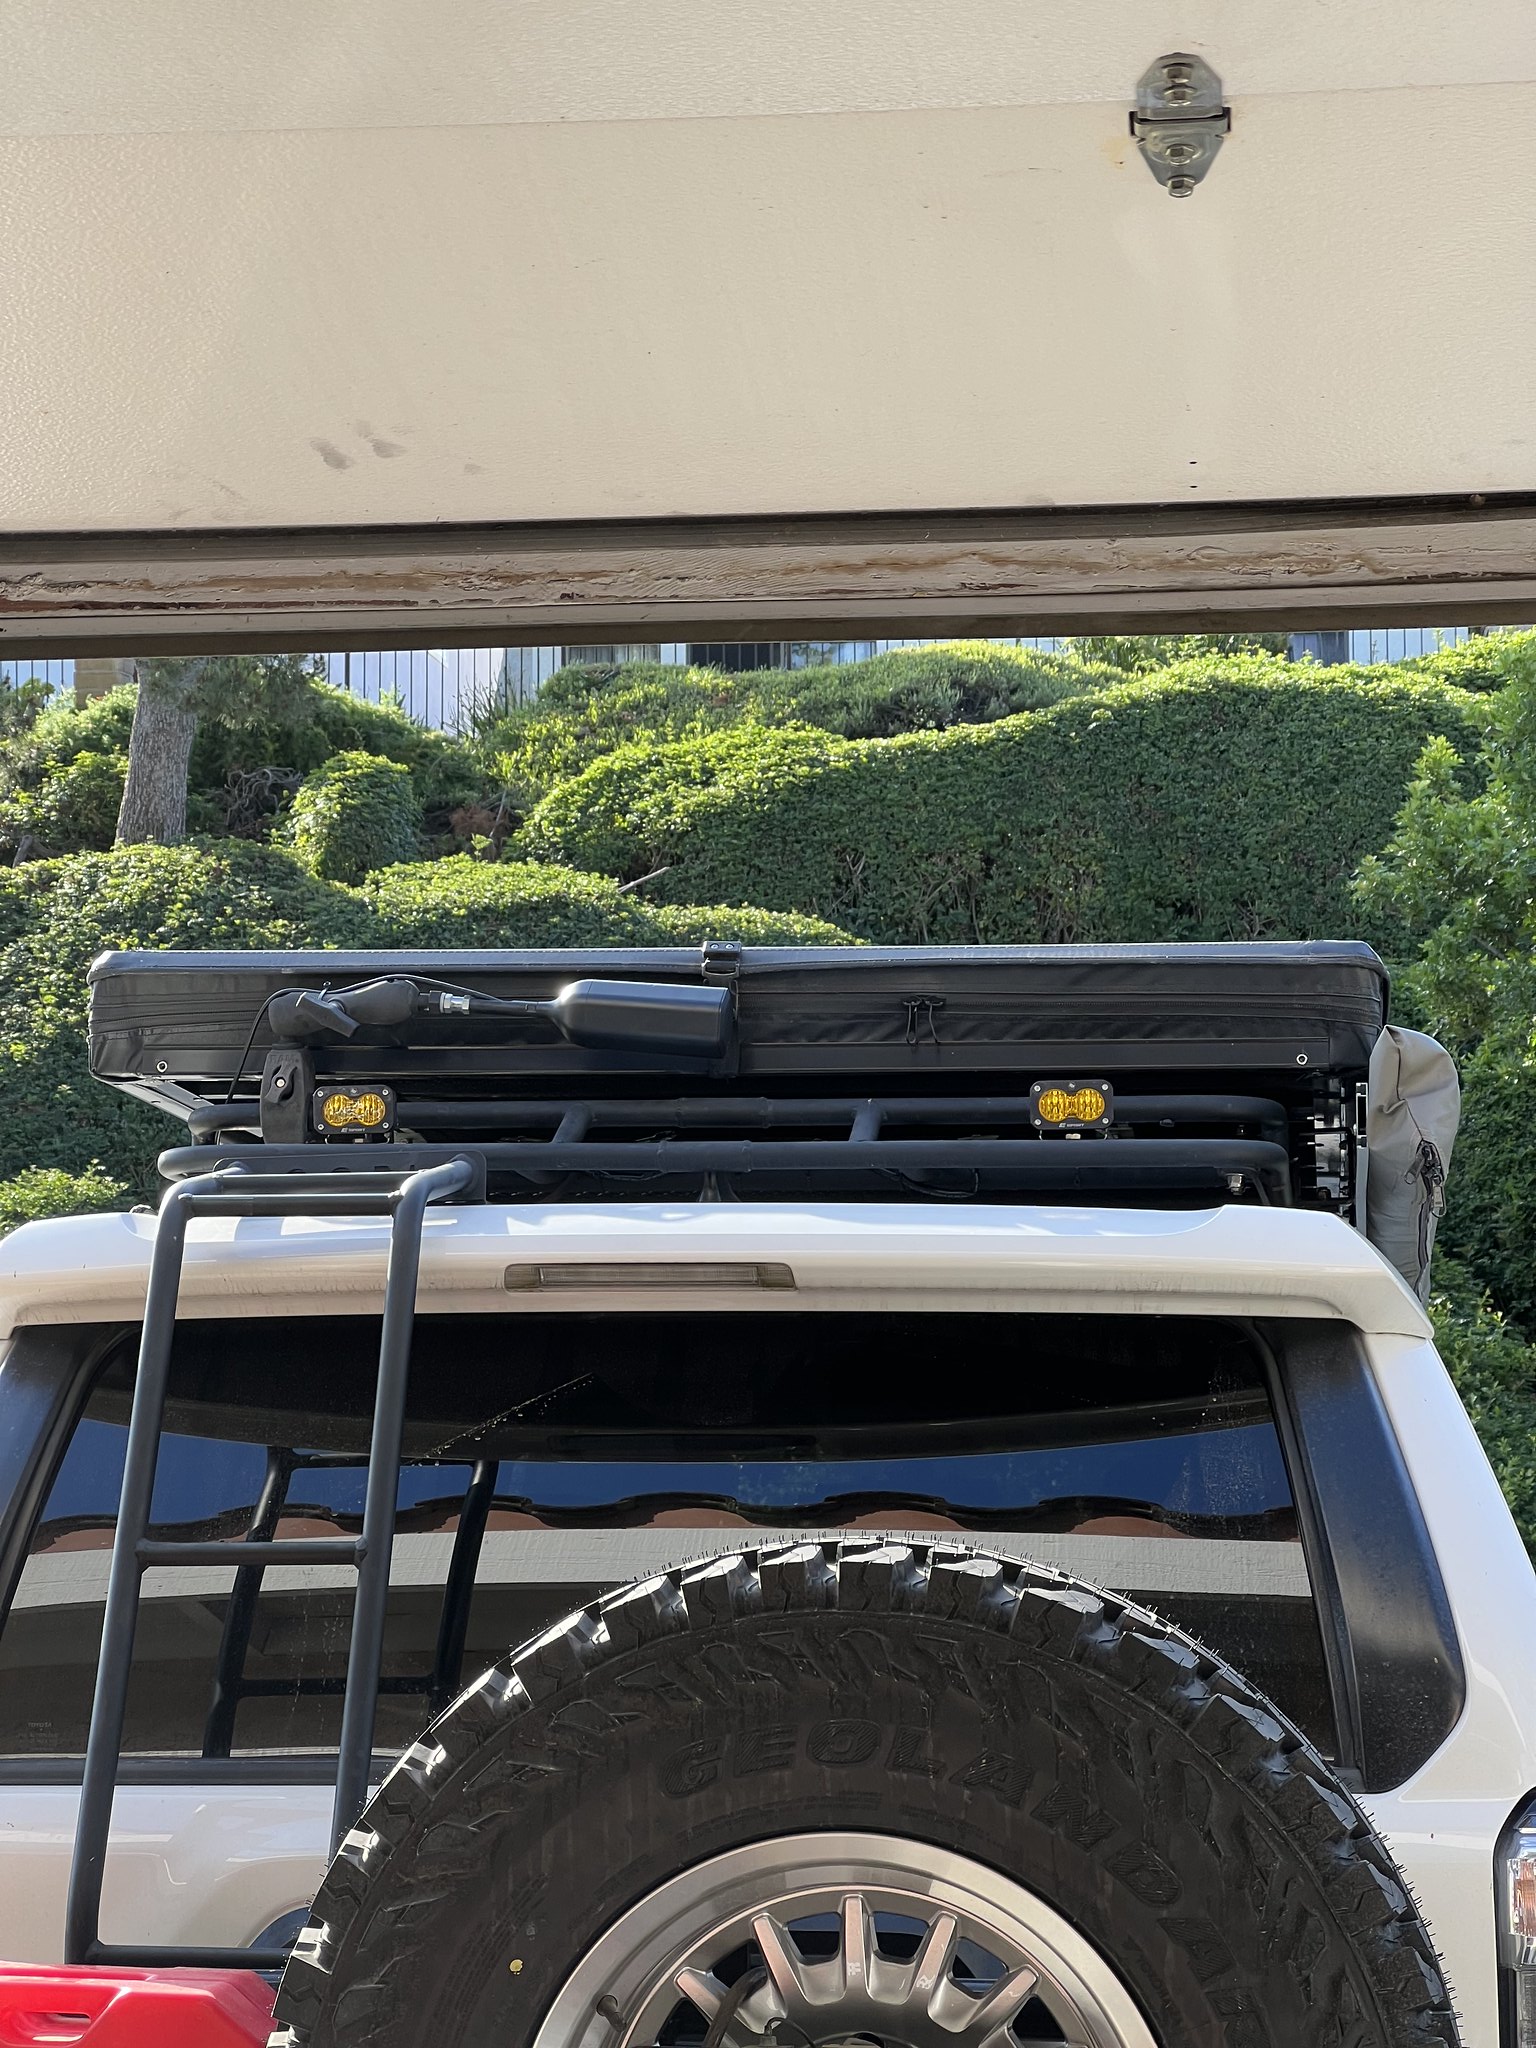
The XL80's would take their place on the front bumper and I would remove the S2's and a pair of squadrons. The Squadrons would move up to the a pillar and the S2's would move to the rear. On the next trip, this setup would be a night and day difference. So much better output and usability. A better spread all around made a huge impact on nighttime visibility.
2023-06-02 16.14.20 by rjtakesphotos, on Flickr
2023-06-02 16.14.26 by rjtakesphotos, on Flickr
2023-06-02 17.47.05 by rjtakesphotos, on Flickr

Then it was back out again for another trip the following weekend down in Anza. We took Sin Nombre Canyon to Pinyon Mountain and made it to heart attack hill where we would turn back and exit out of Fish Creek. Was having some odd noises coming from my steering and could not figure it out, so we decided to play it safe and head back out.
rjtp5851 by rjtakesphotos, on Flickr
rjtp5781 by rjtakesphotos, on Flickr
2023-06-05 00.20.33 by rjtakesphotos, on Flickr

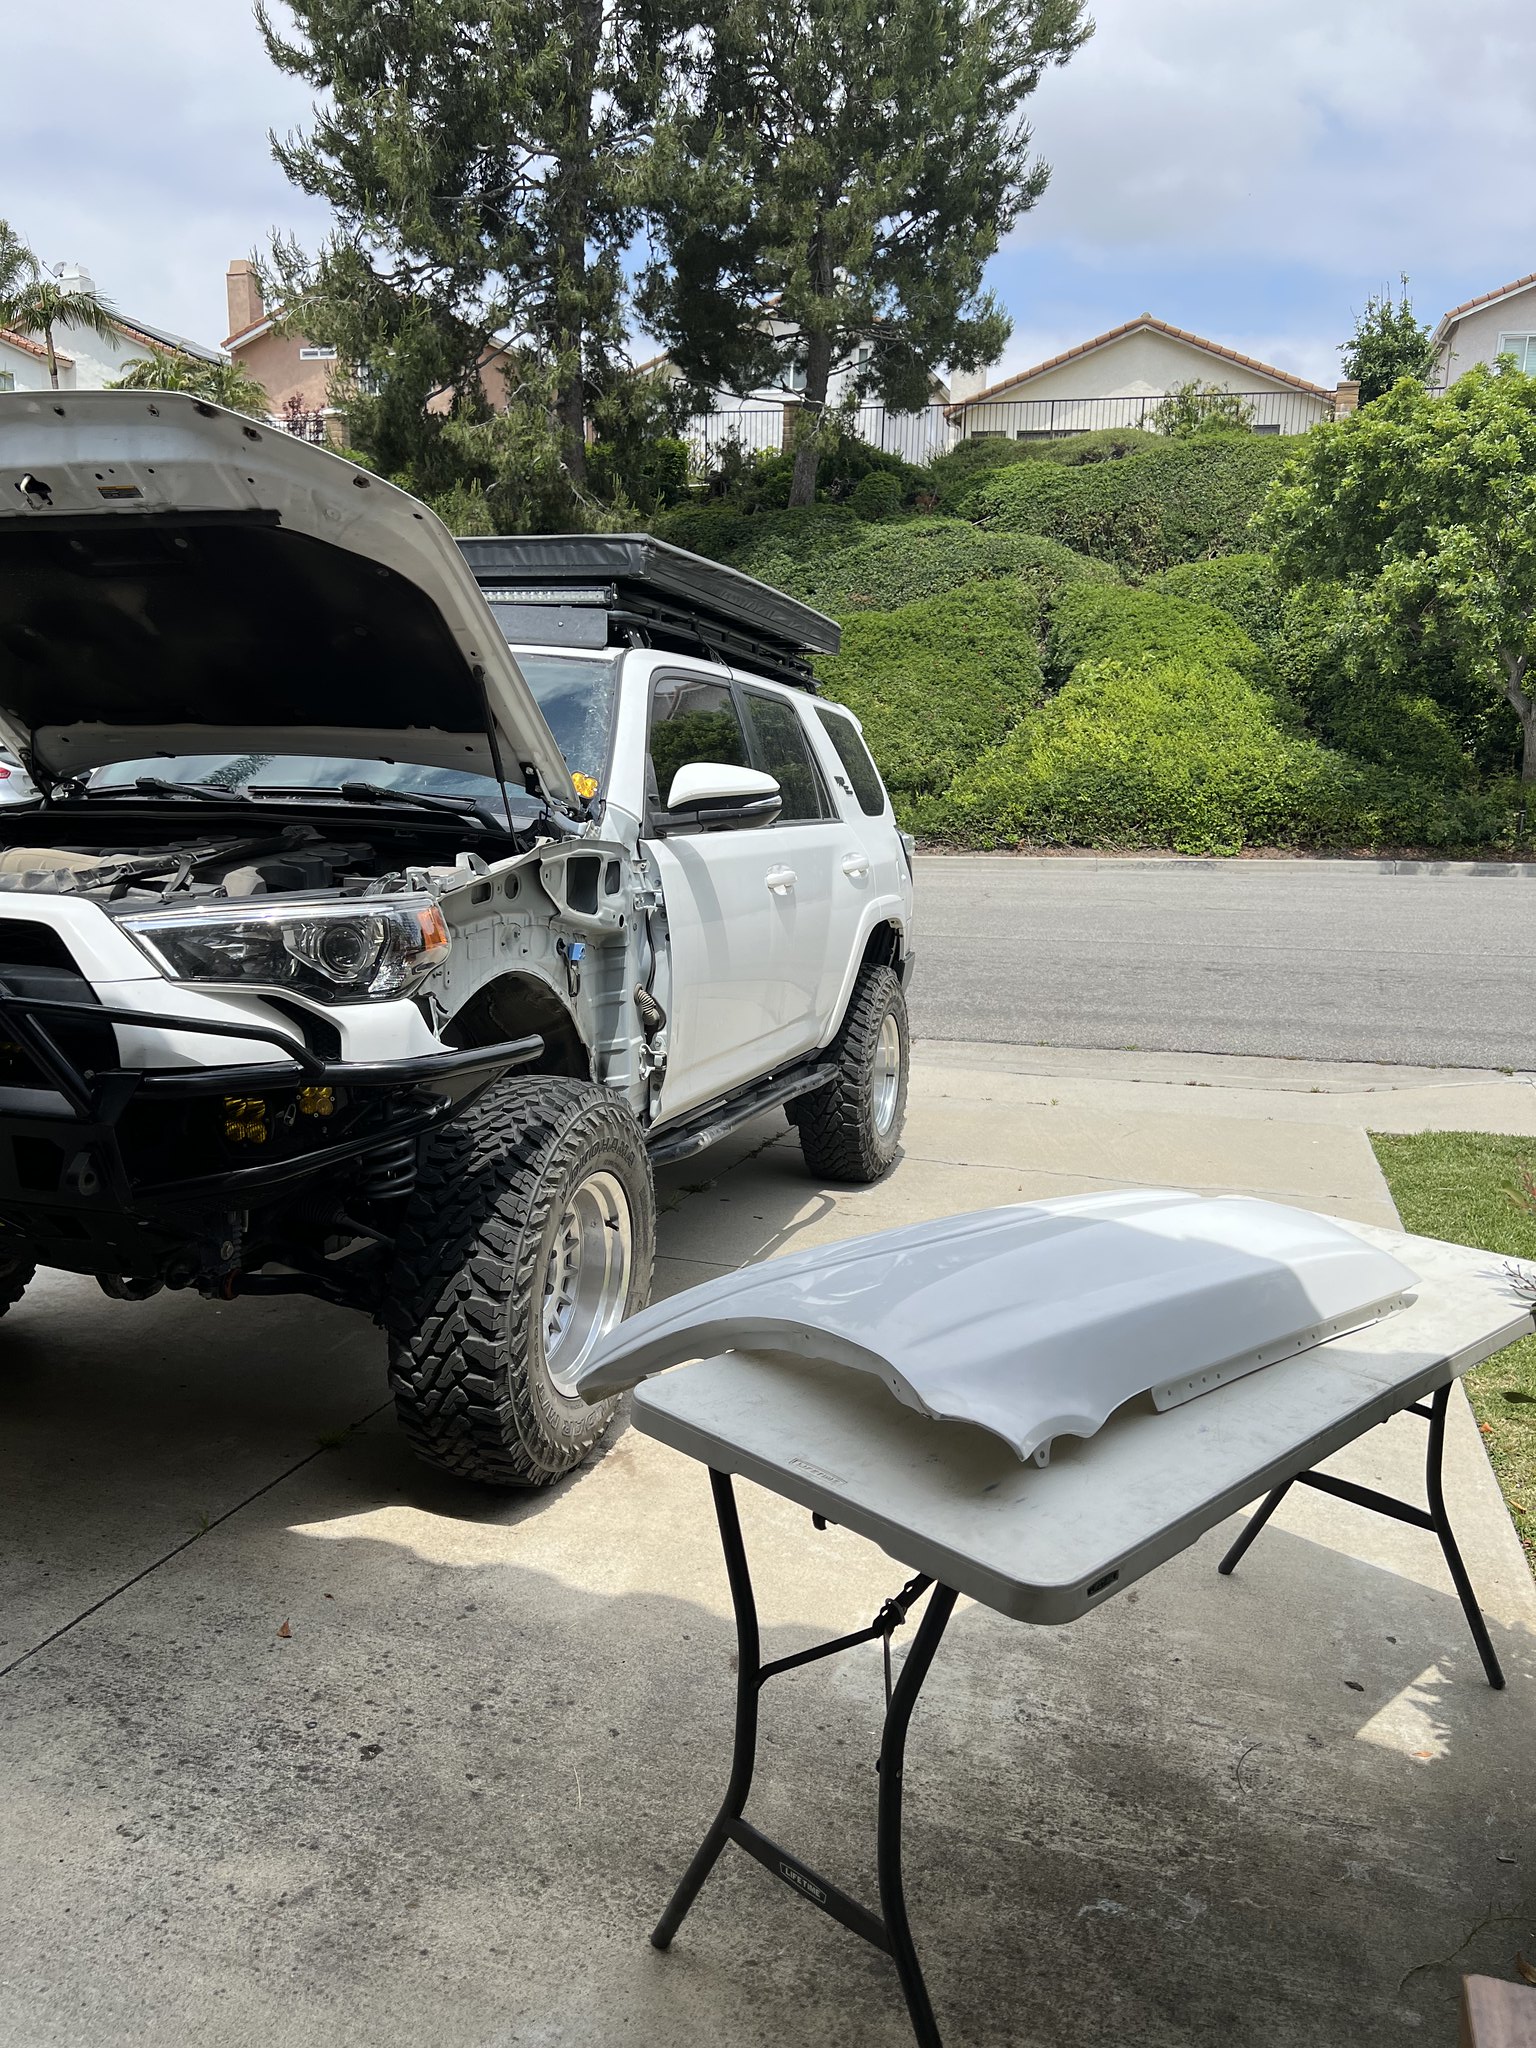
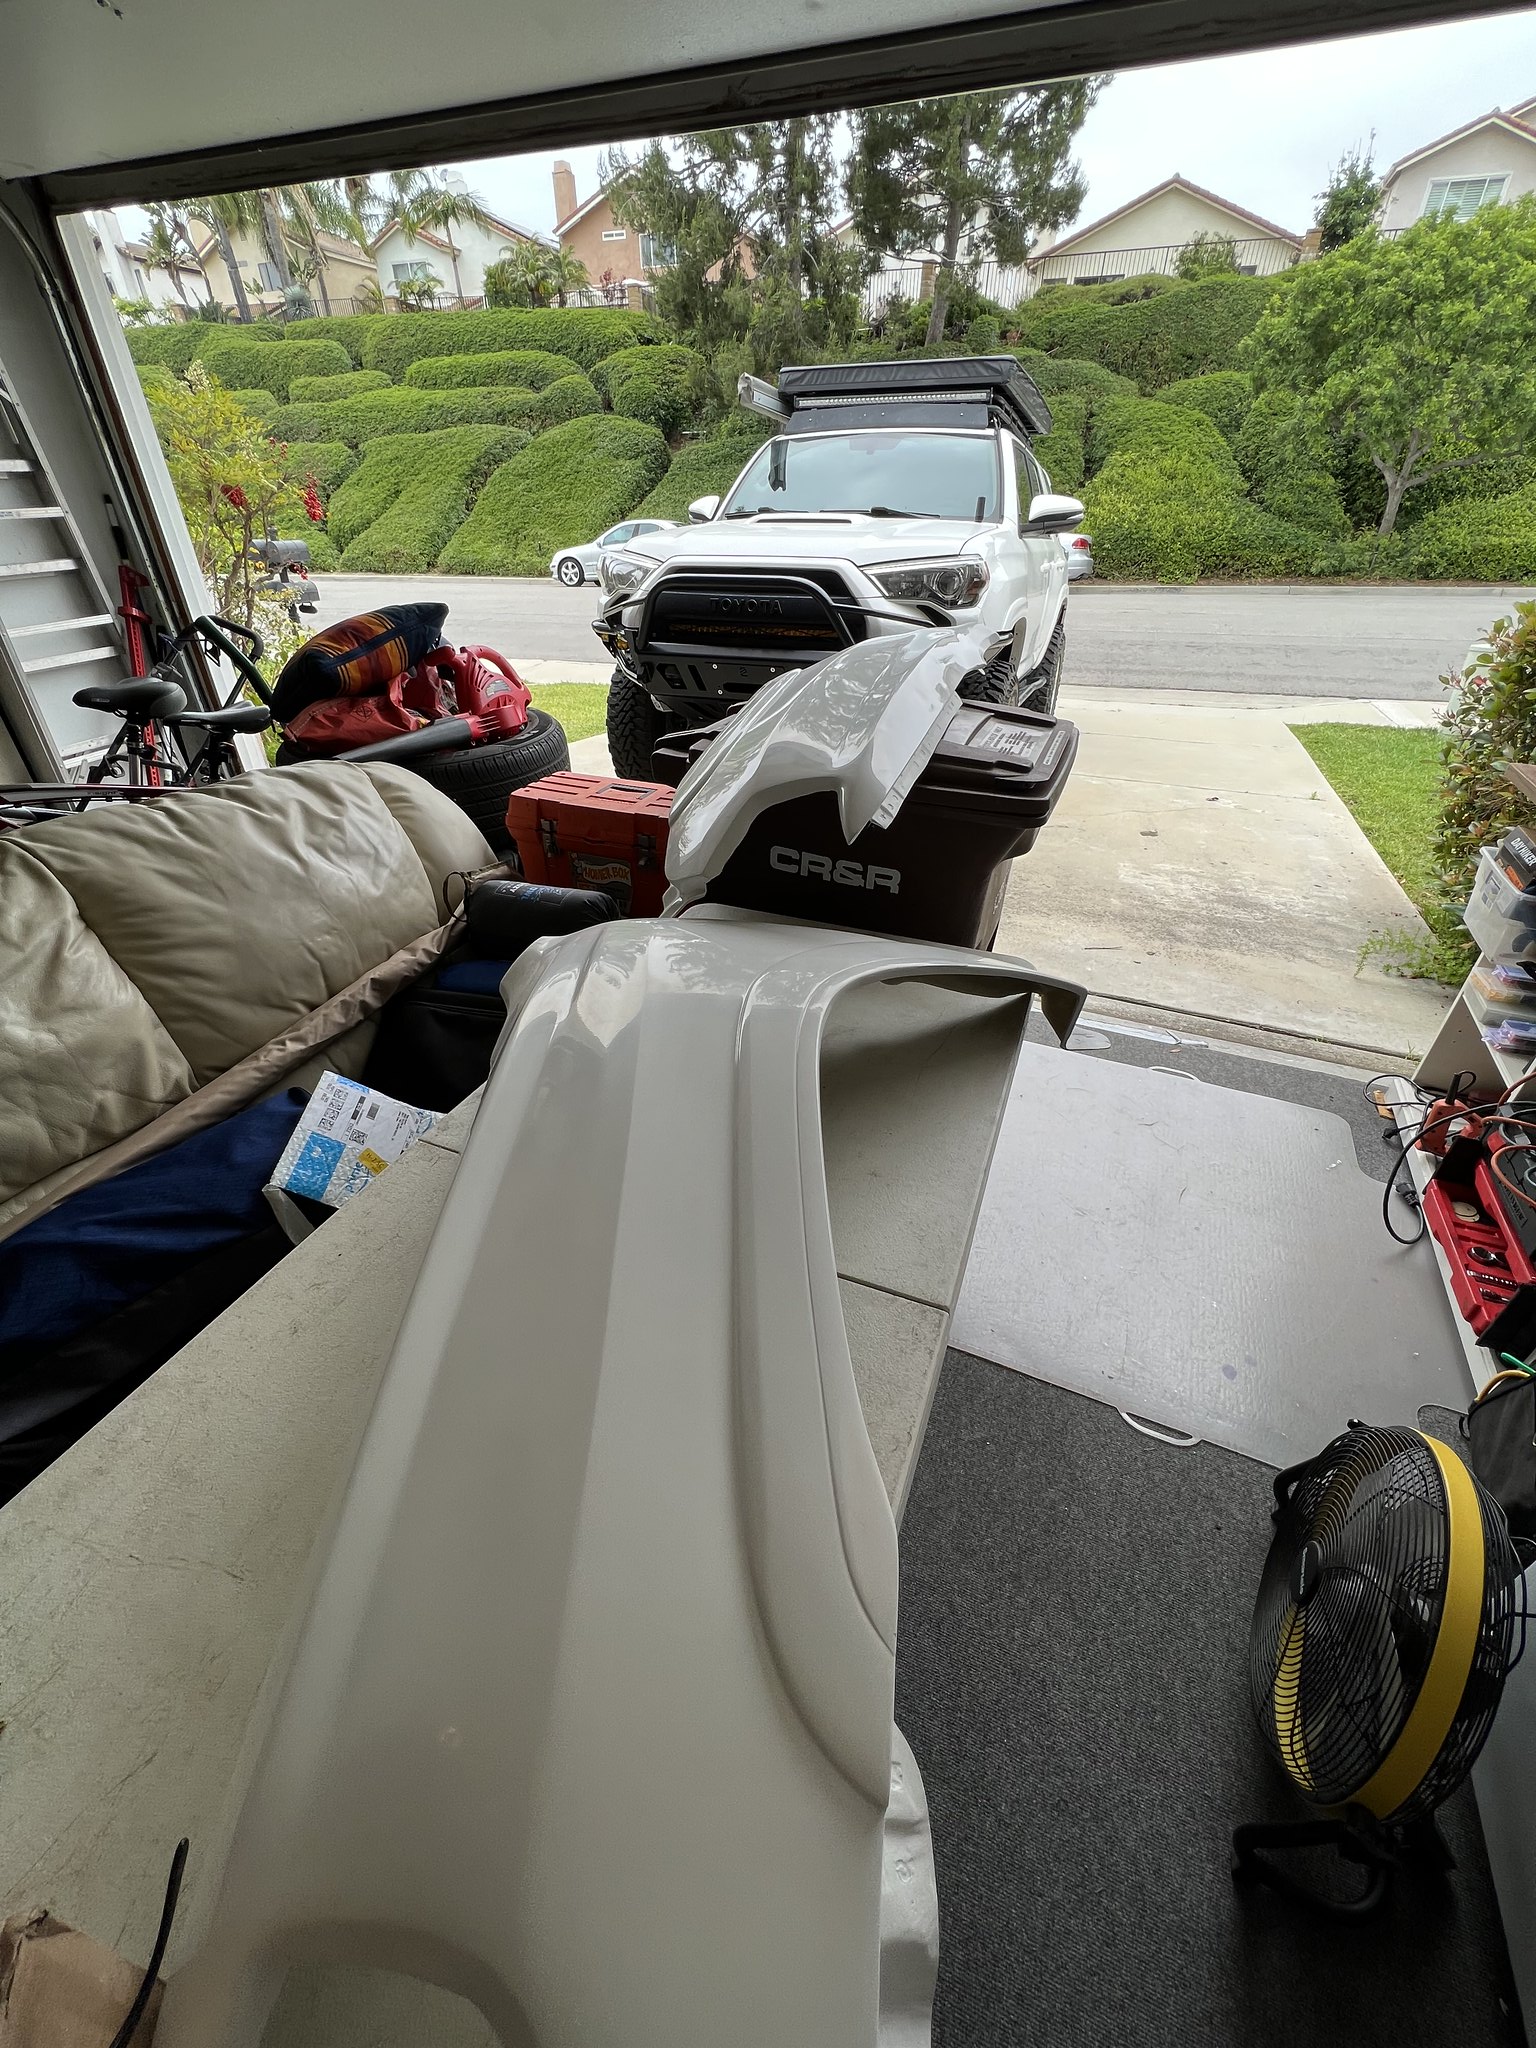
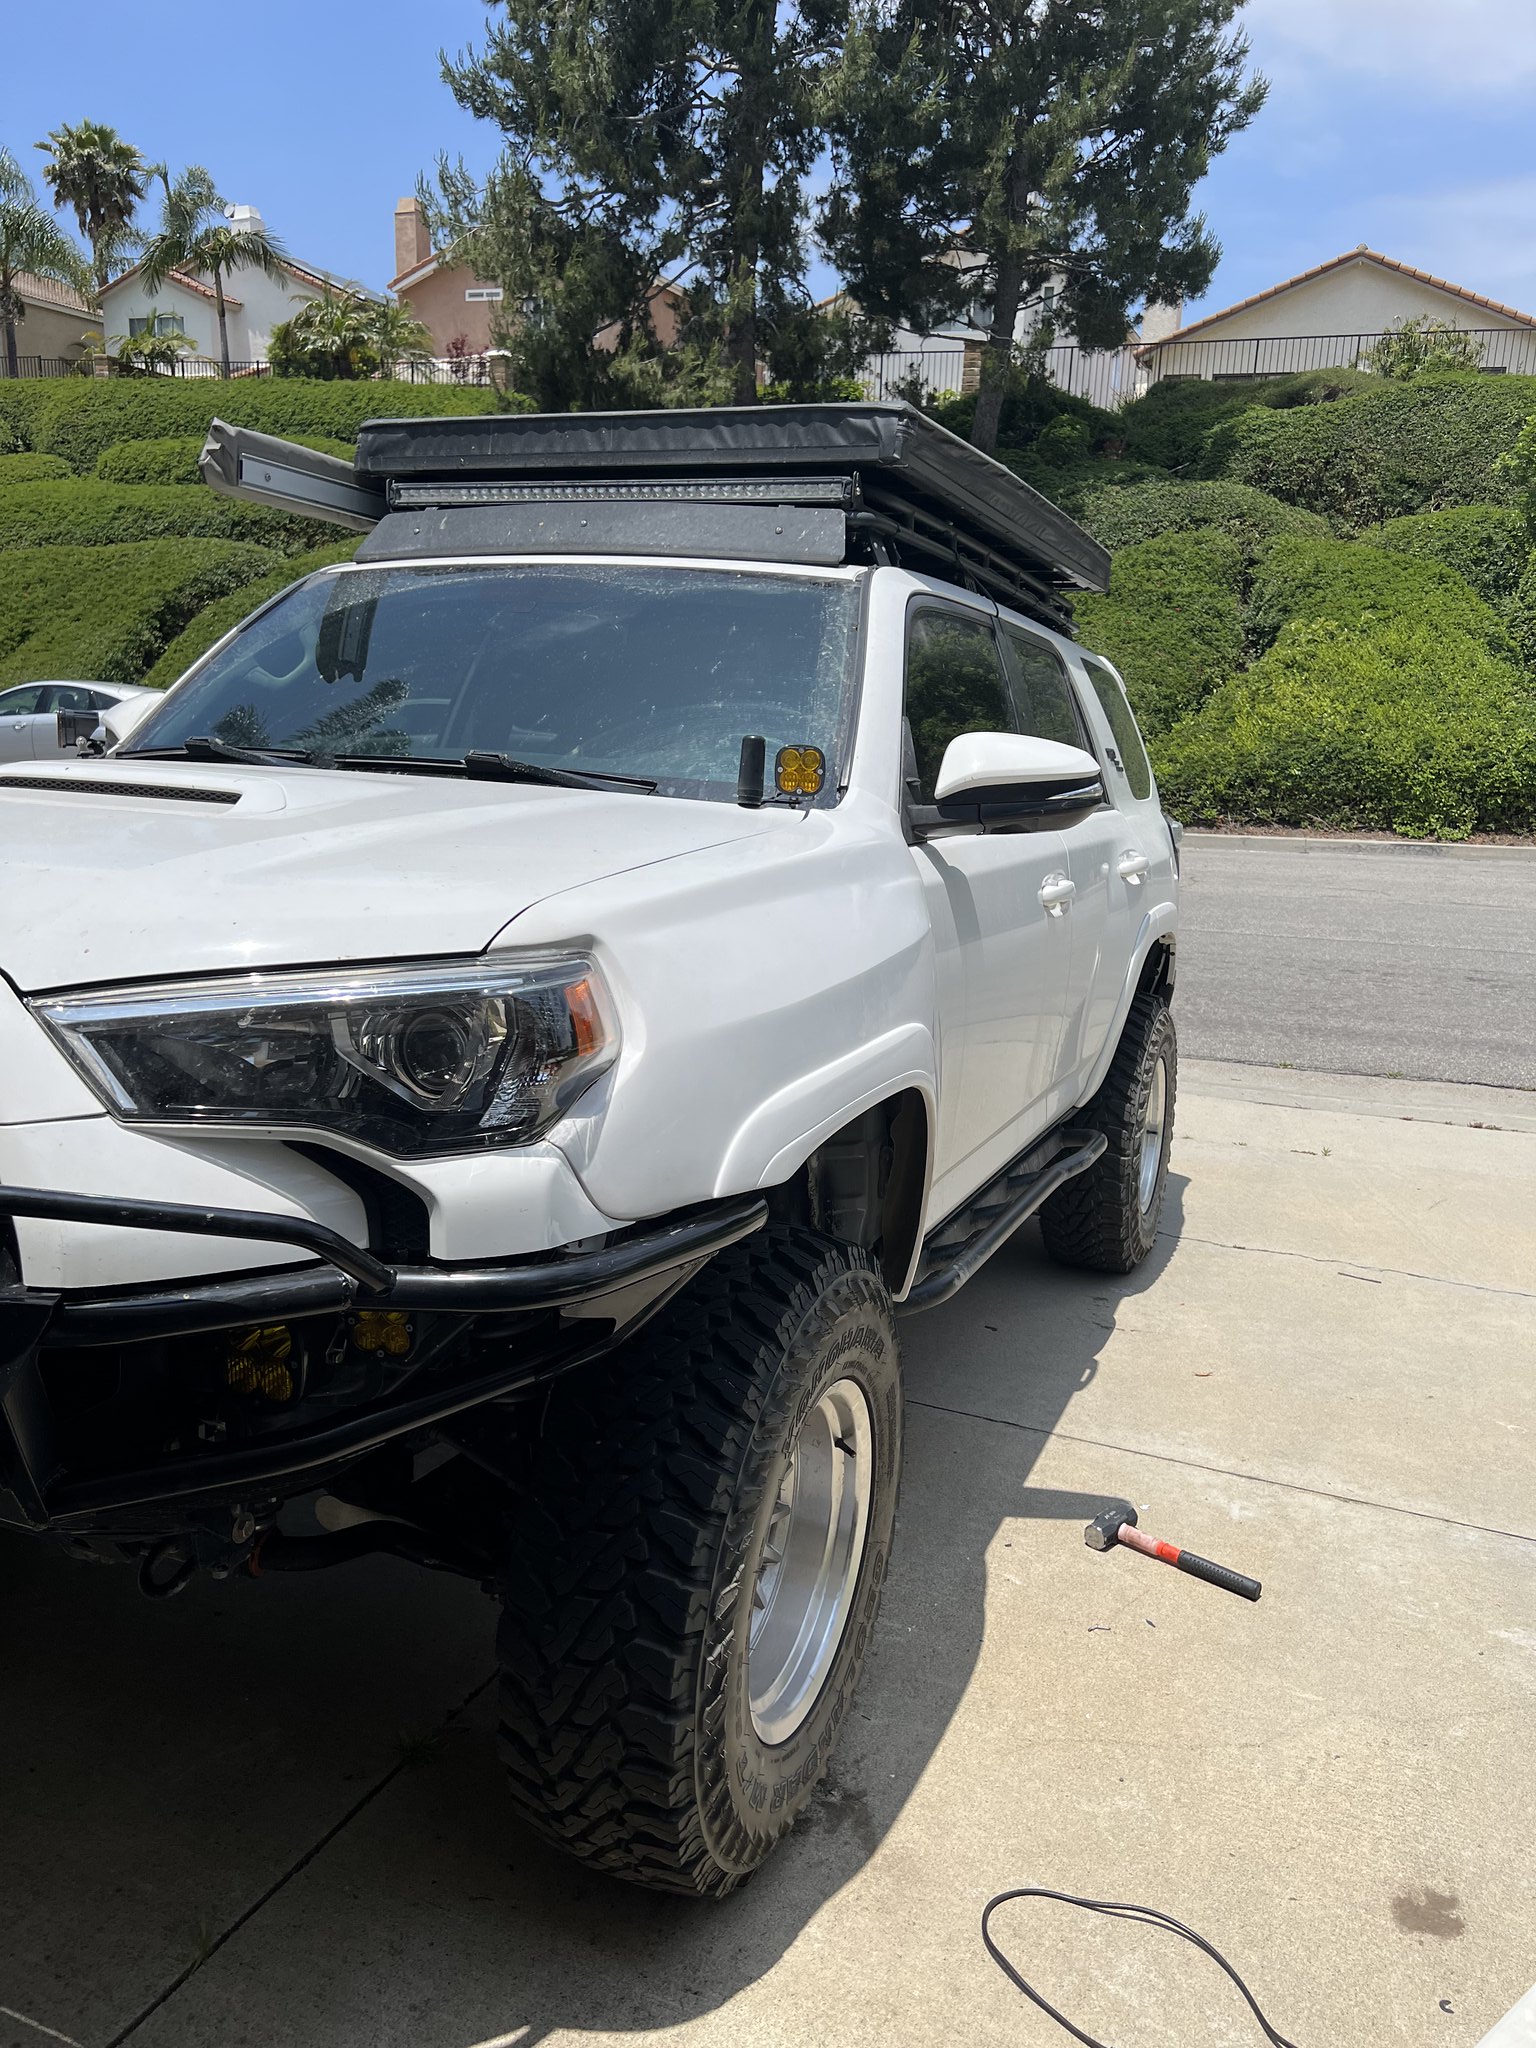
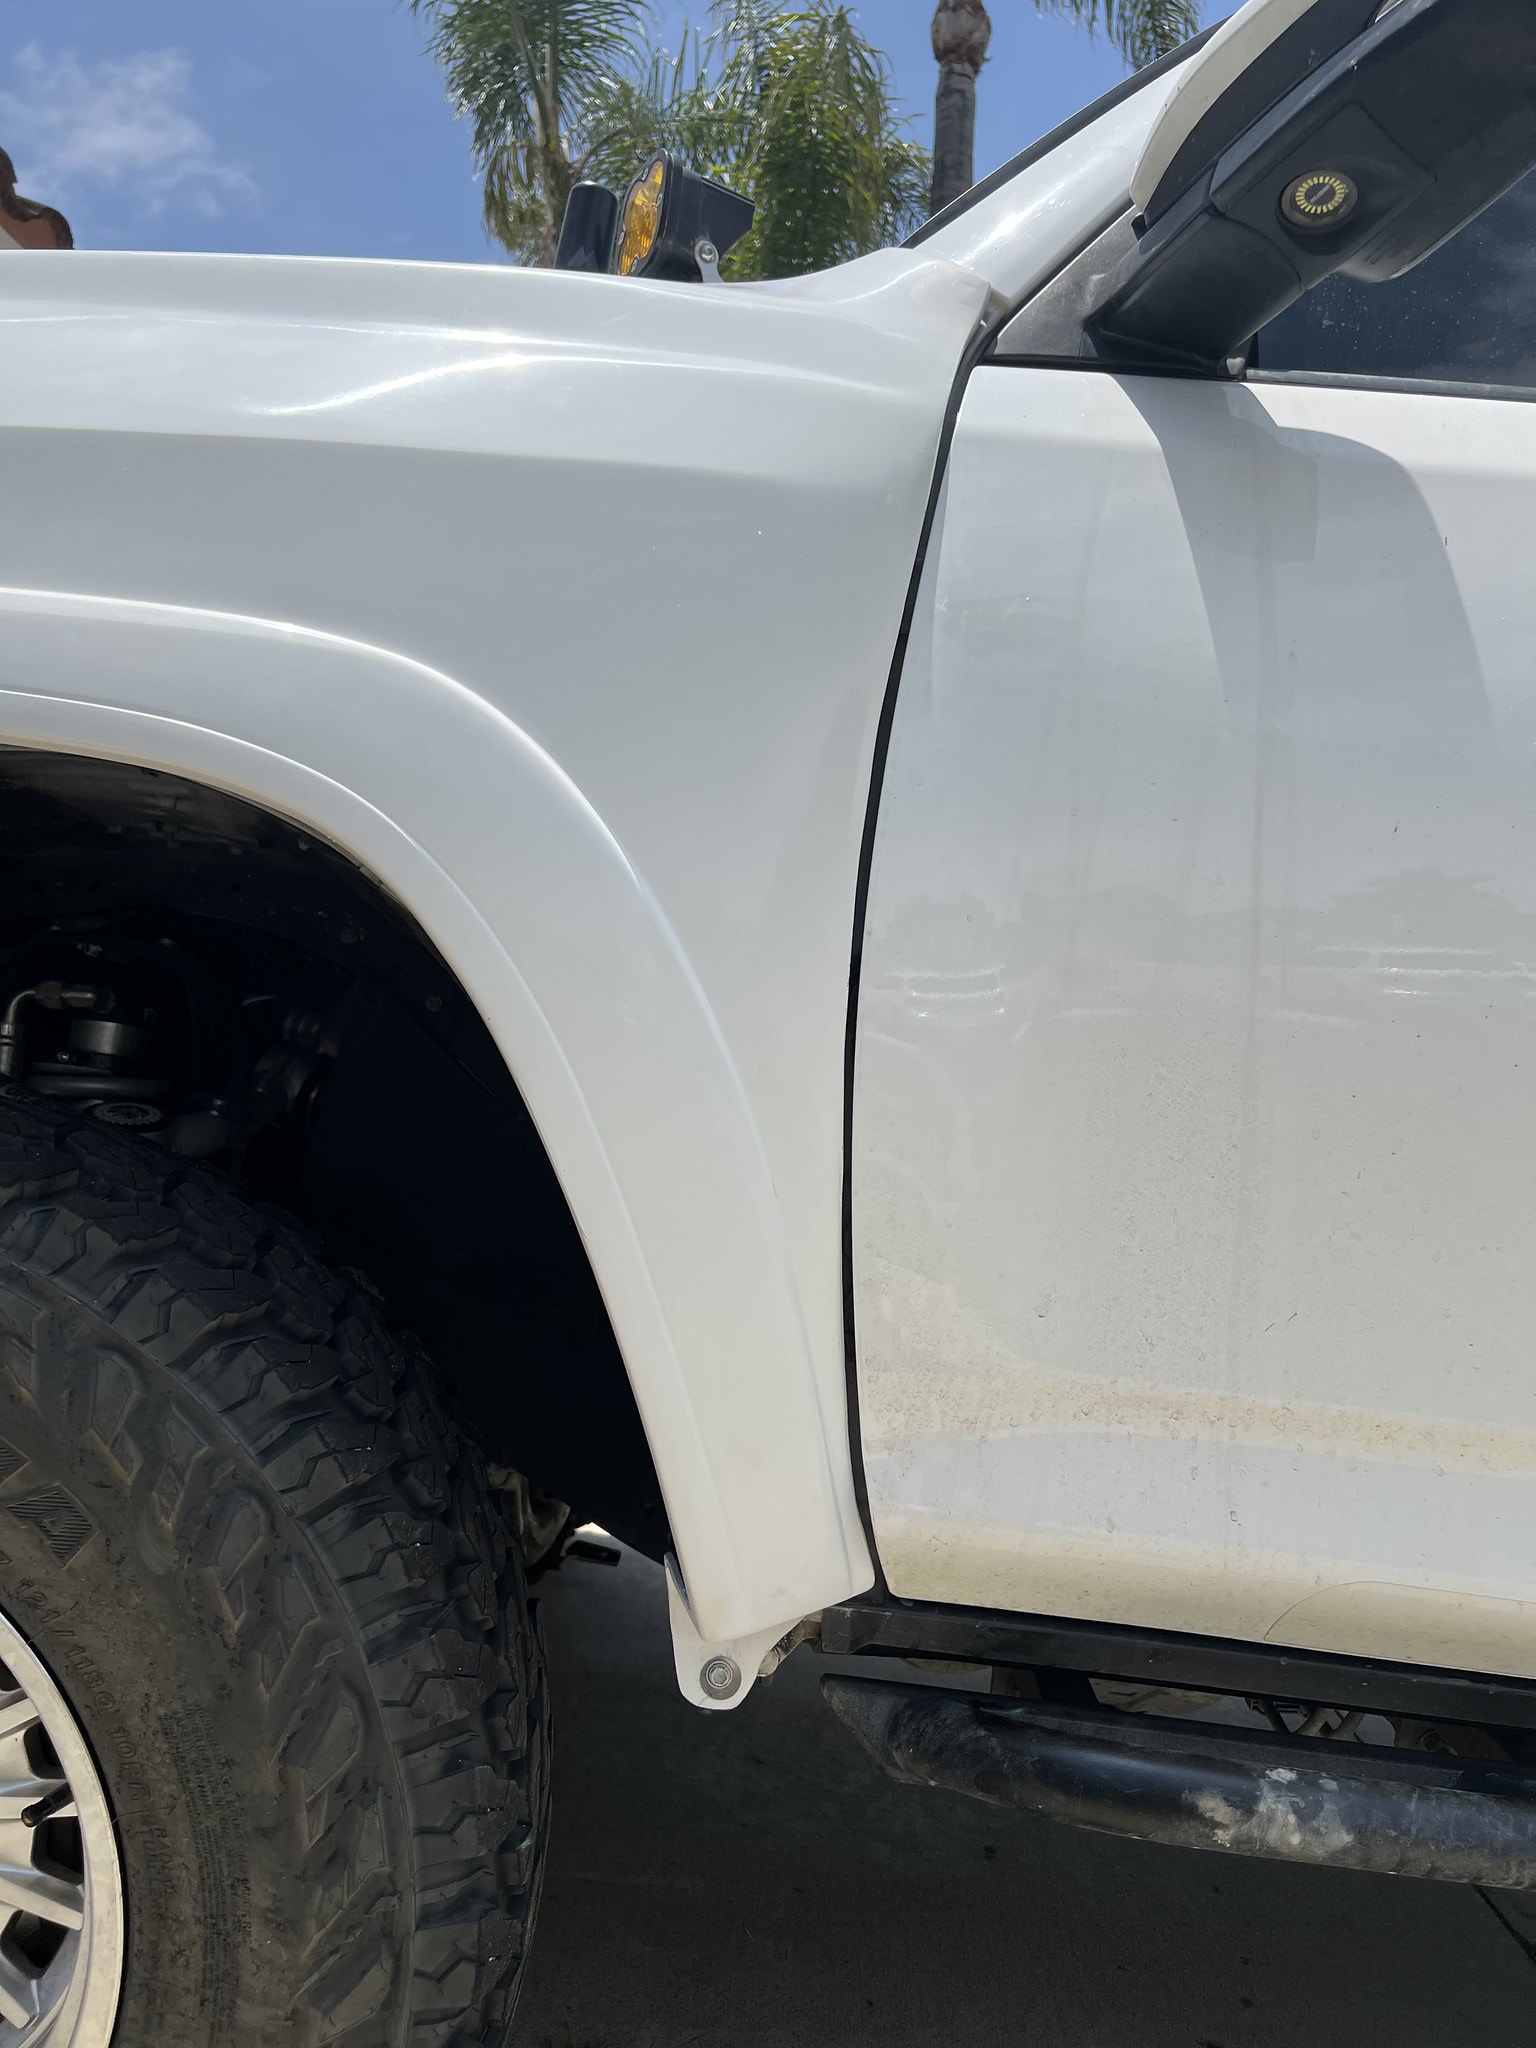
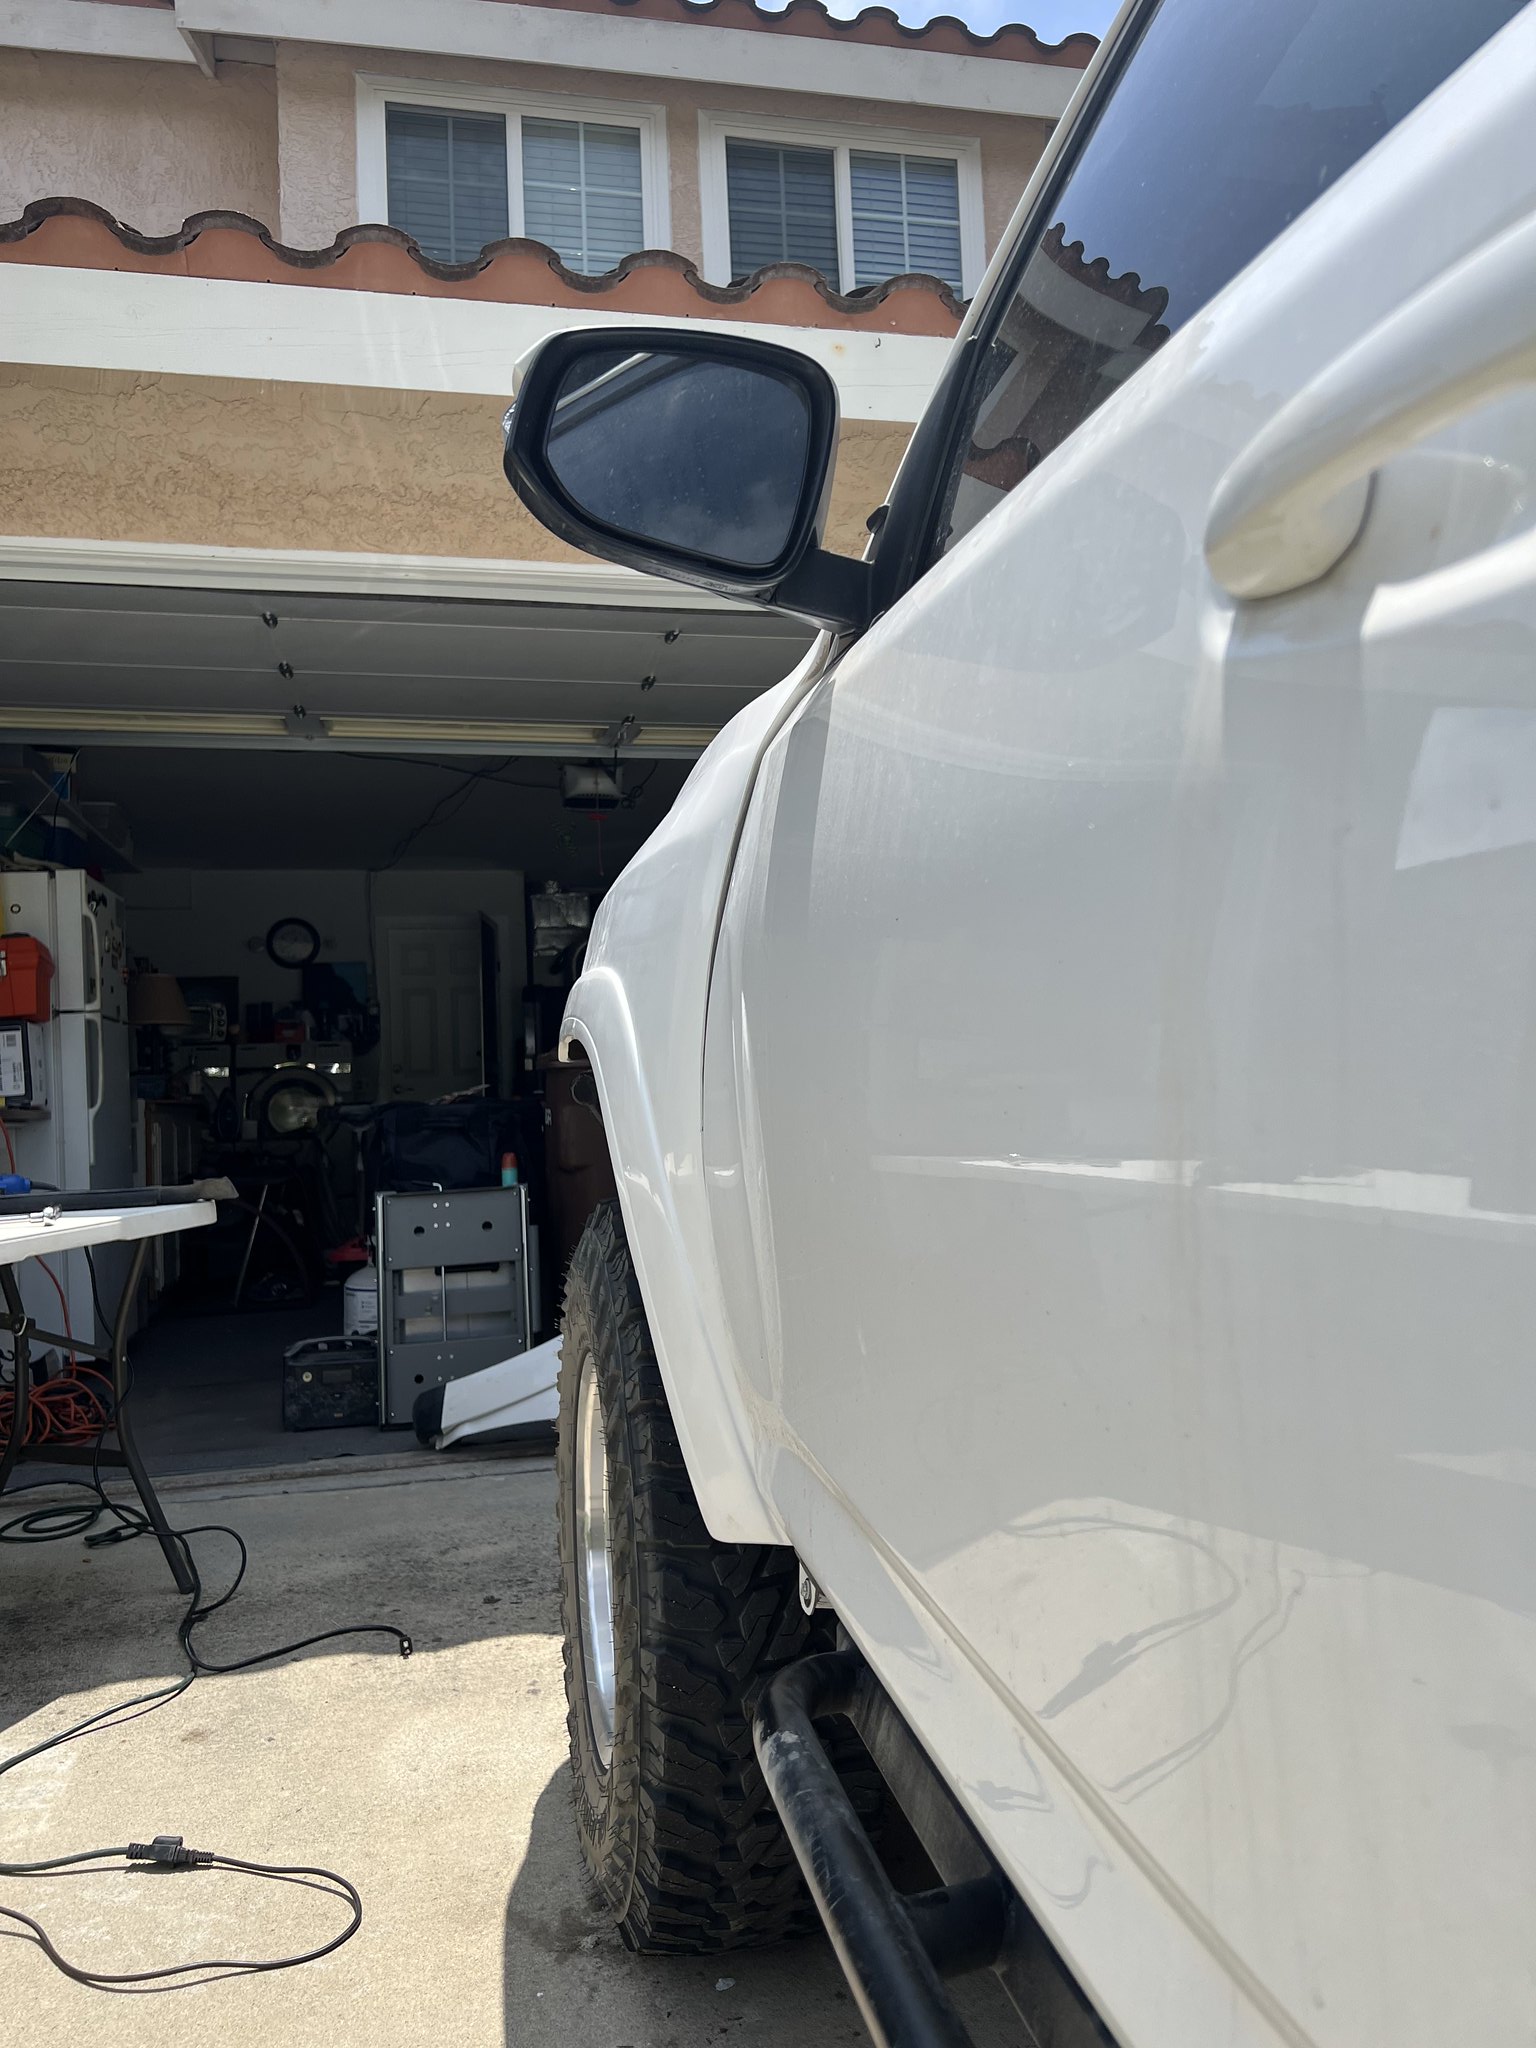
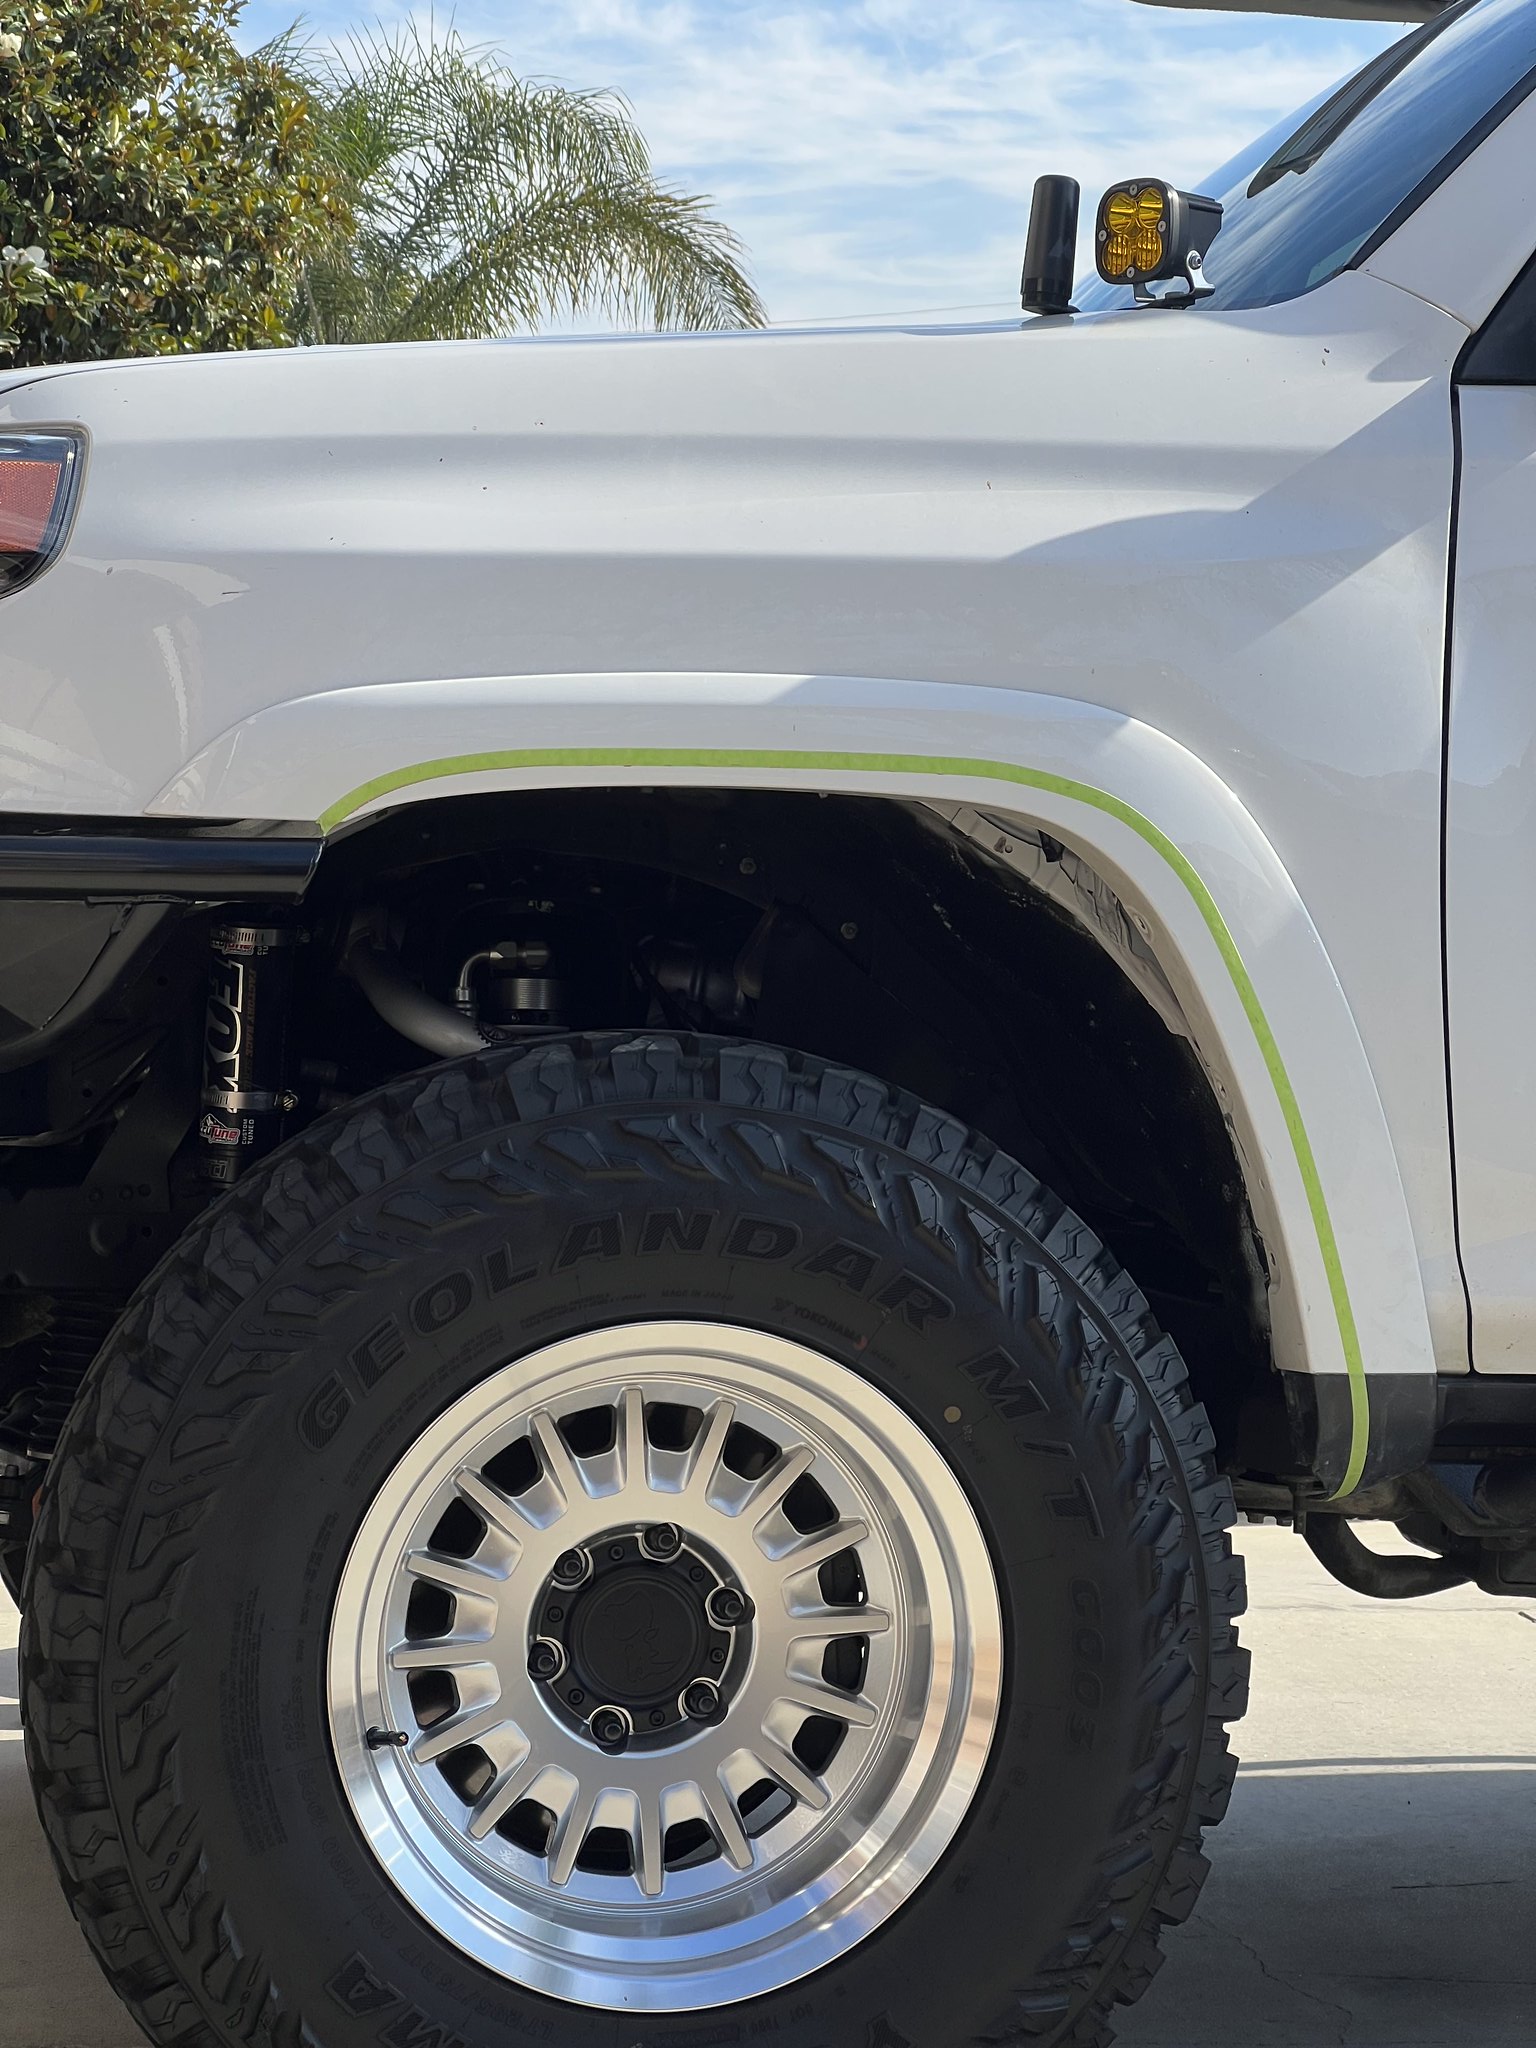
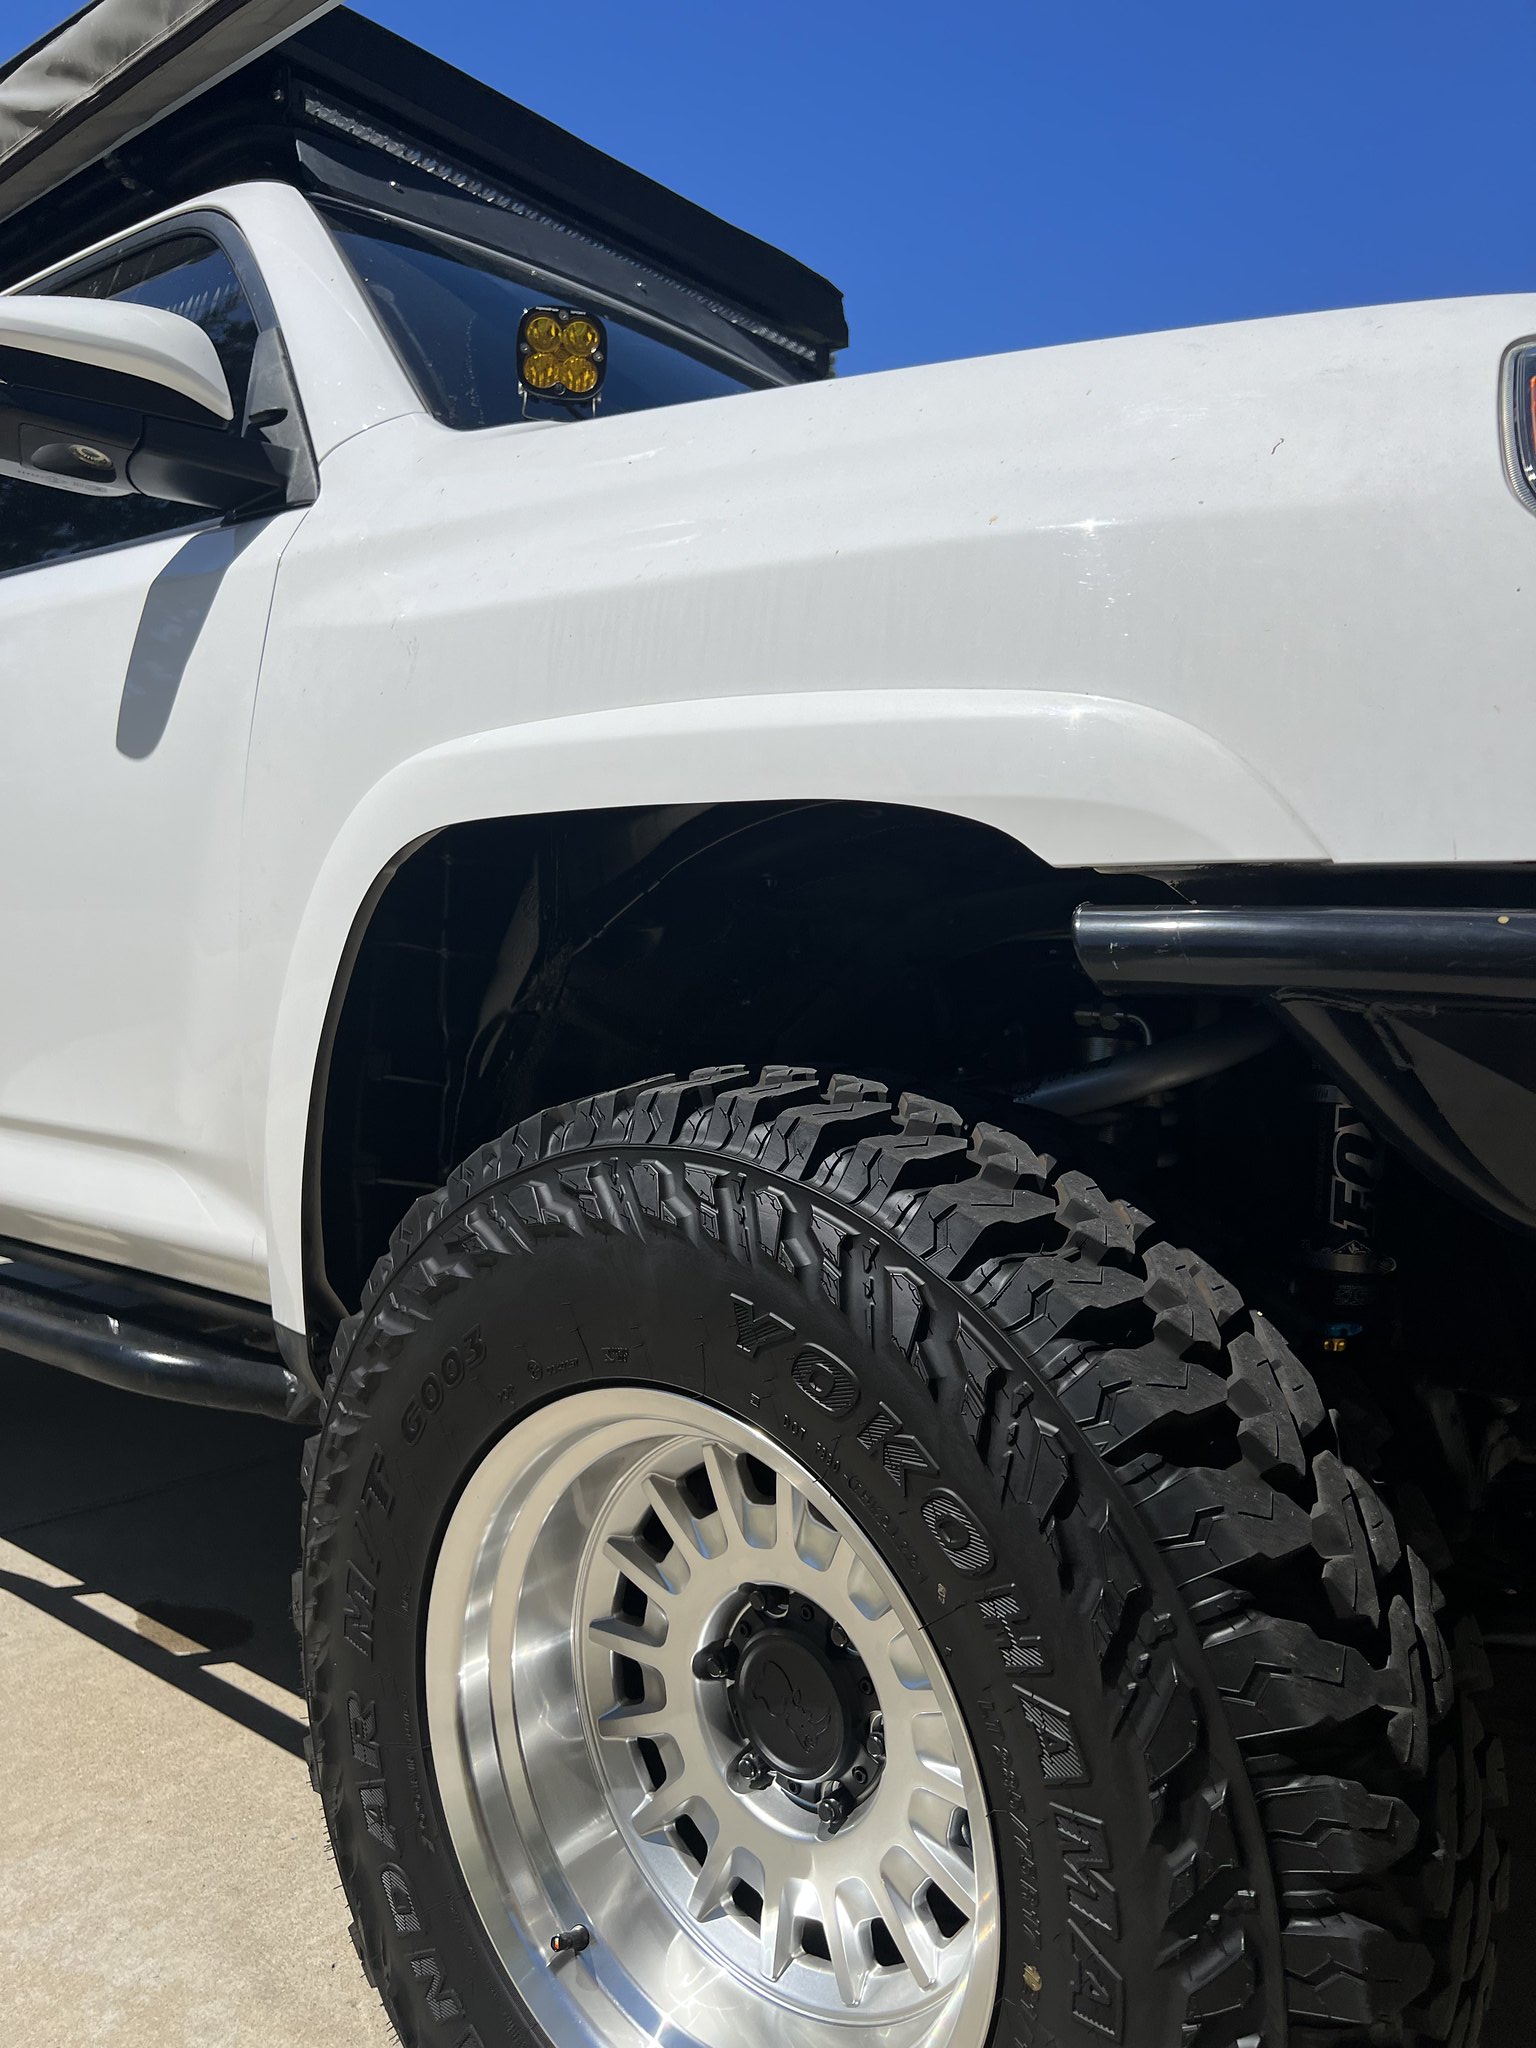
After that trip I really needed to tackle the rubbing up front. What better way to do that than with some wider fenders. 2" Fenders from MPD. Fitment was an absolute pain and quite time consuming, and they still need a decent amount of work to fit perfect. I had enough for the time being and will revisit another day. Eventually they will need paint, but they will stay as is for now. Super subtle look, can't even tell they're on there if it wasn't for the improper fitment lol. Perfect for me on 34's, as the 4" felt would be too much and the adv fenders were a bit too over the top for my setup.

2023-06-08 11.50.47 by rjtakesphotos, on Flickr
2023-06-01 15.09.35 by rjtakesphotos, on Flickr
2023-06-08 12.40.48 by rjtakesphotos, on Flickr
2023-06-08 12.40.58 by rjtakesphotos, on Flickr

Wasn't able to diagnose the front steering noise, and it has seemingly disappeared. Decided it was a good reminder for some maintenance. Went ahead and took care of all the fluids. Changed the power steering, ATF, and both diffs! That's it for now.
 
Somewhat of a bigger update:

A few more shots of the fenders....

IMG_4634 by rjtakesphotos, on Flickr

IMG_4630 by rjtakesphotos, on Flickr

They still weren't sitting right, and I wasn't sold. The fitment is not great, and they are so tightly fitted that I worry any rub will immediately crack them. Since they don't have any rise, it really didn't give as much clearance as I had hoped.

So I reached out to Jacob aka MagRNR for a fender cut on the oem fenders. Here is his super clean rig:

IMG_4735 by rjtakesphotos, on Flickr

Marking up the cut

IMG_4734 by rjtakesphotos, on Flickr

And after:
IMG_4744 by rjtakesphotos, on Flickr

He also did me a solid and hammered my pinch welds down. The cuts were super clean and came out way better than I expected. Don't think I am going back to the wider fenders.
53008792527_d7834b0eaa_k.jpg
[/url]IMG_4743 by rjtakesphotos, on Flickr[/IMG]


Next up was to replace the latch on the rear bumper. Outgear Solutions announced this a few weeks back and I jumped on it. Expensive but so much cleaner than the original latch...
53009862588_d91c8027d4_k.jpg
[/url]IMG_4755 by rjtakesphotos, on Flickr[/IMG]
53009862528_705e3858ad_k.jpg
[/url]IMG_4754 by rjtakesphotos, on Flickr[/IMG]
53009767245_1856973caa_k.jpg
[/url]IMG_4757 by rjtakesphotos, on Flickr[/IMG]

This also showed up... The Baja Design S1 Hitch light. Got the harness kit and have it set up as my reverse light!
53009384231_12888d7714_k.jpg
[/url]IMG_4708 by rjtakesphotos, on Flickr[/IMG]
53008792882_6b92f8d01a_k.jpg
[/url]IMG_4706 by rjtakesphotos, on Flickr[/IMG]
53009767810_b674eeccfd_k.jpg
[/url]IMG_4717 by rjtakesphotos, on Flickr[/IMG]

Lastly, was to swap out the rear icon overland springs with these Dobinsons 749's! Also got the PCK correction kit and decided to get them done together.
53009862743_3de9776936_k.jpg
[/url]IMG_4742 by rjtakesphotos, on Flickr[/IMG]

53009550224_5072ee0984_k.jpg
[/url]IMG_4176 by rjtakesphotos, on Flickr[/IMG]

53009863183_7bfc076418_b.jpg
[/url]IMG_3119 by rjtakesphotos, on Flickr[/IMG]
 
Somewhat of a bigger update:

A few more shots of the fenders....

IMG_4634 by rjtakesphotos, on Flickr

IMG_4630 by rjtakesphotos, on Flickr

They still weren't sitting right, and I wasn't sold. The fitment is not great, and they are so tightly fitted that I worry any rub will immediately crack them. Since they don't have any rise, it really didn't give as much clearance as I had hoped.

So I reached out to Jacob aka MagRNR for a fender cut on the oem fenders. Here is his super clean rig:

IMG_4735 by rjtakesphotos, on Flickr

Marking up the cut

IMG_4734 by rjtakesphotos, on Flickr

And after:
IMG_4744 by rjtakesphotos, on Flickr

He also did me a solid and hammered my pinch welds down. The cuts were super clean and came out way better than I expected. Don't think I am going back to the wider fenders.
53008792527_d7834b0eaa_k.jpg
[/url]IMG_4743 by rjtakesphotos, on Flickr[/IMG]


Next up was to replace the latch on the rear bumper. Outgear Solutions announced this a few weeks back and I jumped on it. Expensive but so much cleaner than the original latch...
53009862588_d91c8027d4_k.jpg
[/url]IMG_4755 by rjtakesphotos, on Flickr[/IMG]
53009862528_705e3858ad_k.jpg
[/url]IMG_4754 by rjtakesphotos, on Flickr[/IMG]
53009767245_1856973caa_k.jpg
[/url]IMG_4757 by rjtakesphotos, on Flickr[/IMG]

This also showed up... The Baja Design S1 Hitch light. Got the harness kit and have it set up as my reverse light!
53009384231_12888d7714_k.jpg
[/url]IMG_4708 by rjtakesphotos, on Flickr[/IMG]
53008792882_6b92f8d01a_k.jpg
[/url]IMG_4706 by rjtakesphotos, on Flickr[/IMG]
53009767810_b674eeccfd_k.jpg
[/url]IMG_4717 by rjtakesphotos, on Flickr[/IMG]

Lastly, was to swap out the rear icon overland springs with these Dobinsons 749's! Also got the PCK correction kit and decided to get them done together.
53009862743_3de9776936_k.jpg
[/url]IMG_4742 by rjtakesphotos, on Flickr[/IMG]

53009550224_5072ee0984_k.jpg
[/url]IMG_4176 by rjtakesphotos, on Flickr[/IMG]

53009863183_7bfc076418_b.jpg
[/url]IMG_3119 by rjtakesphotos, on Flickr[/IMG]

Dang it, you made me spend more monies!!!

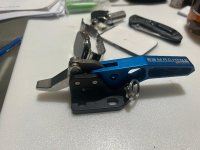
I ordered a billet handle in king bling blue based on this thread.... rofl.
 
Last edited:
Dang it, you made me spend more monies!!!

I ordered a billet handle in king bling blue based on this thread.... rofl.

Haha whoops. It is really nicely made, but man I hate how expensive it was lol. I already had to replace the original latch last year and this one was getting so rusty and worn. The replacement latch alone is like $50-100 itself, so I decided to just bite the bullet. You will like it though, its well done.
 
Haha whoops. It is really nicely made, but man I hate how expensive it was lol. I already had to replace the original latch last year and this one was getting so rusty and worn. The replacement latch alone is like $50-100 itself, so I decided to just bite the bullet. You will like it though, its well done.


Thanks for the awesome find, and for lightening my wallet :couch2:
 

Attachments

  • thumbnail-149.jpeg
    thumbnail-149.jpeg
    126.5 KB · Views: 312
Last edited:

Members online

Forum statistics

Threads
278,316
Messages
3,554,110
Members
248,016
Latest member
Advally Service

Trending content

Back
Top