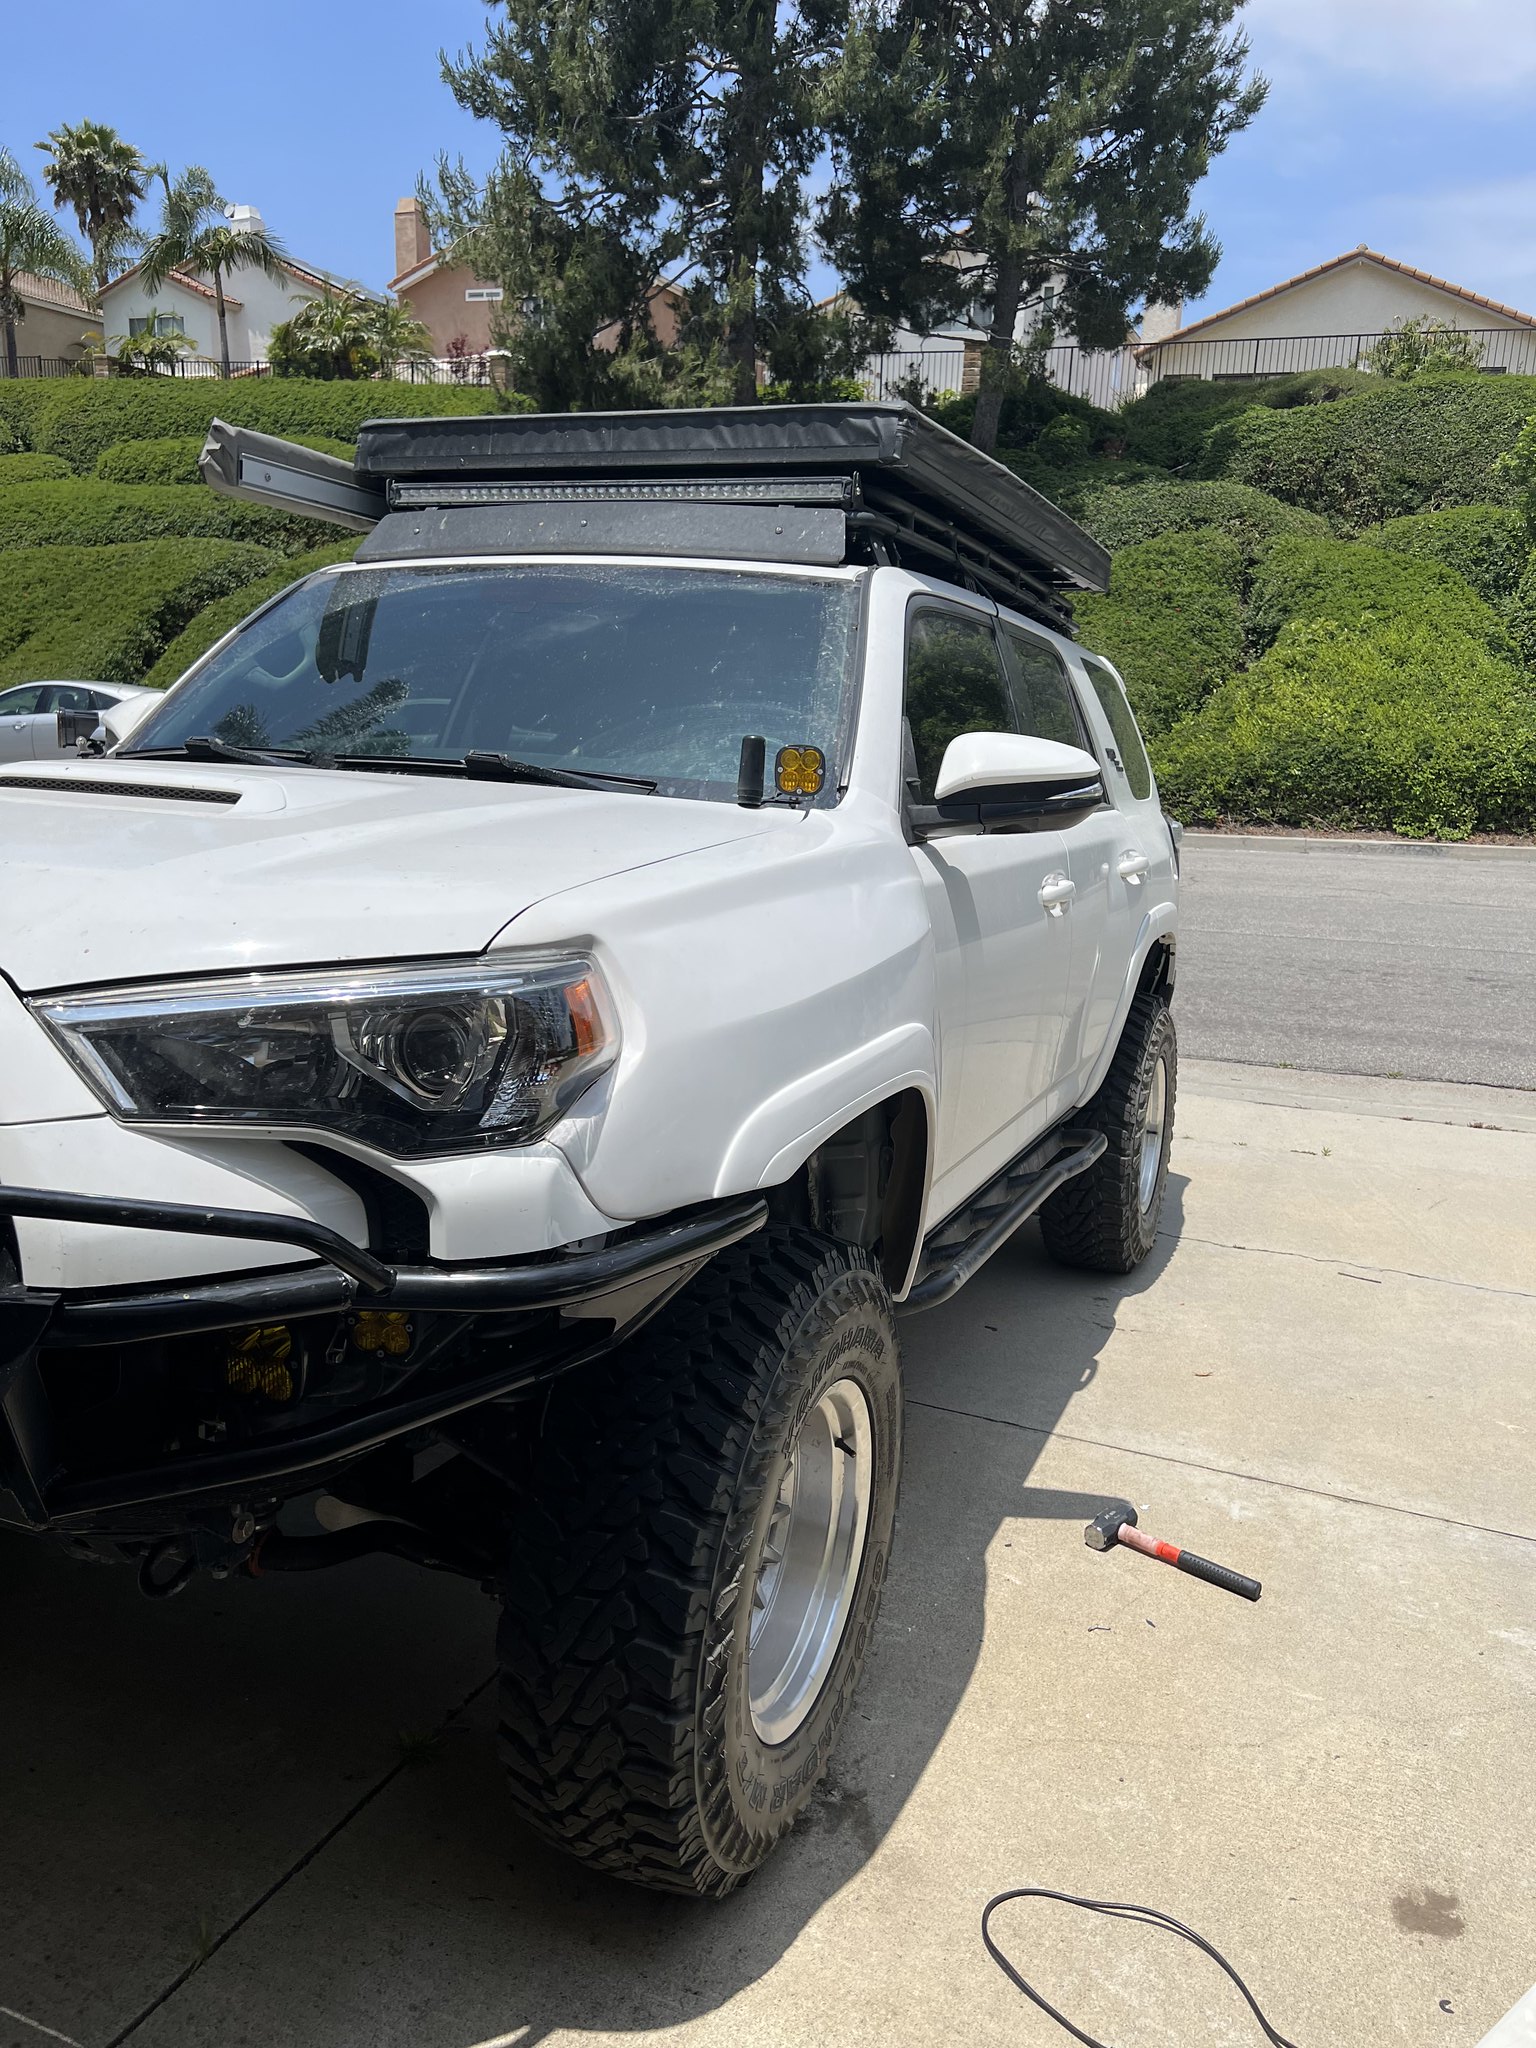
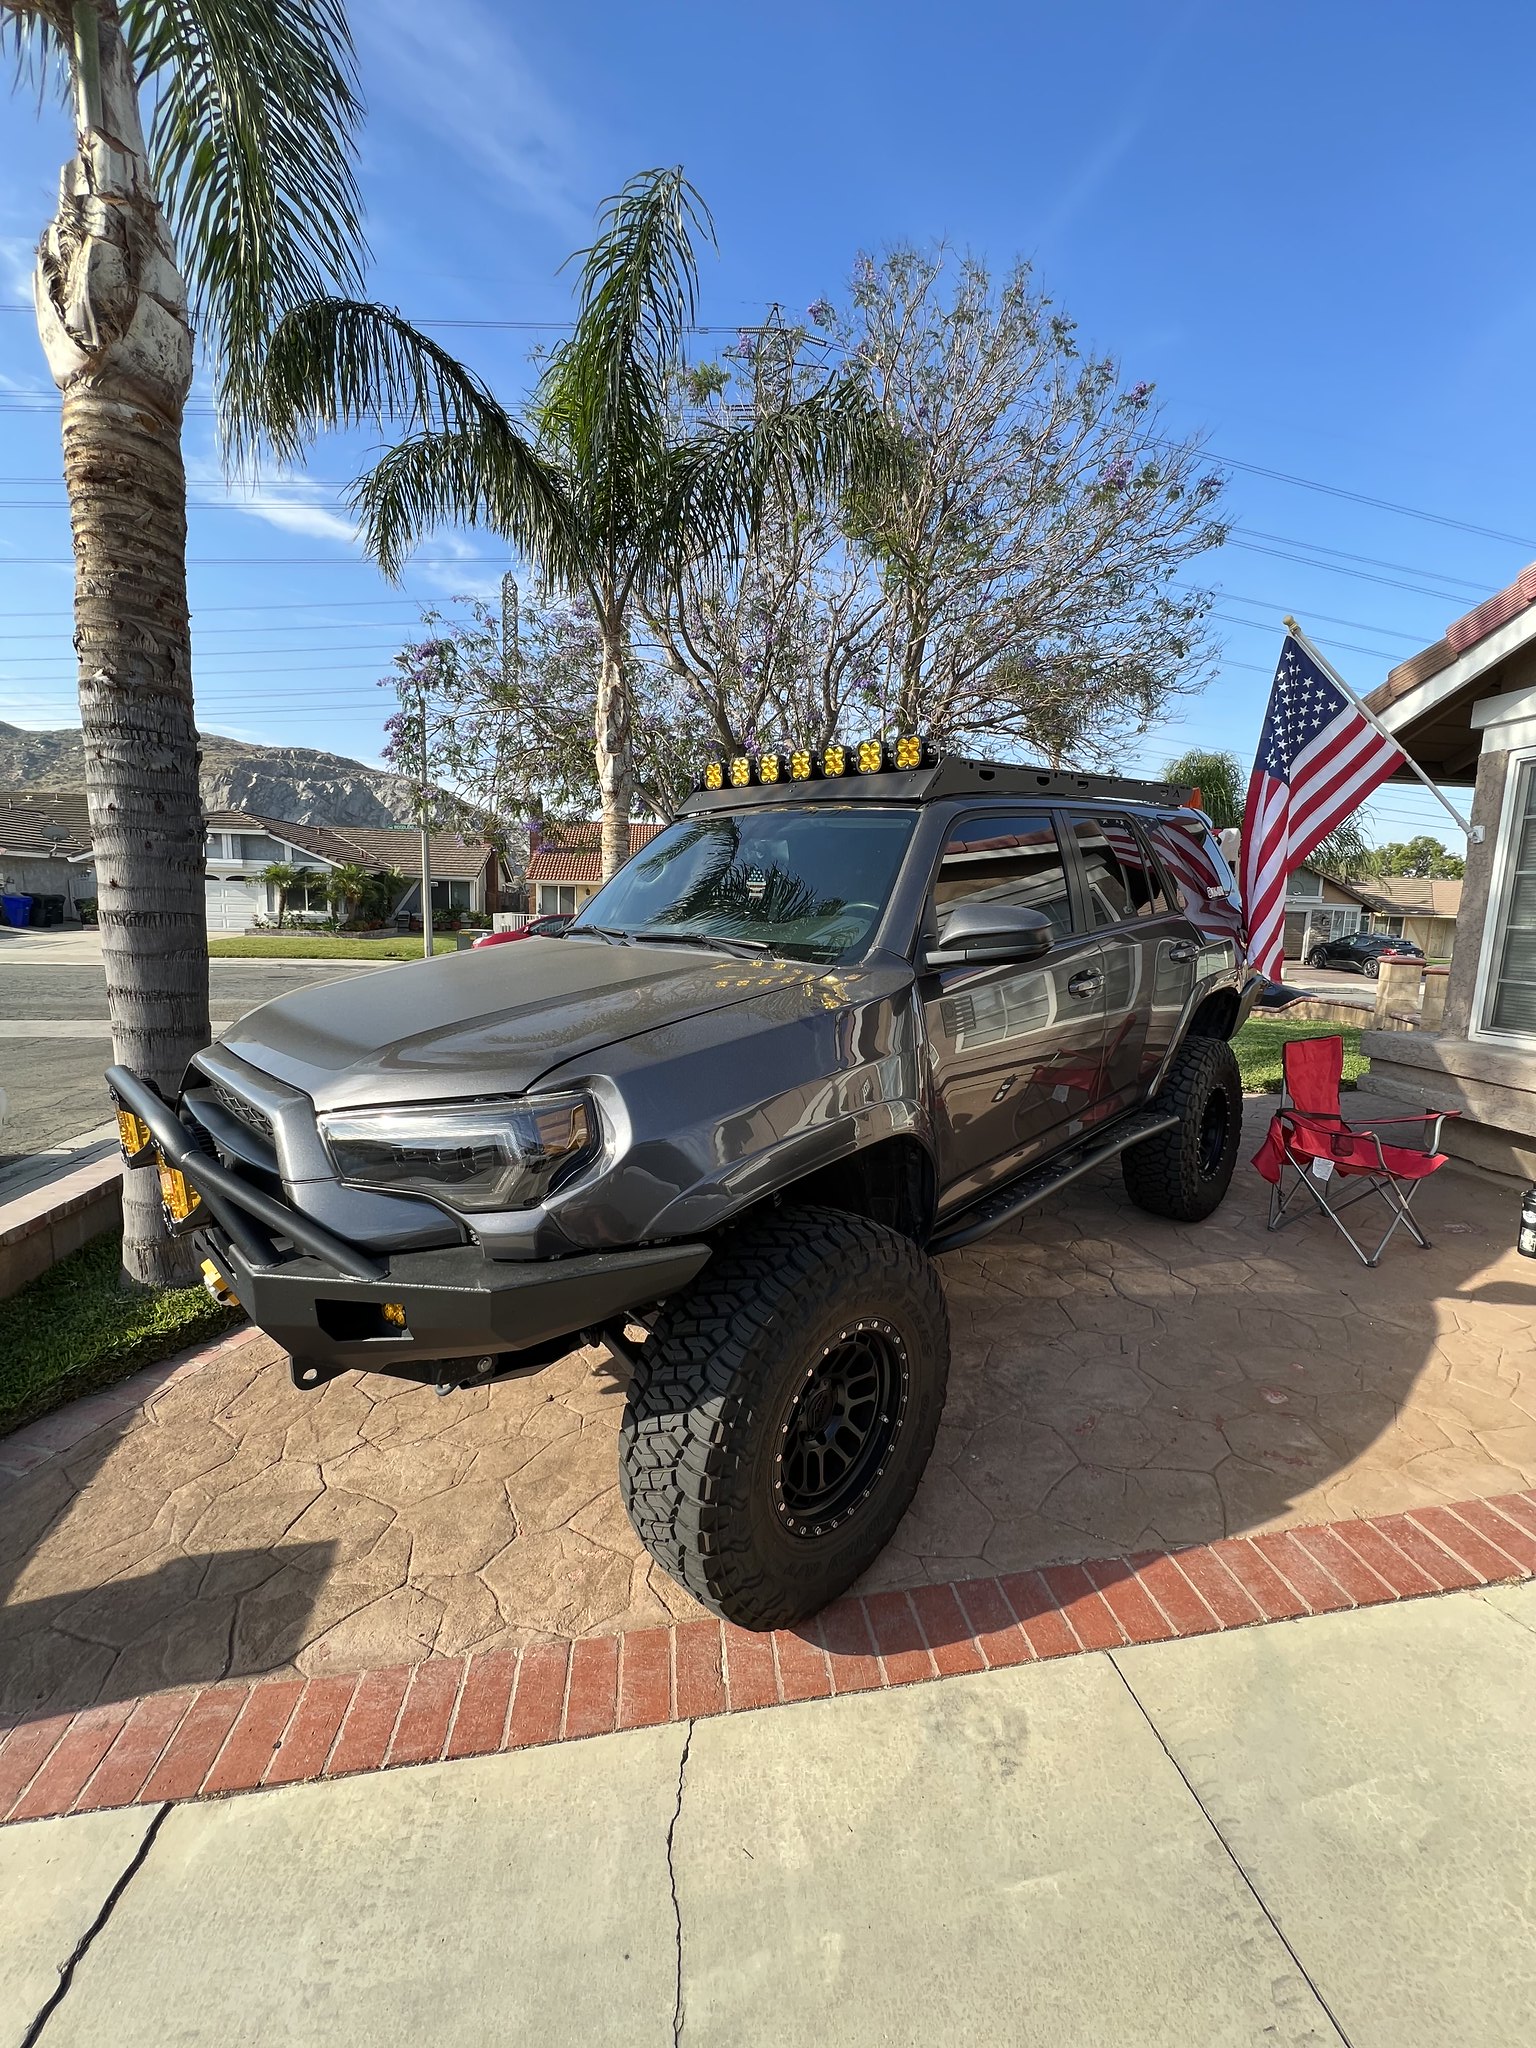
Finslayer83
New member
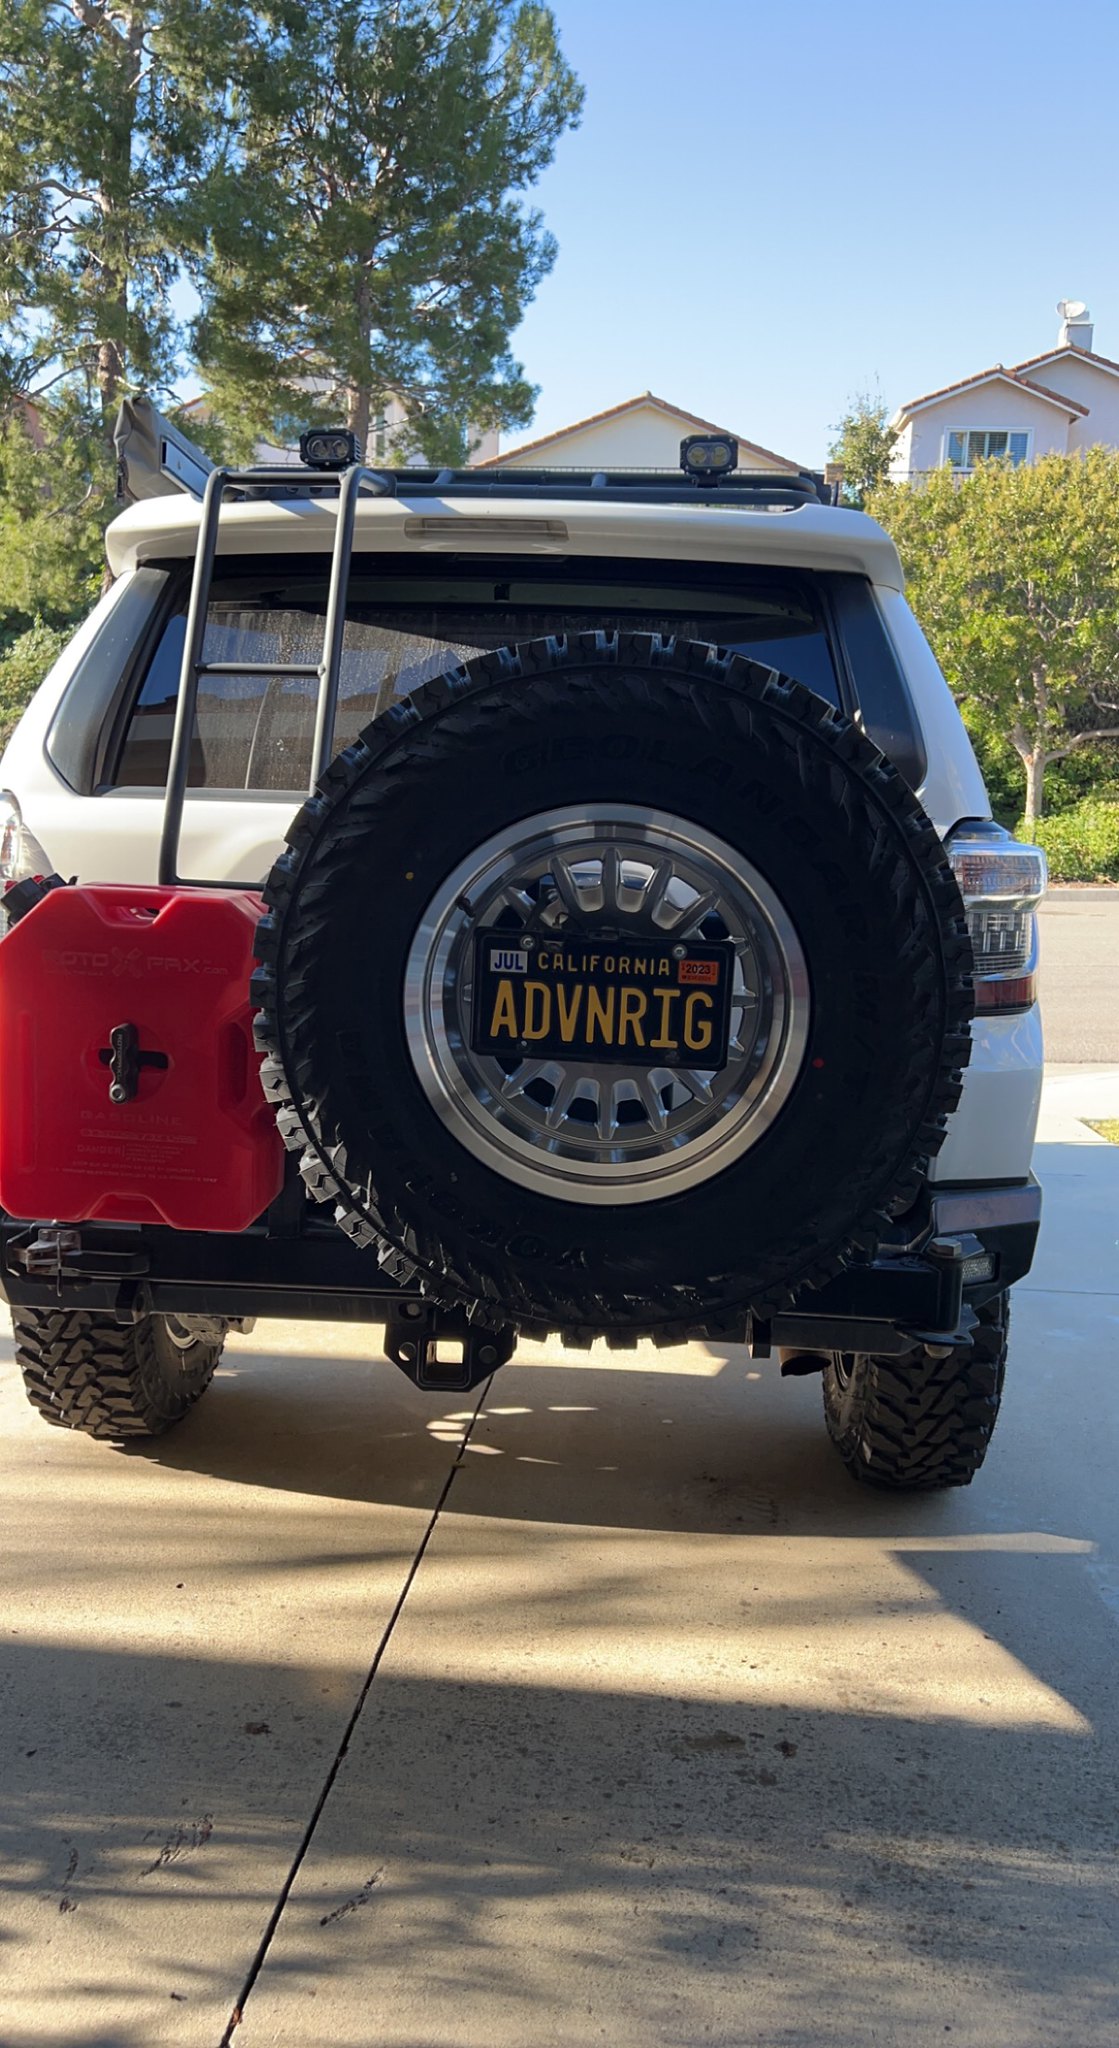
nice build
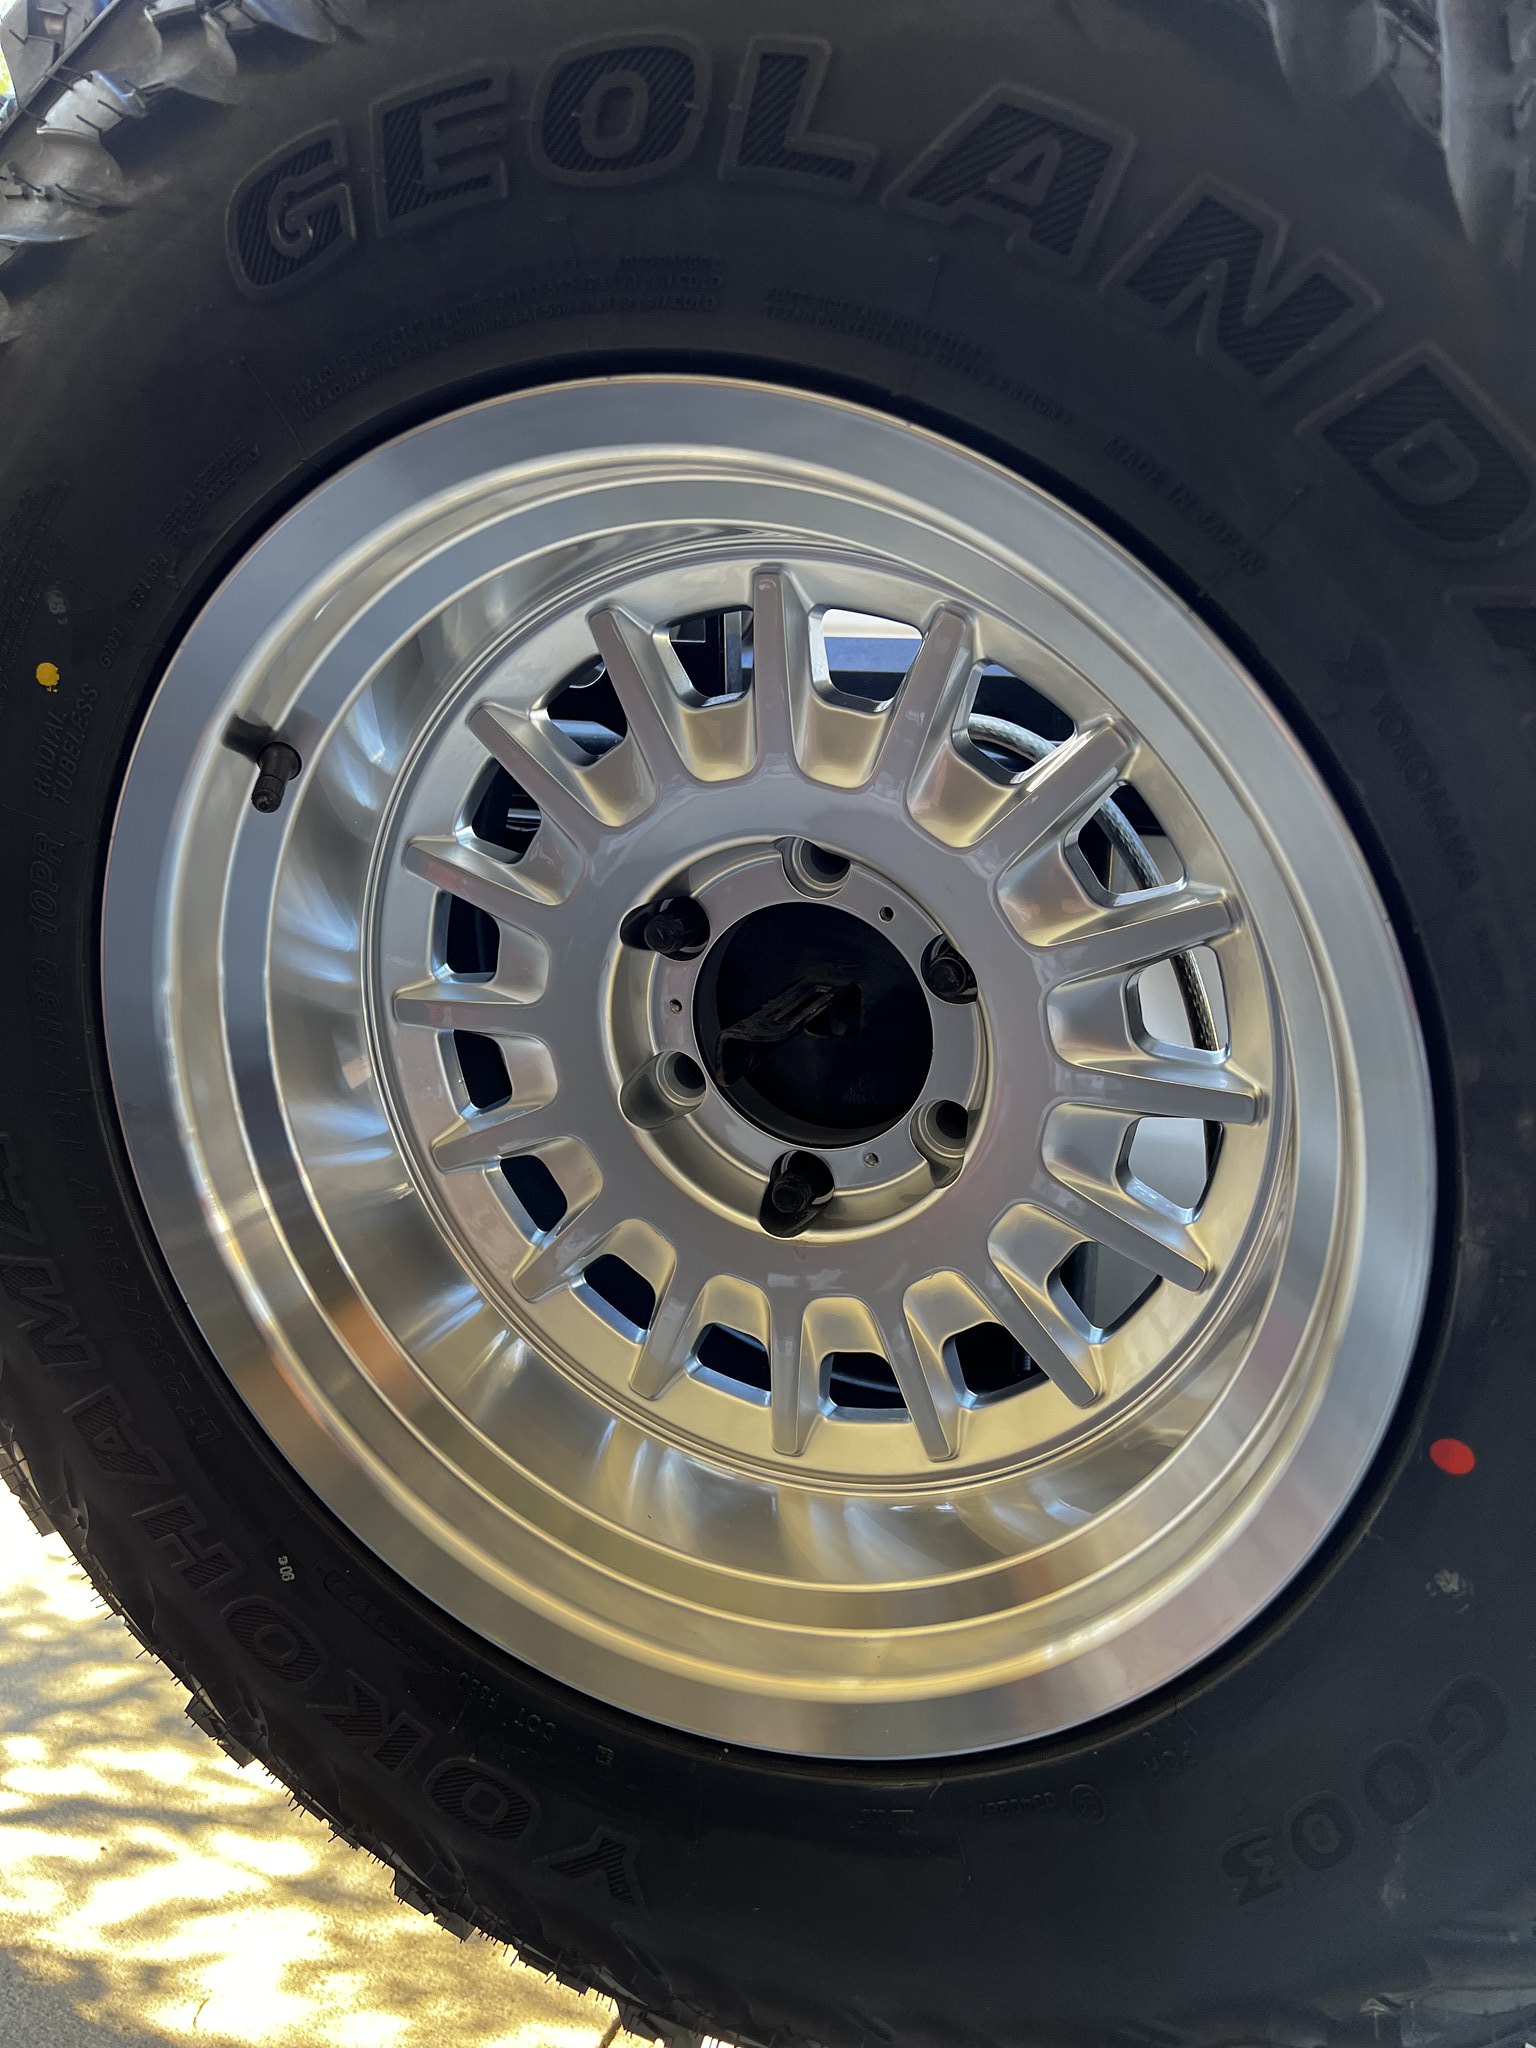
yeah buddy! polished/machined wheels are classy. I run machined racelines on my ford. whenever the toyota gets wheels they'll be machined or polished for sure.
Yup, those are dope
nice build
Photo Nov 22 2022, 2 45 39 PM by rjtakesphotos, on Flickr
Photo Nov 22 2022, 1 43 17 PM by rjtakesphotos, on Flickryou inspire my ass to get off the couch and put in work!!!!!
Remember i asked you a while back about your table mounting...well i figured out those padded stainless hose clamps (1.75 inch) will allow you to mount it on the tube, but you have to redrill some holes on the table, and then i put a bolt through the swing arm bump stop and bam....solid as a rock.... It clears the hatch by half a inch.
happy holidays
Nice work, I actually may have to add those if possible for a little extra support. The corners always seem to flex a bit and that may be the trick!
RJTP4273 by rjtakesphotos, on Flickr
RJTP4296 by rjtakesphotos, on Flickr
RJTP4261 by rjtakesphotos, on Flickr
RJTP4268 by rjtakesphotos, on FlickrThis pin will work if you still interested in the safety pin. I just sheared mine off and had to replace mine....just fyi.
Amazon.com: EMS Offroad Tire Carrier Pin Long : Automotive
You slide pin through bottom hole on main bumper from the bottom, and into the swing arm hole, and out the top...and put knob on. You do not have to remove the swingarm like all the internet videos tell you to.
Only thing is, the top knob doesnt clear the head of the 1 inch bolt. what you have to do, is hammer the bolt out just enough for where the knob clears the head of the 1 inch bolt, and viola...done.
I actually bought another knob head (that is circular) so i dont have to "move" the 1 inch bolt to do future maintenance on the pin.
I did have to remove all the accessories off the swing arm to relieve tension on the bolt, but thats about it. It took me 30 min to install the pin.
good luck if u do decide to go this route..
cheers.

Photo Jan 14 2023, 12 54 33 PM by rjtakesphotos, on Flickr
Photo Jan 13 2023, 1 07 55 PM by rjtakesphotos, on Flickr
Photo Jan 13 2023, 1 07 58 PM by rjtakesphotos, on Flickr
2023-05-27 13.04.44 by rjtakesphotos, on Flickr
2023-06-02 13.34.07 by rjtakesphotos, on Flickr
2023-06-02 16.14.20 by rjtakesphotos, on Flickr
2023-06-02 16.14.26 by rjtakesphotos, on Flickr
2023-06-02 17.47.05 by rjtakesphotos, on Flickr
rjtp5851 by rjtakesphotos, on Flickr
rjtp5781 by rjtakesphotos, on Flickr
2023-06-05 00.20.33 by rjtakesphotos, on Flickr
2023-06-08 11.50.47 by rjtakesphotos, on Flickr
2023-06-01 15.09.35 by rjtakesphotos, on Flickr
2023-06-08 12.40.48 by rjtakesphotos, on Flickr
2023-06-08 12.40.58 by rjtakesphotos, on Flickr
IMG_4634 by rjtakesphotos, on Flickr
IMG_4630 by rjtakesphotos, on Flickr
IMG_4735 by rjtakesphotos, on Flickr
IMG_4734 by rjtakesphotos, on Flickr
IMG_4744 by rjtakesphotos, on Flickr
Somewhat of a bigger update:
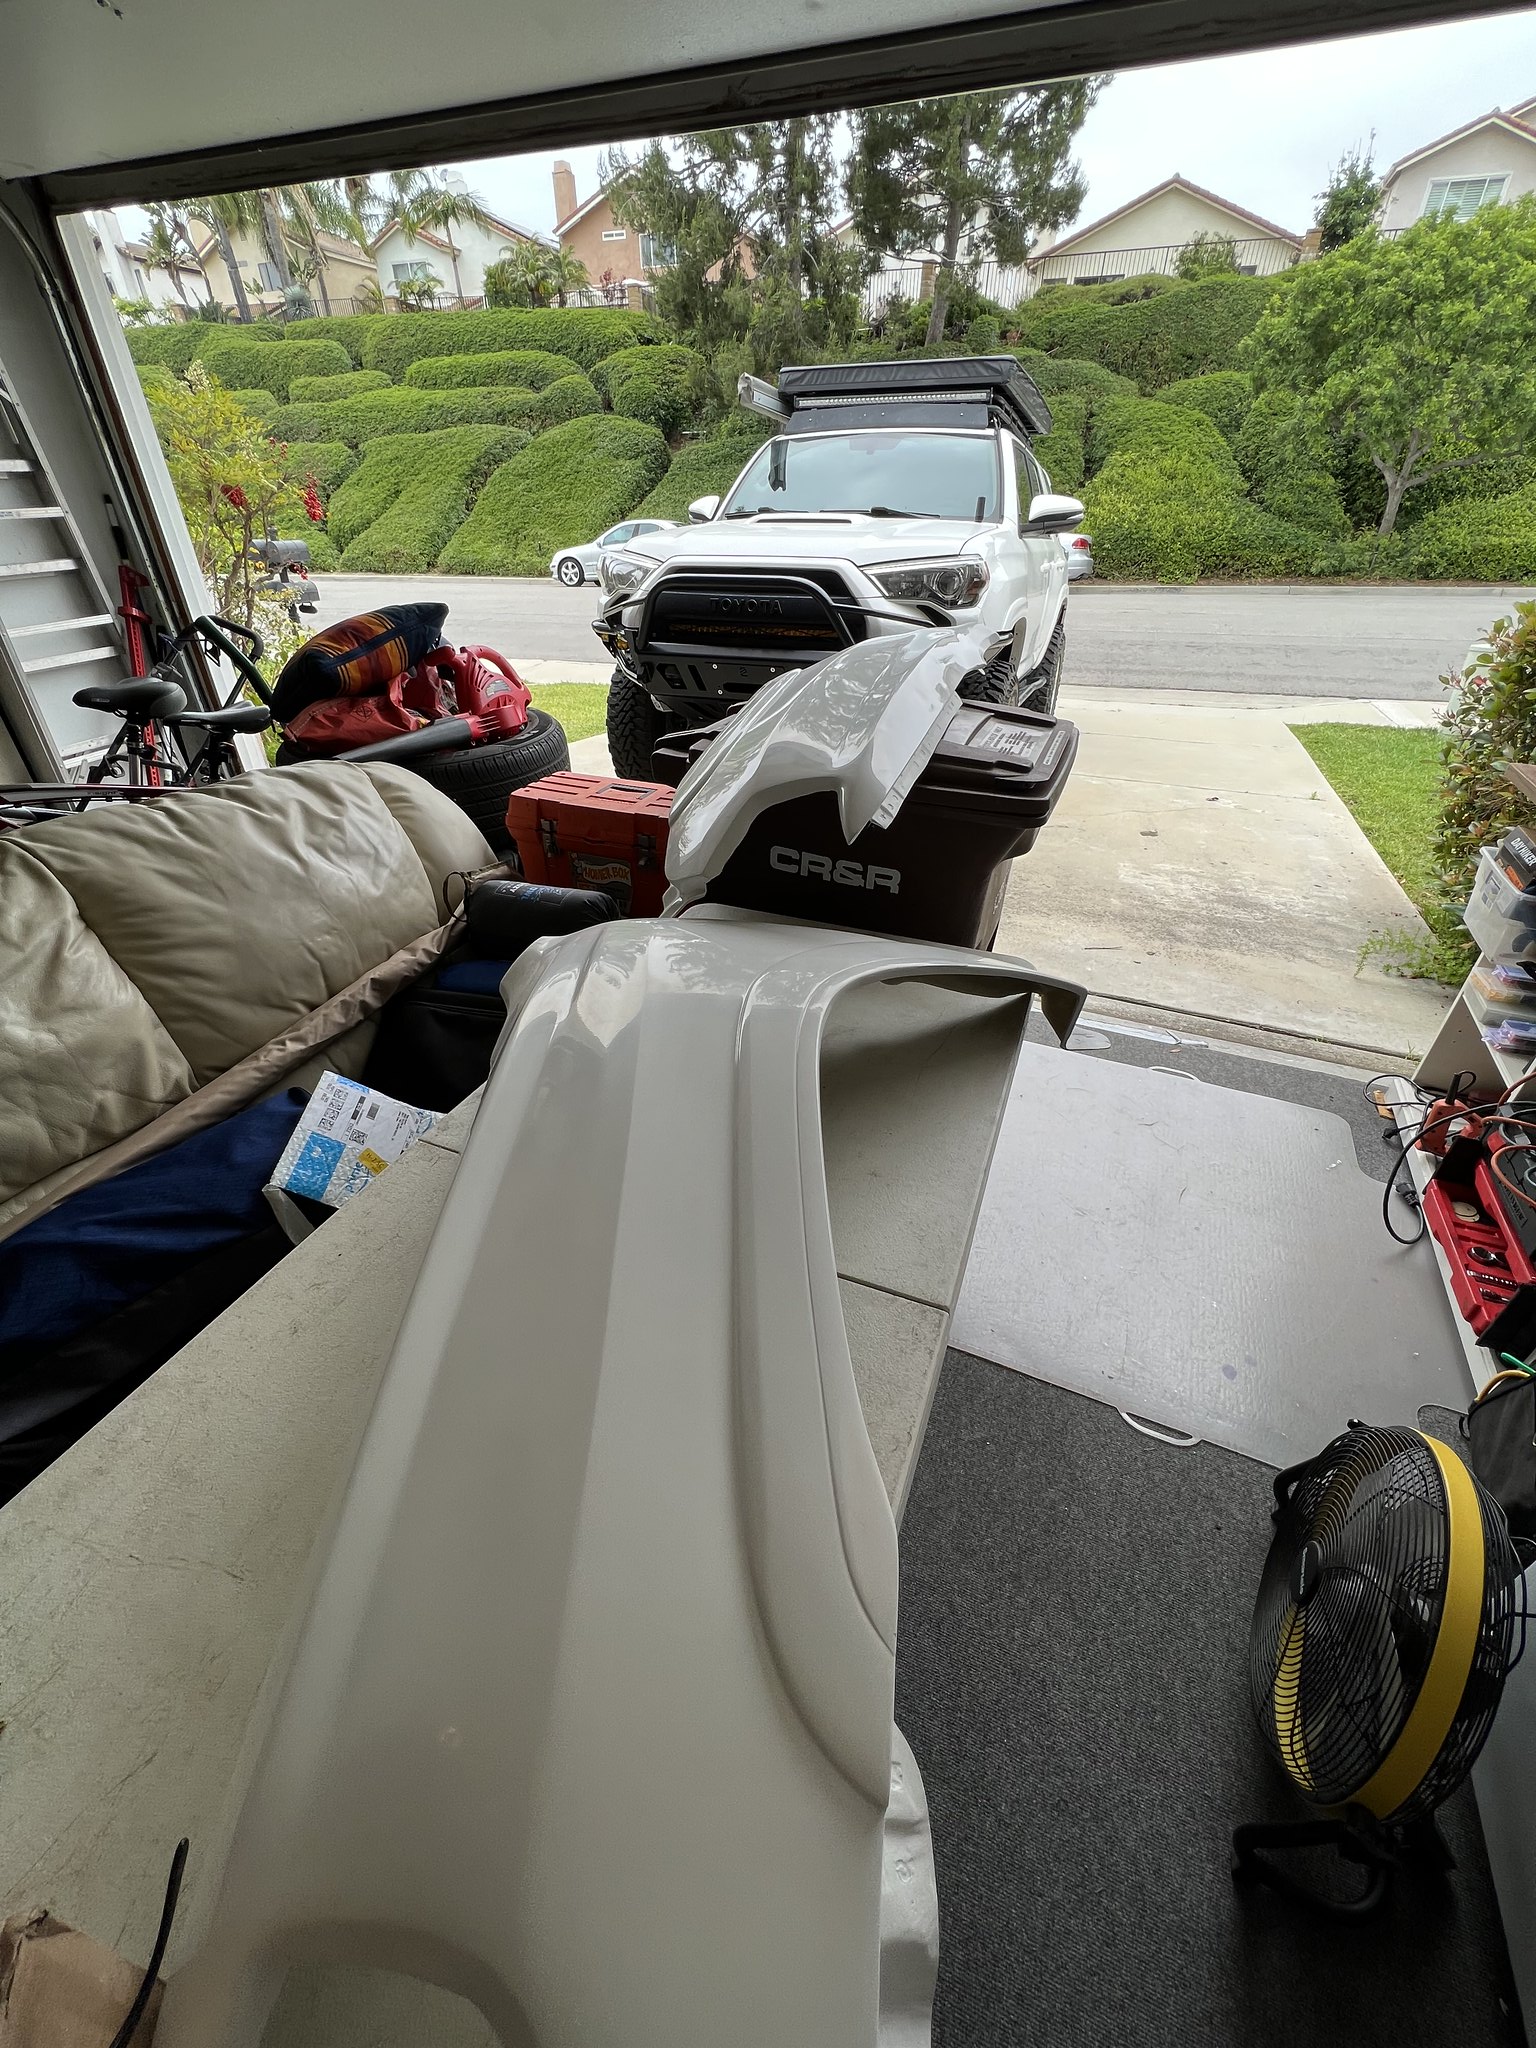
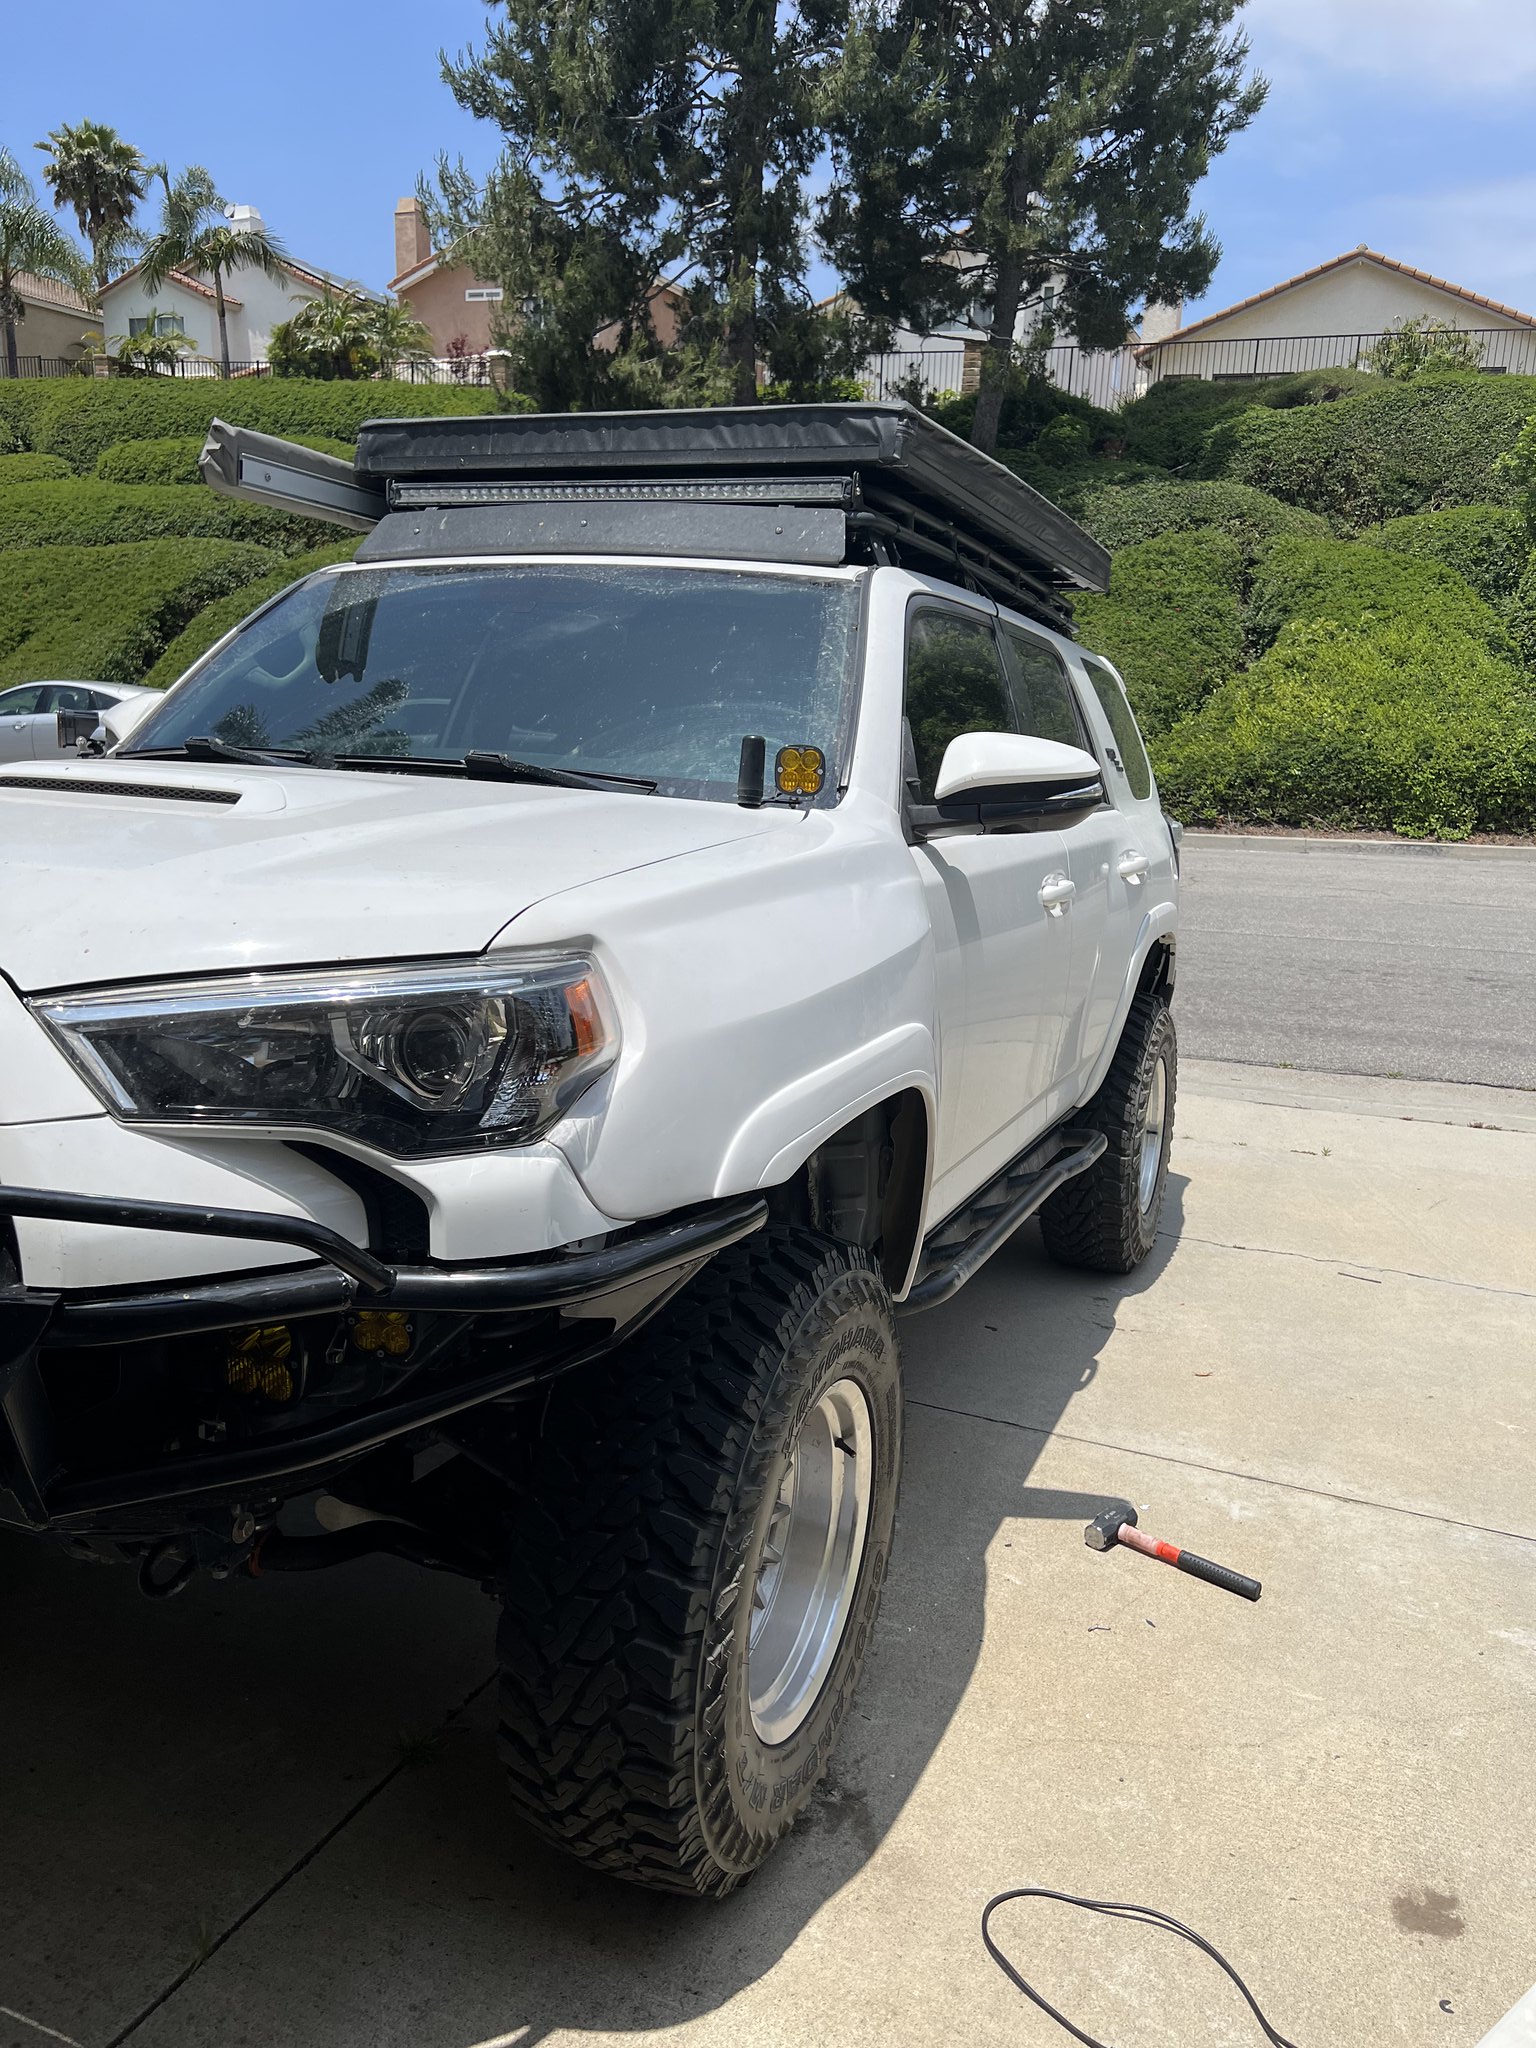
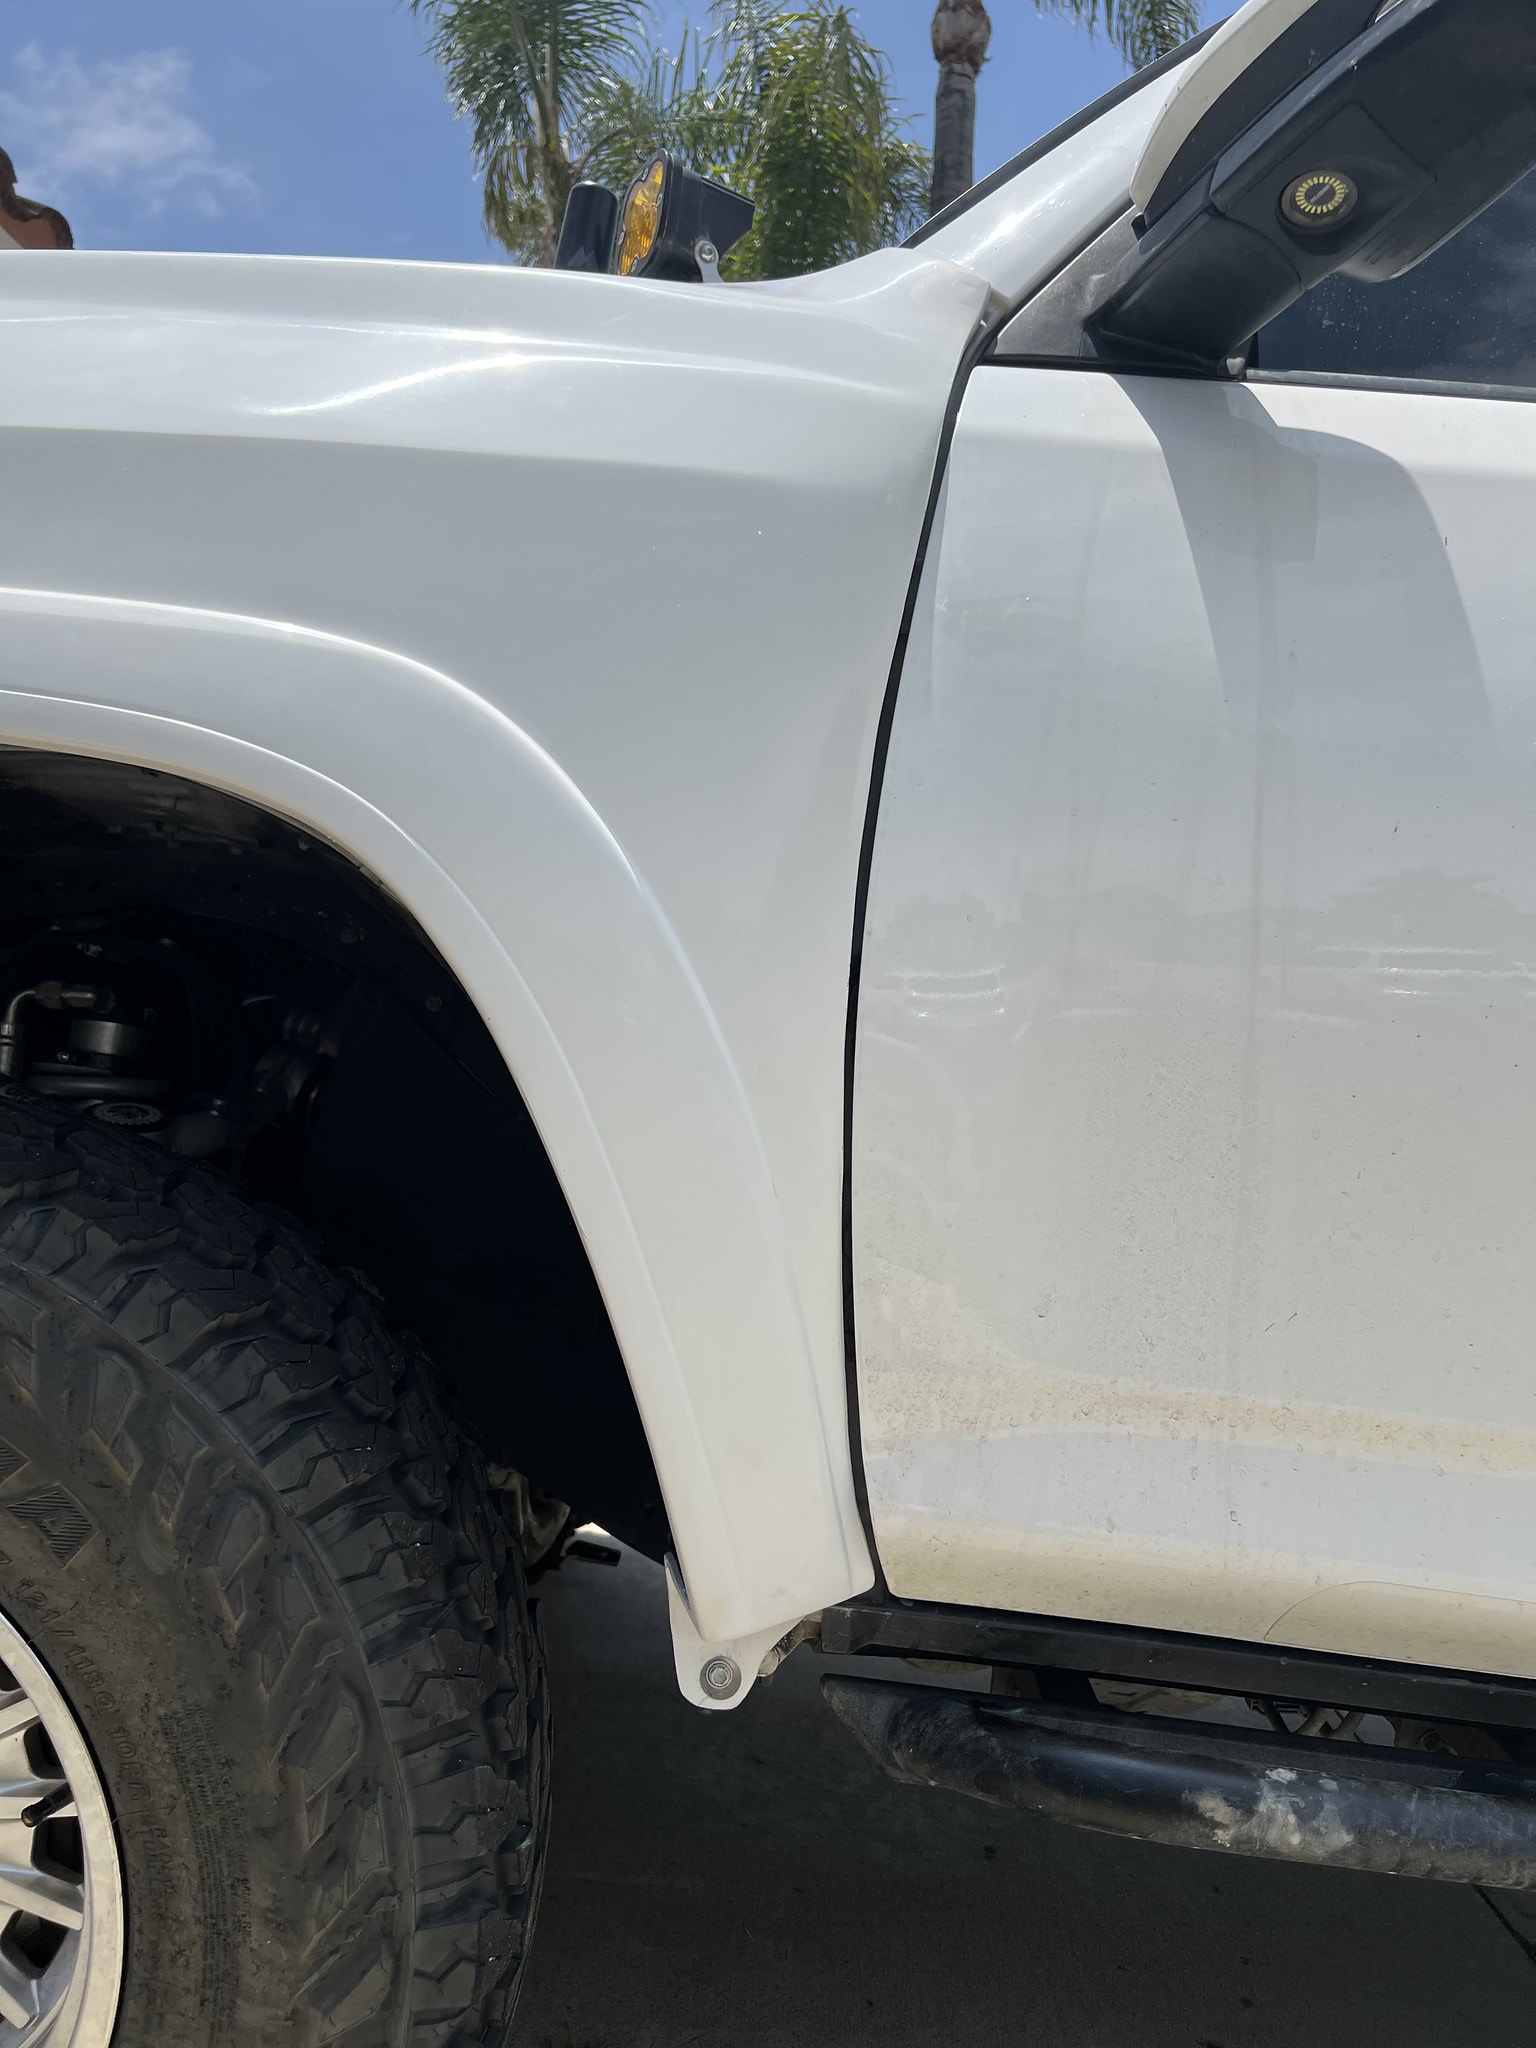
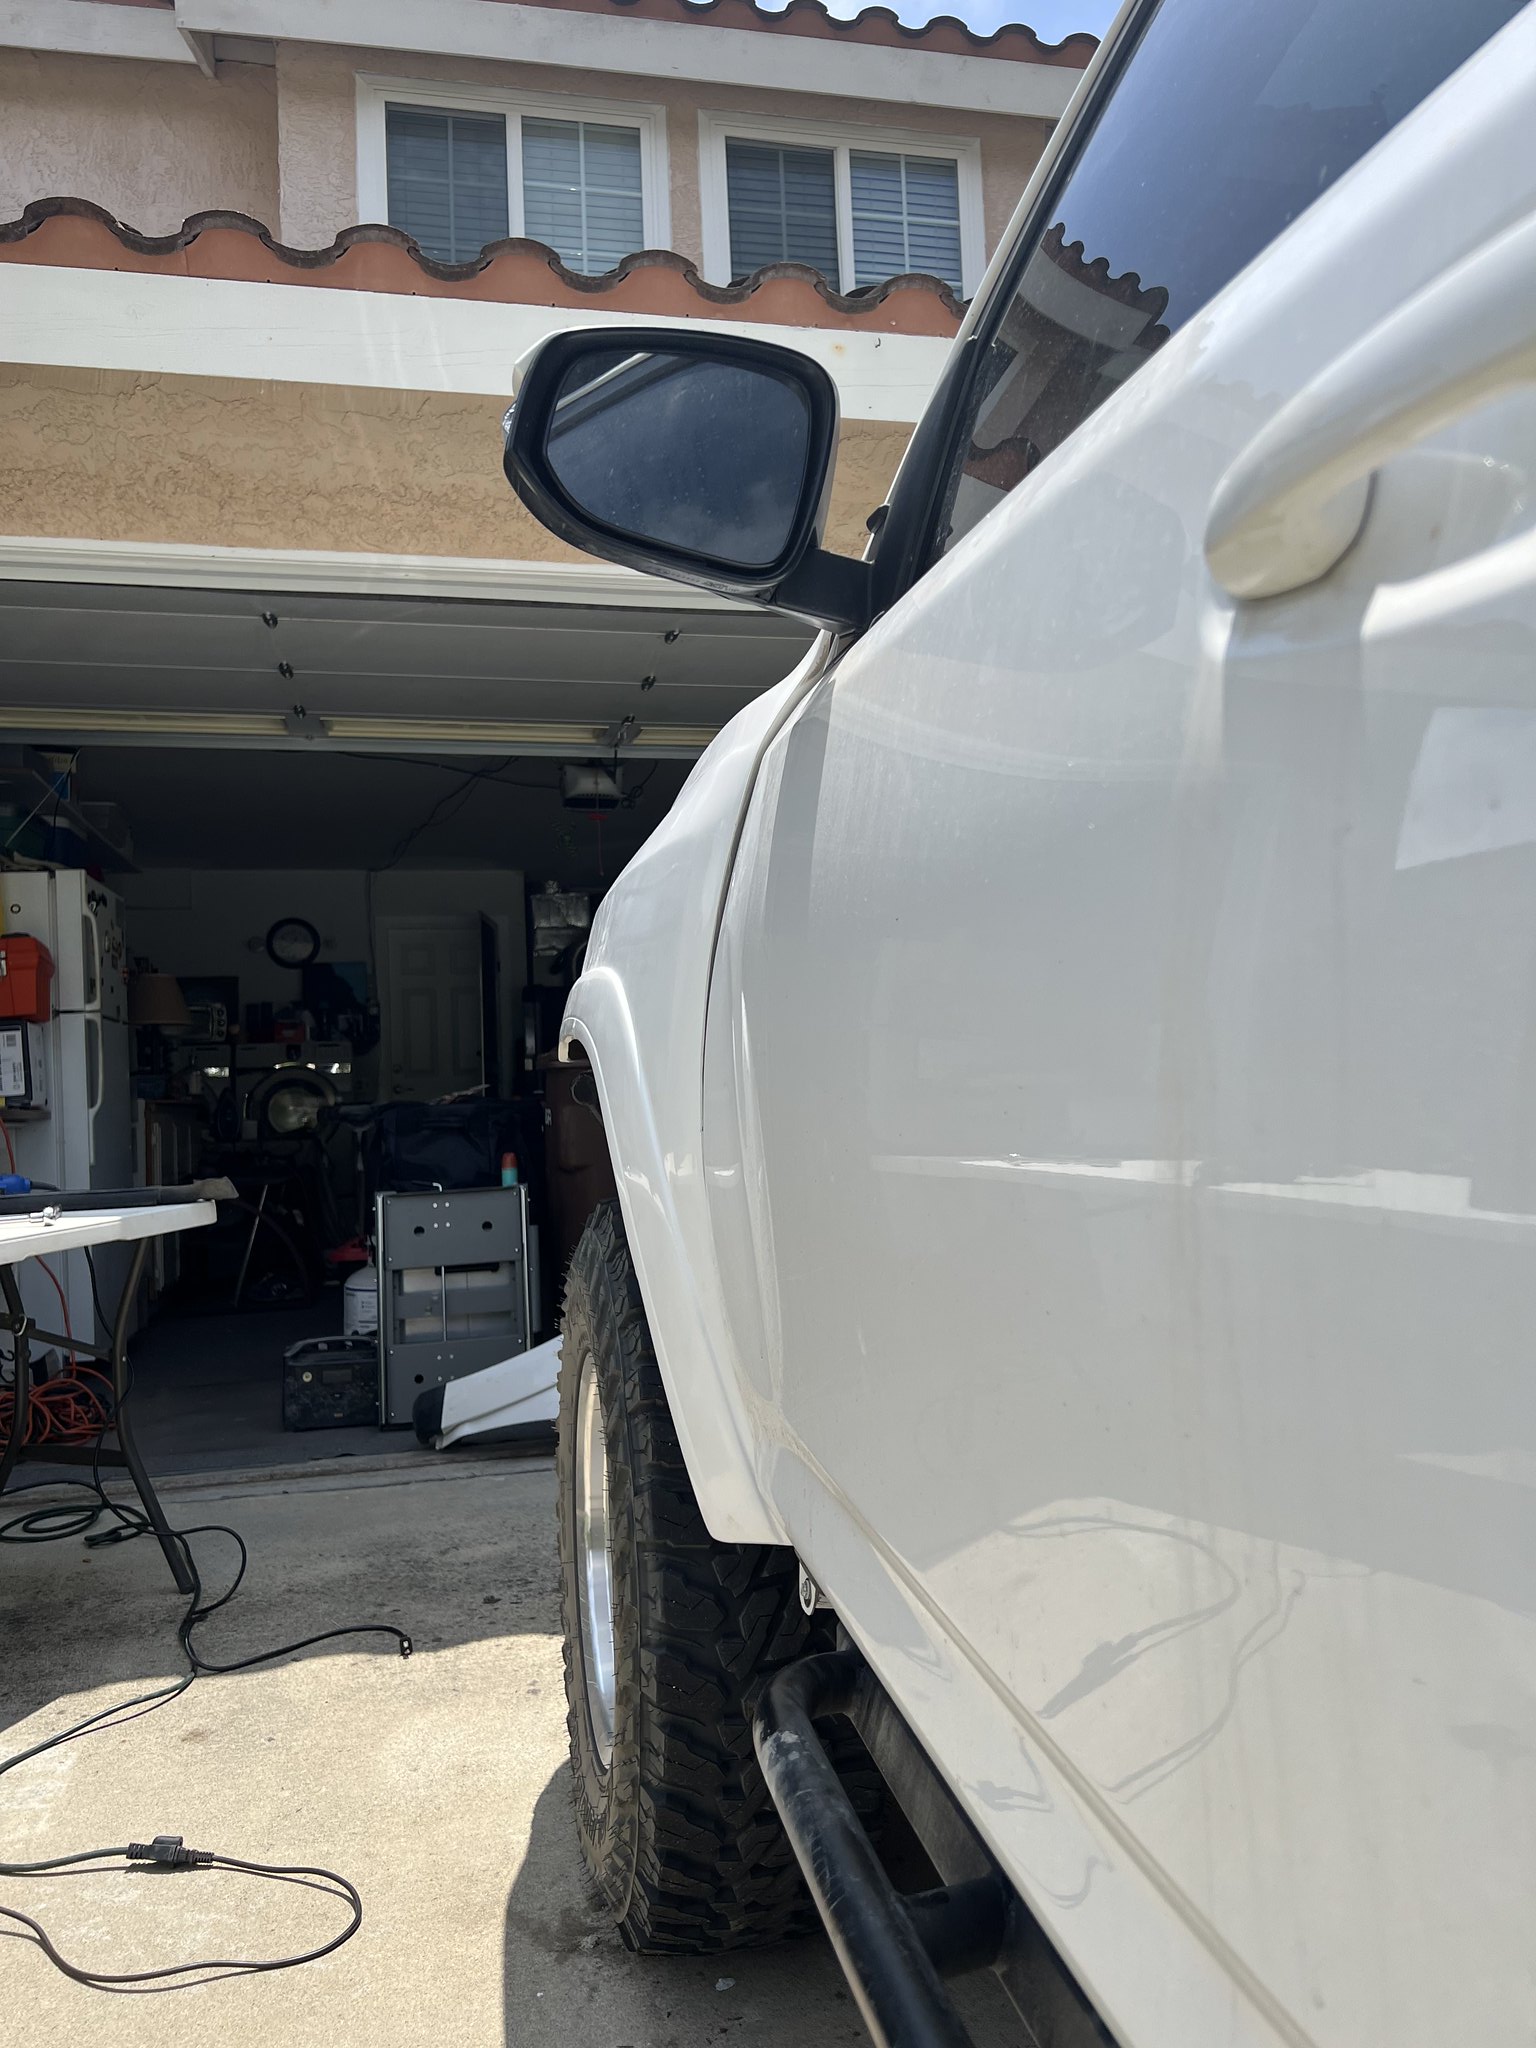
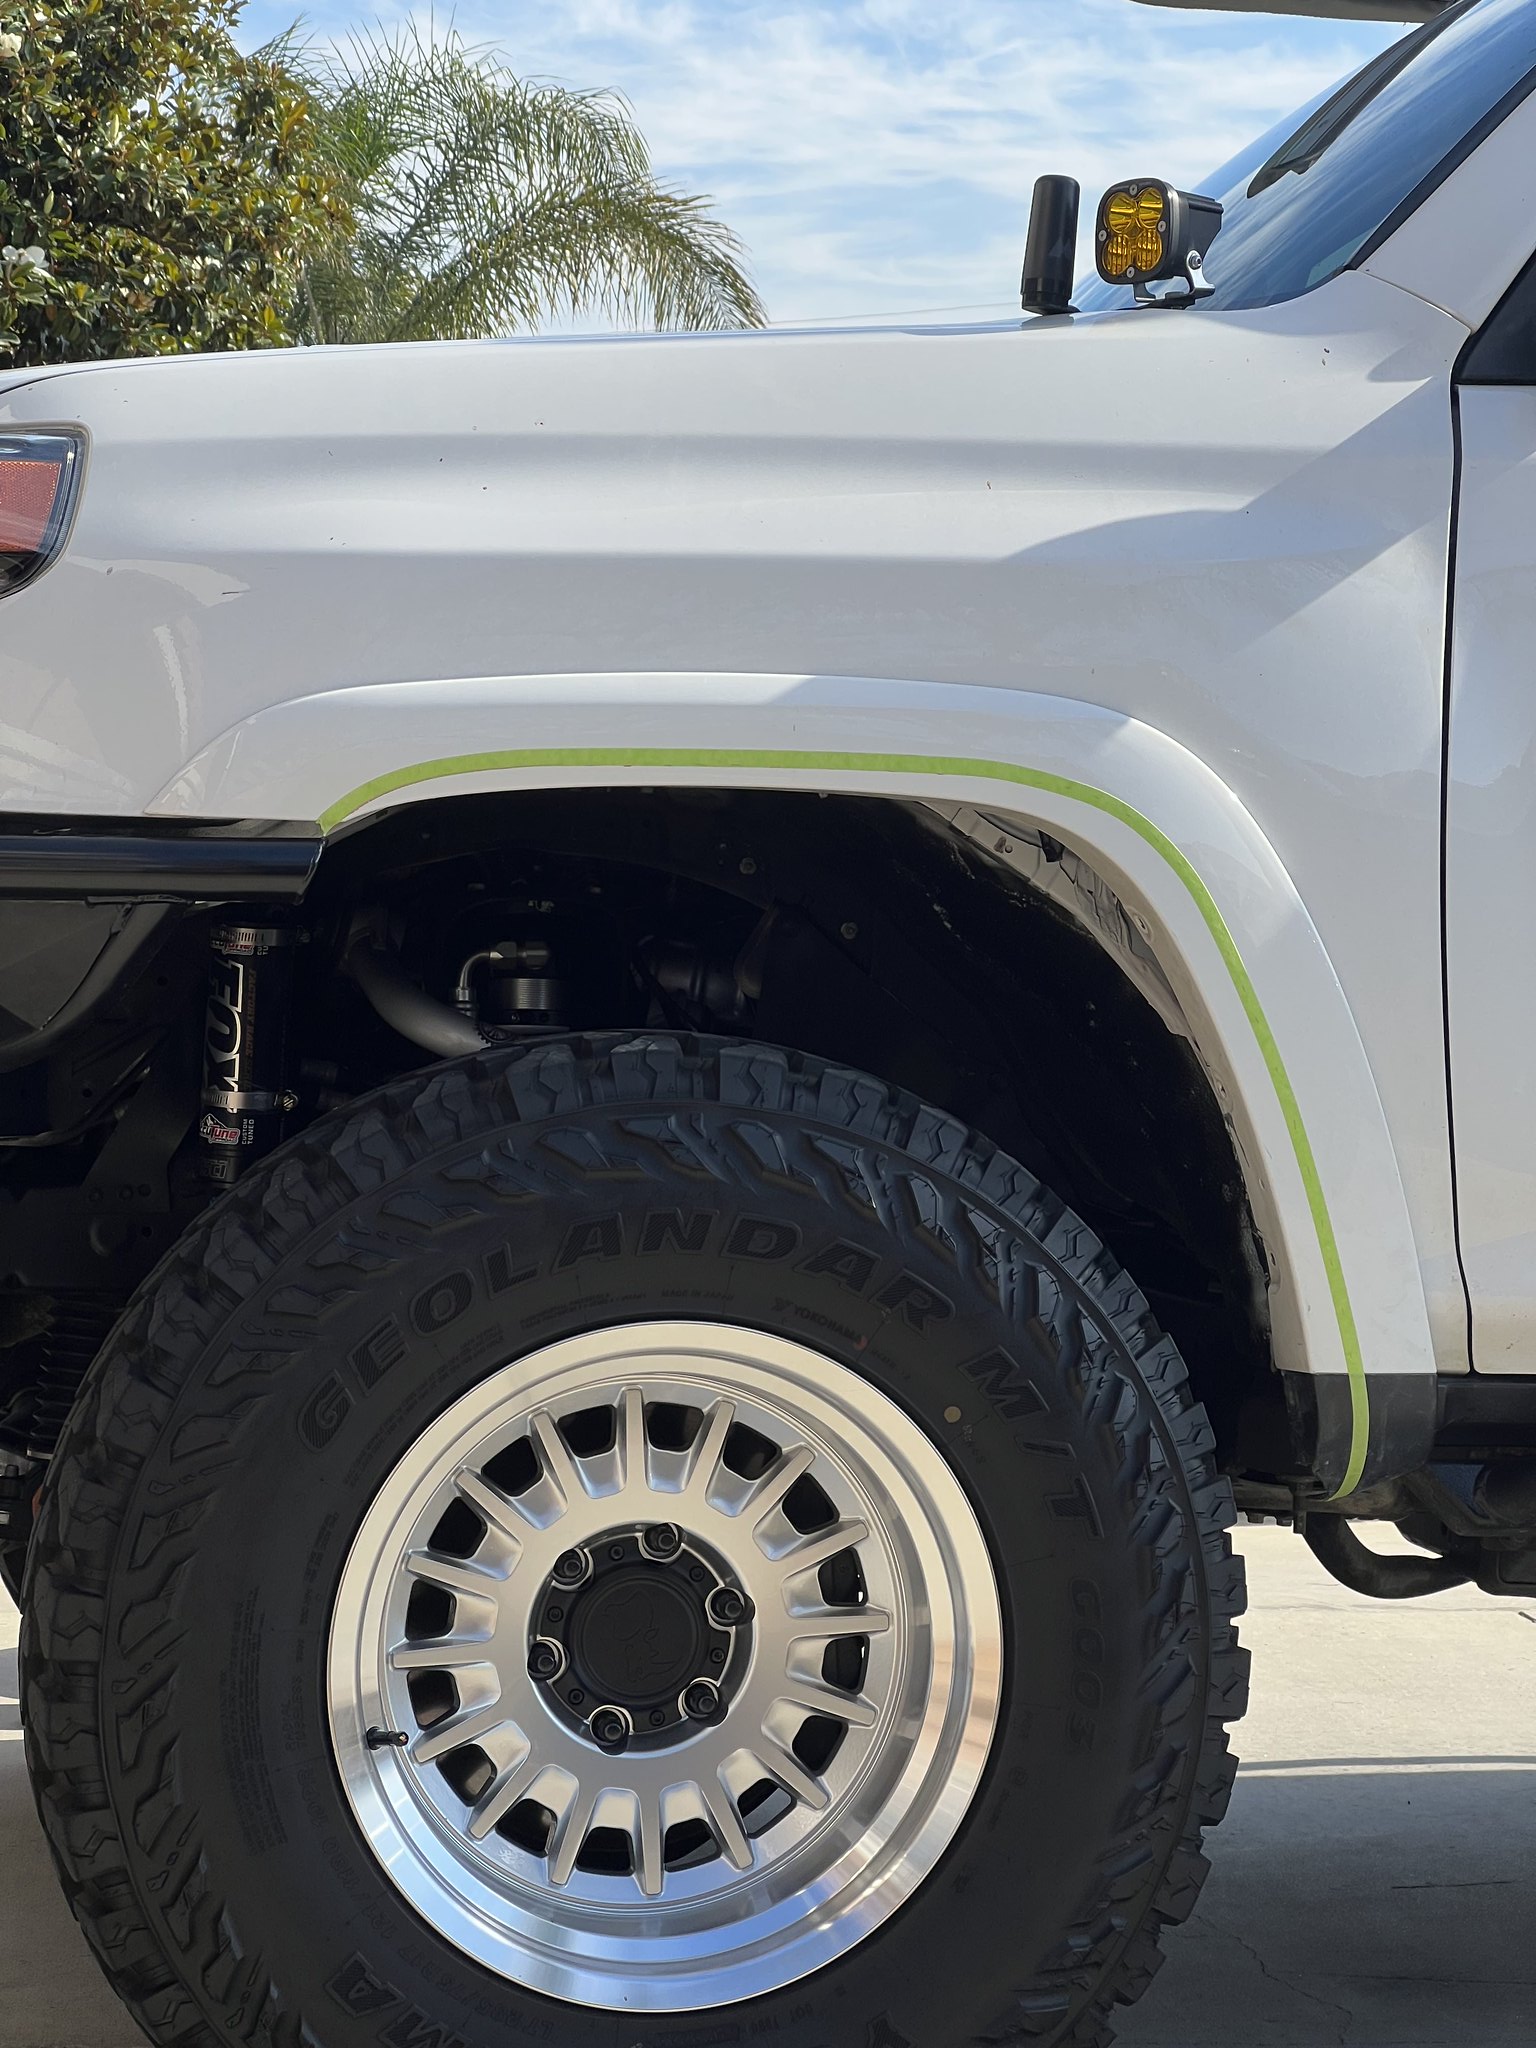
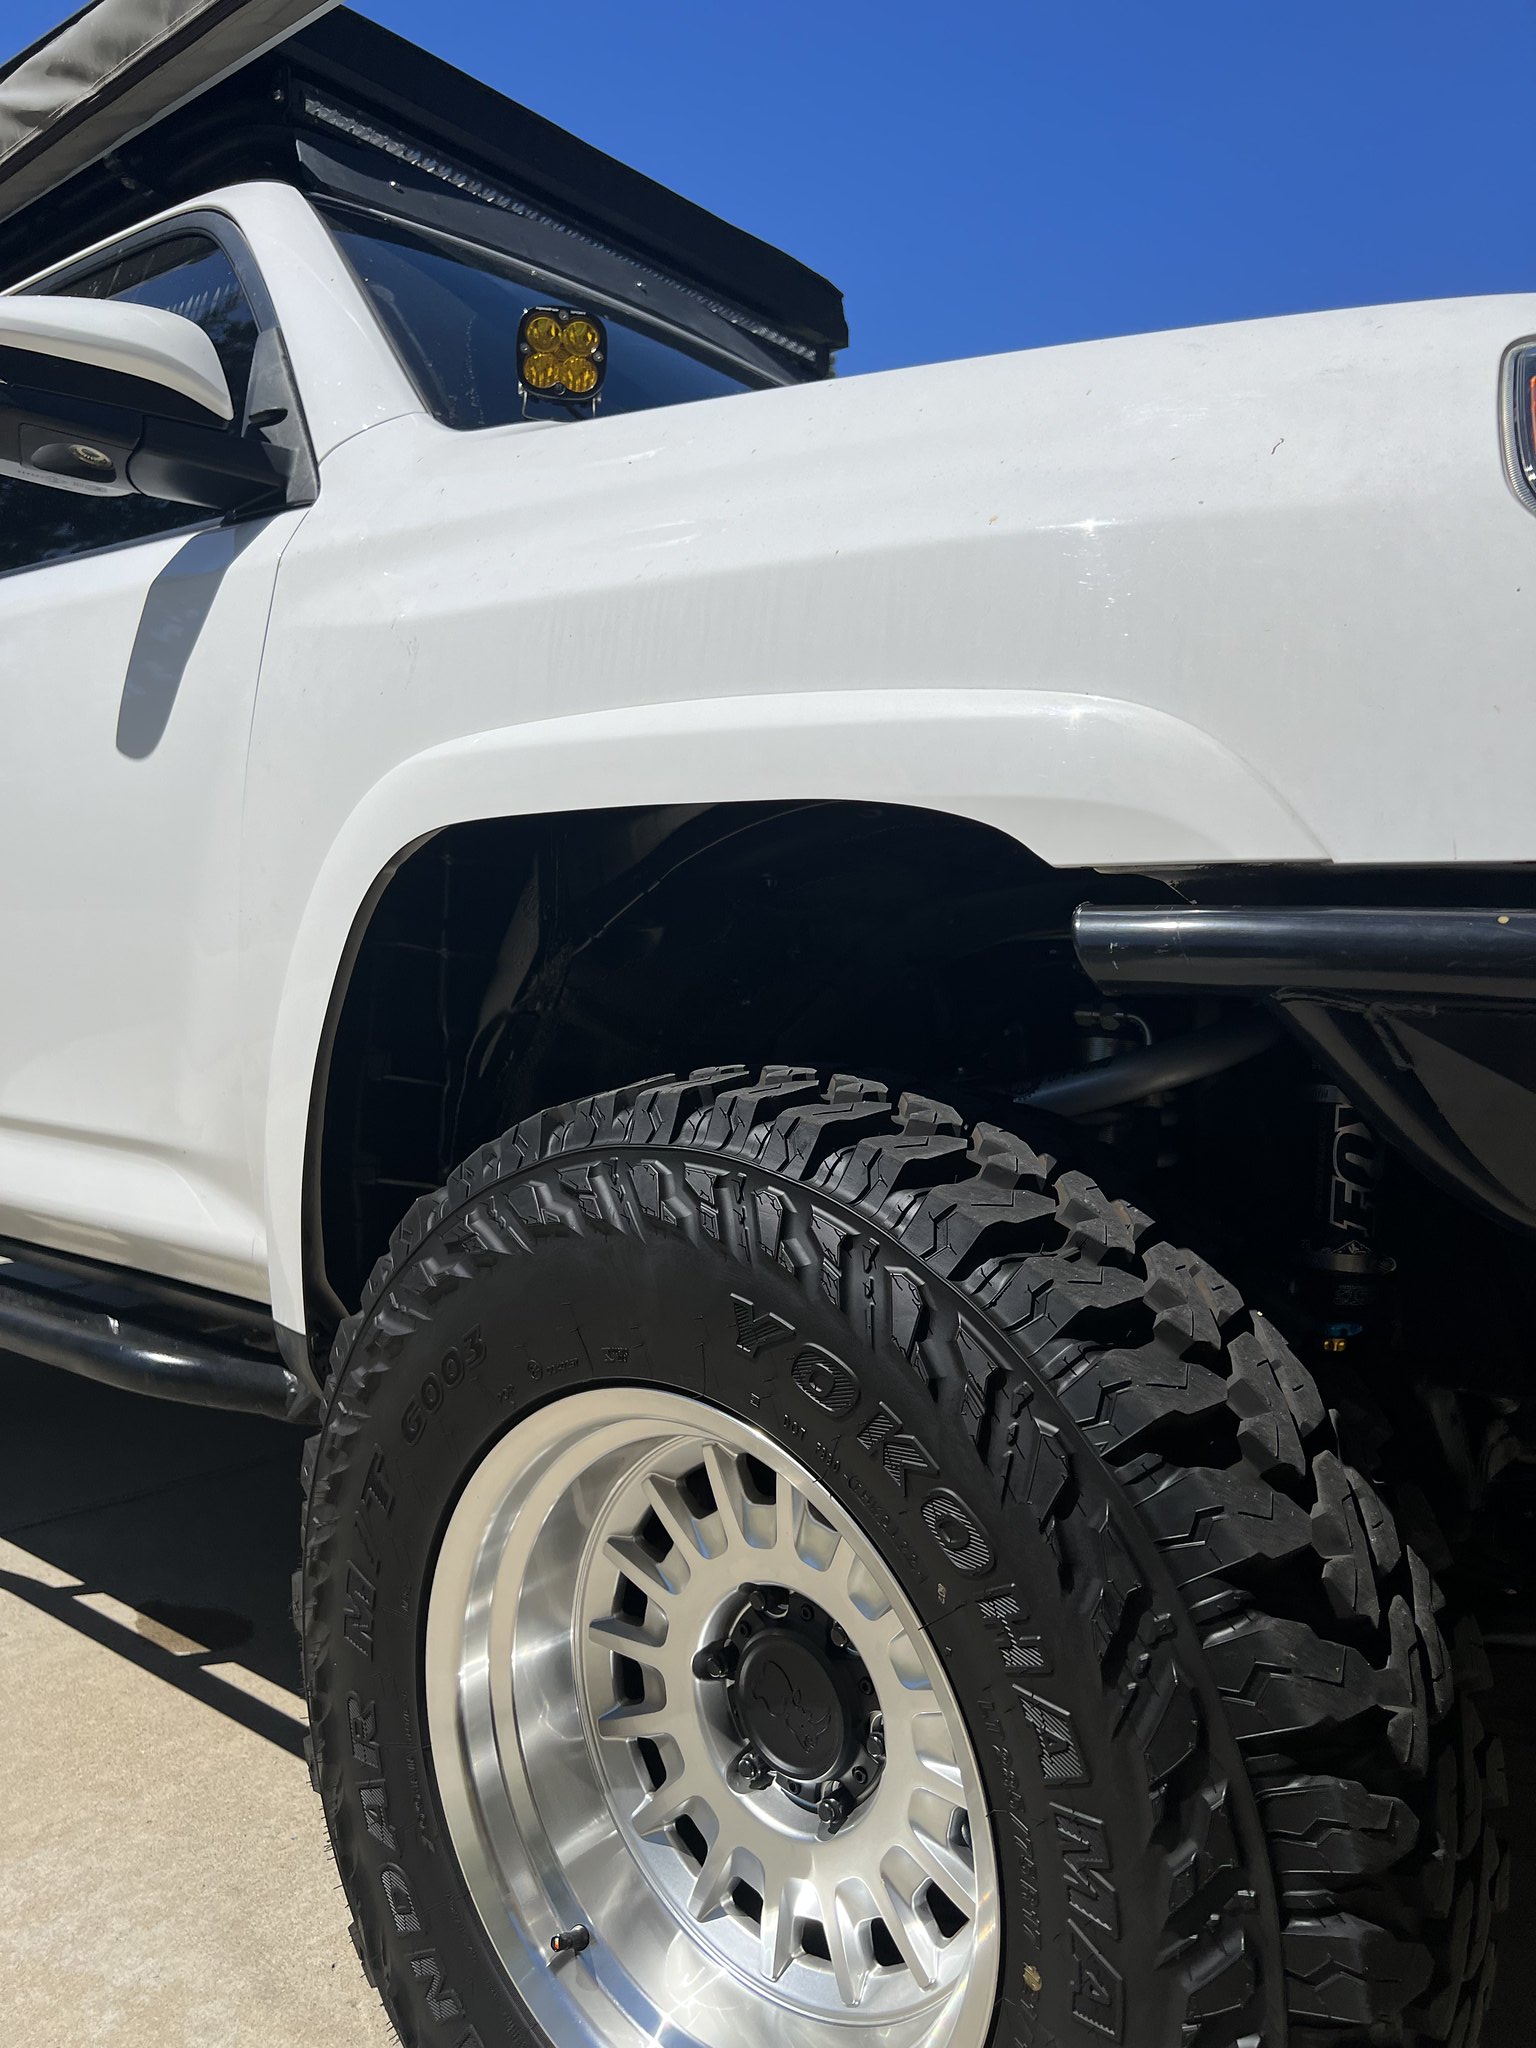
A few more shots of the fenders....
IMG_4634 by rjtakesphotos, on Flickr
IMG_4630 by rjtakesphotos, on Flickr
They still weren't sitting right, and I wasn't sold. The fitment is not great, and they are so tightly fitted that I worry any rub will immediately crack them. Since they don't have any rise, it really didn't give as much clearance as I had hoped.
So I reached out to Jacob aka MagRNR for a fender cut on the oem fenders. Here is his super clean rig:
IMG_4735 by rjtakesphotos, on Flickr
Marking up the cut
IMG_4734 by rjtakesphotos, on Flickr
And after:
IMG_4744 by rjtakesphotos, on Flickr
He also did me a solid and hammered my pinch welds down. The cuts were super clean and came out way better than I expected. Don't think I am going back to the wider fenders.
[/url]IMG_4743 by rjtakesphotos, on Flickr[/IMG]![]()
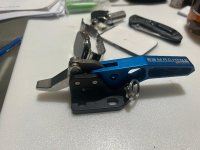
Next up was to replace the latch on the rear bumper. Outgear Solutions announced this a few weeks back and I jumped on it. Expensive but so much cleaner than the original latch...
[/url]IMG_4755 by rjtakesphotos, on Flickr[/IMG]![]()
[/url]IMG_4754 by rjtakesphotos, on Flickr[/IMG]![]()
[/url]IMG_4757 by rjtakesphotos, on Flickr[/IMG]![]()
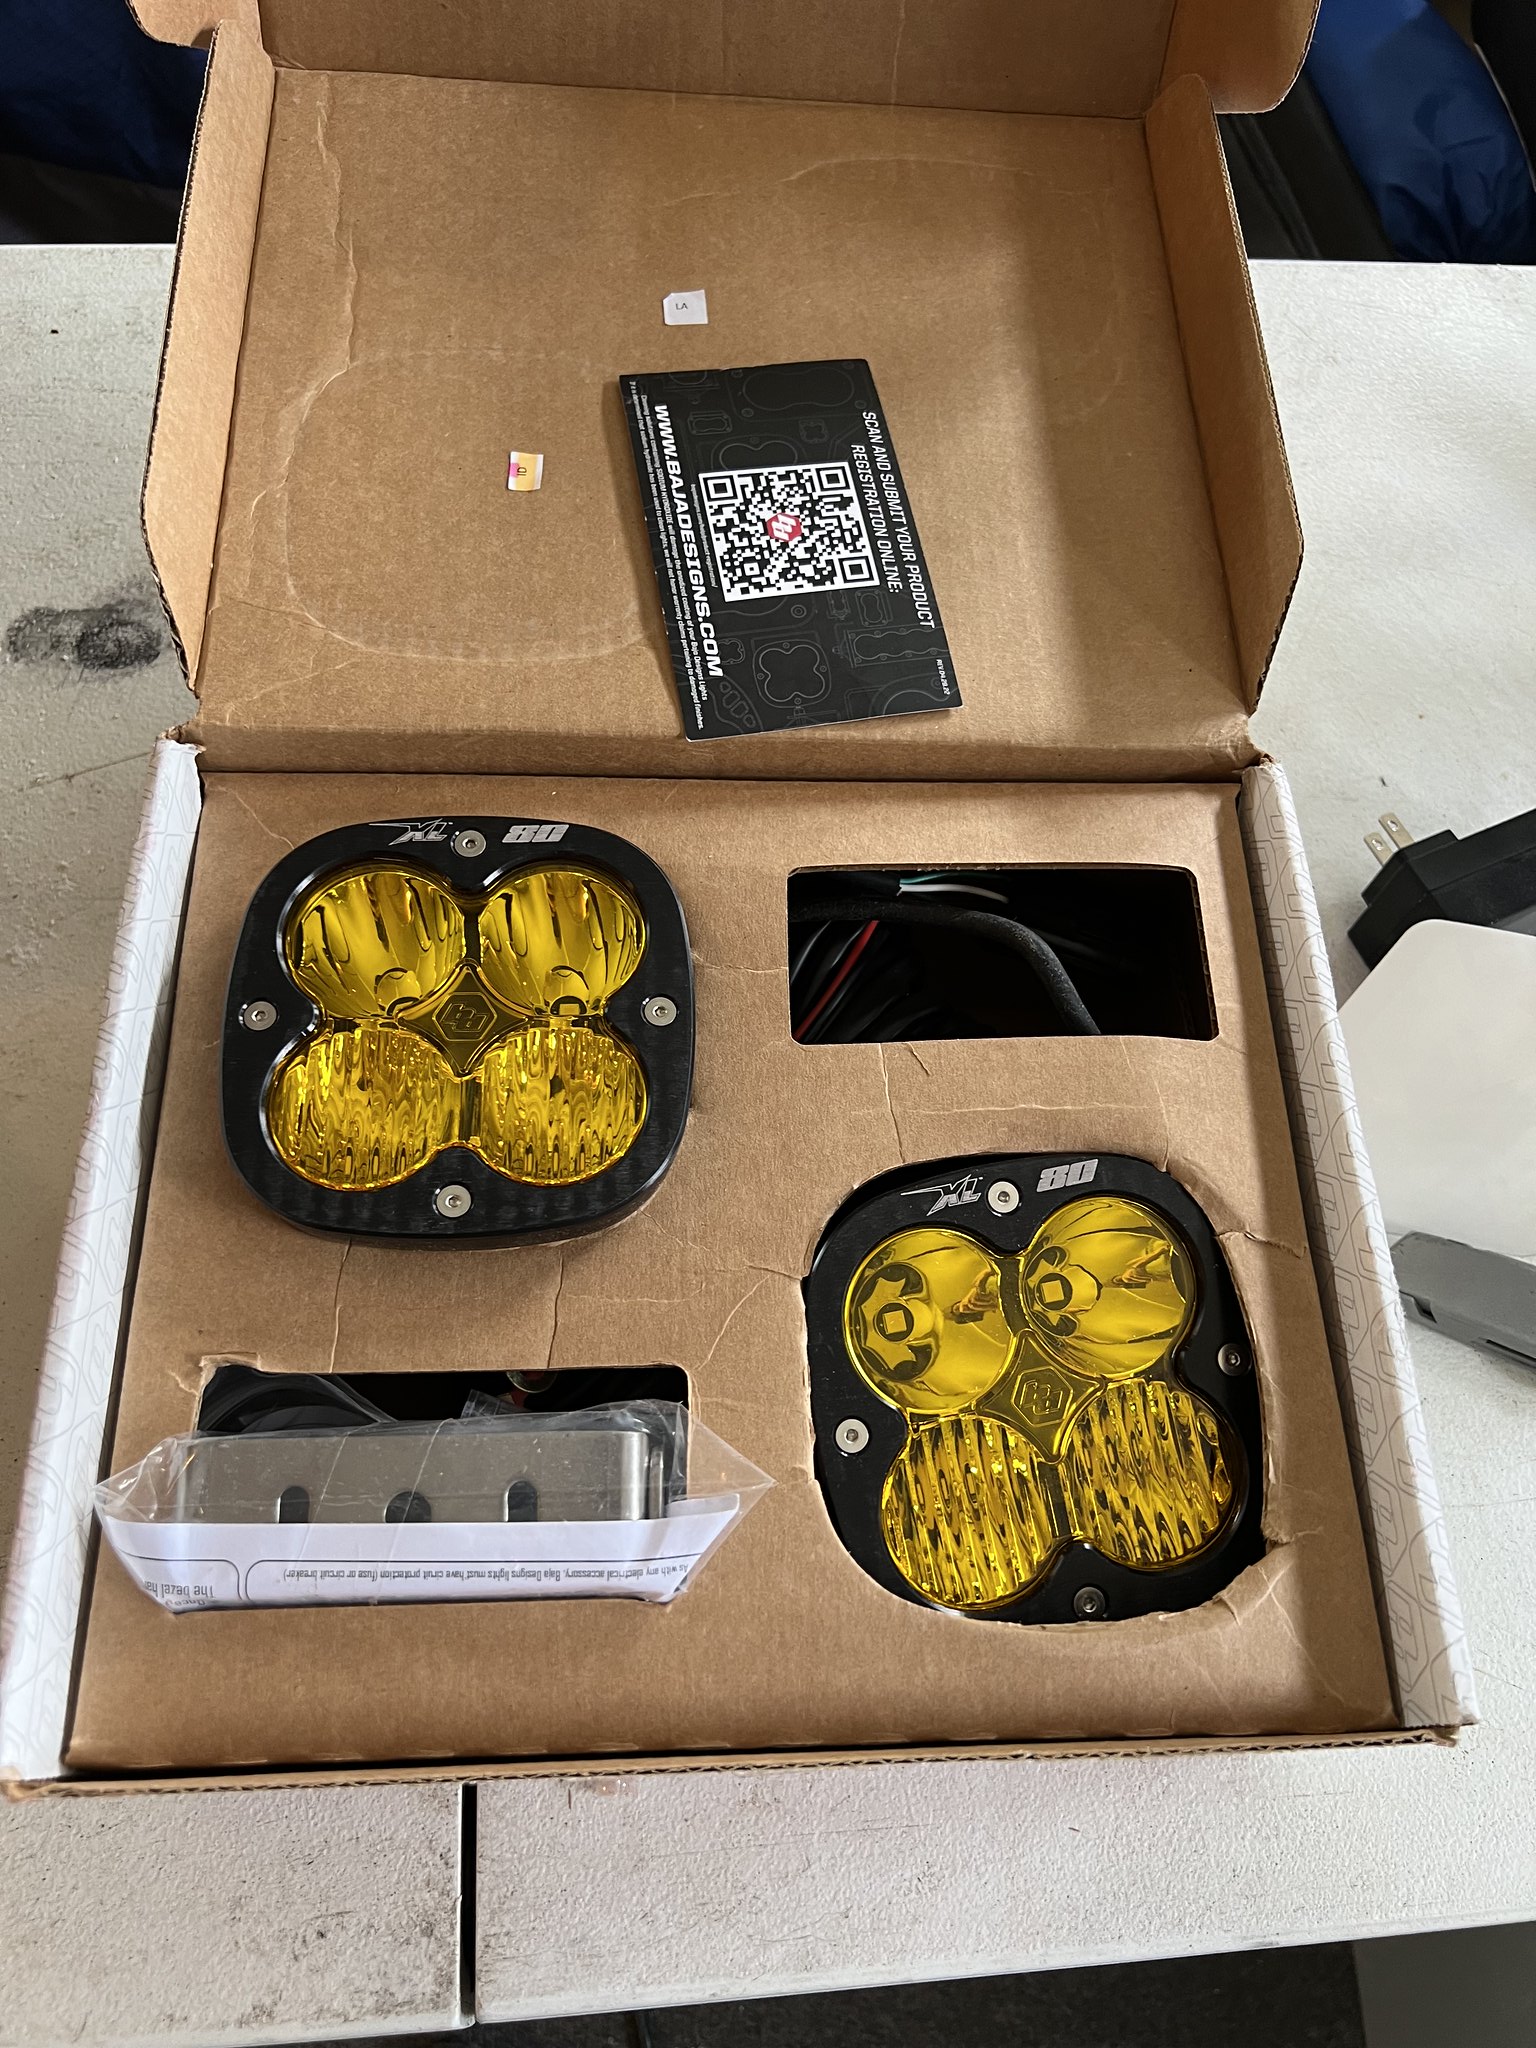
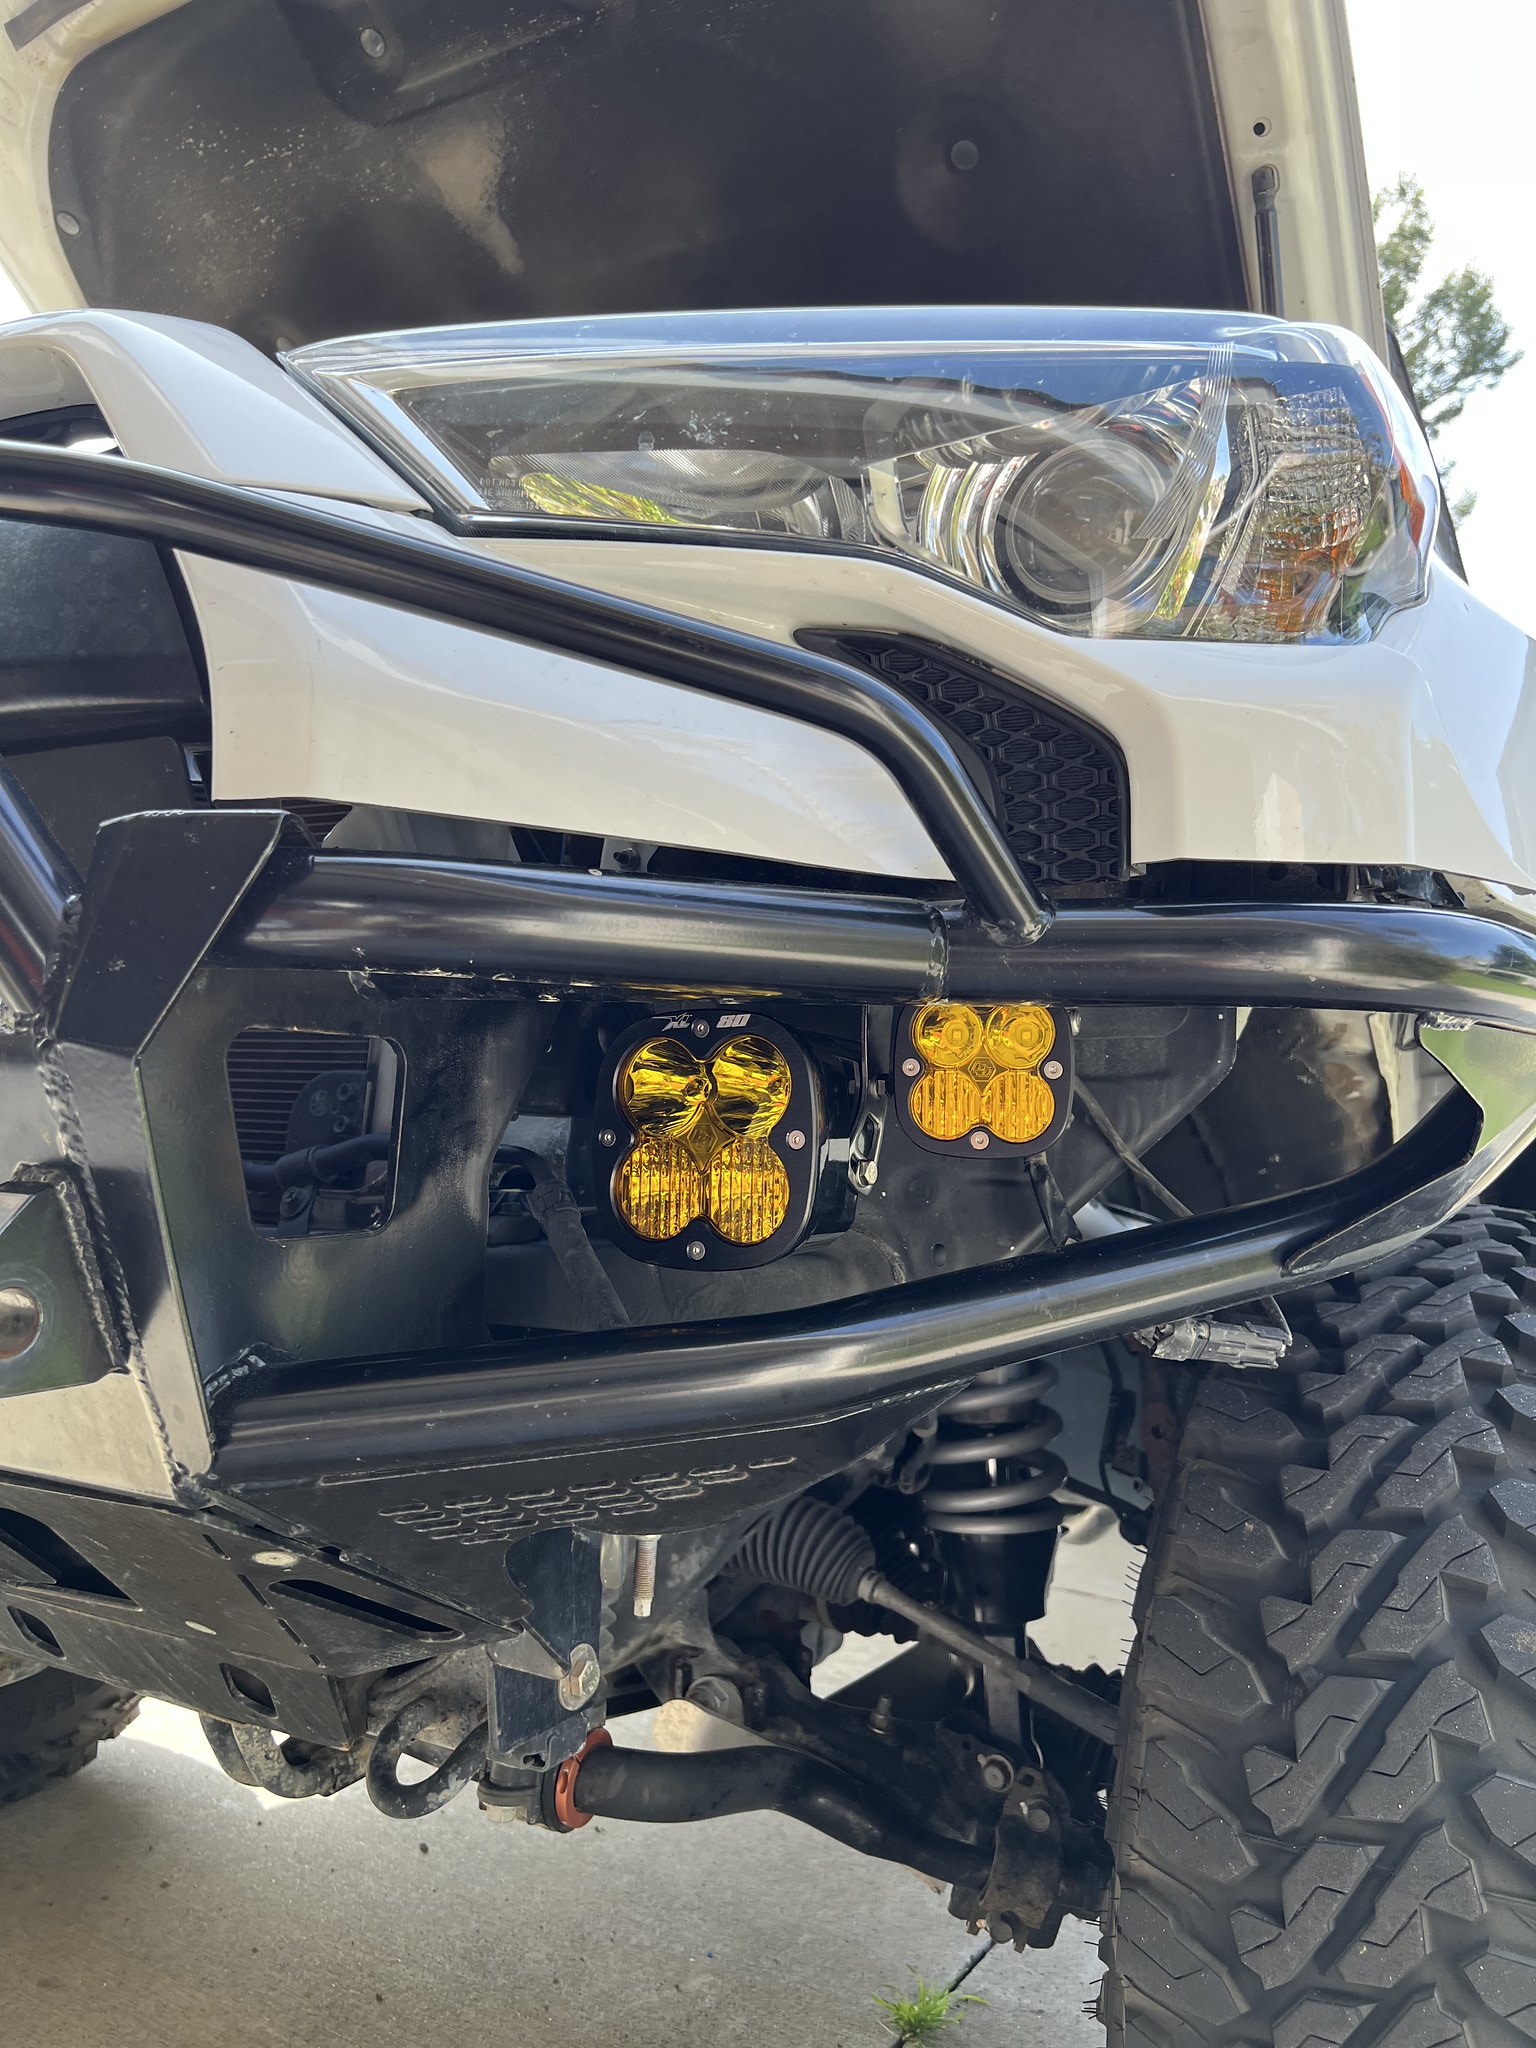
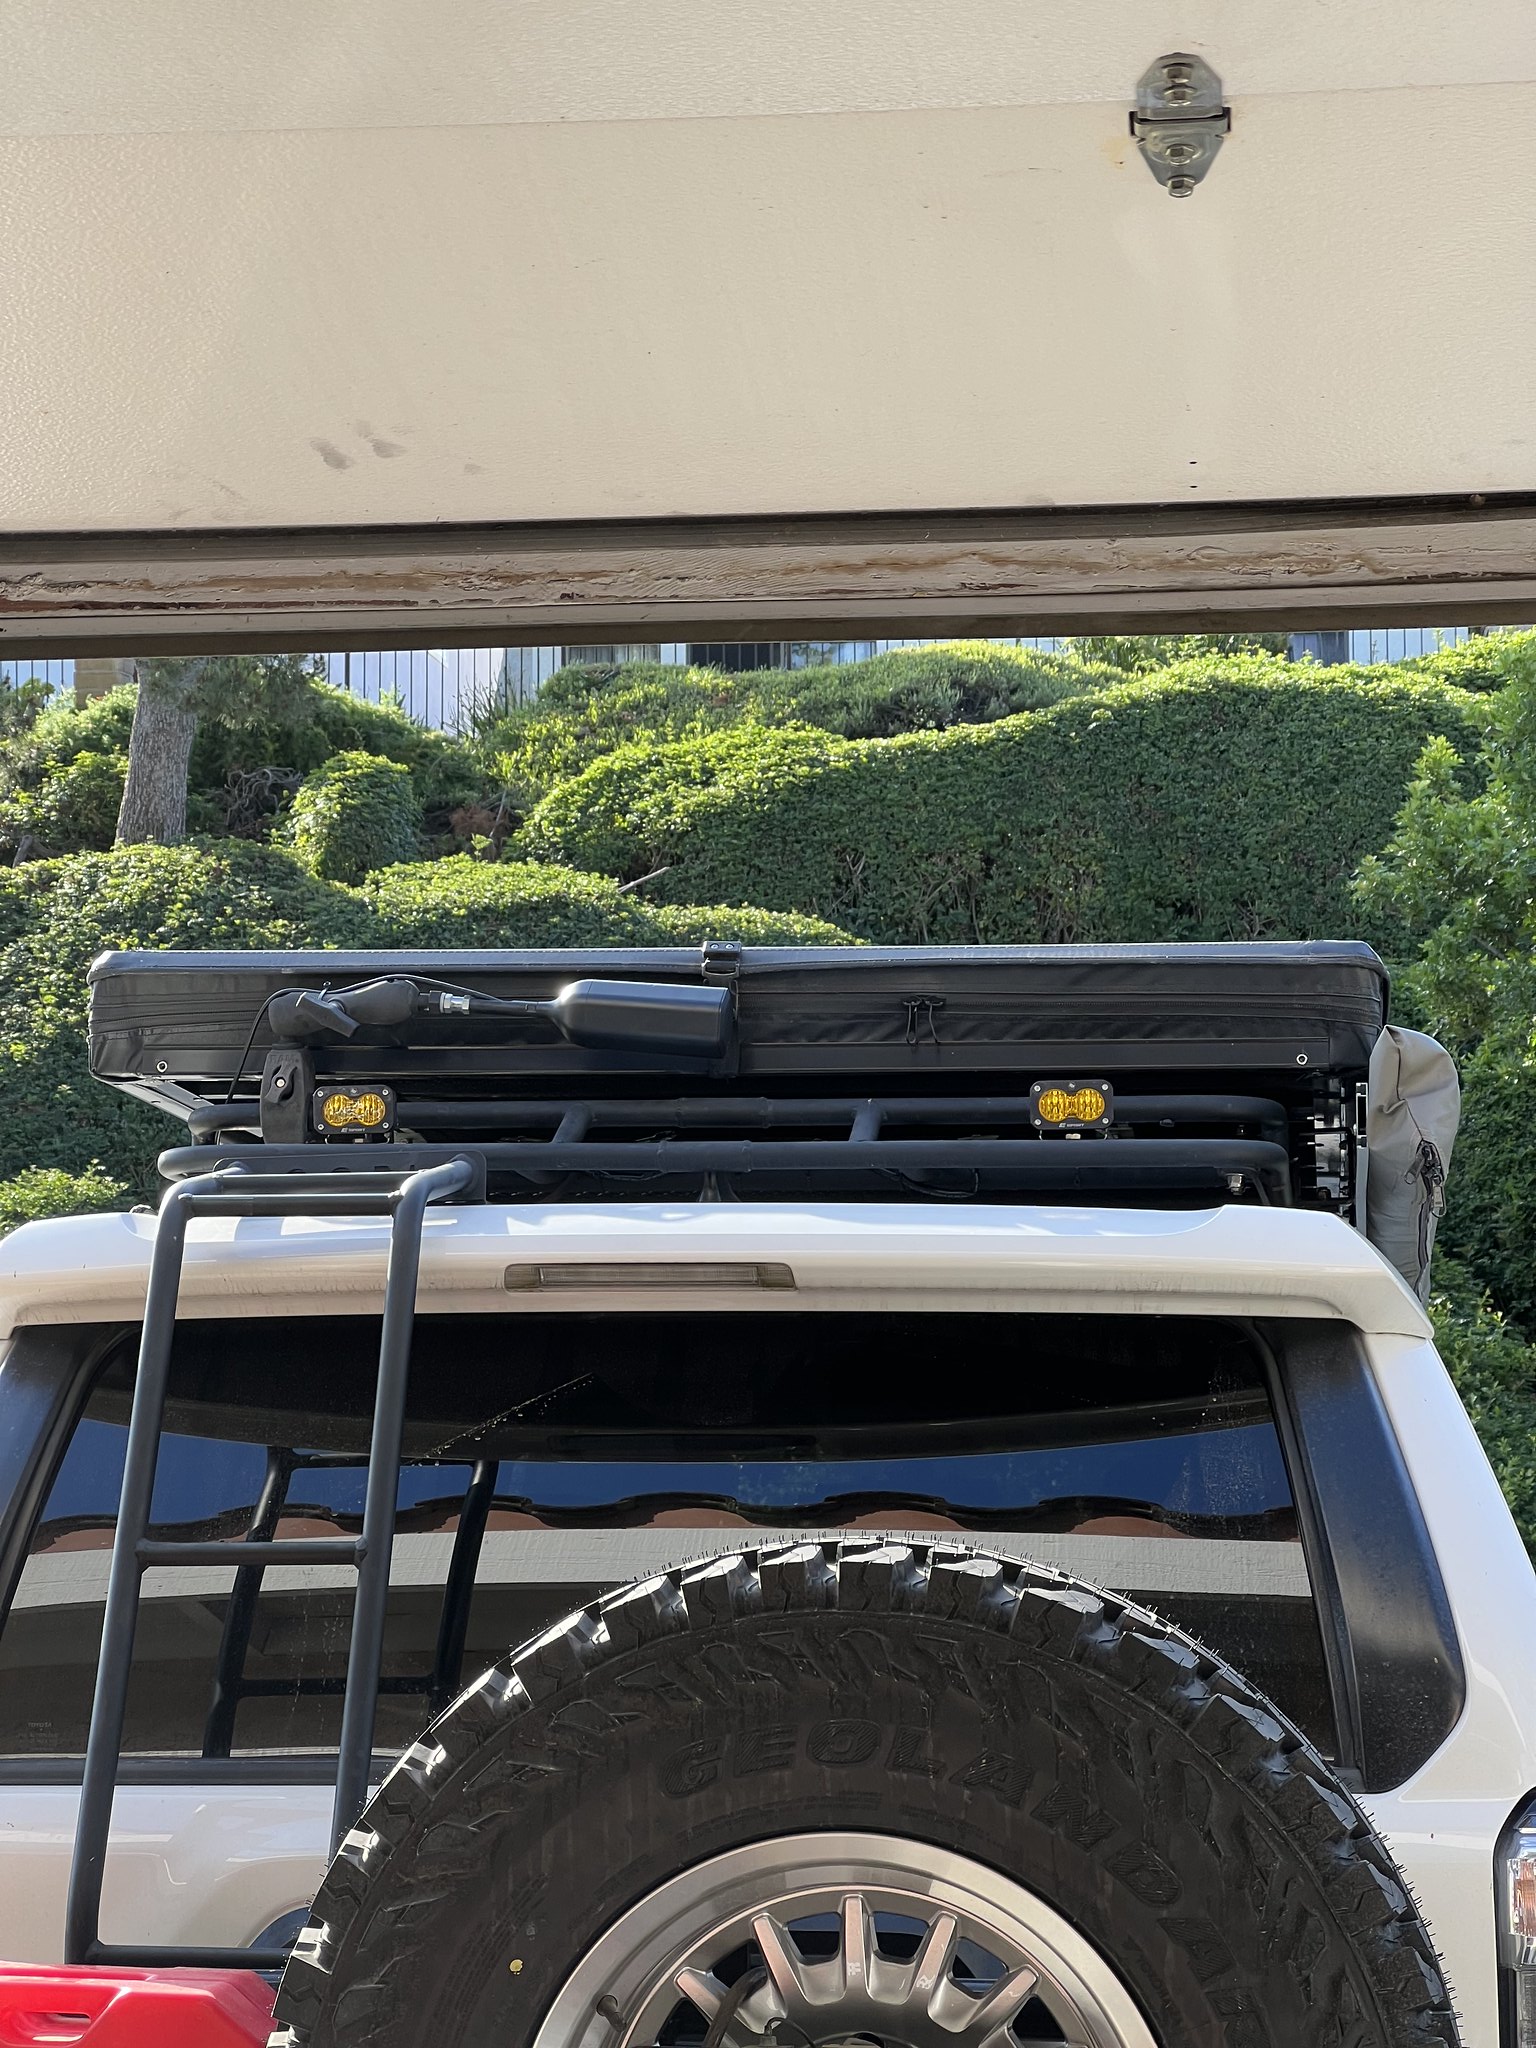
This also showed up... The Baja Design S1 Hitch light. Got the harness kit and have it set up as my reverse light!
[/url]IMG_4708 by rjtakesphotos, on Flickr[/IMG]![]()
[/url]IMG_4706 by rjtakesphotos, on Flickr[/IMG]![]()
[/url]IMG_4717 by rjtakesphotos, on Flickr[/IMG]![]()
Lastly, was to swap out the rear icon overland springs with these Dobinsons 749's! Also got the PCK correction kit and decided to get them done together.
[/url]IMG_4742 by rjtakesphotos, on Flickr[/IMG]![]()
[/url]IMG_4176 by rjtakesphotos, on Flickr[/IMG]![]()
[/url]IMG_3119 by rjtakesphotos, on Flickr[/IMG]![]()
Dang it, you made me spend more monies!!!
I ordered a billet handle in king bling blue based on this thread.... rofl.
Haha whoops. It is really nicely made, but man I hate how expensive it was lol. I already had to replace the original latch last year and this one was getting so rusty and worn. The replacement latch alone is like $50-100 itself, so I decided to just bite the bullet. You will like it though, its well done.
Thanks for the awesome find, and for lightening my wallet :couch2: