The Street Runner

ShoNuff.

New member
copied from another site..

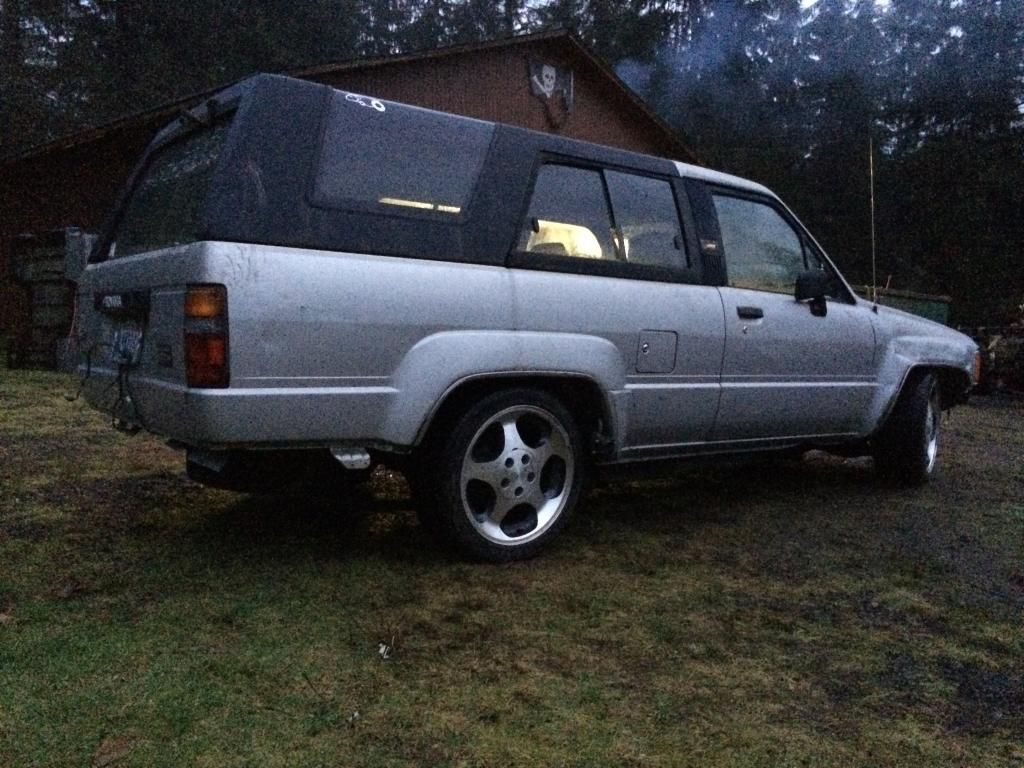
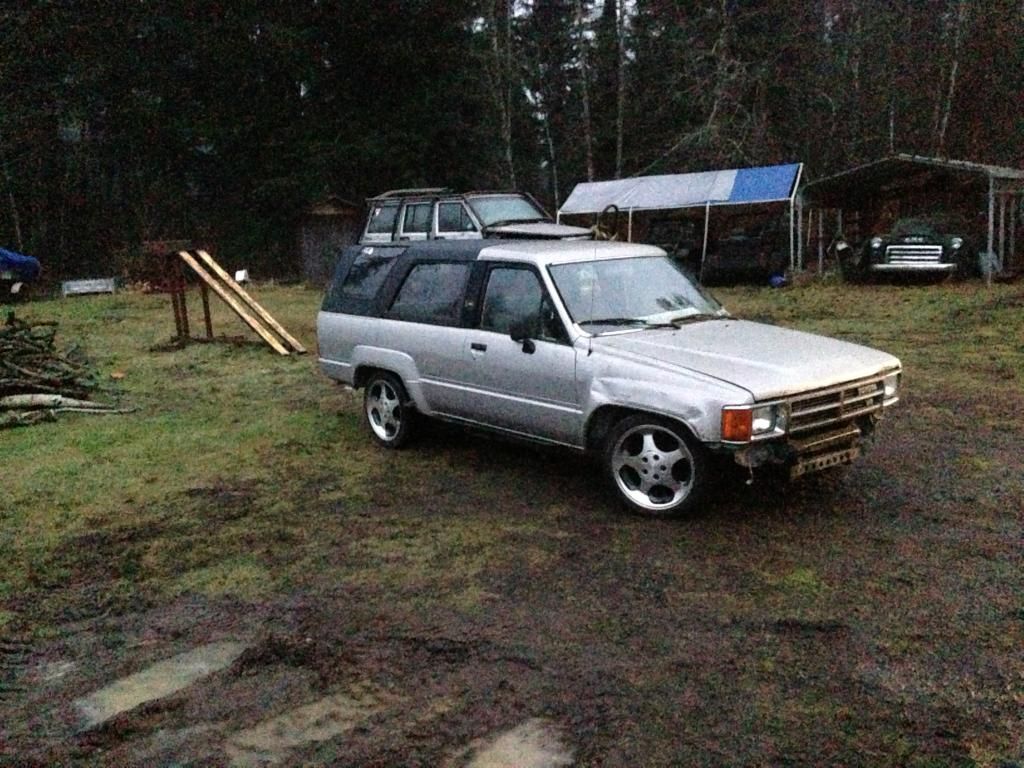
but its still my build and i could find next to no info on how to lower a 4rnr beforehand so im making sure its out there if anyone is thinking about a 2wd body swap. ill be keeping this up to date here too, but anyway on with the build :D


IMG_0126_zps6b57966b.jpg


it's gonna be that good *:D

plan is:
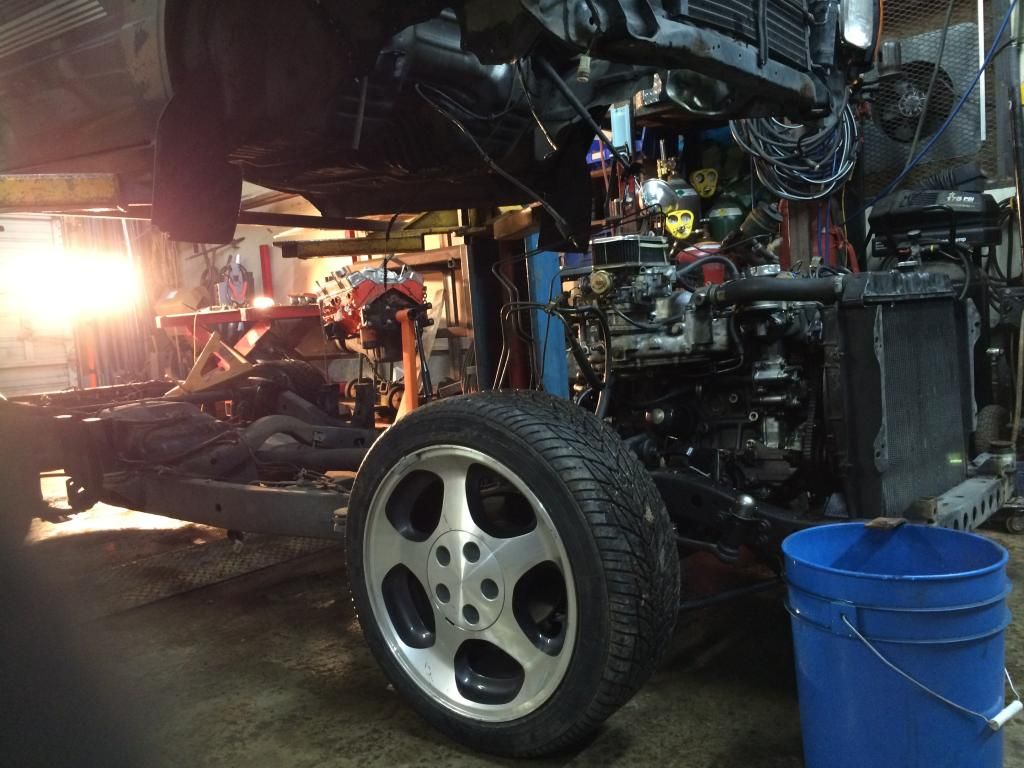
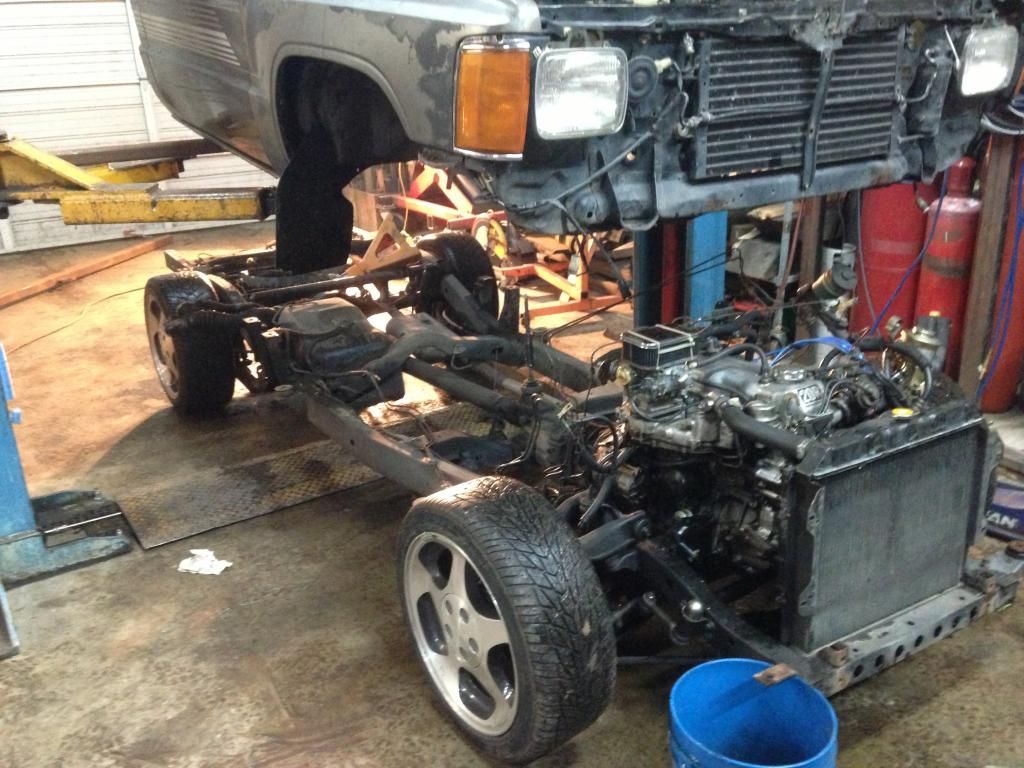
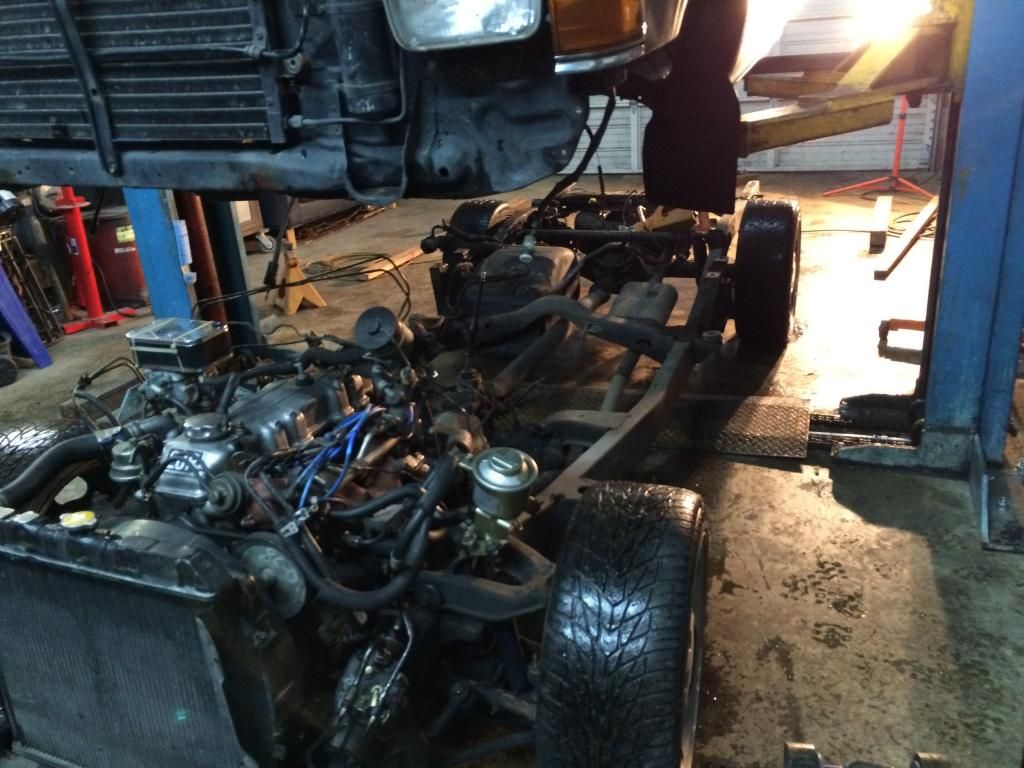
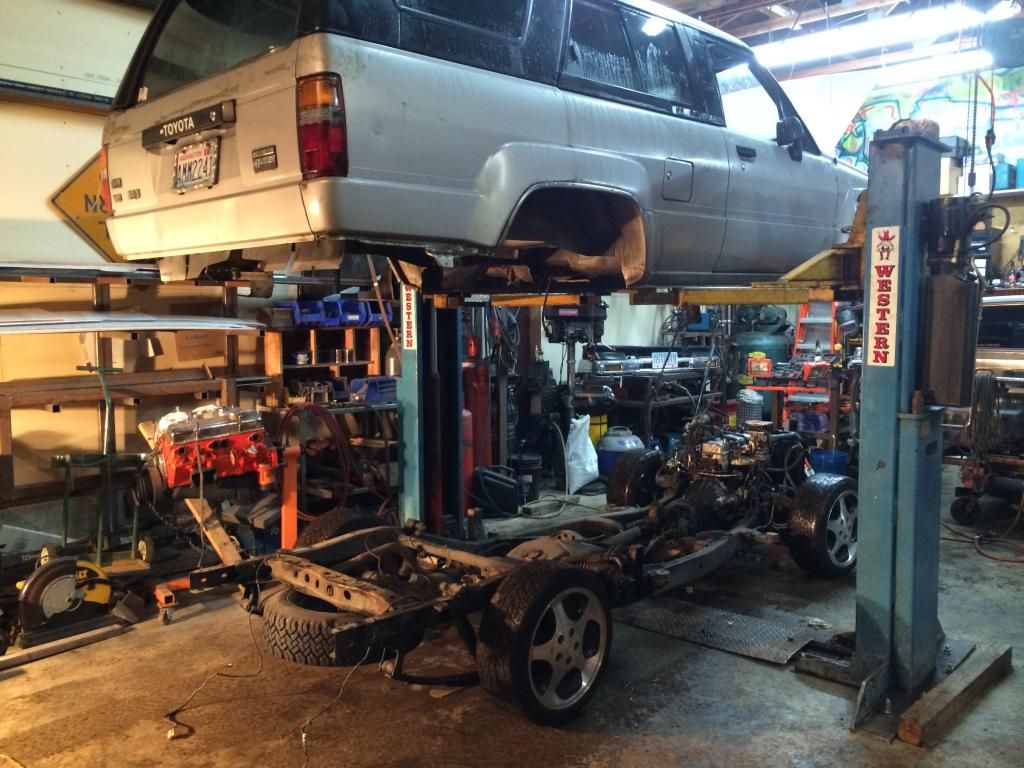
swap a 88 4rnr body onto a 87 standard bed/cab already DD static dropped truck. should be an easy bolt on cab swap...right?

i have no idea, so if you know a build thread for this swap please post it, otherwise im gonna fake it until i get it right

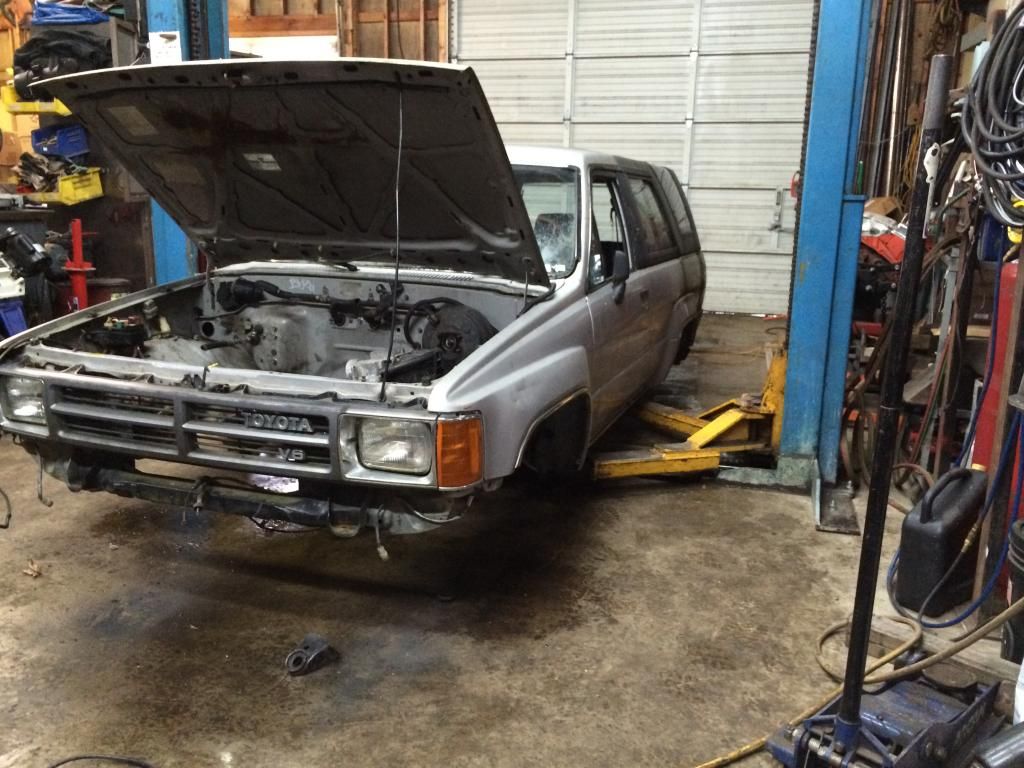
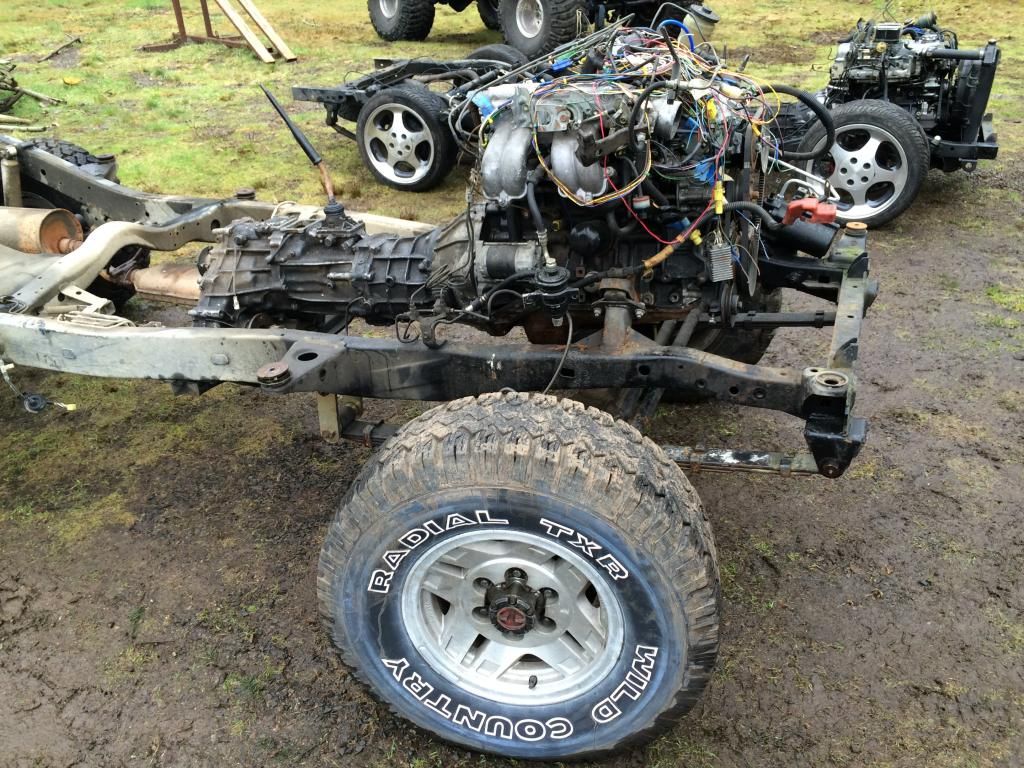
first we have an 88 4rnr, its been wheeled a teeny bit by a mom and her boys till the 3.slow gave out. then *SAS'd, 22re swapped in and now destined to be a torn apart, rebuilt frankenstien and resold after donating its good bits to my wheeler and the body to my mini... but thats another thread or 2.
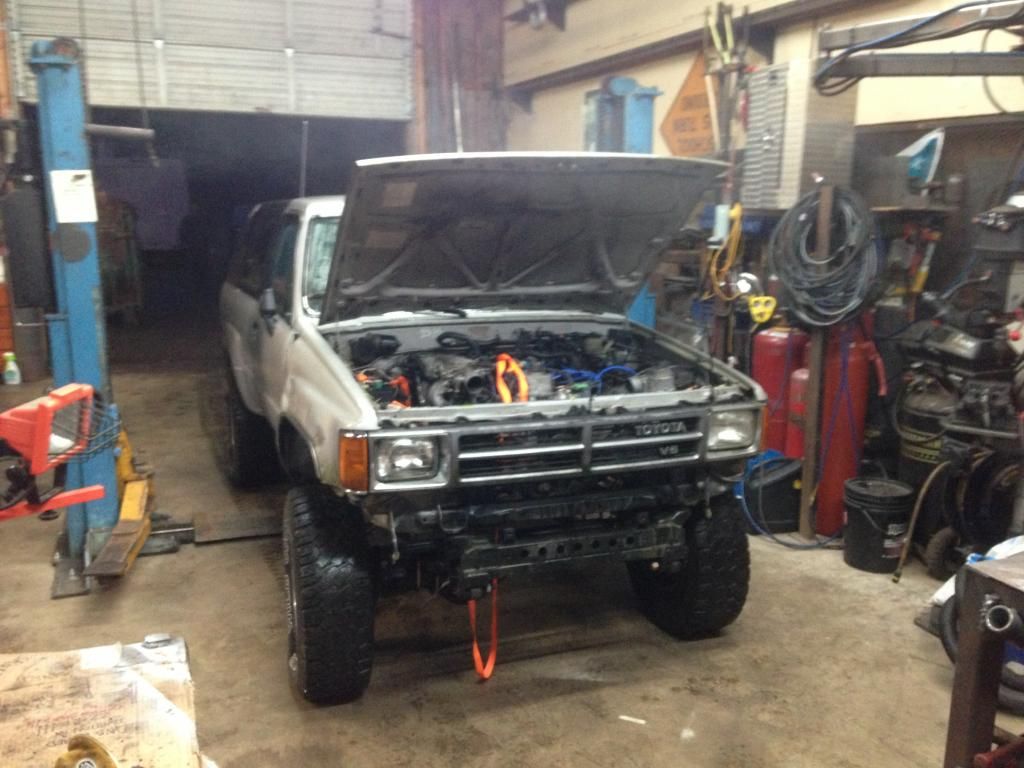
IMG_0130_zpsd6d92db7.jpg


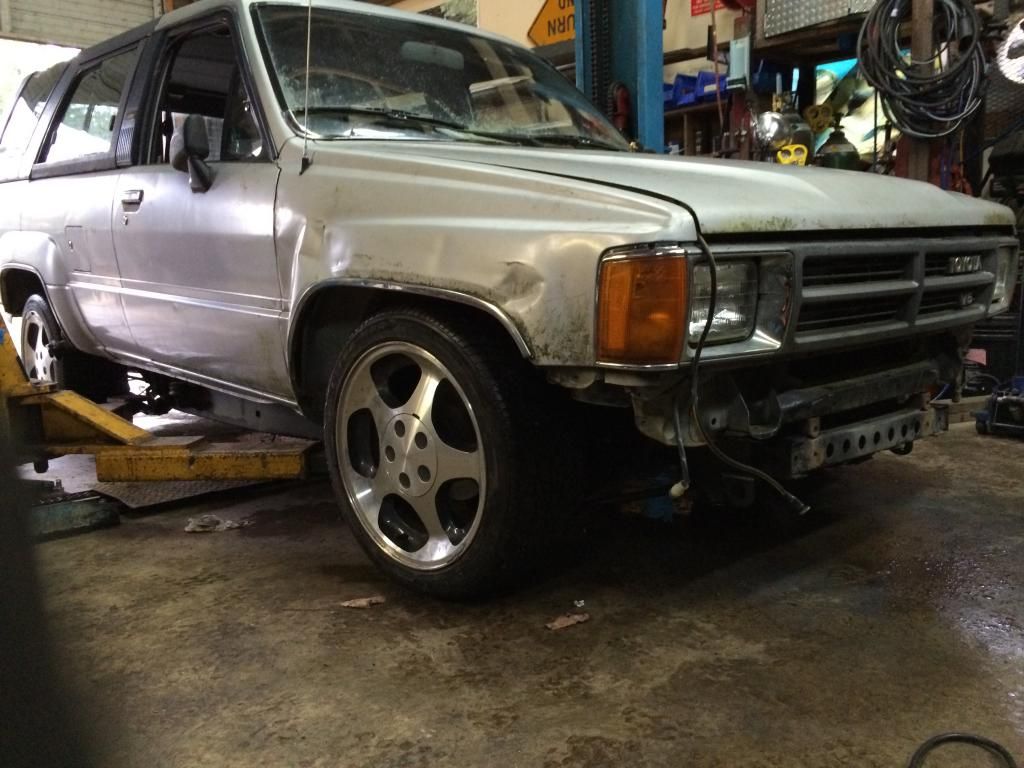
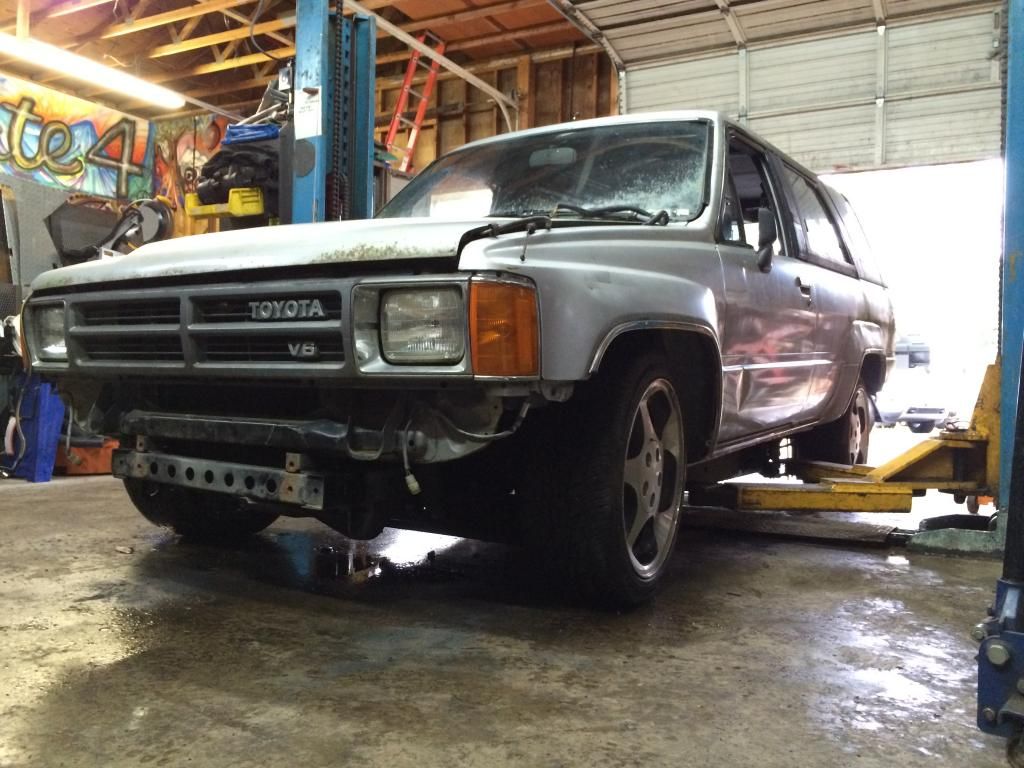
then there is my 87 2wd; weber,intake, 5/4 static drop by spindles/torsions/blocks and 17in wheels. full story on this originally crackhead truck can be found here: throw away body - Toyota Minis - Dedicated to Classic Toyota Pickup, Hilux, and Stout Truck Owners
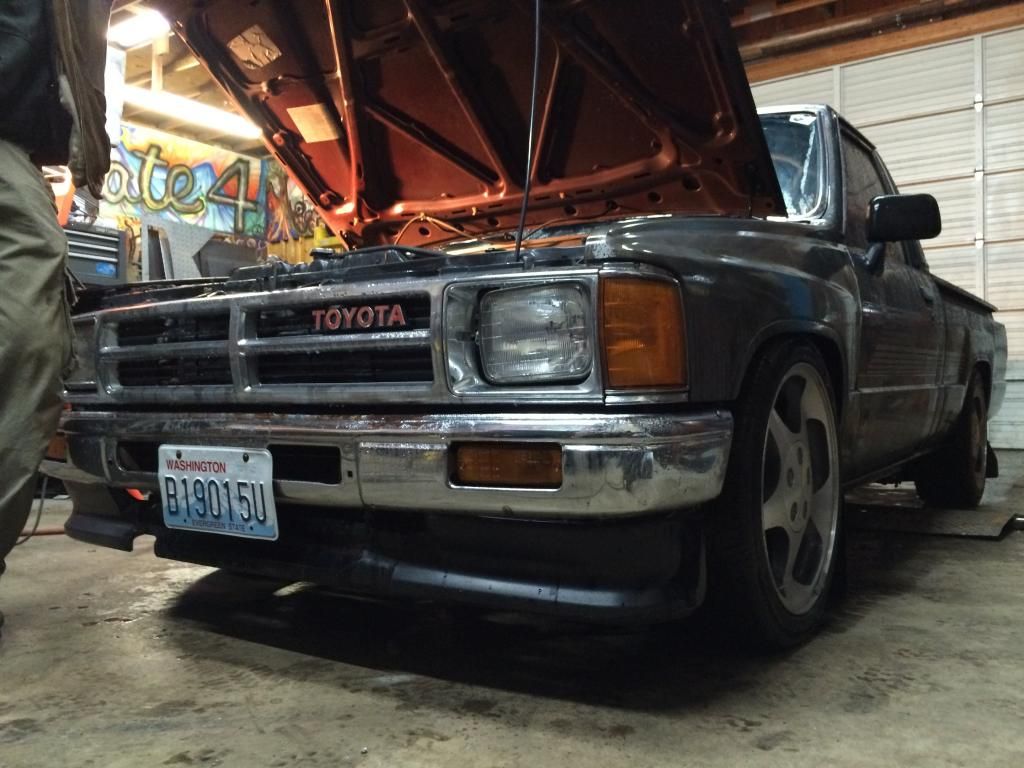
IMG_1062_zps1774b45f.jpg


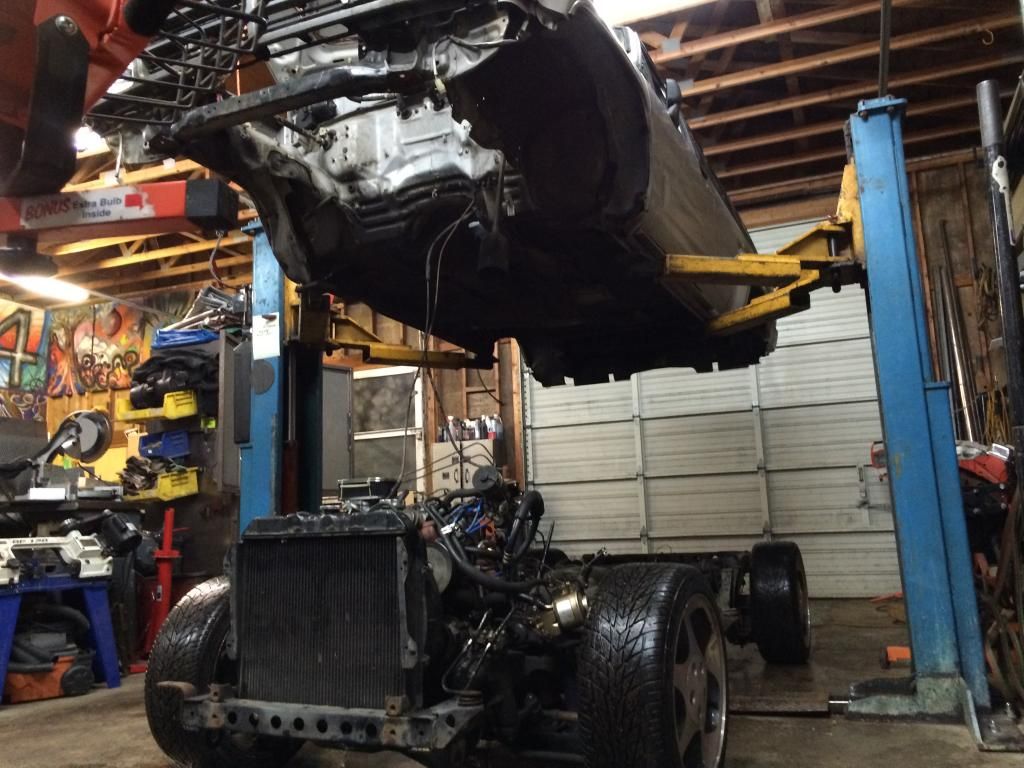
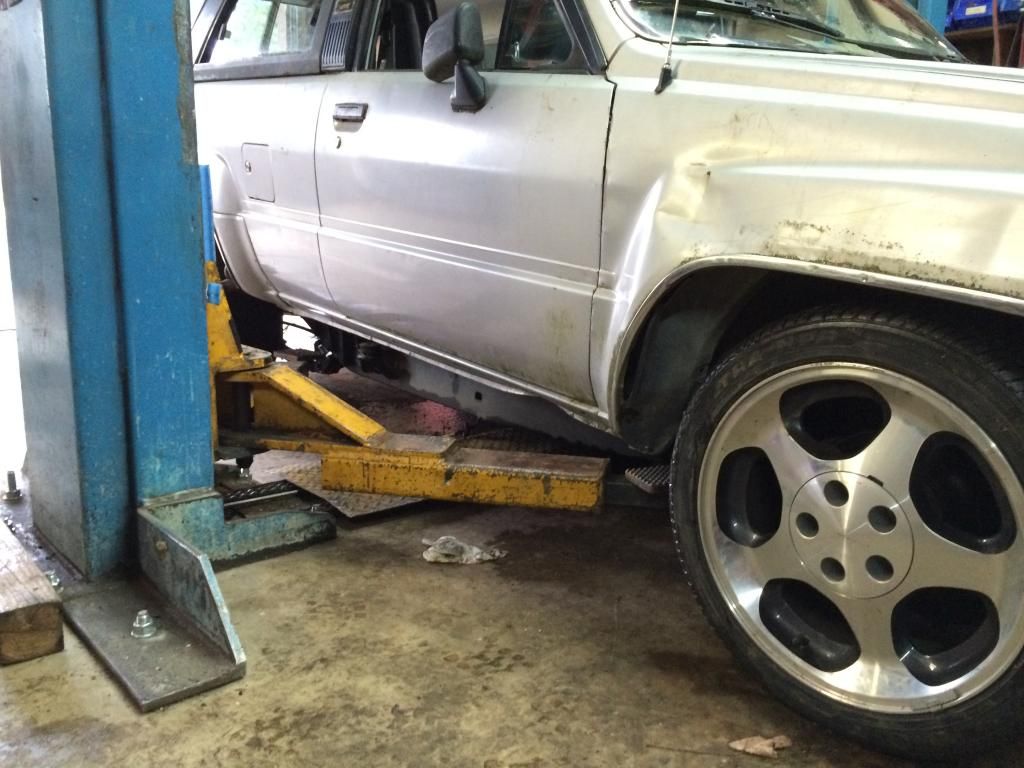
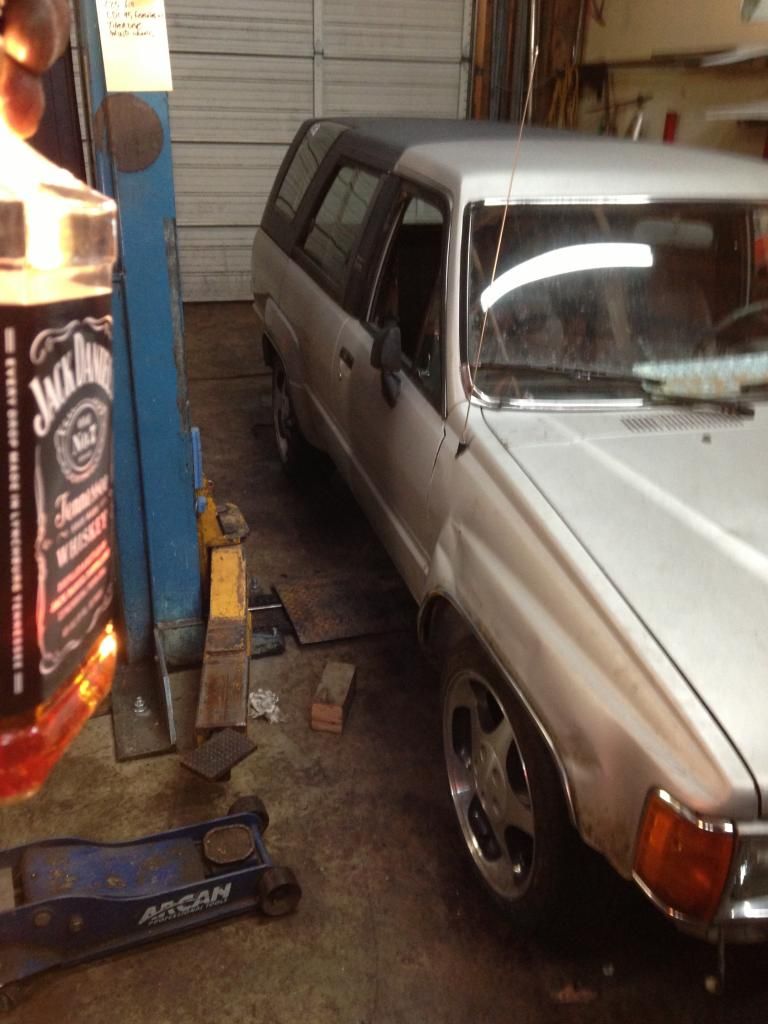
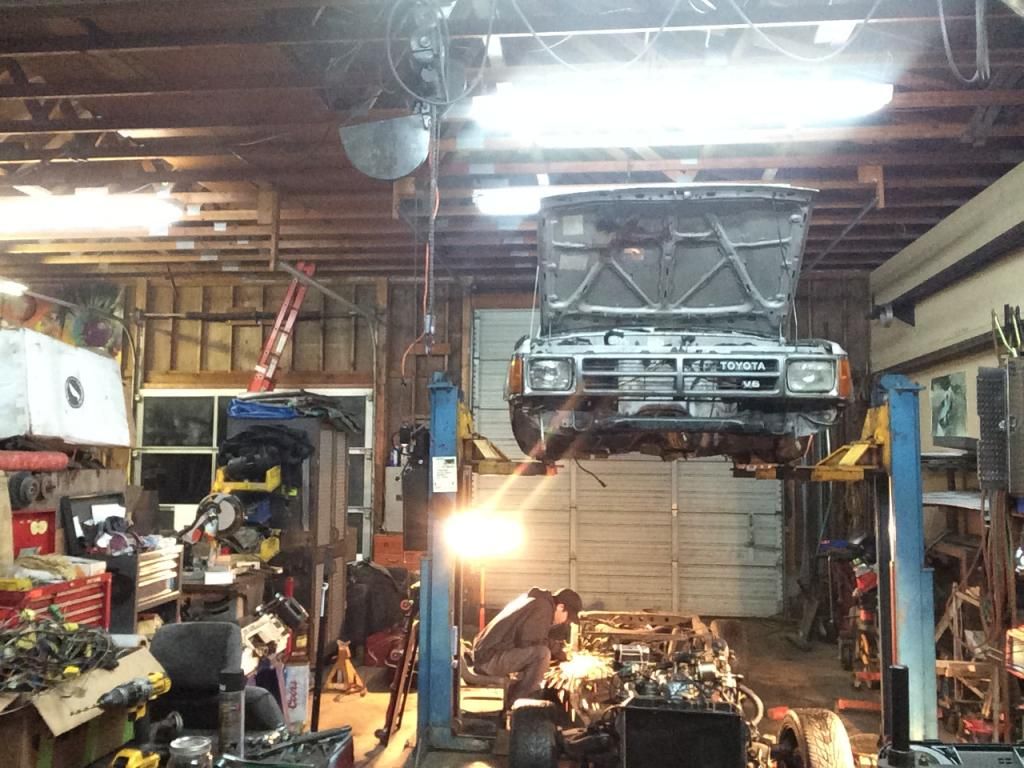
got it up on the lift to inspect and get the body mounts unbolted
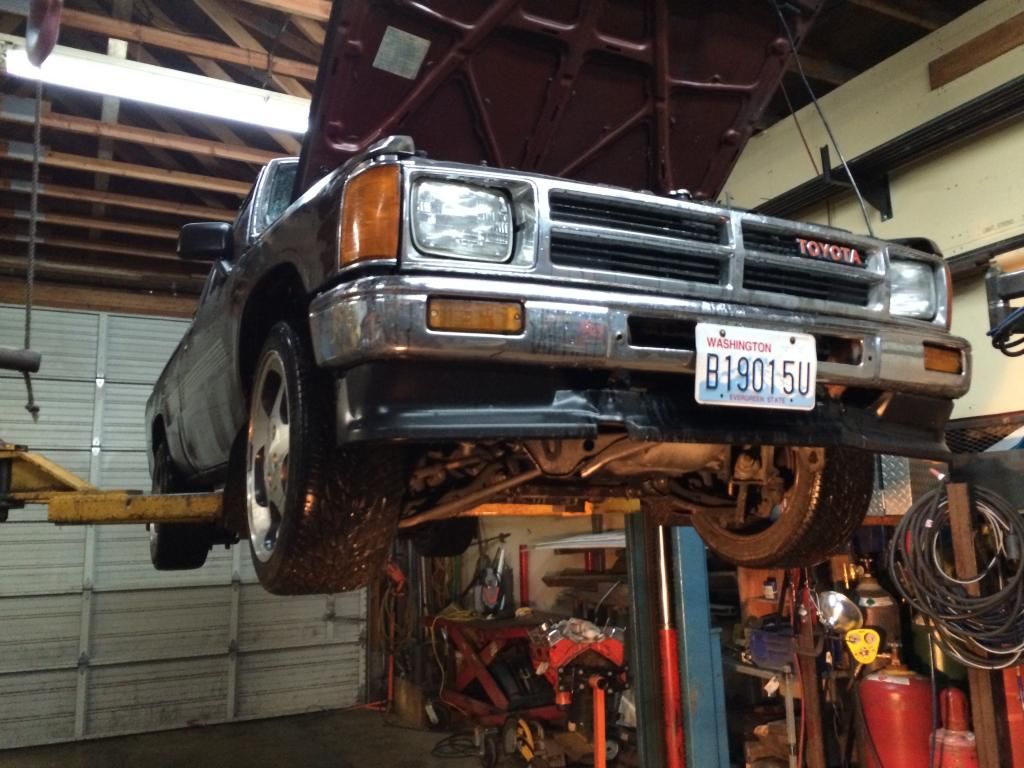
IMG_1064_zps74bf5051.jpg


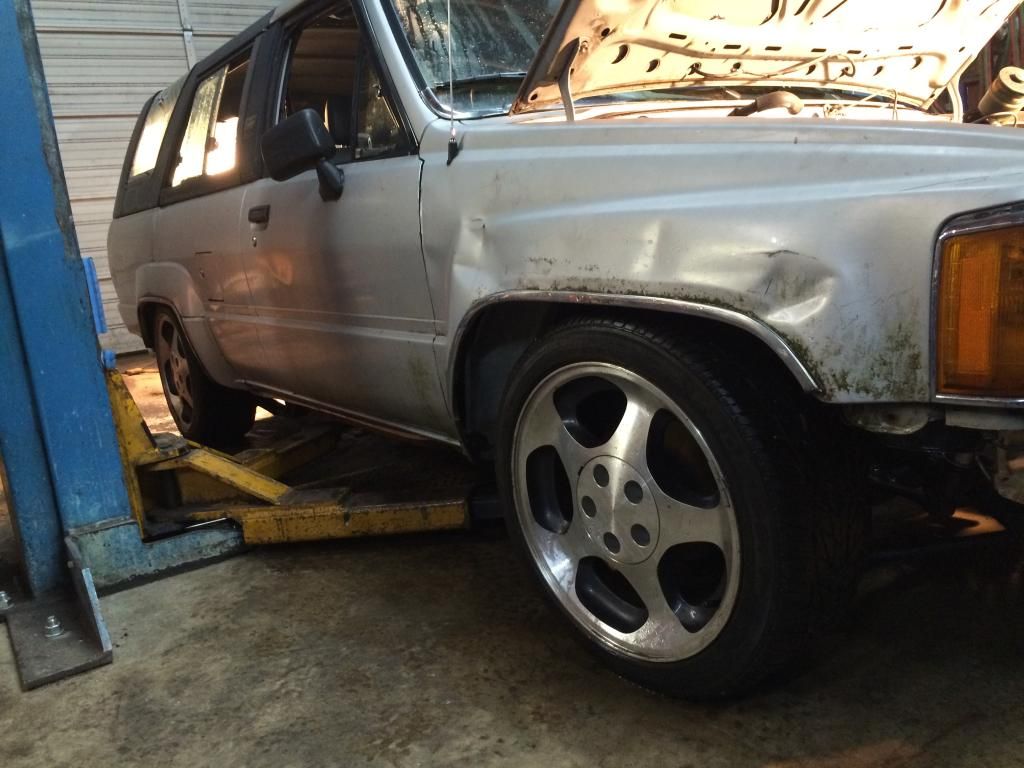
oh hey... looks like its been wheeled too
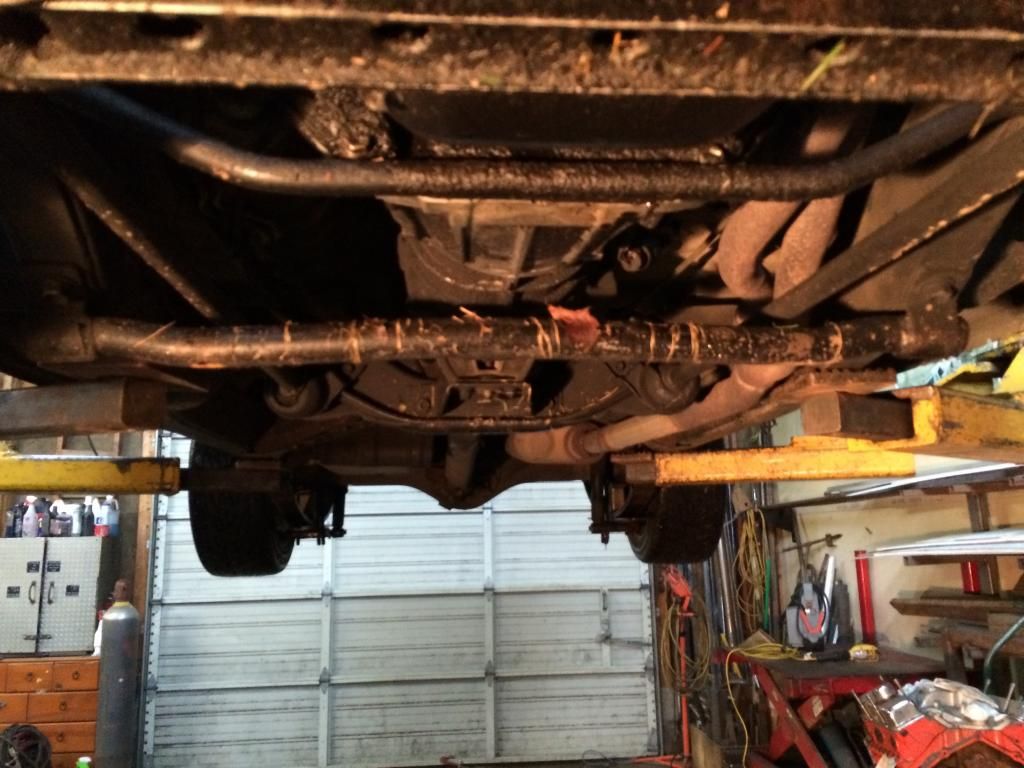
IMG_1065_zps6bbbd922.jpg


got the bed off, standard stuff cept for having to pull the tails to disconnect the wires
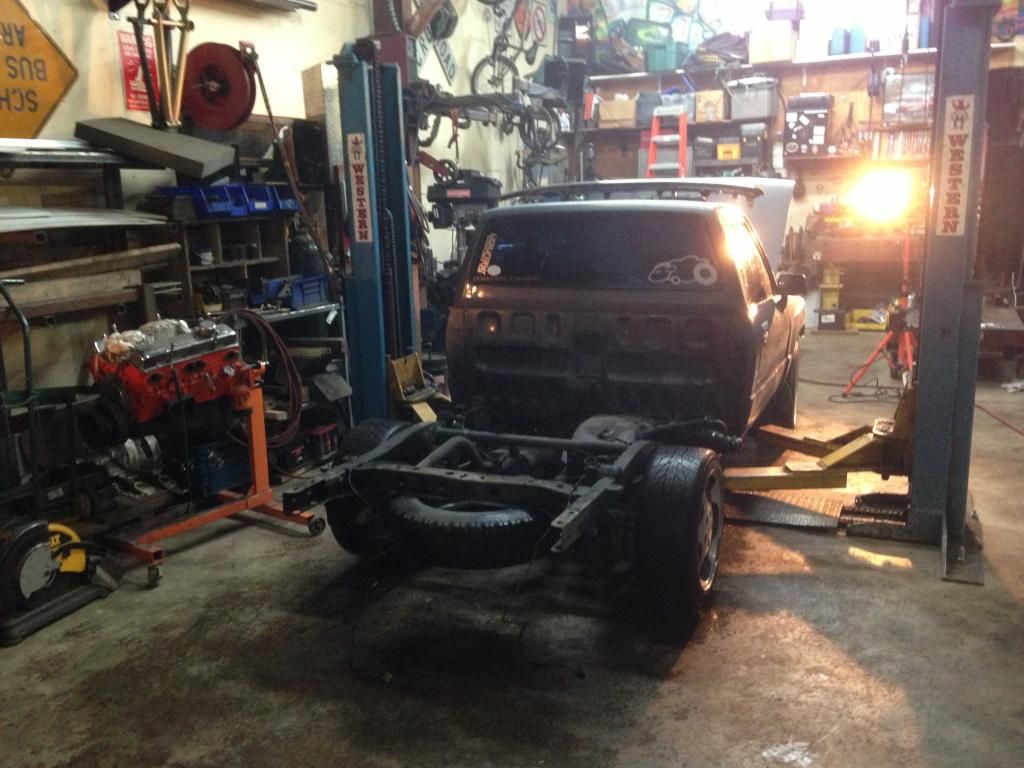
IMG_0147_zps594dea7a.jpg


according to the OSHA approved whiskey work meter we have matured and are about to taste the good stuff
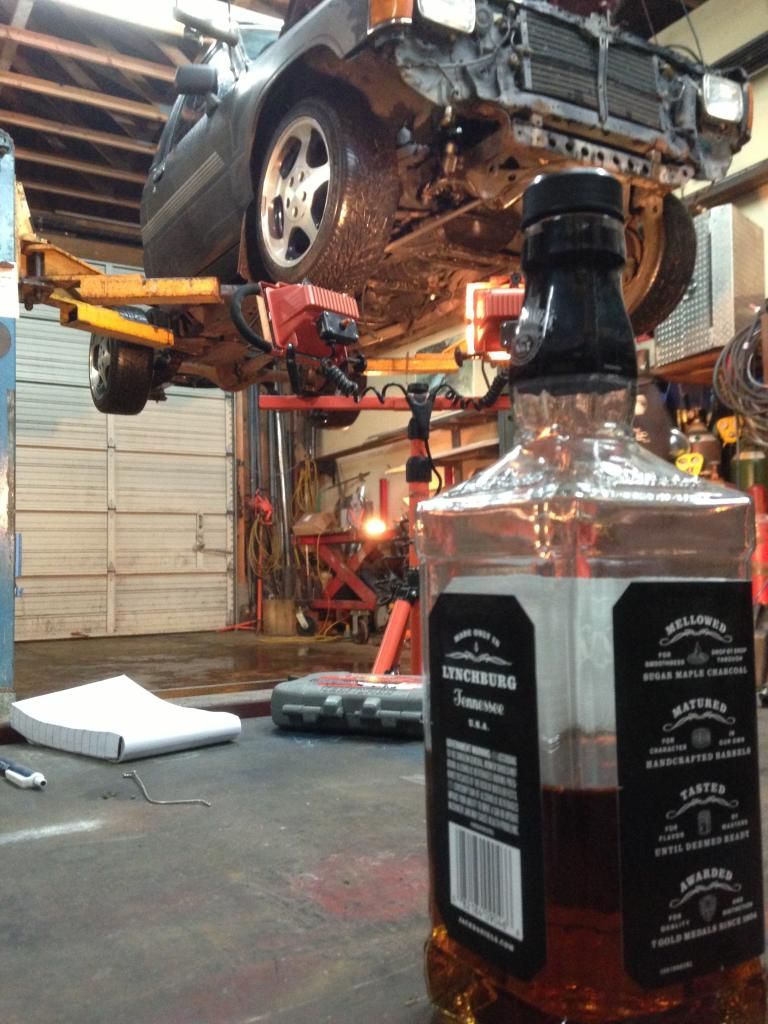
IMG_0148_zps574aa9e5.jpg


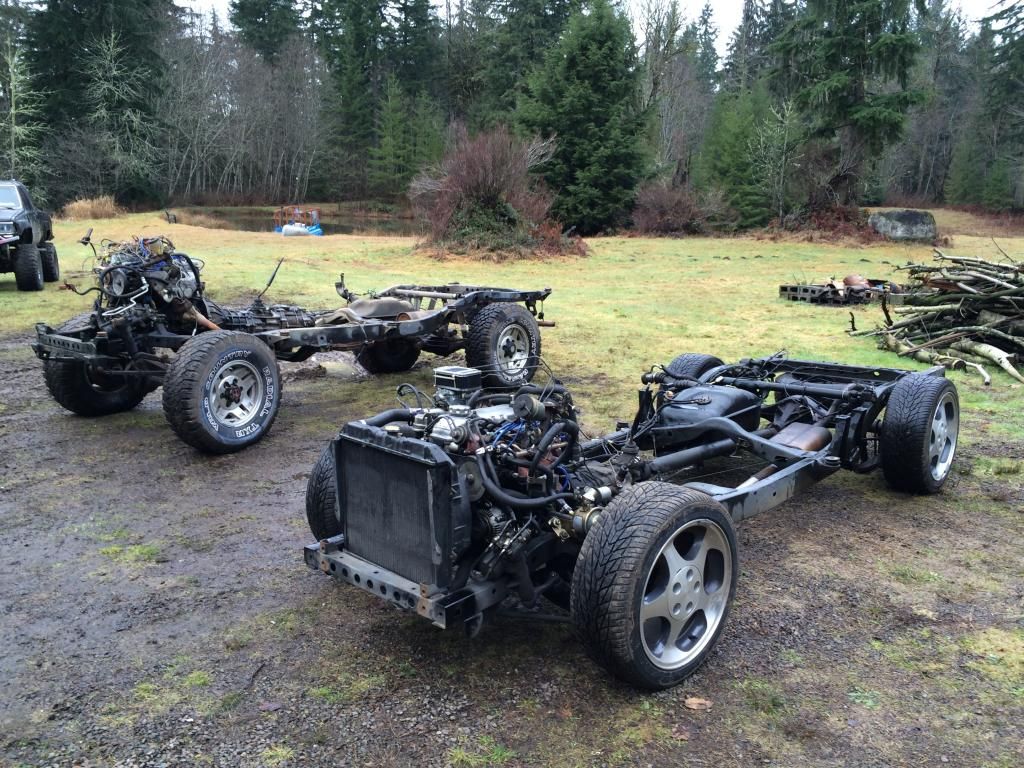
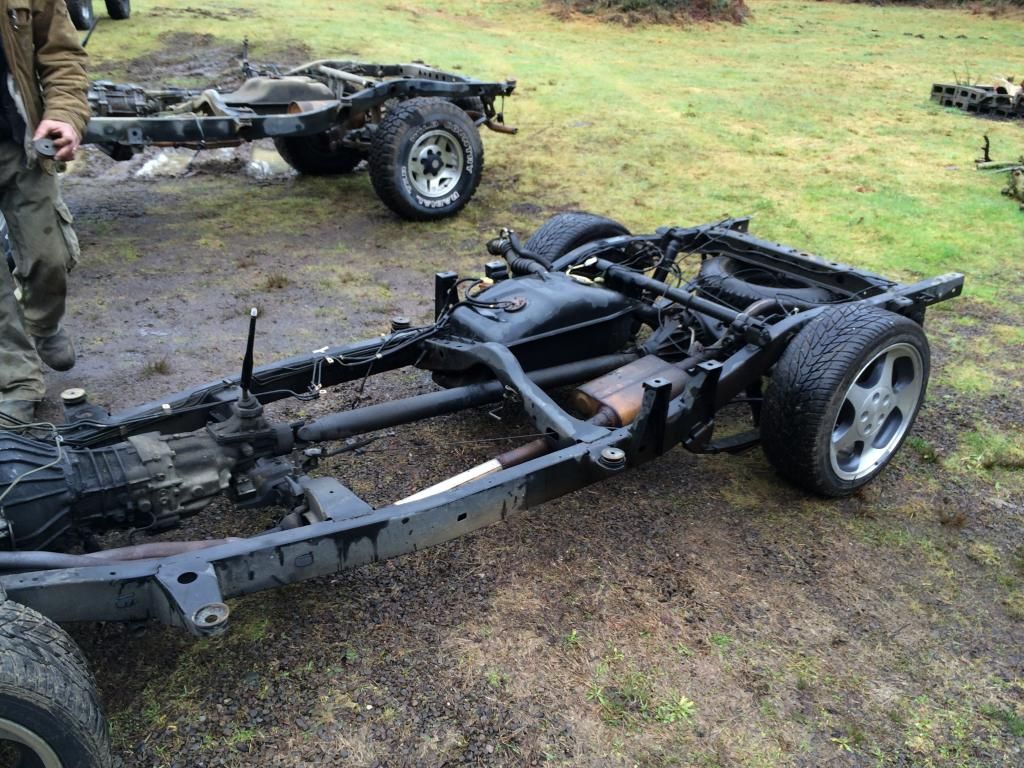
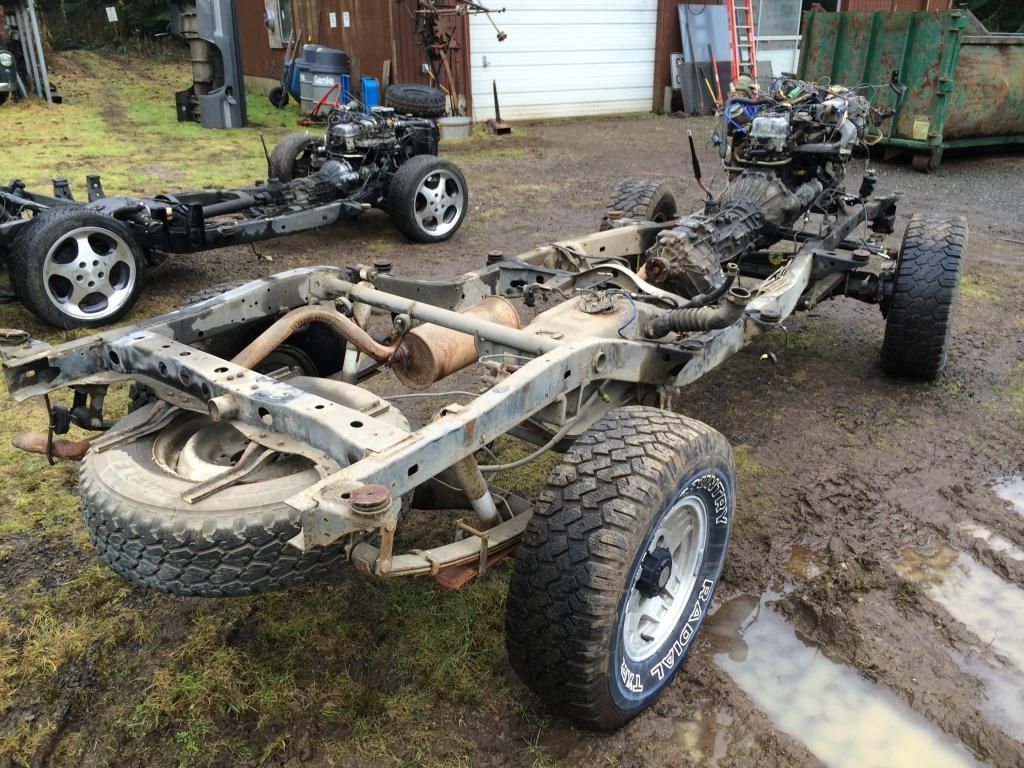
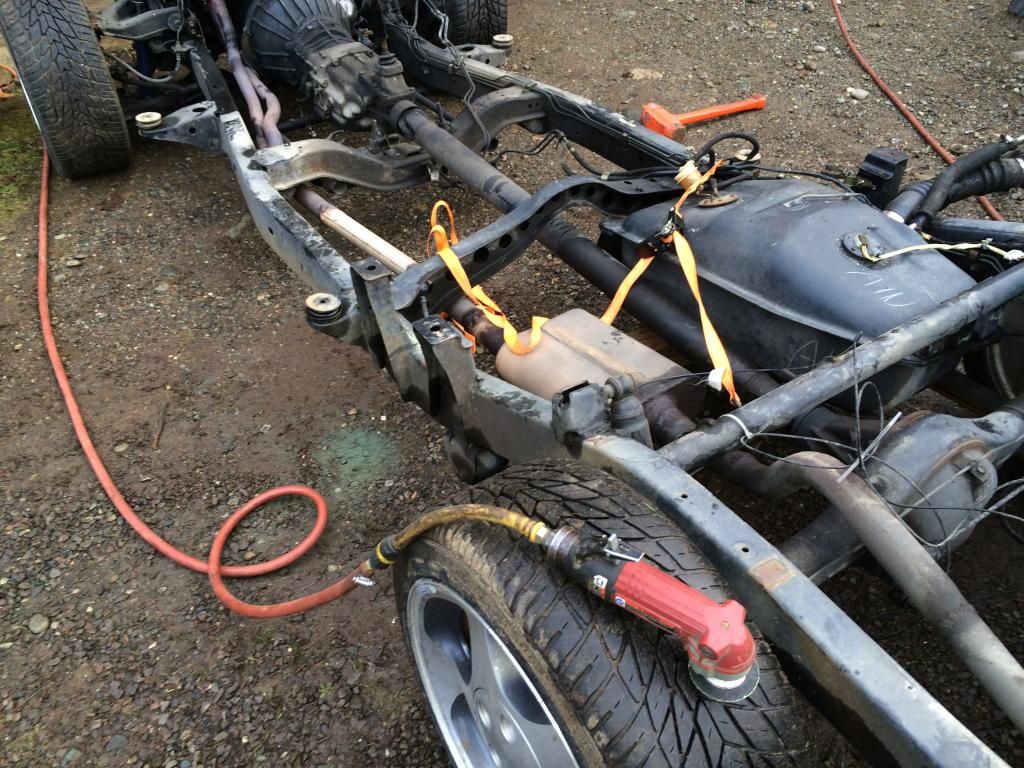
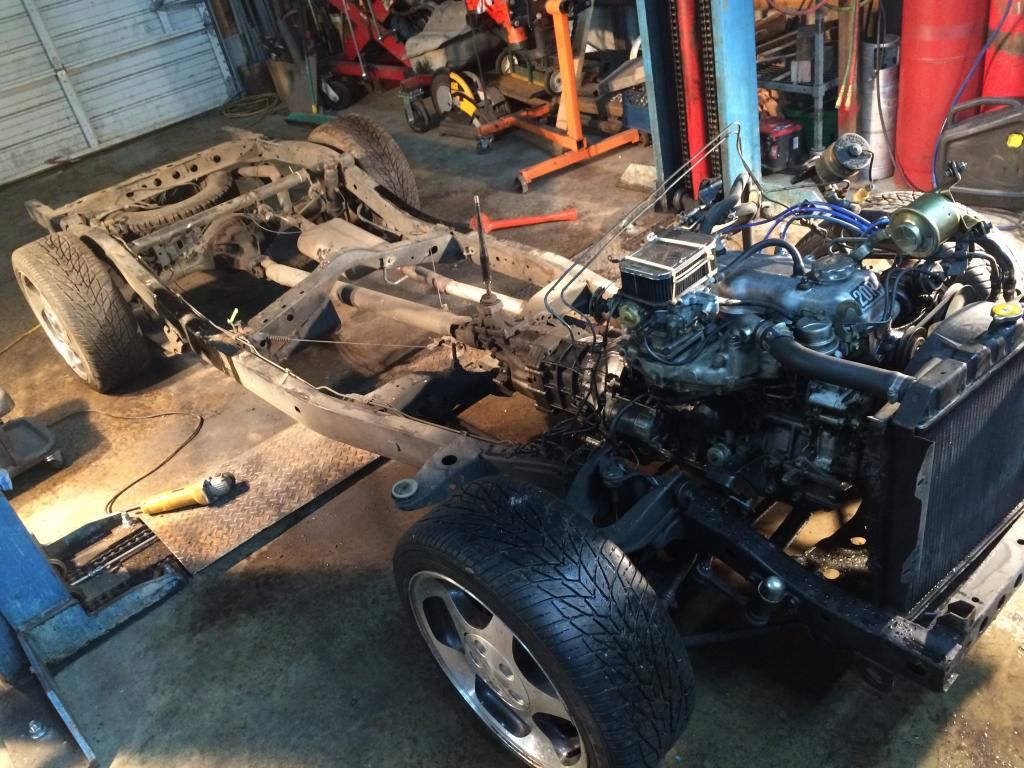
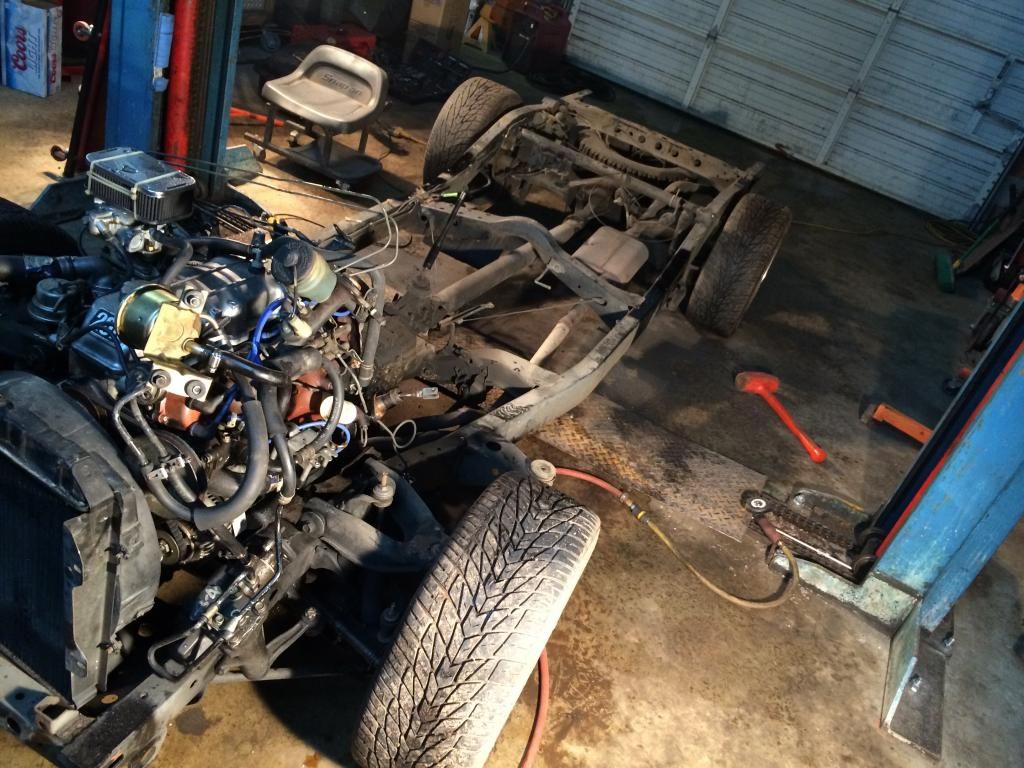
some gratuitous pics of the mini chassis before for refrence
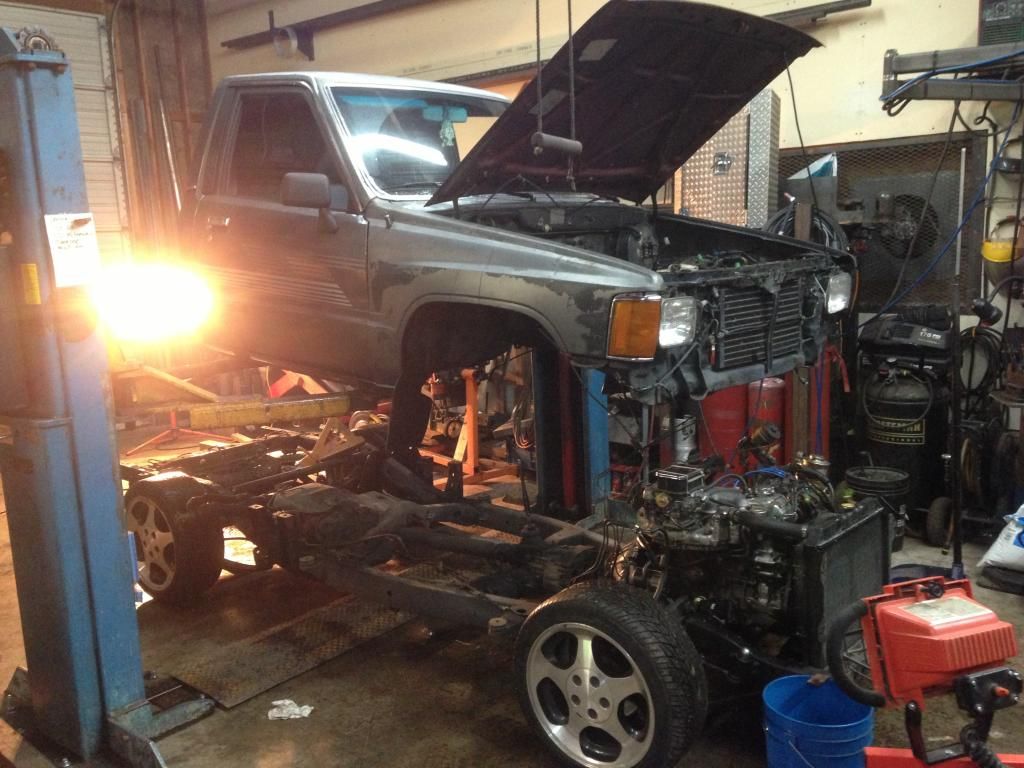
IMG_0151_zpsa76b78cd.jpg


IMG_1069_zps9f9f023a.jpg


IMG_0153_zps45e088f1.jpg


IMG_1070_zps53630a64.jpg


got the cab onto a table and off to a corner of the shop for now, till its new home is ready
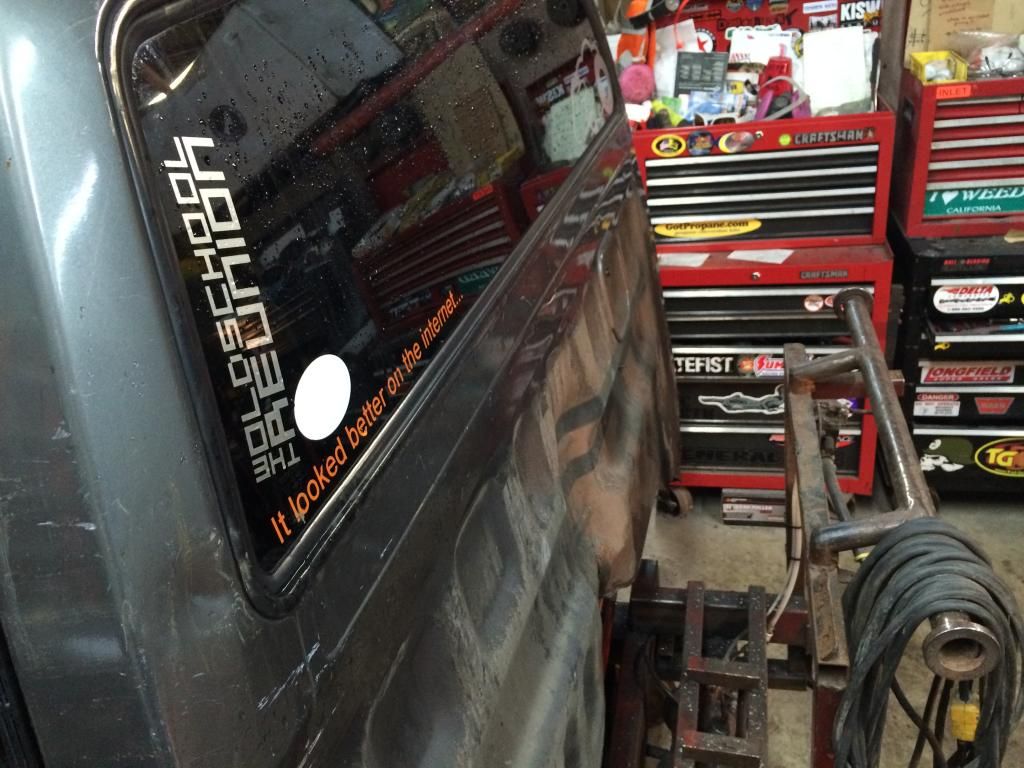
IMG_1075_zpsb735cdd9.jpg


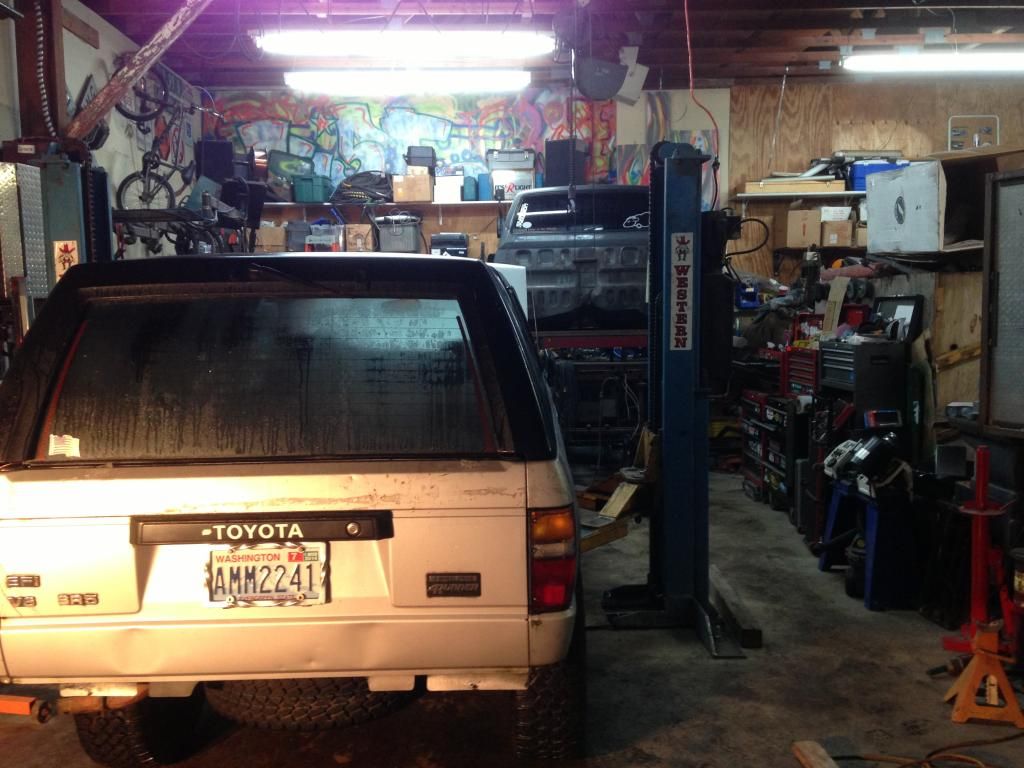
now to do the same thing to the 4rnr, same basic $hit as the truck. pull the body mounts and disconnect everything. for ease of reinstall i pulled the clutch master/line and unbolted the brake master/lines from the booster on both rigs
IMG_0159_zps7af302ad.jpg


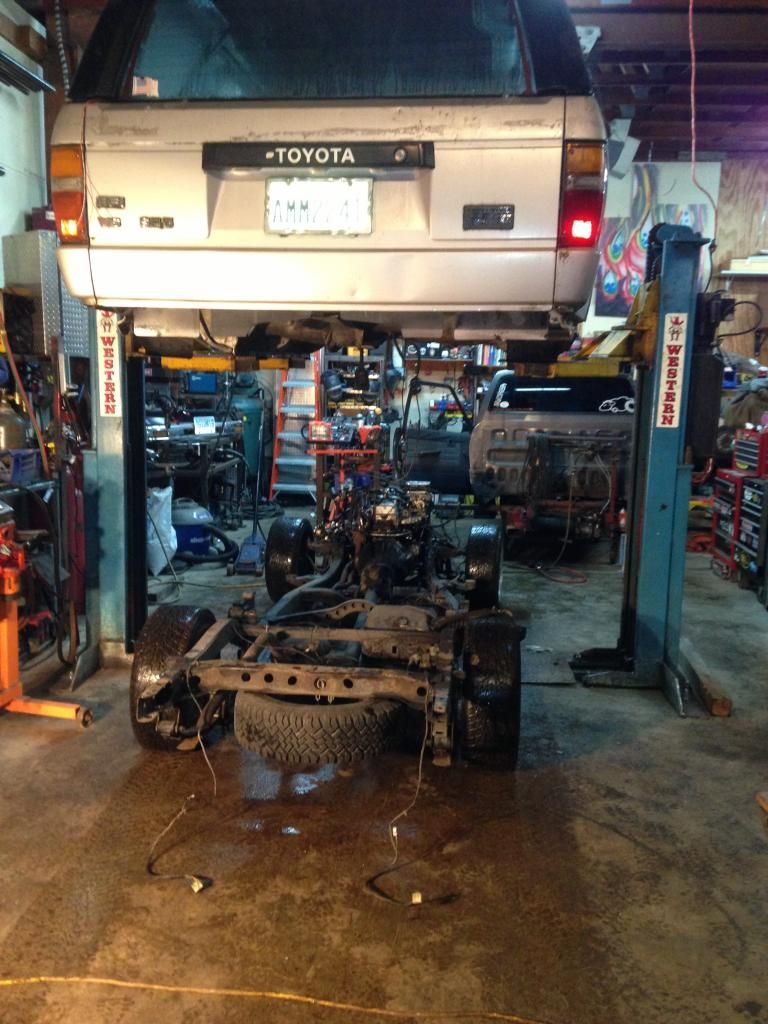
now im getting excited, first test fit. few pics for refrence
IMG_0164_zps691082ce.jpg


IMG_1078_zps0577e5cc.jpg


IMG_1079_zps24eb0971.jpg


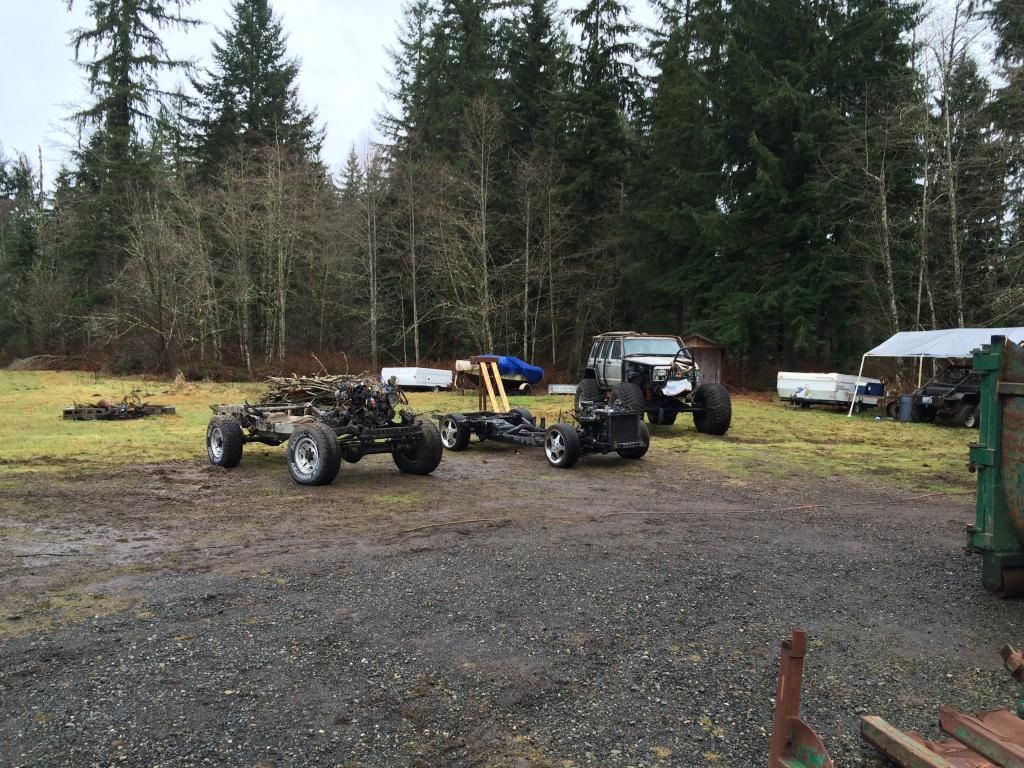
next morning i found a few hotrods in the yard
IMG_1080_zpsdec67cab.jpg


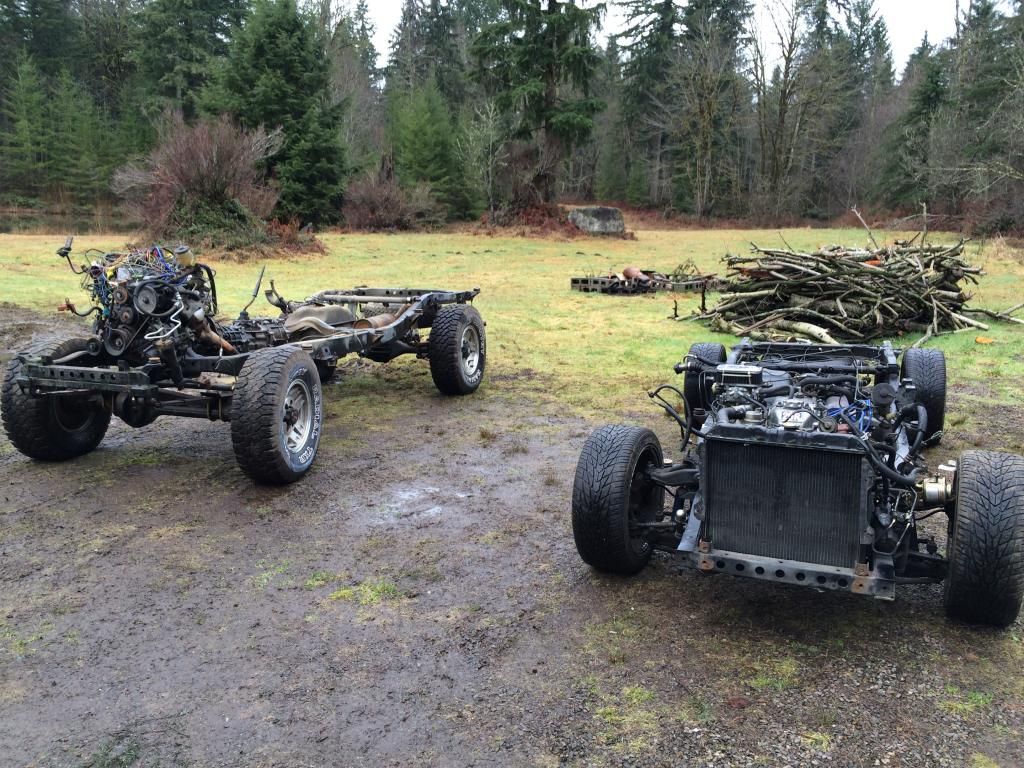
lots of refrence pics. at this point i want to warn you...
THIS IS NOT A BOLT ON SWAP... YOU NEED A WELDER!!!!
IMG_1081_zps6715e386.jpg
 
Register to hide this ad
IMG_1082_zpsdec4bab4.jpg


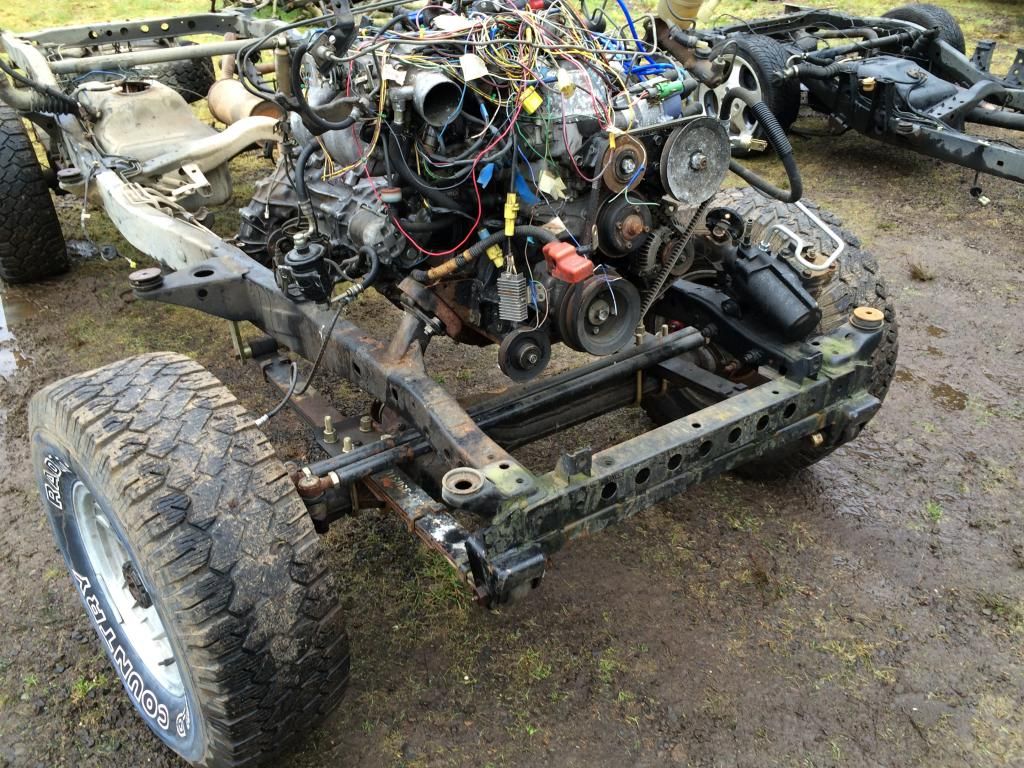
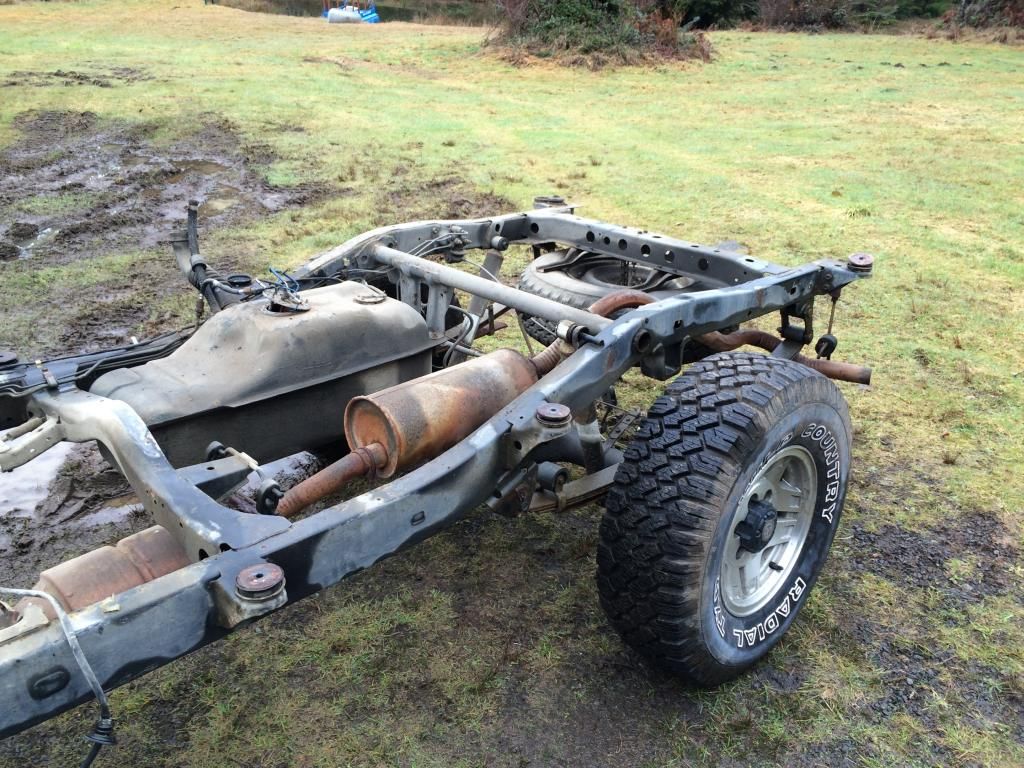
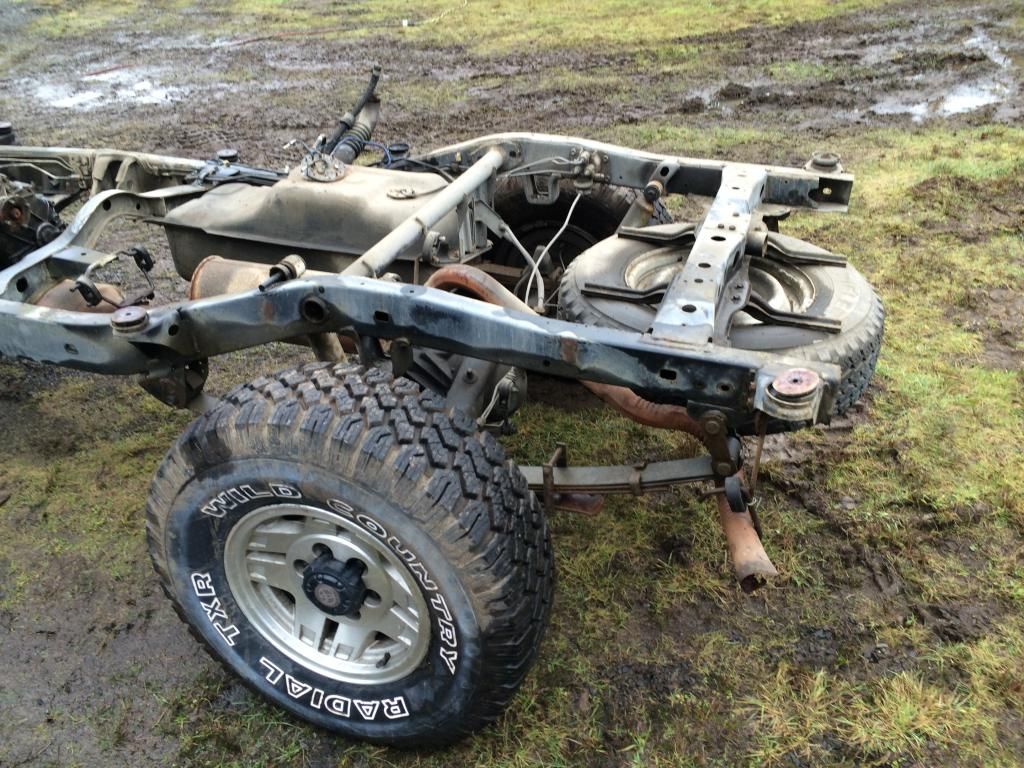
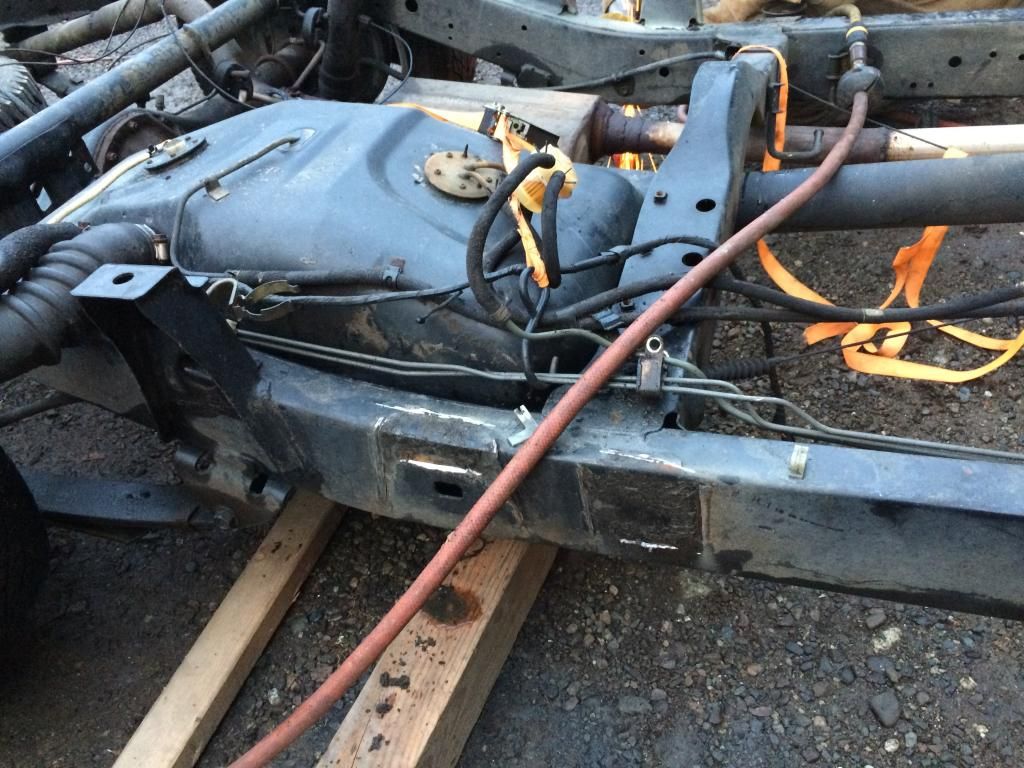
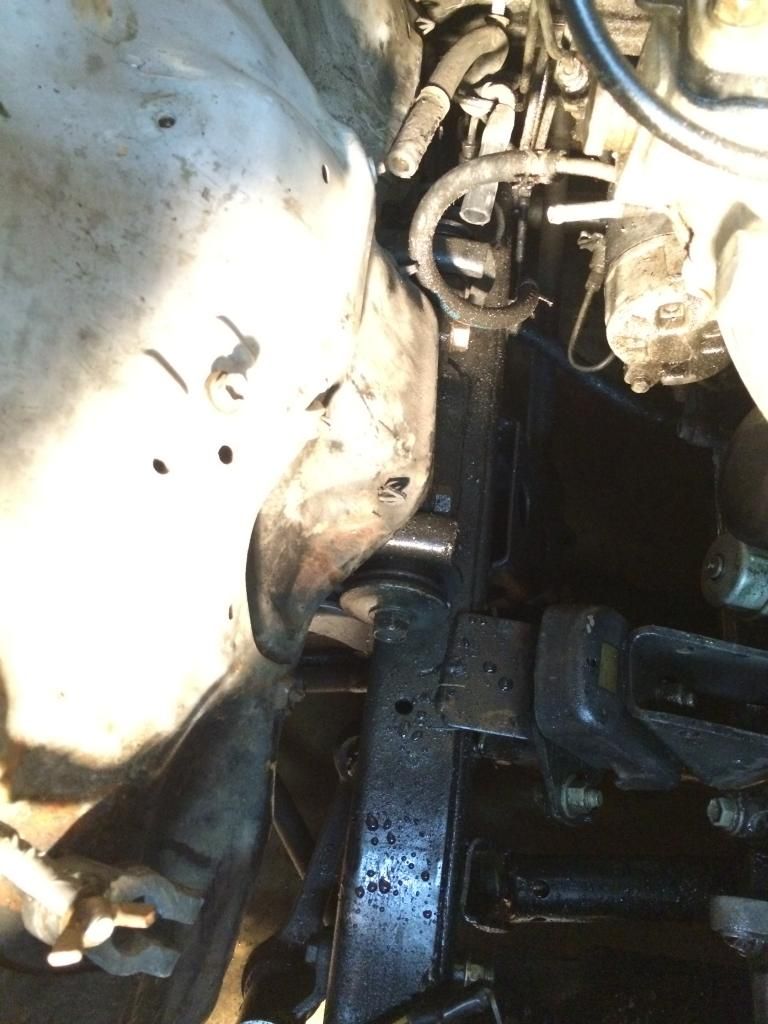
so the front body mounts are close enough to work, just the 4rnr ones are taller then the 2wd (note:2wd already cut off) but truthfully only the mounts behind the front wheels are the same so all but 2 body mounts have to be relocated on both trucks but you can fudge the fronts. *the other big issue is the gas tank, the xmem's are in totally different spots. i pulled the tank and will deal with it later (2wd), may end up moving the front tank xmem eventually to hold the 4rnr (longer) tank we'll see.
IMG_1083_zps136cb84c.jpg


projected new body height
IMG_1084_zps622db300.jpg


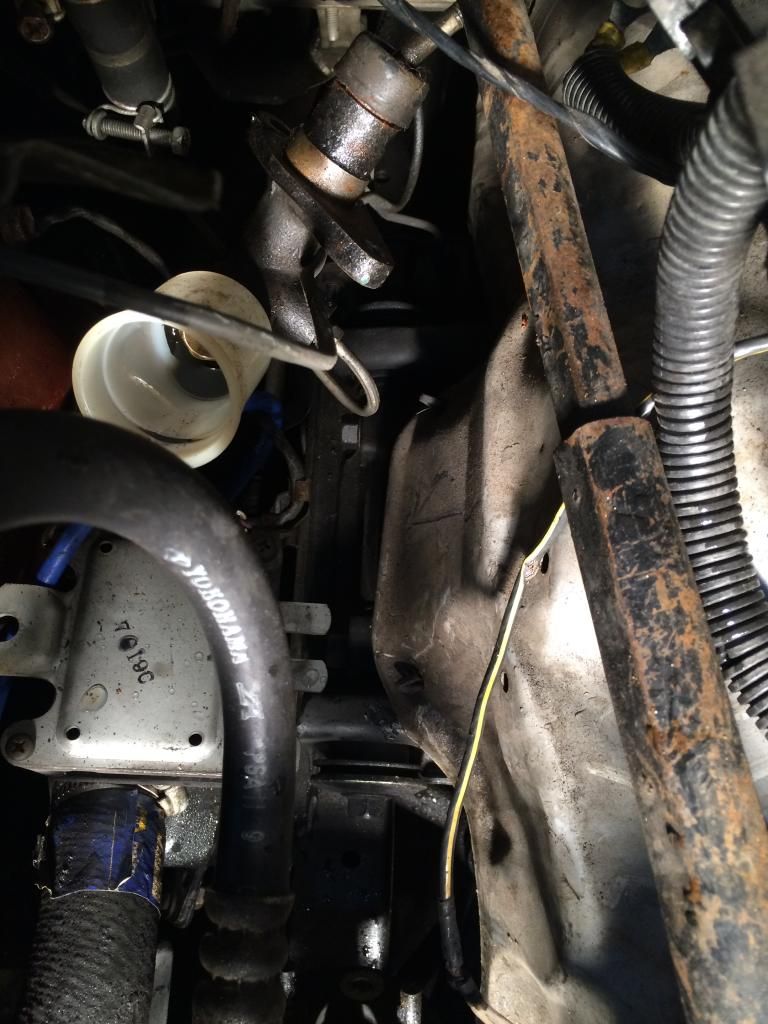
refrence 4rnr chassis shots
IMG_1085_zps5fe4a66e.jpg


IMG_1086_zps4067b092.jpg


IMG_1087_zps5c96ddfa.jpg


IMG_1088_zpsd0a9cd72.jpg


IMG_1089_zpsb18d2b60.jpg


and a test fit without cutting any body mounts just to see where it sits and if there are any shortcuts out of cutting and relocating mounts....nope
IMG_1090_zps9b82014f.jpg


holy wheel gap batman... fake body drop inbound.
IMG_1091_zpscd72d207.jpg


IMG_1092_zpsa5f70f1e.jpg


ass needs to come down 6-7 inches, gonna hack all the body mounts off and see where it sits, the rear "A-frame" bed mount is super close to right so i left it there to see if i get the drop i want.
IMG_1093_zps8d35b214.jpg


IMG_1094_zps9eef51da.jpg


IMG_1096_zps7c9bb439.jpg


these are the "A-frame mounts" the rear "stepped" one is only like 2in off from where it should be, but its also about 4in too tall, so off its gonna come
IMG_1098_zps5318e6c0.jpg


i left it on for now to protect the tank, but i did unbolt the front of the tank and let it rest on the xmem for now to check fitment (note: dont be a dumbass like me and fill the tank right before this swap)
IMG_1099_zps53f82349.jpg


body sits much better on the chassis now, but the ass is still about 4in off the frame which makes it look like its gotta body lift... needs moar low
IMG_0170_zpsee274d4a.jpg
 
does look better tho
IMG_1101_zpsd07cdadd.jpg


IMG_1102_zpse8156969.jpg


IMG_1103_zps49b6df4d.jpg


IMG_0176_zpsf365ef06.jpg


cut the rest of the body mounts off and removed the tank
IMG_1245_zpsb5ceae2b.jpg


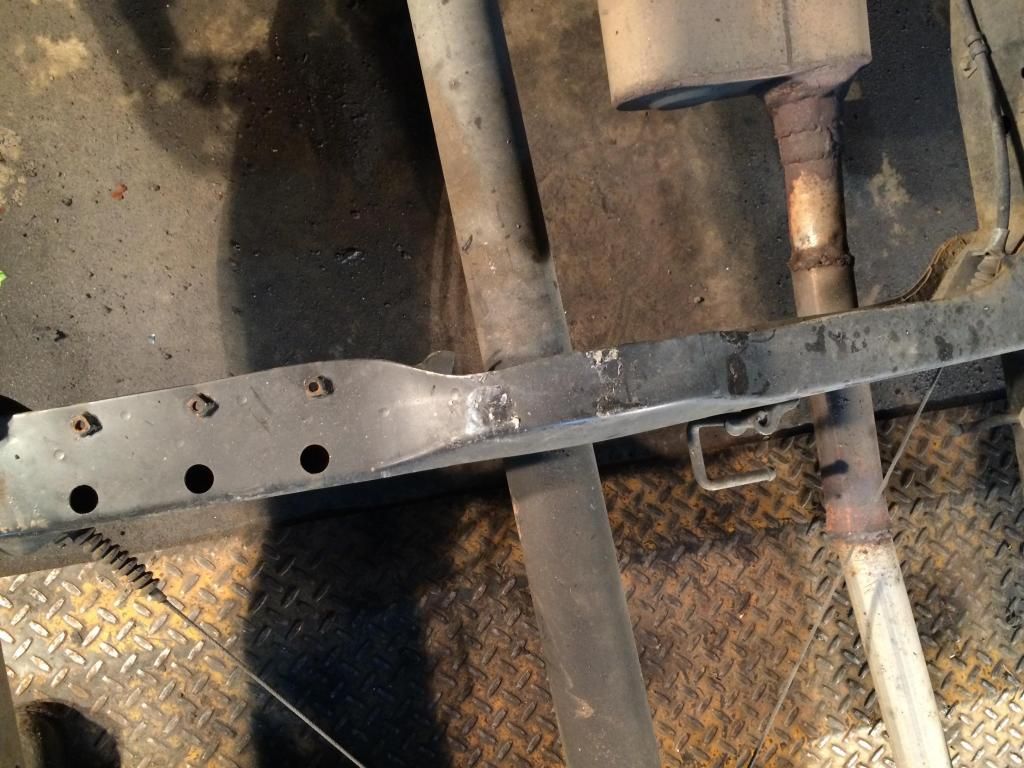
clean frame... remember kids: paint the bare metal now so you dont forget to later and rust your frame
IMG_1251_zpsdd220ab6.jpg


IMG_1252_zpsb3561c1b.jpg


now both inner fenders hit the upper control arms. gonna try pulling them in during final fitment and only trim em if i really need to. but the pass side has a handy removable panel that im gonna try to keep somehow even if i have to move it.
IMG_1238_zps2b5a56c1.jpg


IMG_1239_zps84d0113a.jpg


body hits here too, my bfh and the body had a nice talk... now it fits and you cant really tell sitting in the back seat. but im a little worried about body noise because the whole xmem contacts the body all the way across. may lift it just a bit in the rear to build in rake and clear the xmem now that the body is "clearanced", plus the front 4wd fenders have a higher lip so now i tuck in the back but not in the front.
IMG_1253_zps62ade771.jpg


but now with the body on, i finally see awesome :D
IMG_1240_zpsf9ad83d9.jpg


yup, sexy from here
IMG_1257_zpsc15615d3.jpg


IMG_1258_zpsf86aa91c.jpg
 
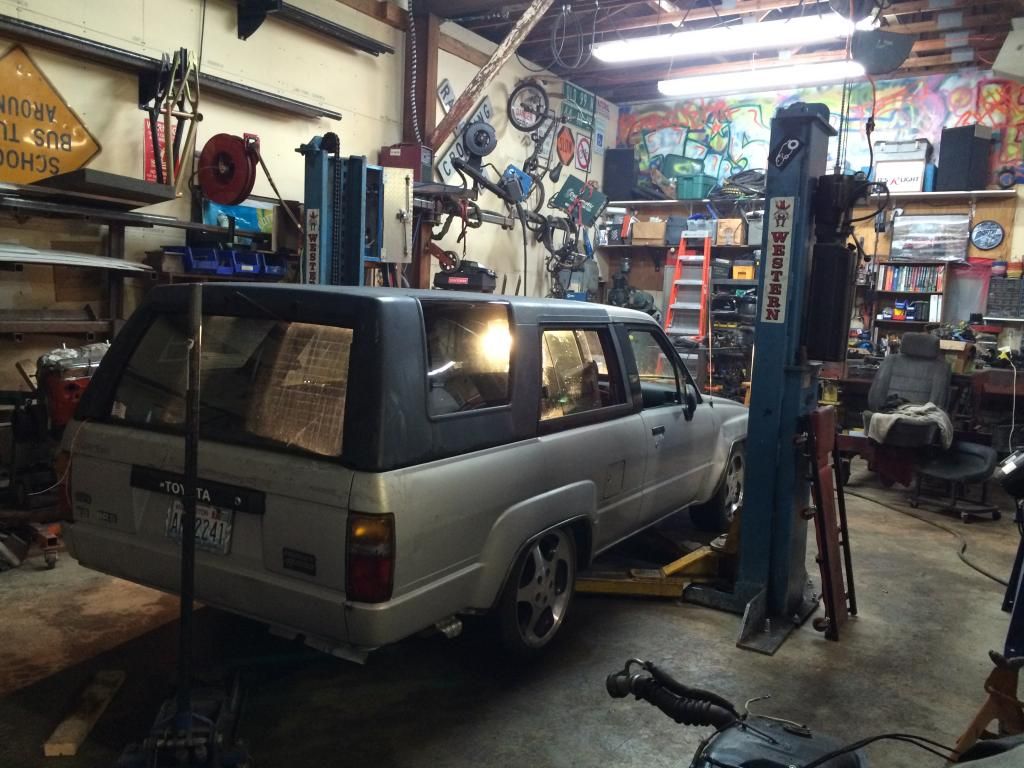
got all the body mounts sorted, ended up kicking up the ass a couple inches for clearance and a better stance. they whole body would sit flush on the frame but the ass dragged and it just looked weird.

IMG_1305_zps5fbiae5r.jpg~original


blows my mind how stock these ended up looking
IMG_1304_zpsga87jts0.jpg~original


not these ones though lol. ended up using some off of my stout donor (89) then flipping the body mounts on the bracket to make a "high cushy" mount. the truck style A frame brackets for the bed are build to use a .25in rubber square for vibration and would of had to been modded a bit to work and prolly made noise. actually happy with these despite the looks, but ill take the function.
IMG_1306_zpsd58juxus.jpg~original


all of these were taken while tacked in and fitting, theres some missing bracing on this one. everything is fully welded and braced better then stock, but not really pretty lol.
IMG_1311_zpsdffclpej.jpg~original


gas tank Ver 0.2 beta

this was easiest way, used spacers to drop the tank and beat the body a bit to clear. worked fine with the air shocks pumped up to drive home, but i pinched a line and lost pressure. some uncomfortable driveline/gas tank noises... havent been under it to check yet.
IMG_1309_zps28mahpeg.jpg~original


said spacers
IMG_1339_zpsjioaqwiy.jpg~original


in the front the spacers are 1.5in and back 3in. you can see here in the rear where its probably hitting so im gonna shorten these a bit. maybe even angle the tank seam away from the driveline.
IMG_1338_zpso1sjhzck.jpg~original


and had to buy some very expensive hose for this party. $28/ft but i feel safe dumping gas in it, the filler neck has to wrap around the body mount.
IMG_1337_zps3xlhfev8.jpg~original


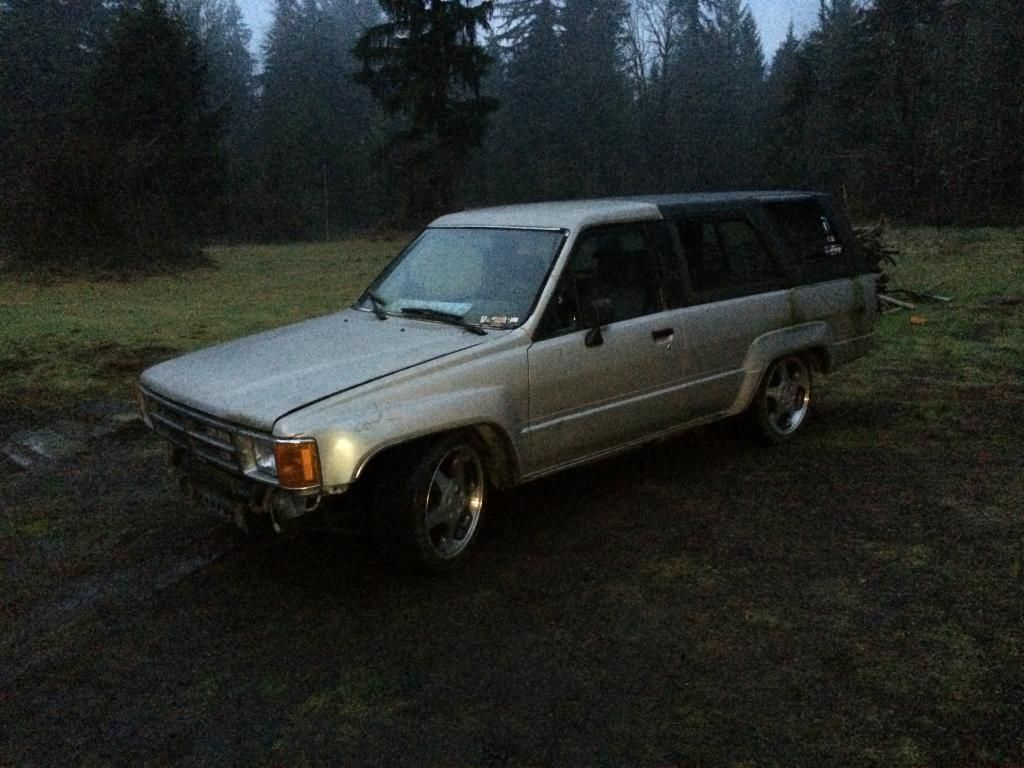
but now its parked out front and ive been working. kinks will be worked out soon.
IMG_1341_zpsfoouymog.jpg~original
 
I like it, and it looks like a crap load of work. Your 17th photo, (with the two chassis sitting outside), is where most of my projects die.
 
so drove from the shop to my house, 50mi ish with every kinda road type you can think of and had aired up the rear shocks to 100psi because i was worried about wheel rub... lol.

drove actually better then it did with the pickup body, bit more preload on the suspension from the extra weight. rear didnt make a noise and the front seemed to rub about the same as the pickup but maybe it a little harder, im blaming that on the very non straight pickup cab and beating the hell out of the inner fenders on the pickup, ive only lightly rolled where needed the front fenders on the 4rnr.

it sat over night...

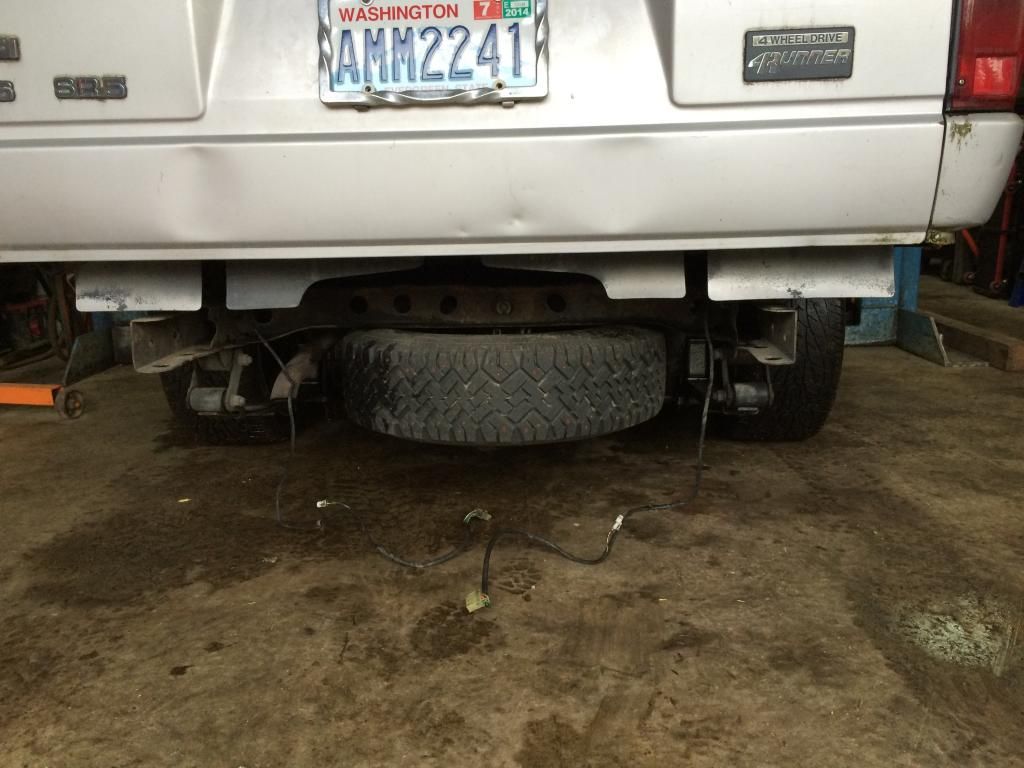
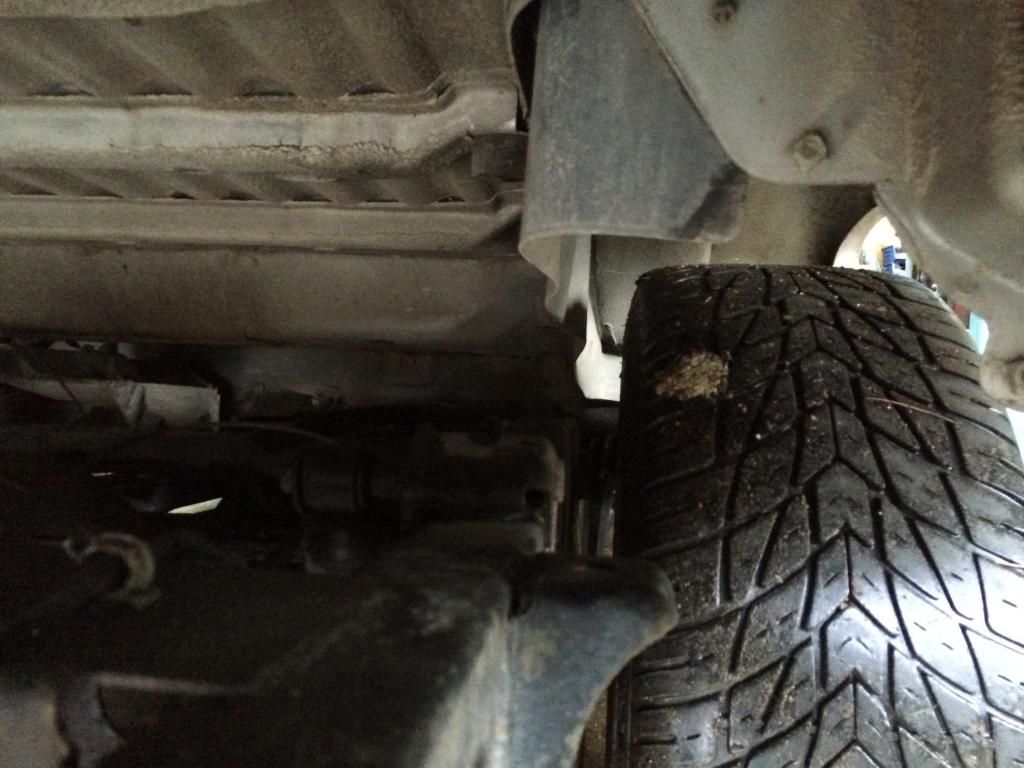
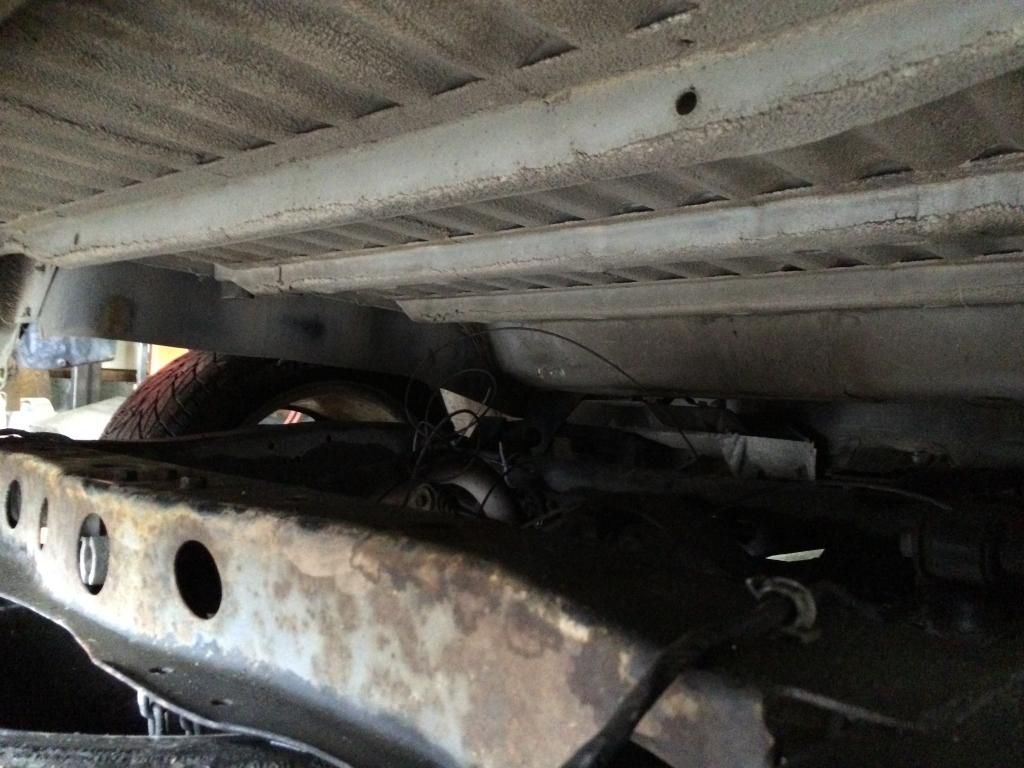
during the swap i pinched the cheesy plastic lines for the air shocks, made it hard to fill and apparently dont hold pressure anymore. i found out the hard way because i left my work truck keys at the shop and had to drive the 4rnr. with no air in the shocks it was a very scary ride at any slight spring compression. the drive line hitting the gas gas tank is the scariest noise ive ever heard in a car. but i made the 2hr drive, cringing at every bump and got it back home without being set on fire. wasnt going to drive it until i got under it and confirmed the noise and finally did.

IMG_1360_zpsfhepyqea.jpg~original


what part of that pic doesnt look scary?

there is roughly .25in of up travel in the drive line, usually a good bump at speed will make the chassis compress 2.5in and hit frame in the rear, im F'n lucky lol.

here is a better shot, stock 2wd tank has 1.5in spacers in front and 3in in the rear (pictured). note the shiny bare metal ring on the drive shaft...
IMG_1361_zpssjnp5cr3.jpg~original


since from both that angle and through the access panel on top there was a bit of room to go up in the back. so i pulled out the rear spacers, loosened the front and started jacking. the tank actually went up to the stock mounting point and most importantly moved 1in away from the drive line on the way up. a bit of the floor did deflect under the a$$ pad on the rear seats, but magically didnt pinch or even come close to any lines or ports.
IMG_1363_zpskzagxegn.jpg~original


now i filled it and went for a good thrashing. i did measure a lot first; axle to frame 2.25in, drive line to tank 3.25in, top of tire to wheel well 2in.... $hit.
IMG_1365_zpsx29qczft.jpg~original


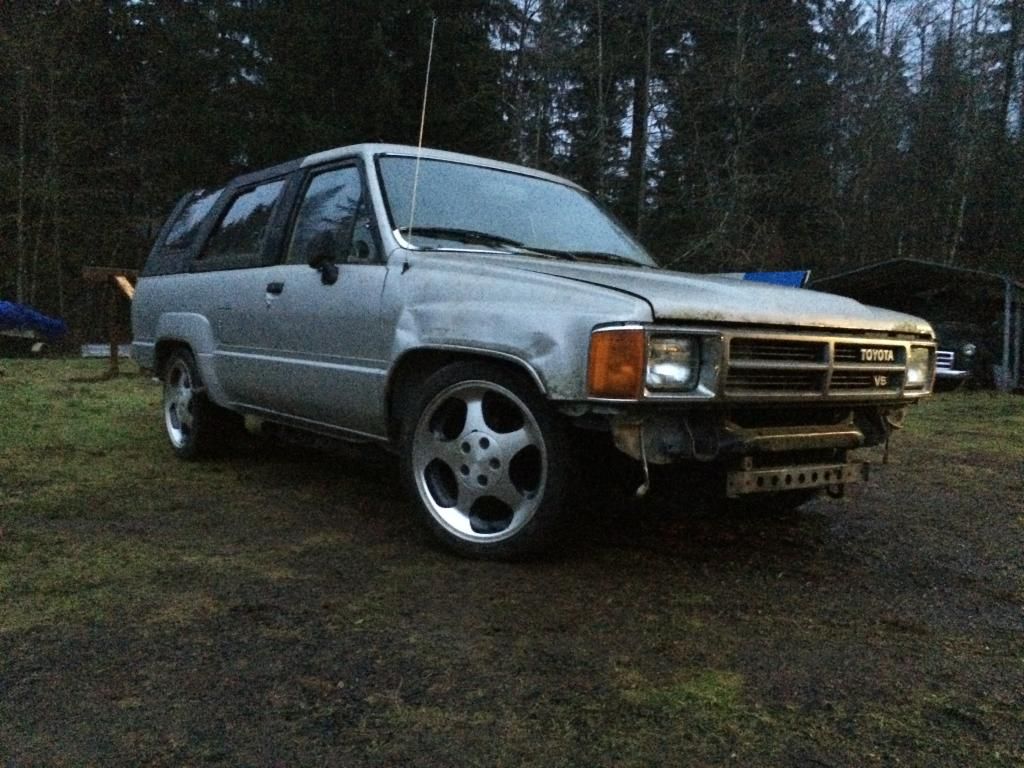
no air in the shocks and it drove perfect, not a sound from the driveline or tank and a few good hits to the frame. for now the tank works, but has to go if i go any lower. feeling safe driving it i finally washed it and took a night once around. not sure if its an optical illusion or the bodies on crooked, but it might be because i didnt measure and center thinking i might be taking the body off again and forgot to center when i bolted it the next day and was in a hurry because of the superbowl. still liking how it looks despite the tiny wheels.

IMG_1366_zpsmoz1odwg.jpg~original


IMG_1367_zpsf1vfa2iu.jpg~original


IMG_1368_zpskyb7ghhn.jpg~original


IMG_1370_zpsgyf7hiqp.jpg~original


IMG_1371_zpsnd9pnfwt.jpg~original


up next is cleaning/detailing/installing accessories, very soon is tubbing the rear... i need bigger wheels


and now we're caught up and current ish, plinking away at it :rain:
 
Pipe fitter- thx, and yea most do die right there lol. But how do you think I got the 4rnr cheap ;)

The body swap itself was about 60hrs because of trial and error, if I knew what I was doing I bet it could be under 40.

Kid- it's the 2ws bumper and a little short so I can't bolt the ends yet, the zip ties are just to keep the ends from flopping. Pretty sure there isn't a 1 piece chrome 4rnr front bumper so I'm gonna try to bend this one to fit
 
Cool! Lot of work. Nice you have a good place and equipment. (read-jealous)
What I like is you were honest and put in things that went wrong or not as planned, that helps people. Good job! Go Seahawks!
 
equipment isnt mine but i do have access and its as awesome as you think :lightsaber:


and thanks, but thats the fun part to me when it doesnt fit
 
Saved for future reference, this was the original plan with my 3rd gen, but wasn't practical enough on a daily, I still really want to do it though, not sure if I like the 1st 2nd or 3rd gen the most body swapped and dropped.

Why did you choose to keep the carb set-up instead of switching the injection onto the 22R or swapping the RE in?
 
It wasn't really a choice for me, I hate efi lol. Also a weber is infinitely more tune able then the stock efi.

But the donor mini was already a DD with the carb, and faster then stock efi. Would of had to change fuel lines and pump plus the 4rnr was only mostly swapped from a 3.0 to a 22re so Id have to figure out the wiring of what wasn't finished. It was just easier to pull it out and wire the carb.
 
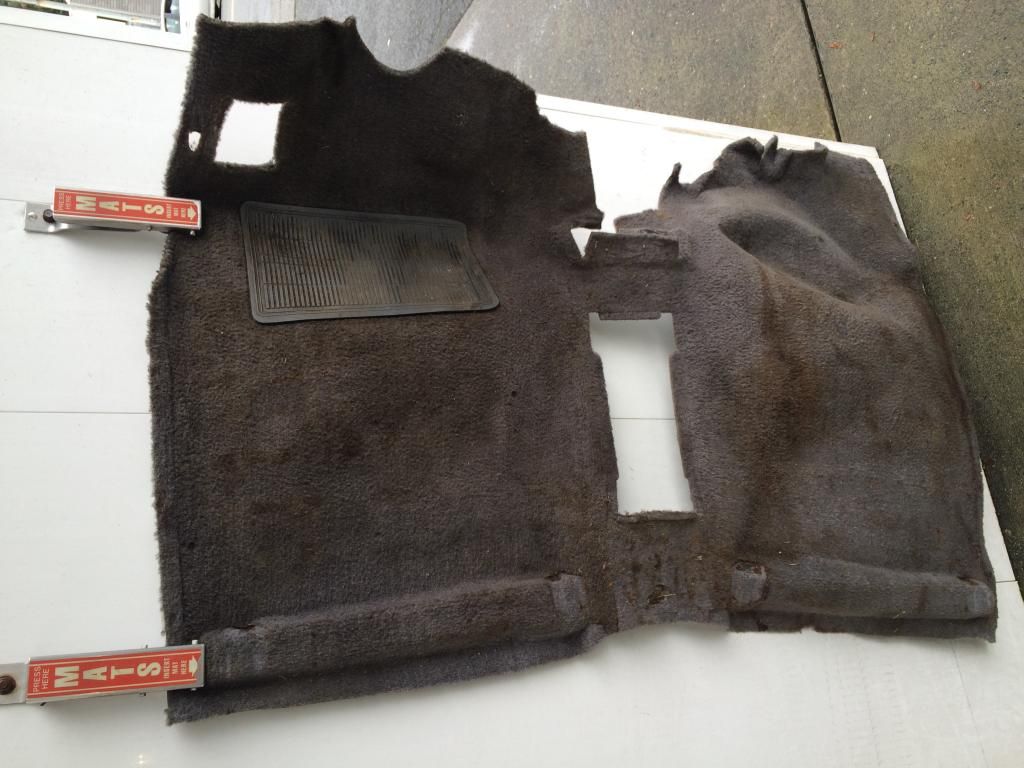
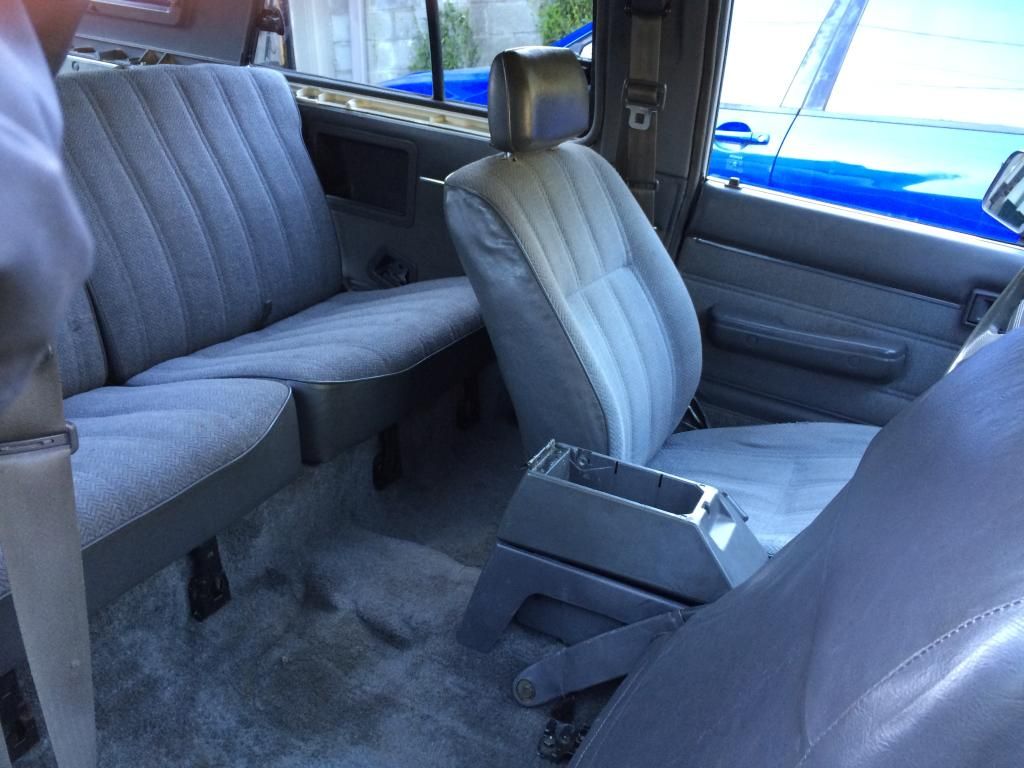
so ive been cleaning the $hit out of this thing. tore out the whole interior cept the headliner and wiped down everything i could. took most of the fabrics to the car wash and hosed the shit out of em. here are the carpets before

IMG_1375_zpsfk1dstw2.jpg~original


IMG_1376_zps0ayfshes.jpg~original


kinda looks like a gi joe lego base exploded in my garage right now
IMG_1382_zpstznjchsr.jpg~original


IMG_1405_zpsfeccrueu.jpg~original


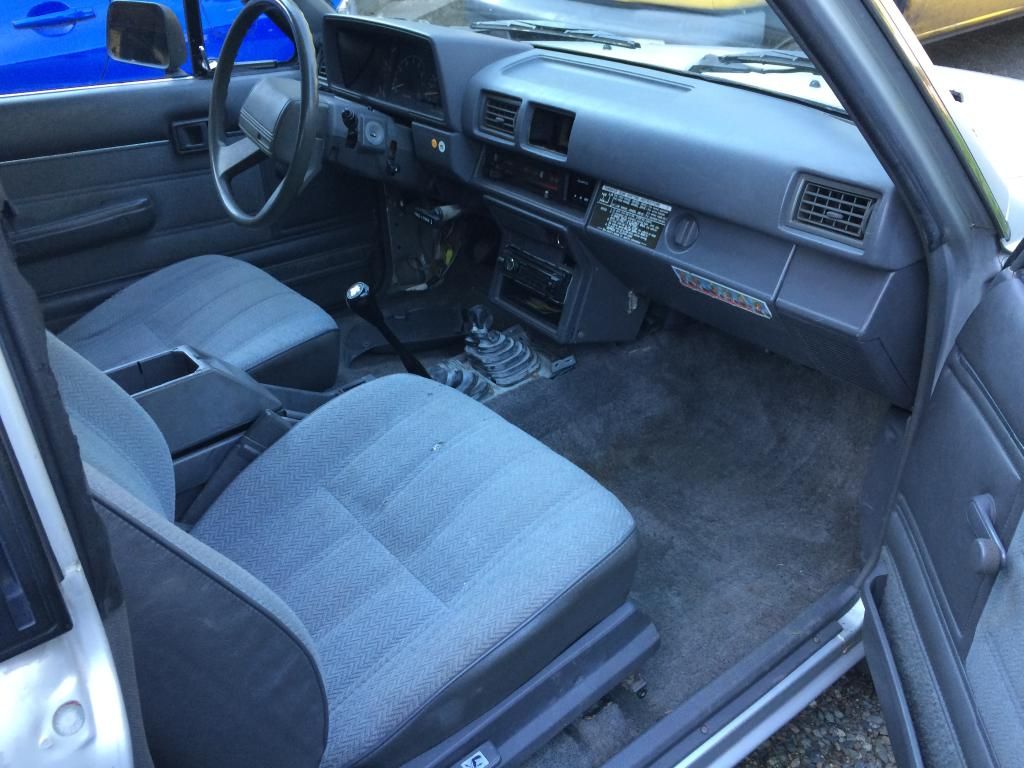
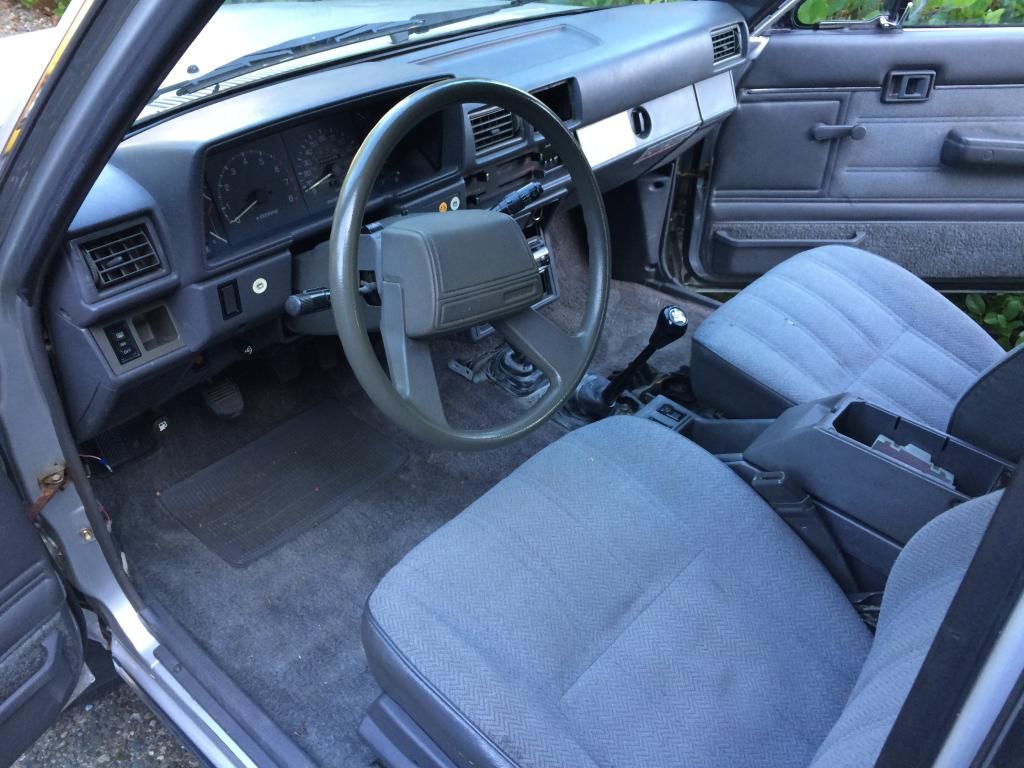
and here we have the bones of a 4rnr, ended up swapping the whole dash with the mini truck one because somebody completely F'd the stereo portion on the 4rnr. while not perfect, it was free and doesnt look like someone used a hammer to get the stereo
IMG_1402_zpskldqbhvr.jpg~original


this also made installing the alarm easy for once lol
IMG_1403_zpsfotjakdz.jpg~original


for posterity here is how you find the sneaky bolt and remove the dash pad:

pop the grill out like this
IMG_1391_zpsx6yaihah.jpg~original


then push the 4 clips in and just pull out the vent. you can then see the bolt above/behind the vent
IMG_1393_zpsrj1wn6ke.jpg~original


and i happened to be at the junkyard the other day, saw a 2nd gen 4rnr with a cleanish rear bumper. half off day and a 10% coupon i couldnt say no to $25. the rear part looks like it will bolt up, the sides are definitly too tall and will need trimming. its going on the back burner for now, but i will make this thing fit one day, i really like the look.

mocked it up, drivers side shots are how it will end up sitting in a "mostly stock" mounting. i dont like how high the sides overlap and will need to get cut down shorter.
IMG_1386_zpsfbfollbm.jpg~original


IMG_1385_zpsjsioavha.jpg~original


i lined up the top of the sides to match the 1st gen bumper position and have the top of the sides. way too low "bodykit" looking, might be cool if i was building some kinda bosuku ride but not my style
IMG_1384_zpsbpkxtpb2.jpg~original
 
It's official, I want a lowered 1st gen. And I agree, definitely needs more wheel

yup.

plan is finish installing accouterments, then hack out the fenders and tub for at a min 2in lower and 20in wheels. READ: add 6in.

there just isnt any room for taller wheels, i already rub hard on all 4. i could find some wider 17's but they would still look tiny, i want to tuck at least an inch of rim minimum.
 
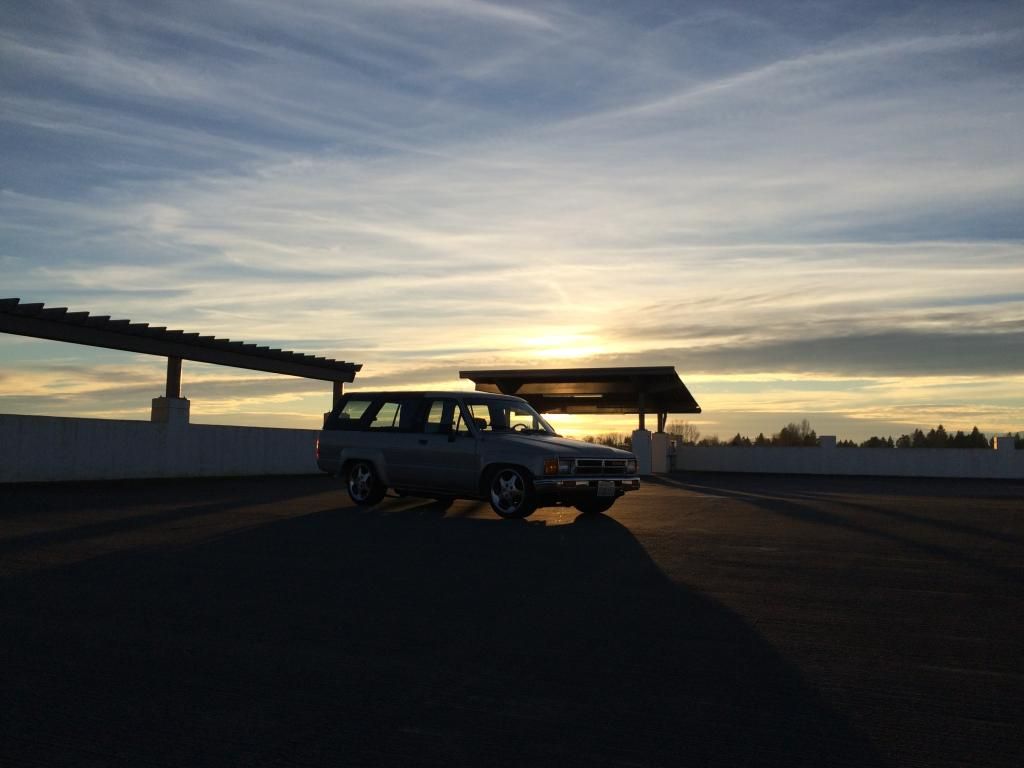
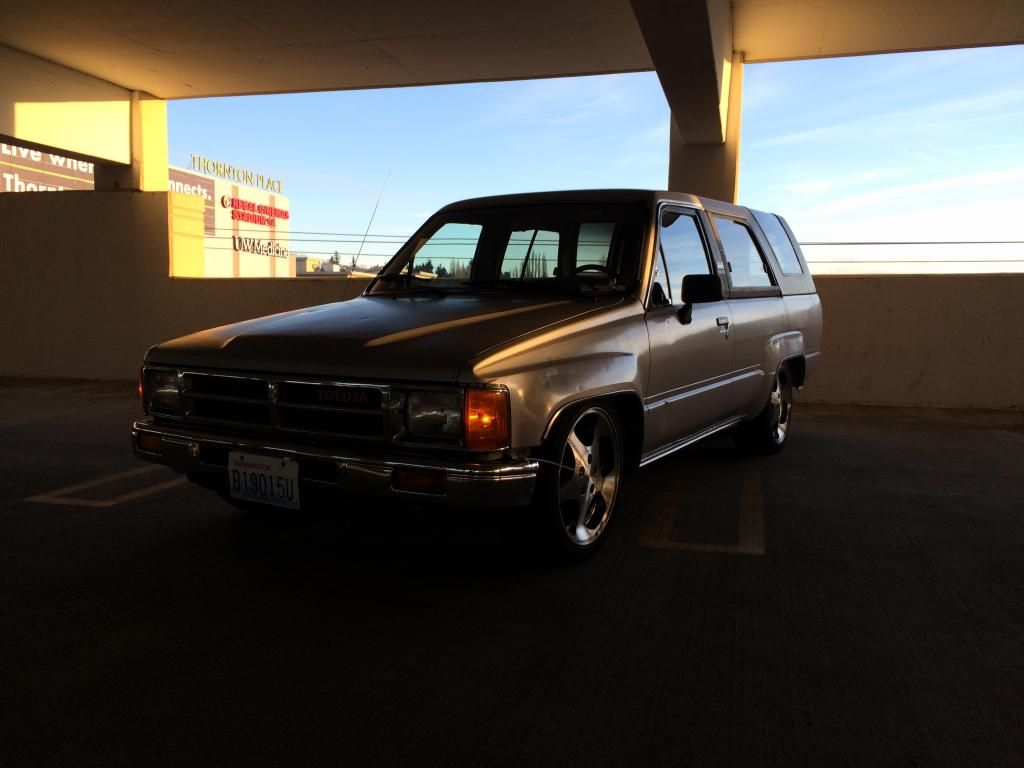
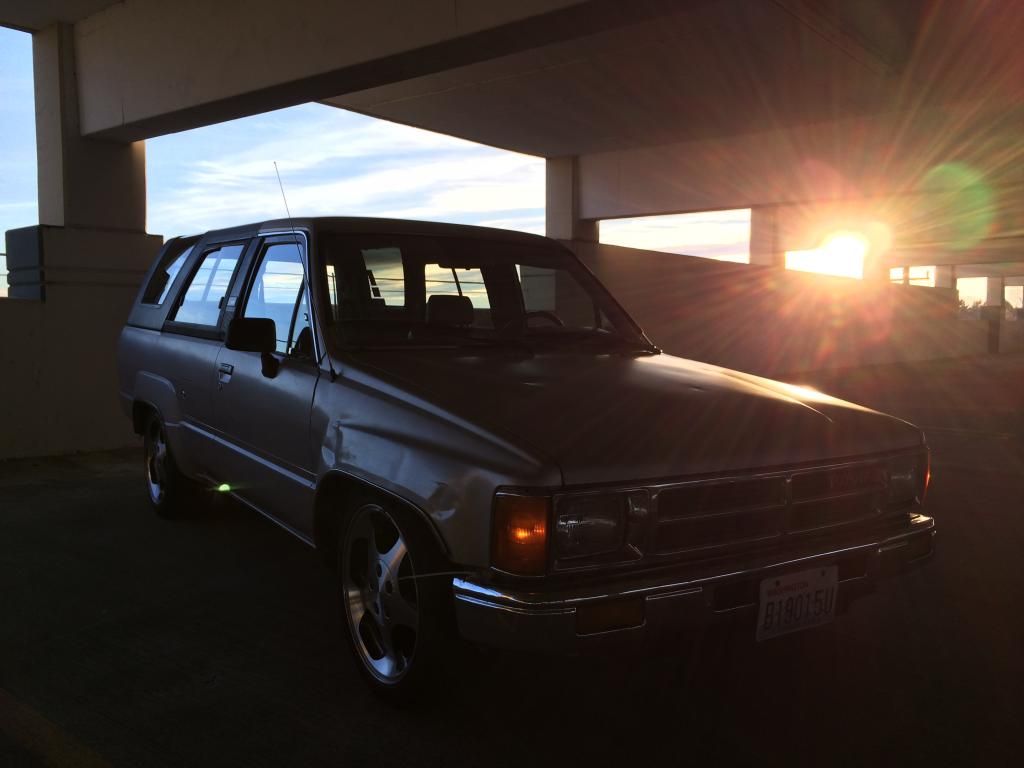
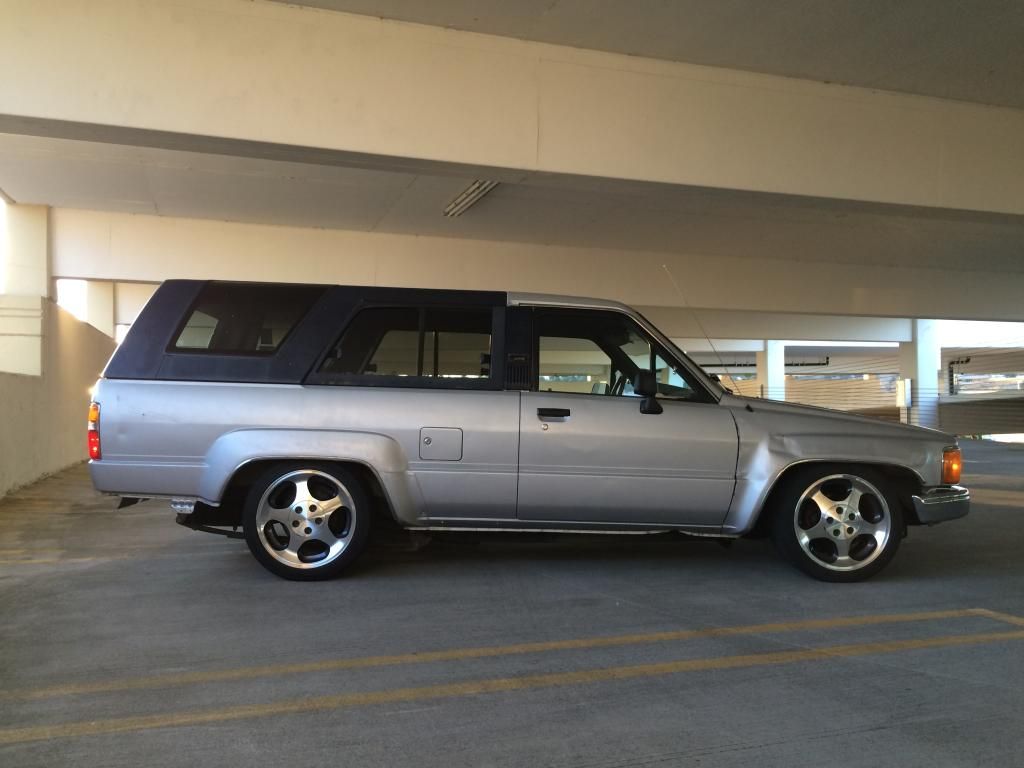
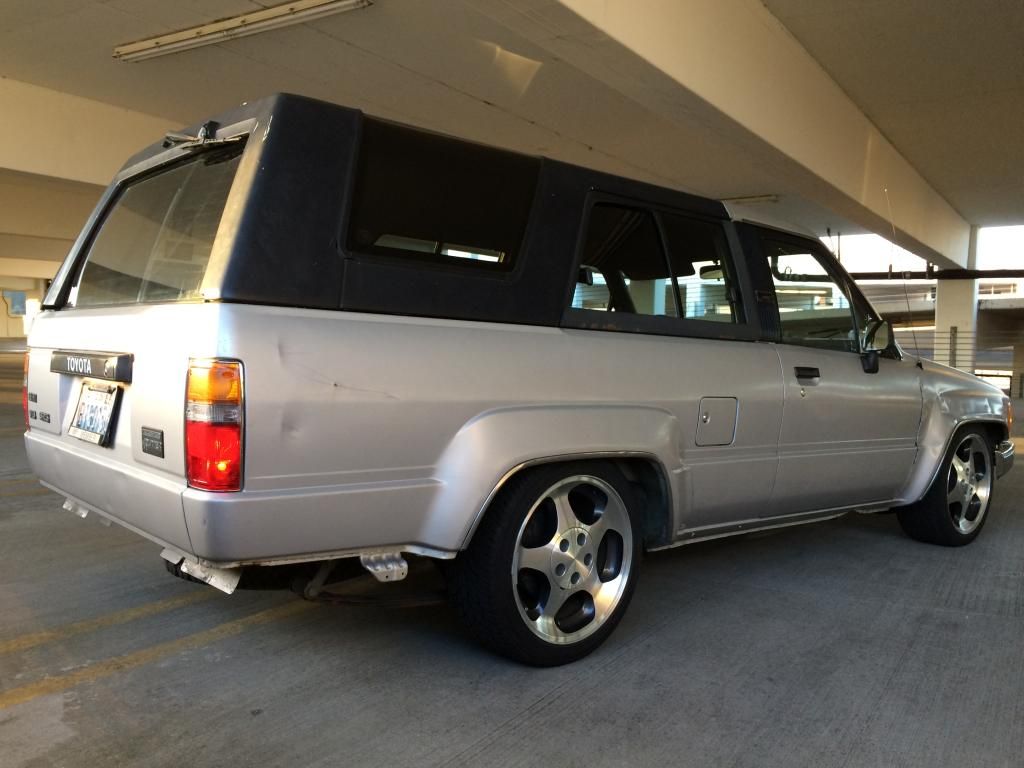
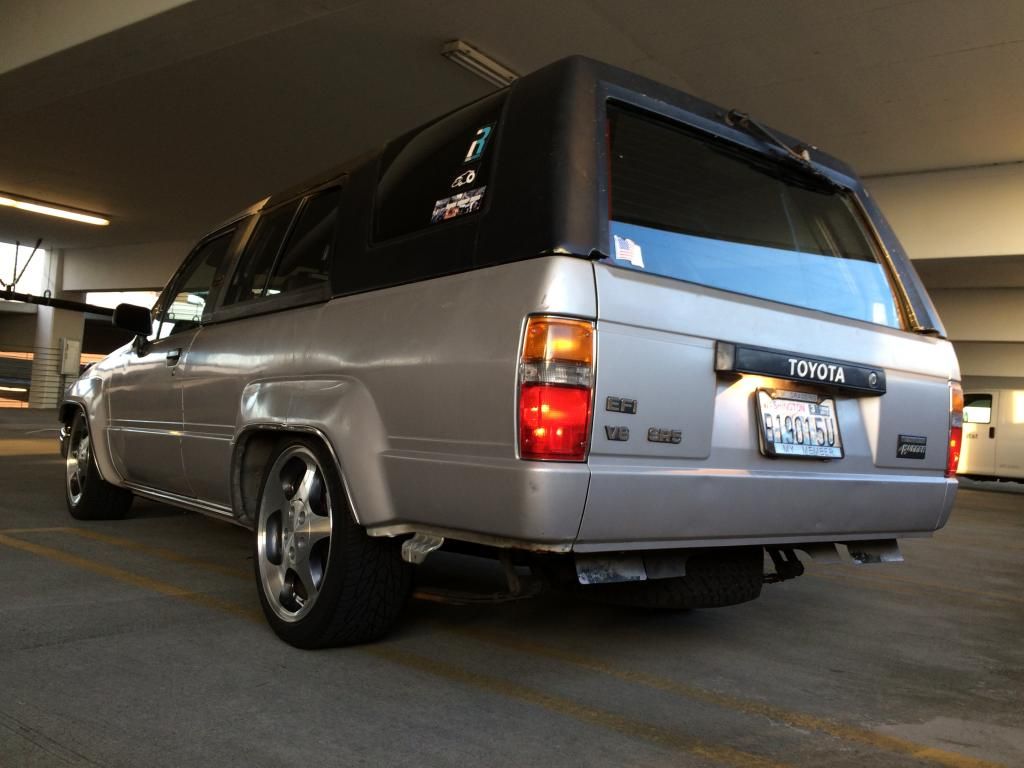
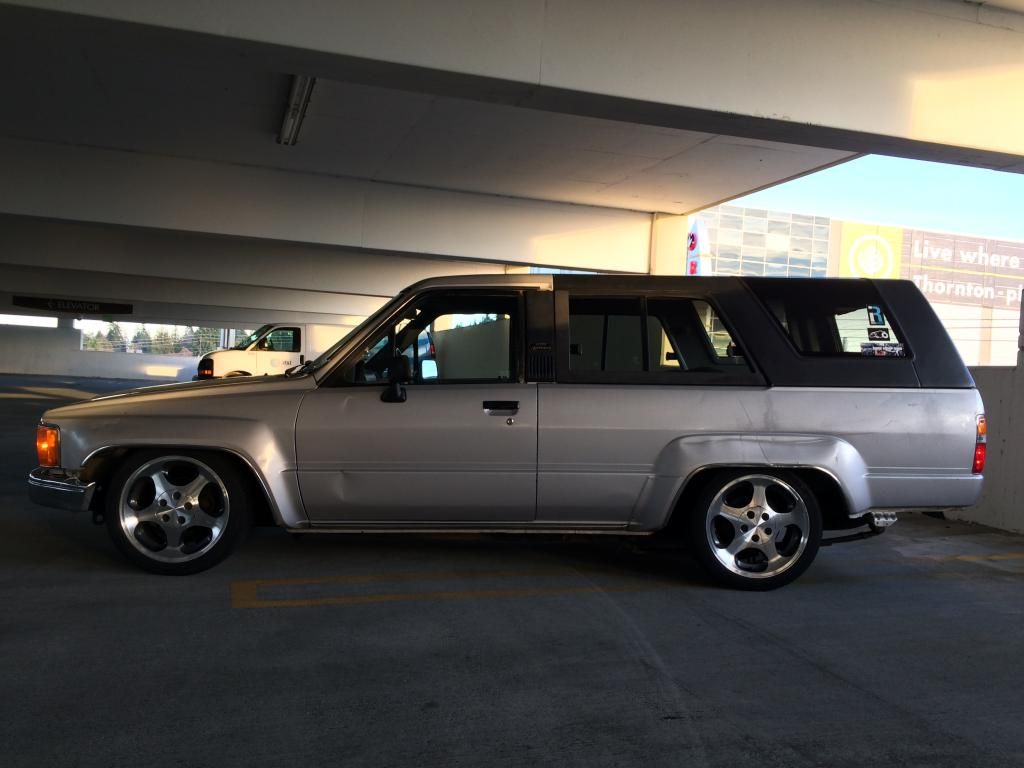
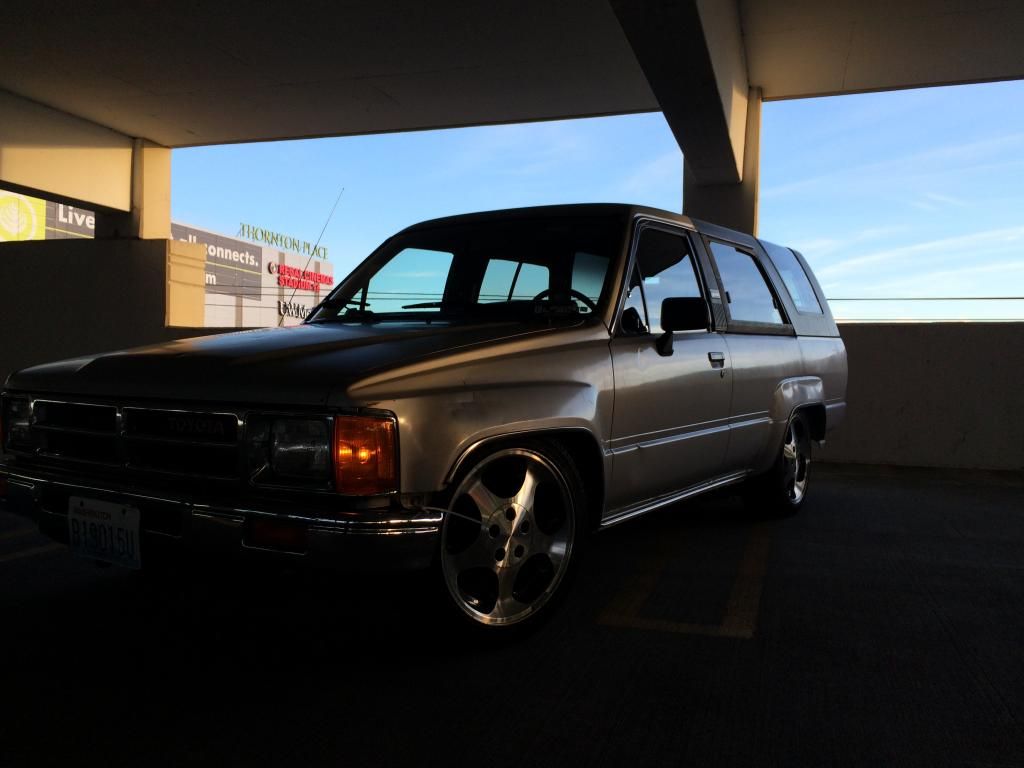
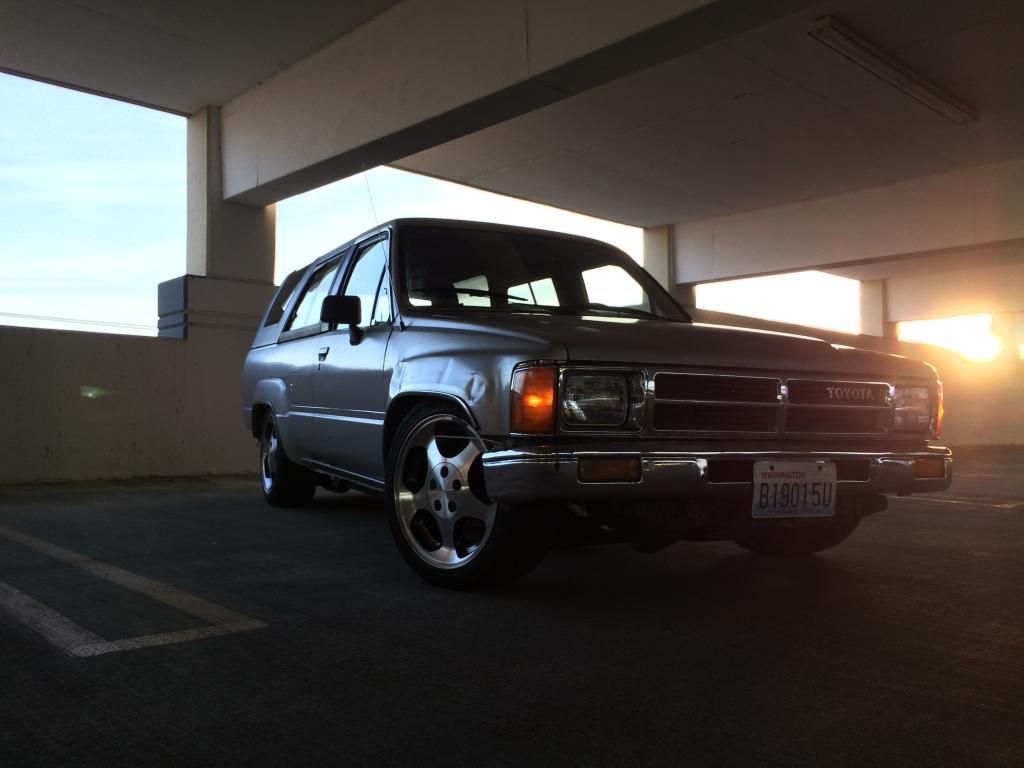
I've been cleaning the $hit out of this and chasing electrical gremlins then i had some time to waste and a handy empty parking garage and some decent weather so i took a bunch of pics, here's some.
IMG_1429_zpsby2hlxde.jpg


IMG_1428_zpsr8jqcodc.jpg


IMG_1424_zpsupd5pp6t.jpg


IMG_1422_zpsqmf7nf76.jpg


IMG_1421_zpsspq0nco9.jpg


IMG_1420_zpsojyjdfmi.jpg


IMG_1418_zpsjr7w31bu.jpg


IMG_1417_zpsr3jtirtg.jpg


IMG_1415_zpsjqaqvvqr.jpg


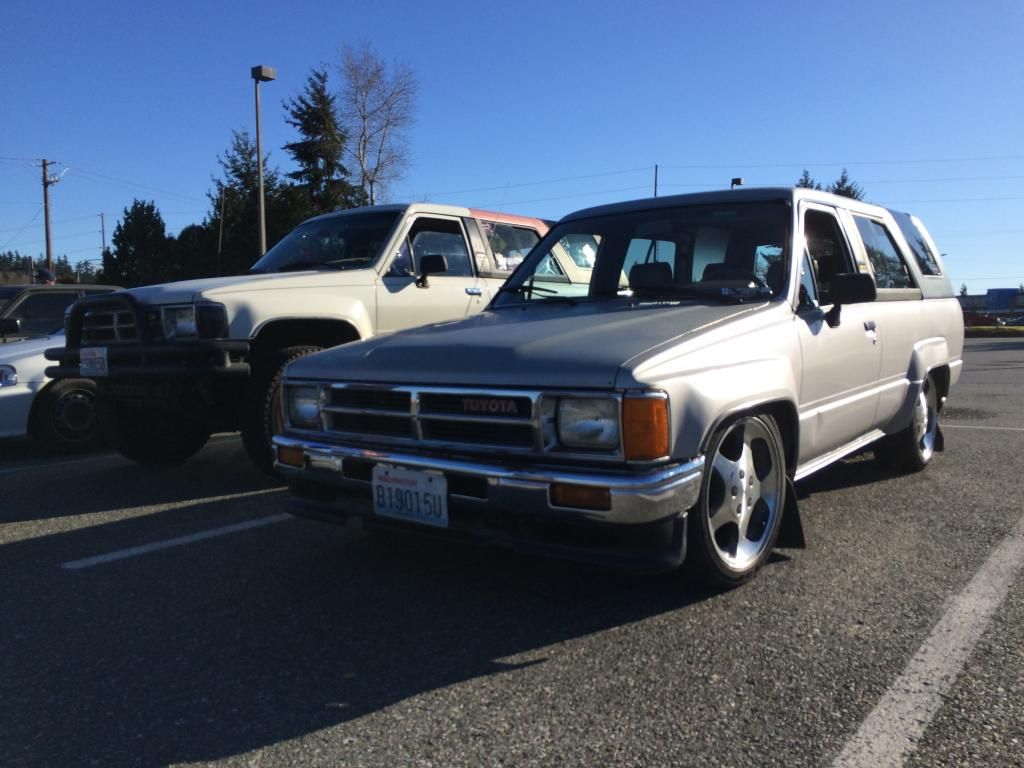
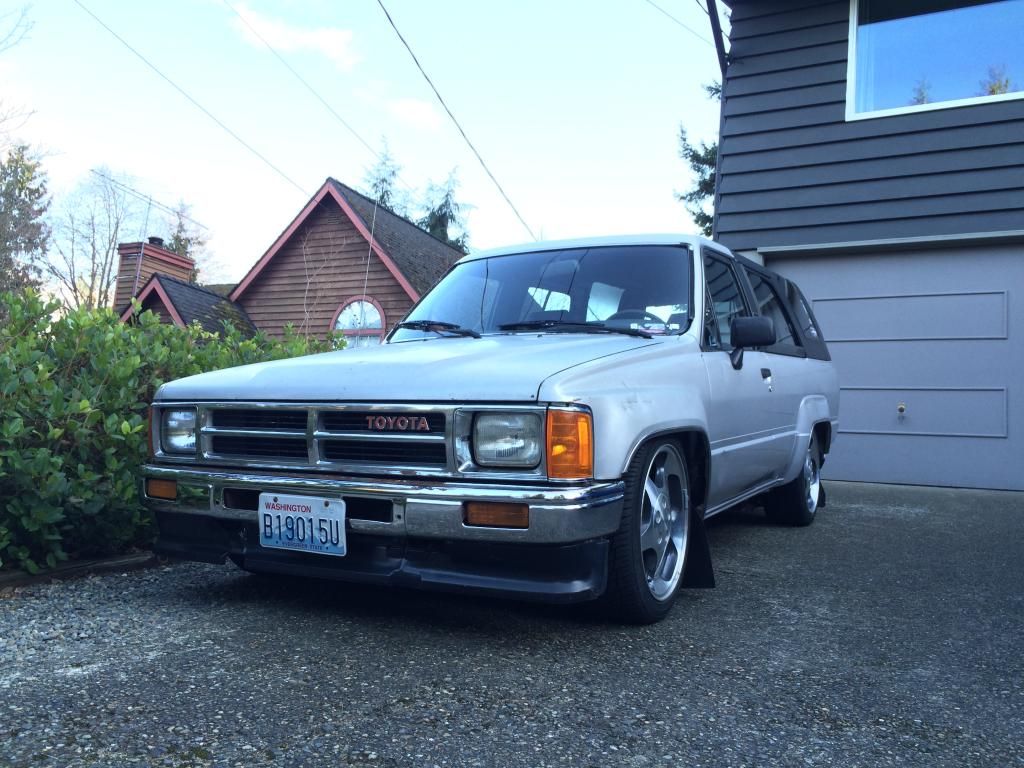
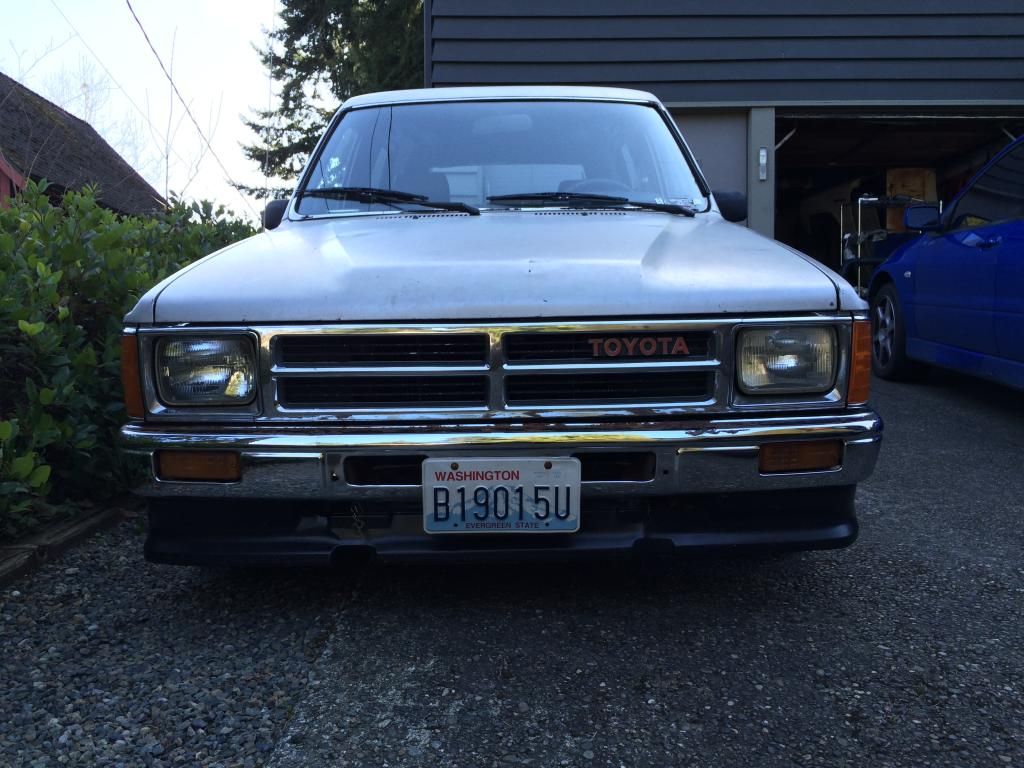
got some good pics, but it looked like it was just slapped together. alarm/stereo installed and most of the interior in and working, so i started making the outside pretty and detailing the crap out of it. installed mudflaps Ver 1.0 and stretched the 2wd bumper to fit. still need to futz with the brackets so it sticks out a little more and lines up with the wheel opening at the ends. but it looks damn good now, even found a stock 4rnr at random car meet to park next to
IMG_1447_zps1op8yyju.jpg


then i noticed the bumper was crooked and fixed it
IMG_1465_zpsahxeunlt.jpg


IMG_1464_zpsqpaigkgc.jpg


i found out that there isnt any difference in the housing size for the center vents vs the passenger one, i had access to an extra and plopped it in. waiting to find one more then all the dash vents will have an on/off flap. need to find the auto center console to cover the shifter hole and it will look factory ish

IMG_1460_zpsukvpfqp6.jpg


IMG_1458_zpstuepjsfm.jpg


IMG_1461_zps22labscv.jpg


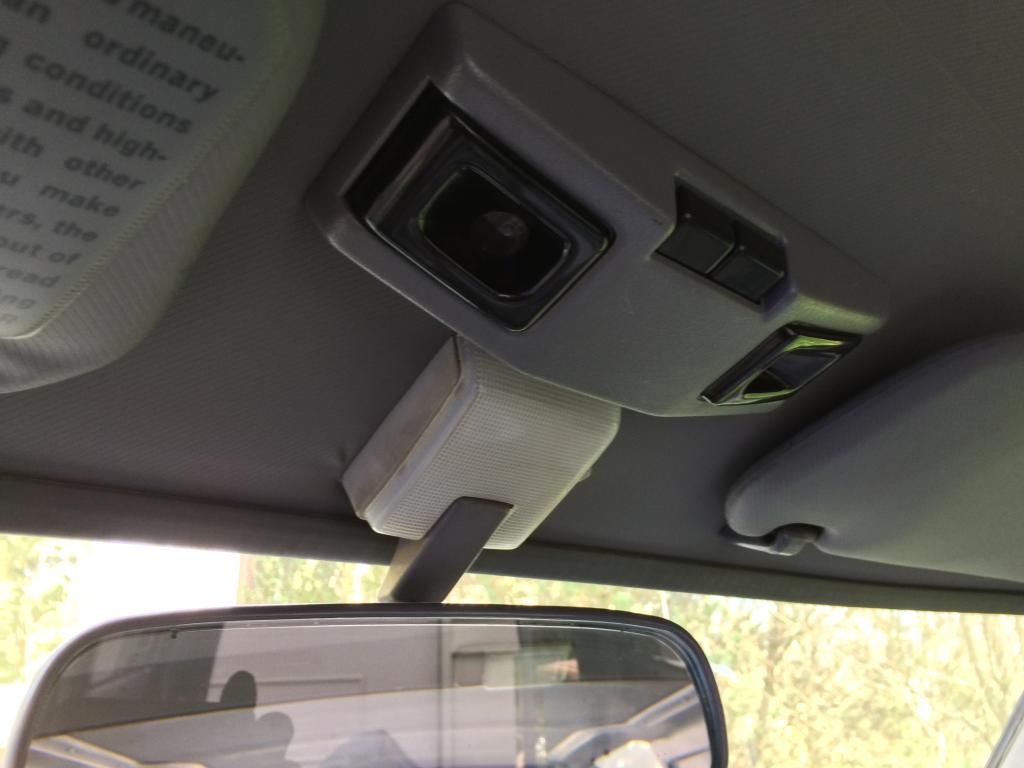
trucks have a dome light in mirror but rarely a day/night mirror, so i swapped the day night mirror onto the 2wd housing and spiced into the spot lights power. door setting even works as both the spot and dome lights run on the same circut.
IMG_1457_zpsdthxyrkw.jpg


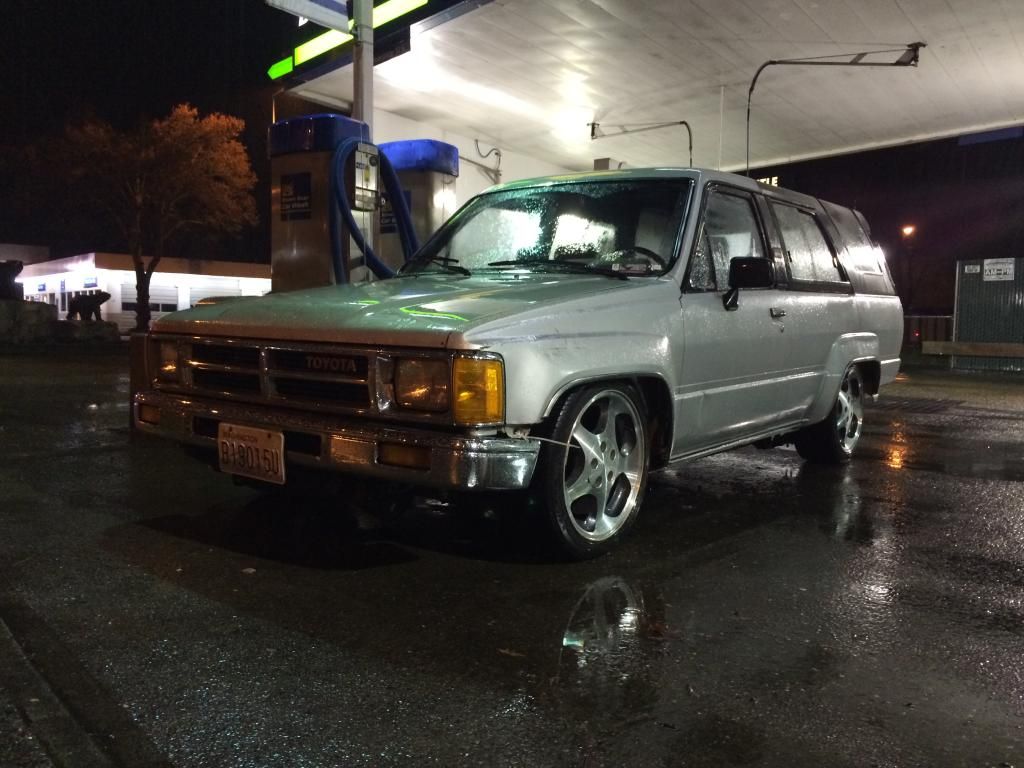
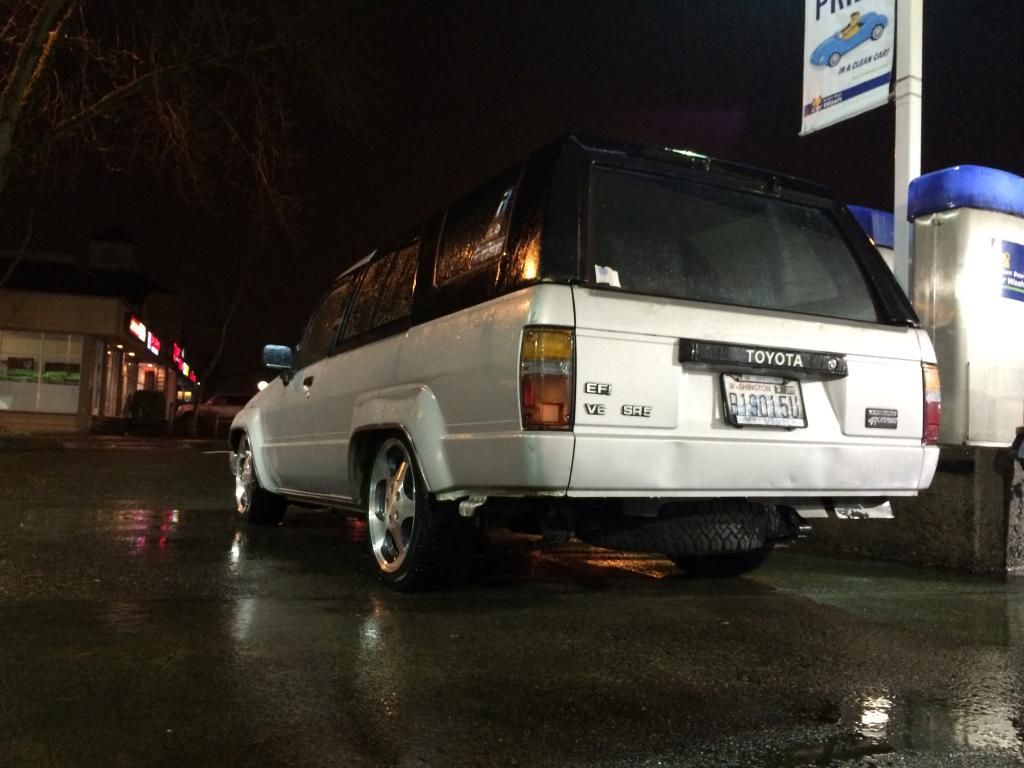
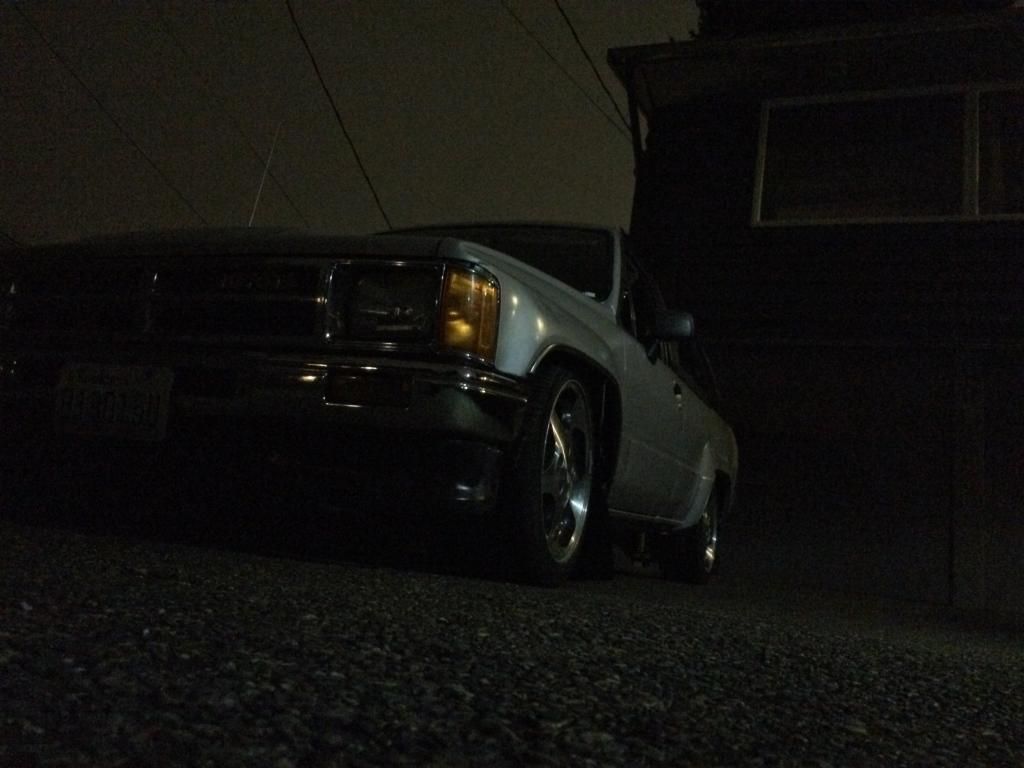
starting to really shape up now, especially in the dark
IMG_1456_zpsfq6cw1q2.jpg
 

Members online

Forum statistics

Threads
278,306
Messages
3,554,046
Members
248,016
Latest member
Advally Service

Trending content

Back
Top