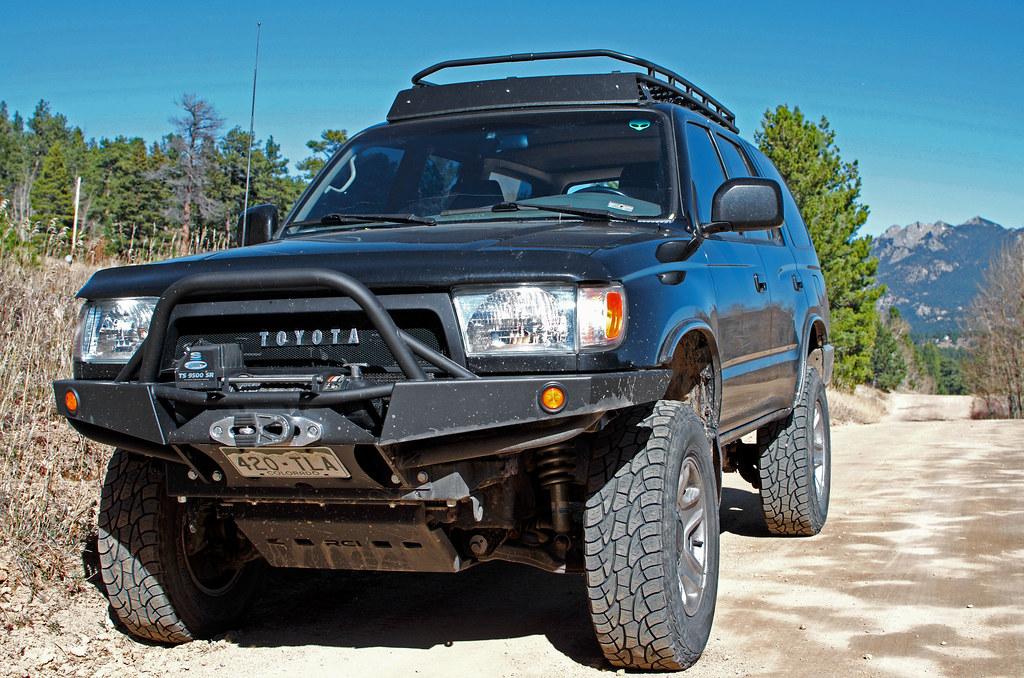
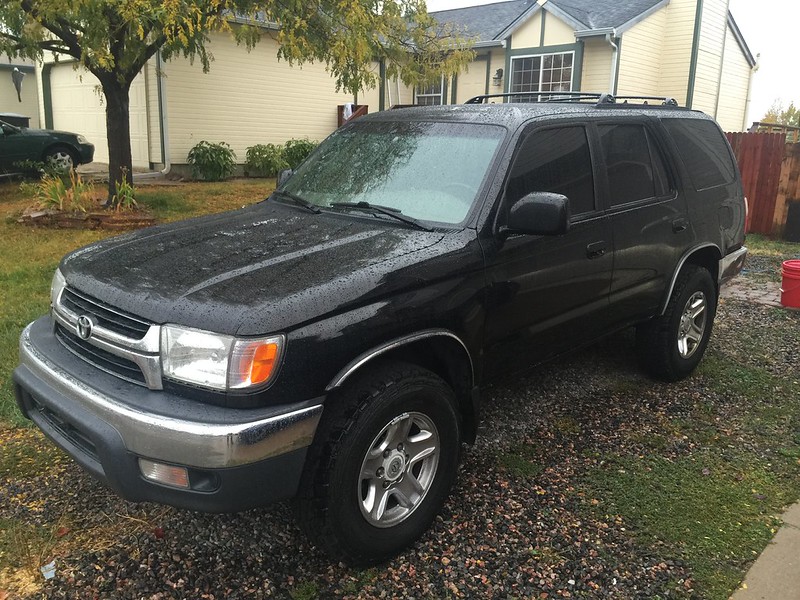
TMP's 2002 Build and Wrenching thread

Register to hide this ad
November 2016
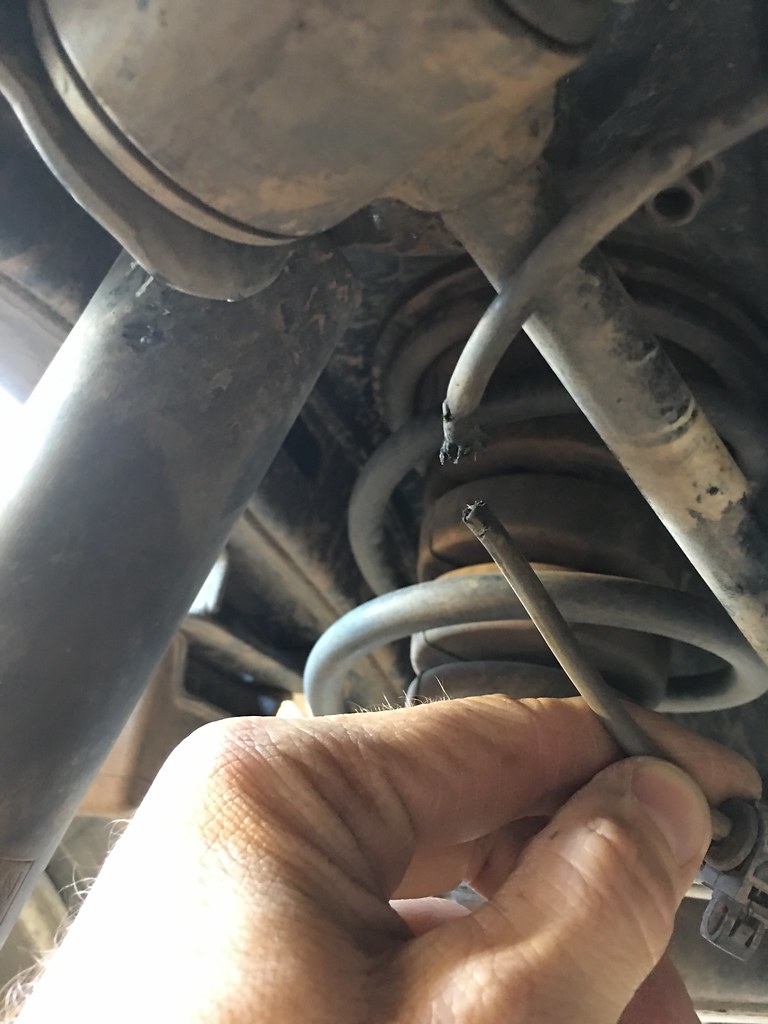
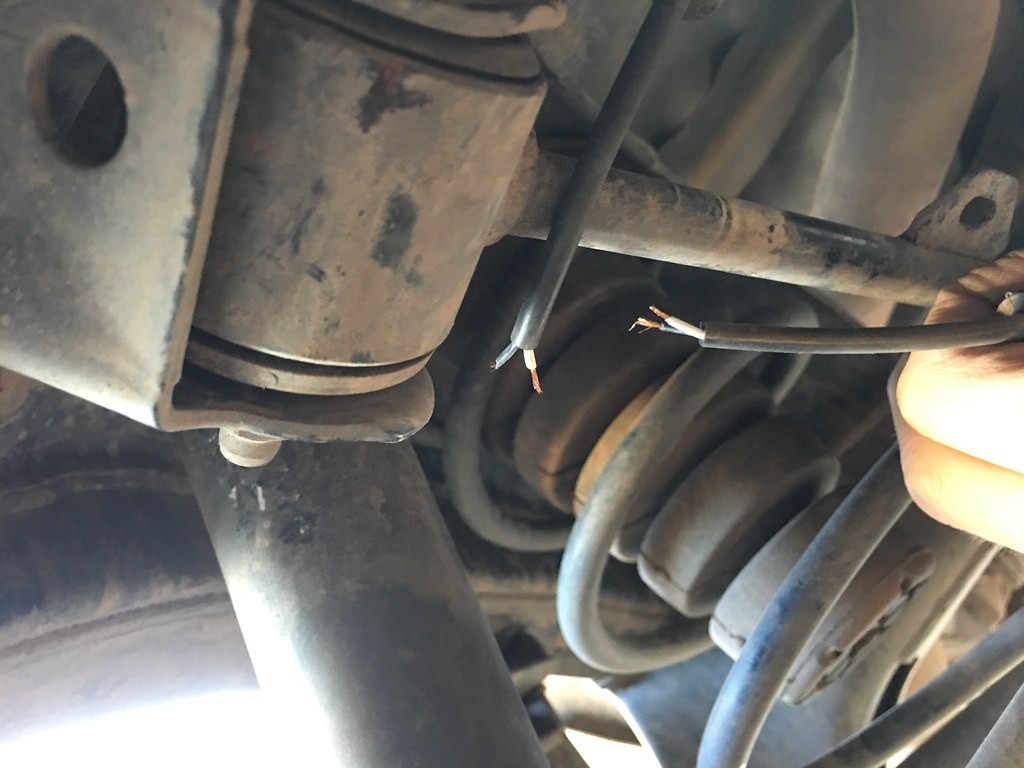
Broken rear shock and severed ABS cable.

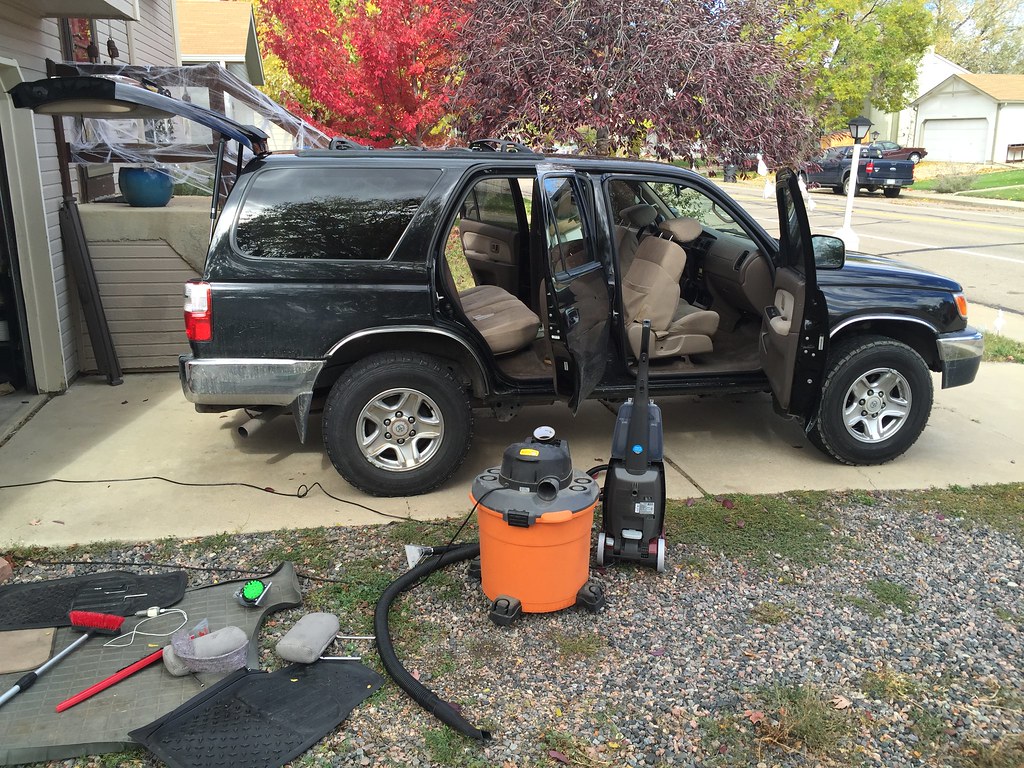
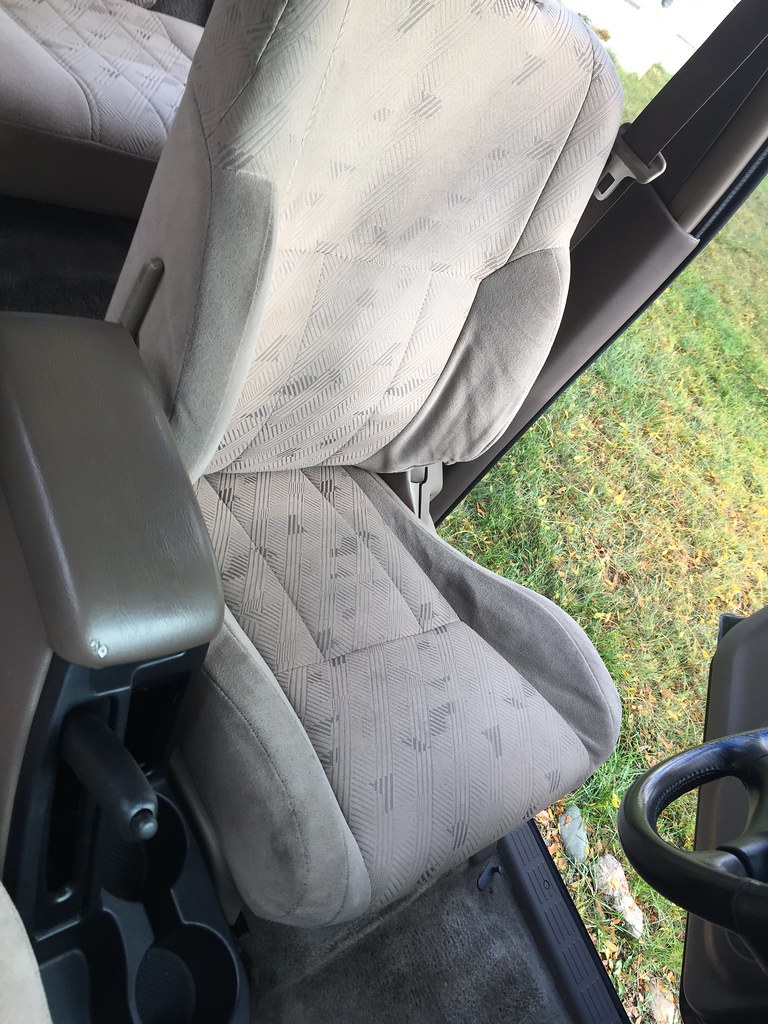
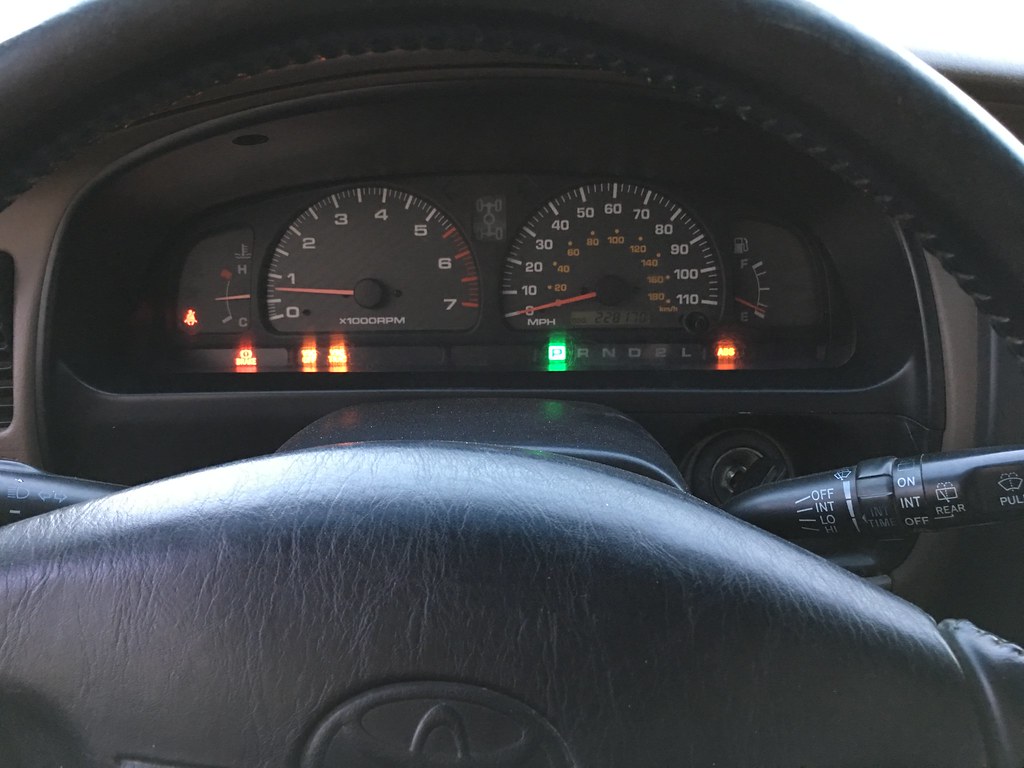
Dash is blowing up!
https://flic.kr/p/YPhryVhttps://www.flickr.com/photos/152444593@N06/
https://flic.kr/p/XN6Vokhttps://www.flickr.com/photos/152444593@N06/
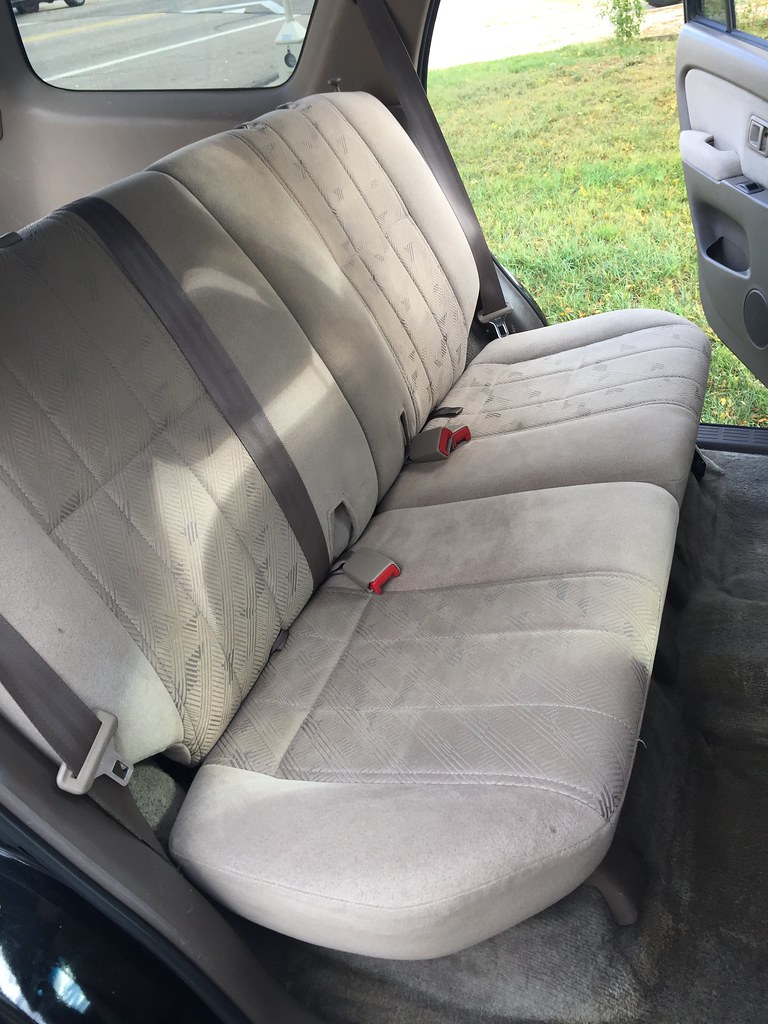
https://flic.kr/p/XN6Vkp by https://www.flickr.com/photos/152444593@N06/
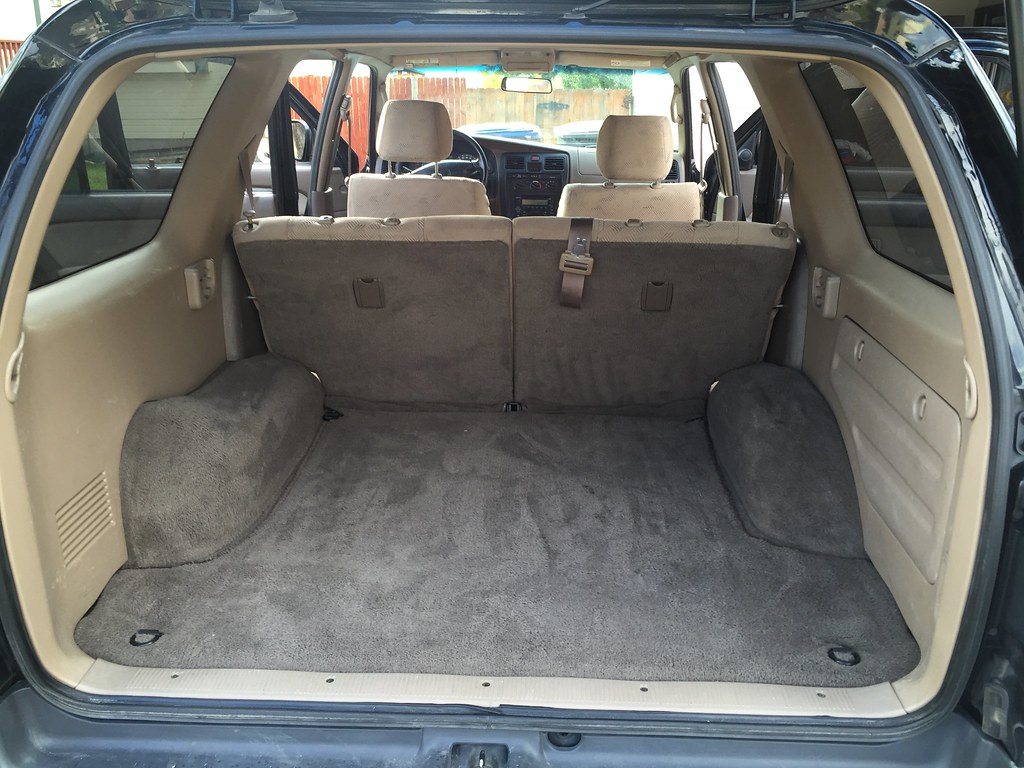
Broken shock bounced around and snipped the ABS sensor cable. I soldered it and cover in heat shrink.
https://flic.kr/p/YK8rdmhttps://www.flickr.com/photos/152444593@N06/
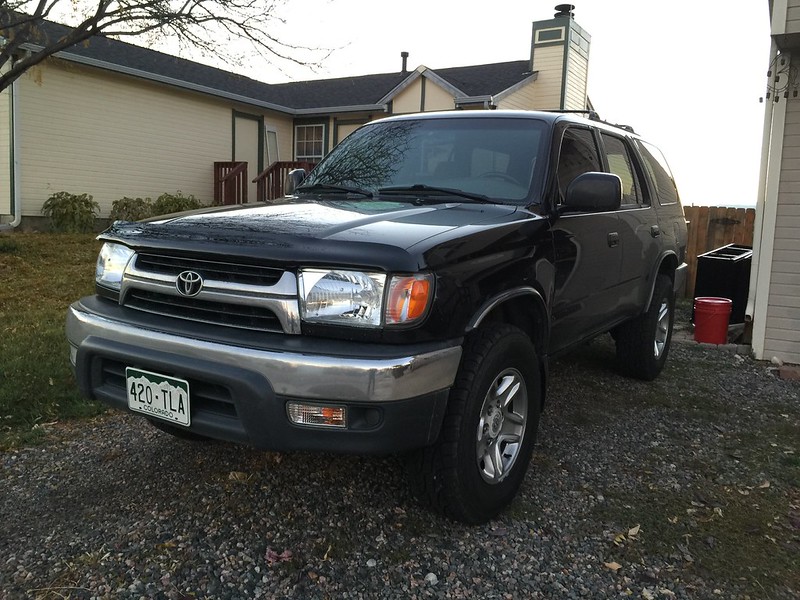
Ready for solder... and then didn't take any more photos.
https://flic.kr/p/Z2U1PK https://www.flickr.com/photos/152444593@N06/
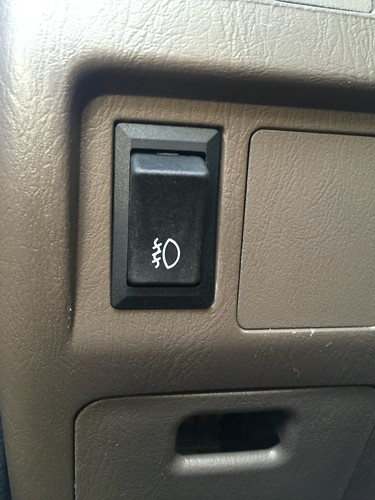
 
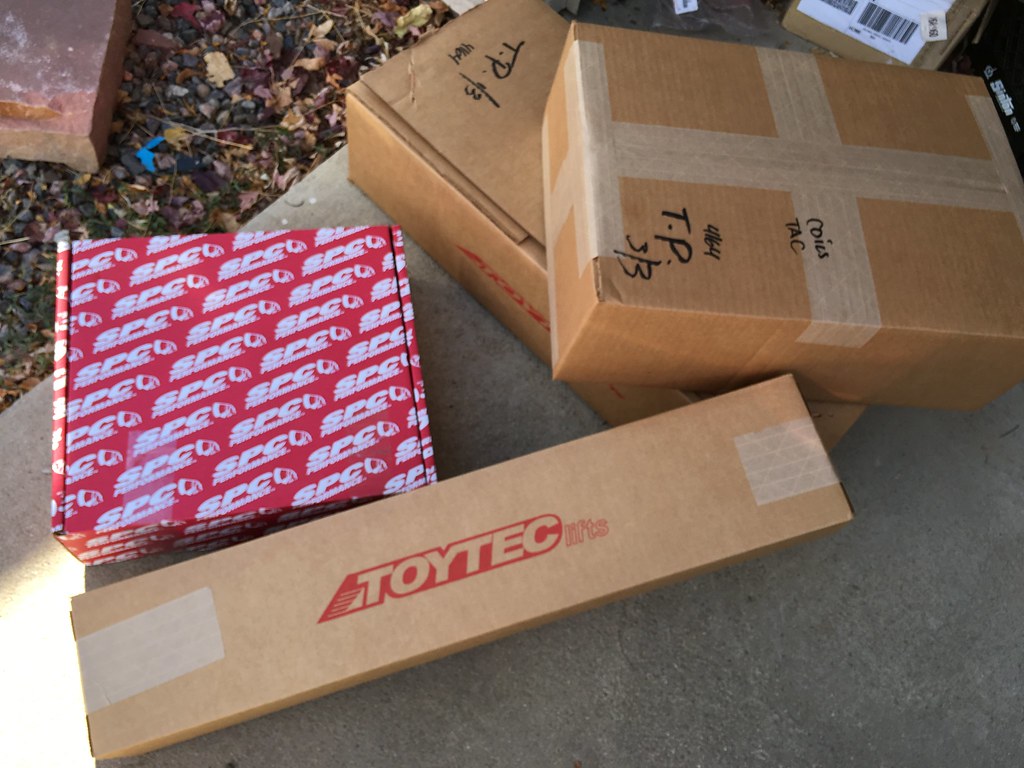
This was a really fun project. Had Toytec assemble the front coils for me and then drove down and picked everything up.

TTHA-9602 - ToyTec/Eibach 3" lift kit - 96-02 4Runner

November 15, 2016

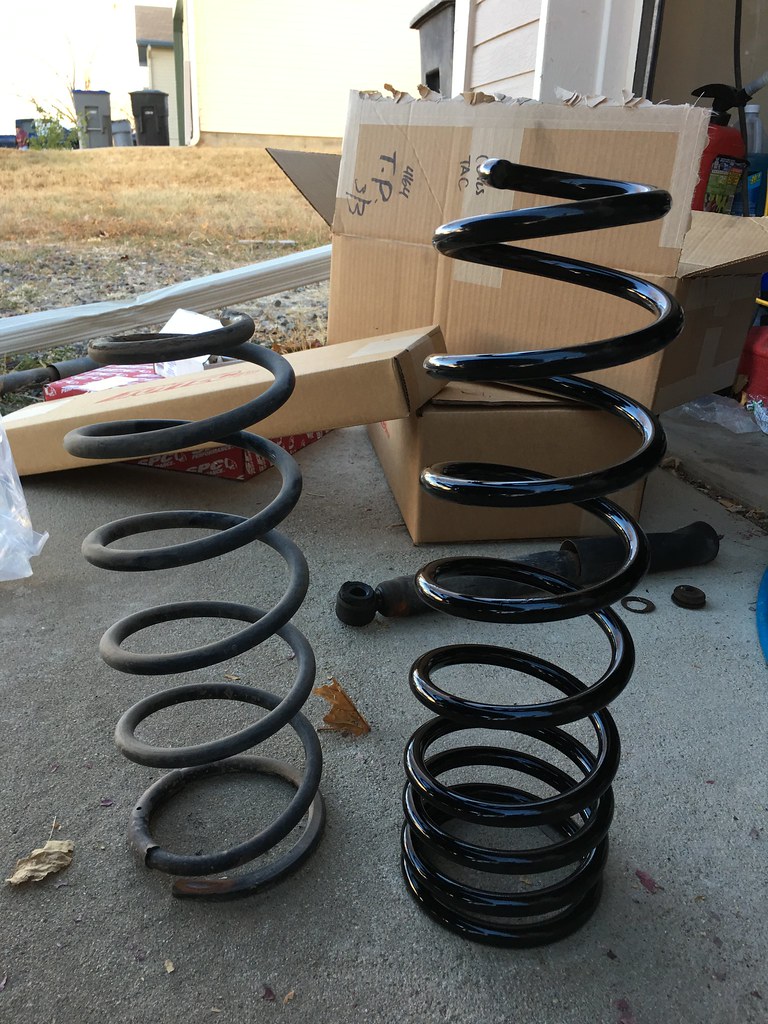
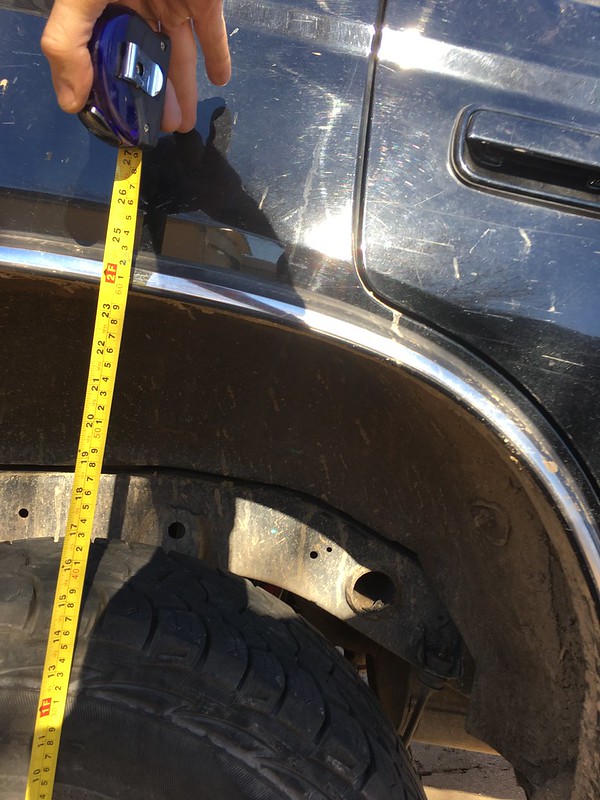
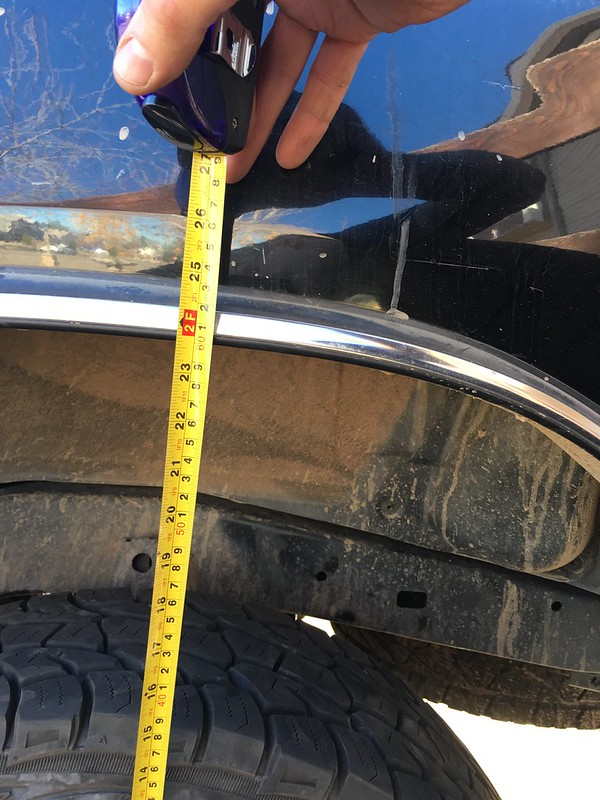
Difference in stock rear spring and new toytec rear 3" lift spring
https://flic.kr/p/YLFwzQhttps://www.flickr.com/photos/152444593@N06/
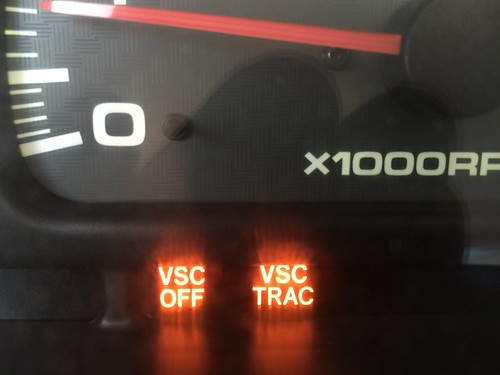
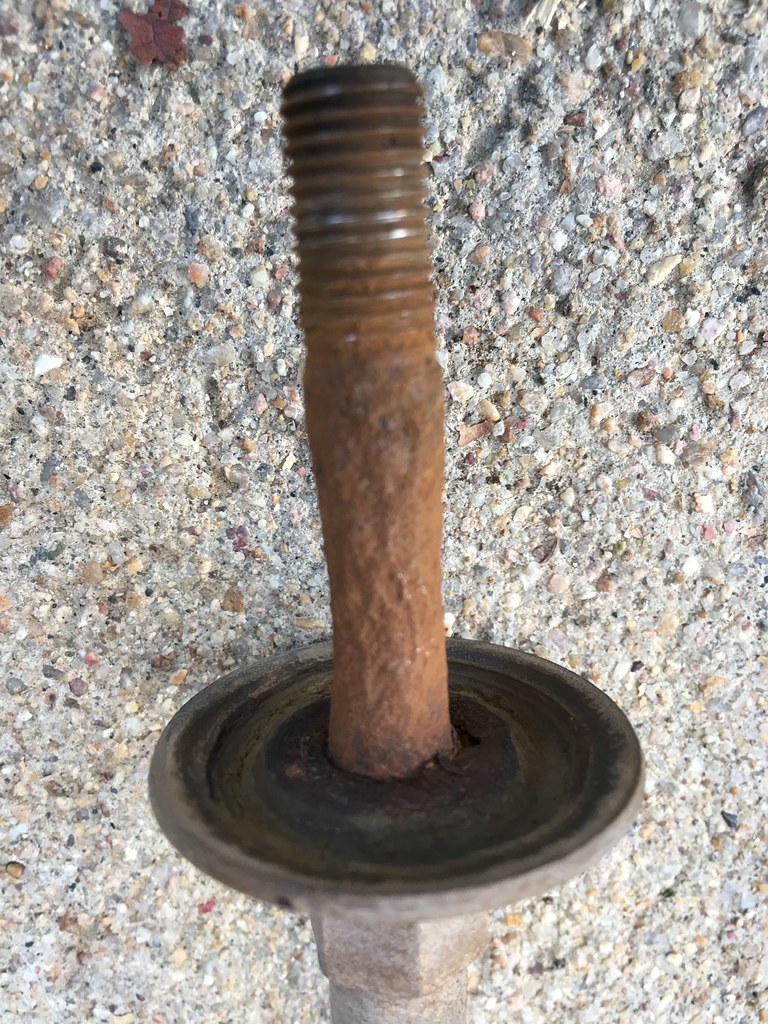
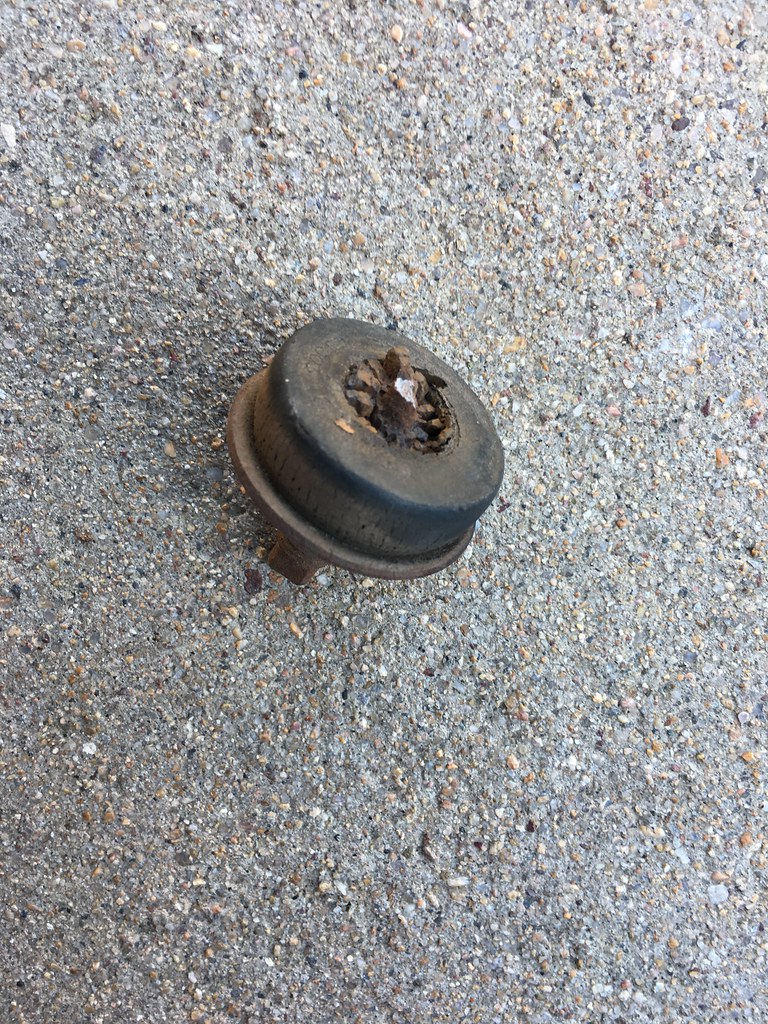
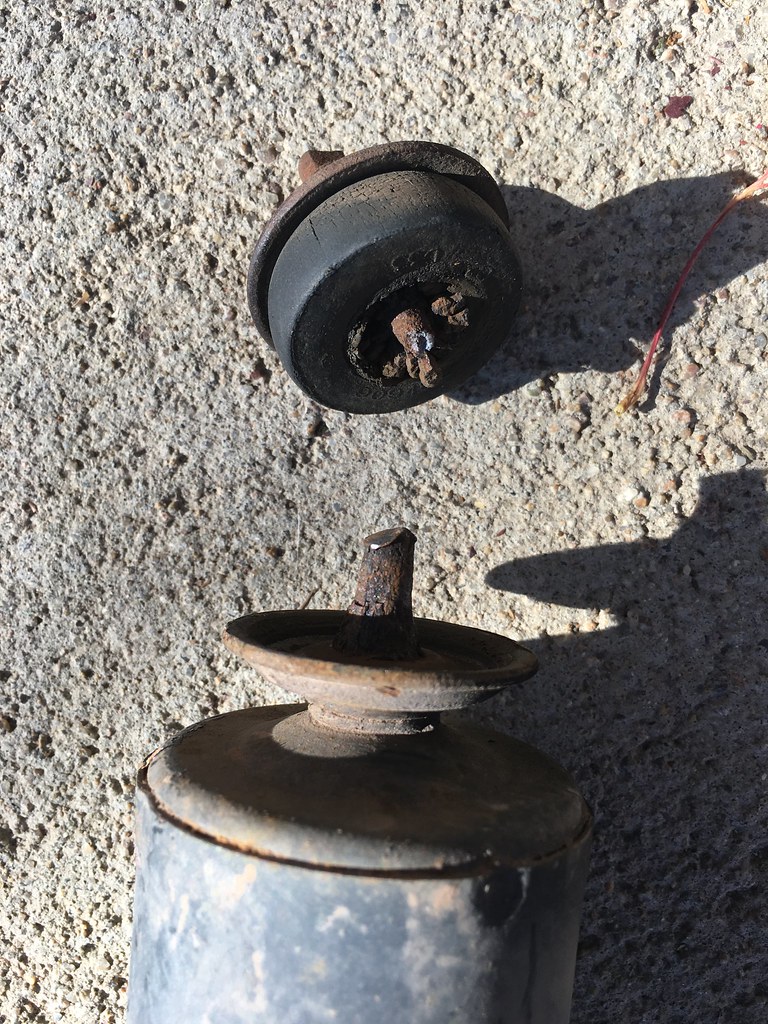
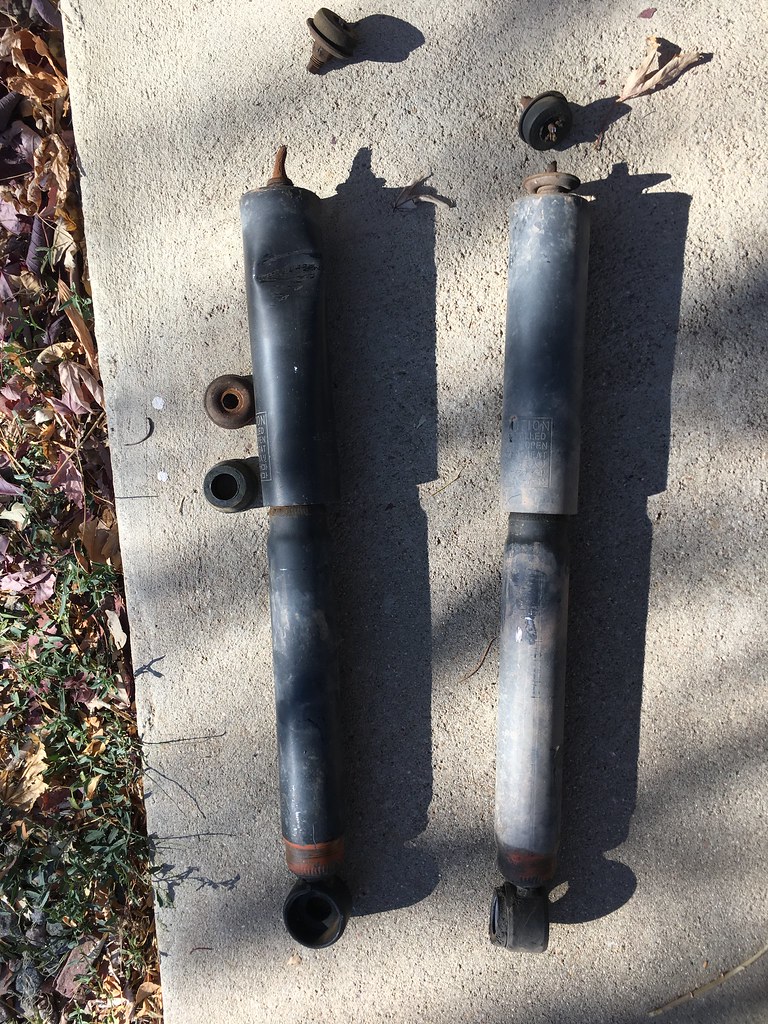
Shock on the right is the one that broke and was flopping around. The one on the left i bent back and forth until the top bolt snapped. Took all of about 10 seconds
https://flic.kr/p/Z2U2eThttps://www.flickr.com/photos/152444593@N06/
https://flic.kr/p/YK8rA5 https://www.flickr.com/photos/152444593@N06/
https://flic.kr/p/YLFwwohttps://www.flickr.com/photos/152444593@N06/
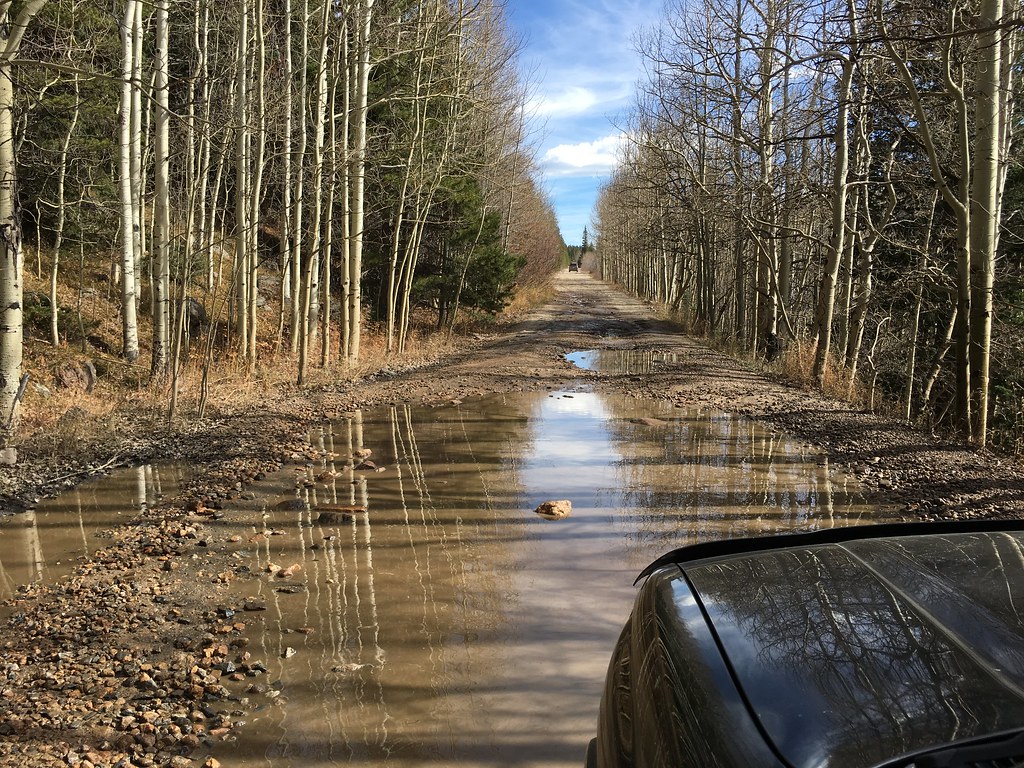
Rear end done. Cleaned out those horrible top mounts and they were in great shape. If you have issues getting the spring in you can jack up one side of the axle to make it easier... No extended brake line at this time but it is on the list for future when I do a full brake system flush.
https://flic.kr/p/YLGvmqhttps://www.flickr.com/photos/152444593@N06/
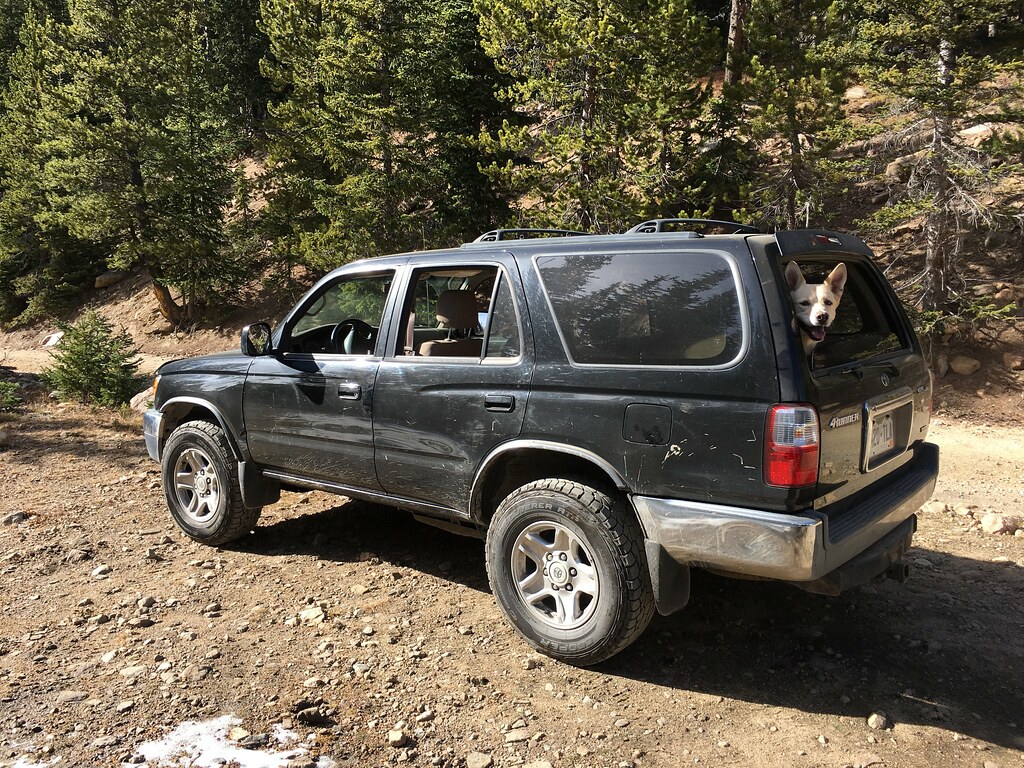
 
Toytec install - continued

November 16, 2016

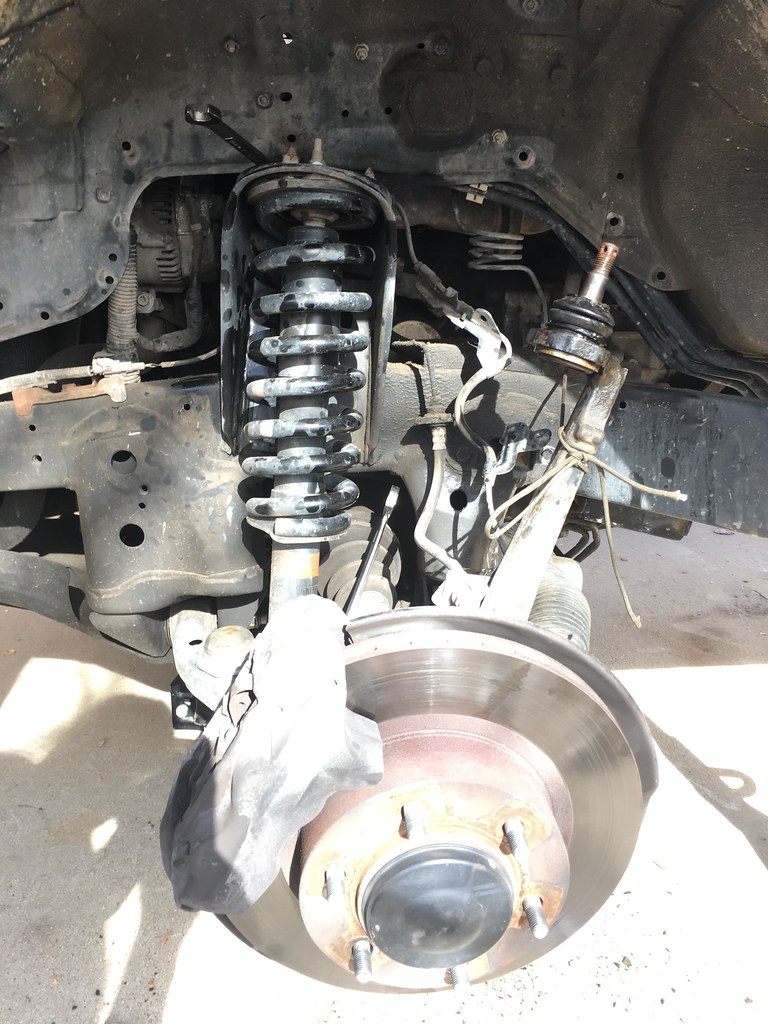
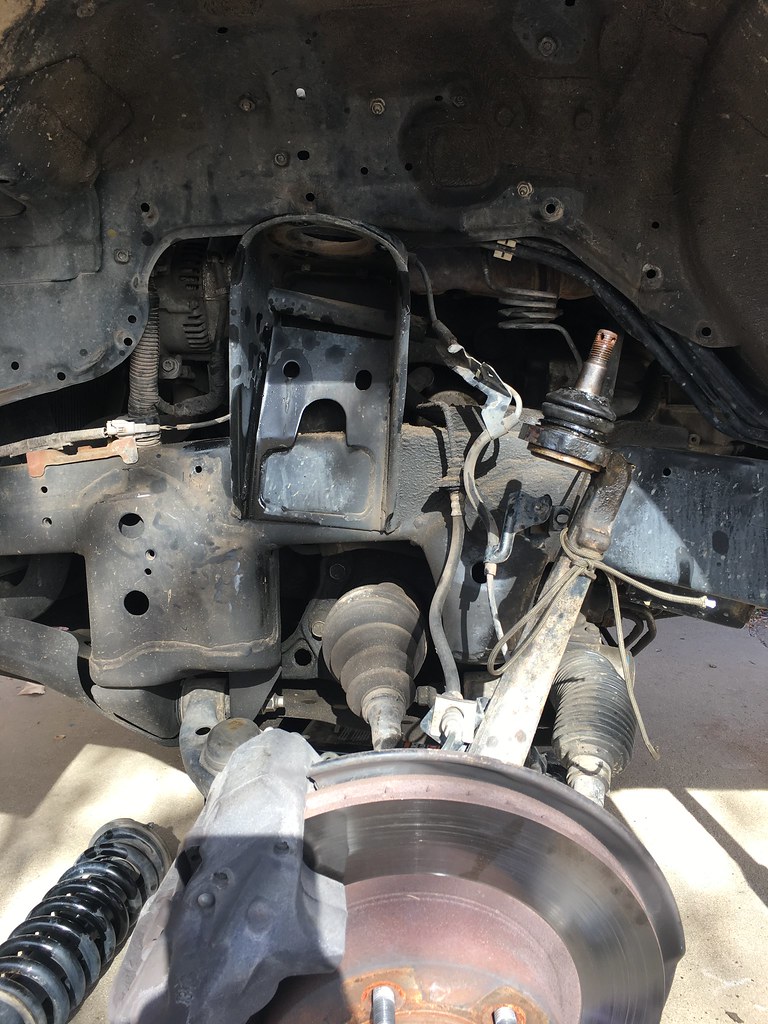
Upper control arm removed....a little paracord came in handy
https://flic.kr/p/YKa4j7https://www.flickr.com/photos/152444593@N06/
Front assembly removed
https://flic.kr/p/YqGoy5 https://www.flickr.com/photos/152444593@N06/
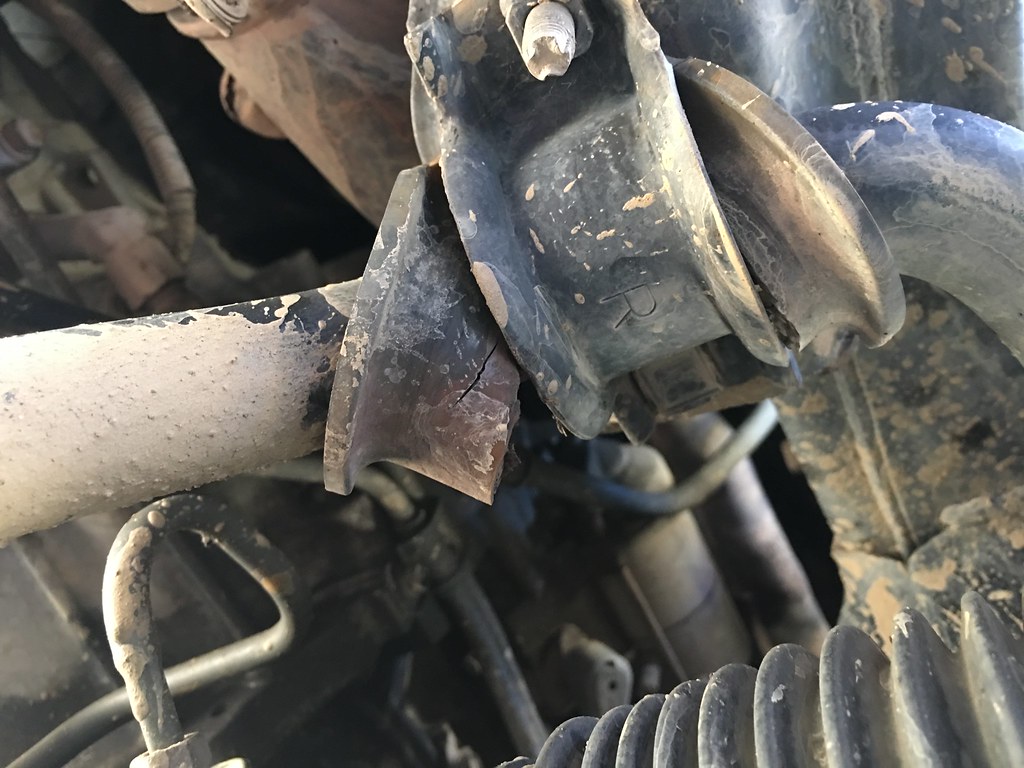
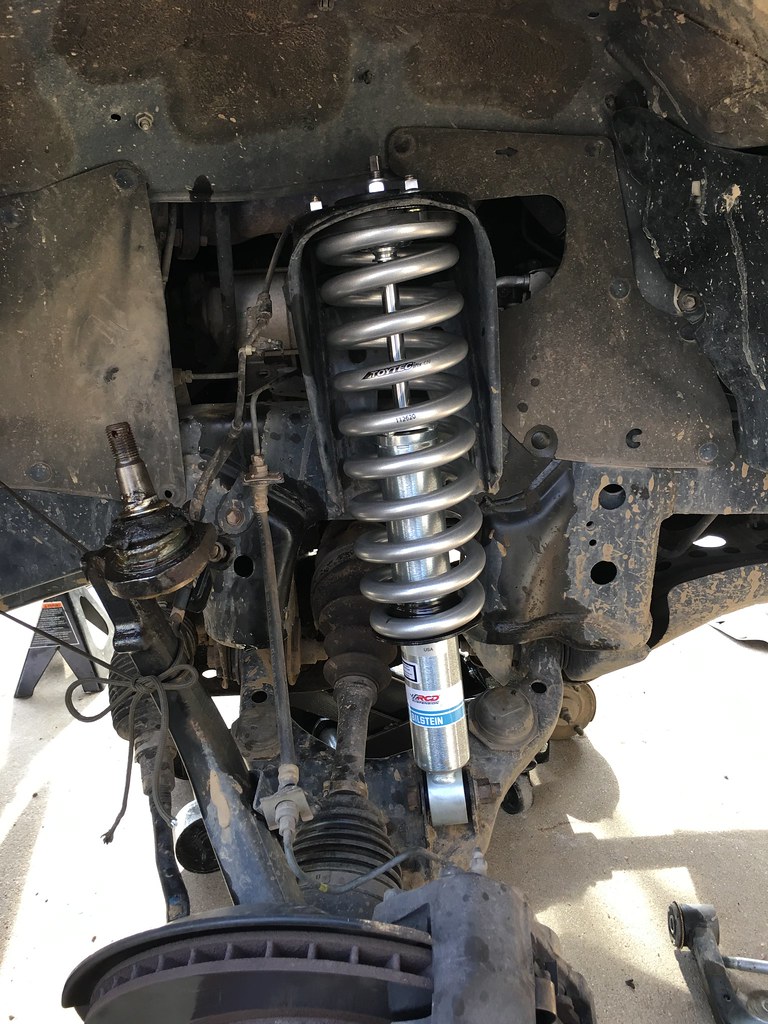
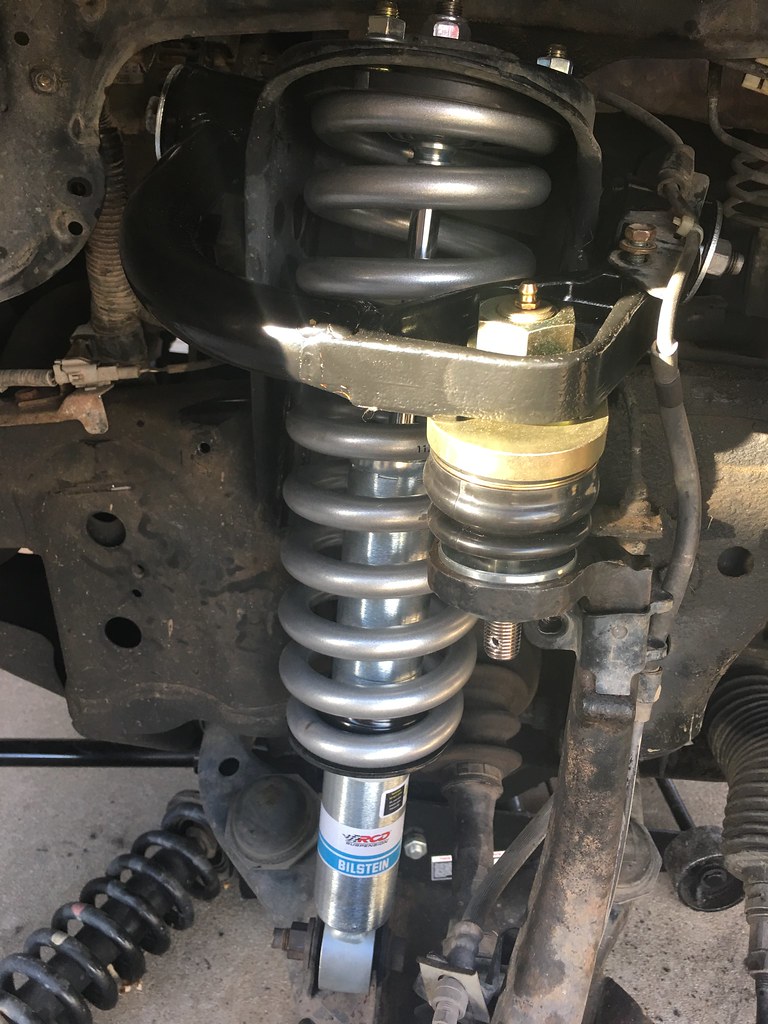
Toytec in place!
https://flic.kr/p/Z2VtjX https://www.flickr.com/photos/152444593@N06/
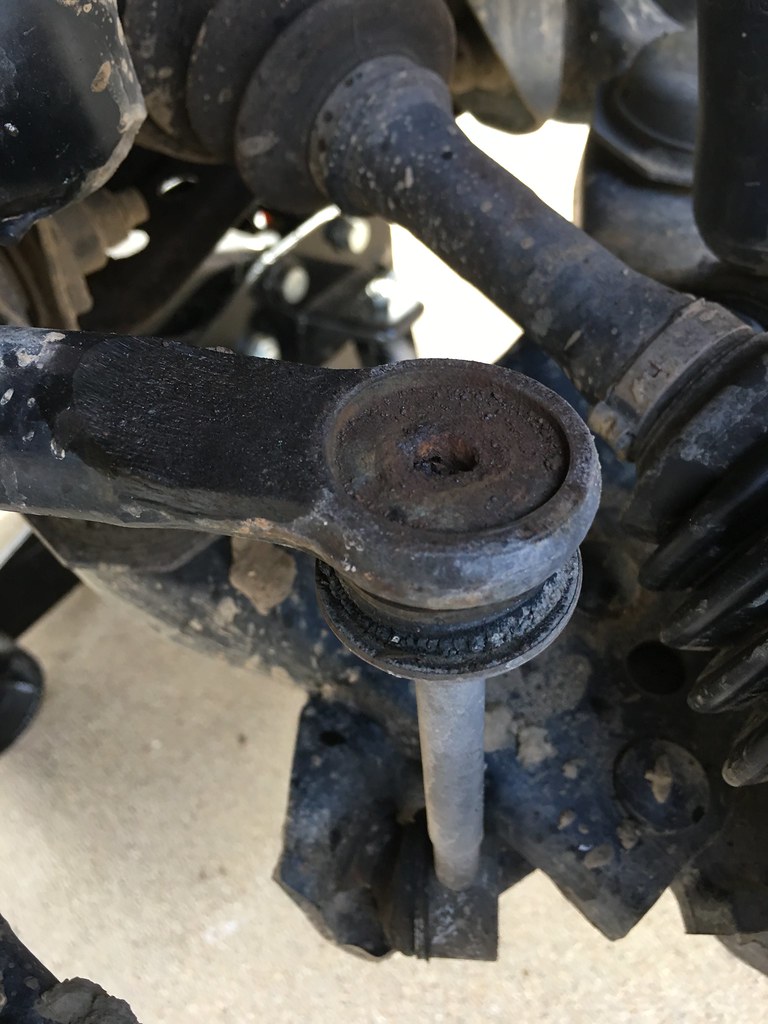
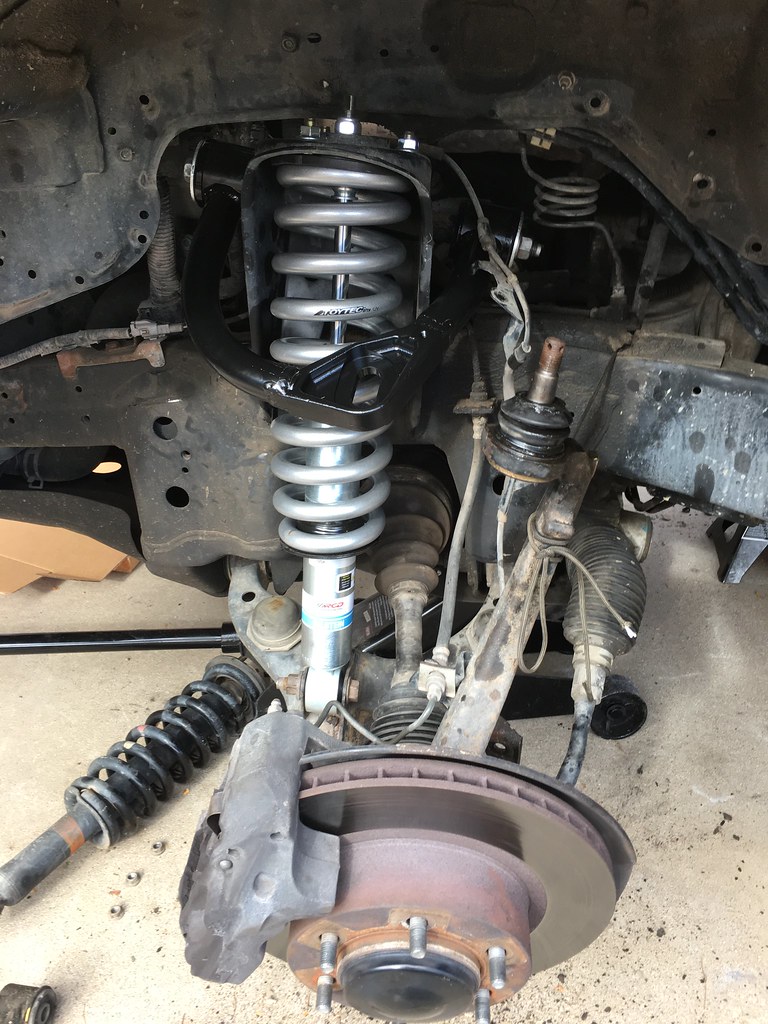
SPC UCA in!
https://flic.kr/p/XN8smR by https://www.flickr.com/photos/152444593@N06/
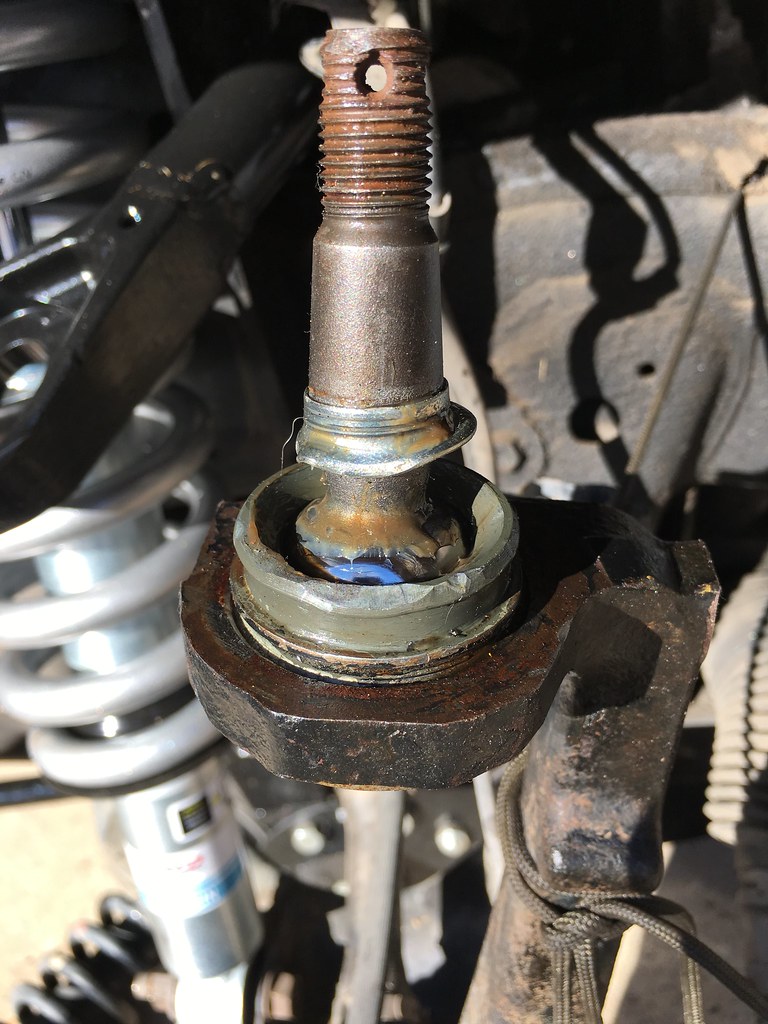
Upper ball joint, without boot
https://flic.kr/p/YPj7xe https://www.flickr.com/photos/152444593@N06/
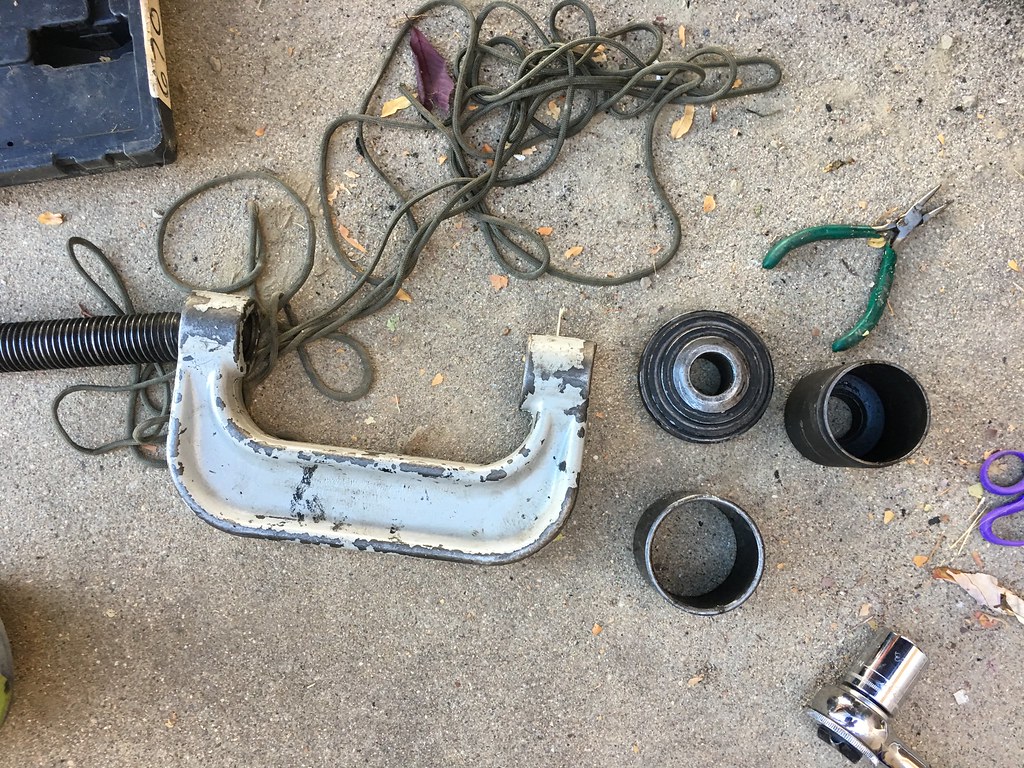
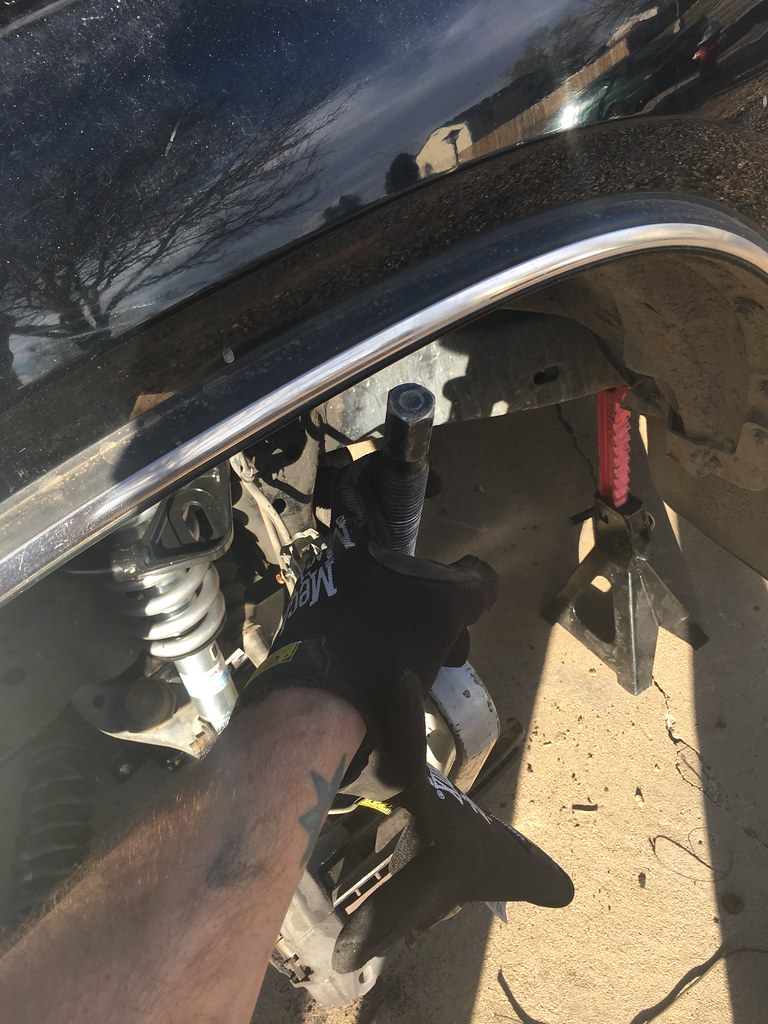
Free tool rentals from O'Reilly's - Ball joint kit and 4Wheel drive kit... makes this job pretty easy.
https://flic.kr/p/Z2Vtqthttps://www.flickr.com/photos/152444593@N06/
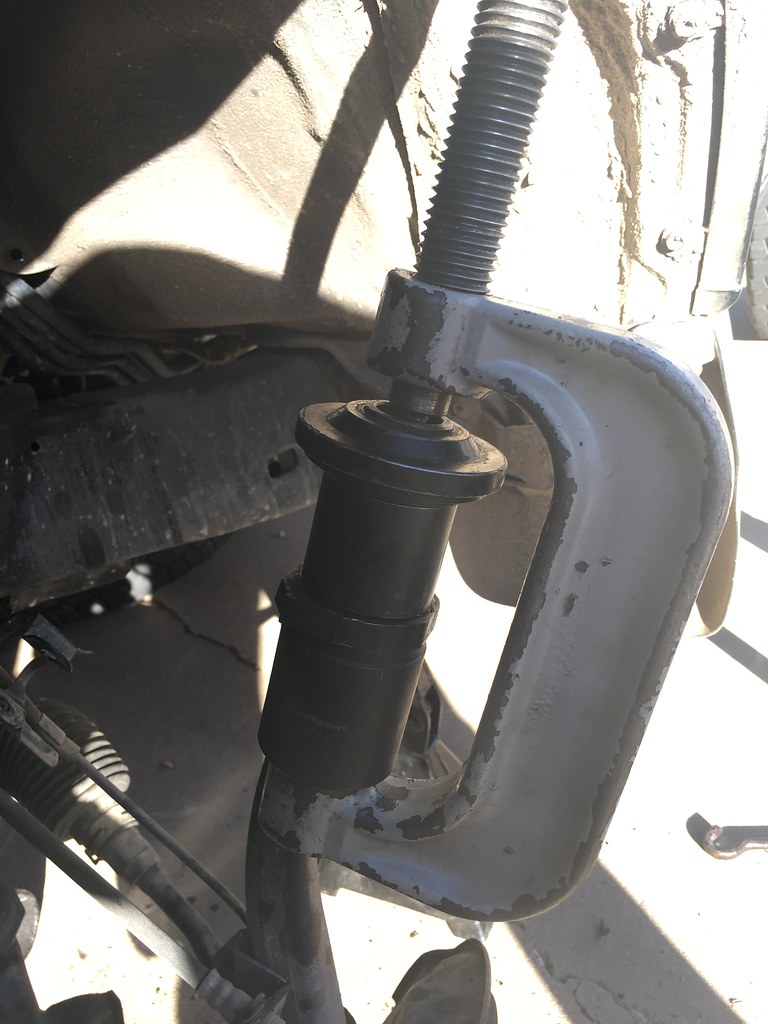
Ready to pop that ball joint out. No need to spend time cutting it if you set it up like this.
https://flic.kr/p/YKa4dfhttps://www.flickr.com/photos/152444593@N06/
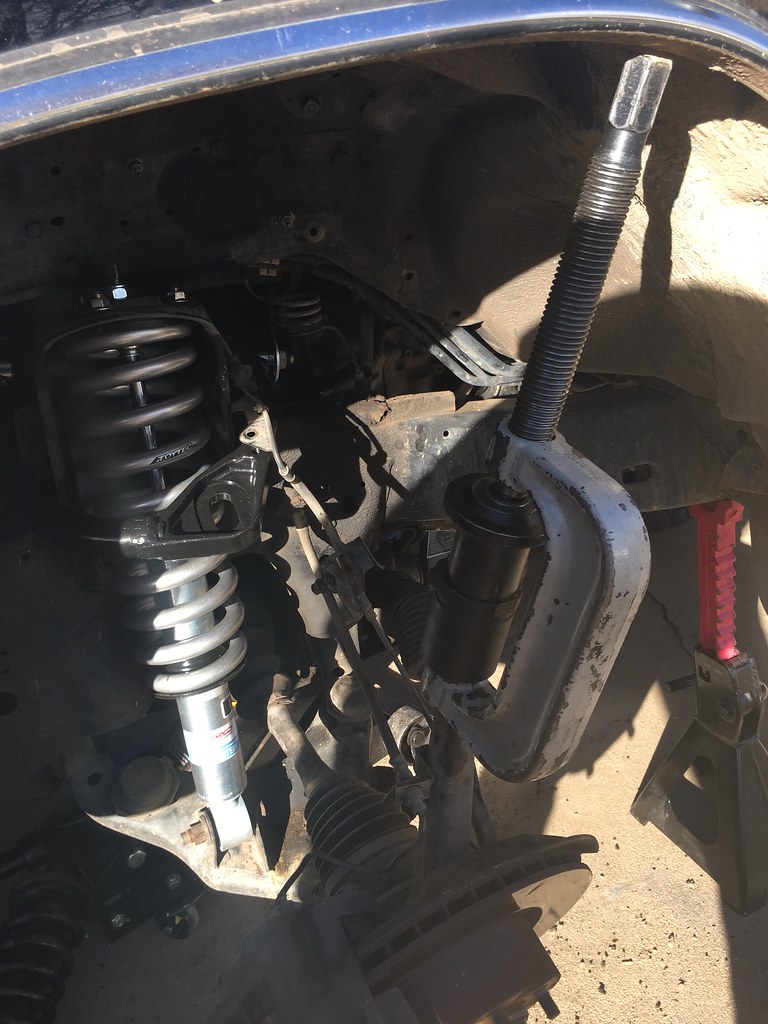
First you may think this is not going to clear the fender.....
https://flic.kr/p/YKa4s3 https://www.flickr.com/photos/152444593@N06/
But it does, just enough to get the socket on!
https://flic.kr/p/XJzTgyhttps://www.flickr.com/photos/152444593@N06/
to be continued........
 
Front Toytec install continued...

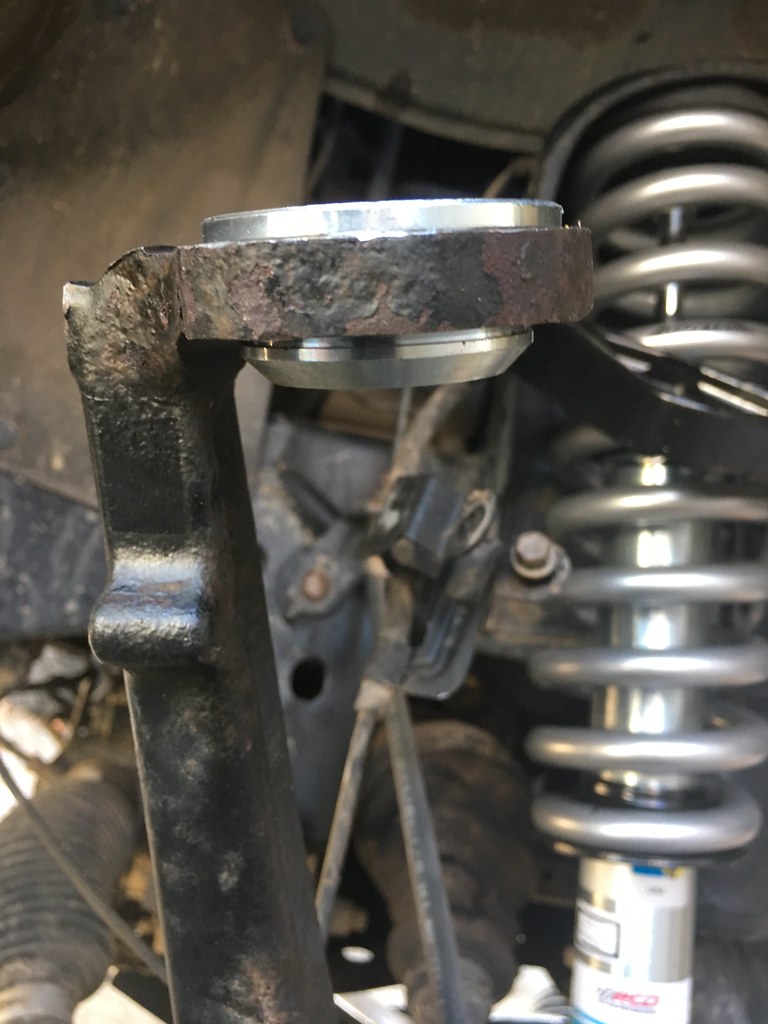
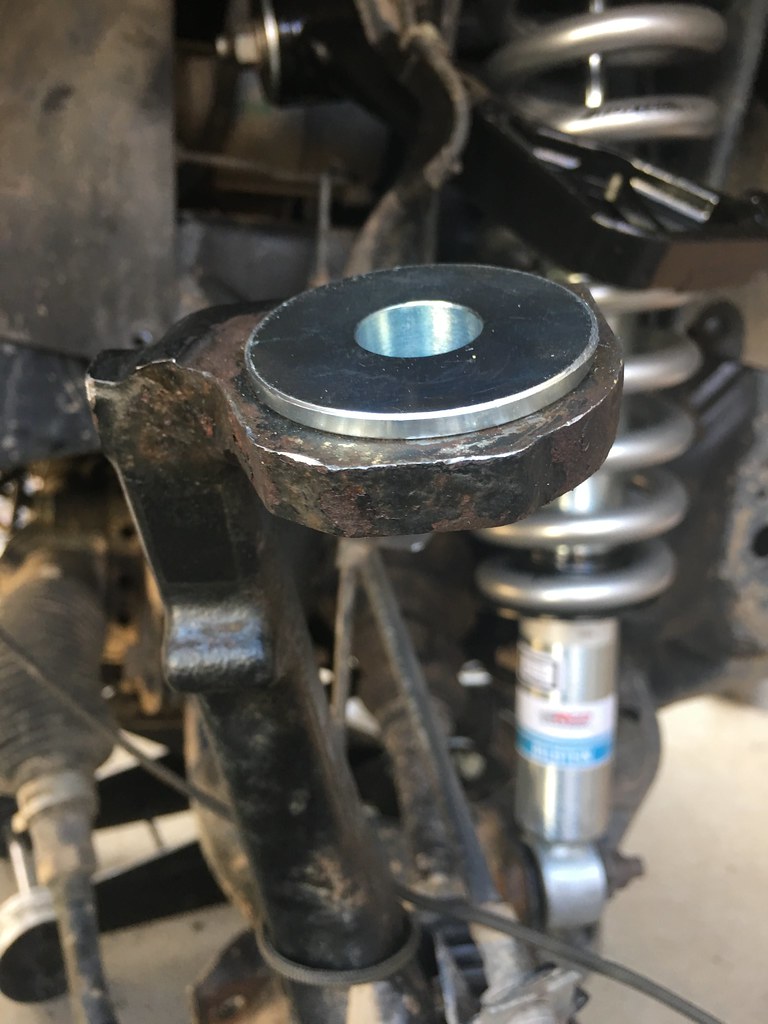
Press this in and you are ready to finish the Upper ball joint install
https://flic.kr/p/YqGotq https://www.flickr.com/photos/152444593@N06/
https://flic.kr/p/YLHgBE https://www.flickr.com/photos/152444593@N06/
https://flic.kr/p/YLHgGj https://www.flickr.com/photos/152444593@N06/
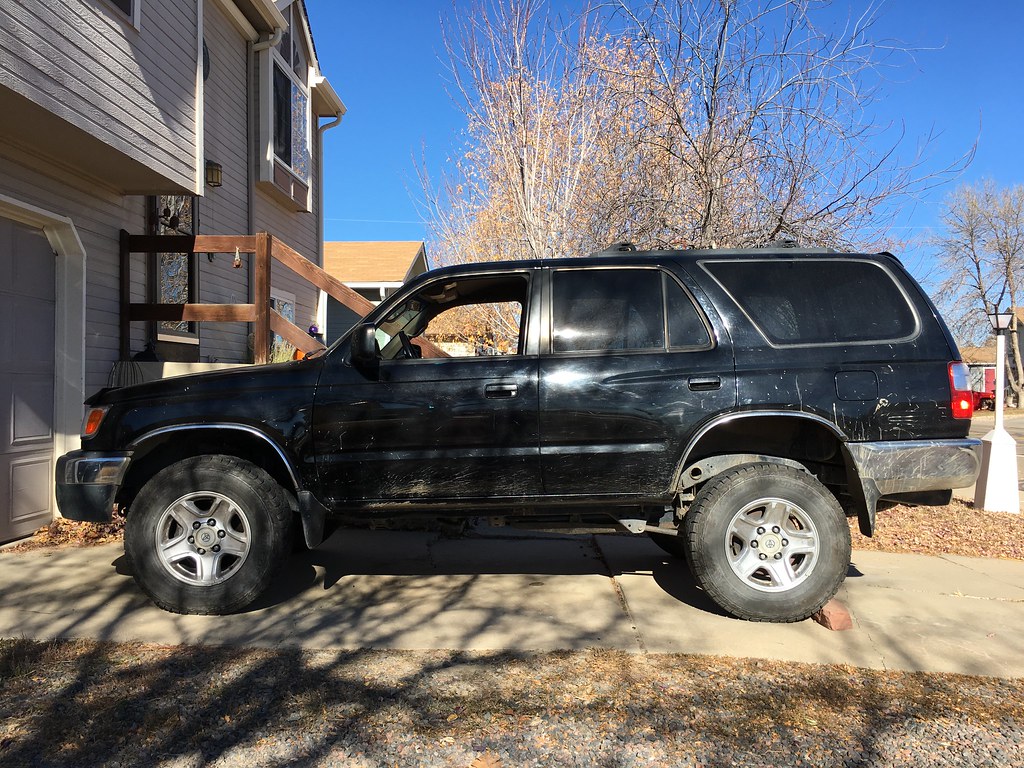
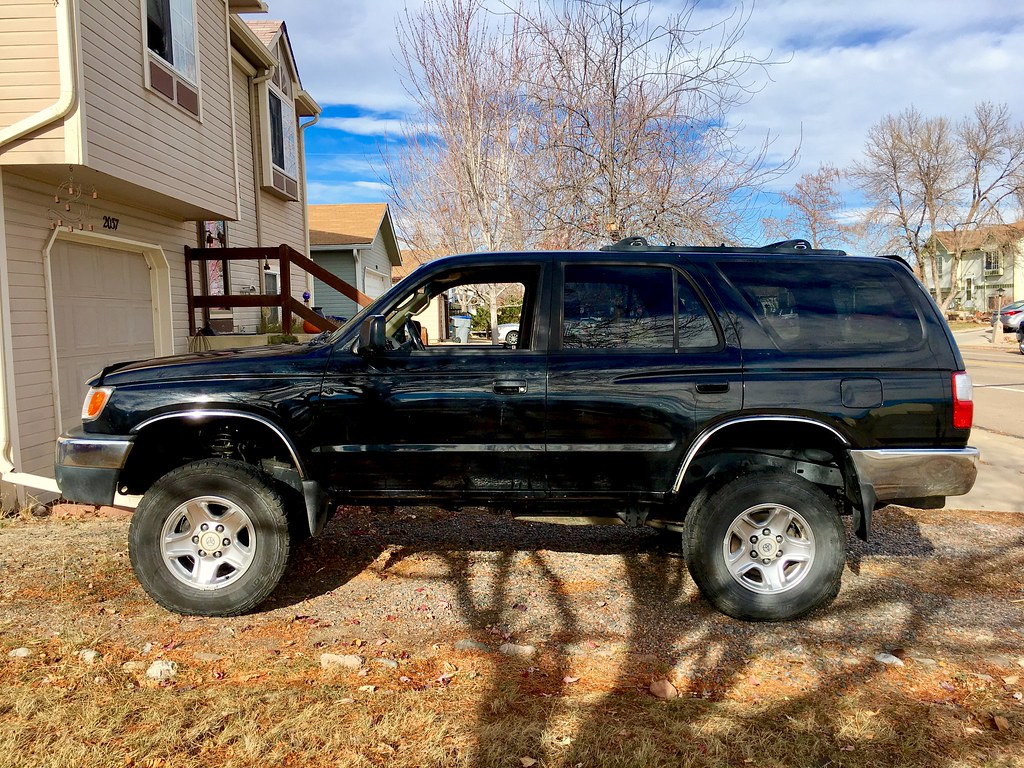
Ready for an alignment! I've got too much tread to swap the wheels and tires right now so just gonna deal with it. :roll eyes: 245/75/16 : came on the truck when I bought it, Cooper Discovery ATP
https://flic.kr/p/YKabTq https://www.flickr.com/photos/152444593@N06/
 
January 21, 2017
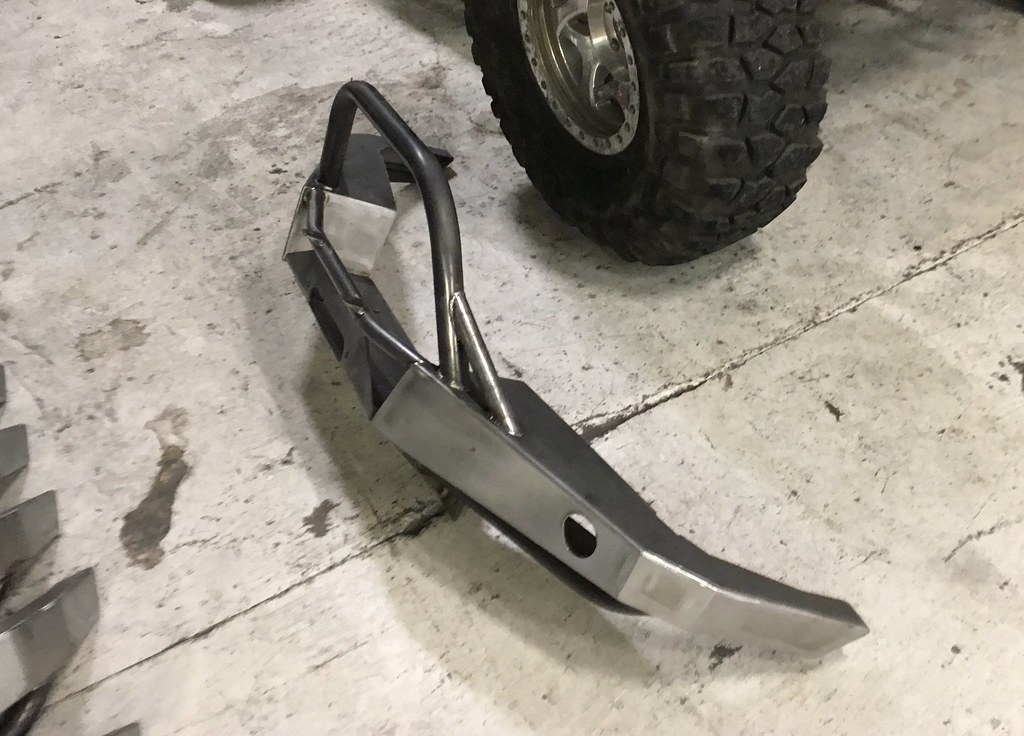
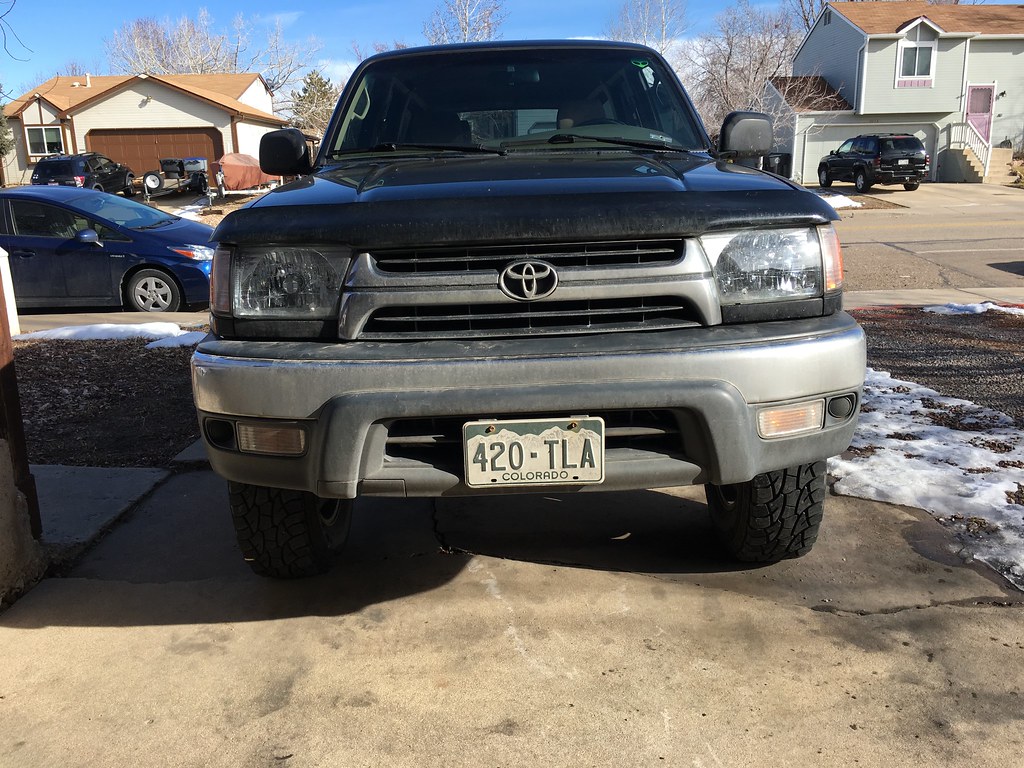
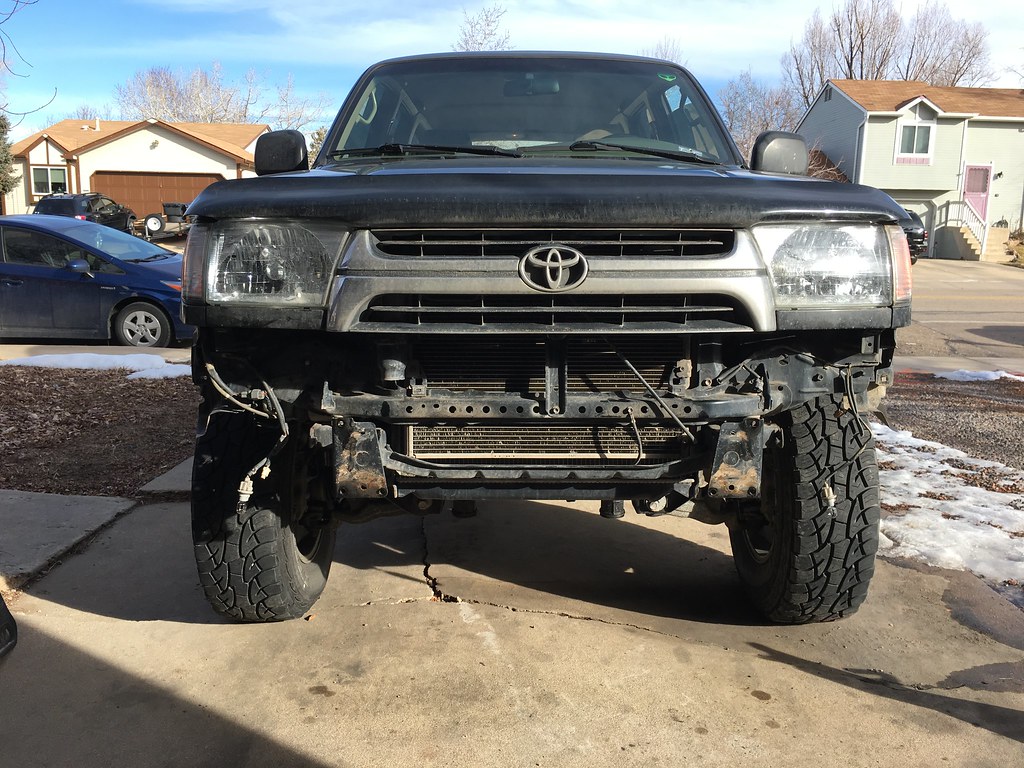
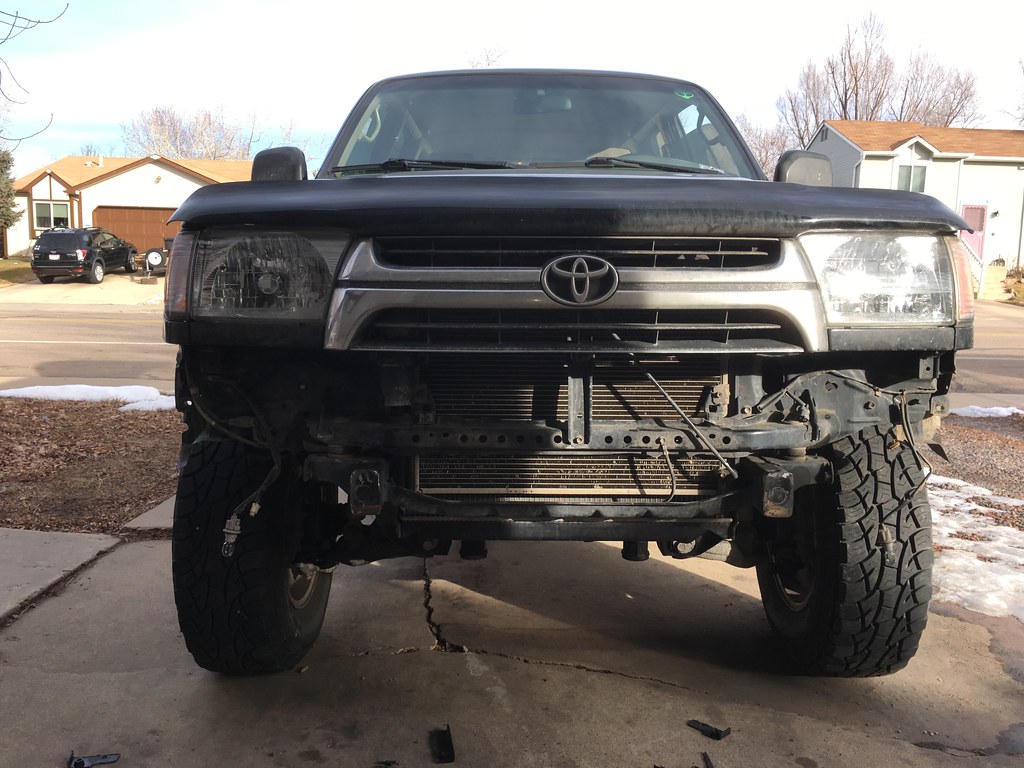
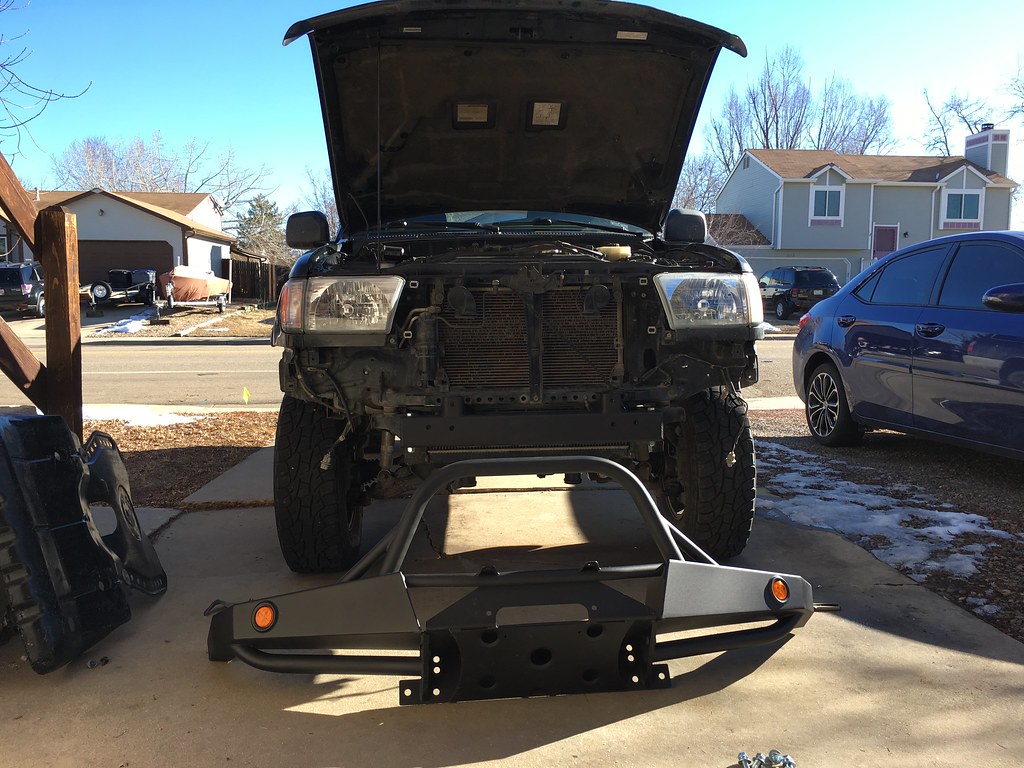
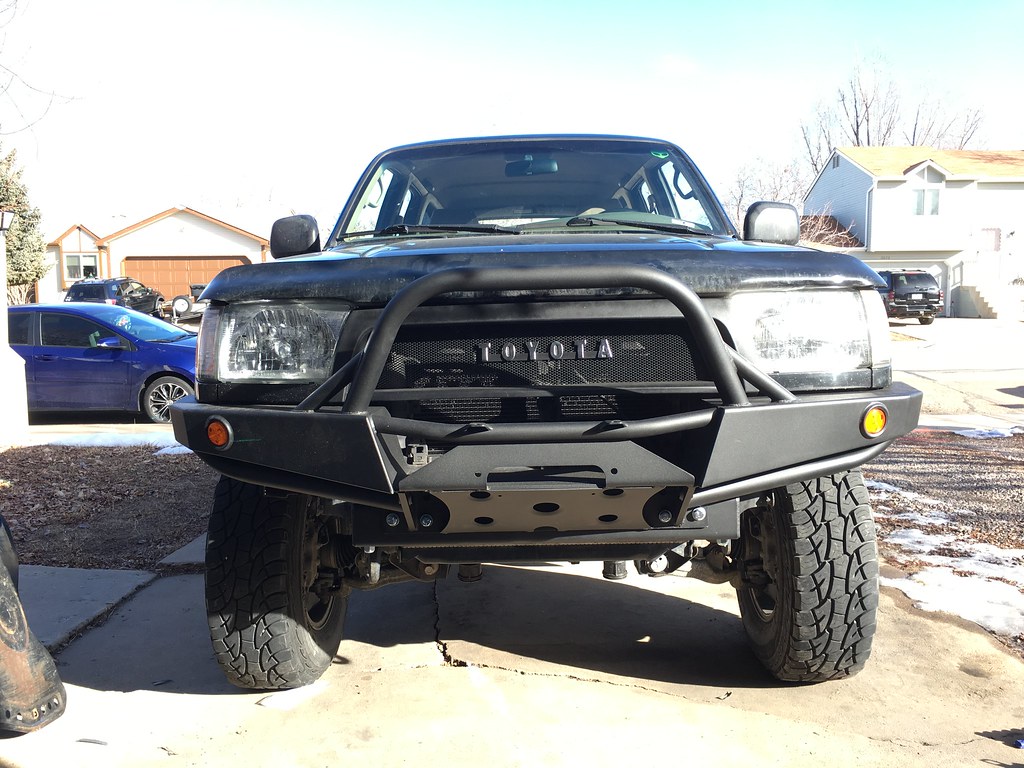
The weather has been amazing so let's get that bumper mounted!
https://flic.kr/p/XN9xQehttps://www.flickr.com/photos/152444593@N06/
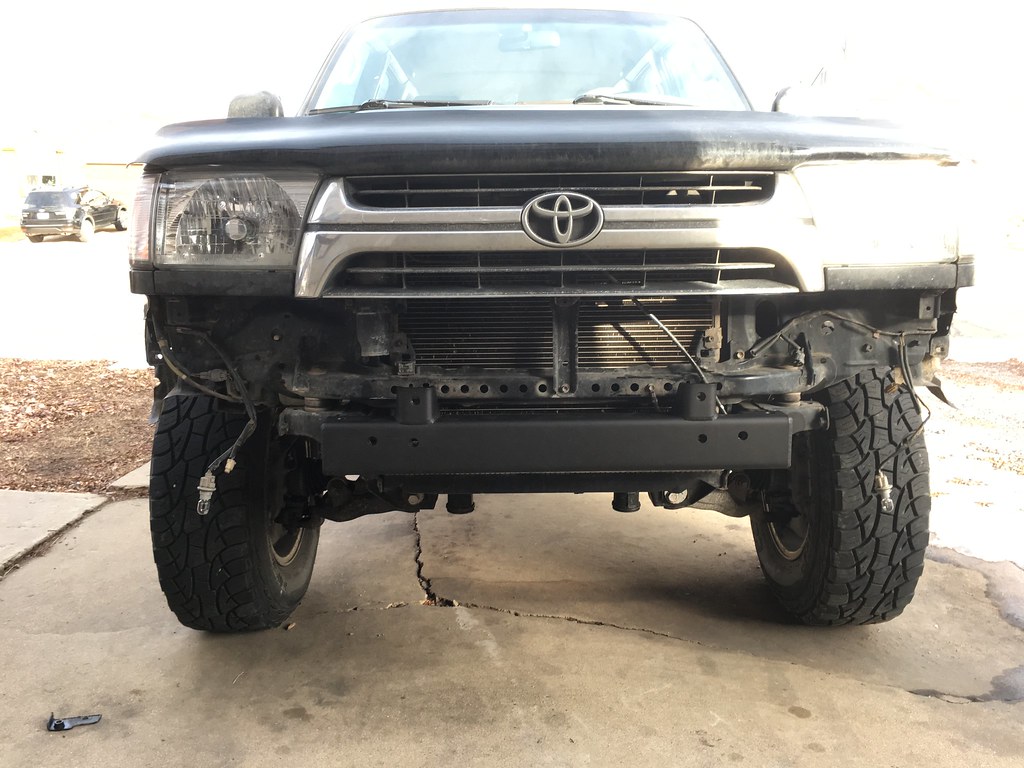
Those mounting brackets need to be cut off... but don't cut off the end of the frame or you will loose strength...
https://flic.kr/p/YKb47m https://www.flickr.com/photos/152444593@N06/
I cut around so the end of the frame was still capped to retain maximum strength. Grind it just enough for the cross member bar to fit.
https://flic.kr/p/XN9xSi https://www.flickr.com/photos/152444593@N06/
Crossmember
https://flic.kr/p/YLJfi5 https://www.flickr.com/photos/152444593@N06/
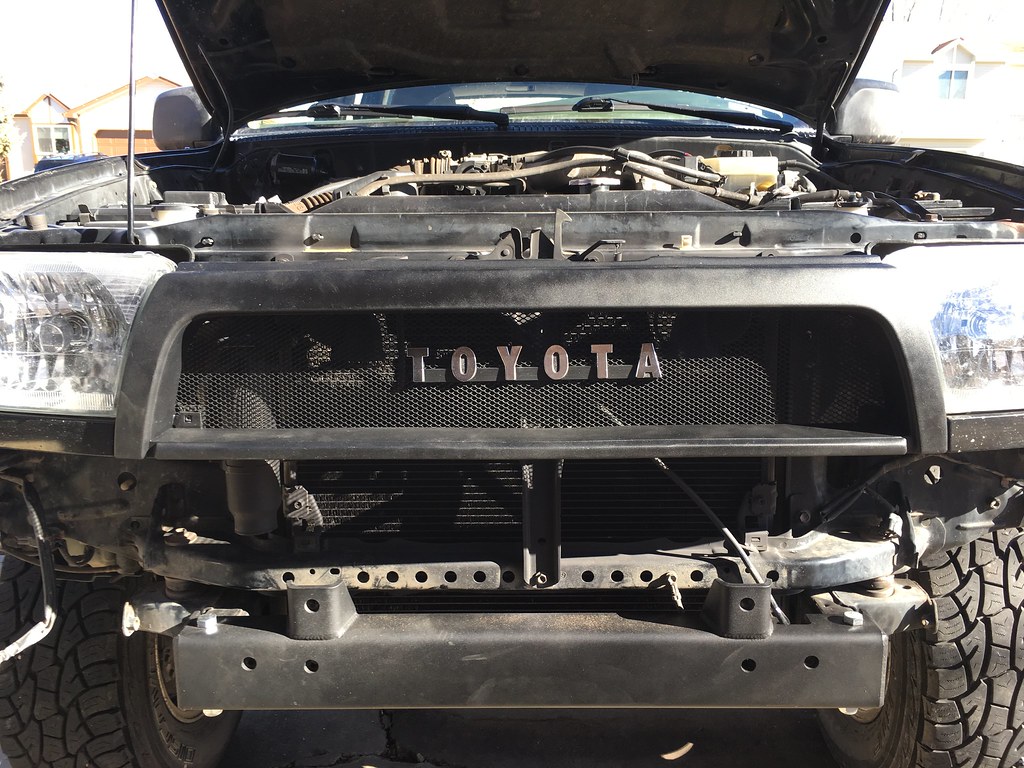
Pulled off the rest of the grill and what not.... been secretly working on a Satoshi to add in when this all goes back together...
https://flic.kr/p/XJB44h https://www.flickr.com/photos/152444593@N06/
https://flic.kr/p/YLJmTuhttps://www.flickr.com/photos/152444593@N06/
Getting there!
https://flic.kr/p/YKbeWY https://www.flickr.com/photos/152444593@N06/
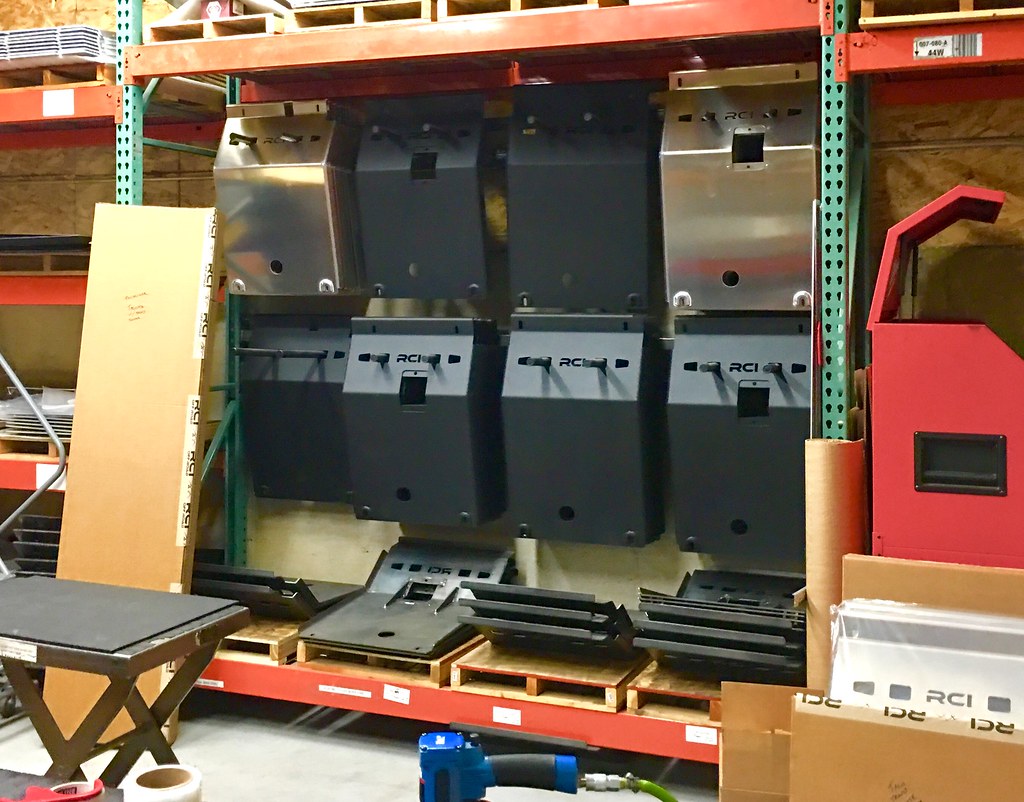
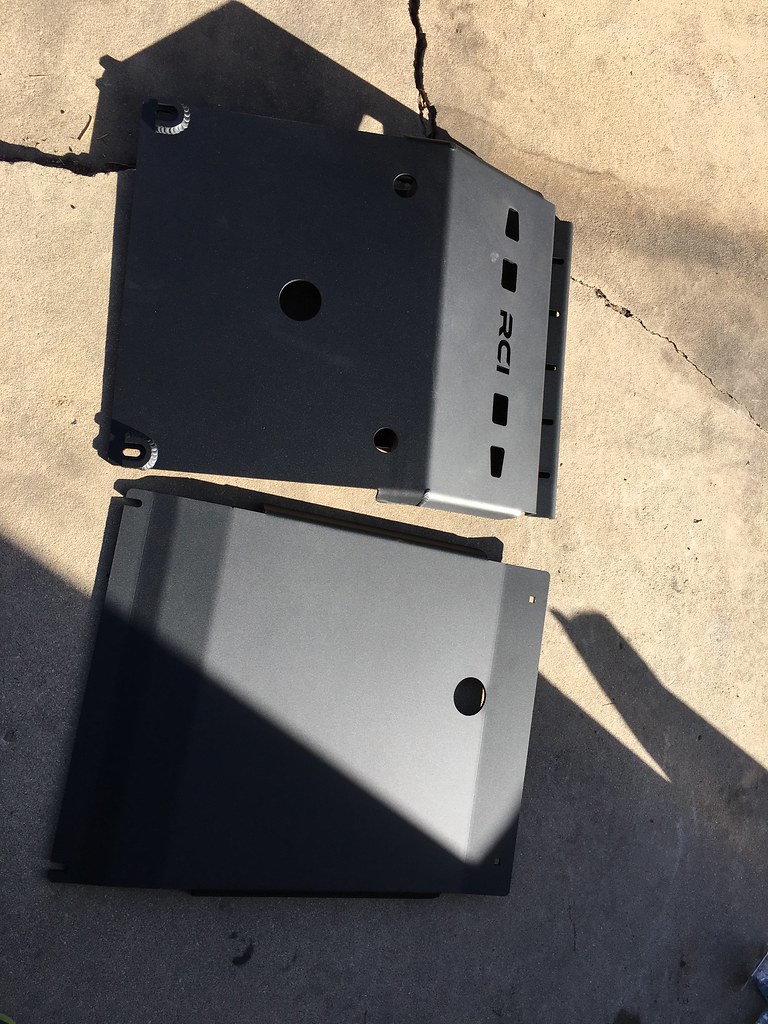
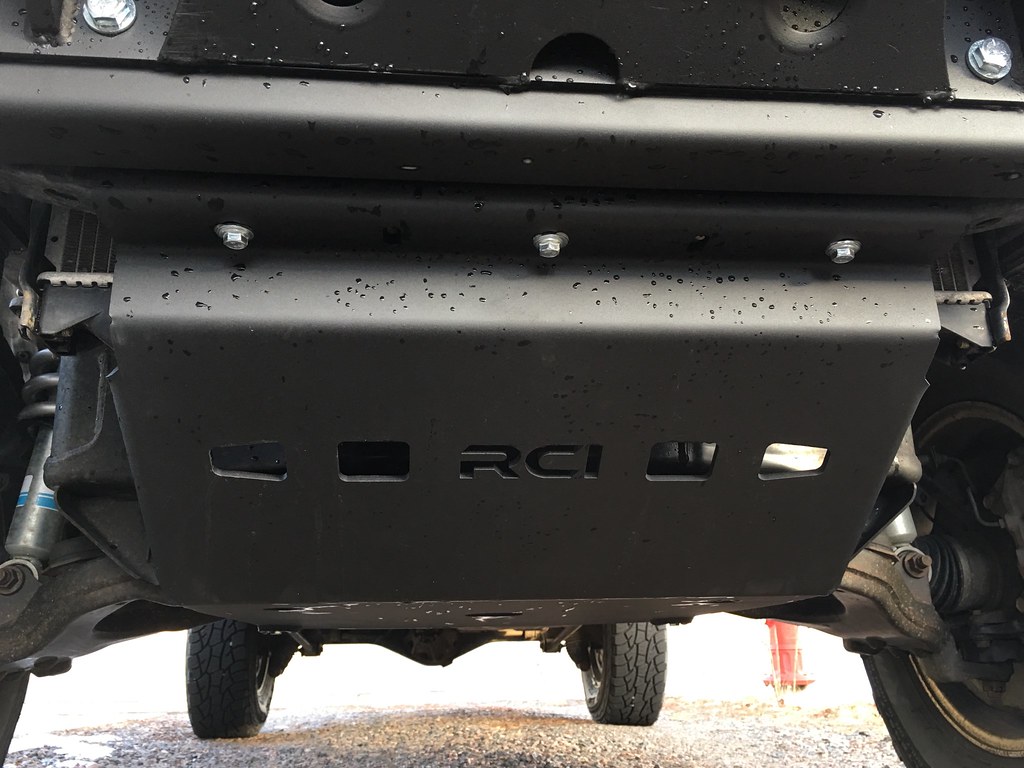
RCI
https://flic.kr/p/YqHDXQhttps://www.flickr.com/photos/152444593@N06/
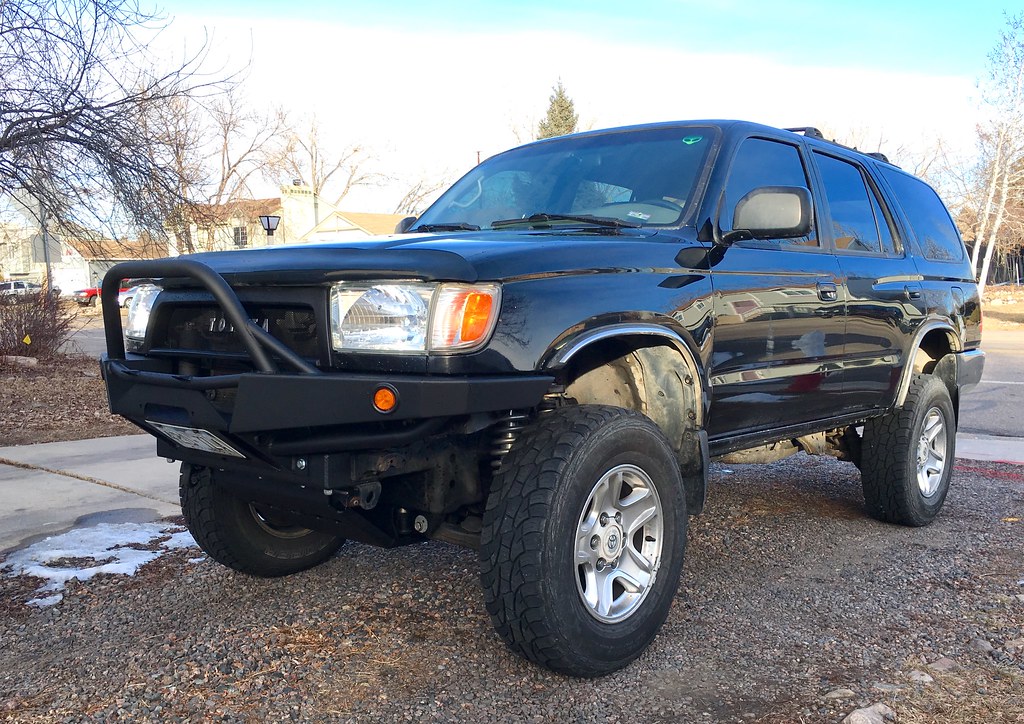
Complete!
https://flic.kr/p/YLJmVy https://www.flickr.com/photos/152444593@N06/
 
February 4, 2017

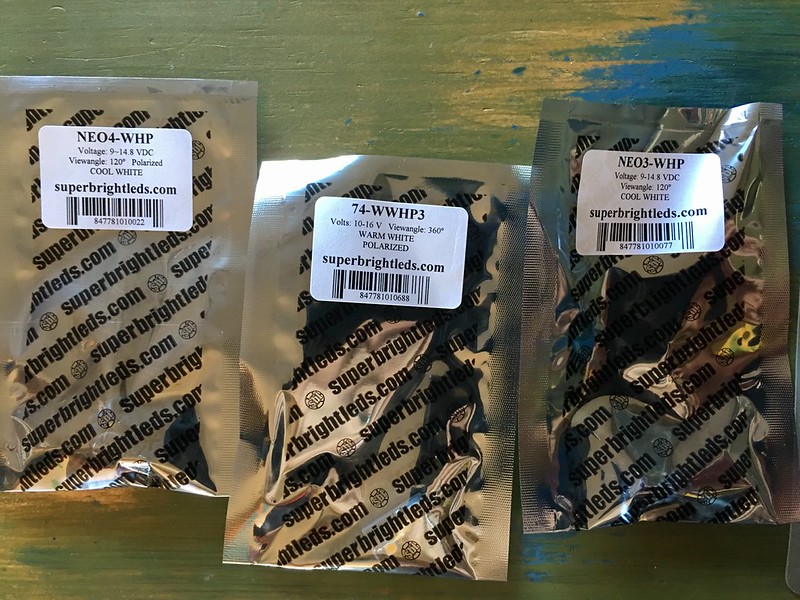
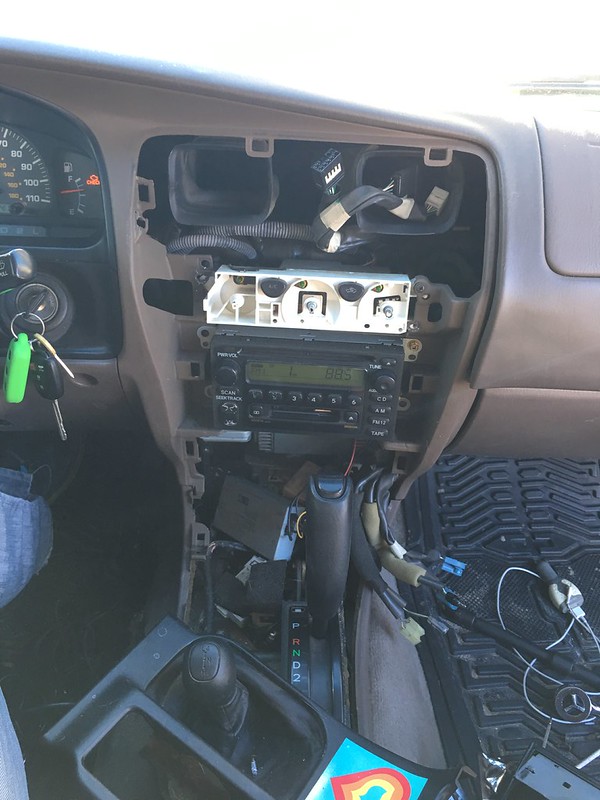
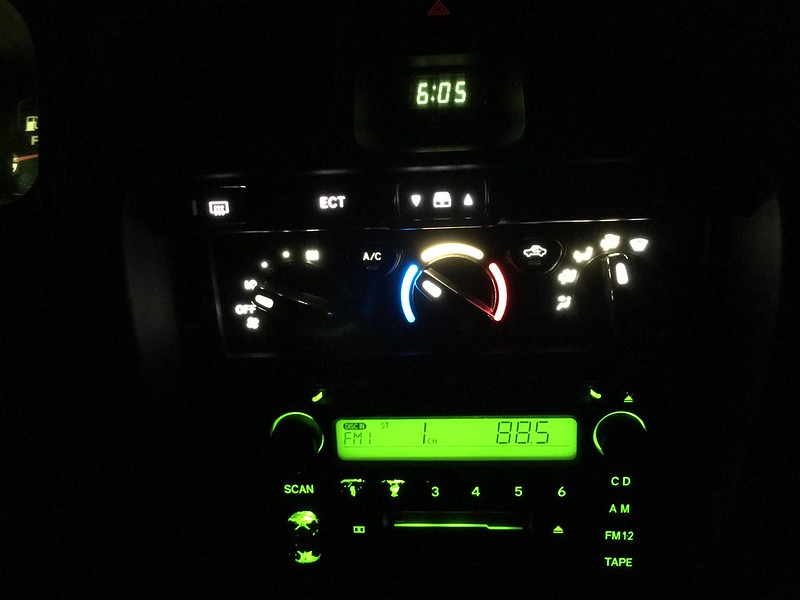
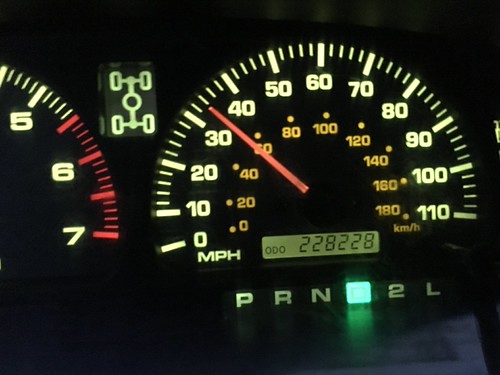
This was in the mail so why waste any time.... replacing the control bulbs with LED's.
https://flic.kr/p/XN9V5t https://www.flickr.com/photos/152444593@N06/
Found some old satellite radio stuff in there that I pull out and tossed.
https://flic.kr/p/YqHQBAhttps://www.flickr.com/photos/152444593@N06/
https://flic.kr/p/YKbtAG https://www.flickr.com/photos/152444593@N06/
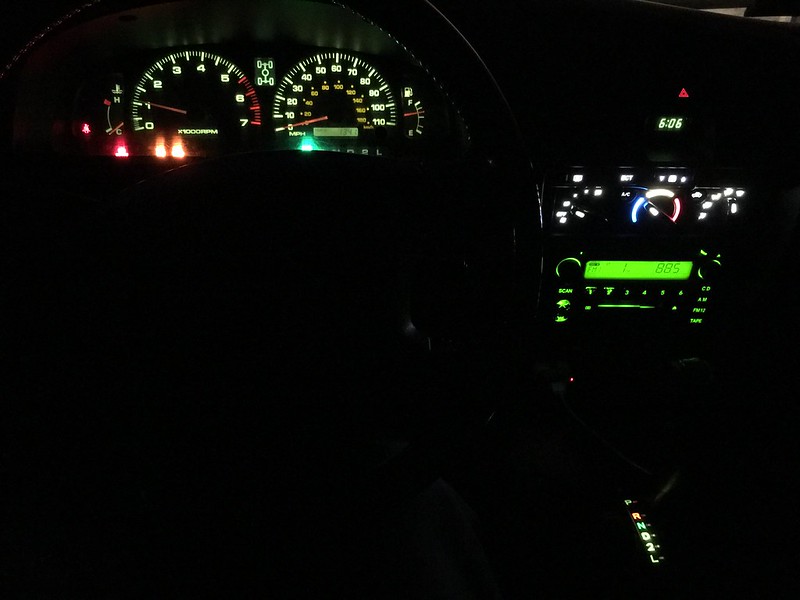
Way brighter than the Speedo so will pop LED's in there at some point.... but not now.
https://flic.kr/p/YLJtt3 https://www.flickr.com/photos/152444593@N06/
 
February 12, 2017

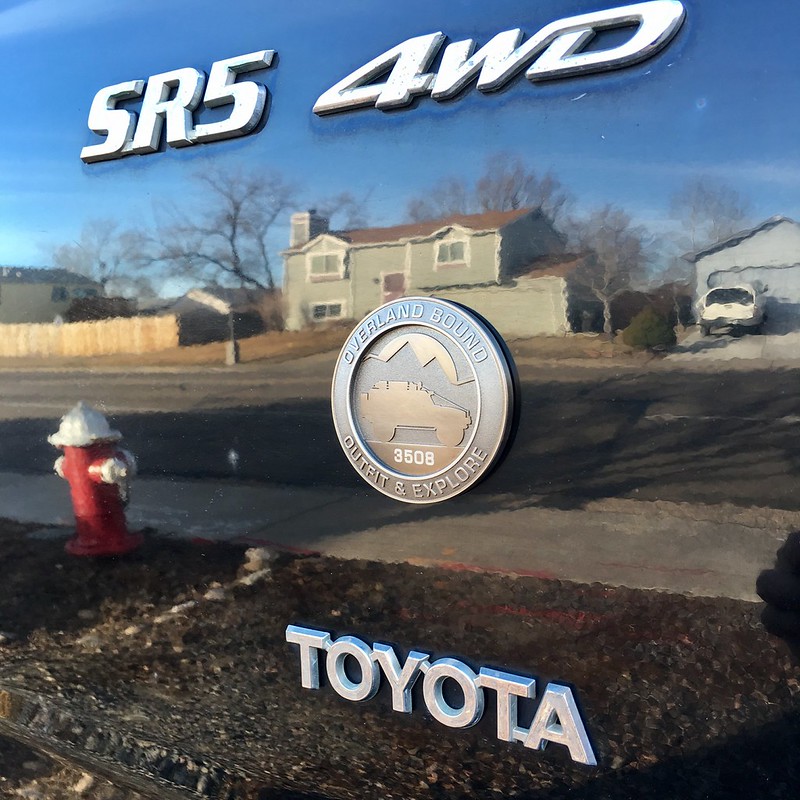
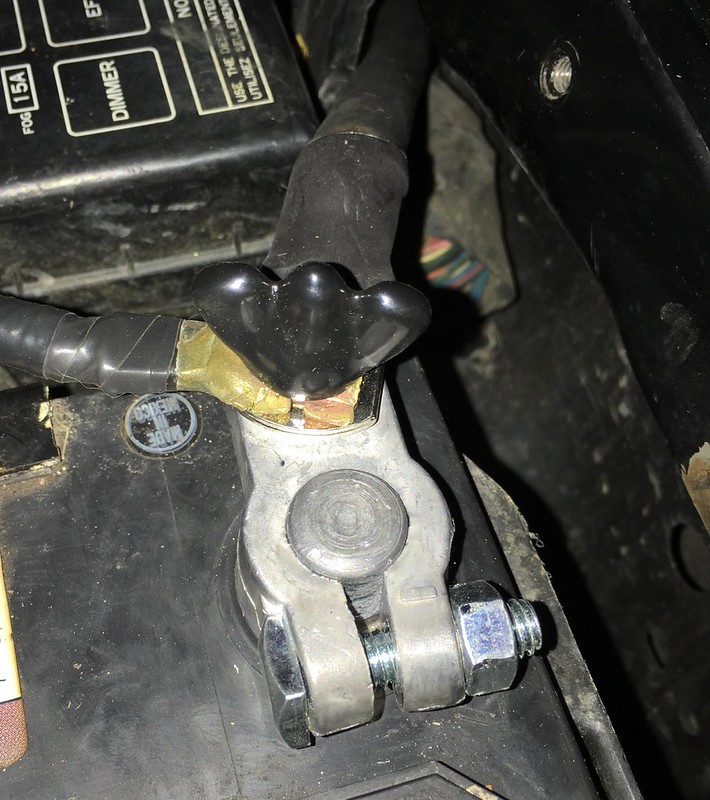
Couple of things: Overland Bound #3508 (I like what they support, so I support them) and replacing the body ground with a 0 gauge (overkill, if I do the rest of the big 3 I'll use high quality 2 gauge)

https://flic.kr/p/YPkSZt https://www.flickr.com/photos/152444593@N06/
Pretty rough shape after 15 years
https://flic.kr/p/YPkT1ahttps://www.flickr.com/photos/152444593@N06/
New terminals
https://flic.kr/p/Z2XgAn https://www.flickr.com/photos/152444593@N06/
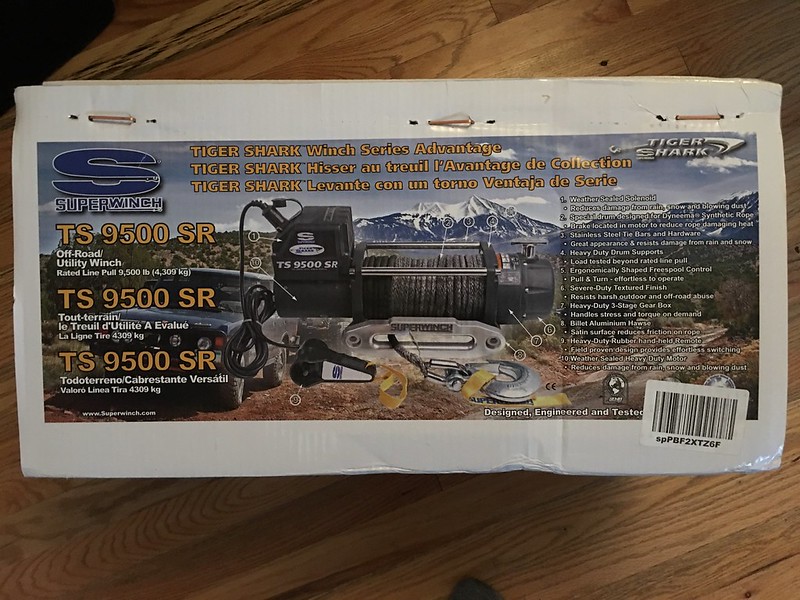
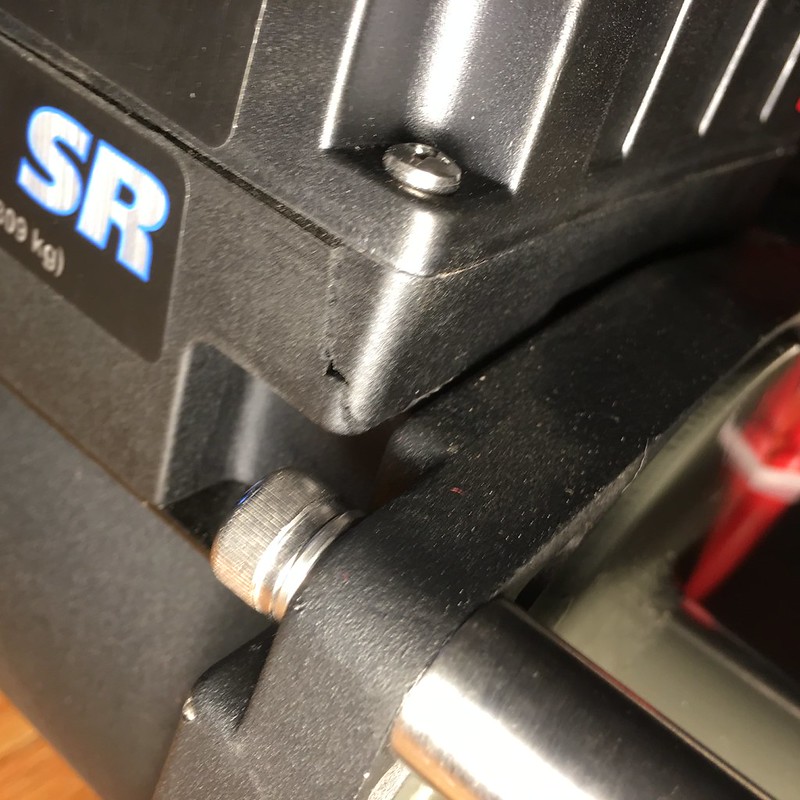
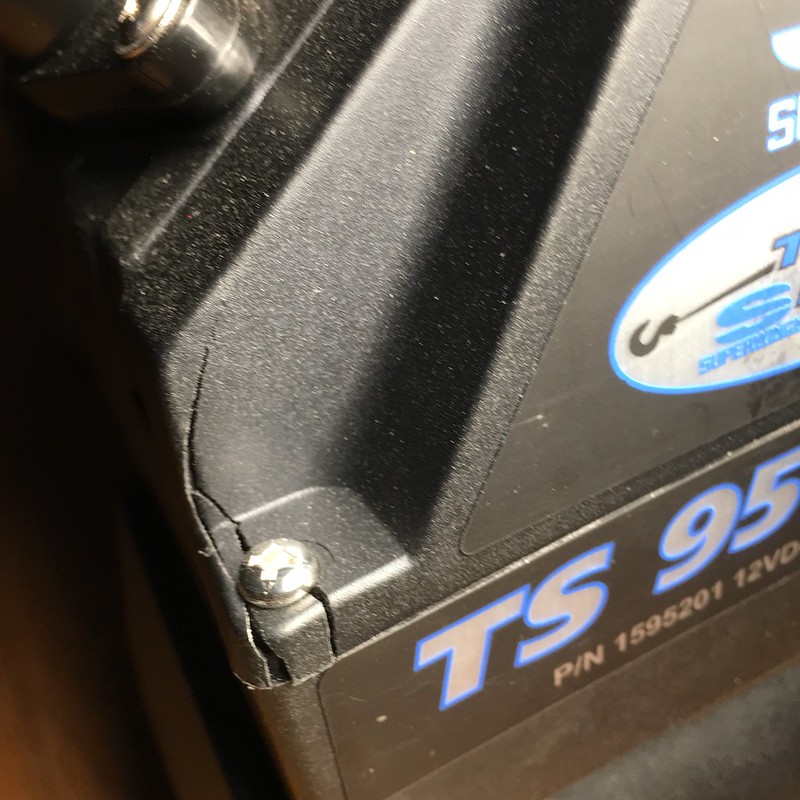
Ready for the winch when the replacement arrives!
 

Members online

Forum statistics

Threads
278,309
Messages
3,554,070
Members
248,016
Latest member
Advally Service

Trending content

Back
Top