Unner's Build, 2001 T4R 4x4

Well, everything is ordered...

I went with:

ToyTec Boss Coilovers (600lb Red Springs)
Front Diff Drop
SuperBump Bump Stops for Front

New LC 7 Wraps
LC Rear Shocks
Extended Rear Brake Lines
Junkyard Bumpstops for rear (still need to acquire)
Grade 5 5/8" washers for LC shocks
Nice, looking forward to you getting pictures of that lift, I was contemplating the same setup but opted out of toytec coilovers when I got a good deal on tundra 5100s.
Pretty much everything else is the same plan I drew up. Are you planning to stick with that tires size? I want those wheels you have and stuck between 32s or 33s.
 
I would definitely reccomend an adjustable panhard bar or at least a drop bracket.

That's on the list of stuff also. I'm gonna try it without first and see since there's a lot of conflicting opinions on the forum on whether or not they are beneficial. If I decide I need one I'll probably go with the SS bar since I can't weld.

Nice, looking forward to you getting pictures of that lift, I was contemplating the same setup but opted out of toytec coilovers when I got a good deal on tundra 5100s.
Pretty much everything else is the same plan I drew up. Are you planning to stick with that tires size? I want those wheels you have and stuck between 32s or 33s.

I'm not quite sure on the tire size. I like this size a lot, I'll definitely be staying with the skinnies if I do move to a 33. I think this size will still look good with the lift since though it's a little taller than a 265/75/16 and that size looks good with a lift. I like that this size is available in a C load though, most everything bigger doesn't come in anything less than am E load.
 

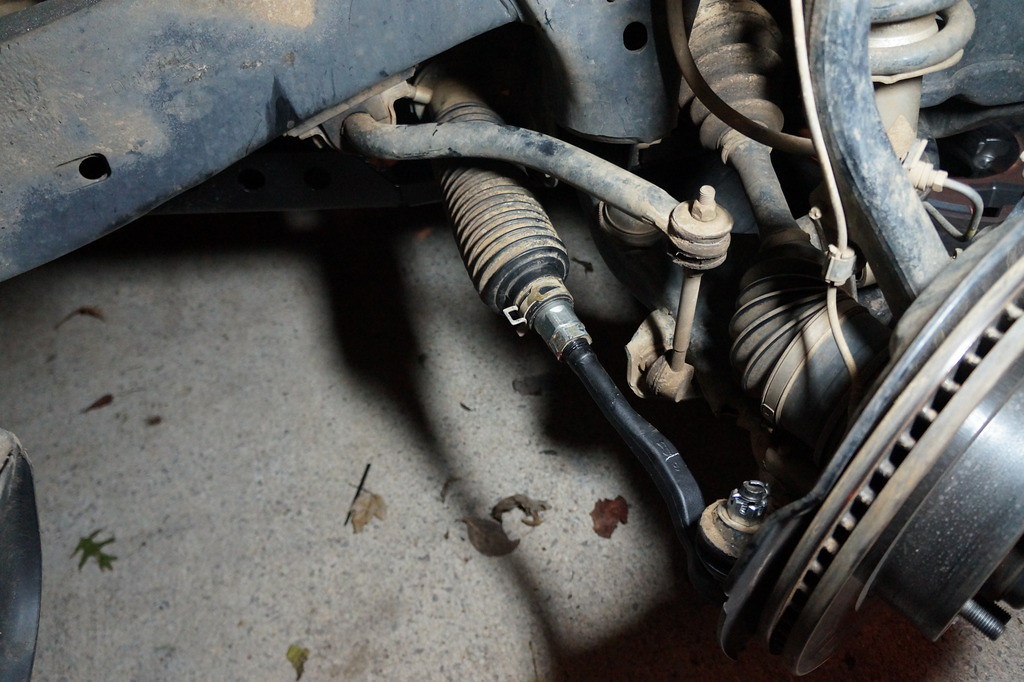
Nothing too exciting yet, but everything has shipped I believe. I replaced my inner and outer tie rods last night and this morning. That was a pain. I've got a few pics on my camera I'll try and upload sometime.

Off to get an alignment now!
 
Nothing too exciting yet, but everything has shipped I believe. I replaced my inner and outer tie rods last night and this morning. That was a pain. I've got a few pics on my camera I'll try and upload sometime.

Off to get an alignment now!

Reminds me. I was doing my LBJ's yesterday and I can't seem to get the outter tie rod ends off without messing them up. Did you use a tie rod puller or use a different method? Hammering them didn't work for me at all!
 
Reminds me. I was doing my LBJ's yesterday and I can't seem to get the outter tie rod ends off without messing them up. Did you use a tie rod puller or use a different method? Hammering them didn't work for me at all!

I used a tie rod puller I bought at O'rielly auto parts. I had to use that puller on the LBJs themselves too when I did mine. I think it's code 84557 or something like that. It's like $14 or so at O'rielly auto parts. Hammering mine didn't work either like some members here have claimed.

Looks very similar to the one Rob posted.

The alignment went well, they said I actually had it pretty close for just having changed the tie rods. Normally they said the computer won't even register a reading after someone does their own tie rods...
 
I used a tie rod puller I bought at O'rielly auto parts. I had to use that puller on the LBJs themselves too when I did mine. I think it's code 84557 or something like that. It's like $14 or so at O'rielly auto parts. Hammering mine didn't work either like some members here have claimed.

Looks very similar to the one Rob posted.

The alignment went well, they said I actually had it pretty close for just having changed the tie rods. Normally they said the computer won't even register a reading after someone does their own tie rods...

I went and got a tool set from advance auto that they loaned me for this job. Finally got it complete however I chiped a tooth in the process haha. Won't be able to go to the dentist till Monday :mad:
 
Looking good, can't wait to see the final project.

Believe me, there are many other tie rod set ups that are harder and a bigger PITA. Hammering usually does more harm than good despite the what the You Tube experts portray. Get the right tool the first time.

Still on the rim hunt......
 
I went and got a tool set from advance auto that they loaned me for this job. Finally got it complete however I chiped a tooth in the process haha. Won't be able to go to the dentist till Monday :mad:

That sucks to hear... At least Bama won big, maybe that eased your pain haha

Most guys if they do anything, bust a knuckle. They usually leave the teeth alone.

I've never busted a knuckle working on the 4Runner, ever. Some people also say I'm very sarcastic...

Looking good, can't wait to see the final project.

Believe me, there are many other tie rod set ups that are harder and a bigger PITA. Hammering usually does more harm than good despite the what the You Tube experts portray. Get the right tool the first time.

Still on the rim hunt......

I'm excited to see how the lift turns out too. I probably won't be able to get it on until the first weekend of December.

The tie rods really weren't bad to do, it was just a product of me being stupid and forgetting things or not getting the right tools... I thought I had a wrench big enough to fit the ITRE but my biggest adjustable wrench only goes to 30mm even though it is huge. I tried a pair of channel locks but they didn't work. I ended up using an antique adjustable FORD service wrench. It was too short to get enough leverage so I had to make an extension for it then too...

I put the passenger side together off the car and then mounted it to the rack. I got it tightened down and realized I left the jam nut off. Took everything off, separated the ends and put the jam nut on. As I was screwing it back into the rack I realized I left the outer boot clamp off so off it came again. Finally got it right the third time. Driver side I nailed the first try though!

I had bought brand new Toyota clamps for the inner side but destroyed both of them trying to put them on. There went $14 in clamps... Autozone had some universal CV boot clamps that worked great though and I was able to do easily and securely.

I guess that's what I get for trying to work on the truck at 1 AM... She drives just fine now, maybe a little tighter in the steering but that might be me imaging things. I put over 300 miles on her this weekend with no issues. She also rolled over 180k earlier today on my way home. I still need to either tack weld the steering shaft or put a roll pin in it and the steering should be golden.

Good luck finding some wheels. I found mine by posting a thread asking what the stock tires are worth in the 5th gen section and a member about 2 hours responded saying he'd sell me new wheels and tires for $500 so I jumped on that.

Here's a couple pics of the process.
Old
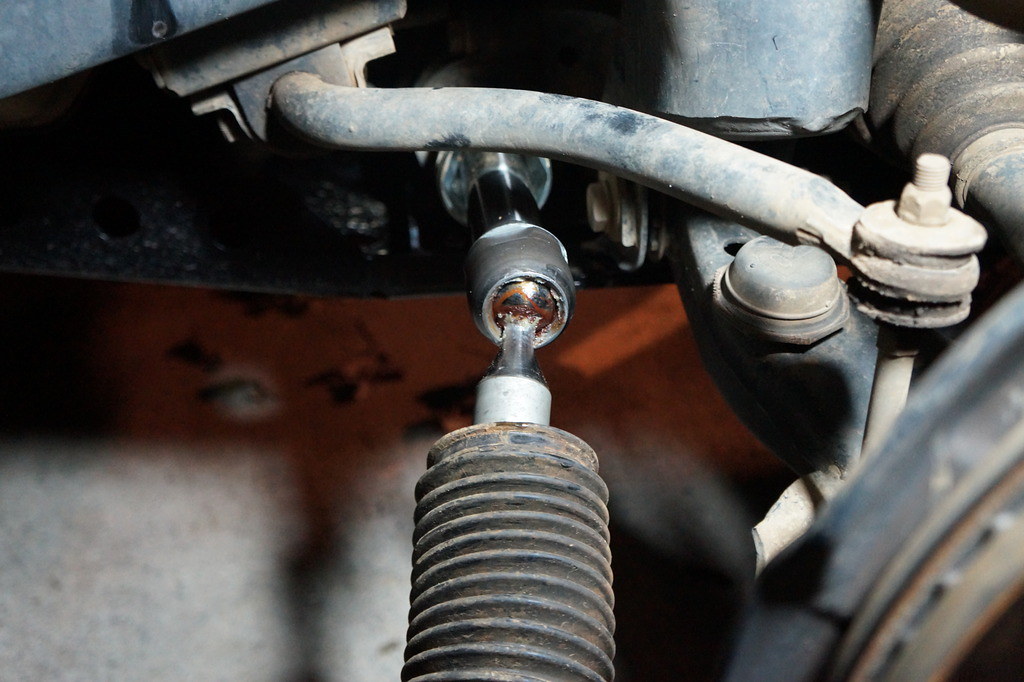
DSC02656 by Unner Unner, on Flickr
New Passenger
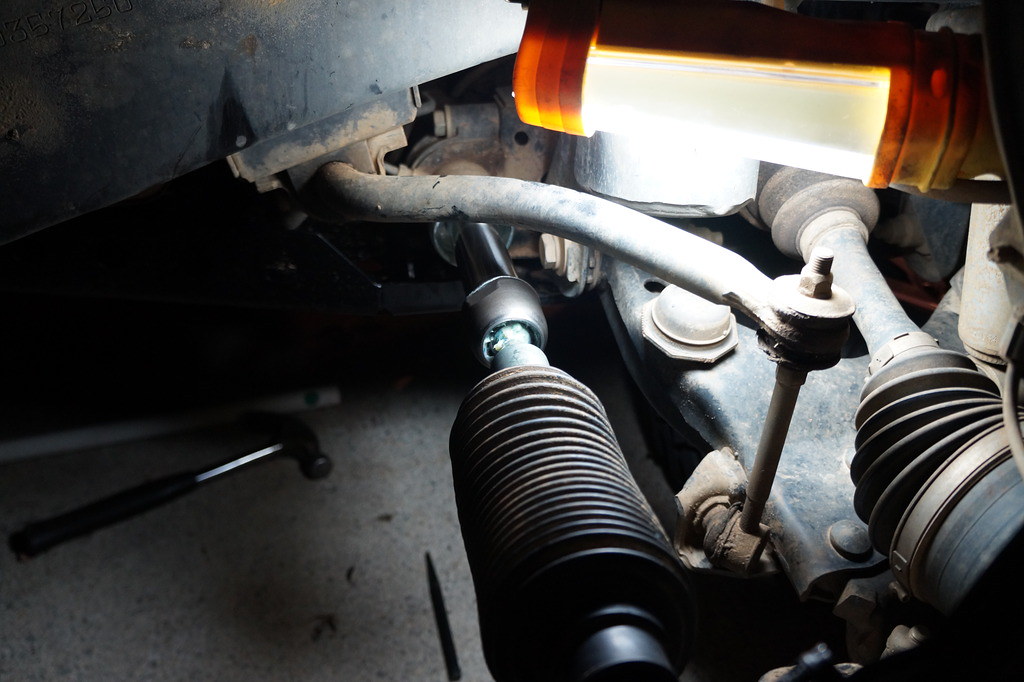
DSC02662 by Unner Unner, on Flickr
DSC02664 by Unner Unner, on Flickr
New Driver
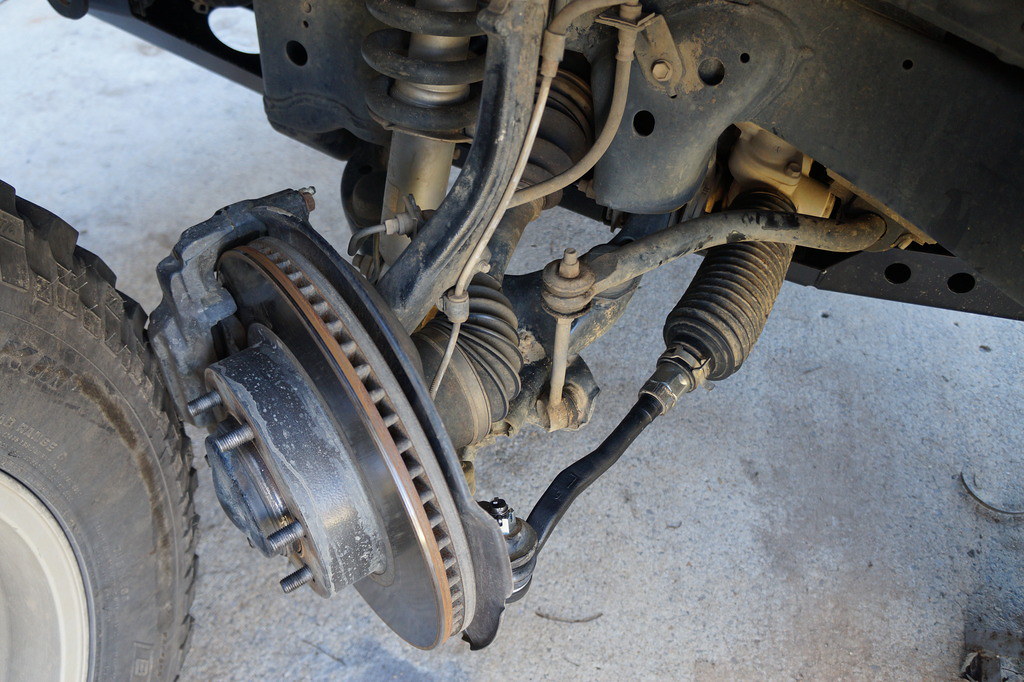
DSC02665 by Unner Unner, on Flickr
Clamps I used on the inner side and the new skids making a guest appearance.
DSC02667 by Unner Unner, on Flickr

And I got some parts for my lift in the mail this weekend.

Wheeler's SuperBumps
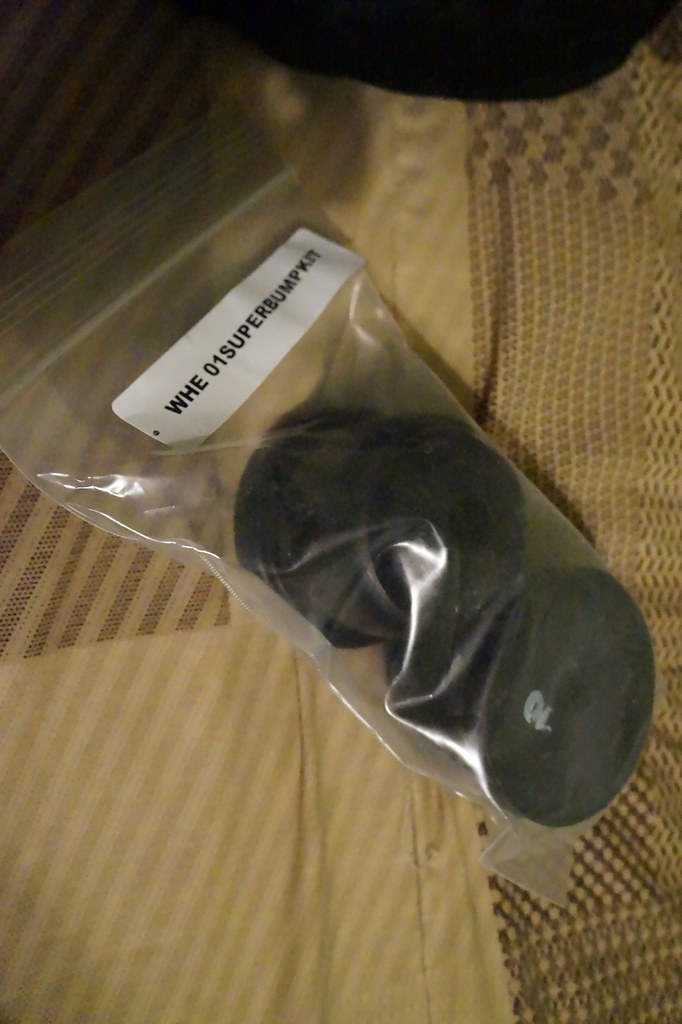
DSC02670 by Unner Unner, on Flickr
Wheelers Diff Drop
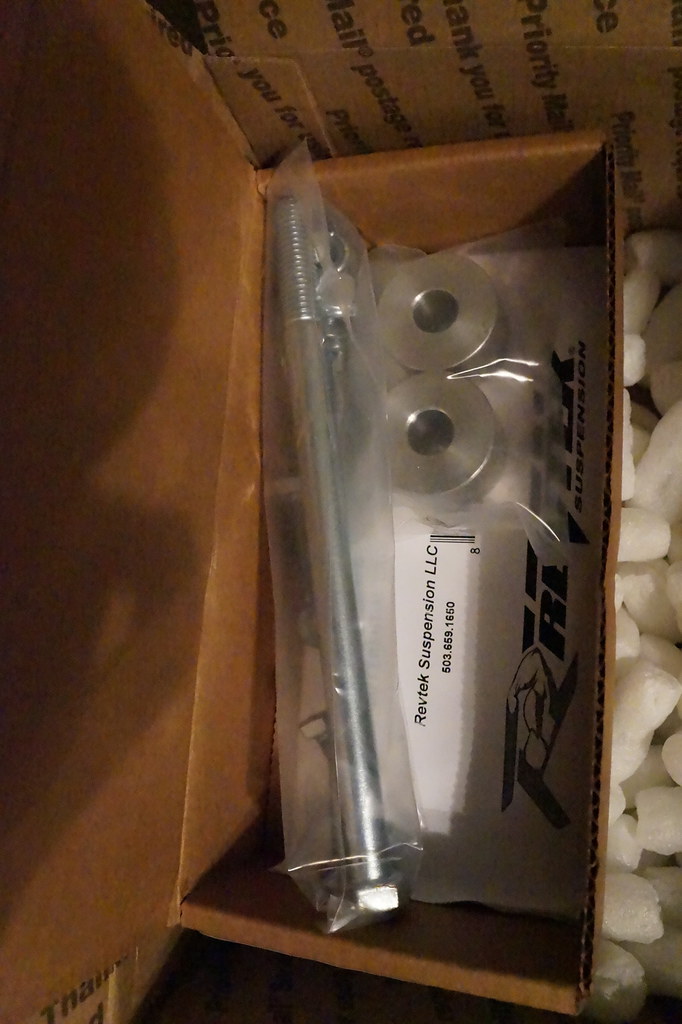
DSC02671 by Unner Unner, on Flickr
Wheeler's Extended brake lines. Is this right? One line has two female fittings and the other has one female and one male fitting. I have 2 because the 01-02 4Runners have 2 brake lines back there for the electronic stability control stuff.
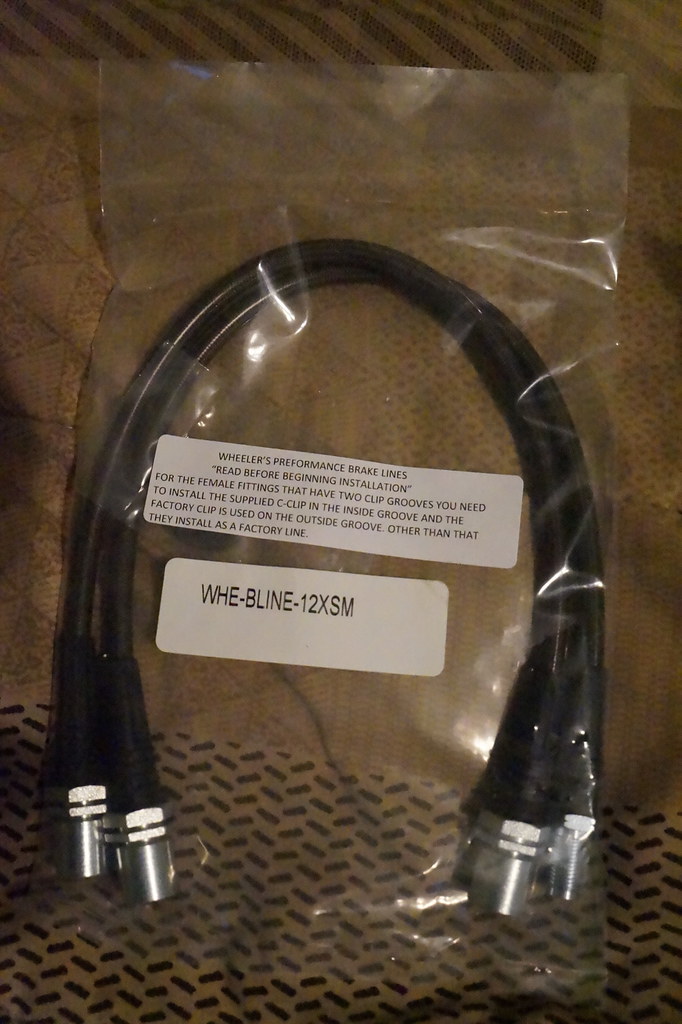
DSC02669 by Unner Unner, on Flickr
 
Last edited:
Tried ordering an AOR bumper tonight but I keep having issues with my card working... It worked just a few hours ago is the weird part. I'll try again in the morning and if it still doesn't work I'm gonna give them a call. Maybe it's a sign of something...
 
[MENTION=116387]Unner[/MENTION]

2 rear brake lines?....

I'm confused. I only used one..

1 drivers side front
1 passenger side front
&
1 rear brake line....


Now I'm curious where the other rear is??????
 
AOR bumper is ordered! My lift stuff was delivered today. Pictures to come later, only of the stuff un-boxed though...

You probably maxed it out on the 4runner

Nah, it was an error on the website, but that's what I thought for a second haha.

This build's been very accelerated in the last few weeks and I like it. :banana:

Thanks! I can't wait to get everything on!

[MENTION=116387]Unner[/MENTION]

2 rear brake lines?....

I'm confused. I only used one..

1 drivers side front
1 passenger side front
&
1 rear brake line....


Now I'm curious where the other rear is??????

Go look under your truck around the rear axle. Mine definitely has two, yours should too.
 
[MENTION=116387]Unner[/MENTION]

2 rear brake lines?....

I'm confused. I only used one..

1 drivers side front
1 passenger side front
&
1 rear brake line....


Now I'm curious where the other rear is??????

Go look under your truck around the rear axle. Mine definitely has two, yours should too.

Based on what I found on Sonoran Steel, 1996-2000 have one extended break line and 2001-2002 have two. (Info found Here)
 
[MENTION=116387]Unner[/MENTION] [MENTION=109102]MattJakobs[/MENTION]

uhhhhh..... ok well i only installed one... I'm feeling a little nervous now...
 

Members online

No members online now.

Forum statistics

Threads
278,316
Messages
3,554,120
Members
248,016
Latest member
Advally Service

Trending content

Back
Top