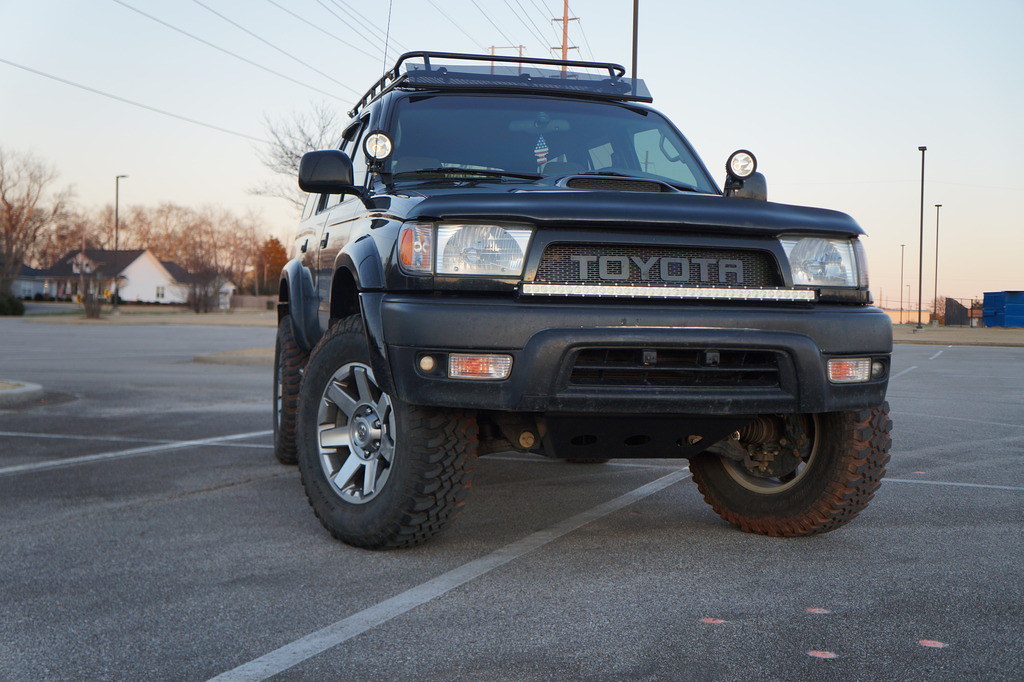
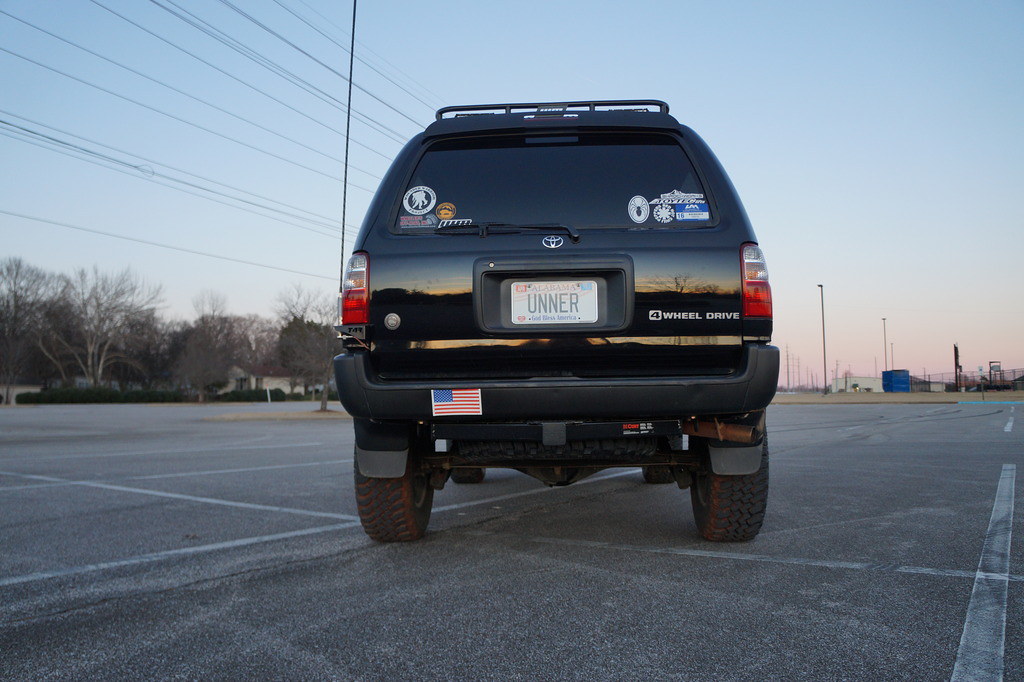
Unner's Build, 2001 T4R 4x4

[MENTION=109102]MattJakobs[/MENTION]

Sure, no problem. They're a little tricky to figure out, but once you know how they work they're super simple. They're definitely a great way to add accessories safely.

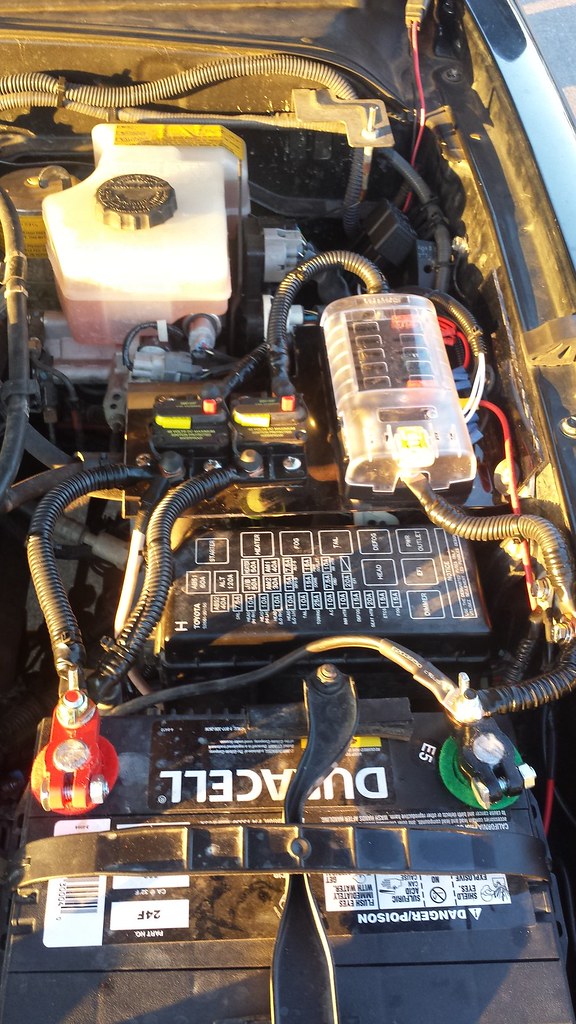
20151020_174623 by Unner Unner, on Flickr

So the wire that is coming off the top of the box closest to the master cylinder is the live power wire. It's coming off the battery through that circuit breaker. It provides power to the entire fuse block. The wire coming off the bottom of the fuse box is the ground, mine goes to the fender.

To wire up an accessory with it you put the fuse in the slot you want, add a ring terminal to the wire that goes to said accessory and put it on the screw next to the fuse you just put in the fuse block. Now that wire is live, so long as the fuse is in there.

The bottom half of the box closer to the battery has several grounding screws in it, that just provide a good ground to use. This isn't necessary, you can ground anywhere you would like, I just try and use it as a ground when it is feasible.

The circuit breaker keeps you from overloading the fuse box, I believe it is a 100 amp circuit breaker that I have on the fuse box, and 120 amp on the other wires there going from the alternator to the battery.

I followed [MENTION=57546]4-Ripcord[/MENTION] and his post in his build thread almost exactly when I did my set up. So far it's been great with no issues, makes the wiring safe, simple, and no crazy spaghetti to sort through at the battery terminals.

[MENTION=102606]infamousRNR[/MENTION]

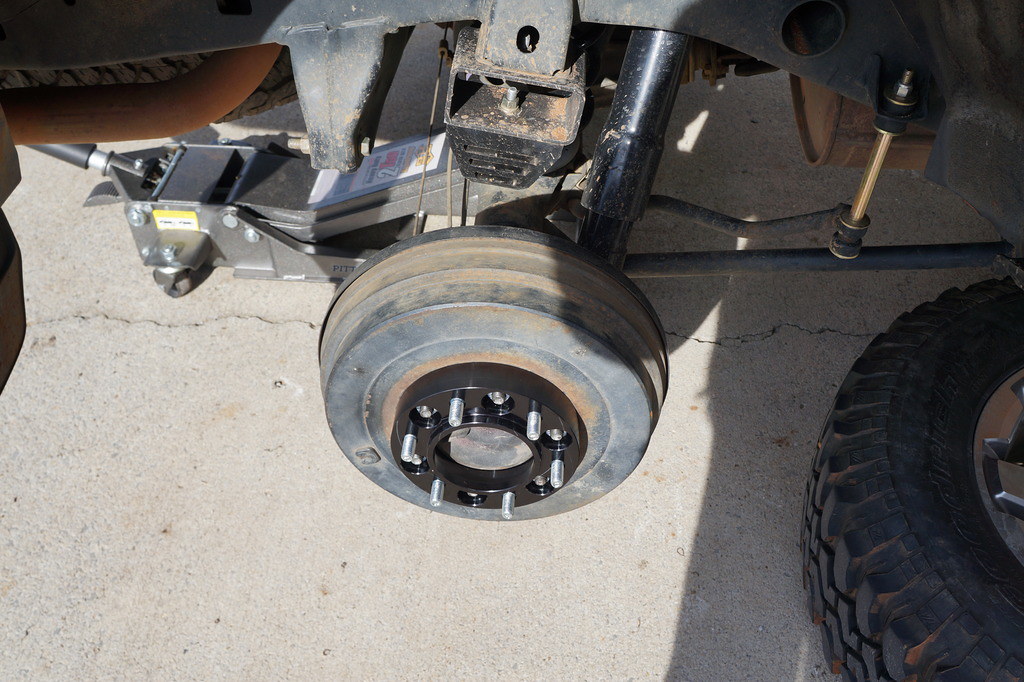
Sorry no pics yet. I got the spacers on today, they look great! Tomorrow is the CB install, and rear diff fluid change. Monday is new O2 sensors assuming they get delivered then. I'm still waiting for my 4WheelDrive decal to come in for the rear hatch to be finished. I also need to get my matching spare tire mounted up and put under the truck sometime this week.

And sometime this week she'll be getting a wash and wax, maybe a clay and polish too if needed. I haven't washed her in 4 months now so... Basically a whole bunch of little things I need to get done before I move. The pics are coming after I get it all shinied up!
 
Last edited:
I might have to look into getting one of those magic boxes... seems like it will make any electrical installations a lot easier in the future, and the inevitable pain-in-the-ass first installation process.
 
[MENTION=109102]MattJakobs[/MENTION]

Sure, no problem. They're a little tricky to figure out, but once you know how they work they're super simple. They're definitely a great way to add accessories safely.


So the wire that is coming off the top of the box closest to the master cylinder is the live power wire. It's coming off the battery through that circuit breaker. It provides power to the entire fuse block. The wire coming off the bottom of the fuse box is the ground, mine goes to the fender.

To wire up an accessory with it you put the fuse in the slot you want, add a ring terminal to the wire that goes to said accessory and put it on the screw next to the fuse you just put in the fuse block. Now that wire is live, so long as the fuse is in there.

The bottom half of the box closer to the battery has several grounding screws in it, that just provide a good ground to use. This isn't necessary, you can ground anywhere you would like, I just try and use it as a ground when it is feasible.

The circuit breaker keeps you from overloading the fuse box, I believe it is a 100 amp circuit breaker that I have on the fuse box, and 120 amp on the other wires there going from the alternator to the battery.

I followed [MENTION=57546]4-Ripcord[/MENTION] and his post in his build thread almost exactly when I did my set up. So far it's been great with no issues, makes the wiring safe, simple, and no crazy spaghetti to sort through at the battery terminals.

Perfect. So when hooking up a set of LED lights for example, you have a wire going to your positive terminal and negative terminal. How's that go, through the fuse box?

P.S. I'm horrible at anything electrical.
 
Perfect. So when hooking up a set of LED lights for example, you have a wire going to your positive terminal and negative terminal. How's that go, through the fuse box?

P.S. I'm horrible at anything electrical.

The positive wire would go to the side of the fuse box with the fuses on it at the top. It's hard to see in my picture, but there are little screws there that you take out and put the wire with a ring terminal underneath the screw and put it back in. Then by putting a fuse in the slot next to that screw you are completing the connection and letting it get 12V power through it.

The negative(ground) wire goes to the side of the fuse box closest to the battery. The two sections are kinda separated, it doesn't matter which screw you put it on, they all go to the same ground. You can also ground it anywhere else, you just have to find somewhere to attach the wire to bare metal, like a bracket, the fender, etc.

Hope that helps. I'm not too great at explaining things...
 
[MENTION=116387]Unner[/MENTION]

Mind giving me a quick explanation of how your Blue Sea Fuse Box works? With the lights and soon to be sound system I'm adding, I'm finding I should probably add a set up similar to yours to keep everything pretty and working smoothly. I've looked for a write up on how to do it and can't find anything.

Matt,

Before you get into how to do the blue sea setup, you need to understand what it even is.

The purpose of the extra fuse box is so you can fuse add-on items on the truck without having to utilize the factory fuse box at all or add in your own 'in-line' fuses to the LED light wiring.

All electrical components (new additions, or existing) should ideally be fused.

You could avoid the box by using 'in-line' fuses, but as you can probably tell, the blue sea box is very popular on this site and makes it easy to add accessories as [MENTION=116387]Unner[/MENTION] said.

It is easier to keep organized with the box VS a bunch of in-line fuses on random wires hanging out in the engine bay looking like spaghetti. For one, you can label the fuses on each accessory item with the blue sea box with a black sharpee marker, etc. Whereas if you had 2 wires for say 3 accessories, you have to know which of the 6 wires is what accessory, etc.
 
Last edited:
The positive wire would go to the side of the fuse box with the fuses on it at the top. It's hard to see in my picture, but there are little screws there that you take out and put the wire with a ring terminal underneath the screw and put it back in. Then by putting a fuse in the slot next to that screw you are completing the connection and letting it get 12V power through it.

The negative(ground) wire goes to the side of the fuse box closest to the battery. The two sections are kinda separated, it doesn't matter which screw you put it on, they all go to the same ground. You can also ground it anywhere else, you just have to find somewhere to attach the wire to bare metal, like a bracket, the fender, etc.

Hope that helps. I'm not too great at explaining things...

It did, lots. Finding Ripcords thread helped me visualize it too. I was having a hard time trying to find a write-up for it but helped tons. Thanks for your help and it's something I now plan on doing as additional lights get added.
Matt,

Before you get into how to do the blue sea setup, you need to understand what it even is.

The purpose of the extra fuse box is so you can fuse add-on items on the truck without having to utilize the factory fuse box at all or add in your own 'in-line' fuses to the LED light wiring.

All electrical components (new additions, or existing) should ideally be fused.

You could avoid the box by using 'in-line' fuses, but as you can probably tell, the blue sea box is very popular on this site and makes it easy to add accessories as [MENTION=116387]Unner[/MENTION] said.

It is easier to keep organized with the box VS a bunch of in-line fuses on random wires hanging out in the engine bay looking like spaghetti. For one, you can label the fuses on each accessory item with the blue sea box with a black sharpee marker, etc. Whereas if you had 2 wires for say 3 accessories, you have to know which of the 6 wires is what accessory, etc.

The Rigid lights I have came with an in-line fuse. With that being said though, the length of the wire provided is way more than I need so I was thinking of cutting the in-line fuse out and utilizing this box. I plan on running another set of Duallies plus a few more things so I'd be want this to help with the additional electrical stuff I'm running plus clean it all up a bit.
 
It did, lots. Finding Ripcords thread helped me visualize it too. I was having a hard time trying to find a write-up for it but helped tons. Thanks for your help and it's something I now plan on doing as additional lights get added.


The Rigid lights I have came with an in-line fuse. With that being said though, the length of the wire provided is way more than I need so I was thinking of cutting the in-line fuse out and utilizing this box. I plan on running another set of Duallies plus a few more things so I'd be want this to help with the additional electrical stuff I'm running plus clean it all up a bit.
That's cool. Did it come with a relay and switch as well?
 
It did, lots. Finding Ripcords thread helped me visualize it too. I was having a hard time trying to find a write-up for it but helped tons. Thanks for your help and it's something I now plan on doing as additional lights get added.


The Rigid lights I have came with an in-line fuse. With that being said though, the length of the wire provided is way more than I need so I was thinking of cutting the in-line fuse out and utilizing this box. I plan on running another set of Duallies plus a few more things so I'd be want this to help with the additional electrical stuff I'm running plus clean it all up a bit.

Great! I'm using a rigid harness for my light bar upfront. That's what I did, cut the inline fuse out and put that fuse in the box instead.
 
Got a good bit done today. New O2 sensors, no corrosion at all made changing them a breeze. Super easy job. I also changed the rear diff fluid, and attempted to put my extended sway bar links on the front on, but they didn't look like they would fit correctly with the way the mount on the LCA is shaped so I'll probably be picking up a set of disconnects from Mike at some point. I also got my full size matching spare installed, and got my 4 Wheel Drive decal delivered today and put on.

My Hi-Lift was delivered as well, and now I'm just waiting on my Jak-Jaw attachment, mounts for the rear cargo area, and parking brake bracket to be delivered from Sonoran Steel.

I checked the torque on my spacers as well today after ~70 miles of driving and none of them budged. That was a great sign, and they are completely steady up to ~75. I didn't try them any faster since I never really even drive that fast. It does feel more stable cornering and on the interstate now as well which is a good thing on such a narrow top heavy vehicle, especially mine with the heavy rack on the roof. The 2.5" increase in track width really does make a difference.

The CB is installed, everything ran and mounted up. The hatch was a little difficult to close with the mount installed, but by taking a wood plane to the hatch side bump stop I was able to make it a lot smoother. The only issue is the SWR meter I bought from Amazon was broken out of the box, I ordered a new one so I can tune my antenna and finally use the radio. I've been scared to so I don't burn it up. I was able to pick up a little chatter on the interstate and the weather radio works flawlessly haha

[MENTION=102606]infamousRNR[/MENTION]

Here's a couple pics to keep you content until I get the truck washed and cleaned up for picture time.:biggrin2:

DSC03020 by Unner Unner, on Flickr

Only picture from the spacer install.

DSC03021 by Unner Unner, on Flickr
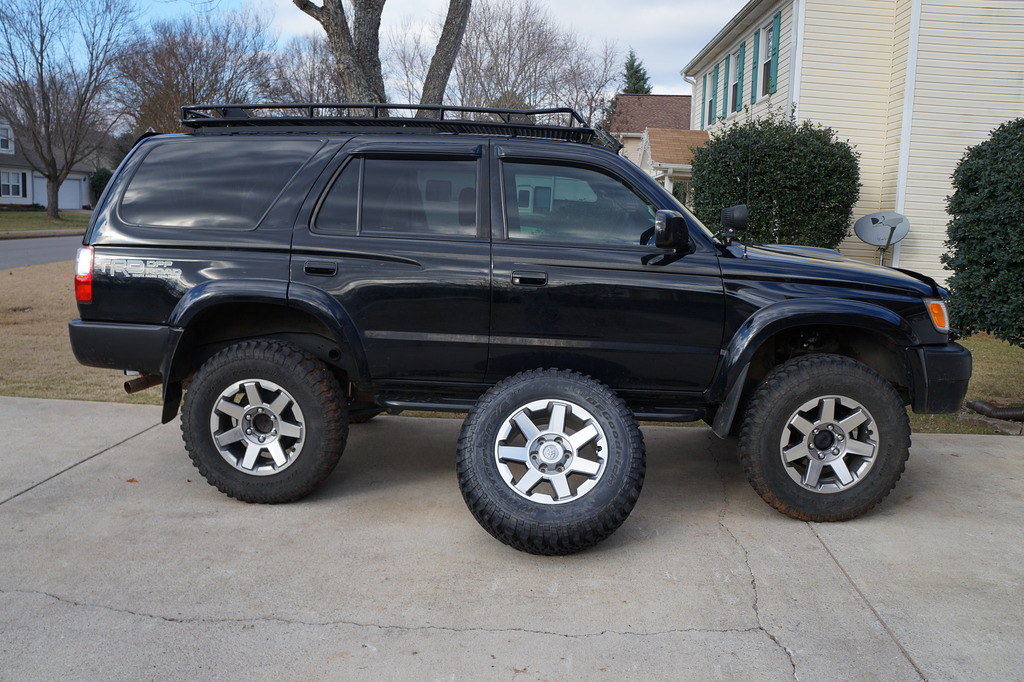
This wheel is too pretty to be hidden under the truck, I need a swing out haha
DSC03034 by Unner Unner, on Flickr
DSC03037 by Unner Unner, on Flickr
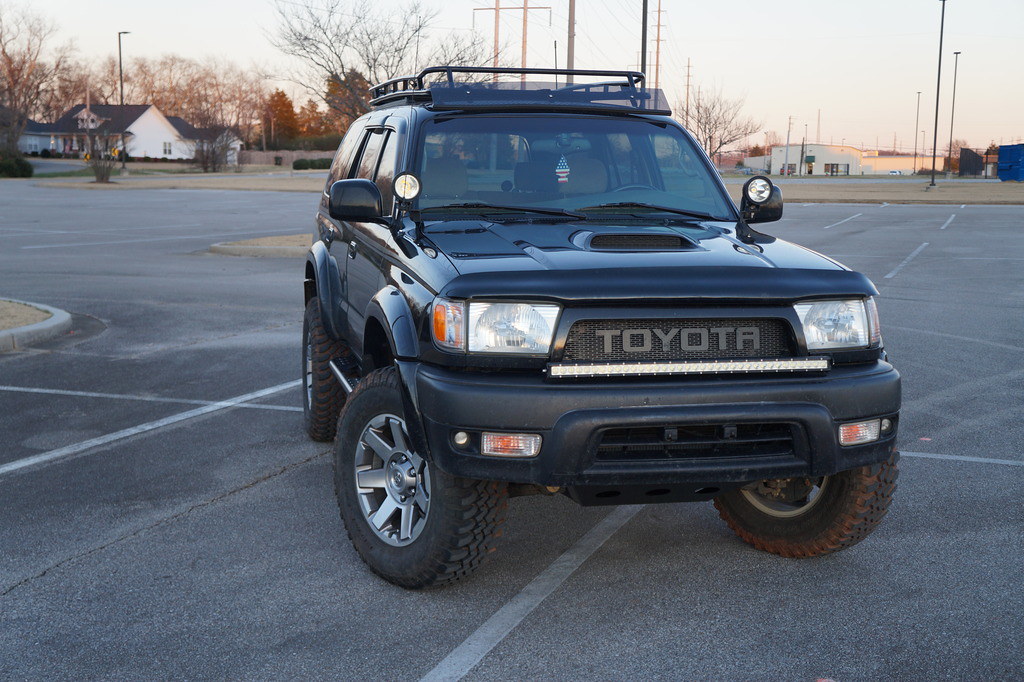
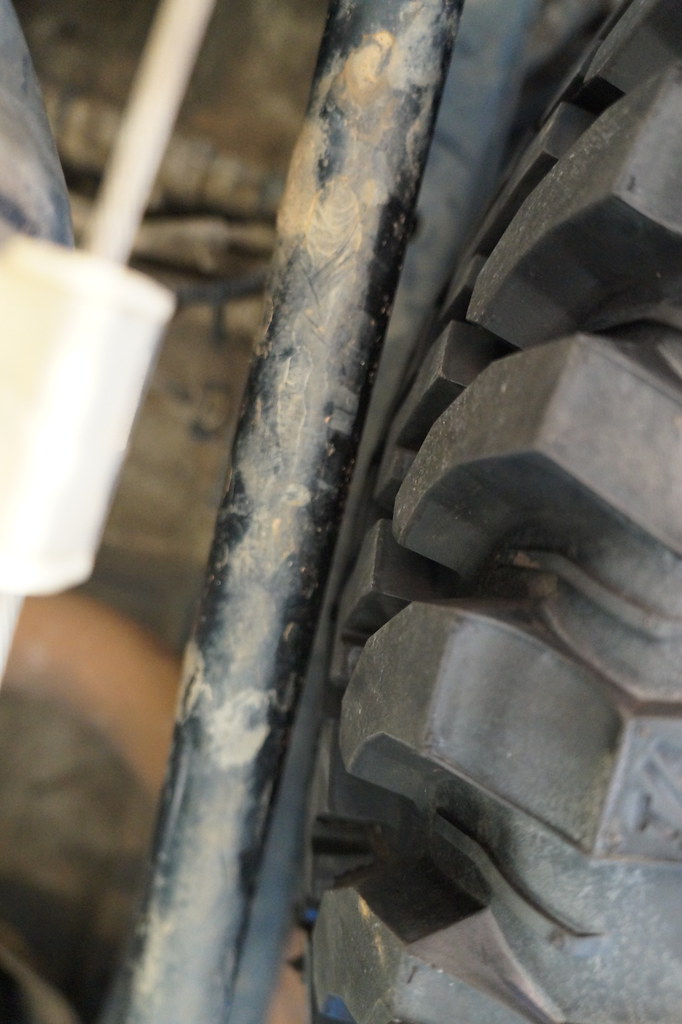
VERY close fit, but it works!

DSC03038 by Unner Unner, on Flickr
DSC03039 by Unner Unner, on Flickr
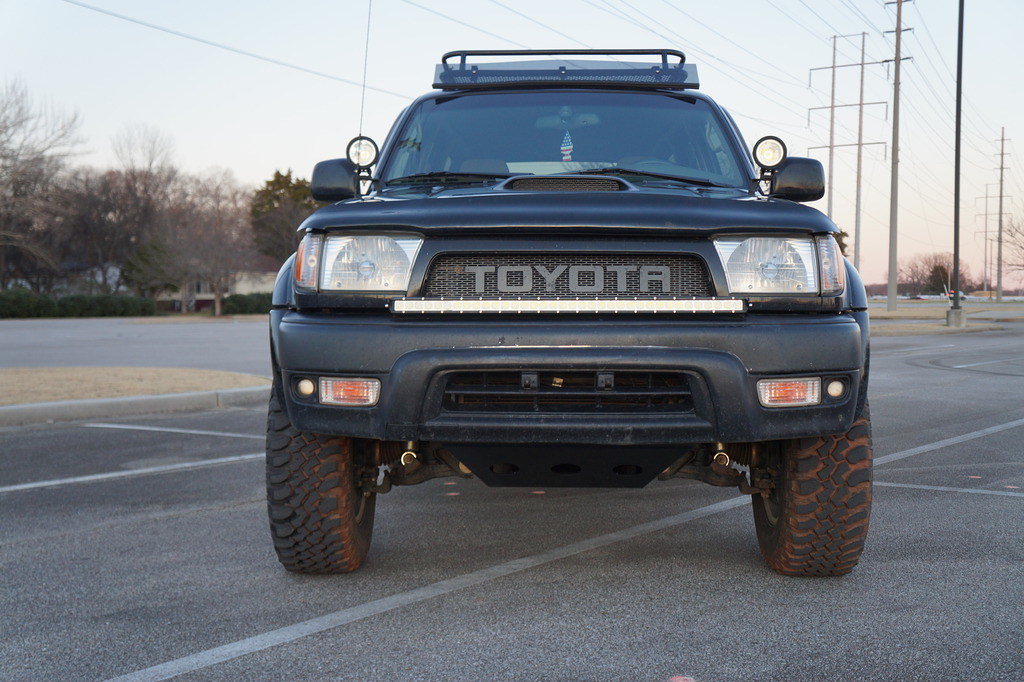
DSC03054 by Unner Unner, on Flickr
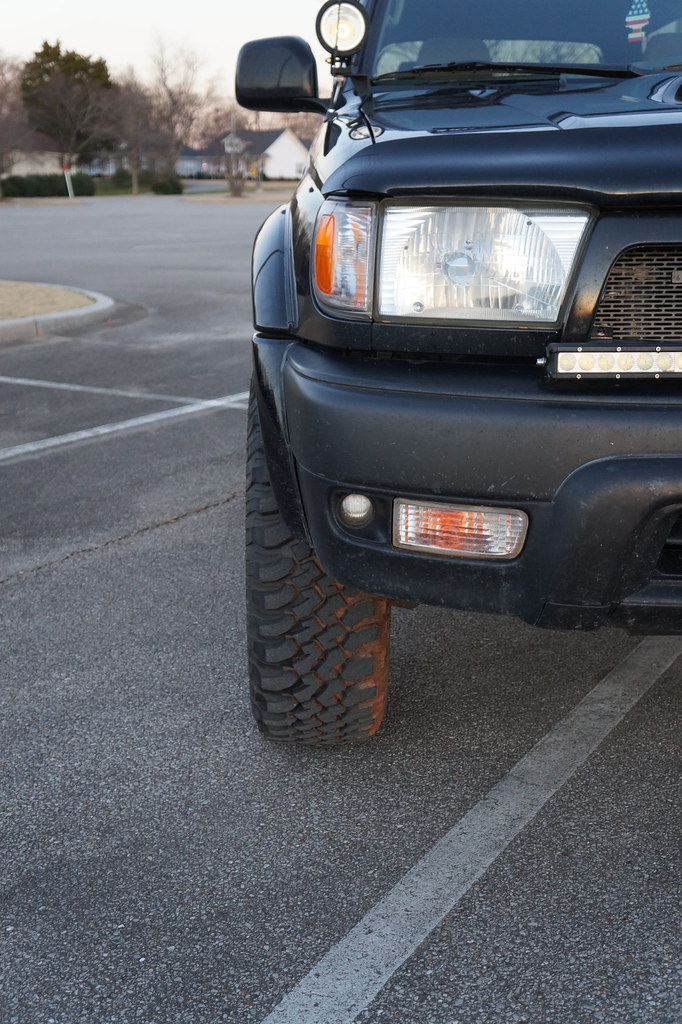
DSC03056 by Unner Unner, on Flickr
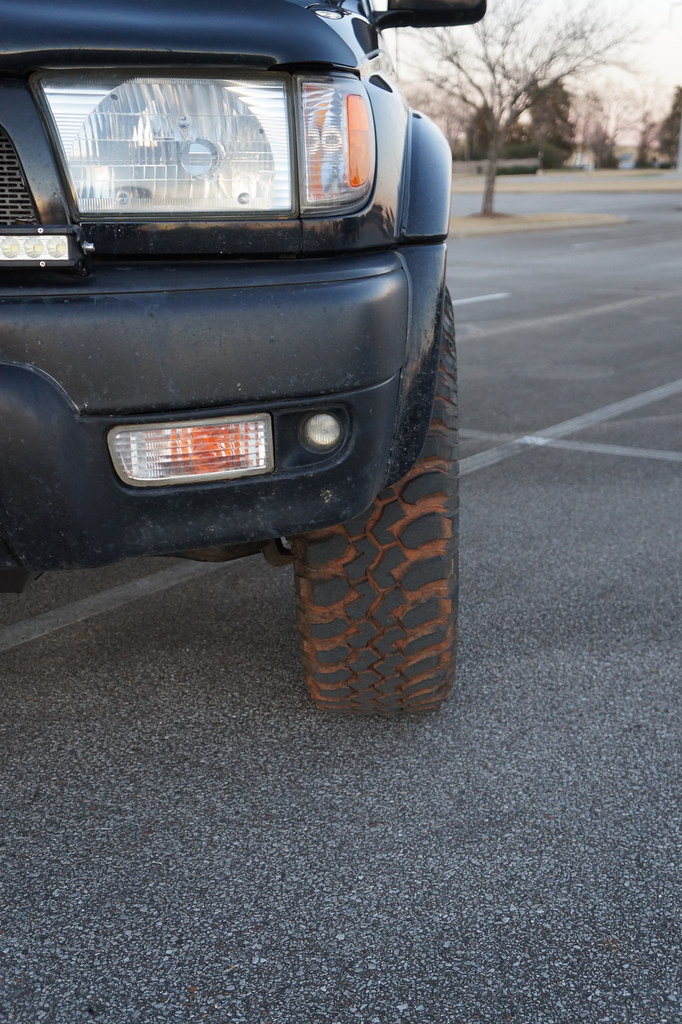
DSC03058 by Unner Unner, on Flickr
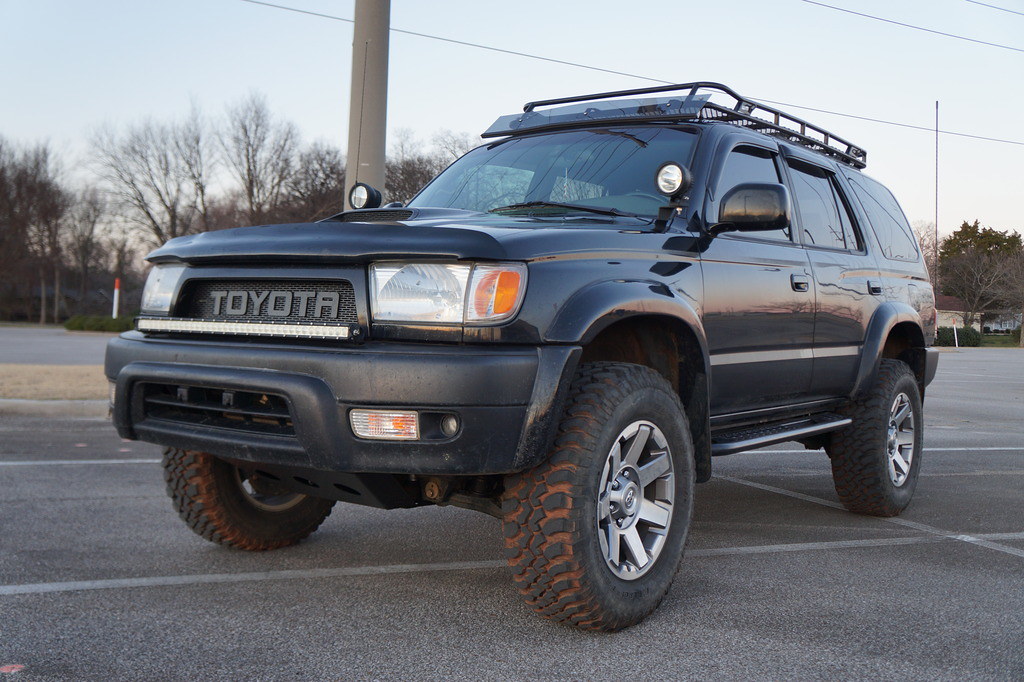
DSC03060 by Unner Unner, on Flickr
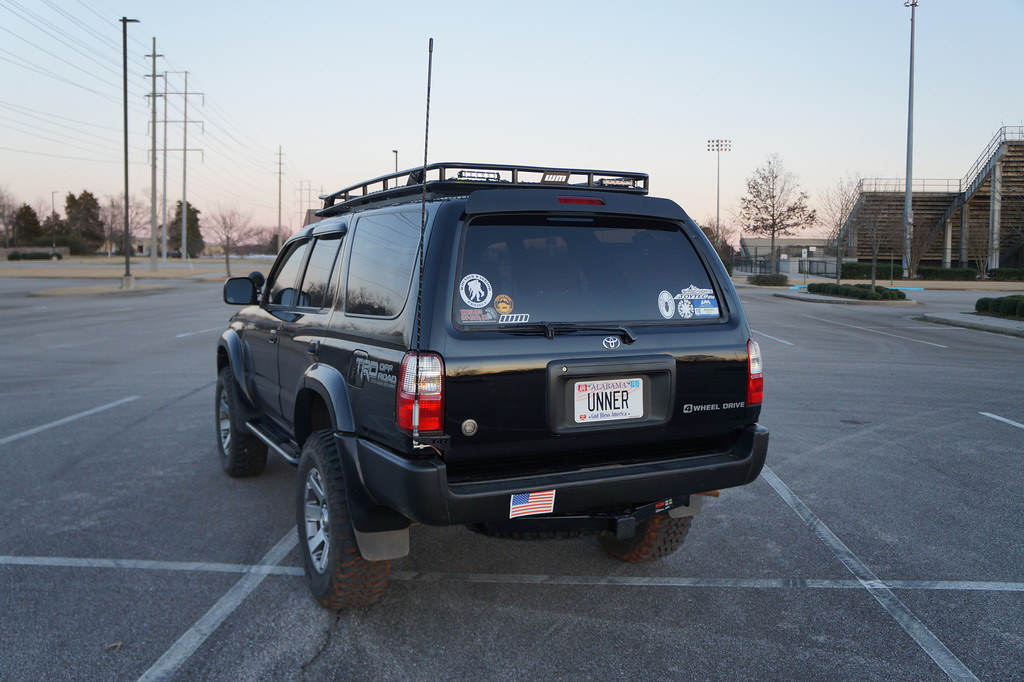
DSC03064 by Unner Unner, on Flickr
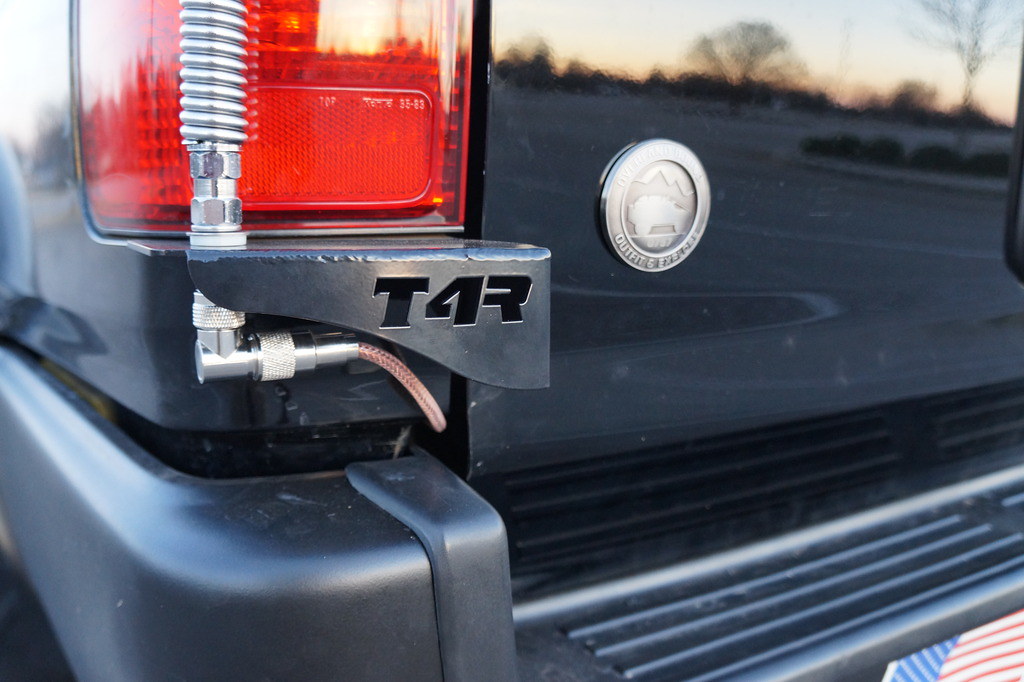
DSC03065 by Unner Unner, on Flickr
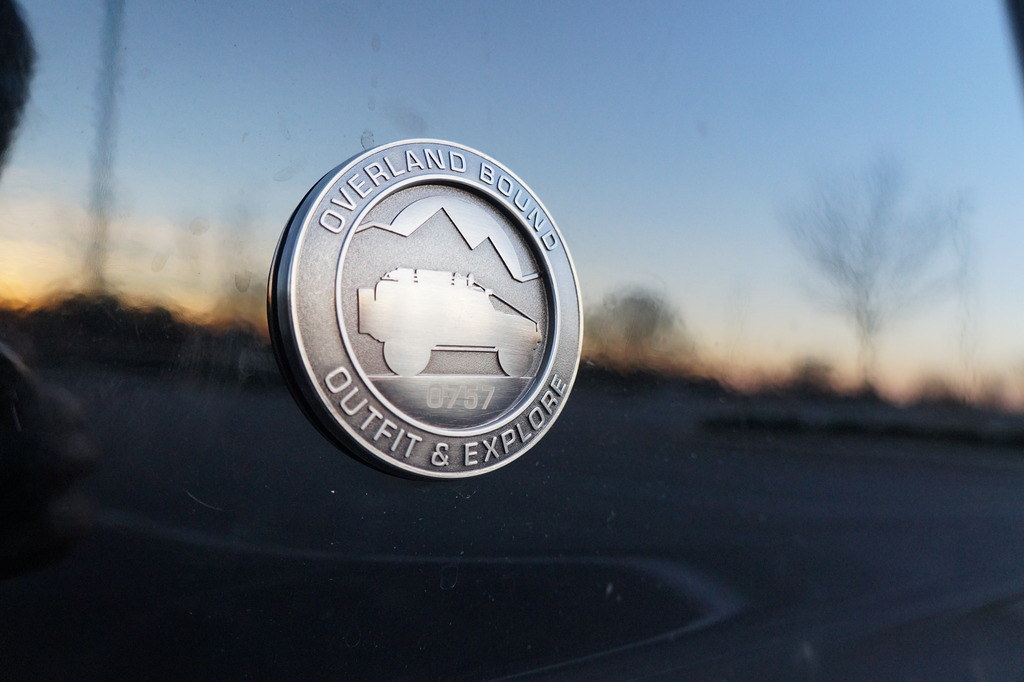
DSC03066 by Unner Unner, on Flickr

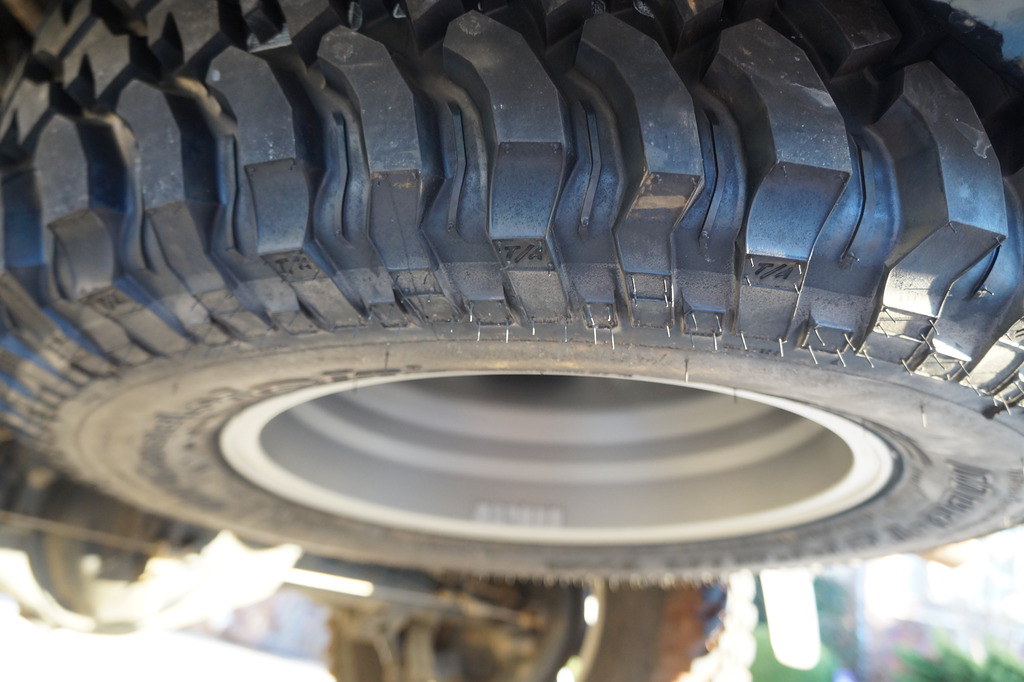
I love this little badge, it's so cool. I like what they're doing too. Everyone gets their own number. I'm #757, I got my dad one for Christmas, he's #758.
DSC03067 by Unner Unner, on Flickr
DSC03075 by Unner Unner, on Flickr
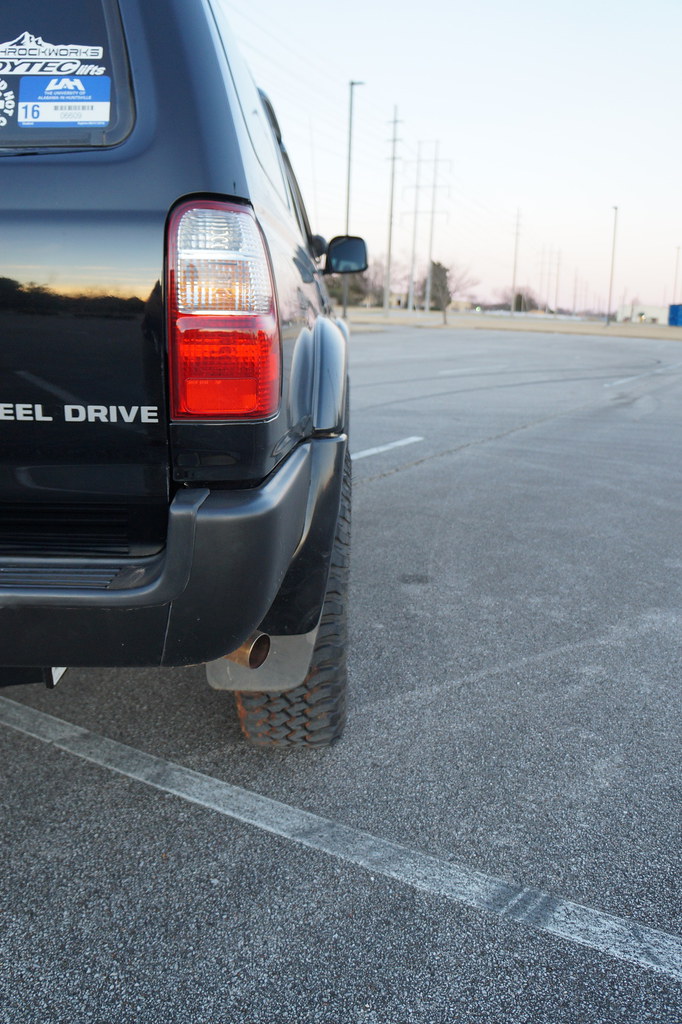
DSC03076 by Unner Unner, on Flickr
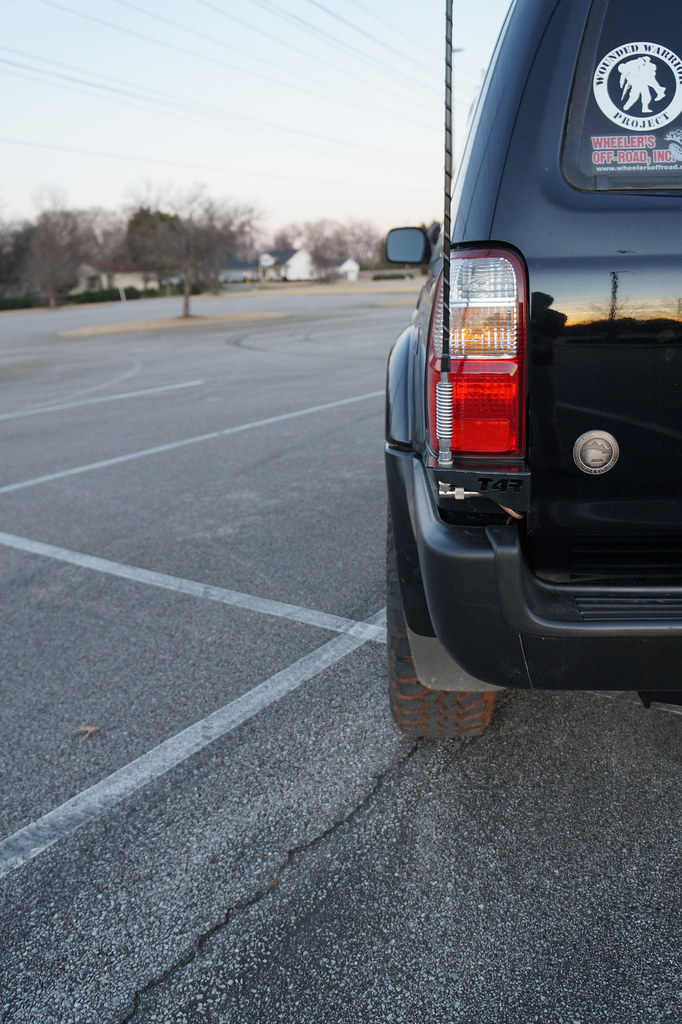
DSC03078 by Unner Unner, on Flickr
The passenger side tire does stick out a little more than the driver side, but I don't think I'm gonna do anything about it for now. It isn't that bad, and I don't want to hit the gas tank skid. I looked at it the other day and tried to push it a little more to the driver side, but I don't think it moved... It is actually hitting the bolts that bolt the rear mount onto the skid. I might call Shrockworks sometime and see if they have any suggestions on what to do about this.
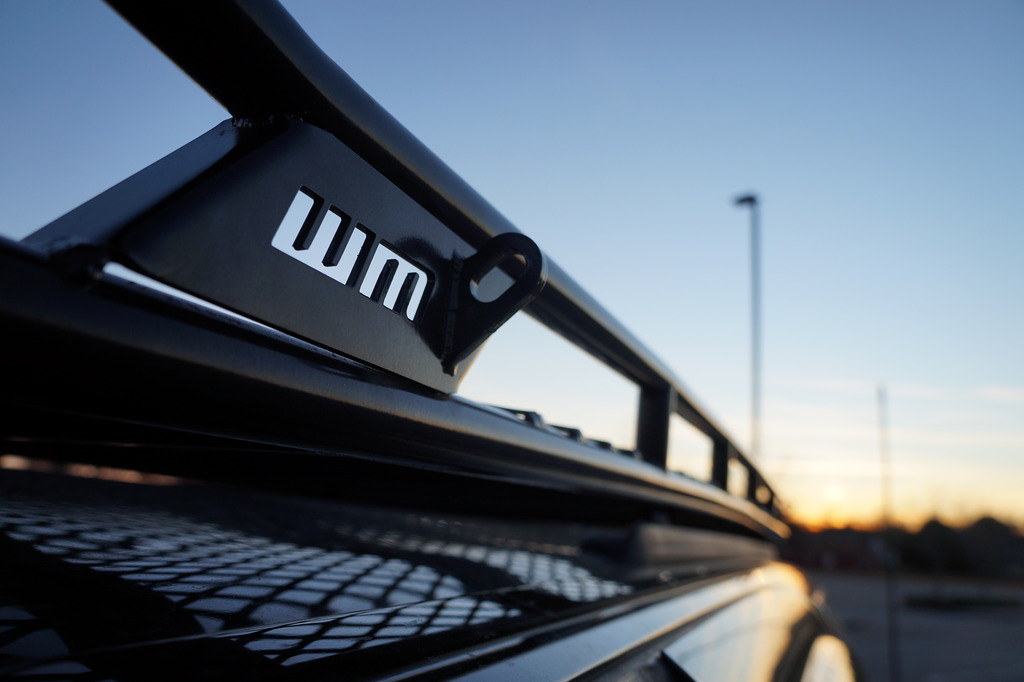
DSC03079 by Unner Unner, on Flickr
Rack in the sunset.

Not looking forward to washing the truck in nearly freezing temps tomorrow, but I really need to...
 
Last edited:
Thank goodness for this pic dump..

I was beginning to worry!!

Truck is looking great!

Love the rack!

And it's awesome you got the spare to fit!
 
One of the cleanest T4Rs on the forum. Look forward to see where this one goes.
1xpwa
1xpjb
 
Thank goodness for this pic dump..

I was beginning to worry!!

Truck is looking great!

Love the rack!

And it's awesome you got the spare to fit!

Thanks man. Should be more if I can get myself to go out and actually wash this thing, but it's so cold to be playing with water haha.

Did you have to do any trimming of your front bumper for tire clearance?

Yeah, before the spacers and lift I had to trim the mudflaps up front and just a tad off the flares on the bumper. After the lift and spacers I didn't have to trim anything off the mudflaps or rear wheel well area, but I did have to trim some more off the flares up front. Not a whole lot, it's not noticeable unless you're looking. The driver's side didn't take much, but the passenger side took a little more due to a slight fender bender the previous owner got in that apparently tweaked the flare inward and back just a bit.
 
Jealous of the 757 badge as its my area code! :rockon:

Nice! I just realized you're in Virginia Beach, I was there probably 10 years ago or more as a kid when I lived in Virginia. Wish I lived closer to the beach, I don't surf like you do, but I still love being out there. I've got a few ideas up my sleeve for going to new beaches I've never been to this spring while I'm in South Carolina.
 
What a sharp, clean looking rig. Your attention to detail really makes this 4runner stand out. I think Shockworks ought to use your pictures to show off their sliders, just looking at the pics has pretty much sold me on them!
 
Nice! I just realized you're in Virginia Beach, I was there probably 10 years ago or more as a kid when I lived in Virginia. Wish I lived closer to the beach, I don't surf like you do, but I still love being out there. I've got a few ideas up my sleeve for going to new beaches I've never been to this spring while I'm in South Carolina.

Let me know when you head this way. I'll likely be in North Carolina assuming the weather's nice and depending on where in SC you are, wouldn't mind heading a little further South and doing a beach run with you.
 
What a sharp, clean looking rig. Your attention to detail really makes this 4runner stand out. I think Shockworks ought to use your pictures to show off their sliders, just looking at the pics has pretty much sold me on them!

Thanks! I love walking back to it in a parking lot just because I get to look at it haha. I actually got those sliders with the treadplates as a mistake in my order, but I'm glad it happened. They look great, are more functional as a step, and are different than the usual.

Let me know when you head this way. I'll likely be in North Carolina assuming the weather's nice and depending on where in SC you are, wouldn't mind heading a little further South and doing a beach run with you.

That'd be cool! I've actually been looking at beaches in NC. I don't know when the weather gets nicer in that area, but I've been looking at the Outer Banks area like Hatteras Island where you can drive on the beach. That looks super cool and fun to me, I've been doing a lot of reading on it the last few days. I'm thinking I'll take a weekend and drive up there Friday afternoon and spend all day Saturday and most of the day Sunday just hanging around at the beach doing a little sand driving and then head back. Have you ever been to that area?
 
That'd be cool! I've actually been looking at beaches in NC. I don't know when the weather gets nicer in that area, but I've been looking at the Outer Banks area like Hatteras Island where you can drive on the beach. That looks super cool and fun to me, I've been doing a lot of reading on it the last few days. I'm thinking I'll take a weekend and drive up there Friday afternoon and spend all day Saturday and most of the day Sunday just hanging around at the beach doing a little sand driving and then head back. Have you ever been to that area?

If you head to the Outer Banks and want to stay further South, I recommend the NPS Campground in Frisco right off the Billy Mitchell Airport. One of my favorites down there and good rates - $20 per camp site, 2 vehicles and 6 people allowed per site. Driving on the beach is a blast down there however you do need a permit and they can be pricey for a single trip on the sand. There's plenty of beach access points for vehicles too so you have tons of choices. One of the coolest things is if you spend the night, you need to get a (free) permit to have a bonfire on the beach. Perfect way to end the day down there.

I've been basically anywhere from Frisco up through Nags Head as far as the Outer Banks go. It's a beautiful place, one of a kind, that you can never get bored of.
 

Members online

No members online now.

Forum statistics

Threads
278,316
Messages
3,554,120
Members
248,016
Latest member
Advally Service

Trending content

Back
Top