Some follow-on work from a couple of days ago
https://www.toyota-4runner.org/3519384-post43741.html - SSO Slimline Bumper install
First two other install notes:
- If you have front shocks with a reservoir system (King, etc.) you want to remove the front bolts from the reservoir brackets before attempting to jack the bumper up into position
 . That's the same hole the bumper 'ears' get bolted to.
- Another point with the reservoir - you can bend the aluminum mounting bracket to fit over top of the 'ears' of the bumper that attach to the radiator mounting block. However you might want to pick up some washers to bump out the spacing of the rear bolt mounting point of the reservoir. That way you can match the thickness added by the bumper 'ear' to the front mounting point.
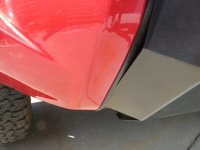
On the issue I had with the front fitment. It wasn't 'bad', but it just wasn't right... I talked with SSO yesterday afternoon about the way the lower bracket pushed out the fascia. Everything else went together so smoothly, I was surprised that this was an issue.
The customer/tech support rep said that he hadn't seen this problem before. He advised to start tightening at the wheel-well, and then tighten the bracket to the bumper. That didn't help me, but perhaps that approach will help others.
He had also said that he would talk to their CAD team, to see if they had any prototypes for more adjustability. I told him that if the tightening order method didn't work, I'd try drilling some holes and send them some feedback. So, I'll be sending this info to them for their review and consideration.
Photos
1 - With stock bracket in place the front fascia is pushed down and out, so the lower part winds up in front of the bumper.
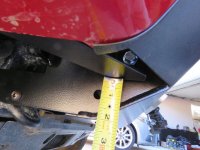
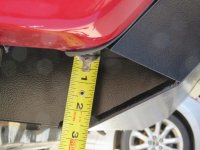
2 - Stock bracket base is about 2 1/8 inches from the bottom of the bumper, so it is lower than the natural line that the fascia would have if it were sitting without the bracket there at all.
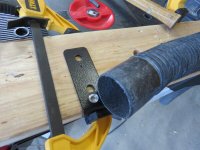
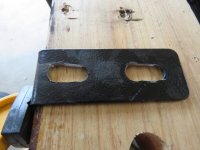
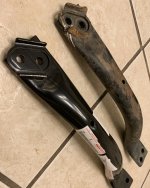
3 & 4 - Modified the stock brackets by drilling and dremel-ing to create a slot that allowed for 5/8 inch of adjustability.
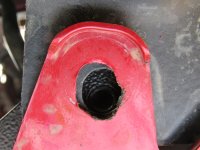
5 - Very loosely attached bracket to bumper (2 bolts), then ran the bolt through the fascia at the wheel-well end of the bracket, and finally did a bit of enlarging of the forward hole of the fascia to allow that hole to line up.
6 - Tightened things down, which was a bit of a challenge, as the lower bracket bolt is now very close to the bracket bend point. Now the bracket is 2 3/4 inches up from the bottom of the bumper, and the fascia sits behind the bumper.
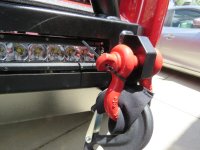
7 - And for good measure, we made some sleeves for the D-rings and towing hook from scrap neoprene, and added zip ties so they won't work themselves loose.

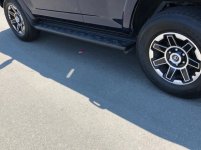
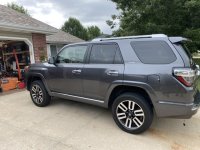
 ) I decided that I didn't like the OEM wheels anymore. I thought they would grow on me but they never did. I like the wheel style and but I just couldn't stand so much shiny steel all over them. I was on the fence with Plasti Dip or powder coating or just buying new wheels until I ran into these. I like how it turned out. Easy going on and if/when I get some trail damage I can just remove and replace.