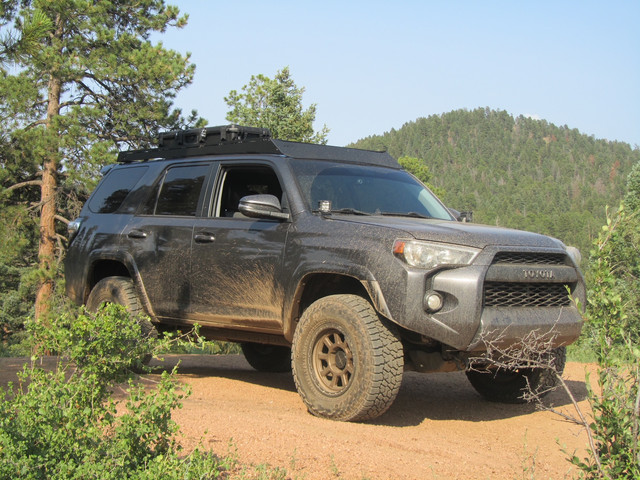
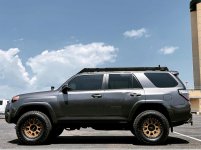
What did you do to/in your 5th Gen today?!

Yesterday

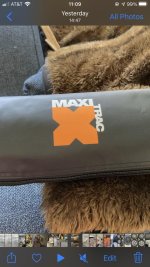
After using it to bring two sets of SR5 Rims and Tires home from the storeroom to sell, I unboxed my new Awning.

Napa Autoparts Maxi Trac 8'x8' Awning for $99.00. It arrived three days ahead of schedule.

Can't wait to install it.
 

Attachments

  • IMG_1267833C705E-1.jpg
    IMG_1267833C705E-1.jpg
    112.9 KB · Views: 1,260
Off Grid Engineering Redarc Dual Battery Kit!!!

Well, it was yesterday that I wrapped this up... and admittedly I'm new to the 4runner world - owned one as long as I've been waiting on lead times for my mods. I've been working on wiring up the truck for the last few weeks as I patiently awaited my OGE Redarc Dual Battery Kit, and it finally arrived Friday. I'm not into off-roading (yet at least), but we do a LOT of camping and try to hit a lot of music festivals (pre and hopefully post COVID). My goal with this project was to be able to put everything back to OEM state with very little cost.

Before receiving the OGE kit, I did the following:

1. Installed a dual battery voltage meter, and momentary AOB switch in the pre-existing blanks in the glove box and ran wiring through the passenger firewall to both battery locations. Of course the Battery Voltages switch is tied into the dimming instrument cluster circuit.

2. Relocated factory relay box and installed a low profile Power Tray with a Redarc SBI12, for jumpstarting the primary battery off the aux. AOB momentary "Battery Link" button below the ignition button.

3. Installed a NOCO Genius 5x2 on the power tray and extended wiring to both battery locations - for charging off of shore power, and desulfating the primary battery occasionally.

4. Ran 6 wire from the secondary battery location through the driver firewall to bottle jack storage area and mounted a Blue Sea 6-ckt fuse block.

5. From the fuse block, I ran wire up to the fuse block under the dash to refeed the front power outlets from the secondary battery (using an add-a-circuit in reverse). Note, on my 2021 Nightshade, I also had to jump out a relay under the hood to make this refeed work without accessory power.

6. Installed a 12v to 24v step up transformer under the cargo area to feed (2) USB-C power delivery outlets at the taillight access panels - I can now charge devices at 20V, 3A. I also went ahead and installed an ARB fridge outlet in the passenger taillight access panel - Zero Fridge/Freezer coming tomorrow I hope.

Then yesterday, I installed the OGE Redarc kit and got all wiring terminated.

The first thing I wanted to test was the jump start function, and IT WORKED!!!

My next step is to install a NOCO port at the driver side cowl seal and an SAE solar port at the passenger side cowl seal, but I'm pretty sure my wife wants me to take a break from the runner for a while.

uc

uc

uc

uc

uc
 
After using it to bring two sets of SR5 Rims and Tires home from the storeroom to sell, I unboxed my new Awning.

Napa Autoparts Maxi Trac 8'x8' Awning for $99.00. It arrived three days ahead of schedule.

Can't wait to install it.

oohh let me know how that quality is.
 
Off Grid Engineering Redarc Dual Battery Kit!!!


Well, it was yesterday that I wrapped this up... and admittedly I'm new to the 4runner world - owned one as long as I've been waiting on lead times for my mods. I've been working on wiring up the truck for the last few weeks as I patiently awaited my OGE Redarc Dual Battery Kit, and it finally arrived Friday. I'm not into off-roading (yet at least), but we do a LOT of camping and try to hit a lot of music festivals (pre and hopefully post COVID). My goal with this project was to be able to put everything back to OEM state with very little cost.


Before receiving the OGE kit, I did the following:


1. Installed a dual battery voltage meter, and momentary AOB switch in the pre-existing blanks in the glove box and ran wiring through the passenger firewall to both battery locations. Of course the Battery Voltages switch is tied into the dimming instrument cluster circuit.


2. Relocated factory relay box and installed a low profile Power Tray with a Redarc SBI12, for jumpstarting the primary battery off the aux. AOB momentary "Battery Link" button below the ignition button.


3. Installed a NOCO Genius 5x2 on the power tray and extended wiring to both battery locations - for charging off of shore power, and desulfating the primary battery occasionally.


4. Ran 6 wire from the secondary battery location through the driver firewall to bottle jack storage area and mounted a Blue Sea 6-ckt fuse block.


5. From the fuse block, I ran wire up to the fuse block under the dash to refeed the front power outlets from the secondary battery (using an add-a-circuit in reverse). Note, on my 2021 Nightshade, I also had to jump out a relay under the hood to make this refeed work without accessory power.


6. Installed a 12v to 24v step up transformer under the cargo area to feed (2) USB-C power delivery outlets at the taillight access panels - I can now charge devices at 20V, 3A. I also went ahead and installed an ARB fridge outlet in the passenger taillight access panel - Zero Fridge/Freezer coming tomorrow I hope.


Then yesterday, I installed the OGE Redarc kit and got all wiring terminated.


The first thing I wanted to test was the jump start function, and IT WORKED!!!


My next step is to install a NOCO port at the driver side cowl seal and an SAE solar port at the passenger side cowl seal, but I'm pretty sure my wife wants me to take a break from the runner for a while.
uc


uc


uc


uc


uc
I'm copying your Battery Link and Battery Voltages switches ideas, I really like those. I assume the Battery Voltages switch is a dual pole so you can run both batteries straight through it?

Sent from my Pixel 2 using Tapatalk
 
[MENTION=577089]Stembot[/MENTION]
The battery voltages button is a single pole momentary button from AirOnBoard, but you need to use a single pole relay if you want the battery symbol to light up when the button is depressed. The battery voltage meter is miktuning from amazon - the primary battery powers it, but the secondary battery is isolated on the hot side of the meter and common ground on the negative side of the meter. I use the button to close the ground side of the meter to ground.

The battery link button also ties into a relay so the battery symbol lights up when depressed. The relay closes the black wire off the SBI12 to chassis ground… the SBI12 is basically being used as an overpriced relay… but hey, I trust redarc.
 
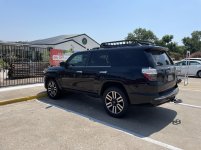
Ripped off the Limited running boards and rocker panels yesterday to prep for NFab nerfs. MASSIVE profile improvement, even though it gives her a big ol' booty. :whistle: Need to get that bumper swapped out, too...
 

Attachments

  • IMG_7778.jpg
    IMG_7778.jpg
    137.3 KB · Views: 970
What is that Tent?

Yeah, it's a tent that you put over the rear liftgate (Rightline Gear SUV Tent). It provides a lot of space for me, my wife, and our two dogs. Disadvantage being that it's strapped to the car but we're generally leaving the car at camp then venturing out on foot from there. We've had it for quite a while and though it has its quirks (and I don't remember paying $300 for it :shocked:) it's overall been a good purchase for us.
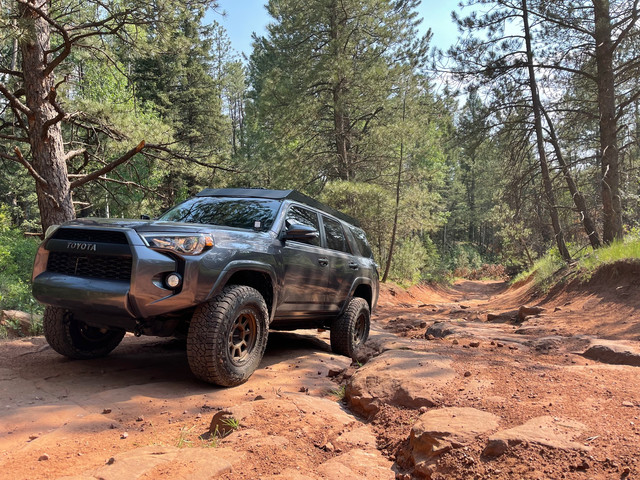
 
Bought one! I'm stoked. Coming from a built '99 that I love and expecting no less with this 2016 Trail.
 

Attachments

  • 20210709_073801 (2).jpg
    20210709_073801 (2).jpg
    74.7 KB · Views: 1,050
  • 20210709_073709 (1).jpg
    20210709_073709 (1).jpg
    75.9 KB · Views: 1,046
Installed a Black Rhino trailer hitch step, so wife and I can get up into our Air Bedz in the back (bad knees!). Looks good and REAL sturdy!
 
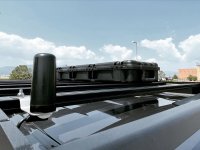
Moved my Midland 3db antenna from the hood mount to the roof rack. Took my time and made this a super clean install. In total, you might see 3-4 inches of wire total, that's it.
 

Attachments

  • 3A74B31A-4C87-47A5-AC90-6A7D80C651A0.jpg
    3A74B31A-4C87-47A5-AC90-6A7D80C651A0.jpg
    129.5 KB · Views: 1,109
  • DF9D8F8E-0151-4DC5-9FC1-C785E75FEAD9.jpg
    DF9D8F8E-0151-4DC5-9FC1-C785E75FEAD9.jpg
    128.7 KB · Views: 1,016
Out of curiosity, how did you get the wire up from the cab out to the roof? I like the idea quite a bit but want to make my install similarly clean.
 
There is a distinction between a salon and a hair salon and although many small businesses do offer both sets of treatments; beauty salons provide extended services associated with Full Body Massage, facial aesthetics, foot care, nail manicures, aromatherapy even meditation, oxygen therapy, mud baths and lots of other services.


happy endings? :second:
 
How do you like the wildpeaks in comparison to the KO2’s? Great stance btw.

Haven’t noticed much of a difference honestly. We’ll see this winter how they deal with snow. That’s my biggest test of tires. These wild peaks get me everywhere though when I air down. The side walls have seen some use on rocks.
 
Out of curiosity, how did you get the wire up from the cab out to the roof? I like the idea quite a bit but want to make my install similarly clean.

I ran the antenna wire under my roof rack mount which creates a little channel to do so. I then brought it through the rear hatch cable loom from the factory. That takes you into the cabin above the headliner. From there down to the side of your choice and route up front to your radio.
 

Members online

Forum statistics

Threads
278,317
Messages
3,554,129
Members
248,016
Latest member
Advally Service

Trending content

Back
Top