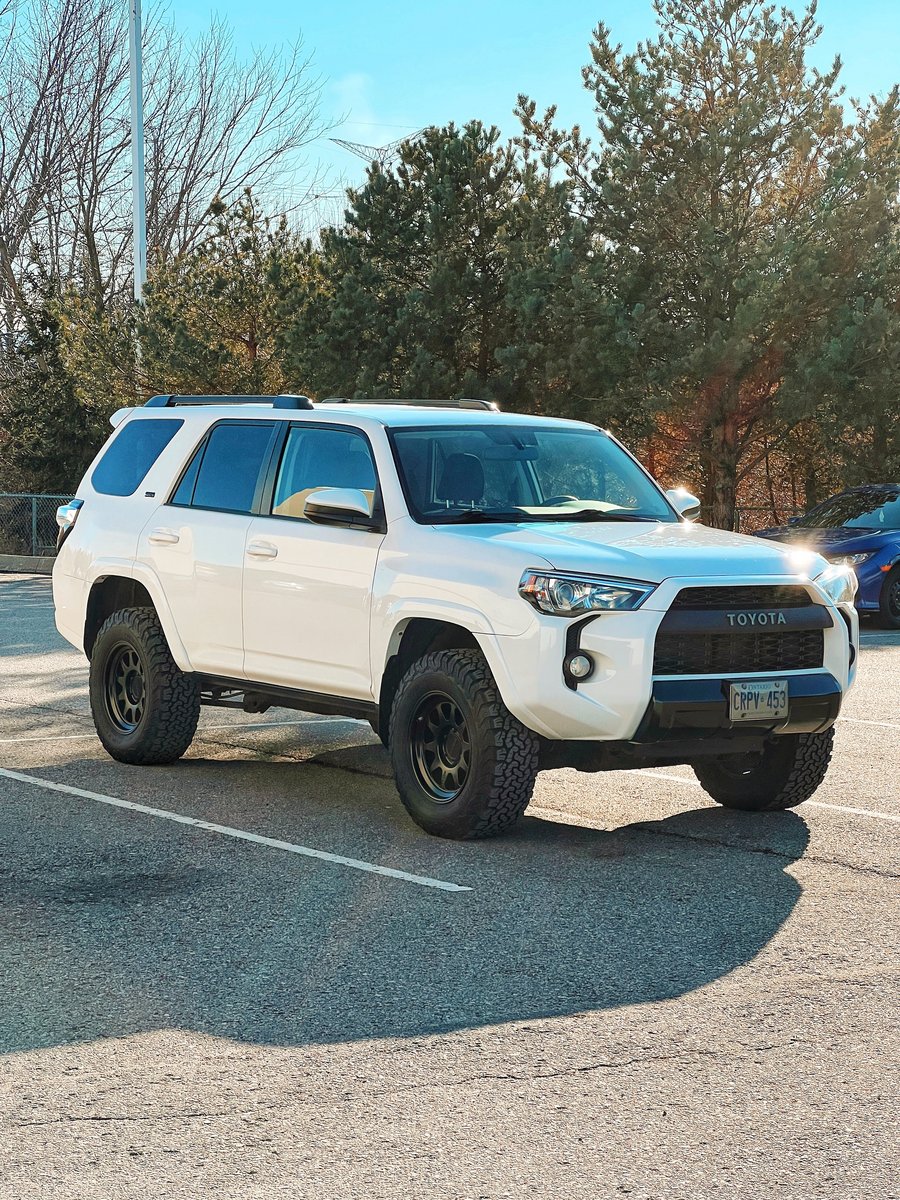
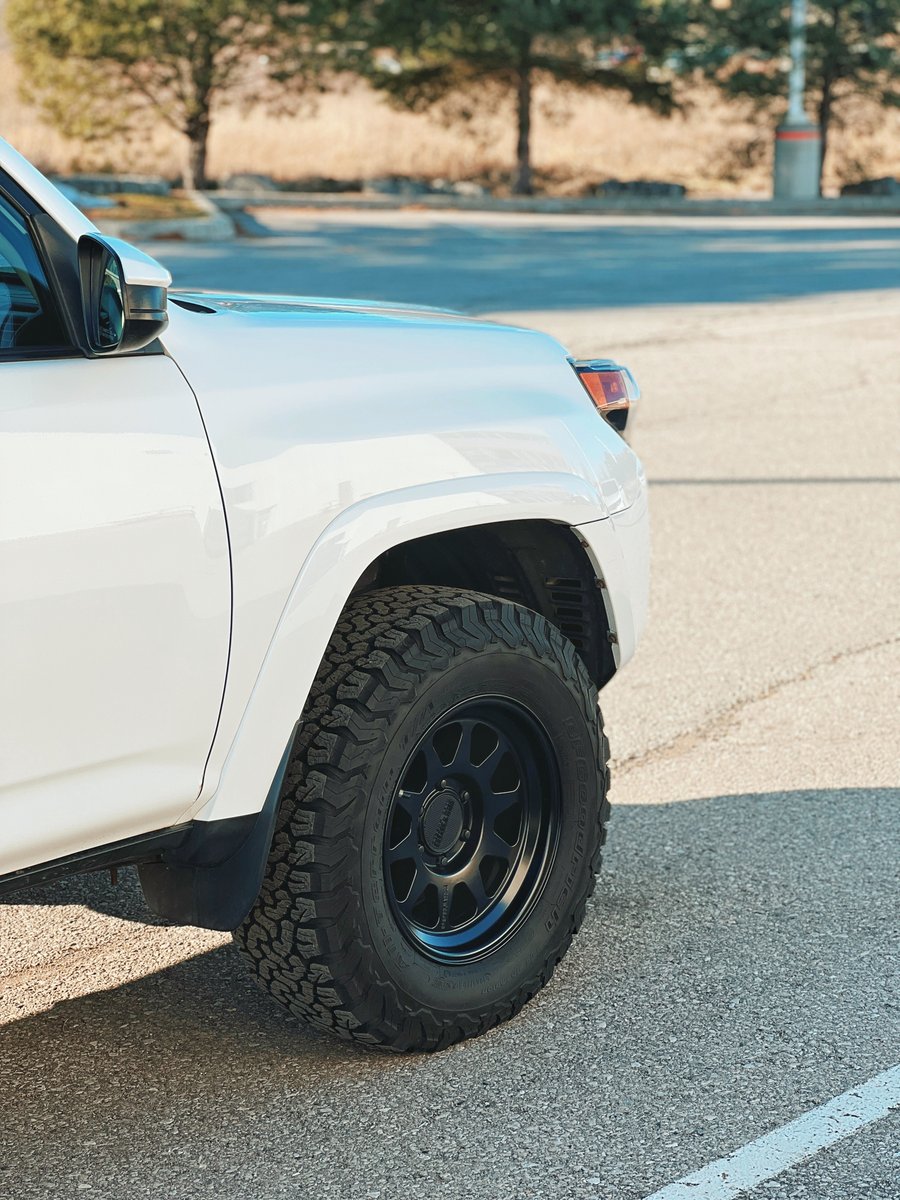
What did you do to/in your 5th Gen today?!

went and installed the cooler. I used your pic for reference which helped alot.

Only issue is i have a full 3 hoop bumper so my install went from a 1 on the easy scale to about 11....lol.

I had to climb over the bumper and sit on the hoops while i tried to get the transmission line off. PITA but worth it.

Thanks for the inspiration mang.

I had to switch between kneeling on my low pro and laying on the floor to tap into the trans lines. I have pretty big hands so it kinda sucked trying to reach in there

damn this just reminded me that I've got mine laying around in the garage somewhere and need to install too. uhhhhhhhh....

Just do it!! I put it off for months until I saw my temps get stupid high on my last trip
 
ROFL :)

broski, you got a link for those shackles?

Yeah i got isolators but they still bang and still rub the powdercoat off. I put duck tape on the inside of the holes but the banging annoys me more.
These are on the expensive side, but, they have the isolators and washers which is key. You may want to scour the internet for some less expensive ones. Be sure to get the washers besides the isolators.
Bull Strap 3/4" HEAVY DUTY 8T D-Ring Shackle Kit w/ Isolators & Washers - qty 2 | Bartact
 
got my ham radio license (Canada). definitely worth it if you want to really get into radio especially if you are in Canada where there are heavy restrictions on radio operations
 
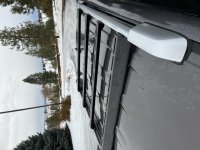
Installed LFD SS Racks on my wife’s 2014 SR5. The racks were her primary gift (aside from a new Off-Road on order) and she loved them. Weather finally warming up to allow me to do this.

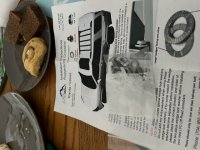
So after installing I had a complete bag of nuts, bolts and washers left over. Kit is the 5SS
and the instructions show 5 crossbars. Looks like I was short changed a crossbar.

Edit: Called LFD and they said 4 crossbars including the fairing is the correct #. They just throw in an extra bag of nuts and bolts.
 

Attachments

  • B749AC43-D5BC-447F-B554-50DE51E319C2.jpeg
    B749AC43-D5BC-447F-B554-50DE51E319C2.jpeg
    122.9 KB · Views: 1,022
  • 0A0870D6-EBCD-4776-84F4-2B05A634384A.jpeg
    0A0870D6-EBCD-4776-84F4-2B05A634384A.jpeg
    122.6 KB · Views: 1,028
Last edited:
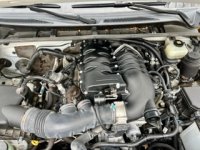
Put OEM exhaust back on.

Ahhhh. I can hear inside again after taking off the TRD Pro exhaust off my 2022 TRD ORP and putting the factory one back on. Taking the T4R on a pig hunt in a couple weeks and don't want to blow out the area with loudish exhaust sound.
 
I never have been in love with the 20" wheels on my 2018 Limited, so I finally replaced them with 17" TRD wheels and 265/70 Toyo Open Country AT3s. Wow, they give a whole new look to a Limited!

qyaiQ9.jpg


fg90IR.jpg


I did have just a slight rub on both sides on the front of the inner wheel liners. I unscrewed the liners at the bottoms, pushed them back several inches and drilled new holes. PERFECT!

TsrxQ9.jpg
 
Added a Magnuson supercharger

I had a Manguson Supercharger install in Mckinney Texas and finally got it back. It was $1300 for the install, which I thought was really cheap. A few other places charged up to 3500 for install. I could definitely tell a difference.
 

Attachments

  • IMG_0892.jpeg
    IMG_0892.jpeg
    58 KB · Views: 618
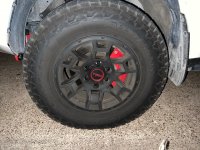
Red Brake Caliper Cover

I also added red brake caliper covers. I also put some white TRD stickers on the caliper covers. It looks really good. I wish I had taken better pictures.
 

Attachments

  • IMG_0607.jpeg
    IMG_0607.jpeg
    121.9 KB · Views: 575
Installed the anytime rear and front camera. Relatively simple installation and it works great. Definitely recommended if solo off roading.
 
DYI alignment and 34" tires

I bought a set of Method Racing Wheel MR703 17X9 with the -12mm off set and a set of Copper Discoverer S/T Maxx 285R75-17 (34") tires. I knew there would be some work to do for them to fit without rubbing. So I started with the alignment.

I've tried in the past to find an alignment shop that would set the max castor with the lower control arms (LCA) and adjust the camber with the SPC upper control arms (UCA), but they never would never do it. So after watching PhoRunner's YouTube video on how to set the caster I thought I try it.

It wasn't that difficult. The hardest part is breaking loose the cam bolts and then tightening them back down while crawling around on the garage floor. I first put the front end on jack stands and took off the wheels to get access to the UCAs. I then adjusted the LCA cams as PhoRunner suggested to maximize the castor. Next, I tried different positions of the ball joint on the SPC UCA while checking the camber with a level on the brake rotor. I ended up at position C (see SPC instructions). That gave me some adjustability of the camber if needed. I put the wheels back on, took it off the jack stands and tightened everything. I checked the camber at the wheels and it was level so moved on to the toe. It was obvious it needed adjusting. I set it using a stringline and tape measure with the front lip of the rim 1/16" in compared to the rear lip. Locked down the toe and went for a test drive. I was ecstatic how well it tracked and felt.

I started looking at what it was going to take to smash the pinch welds flat and trim the rocker panel cap and decided to wait until I got the new wheels and tires on to see how much I need to cut. I had already got the body mount chop and had it regeared to a 4.56 ratio. So it was off to the tire shop to get the the new tires and wheels installed. To my delight there was no interference at all with the 34" tires! I drove it home with a big grin on my face.

The next day I took it to a local alignment shop to have it checked. The tech put it on the their Hunter alignment machine and showed me the results. He said he couldn't read the caster because the 4runner is more like a truck than a car and the alignment machine was for cars not trucks. Everything was in spec except the toe and it was just a little to far in at .16 degrees so he adjusted it to near .01 degree. See the attached report.

If I only drove it on the street I could probably get by with out the smashing the pinch welds, but I'm still planning doing that and maybe trimming the caps. I might try taking the coil overs off like PhoRunner and check the interference through the the suspension travel to see what really needs to be trimmed.


nit4r-albums-34-tires-and-diy-alignment-picture62349-report.html

nit4r-albums-34-tires-and-diy-alignment-picture62343-img-0041-a.html
 
I bought a set of Method Racing Wheel MR703 17X9 with the -12mm off set and a set of Copper Discoverer S/T Maxx 285R75-17 (34") tires. I knew there would be some work to do for them to fit without rubbing. So I started with the alignment.

I've tried in the past to find an alignment shop that would set the max castor with the lower control arms (LCA) and adjust the camber with the SPC upper control arms (UCA), but they never would never do it. So after watching PhoRunner's YouTube video on how to set the caster I thought I try it.

It wasn't that difficult. The hardest part is breaking loose the cam bolts and then tightening them back down while crawling around on the garage floor. I first put the front end on jack stands and took off the wheels to get access to the UCAs. I then adjusted the LCA cams as PhoRunner suggested to maximize the castor. Next, I tried different positions of the ball joint on the SPC UCA while checking the camber with a level on the brake rotor. I ended up at position C (see SPC instructions). That gave me some adjustability of the camber if needed. I put the wheels back on, took it off the jack stands and tightened everything. I checked the camber at the wheels and it was level so moved on to the toe. It was obvious it needed adjusting. I set it using a stringline and tape measure with the front lip of the rim 1/16" in compared to the rear lip. Locked down the toe and went for a test drive. I was ecstatic how well it tracked and felt.

I started looking at what it was going to take to smash the pinch welds flat and trim the rocker panel cap and decided to wait until I got the new wheels and tires on to see how much I need to cut. I had already got the body mount chop and had it regeared to a 4.56 ratio. So it was off to the tire shop to get the the new tires and wheels installed. To my delight there was no interference at all with the 34" tires! I drove it home with a big grin on my face.

The next day I took it to a local alignment shop to have it checked. The tech put it on the their Hunter alignment machine and showed me the results. He said he couldn't read the caster because the 4runner is more like a truck than a car and the alignment machine was for cars not trucks. Everything was in spec except the toe and it was just a little to far in at .16 degrees so he adjusted it to near .01 degree. See the attached report.

If I only drove it on the street I could probably get by with out the smashing the pinch welds, but I'm still planning doing that and maybe trimming the caps. I might try taking the coil overs off like PhoRunner and check the interference through the the suspension travel to see what really needs to be trimmed.


nit4r-albums-34-tires-and-diy-alignment-picture62349-report.html

nit4r-albums-34-tires-and-diy-alignment-picture62343-img-0041-a.html

yes. taking off the coilovers and cycling is the absolute best way to check for clearance. you could disassemble the coilovers, re install just the shock and check that way, in case the shocks are limiting up travel at all. but thats more work, using just the bump stops works just fine.
 
I bought a set of Method Racing Wheel MR703 17X9 with the -12mm off set and a set of Copper Discoverer S/T Maxx 285R75-17 (34") tires. I knew there would be some work to do for them to fit without rubbing. So I started with the alignment.

I've tried in the past to find an alignment shop that would set the max castor with the lower control arms (LCA) and adjust the camber with the SPC upper control arms (UCA), but they never would never do it. So after watching PhoRunner's YouTube video on how to set the caster I thought I try it.

It wasn't that difficult. The hardest part is breaking loose the cam bolts and then tightening them back down while crawling around on the garage floor. I first put the front end on jack stands and took off the wheels to get access to the UCAs. I then adjusted the LCA cams as PhoRunner suggested to maximize the castor. Next, I tried different positions of the ball joint on the SPC UCA while checking the camber with a level on the brake rotor. I ended up at position C (see SPC instructions). That gave me some adjustability of the camber if needed. I put the wheels back on, took it off the jack stands and tightened everything. I checked the camber at the wheels and it was level so moved on to the toe. It was obvious it needed adjusting. I set it using a stringline and tape measure with the front lip of the rim 1/16" in compared to the rear lip. Locked down the toe and went for a test drive. I was ecstatic how well it tracked and felt.

I started looking at what it was going to take to smash the pinch welds flat and trim the rocker panel cap and decided to wait until I got the new wheels and tires on to see how much I need to cut. I had already got the body mount chop and had it regeared to a 4.56 ratio. So it was off to the tire shop to get the the new tires and wheels installed. To my delight there was no interference at all with the 34" tires! I drove it home with a big grin on my face.

The next day I took it to a local alignment shop to have it checked. The tech put it on the their Hunter alignment machine and showed me the results. He said he couldn't read the caster because the 4runner is more like a truck than a car and the alignment machine was for cars not trucks. Everything was in spec except the toe and it was just a little to far in at .16 degrees so he adjusted it to near .01 degree. See the attached report.

If I only drove it on the street I could probably get by with out the smashing the pinch welds, but I'm still planning doing that and maybe trimming the caps. I might try taking the coil overs off like PhoRunner and check the interference through the the suspension travel to see what really needs to be trimmed.


nit4r-albums-34-tires-and-diy-alignment-picture62349-report.html

nit4r-albums-34-tires-and-diy-alignment-picture62343-img-0041-a.html


You should extend your front bump stop, because the moment the tire hits the upper fender at full flex while offroading, it will bow out your entire front fender, and you will have a gap between the fender and the door.

Even if you don't offroad, you can mimic this by doing quick U-turns on steep driveway entrances or quick left turns into steep driveways. You will smash your upper fender (I think thats the only street condition to get my tire to smash my fender). Around here, steep driveways are unavoidable, but if you can avoid them, i guess you can get away with not needing extended bumps.

You can take the shock out and do some at home tuning, or just buy a 1/2 inch spacer for the front bump stops. I run some cheap energy suspension bumps and a 1/2 inch steel spacer/extension. My math was simple. I didnt rub with 33's at full flex or when I g-out'd. I did with 34's. and they are 1/2 inch taller...so I threw a 1/2 inch spacer in and called it a day.

As for the pinch welds, you will have to do this sooner or later. Proactively do it now, to prevent damage to your tire and fender, or do it later, because you damaged your tire or fender..lol.

Go look up sandy cats on youtube, for what you have to do. He'll walk you through the hard way (home tuning) or easy way....1/2 inch spacer lol.
 
Last edited:

Members online

Forum statistics

Threads
278,316
Messages
3,554,124
Members
248,016
Latest member
Advally Service

Trending content

Back
Top