What Did You Do To Your 3rd Gen Today?

Status
Not open for further replies.
What did you use for the rear window and rear defroster lights. I’ve been struggling to find some…

90010-01041 is the bulb for the ECT and Defrost button.

84999-10860 is the hazard button bulb.

90010-01042 is the rear window button bulb.

Those are all Toyota part numbers, you need one of each.
 
..did not do anything to it really....but after a hard day pounding nails...sitting on a piece of 4x8 taking a break...thought ...wow...these 3rd gens are great....as all my other people here at the job site ***** about their rigs.....and im in the middle of bum frick alaska...and i know I will make it home tomorrow
 
Last edited:
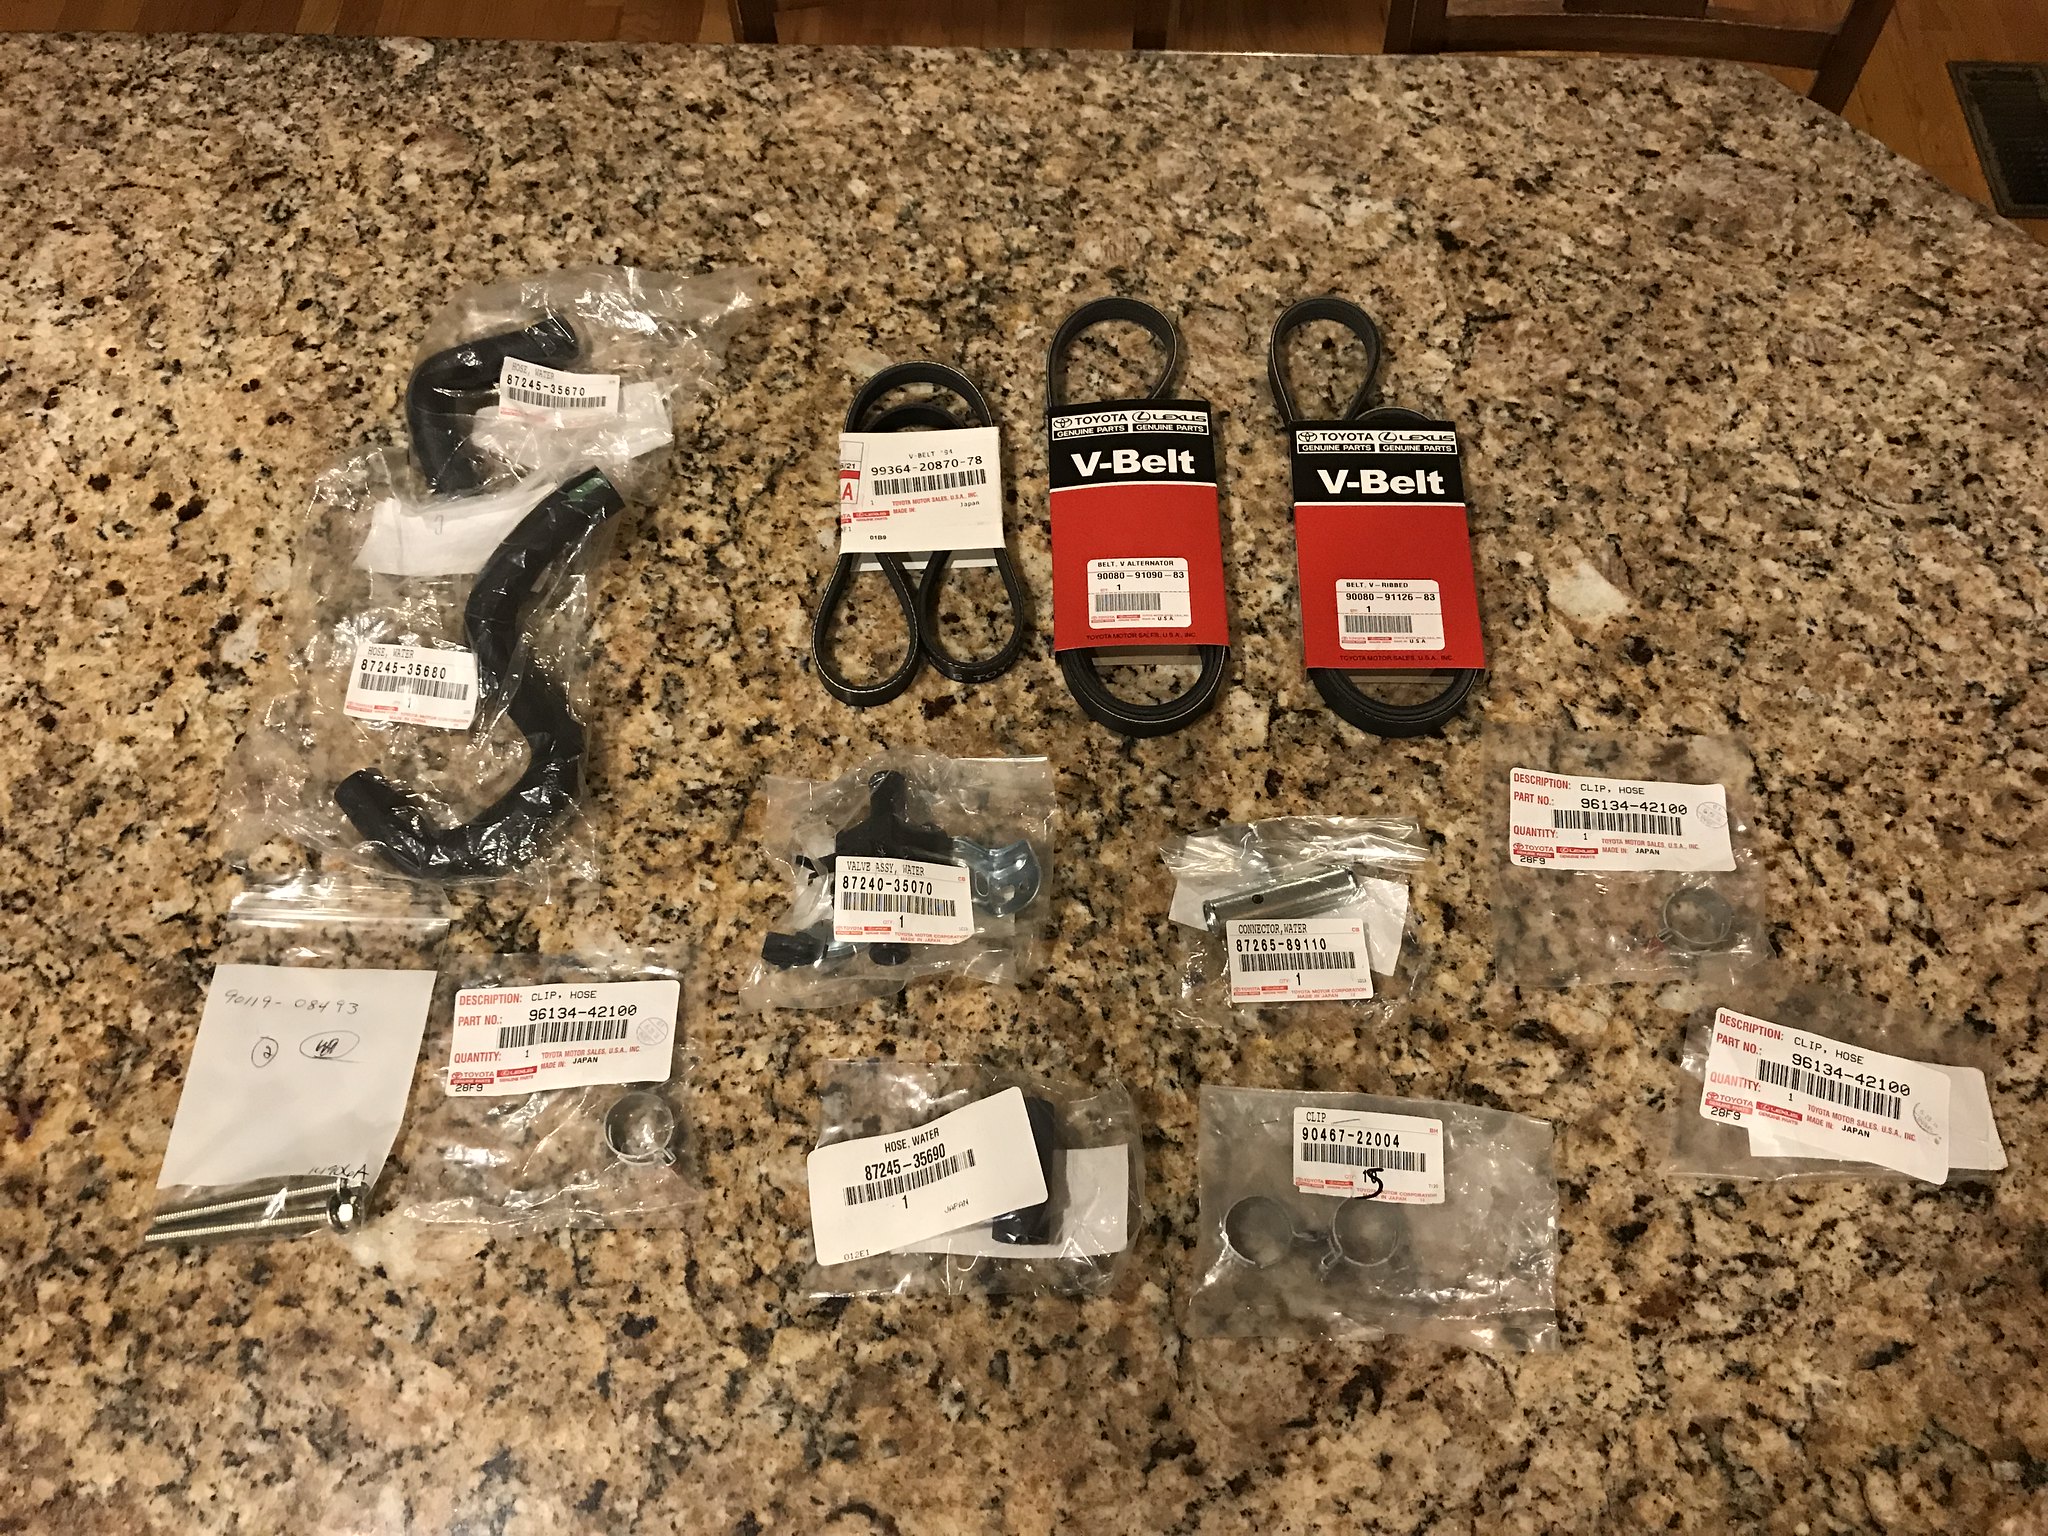
Planning to replace the heater control valve and all associated hoses. Also, drive belts. Hoping the A/C belt does not give me too much of a fight (saw in another thread other members were having issues with that belt).

51345252030_e1dd02dd62_k.jpg
 
Made the mistake of going through a car wash last Sunday - free "deluxe" wash for their grand-opening and laziness/greed got the better of me. I forgot the antenna doesn't go down when I switch the new head unit to BT so I broke the mast I replaced a few months back. And the carwash also busted my front passenger AVS ventvisor.

New antenna and a set of ventvisors showed up today so I gave 'er a quick bath and fixed things. I don't care what anyone says; I like my running boards and ventvisors!

5alofh3.jpg


But I did spot something behind the running board that needs attention. I'm just starting my research but if anyone has any suggestions I'd love to hear them. @gamefeakgc pointed this out to me not too long ago but I didn't give it another thought until I saw it again tonight. (this is the front of the passenger side running board, just behind the wheel well.)

Bpq3X1P.jpg
 
fatherohenry- that's a common rub point that I have seen on almost every 4Runner where the running board caps meet the body. I have the same issue on mine. I think a dremel to clearance the cap from rubbing the body might be the solution for me. Oh, and I share your approval of the running boards. Use them all the time entering/exiting.
 
Last edited:
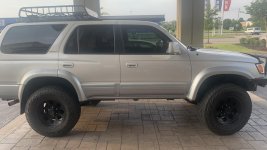
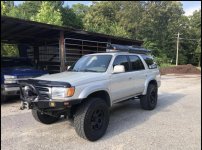
I bought it!!

1999 Limited
E-locker
3” OME lift
285’s
Addicted Off-Road front bumper

Everything works as it did in 1999

And I have a laundry list of service records of things fixed/replaced

Very excited to jump from the Jeep TJ community and joint the 3rd Gen 4 Runner community
 

Attachments

  • 030E4B72-4755-482B-9257-28B8B2FA6D7C.jpg
    030E4B72-4755-482B-9257-28B8B2FA6D7C.jpg
    134.3 KB · Views: 357
  • 7E81D21B-0CE8-4ADD-909A-9E7D09CD386D.jpg
    7E81D21B-0CE8-4ADD-909A-9E7D09CD386D.jpg
    136.5 KB · Views: 376
  • A2CB6913-3C2B-4D98-AF98-9978E434F7B4.jpg
    A2CB6913-3C2B-4D98-AF98-9978E434F7B4.jpg
    126.6 KB · Views: 348
  • F4FB593C-A8F7-4585-A90B-1DC16785E6E1.jpg
    F4FB593C-A8F7-4585-A90B-1DC16785E6E1.jpg
    124.3 KB · Views: 342
  • EF7ADD79-106D-4842-94A8-A0B85F8DB322.jpg
    EF7ADD79-106D-4842-94A8-A0B85F8DB322.jpg
    112.5 KB · Views: 362
I bought it!!

1999 Limited
E-locker
3” OME lift
285’s
Addicted Off-Road front bumper

Everything works as it did in 1999

And I have a laundry list of service records of things fixed/replaced

Very excited to jump from the Jeep TJ community and joint the 3rd Gen 4 Runner community


That's a sweet find!
Welcome to the otherside!
 
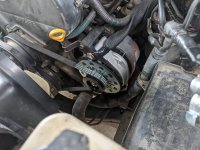
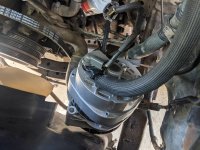
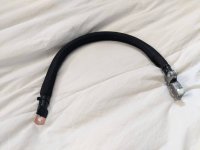
Finally got around to doing the CS144 alternator upgrade in addition to the Big 3 at the same time. I followed the (in?)famous Doc's CS144 alternator upgrade. I know it's been done so many times in the past, but here's some notes -

  1. If you're questioning whether or not you need to replace the stock belt with the power steering pump belt, get the PS belt. It's technically possible to fit the alt in with the stock belt (I think; I didn't manage to actually get it in but I didn't loosen the tensioner all the way either), but it's significantly easier with the PS belt.
  2. Since the other belts had to be taken off in order to replace the alternator belt, this install took me probably twice as long as it otherwise would have, mainly since I'm fairly new at working on cars.
  3. Removing the airbox made getting to the tensioner bolt for the PS pump much easier, but the A/C hard line runs right in front of it so it's still a pain. I wish I had a flex head ratcheting wrench to get the job done, but I made do with the 12-point end of a combo wrench.
  4. My particular alternator was rated at 140A, but the test sheet I got from the manufacturer showed a max output of 164A. Thus, I would recommend going with larger wire than you think you need for maximum safety.
  5. Speaking of "safety" - rather than tack welding 3 washers together for the 1/4" spacer needed for the top ear of the alternator, I used electrical tape to hold them together while I put the bolt in. I then just removed as much tape as I could at the end of the whole install.
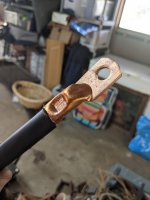
  6. As far as the big 3 goes, I used 1/0ga. OFC and probably only about 4-5ft total. The spacing in the back of the alternator was really tight so I had to drop the alternator again in order to get the wire lugs bolted down to that post on the back of the alt.
  7. I read somewhere that it's a good idea to bend the wire lug that connects the pivot bolt on the alternator (i.e. ground) to the negative battery terminal so that the wire runs back toward the firewall. I did this (see pic), but found that it was not strictly necessary. There's enough space to just run the cable as-is.
  8. 1/0ga. wire is a pain to work with if you're used to smaller wire. I had to pick up some wire cutters and a hammer crimper that could handle 1/0, as well as some copper wire lugs and new battery terminals.
  9. I filled each lug with rosin core solder and used a propane torch (again, overkill but it got the job done quick) to melt it down so I could put the wire in. I crimped it while it was still hot, but waited for it to cool down to put the heat shrink over it. Otherwise if it's still hot the heat shrink will start to contract before it's all the way over the wire lug.
  10. All the cables I added were sleeved with some 3/4" fiberglass sleeve from Amazon. Worked well but I found that if I cut it too short it became really inflexible once stretched out.
  11. And finally, for the CS144 connector, I picked up one of those oval CS144 to Denso adapters that can be found on eBay for around $15. It was plug-and-play, offers a little more flexibility than doing the wiring yourself, and overall very worth it imo.
 

Attachments

  • resize1.jpg
    resize1.jpg
    105.5 KB · Views: 521
  • resize2.jpg
    resize2.jpg
    108.2 KB · Views: 526
  • resize3.jpg
    resize3.jpg
    46 KB · Views: 510
  • resize4.jpg
    resize4.jpg
    58.8 KB · Views: 521
In keeping with the usual JoeT4R fashion, I am yet again a day late. But yesterday I reinstalled my old CB radio. Got the thing back in 2014, stopped using it. But I just recently purchased a new antenna mount, which is scheduled to arrive in the next day or two. Overall it works as desired and I’m happy with my little mod
 
Speaking of little mods, I installed a switch for my power antenna.

I didn't go with the Taco whip because for whatever reason I enjoy having an antenna that appears as if from nowhere. Now I can listen to BT audio when I [never] go through the carwash again.

Simple as splicing into the blue antenna wire from my Alpine.

fUQ91vK.jpg


I've no idea what the PO did to scratch things up so badly. But I'm stoked the switch looks like it belongs there! Just wish I could've found a USB port that matched as well.

rsevXsI.jpg


EuIrLTx.jpg
 
Nice placement on the mic for the radio. Does that hinder taking off that black trim piece to access the instrument cluster? Or is it still manageable?

It hinders nothing. It's hardly attached and I'm actually surprised it's stayed in place since I installed the HU on March 18. My plan was to install it above the grab bar, maybe wedged under the headliner but I ran out of daylight and it apparently sounded fine when I got an unexpected call so I left it where it was. The wire simply runs up behind that paneling and the included mic clip slides right in. No adhesive. Wheel still tilts without rubbing.

EDIT: Or if you were referring to the switch, no that doesn't hinder anything either. Wires run up behind panel and clip into the switch. Plenty of room to free everything once the lower panel is removed.
 
Last edited:
Awesome, thanks. I might have to do this on mine - my headliner is sagging and the clip keeps falling off :(
 
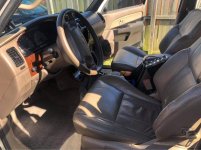
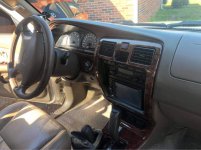
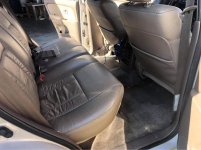
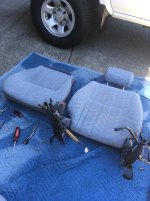
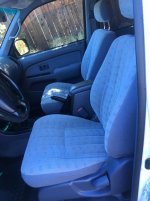
Finally collected enough good parts for a front seat(s) rebuild, foam, covers, plastic side panels. Moon Mist base/SR5 seats (99/00) are tough to find. Looking and feeling much better....

I've got some spare parts I'm going to sell off if anyone needs this color/type.
 

Attachments

  • rebuild1.jpg
    rebuild1.jpg
    135.8 KB · Views: 489
  • rebuild2.jpg
    rebuild2.jpg
    111.2 KB · Views: 488
Hi all

New to the forum but long time 4Runner owner 02 sr5 completed the transgo kit install and test drove … big difference I went hot rod and glad I did supercharger is working great since I switched to 94 Sunoco fuel boost builds fast . I laughed at myself when I got after it and it barked the tires when shifted to second anyway glad to be hear 3rf gens
 
Hi all

New to the forum but long time 4Runner owner 02 sr5 completed the transgo kit install and test drove … big difference I went hot rod and glad I did supercharger is working great since I switched to 94 Sunoco fuel boost builds fast . I laughed at myself when I got after it and it barked the tires when shifted to second anyway glad to be hear 3rf gens


[MENTION=271883]T4topher[/MENTION] did this mod... but we haven't driven it yet, we didn't do the "HOT ROD" route... but thanks for sharing. would be nice to get some more of your thoughts on how it "feels" now...
 
Installed a RS-720 Medium Duty Lip Mount for my CB radio antenna. It attaches to the side of the rear hatch. Thing is beautiful, I wish I could post a pic of it to show. It’s nice & sturdy and is VERY reasonably affordable
 
I finally changed my 3rd gen's engine oil for my first time owning the car @ 127,550 miles! I need to take care of the valve cover gasket leak, hate seeing all that oil coming down from there..
 
Status
Not open for further replies.

Members online

Forum statistics

Threads
278,316
Messages
3,554,120
Members
248,016
Latest member
Advally Service

Trending content

Back
Top