
You are using an out of date browser. It may not display this or other websites correctly.
You should upgrade or use an alternative browser.
You should upgrade or use an alternative browser.
What did you do with your 4runner today?
- Thread starter NorthGa4R
- Start date


Bigrupp
New member
Good point, but keep in mind the $1434 wasn't just a reboot/pads, included 16-qt trans flush, alignment, four rotors resurfaced, balance tires, reman'd OEM axle assembly (CVJ brand, NCV69170) as well as front pads. $200 labor discount for the duplicate labor charges because they try to bill per job, they pay for the rental car. All considered it wasn't too awful.
Still, the only things on that list that couldn't be done in the garage are the alignment, resurfacing of the rotors and balancing of the tires. Your looking at less than $200. The other stuff on the list comes in under $200. Depending on how much you might spend on beer.
So, you still save $1k. To me that's well worth the day in the garage. I know if someone asked me to spend a day in the garage working on the 4Runner for a thousand bucks I couldn't turn it down.
It is, however, your money and your time and if you feel it was worth it, then who am I to say anything about it on an internet forum.
Sent from The Far Side

flipflopnfly
New member
I wasn't hot and bothered about it. Total labor ended up being apx $800, $513 for the CV axles, $267 for the trans flush. $200 discount covered the alignment, balance, part of the rotor resurface. The CVJ reman'd OEM NCV69170 axle assemblies are about $350/pr parts alone that explains the $950 for the full CV axle replacement.Still, the only things on that list that couldn't be done in the garage are the alignment, resurfacing of the rotors and balancing of the tires. Your looking at less than $200. The other stuff on the list comes in under $200. Depending on how much you might spend on beer.
So, you still save $1k. To me that's well worth the day in the garage. I know if someone asked me to spend a day in the garage working on the 4Runner for a thousand bucks I couldn't turn it down.
It is, however, your money and your time and if you feel it was worth it, then who am I to say anything about it on an internet forum.
Sent from The Far Side
I usually do most things in the garage, CV axles and trans flush I'm not enthused about doing. No way I'm doing a 4 qt drain-n-fill on the trans four times to save $267 labor. One time $350 at the dealer every 100k miles doesn't break the bank.

Atlas415
New member
Icon rear springs
Just finished installing Icon springs I got from Toytec. Some observations for those of you that are considering it but not as confident in your skills as many of the members here are (and thank God they are!):
It was not difficult, not really at all. I did not use the spring compressors I got from Autozone. I used the bottle jack on the axle method. The shock and the sway bar only took a few minutes to remove, and with the bottle jack I really didn't even have to fight it. I did not remove the brake line as it never got tight. Keeping a floor jack under the differential worked well as a pivot point. This was the first time I've done this, though I did the fronts a couple of weeks ago.
I also put on (at least on the rear) 1" wheel spacers I found online. The reason I went with these instead of ST is because I already have wheels that are -12mm offset. But they still were not enough for me. The were just flush. The 1" spacers make it look just right to me. Not enough to give it the "jeep" look, but it does look tougher. And believe, me, I have read every post I could on spacers here. But I do not do any offroading. Occasionally dirt roads at slow speeds.
Tomorrow I will put on the front spacers.
Then I only have two things left to do. One is to put in the Toytec 1/2" top spacer that I forgot to put in when I installed the springs. I know I could just bump up the bottom flange to the next higher setting, but someone here said that it puts more stress on the system than adding a top spacer, and since I already have the spacers, I figure it will not go to waste.
Lastly, I have a new set of Falken 285/70R17 that I am going to put on in place of the 275 KO2s. I may have to do a BMC, put I feel pretty confident about that if it comes to it.
Well, now that I think about it, I do want a new head unit. Something that gives me the bells and whistles but looks reasonably factory. My buddy has a 2012 Tundra and his unit looks pretty sweet, so I may look for one like that. More to follow on this.
I really, REALLY want to stress how much this forum and all of you have helped me, even people that don't know me nor that I have ever contacted. Your threads and discussions are what gave me the confidence and knowledge to be able to tackle these things. You have all saved me a ton of money. so...THANKS!!!!!!
Just finished installing Icon springs I got from Toytec. Some observations for those of you that are considering it but not as confident in your skills as many of the members here are (and thank God they are!):
It was not difficult, not really at all. I did not use the spring compressors I got from Autozone. I used the bottle jack on the axle method. The shock and the sway bar only took a few minutes to remove, and with the bottle jack I really didn't even have to fight it. I did not remove the brake line as it never got tight. Keeping a floor jack under the differential worked well as a pivot point. This was the first time I've done this, though I did the fronts a couple of weeks ago.
I also put on (at least on the rear) 1" wheel spacers I found online. The reason I went with these instead of ST is because I already have wheels that are -12mm offset. But they still were not enough for me. The were just flush. The 1" spacers make it look just right to me. Not enough to give it the "jeep" look, but it does look tougher. And believe, me, I have read every post I could on spacers here. But I do not do any offroading. Occasionally dirt roads at slow speeds.
Tomorrow I will put on the front spacers.
Then I only have two things left to do. One is to put in the Toytec 1/2" top spacer that I forgot to put in when I installed the springs. I know I could just bump up the bottom flange to the next higher setting, but someone here said that it puts more stress on the system than adding a top spacer, and since I already have the spacers, I figure it will not go to waste.
Lastly, I have a new set of Falken 285/70R17 that I am going to put on in place of the 275 KO2s. I may have to do a BMC, put I feel pretty confident about that if it comes to it.
Well, now that I think about it, I do want a new head unit. Something that gives me the bells and whistles but looks reasonably factory. My buddy has a 2012 Tundra and his unit looks pretty sweet, so I may look for one like that. More to follow on this.
I really, REALLY want to stress how much this forum and all of you have helped me, even people that don't know me nor that I have ever contacted. Your threads and discussions are what gave me the confidence and knowledge to be able to tackle these things. You have all saved me a ton of money. so...THANKS!!!!!!
Attachments
Atlas415
New member
Oooops, forgot to add something.
I had a Daystar 2" in the back with stock springs and 5100s.
The Icon springs are without the spacers, and I get noticeably more lift, even though they are supposed to be the same. I realize that it is probably because the stock springs are worn down.
If you are thinking about lifting your 4Runner, save yourself time and money, just like many people say here: Just skip the spacers and old springs and do it right with new springs and no spacer. The ride is SOOOOOO much better than the stock springs, and I was one of those guys that was really anxious about the new springs being too stiff and making it ride rough. But it is quite the opposite. The ride is great.
So now (or soon, within a week or so) I will be posting the old DS spacers in the classifieds. (Did I just do something wrong by saying that here? Sorry in advance!)
If you have any questions and are thinking about tackling this yourself, feel free to contact me!
Cheers
Dan
I had a Daystar 2" in the back with stock springs and 5100s.
The Icon springs are without the spacers, and I get noticeably more lift, even though they are supposed to be the same. I realize that it is probably because the stock springs are worn down.
If you are thinking about lifting your 4Runner, save yourself time and money, just like many people say here: Just skip the spacers and old springs and do it right with new springs and no spacer. The ride is SOOOOOO much better than the stock springs, and I was one of those guys that was really anxious about the new springs being too stiff and making it ride rough. But it is quite the opposite. The ride is great.
So now (or soon, within a week or so) I will be posting the old DS spacers in the classifieds. (Did I just do something wrong by saying that here? Sorry in advance!)
If you have any questions and are thinking about tackling this yourself, feel free to contact me!
Cheers
Dan

S p a r k y
New member
[MENTION=133792]Atlas415[/MENTION] the top spacers will definitely help make it look more even. Putting those top spacers on, just follow the no spring method but don't loosen the shock main bolt, just the 3 foil over bolts, will drop enough too throw them on top!

Bigrupp
New member
How did you convince the strippers to come out there? Or did you take them with you?bachelor party weekend for my boy...hit johnny park, ironclads and cascade creek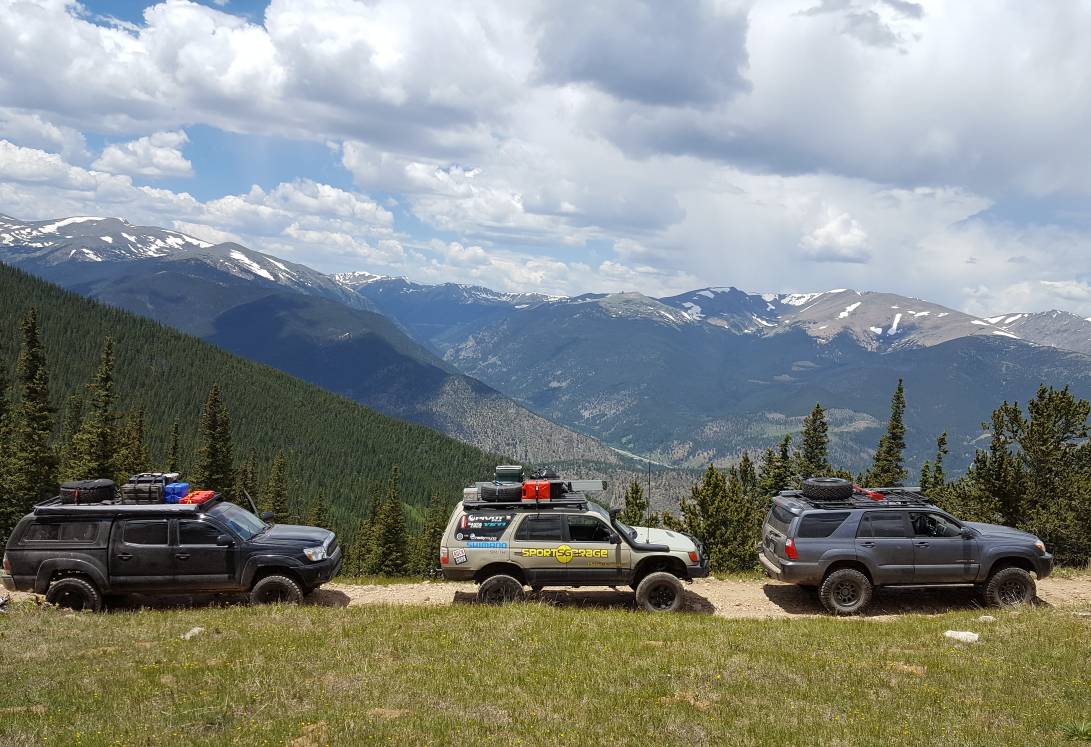
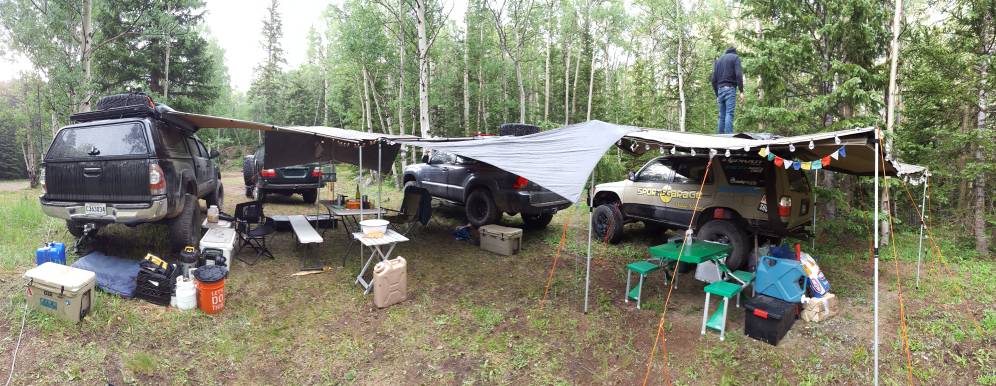
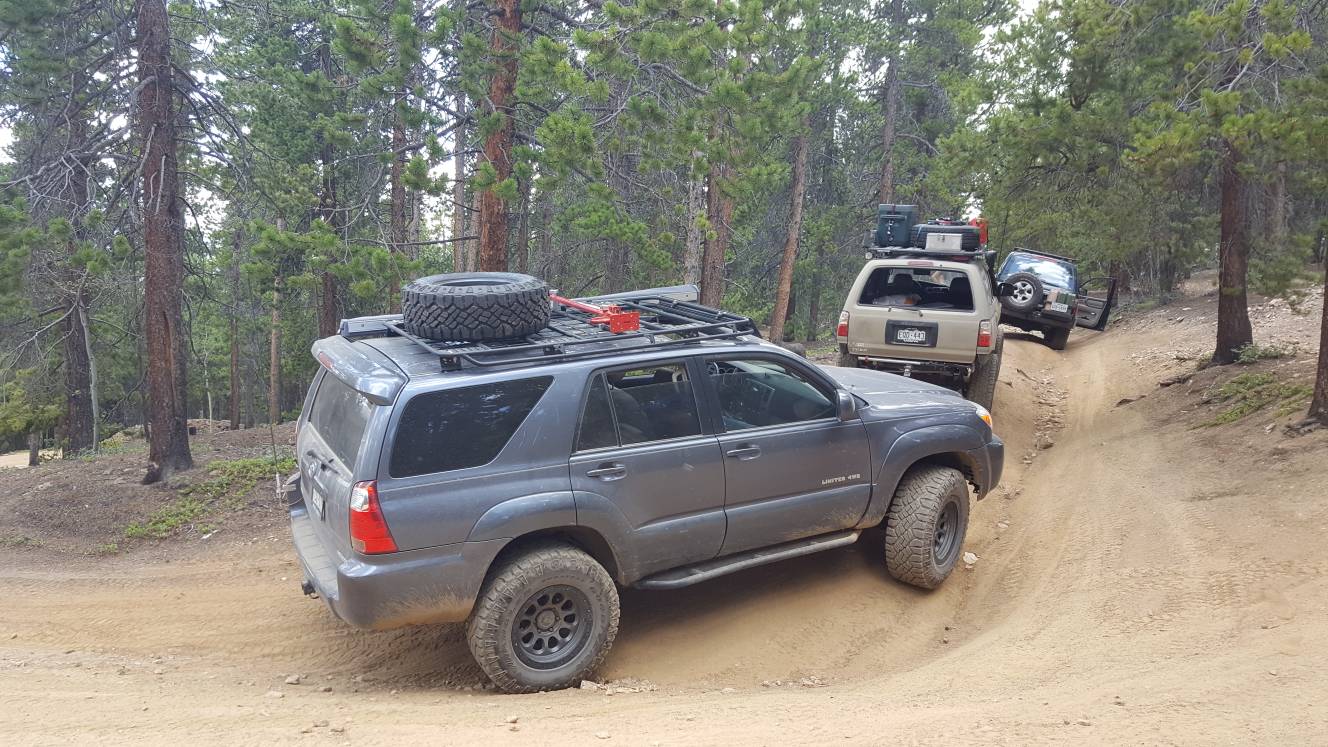
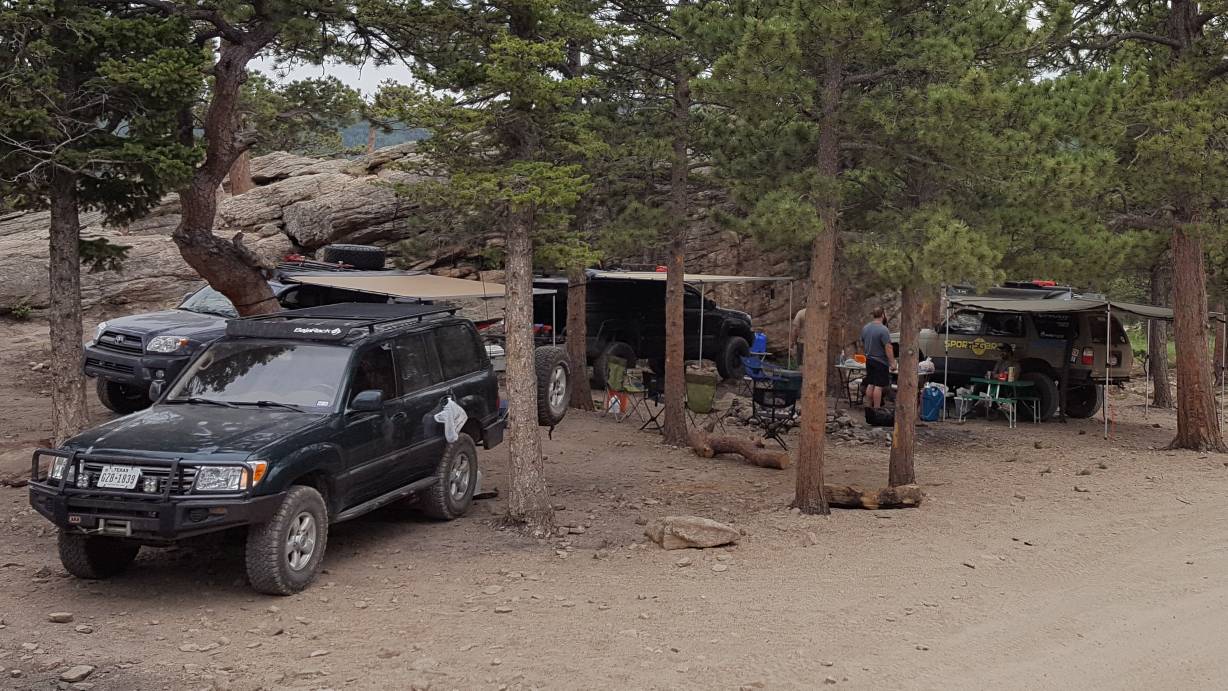
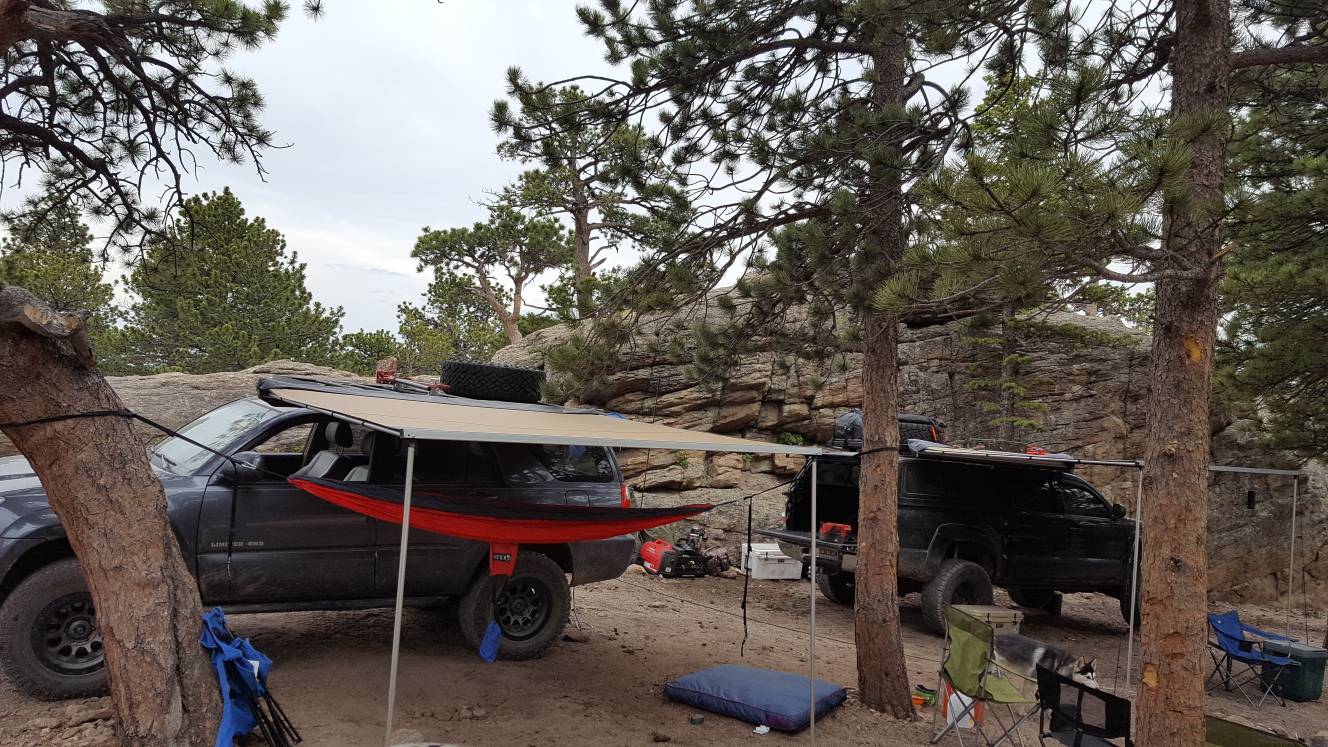
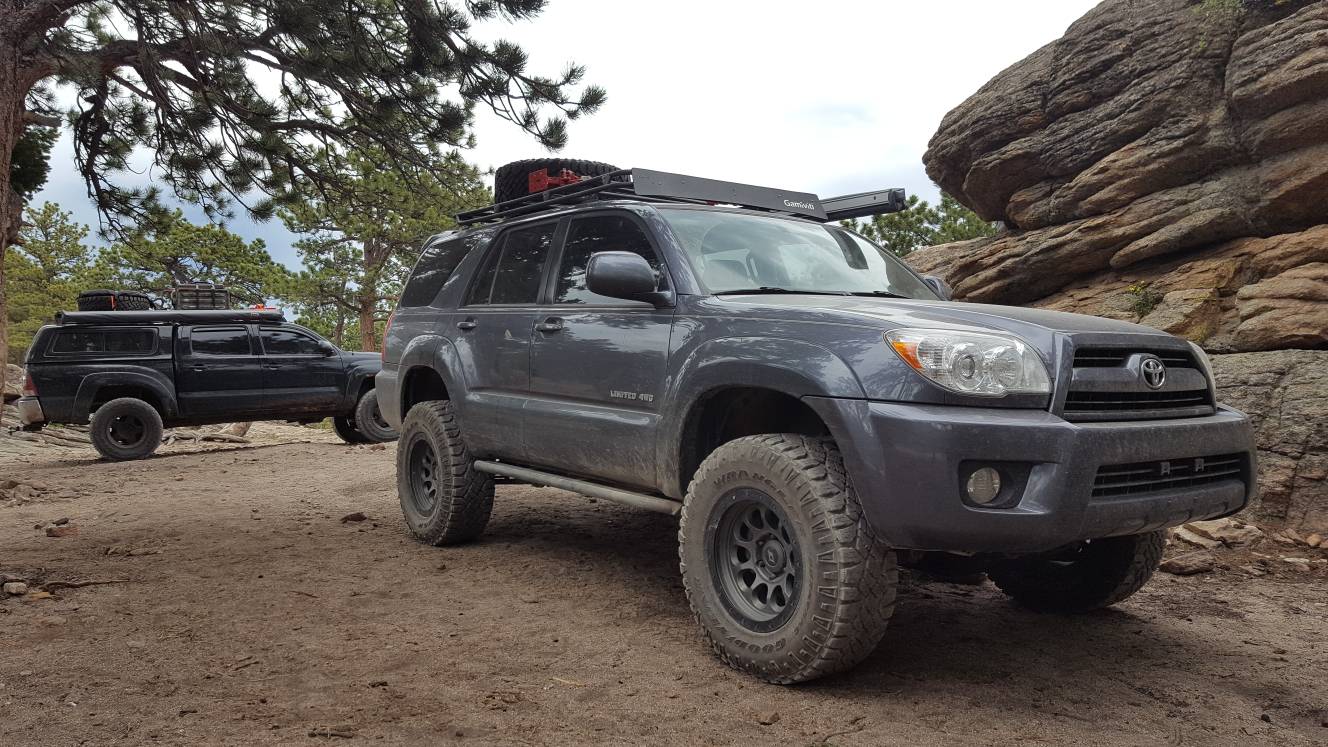
Sent from my SAMSUNG-SM-G920A using Tapatalk
Sent from The Far Side
Atlas415
New member
[MENTION=133792]Atlas415[/MENTION] the top spacers will definitely help make it look more even. Putting those top spacers on, just follow the no spring method but don't loosen the shock main bolt, just the 3 foil over bolts, will drop enough too throw them on top!
Thanks, Sparky. I was just looking for the best way to install them and saw your note!

theoutbackdream
New member
traded paint with someone.. They rear ended me at 50mph's while I was at a dead stop, and I was rushed to the hospital.

DreamRun08
New member
Got my new bright silver FN FX Pro wheels installed today and did the TPMS bypass as found in this thread (Pink / Black & Black / Red wires for my 2008).
Had a slight rub in reverse at full lock, so moved the fender liners up a little to cure it.
View attachment 257111
wow, I really like the fx pro in this color. did it cost you any extra?

OzarkRunner
New member
wow, I really like the fx pro in this color. did it cost you any extra?
No, although it was a small run for Dustin. There was apparently one other person basically begging for this lighter silver, but I haven't seen it yet. He did say that if these sell well, they may be added to the normal colors offered.
Bigrupp
New member
Dang Yo. Hope you are alright man!traded paint with someone.. They rear ended me at 50mph's while I was at a dead stop, and I was rushed to the hospital.
Sent from The Far Side

OliviasDad
New member
Took our kids on their first outing with the 4runner this weekend, a few rocky roads but nothing terribly exciting, also our first experience camping in a Yurt...

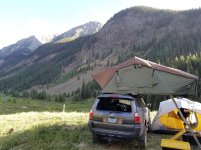
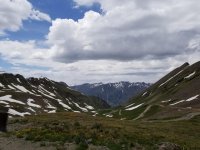


RockBouncer
New member
Smoked a boulder doing 40kmph. Bent the spindle and LCA. Anyone have leads on aftermarket spindles/steering knuckles?
Atlas415
New member
Installed Toytec TOP1 spacer (1/2" thick).
As stated in my post yesterday or the day before, I took out the DS spacer and old springs in the rear and put in new ones from Toytec with no spacers. I had also purchases a 1" rear spacer that allegedly fit my vehicle, thinking I wanted 3" of lift in the rear. Turns out the spacers did not fit, but the lift I got from springs along was plenty and I was not disappointed.
But it gave such a rake compared to the front (Billie shocks on 0 setting with new Toytec Springs) that I figured I would make it up by adding the TOP1 spacer that I forgot to install when I had the chance two weeks ago.
I figured it would go easier because I now knew what I was doing. But it was a little trickier than I thought. I was going to simply use the no spring compresser method and lower the LCA, leaving the shock mounted to the top plate. I planned to unbolt the three shock threaded bolts that stick up thru the shock tower, lower the shock/spring assembly enough to be able to slip the 1/2" spacer in place, then shove it back up there and attach the three nuts back and be done with it.
But when I tried it, it looked like the spacer would drop the three bolts farther down and limit how many threads I could get with the nuts. I wanted to be sure that the bolt threads at least came out the top of the nut, but it didn't look like it would. Somebody that it familiar with it can probably confirm if I was being to cautious, but I decided to go ahead and pull the assembly out, take the main nut off of the shock itself (boy, that spring will make that shock shoot across the floor if you aren't ready-haha!) and replace the three shock tower bolts with the extended ones from Toytec that came with the spacers.
While I had it apart, I decided to go a step further and move the Billie setting up one notch from 0 to .85.
I put everything back together. It was a little tighter going back together and I needed a longer bar to use for leverage on the LCA, but it is all done.
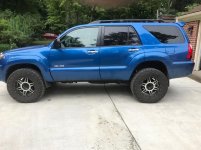
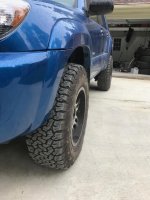
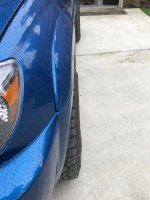
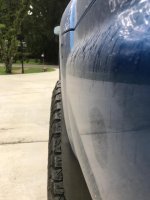
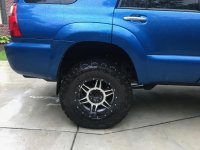
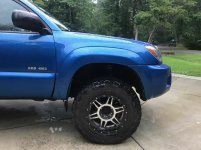
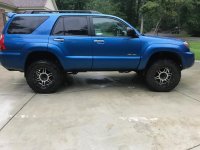
And I am SOOOO glad I increased the Billie setting and added the spacer. Now the 4R has the lifted look I have been wanting. The space between the top of the rear tires and the fender is about 8.5" (on BFG KO2 275/70-17). The space between the top of the front tire and the fender is 7.25". So I have a very slight rake, but it looks good.
To tell you the truth, the Daystar spacers just did not make it look like I originally hoped for when I began this project a year ago. But now, holy cow, it really looks like I'd hoped for. The 285's get mounted tomorrow.
Here are pics from today after I got done with the front spacer and Billie adjustment. Sorry for the light, it is raining outside.
I'lll send some more pics Friday with the 285s after I get it washed. And as always, let me know if I can answer any questions!
As stated in my post yesterday or the day before, I took out the DS spacer and old springs in the rear and put in new ones from Toytec with no spacers. I had also purchases a 1" rear spacer that allegedly fit my vehicle, thinking I wanted 3" of lift in the rear. Turns out the spacers did not fit, but the lift I got from springs along was plenty and I was not disappointed.
But it gave such a rake compared to the front (Billie shocks on 0 setting with new Toytec Springs) that I figured I would make it up by adding the TOP1 spacer that I forgot to install when I had the chance two weeks ago.
I figured it would go easier because I now knew what I was doing. But it was a little trickier than I thought. I was going to simply use the no spring compresser method and lower the LCA, leaving the shock mounted to the top plate. I planned to unbolt the three shock threaded bolts that stick up thru the shock tower, lower the shock/spring assembly enough to be able to slip the 1/2" spacer in place, then shove it back up there and attach the three nuts back and be done with it.
But when I tried it, it looked like the spacer would drop the three bolts farther down and limit how many threads I could get with the nuts. I wanted to be sure that the bolt threads at least came out the top of the nut, but it didn't look like it would. Somebody that it familiar with it can probably confirm if I was being to cautious, but I decided to go ahead and pull the assembly out, take the main nut off of the shock itself (boy, that spring will make that shock shoot across the floor if you aren't ready-haha!) and replace the three shock tower bolts with the extended ones from Toytec that came with the spacers.
While I had it apart, I decided to go a step further and move the Billie setting up one notch from 0 to .85.
I put everything back together. It was a little tighter going back together and I needed a longer bar to use for leverage on the LCA, but it is all done.
And I am SOOOO glad I increased the Billie setting and added the spacer. Now the 4R has the lifted look I have been wanting. The space between the top of the rear tires and the fender is about 8.5" (on BFG KO2 275/70-17). The space between the top of the front tire and the fender is 7.25". So I have a very slight rake, but it looks good.
To tell you the truth, the Daystar spacers just did not make it look like I originally hoped for when I began this project a year ago. But now, holy cow, it really looks like I'd hoped for. The 285's get mounted tomorrow.
Here are pics from today after I got done with the front spacer and Billie adjustment. Sorry for the light, it is raining outside.
I'lll send some more pics Friday with the 285s after I get it washed. And as always, let me know if I can answer any questions!
Attachments
theoutbackdream
New member
Dang Yo. Hope you are alright man!
Sent from The Far Side
Thanks man.. Just hope it'll go away soon.. Even living right now is so damn miserable.. Merp..
Similar threads
- Replies
- 15
- Views
- 4K


