What did you do with your 4runner today?

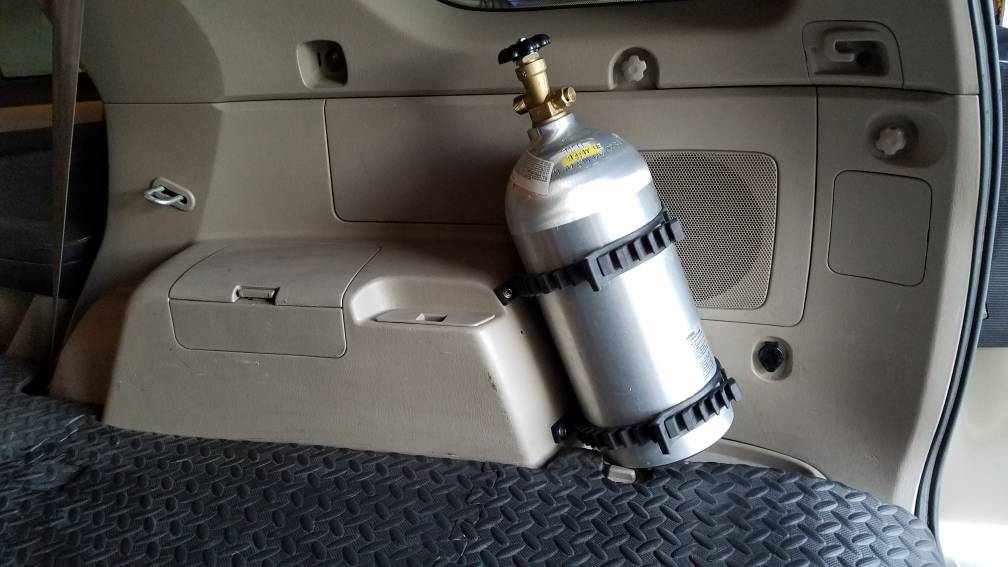
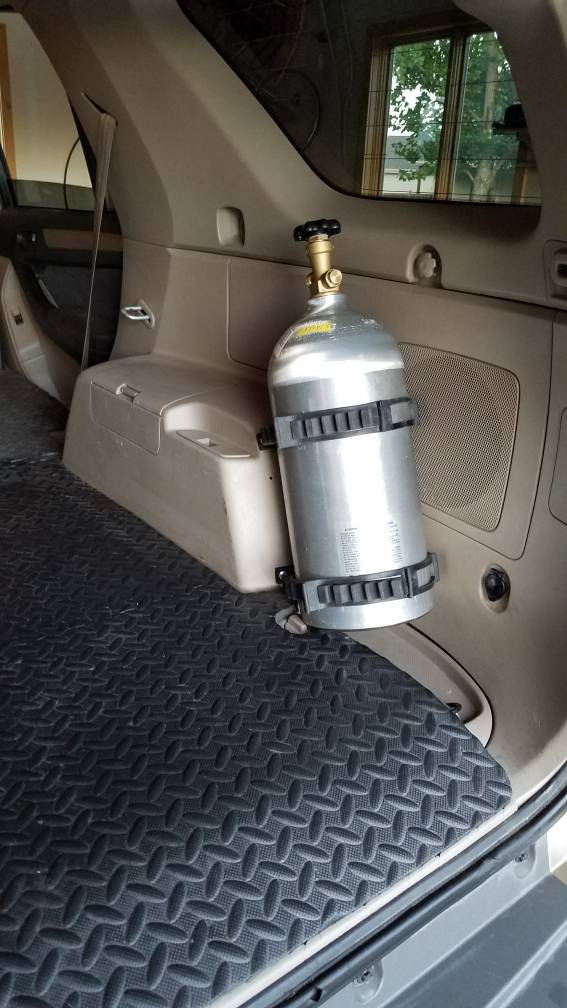
Mounted my CO2 tank today using two large Quickfist. Used #10 self drilling screws and it feels very sturdy. The Quickfist were $6 each on Amazon with free shipping as an "add on".
34867b3e268759d25efbc87ea0636e5e.jpg
934ef54cfad70db592489617356735cf.jpg


Sent from my SM-G930V using Tapatalk

That will be a projectile in an accident.
 
Minor progress including switch for full-time dual USB charger

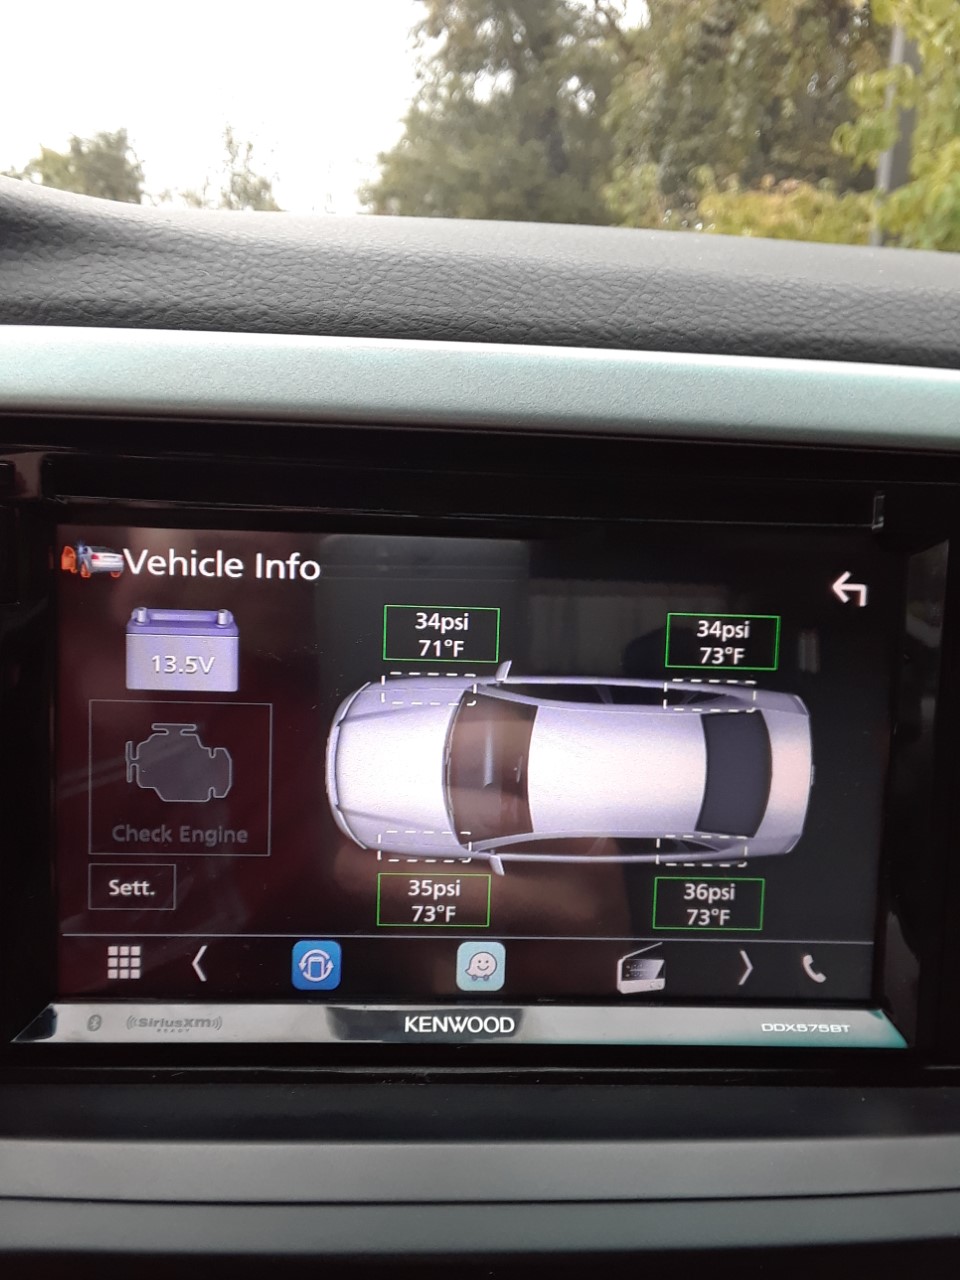
Today, Monday, I tied up a few remaining loose ends from Saturday's Kenwood mechless head unit install: ...
Finally took care of a few minor tasks:
  • applied KevianClean Interior Defense throughout
  • cleaned inside of windows using Stoner Invisible Glass
  • installed switch inside center console next to AC outlet to prevent full-time dual-USB charger port from draining battery during long absences
  • finally identified source of occasional loud clunk as loose GPS antenna banging against the windshield, will need to attach properly
IMG_20180923_172817
 
Last edited:
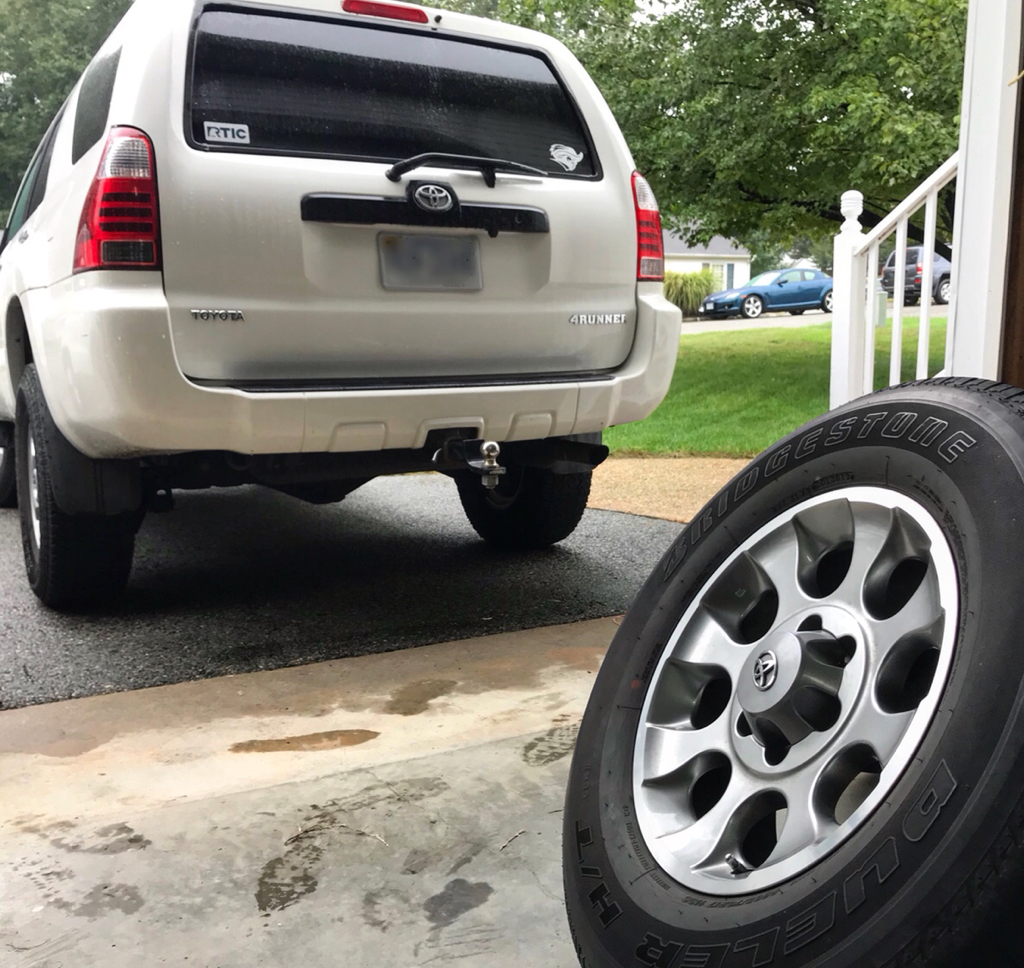
You're absolutely right, and I feel a bit silly for not thinking about that before I bought them, but according to the date code, theyre from February 2016, 2+ years old (0816). They're in great shape though, no plugs or any shady crap, the tread is pretty indistinguishable from new in terms of depth, and I paid $225 for 4. Compared to $800ish for new, I still feel really good about it.


check the wear bar indicator and see how much tread is left. but get your moneys worth on the tires if its good.
 
Replaced my serpentine belt using W211_to_T4R's great writeup. The difference in groove width between what I believe to be the original belt (now at 146K and at left in the pic) and the new Bando 7PK2120 surprised me. Normal wear, difference in design, maybe a little of both?

56u1tc0m.jpg


Also continued growing my "where I've wheeled" collection with a new Shafer Trail decal from the Canyonlands Natural History Association. It's a clever 3-part design and you can use any or all.

hrkmkE5l.jpg
 
Spent the past week camping in Southern Utah and Northern Arizona.

San Diego -> Las Vegas -> Point Sublime (Grand Canyon) -> East Rim (Grand Canyon) -> Antelope Canyon -> Alstrom Point

Point Sublime:
nxasDdv.jpg


East Rim:
13z6cnk.jpg


Alstrom Point:
2vl1d1c.jpg


I'm working on a few videos today. Here's the camp spot at Point Sublime.
<iframe width="560" height="315" src="https://www.youtube.com/embed/8Ctdx5MbuLM" frameborder="0" allow="autoplay; encrypted-media" allowfullscreen></iframe>

I'll have some more truck-oriented videos posted soon.
 
Replaced my serpentine belt using W211_to_T4R's great writeup. The difference in groove width between what I believe to be the original belt (now at 146K and at left in the pic) and the new Bando 7PK2120 surprised me. Normal wear, difference in design, maybe a little of both?

56u1tc0m.jpg


Also continued growing my "where I've wheeled" collection with a new Shafer Trail decal from the Canyonlands Natural History Association. It's a clever 3-part design and you can use any or all.

hrkmkE5l.jpg

That's excessive wear on your old belt, good thing you replaced it, it was way overdue!!

The grooves on all belts for a T4R would be much the same, no matter which brand you choose, what makes one brand better than another is how the belt is made, quality of material and quality control.
 
No pics, but I extended my rear diff breather up near the gas cap! Its run up along the gas filler tube and then secured and hidden just behind the rubber boot. I used this fitting on the diff, this hose, and this breather fitting.

I did mine last Sunday too. I did the same routing too, mainly because I didn’t have time to route it into the jack compartment. I left a loop of extra length zip tied underneath so I can extend it up some other time.

Edit: I forgot to mention that the main reason I did this was that when I was working under there, I noticed how badly the stock vent was rusted, so I figured I’d do this mod at the same time since it needed replacement anyway. As it turned out, the old one was rusted so badly that it was no longer venting at all! It released quite a bit of pressure when I loosened it! Glad I did this just for that reason alone.
 
Last edited:
That will be a projectile in an accident.

Good point - quickfist is very secure and I was thinking of just mounting the tank and using for off-roading. I will be removing the inner panel and securing better so the quickfist doesn't strip out the screws. Looks like there is some sheet metal behind the panel to use for securing. For now, just using a ratchet strap wrapped around valve hooked to the rear tie down as a backup.
 
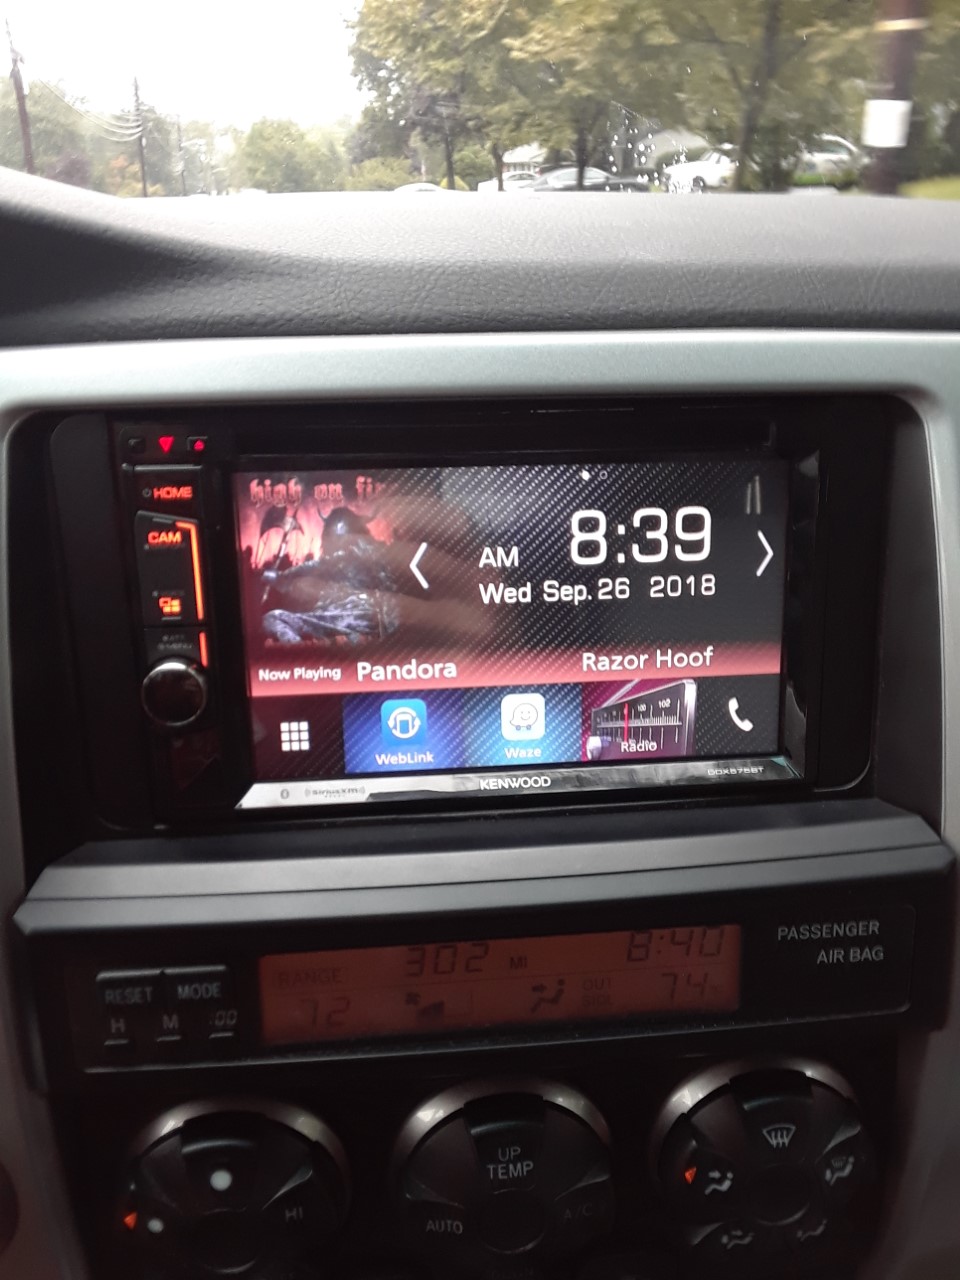
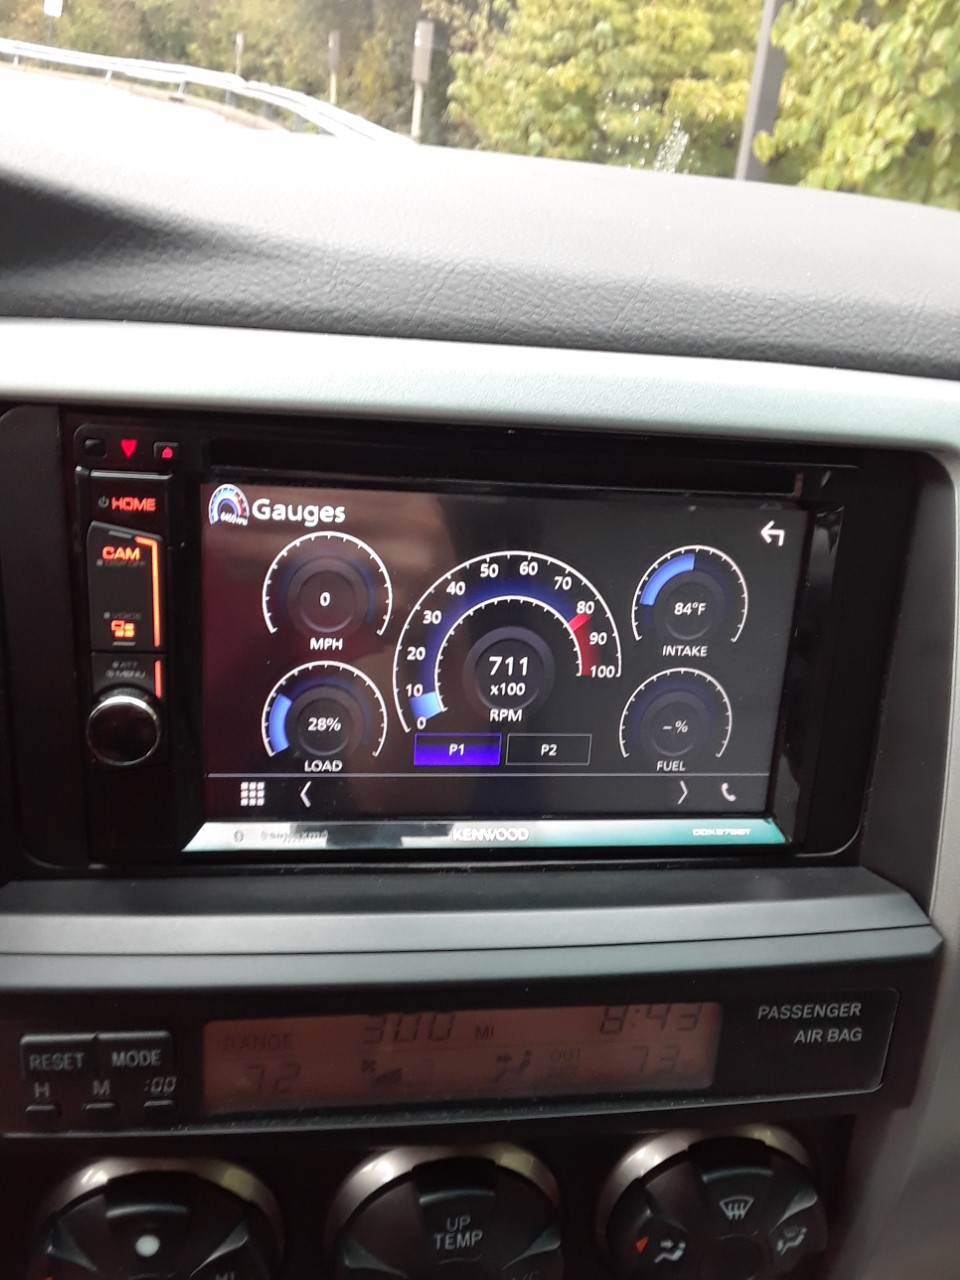
Well, it was Sunday to be exact. New Kenwood DDX575BT head unit. Pretty cool upgrade. Got all the equipment from Crutchfield. HU, DataLink box, and wiring.
original_Radio2.jpg

original_Radio3.jpg

original_Radio1.jpg
 
Regarding the radio install. Last item outstanding is how can I extend the USB cable to the spare ports next to the DAC in front of the center console? I attempted to use a general USB I had laying around the house, and no luck. Any suggestions on what you Kenwood owners did to get the USB extended to the center console? Thanks! Danny
 
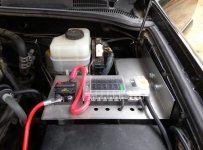
Finally had time this weekend to install a BlueSea fuse block. Had someone at work help me make a tray out of aluminum. Now just need to hook up everything.

PHOTO_20180924_101341.jpg
 

Attachments

  • PHOTO_20180924_101341.jpg
    PHOTO_20180924_101341.jpg
    130.1 KB · Views: 386
Finally had time this weekend to install a BlueSea fuse block. Had someone at work help me make a tray out of aluminum. Now just need to hook up everything.

I'd be slightly concerned about running wires through those holes without some kind of grommet to keep the edge from wearing through the insulation due to vibration in the long-term. Wouldnt really need to worry if it was all just ground that went through the holes i suppose.
 

Members online

Forum statistics

Threads
278,312
Messages
3,554,089
Members
248,016
Latest member
Advally Service

Trending content

Back
Top