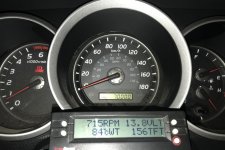
What did you do with your 4runner today?

Swapped 12 quarts of ATF WS using the radiator line method (V6). Super easy, took about two hours start to finish only because it takes a while to get the new fluid in. Shifts like butter, not that it was bad before, just trying to stay ahead of it since I just hit 145k.


Sent from my iPhone using Tapatalk
 
Today? Just ran the 4WD and center diff through their paces to keep them working well.

But, in the past week, I put on my new awning, built a solar powered cooling system for the interior for the camping trip I took that turned out much colder and wetter than expected, and worked on building my new roof rack.

I should probably clean it out though. The dog tracked a fair amount of mud in while camping.
 
Today? Just ran the 4WD and center diff through their paces to keep them working well.


But, in the past week, I put on my new awning, built a solar powered cooling system for the interior for the camping trip I took that turned out much colder and wetter than expected, and worked on building my new roof rack.


I should probably clean it out though. The dog tracked a fair amount of mud in while camping.


Let's see some pics.


Sent from my iPhone using Tapatalk
 
Let's see some pics.

Sure. I'm at work right now, so I only have what I've uploaded to the cloud.

Here's a pic of the 4R at camp, all set up. Unfortunately, best pic I have of the awning setup.
y1iJXD6.jpg


Here's at night shot. I used a Power Practical Luminoodle to provide the awning lighting, and a set of cheap battery powered LED Christmas tree lights hanging off the back window. I had a solar rope light from Harbor Freight that I put up, but it was so shady where we camped that I got no light at all from it. I've ordered some connectors so that I can move the solar head/battery unit into the sun, no matter where I park the rig, but I may just end up using a second Luminoodle for the other side of the awning, because the one I have is able to be set to red, and reduce the bug attraction factor.
XebHmjH.jpg


The "cooling system" that I build uses leftovers from other things. Some cardboard from a mower that I bought recently, 2 92mm computer fans, and one of the early solar panels I bought while experimenting with how I want to set up a solar power system.
aV5NUto.jpg

JKFKwKM.jpg


This is really just a proof of concept build that I decided to try at the last minute, and not put together well. It all needs to be completely rebuilt. There are three layers of cardboard, staggered to fit in the window channel on top, and hook over both sides of the window itself. Those panels are simply glued together, I used an Xacto knife to cut holes for the fans, and used screws that barely penetrated the cardboard to hold the fans on. It's not shown in the pics here, but I actually glued a piece of screen over the fans to help keep bugs and leaves out. I didn't even bother with proper wiring connections for this prototype. I have a 20 watt (I think?) panel that I just set on my roof, roll the window up to hold the unit in place, and wrap the wires together for a "power switch". No battery. That way, the fans run when the 4Runner is in the heat, and stop running when the heat stops (sun and no sun conditions). I leave the sunroof open, and have a piece of screen that I hold to the roof with small rare earth magnets. The fans suck are from outside, and blow into the cabin, which pushes the hottest air out the sunroof.

In tests the couple of days before my trip, I could regularly drop the interior temp of the 4Runner by almost 30 degrees. In practice, there was so much shade where I parked that I never really needed the fans.

I sleep in the back of my 4Runner with my dog when I camp, and since this annual trip is to watch meteors in the middle of the night, I often take a nap in the middle of the day. I don't sleep well when it's too hot, so this was my attempt to mitigate that situation. I know you can buy commercial solar powered window fan units, but I have never seen one that works well with the window visors that I use.

What I don't like about my prototype is that the 92mm fans stick too far down - if it were to rain and I hadn't covered it somehow, there's a good chance rain would get in those fan holes. In my next iteration, I will use 80mm fans instead to solve that issue, and may use as many as 4 to compensate for the smaller size and reduced airflow. I may also try to build in some kind of "lip" extending out past the visors to further protect from rain ingress. And, I intend to build some magnetically attached covers for the inside of the fans, in case it gets too cold at night with some of those high-altitude temperature changes. Those may be pointless, but I will see.

Pics of the roof rack will have to wait. I'm just using a Harbor Freight tri-fold ramp and making my own mounting feet. The awning will eventually get mounted to it.

 
Got it fitted with a weight distribution hitch, electronic brake controller and extended mirrors. Will be towing a 16x8 enclose trailer that will weight a little over 6000lbs. Lets see how the 4.7 does coming up the Grapevine!
 

Attachments

  • 12312.jpg
    12312.jpg
    86.3 KB · Views: 391
No more Hyperflash!

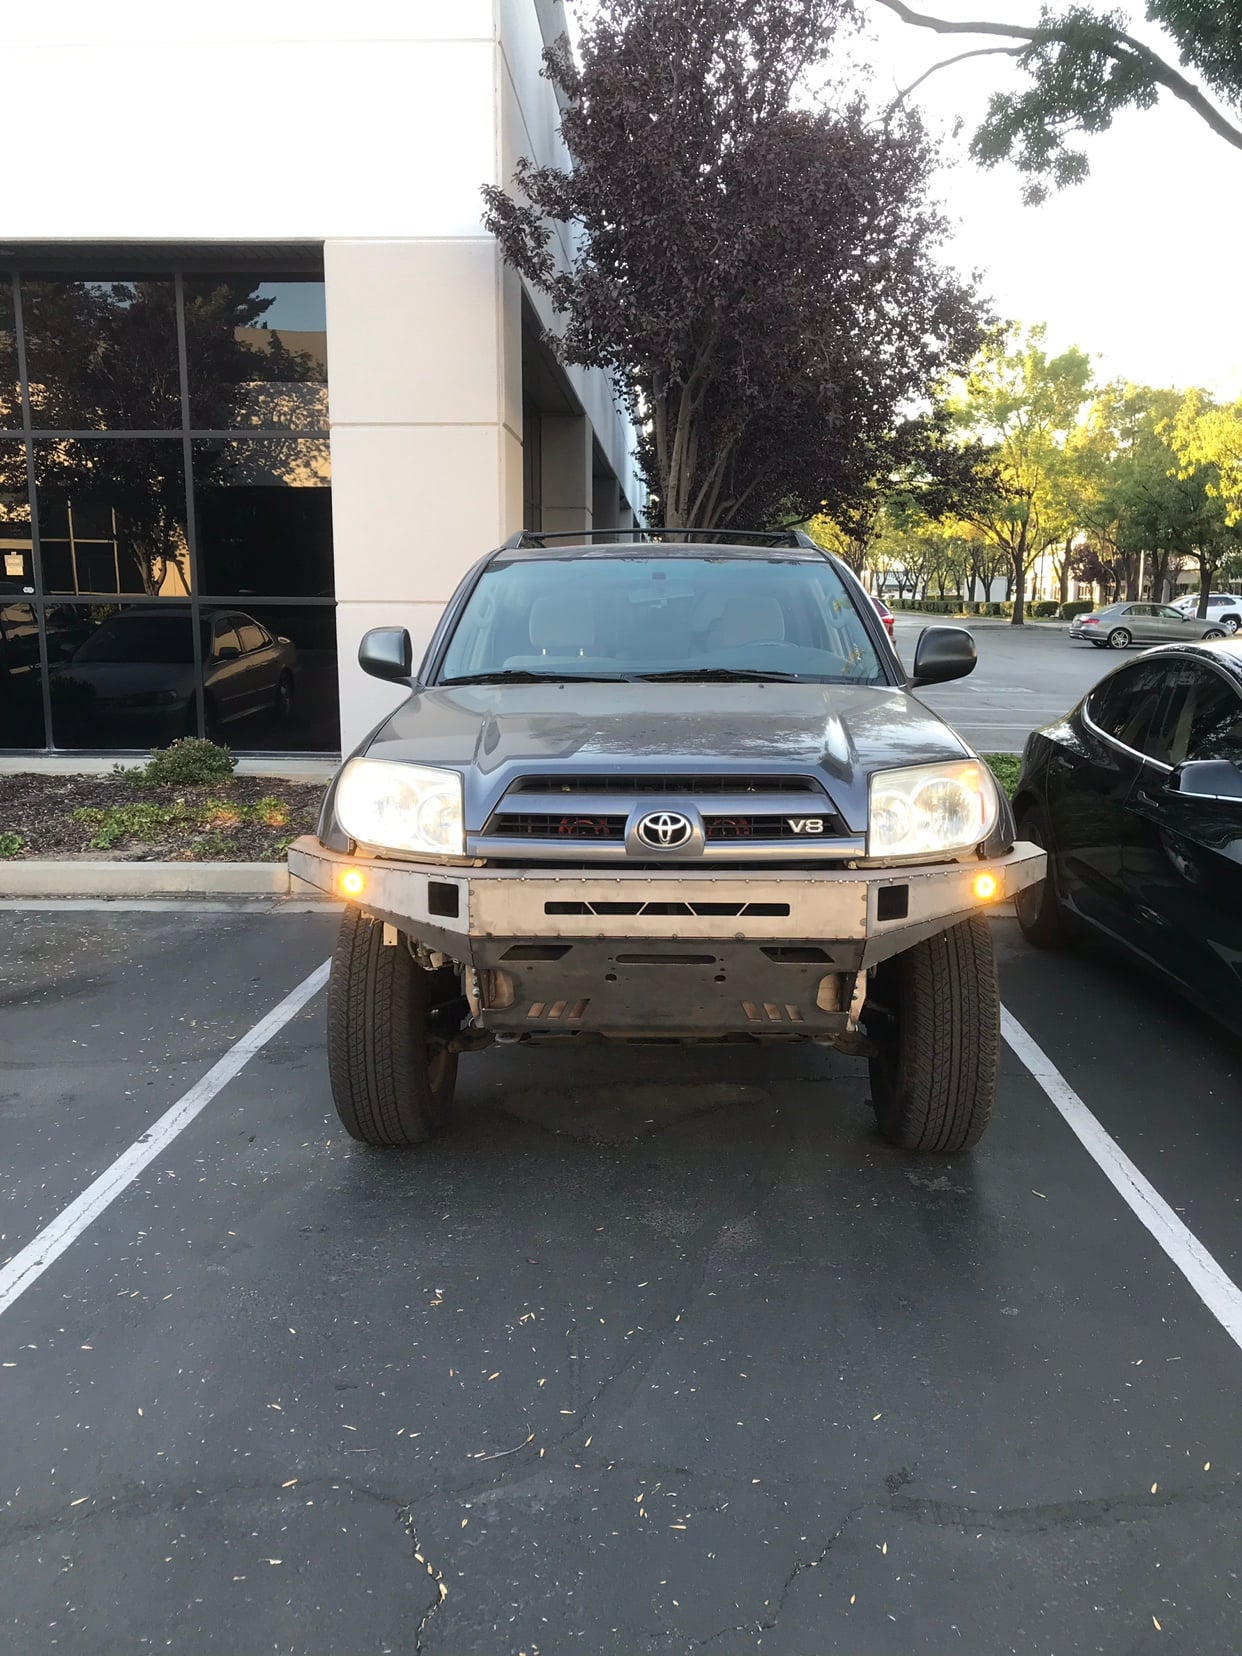
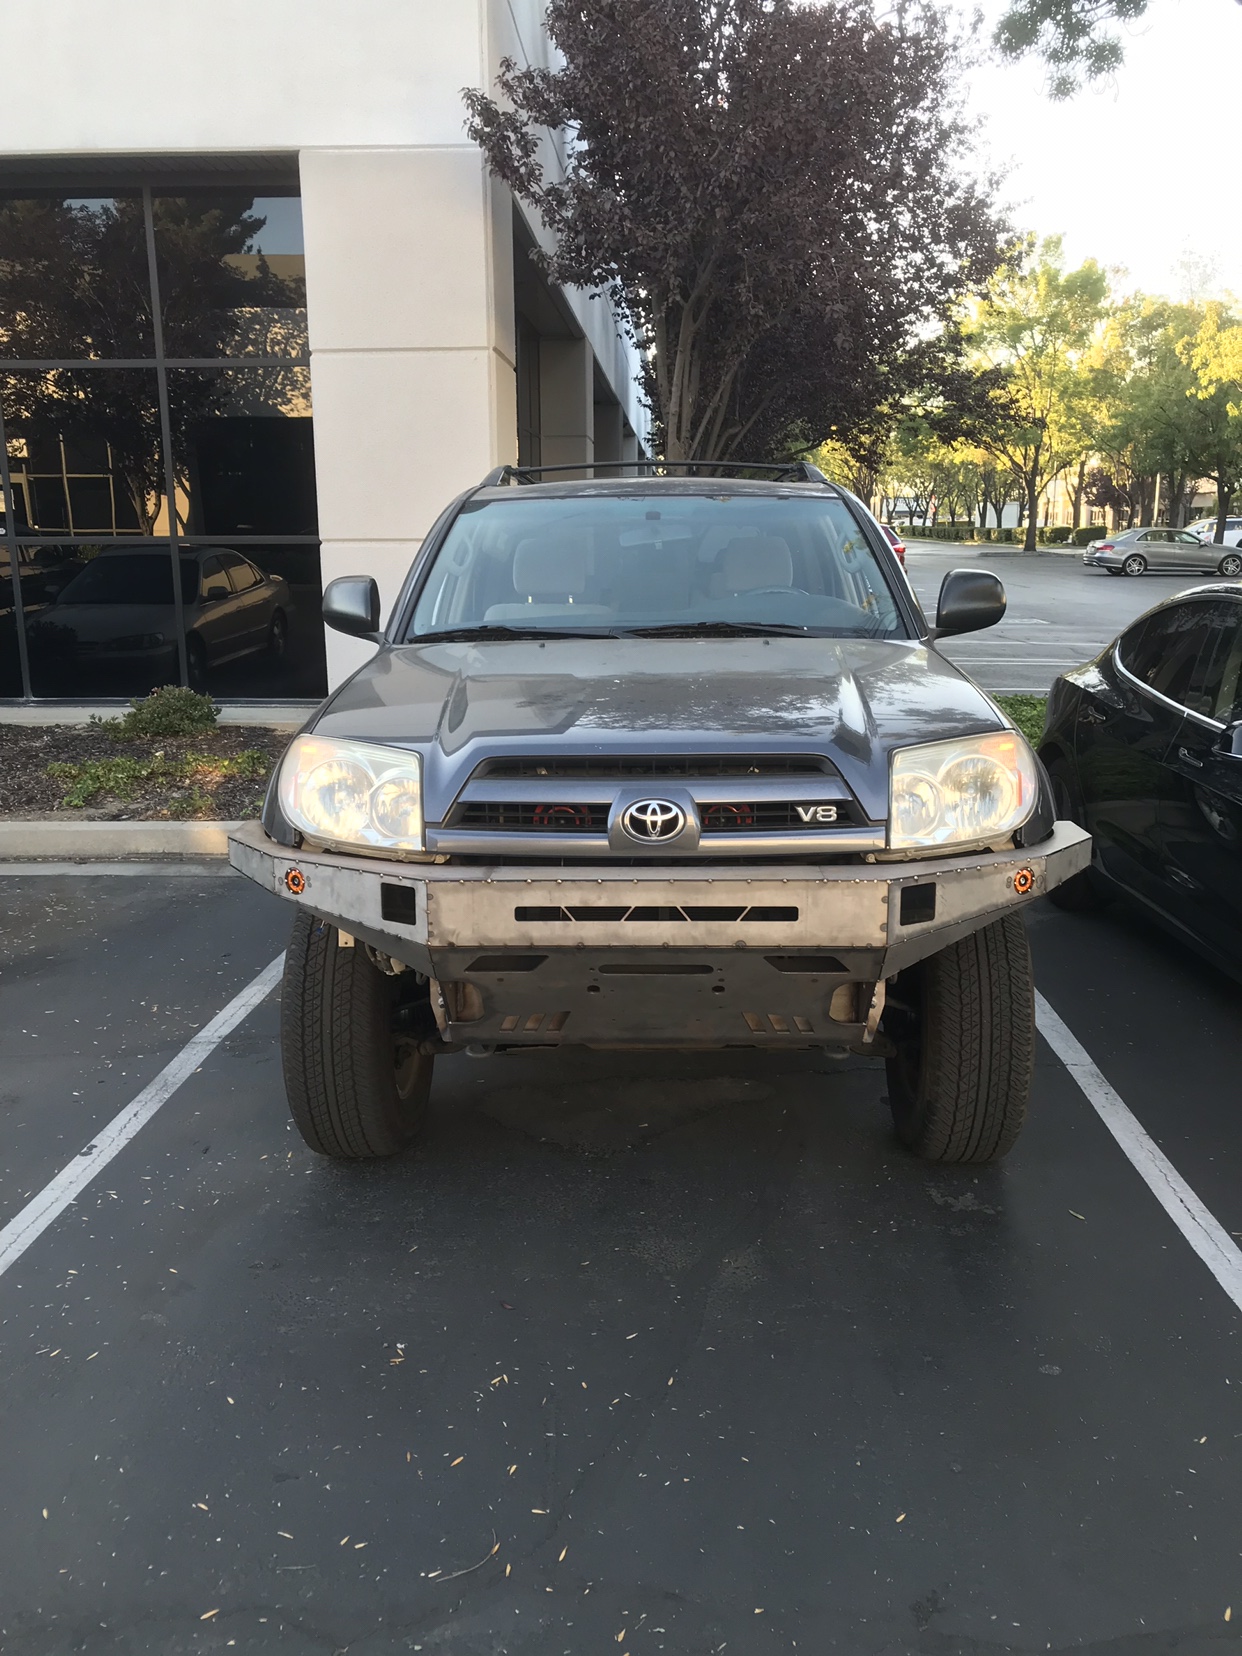
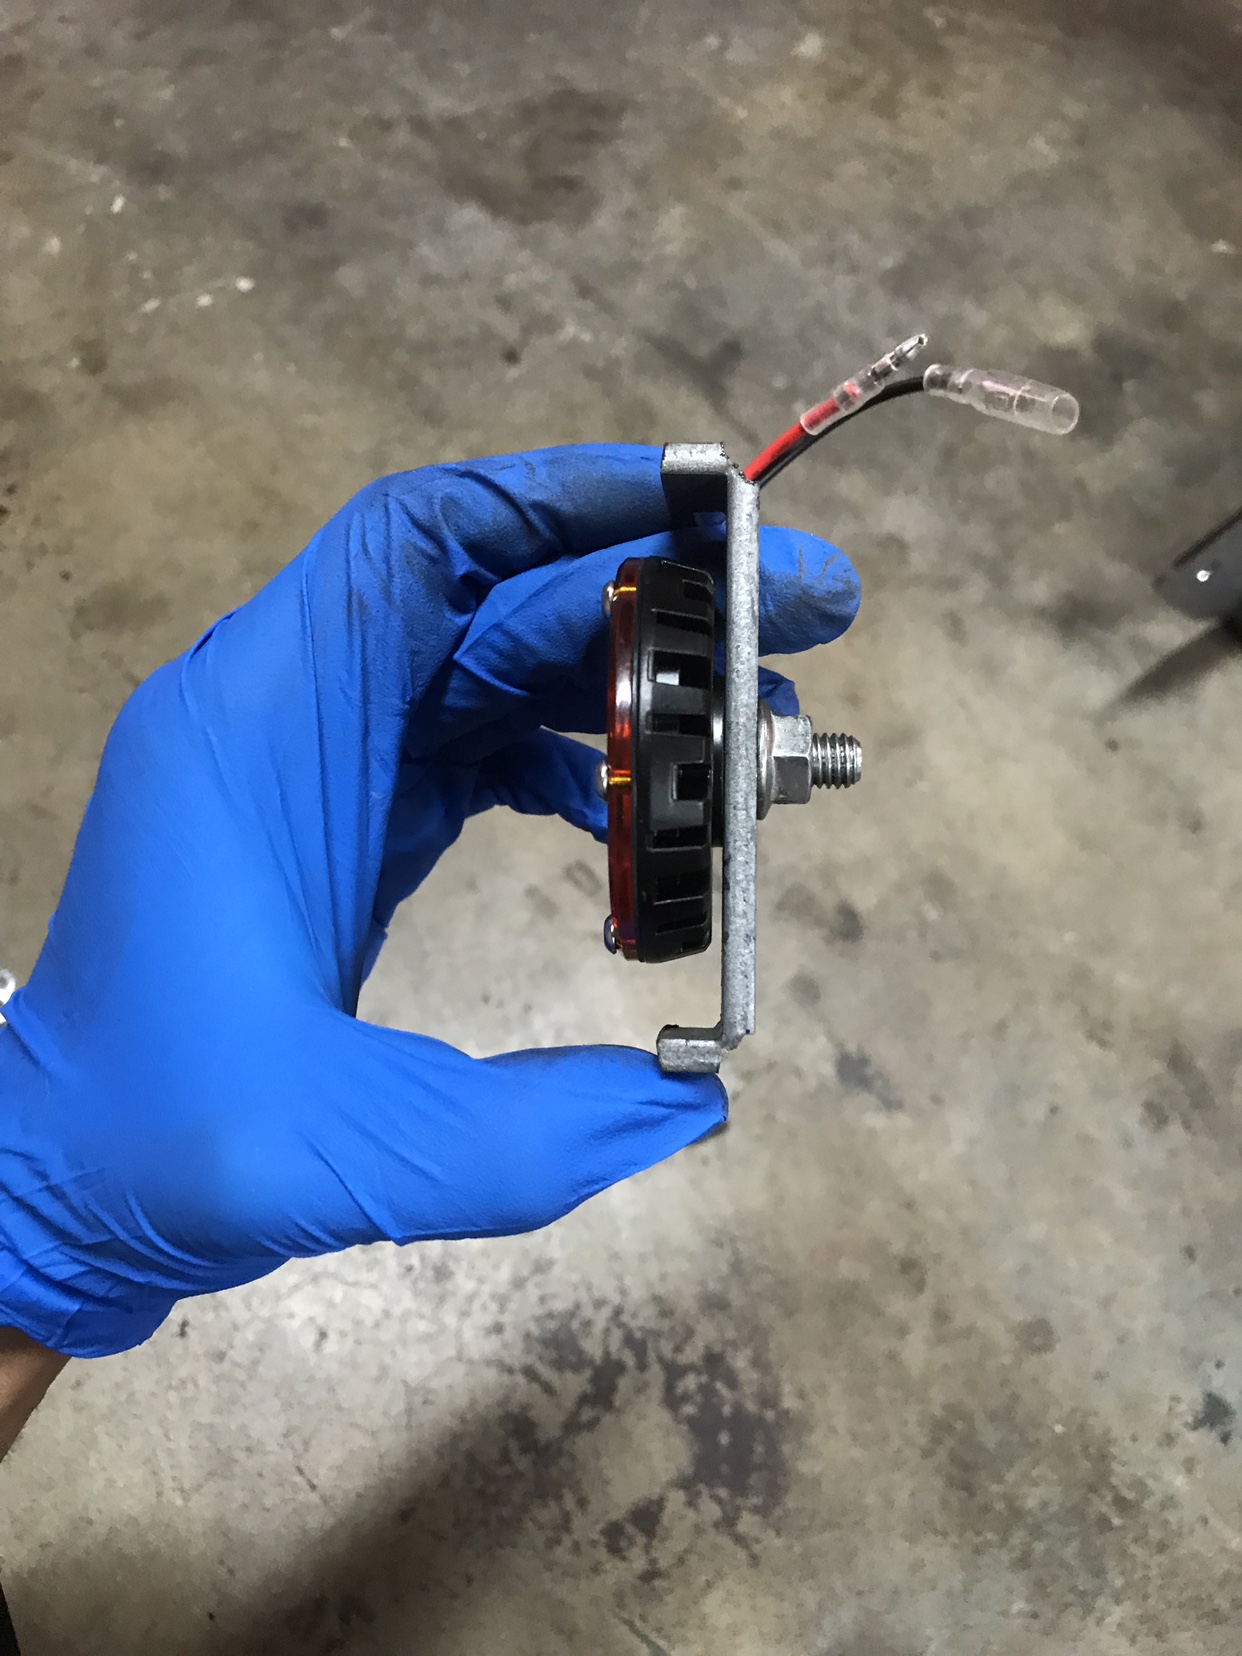
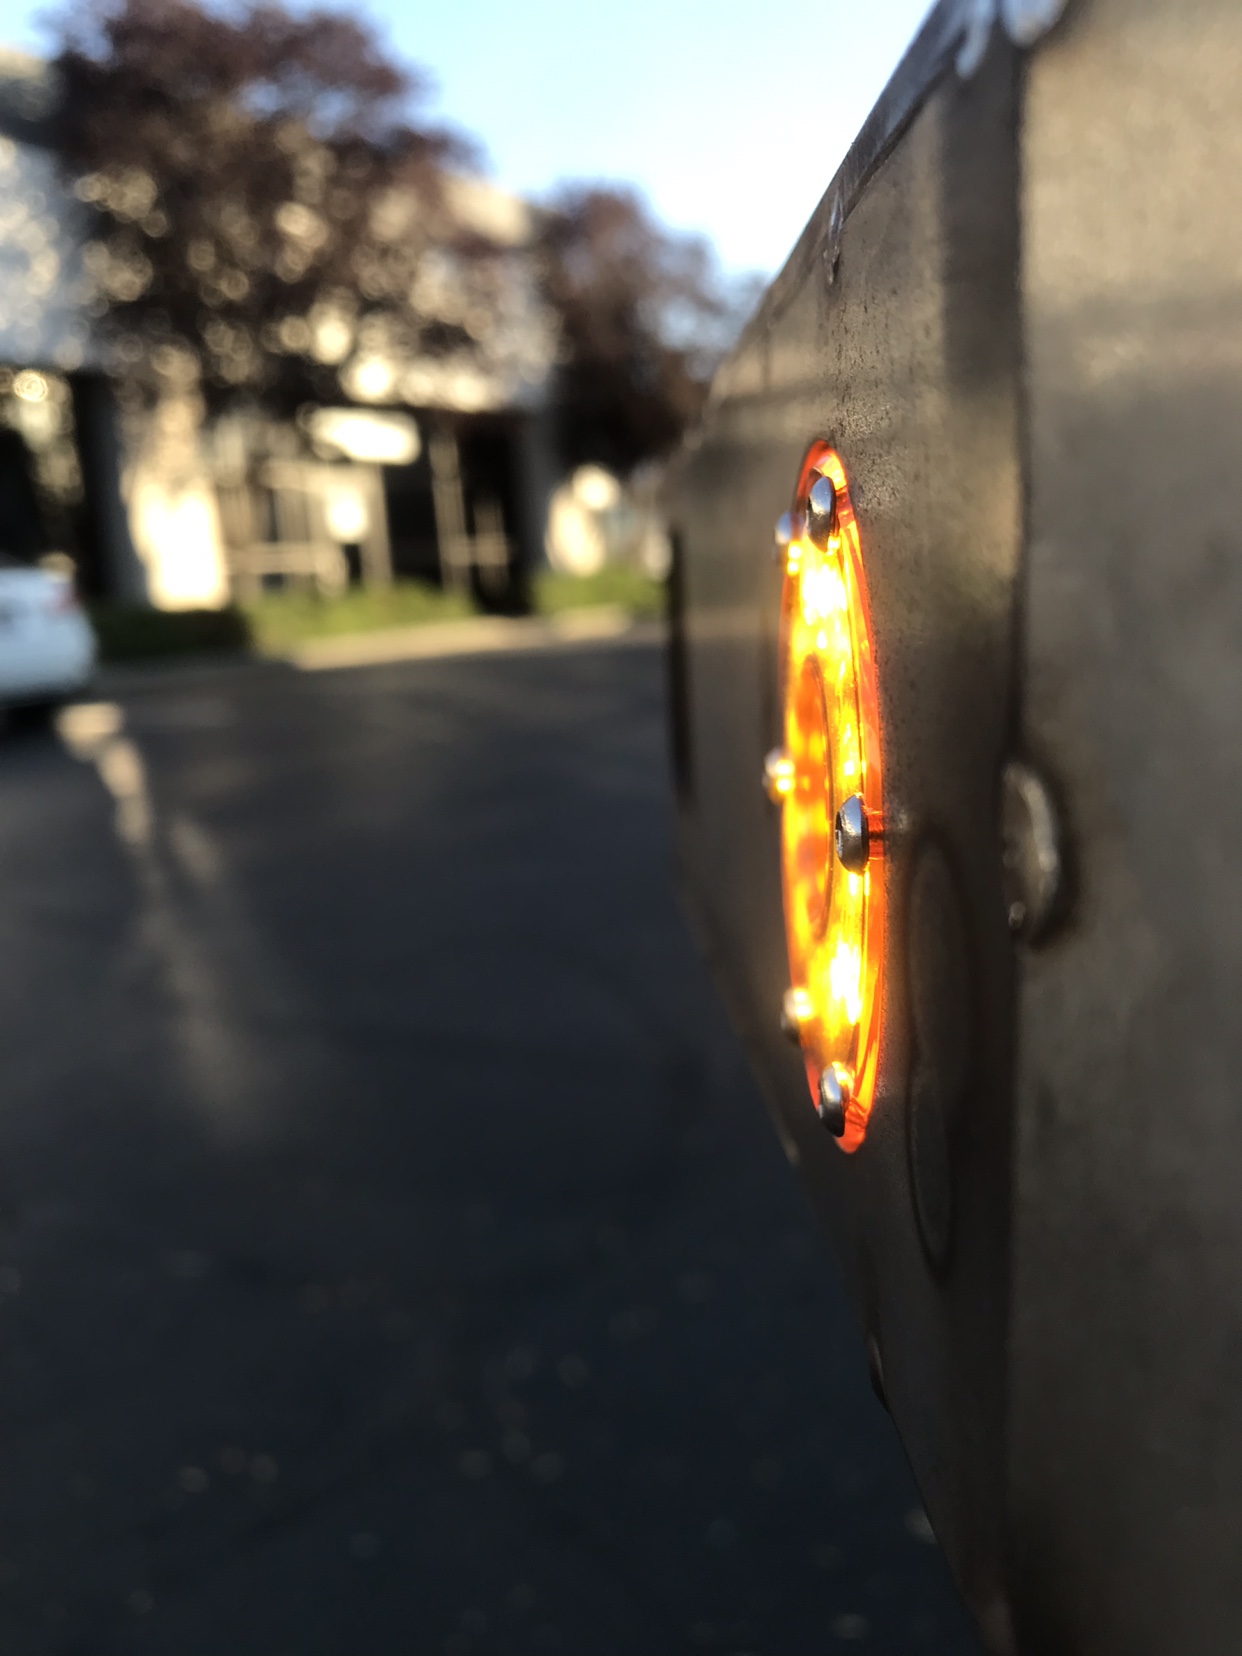
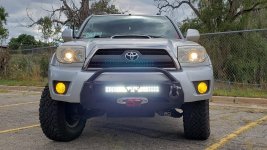
I replaced my factory turn signal relay with one from Amazon to correct my newly acquired hyperflash. The LED turn signals in the Demello bumper caused them to hyperflash as expected. I already had the relay ready to go, just was lazy to get around to it with the heat as of late. Woke up early though and got it done!

Very easy job once I got over my apprehension of unplugging everything from the fuse box. Turns out each plug only fits in it's corresponding socket, so it was next to impossible to mess up unless you're a caveman(sorry Geico).

I was under the assumption that the initial "slow startup" for the blinking sequence would annoy me, but it is hardly noticeable. Overall I'm very pleased with the results, and my turn signals function as they should in terms of flash intervals. It may be in my head, but I swear the sound it makes is somewhat different and it's actually more pleasant to my ears. I may be losing my mind though, so who knows. Did u hear that?!?
 
Installed new fuel door. Original door hinge pin had rusted in half and couldn’t open the door without scraping the crap out of the body.

Drilled out the rivets and added M6 machine screws per another member’s post.

Topped the hinge and screws with some CorrosionX HD to prevent it from happening again. PO didn’t do much rust prevention.

full
 
Added sound deadener to driver's side wheel well under the hood today. The assorted components weren't as much trouble as I anticipated, at least in terms of laying the material. They were a pain when I sprayed the undercoating, making it tough to keep the can reasonably upright. And when spraying, whichever side is opposite your dominant hand is going to be awkward, so for me as a righty, that means the driver's side. But hey, it's done. Took a couple of hours start to finish.

Forgot to take a "before" pic but you can simply open your own hood to see what that looks like. ;-) Here I've started laying the butyl on the firewall.

IjGdjO5l.jpg


I again used rust reformer on any hints of rust, such as around these random holes that appear to have no purpose on an '07 Sport. If anyone's interested, I looked up the p/n on that silver thing with the fins on it out of curiosity and it's listed as "Fuel Pump Resistor." So now I know its name but still have no idea what it does.

wD1SlWgl.jpg


Both layers are down and I'm about to spray the undercoating.

eDOogwHl.jpg


Done.

D9csdEMl.jpg


Test drive report soon.
 
Installed new fuel door. Original door hinge pin had rusted in half and couldn’t open the door without scraping the crap out of the body.

Drilled out the rivets and added M6 machine screws per another member’s post.

Topped the hinge and screws with some CorrosionX HD to prevent it from happening again. PO didn’t do much rust prevention.

full

I need to do this to mine!
 
i need some photos, but i removed the baja rack & rear ladder it came with, unhooked 2 light bars, put avs rain guards on :)
 
High clearance cut on my front bumper. Mainly did it because I like the look. Also really highlights my driver side lean lol. The OME 10mm coil spacer I have to install on the driver side rear should fix that.

Need to go back and lightly sand the edges. And I plan on adding a RCI filler skid to bridge the gap and protect the rad better.

Also need to clean up the fender liners. Currently just zip tied them up in place.

full
 
Last edited:
today we finished up everything and stretched the winch line and finished up the wiring:
 

Attachments

  • 20190817_151356.jpg
    20190817_151356.jpg
    146.9 KB · Views: 423

Members online

Forum statistics

Threads
278,316
Messages
3,554,111
Members
248,016
Latest member
Advally Service

Trending content

Back
Top