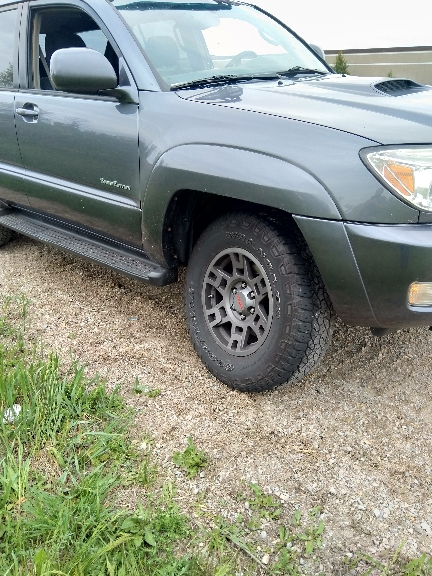
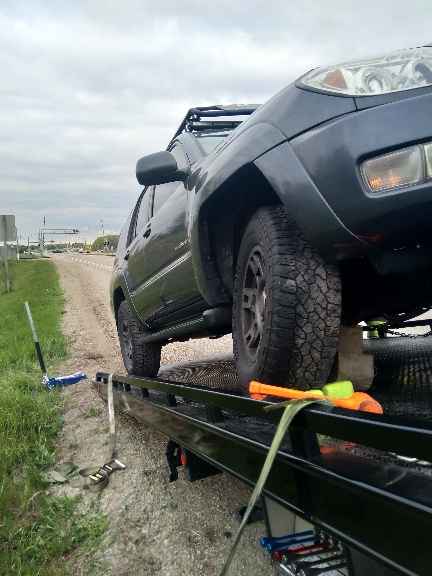
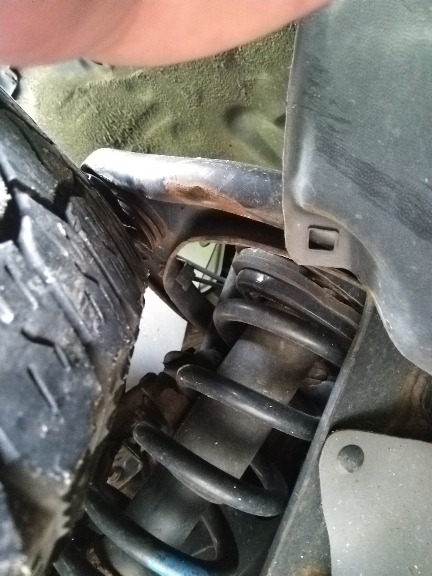
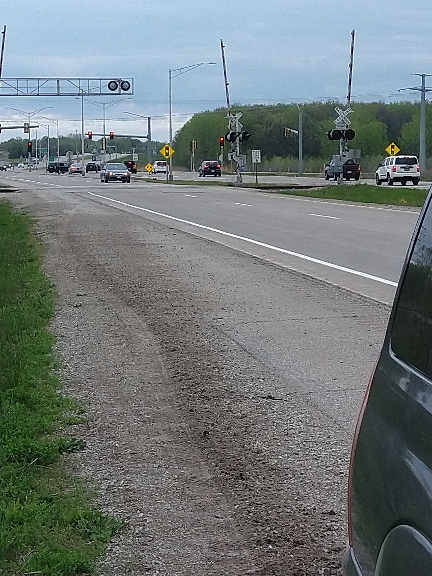
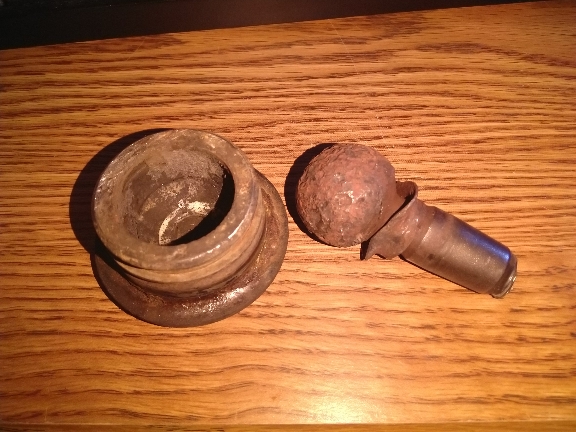
You're lucky that happened at a RR crossing instead of doing 70 down the interstate, even slower around crowded other traffic or God forbid kids walking on the side of the street!
Time to inspect your entire front suspension and replace all the worn parts, if one part failed like that other parts are close to failing as well!
You're lucky that happened at a RR crossing instead of doing 70 down the interstate, even slower around crowded other traffic or God forbid kids walking on the side of the street!
Time to inspect your entire front suspension and replace all the worn parts, if one part failed like that other parts are close to failing as well!
It wasn't - there's a hidden philips head screw hidden under. You have to remove several of those big flat plastic clips off holding the sound deadening mat to the hood to access.
Made some storage/tool boxes for the rear. I was keeping all this stuff in the back anyway and this has helped organize the tools and recovery gear quite well.
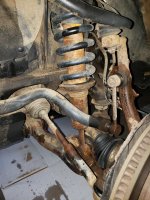
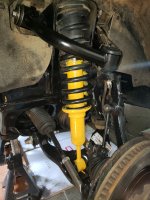
New LCA, UCA, inner and outer tie rods and swaybar endlinks and while I was in there knocked on the Minnesota rust and repainted that area of the frame.
I love the ride of my OME kit but the MN winters conditions are terrible for their appearance.
New LCA, UCA, inner and outer tie rods and swaybar endlinks and while I was in there knocked on the Minnesota rust and repainted that area of the frame.
I love the ride of my OME kit but the MN winters conditions are terrible for their appearance.
Fixed it today. I waited too long to get it checked. Learned my lesson, got off easy, I guess.
Ended up having to grind off the castle nut to get it off...
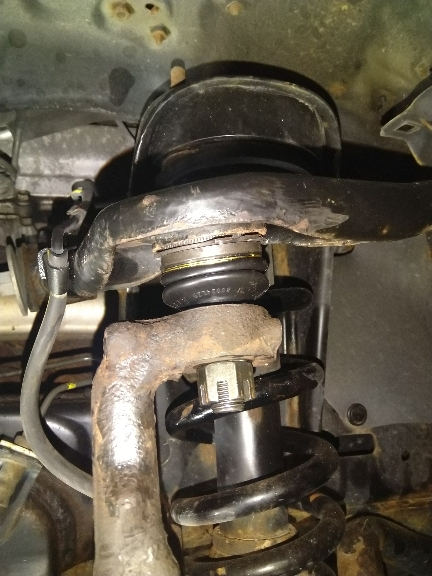
Also, pic of new joint taken before inserting cottering pin.
I can't imagine what I would have done without free tool rental - the ball joint press kit is $230 at advance auto!
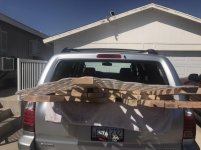
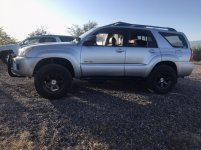
Haven’t been able to work on any more 4Runner projects these days off due to “other priorities” unfortunately. Today for the first time since I bought it stock in Feb. 2020 I loaded it up with some lumber and lattice for the first trip. That back window down acted like a truck and wasn’t bad at all.
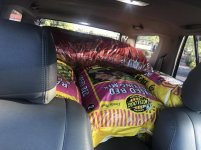
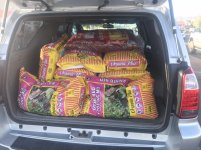
Then the second trip I was able to load up 40 Cu’ of soil and some mulch for the raised garden I have to build. Definitely had some weight on the Ol’ gal and sagging in the rear. Had to have been 1,000lbs and Blinded a few people, the cut-offs were a bit higher than normal. I may need to look into some airbags for heavy loads and when I get around to towing.
Fixed it today. I waited too long to get it checked. Learned my lesson, got off easy, I guess.
Ended up having to grind off the castle nut to get it off...
Also, pic of new joint taken before inserting cottering pin.
I can't imagine what I would have done without free tool rental - the ball joint press kit is $230 at advance auto!
Getting the cup out took about 30 minutes, no problem at all. Awesome how-to video here: Long How-to
Shorter one: YouTube
I spend 2 hours on the taper joint. Had to grind the nut off, couldn't get my ball joint splitter tool (harbor freight) to get the ball out, so I rented a pickle fork set. The pickle fork was too small (not a big enough wedge) but I finally managed with the ball joint splitter clamped on and wedging the pickle fork on top of it, still took 2+ minutes of hard swings with a 4lb hammer.
I cheated putting the joint back in, kinda used an unorthodox method to press the new one in, since you can't bend the control arm down far enough to get the press screw in above it. So I found a combination of tubes & stuff that let me screw from underneath and "pull" it in, which worked great. Took an impressive amount of force but went in just fine! Be sure to use the 23 pc loaner from Advance Auto, apparently there are smaller ones with much fewer tube options.
Mechman 240 amp Alternator install after the stock one went out at 139k.
Old one out through the bottom on the v8 seems the easiest way. Thankfully I have a lift to use in the shop. Did have to move some lines and loosen the power steering pump.
New one in
SMD fuse block installed on oem fuse block lid. Only using one of the spots right now but this will give me more access points for later on. All 0 gauge knukoncepts OFC wire that’s crimped and soldered, wrapped in snake skin and then heat shrinked for the big 3. And you can see my battery terminals from Sky high car audio.
Here’s the after charging voltage cold and after warmed up.
And here it is after the gm diode was put in
Overall it wasn’t a hard install. Just time consuming waiting on the alternator to get here but that gave me enough time to run the wires for the big 3. I did use a half inch smaller belt to account for the mechmans slightly smaller pulley. This should last me very well in the future if I decide to add some power hungry additions like subs or winch etc etc.