What did you do with your 4runner today?

2020-05-29.jpg


Installed rear locker
 
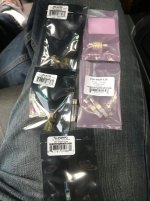
Installed an O2 spacer on the driver side....couldn't get an angle on the passenger to remove the O2. Any tips? I was using an O2 socket.
I'm an idiot and was trying to install them on the upstreams....disregard. The downstreams are easy to get to lol
 
The last few days I washed, waxed and cleaned the inside of 4 runner. Changed cabin filter, spark plugs, oil and filter. Changed both front cv axles and front wheel bearing hub assemblies. Lubed drive shaft.

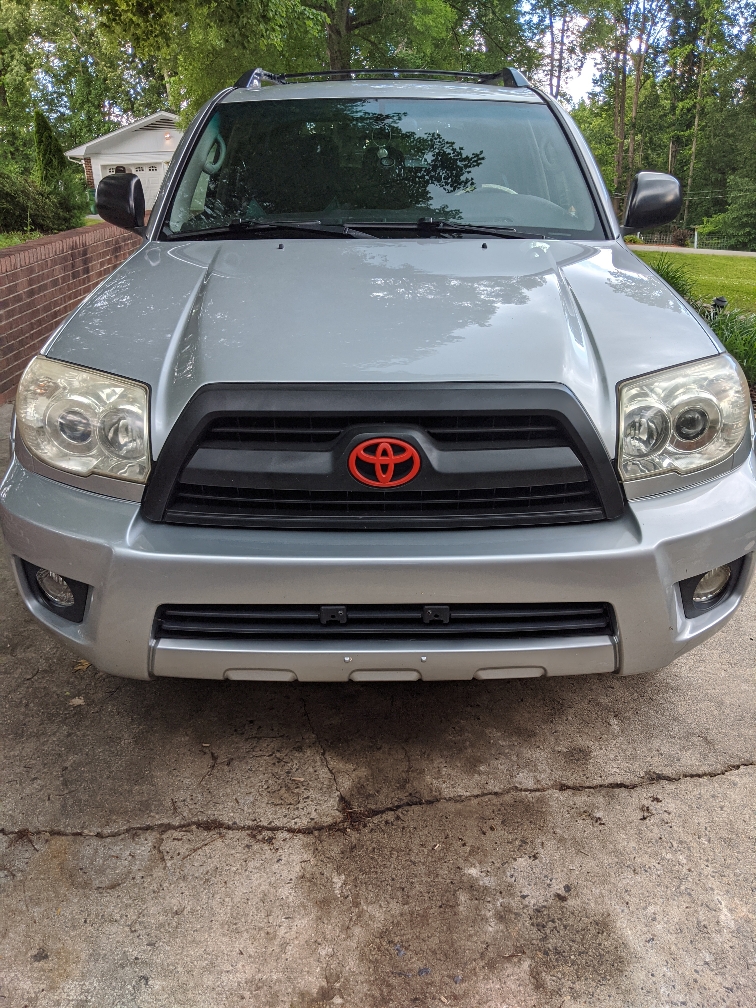
2004 SR5 148,000 miles
 
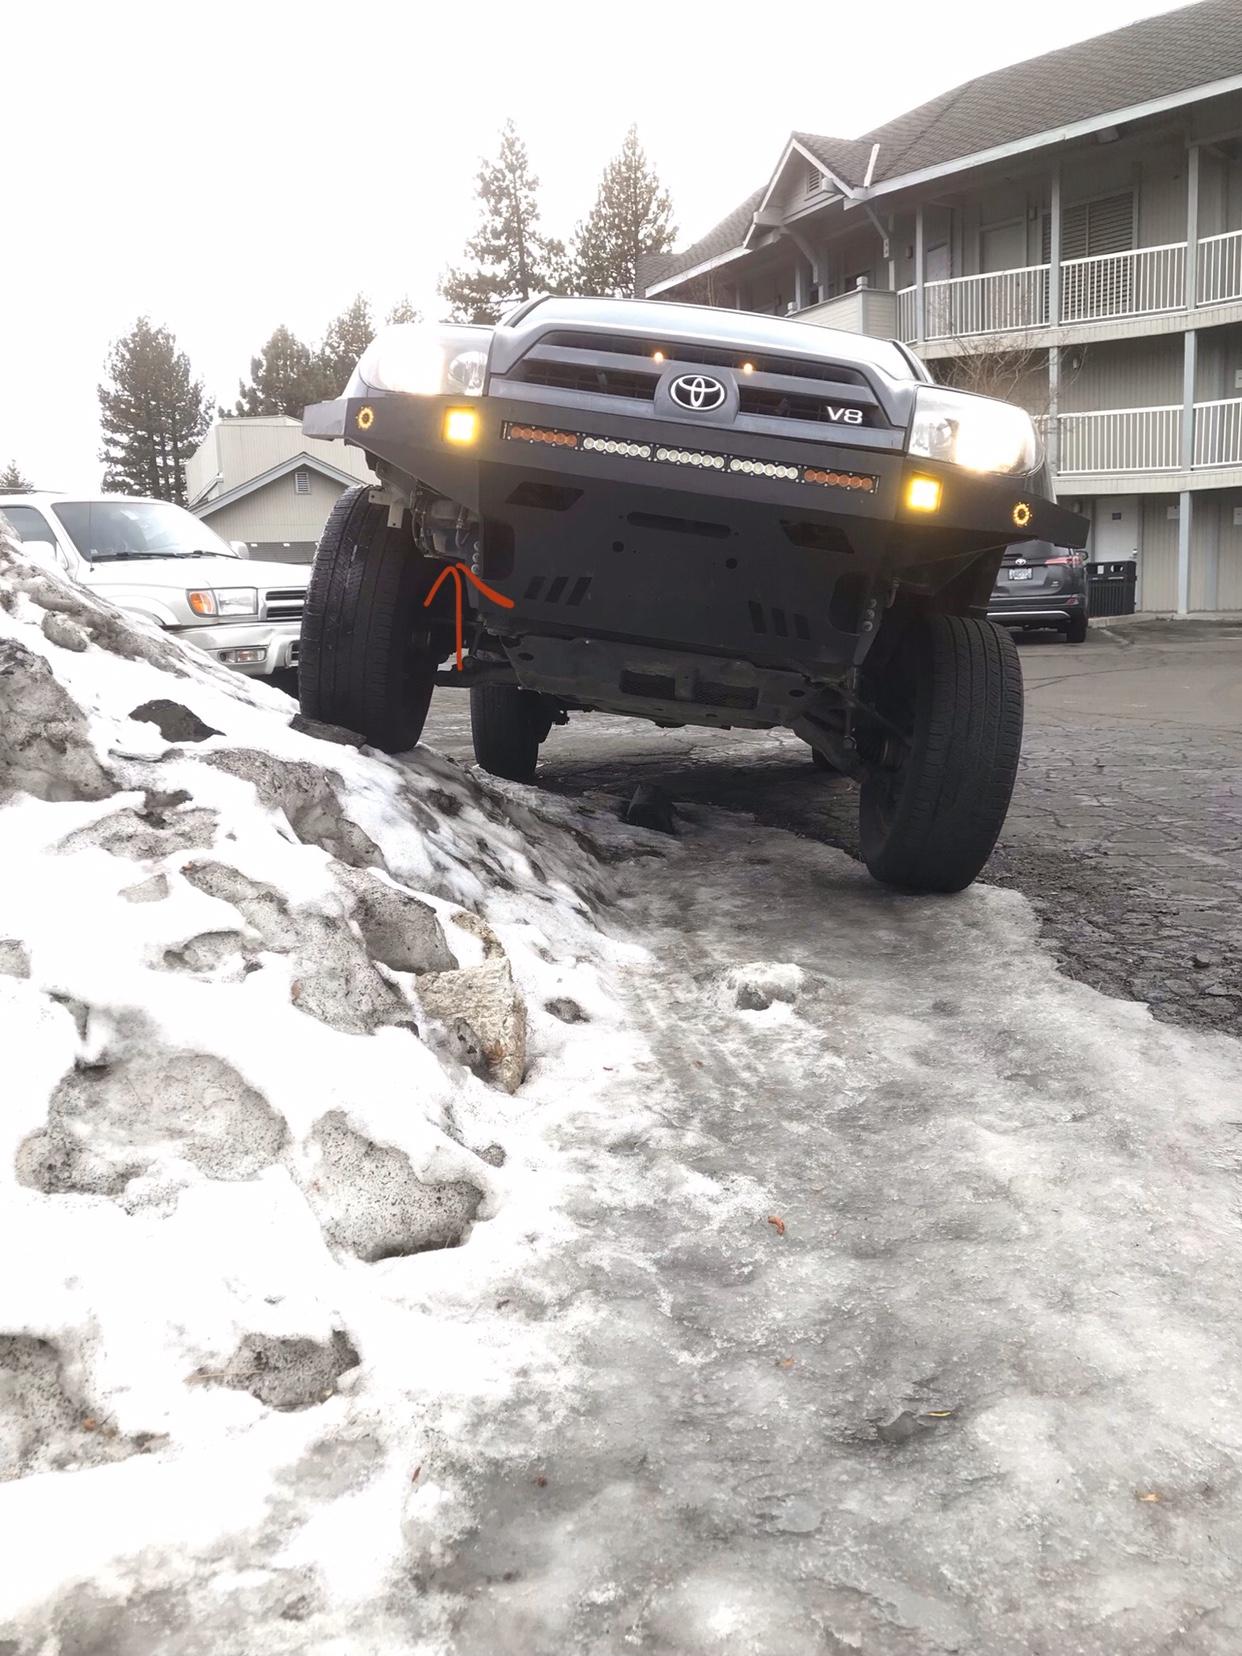
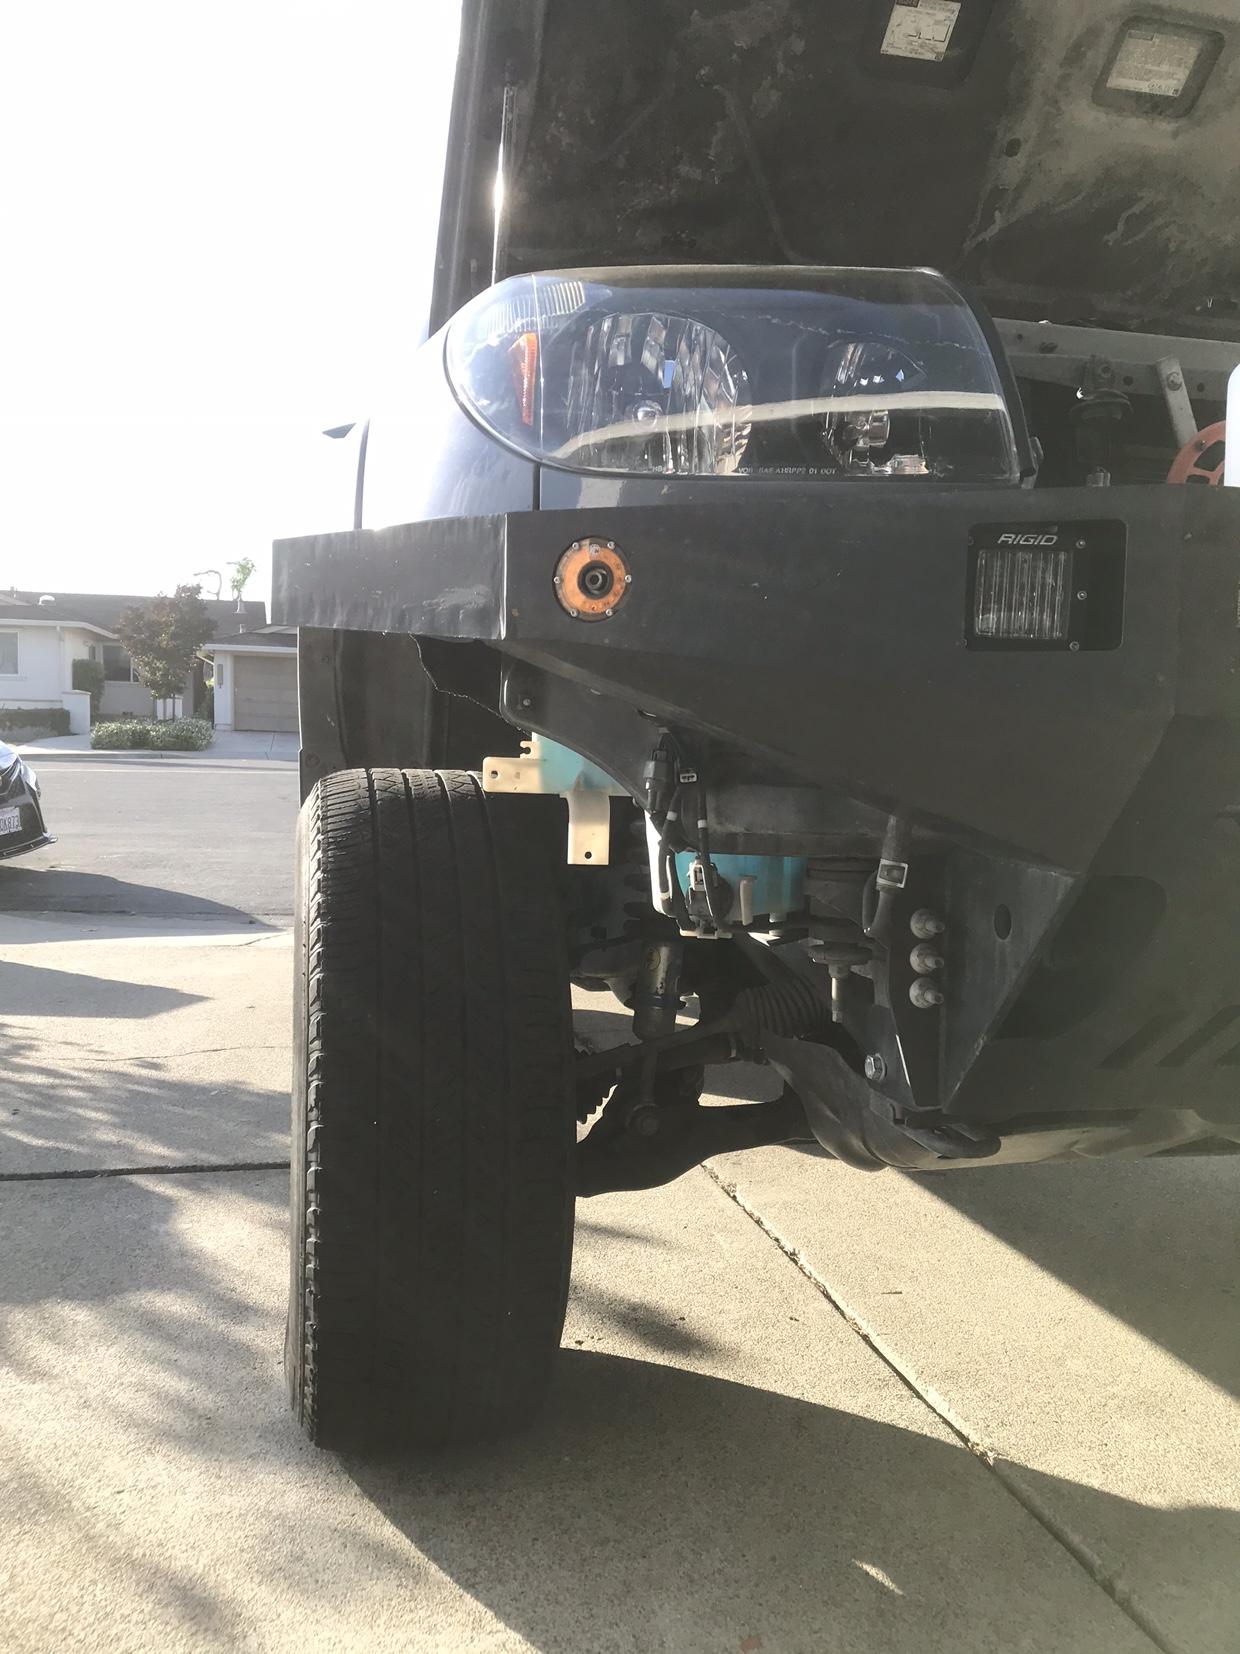
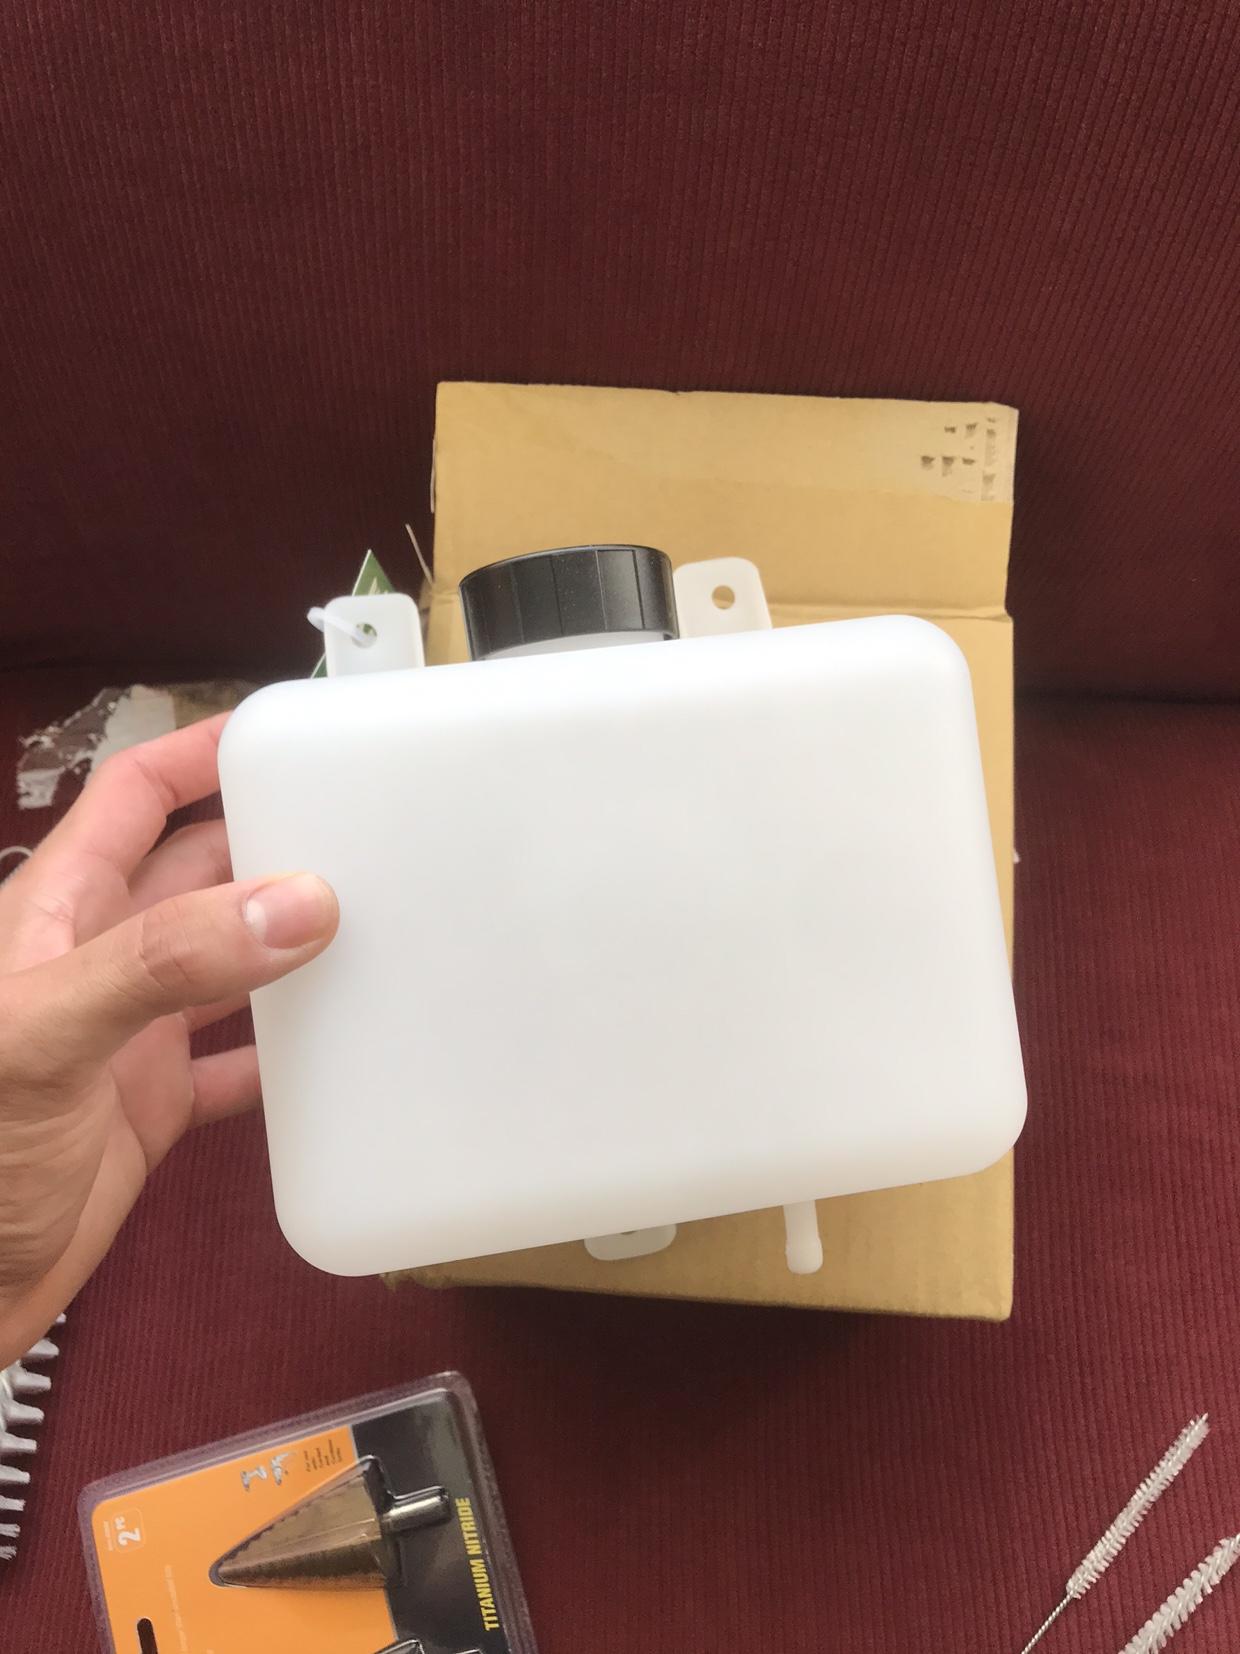
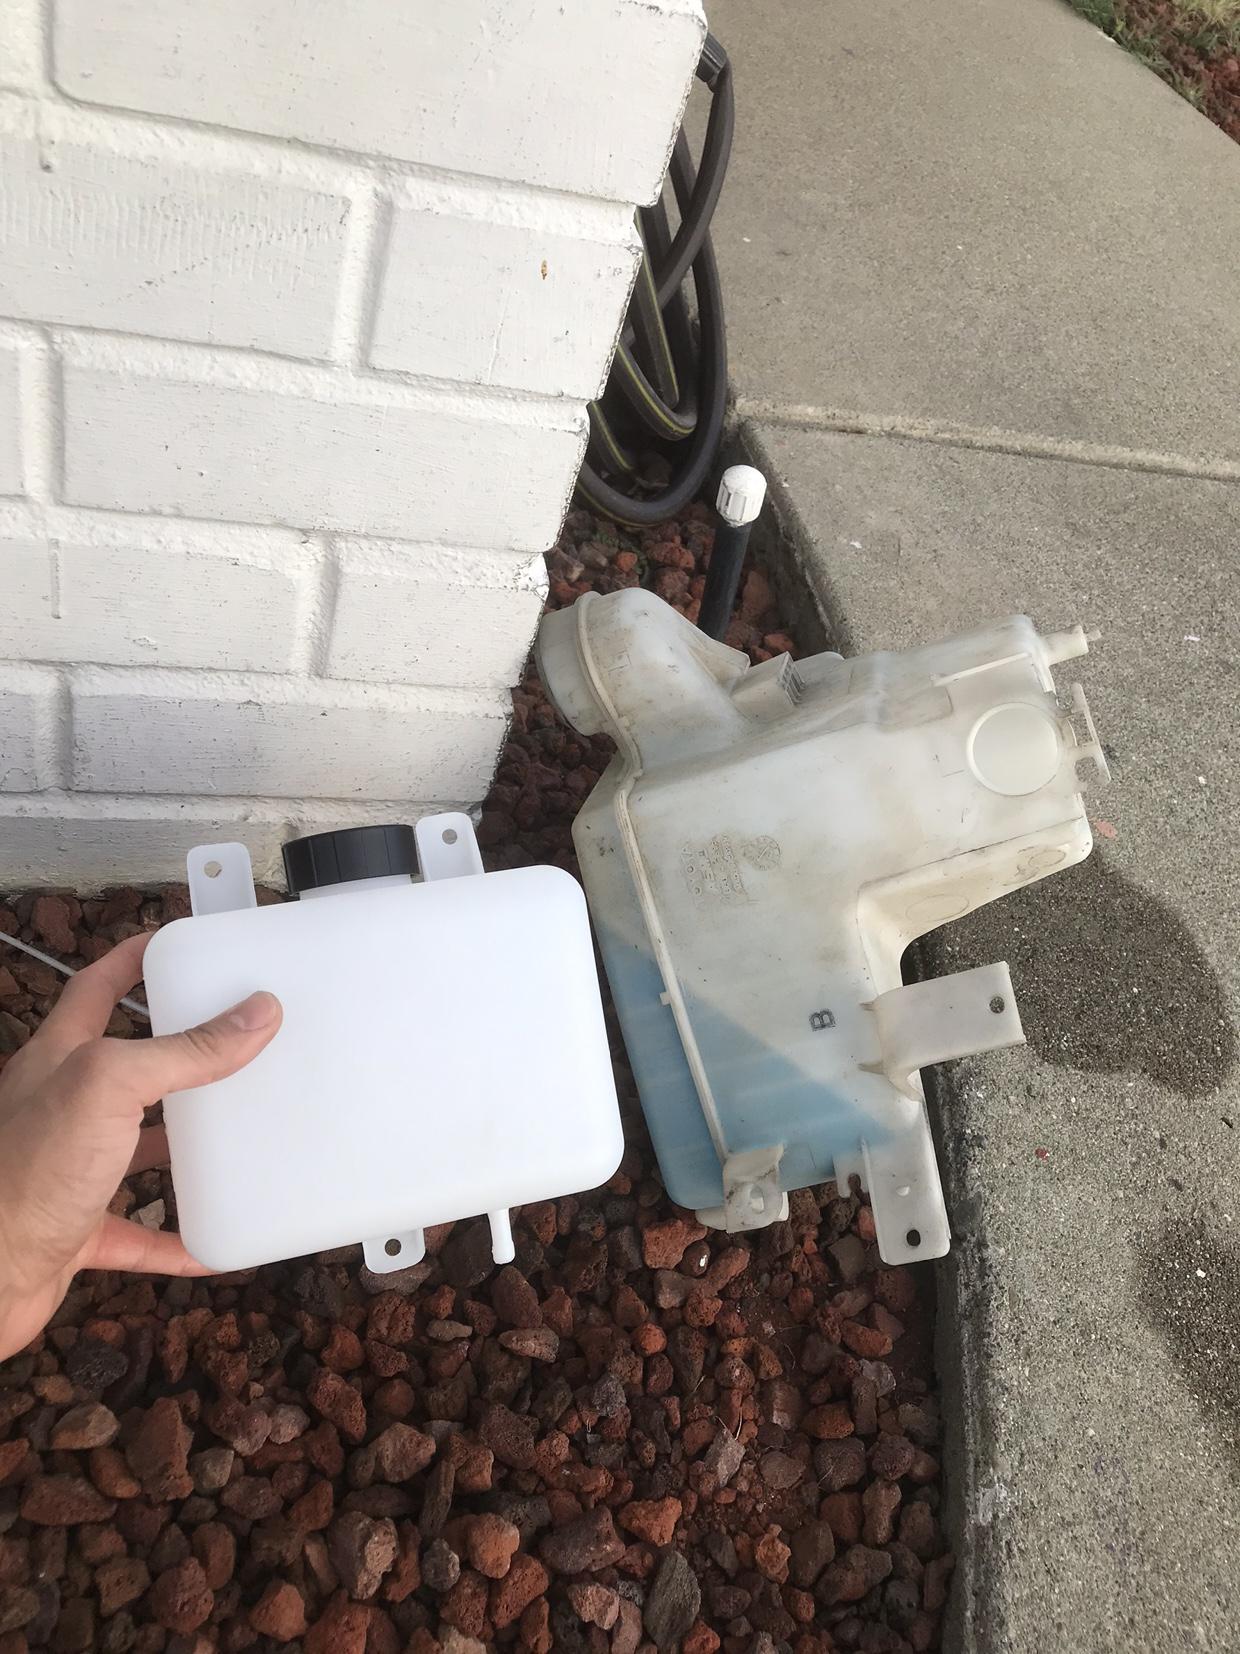
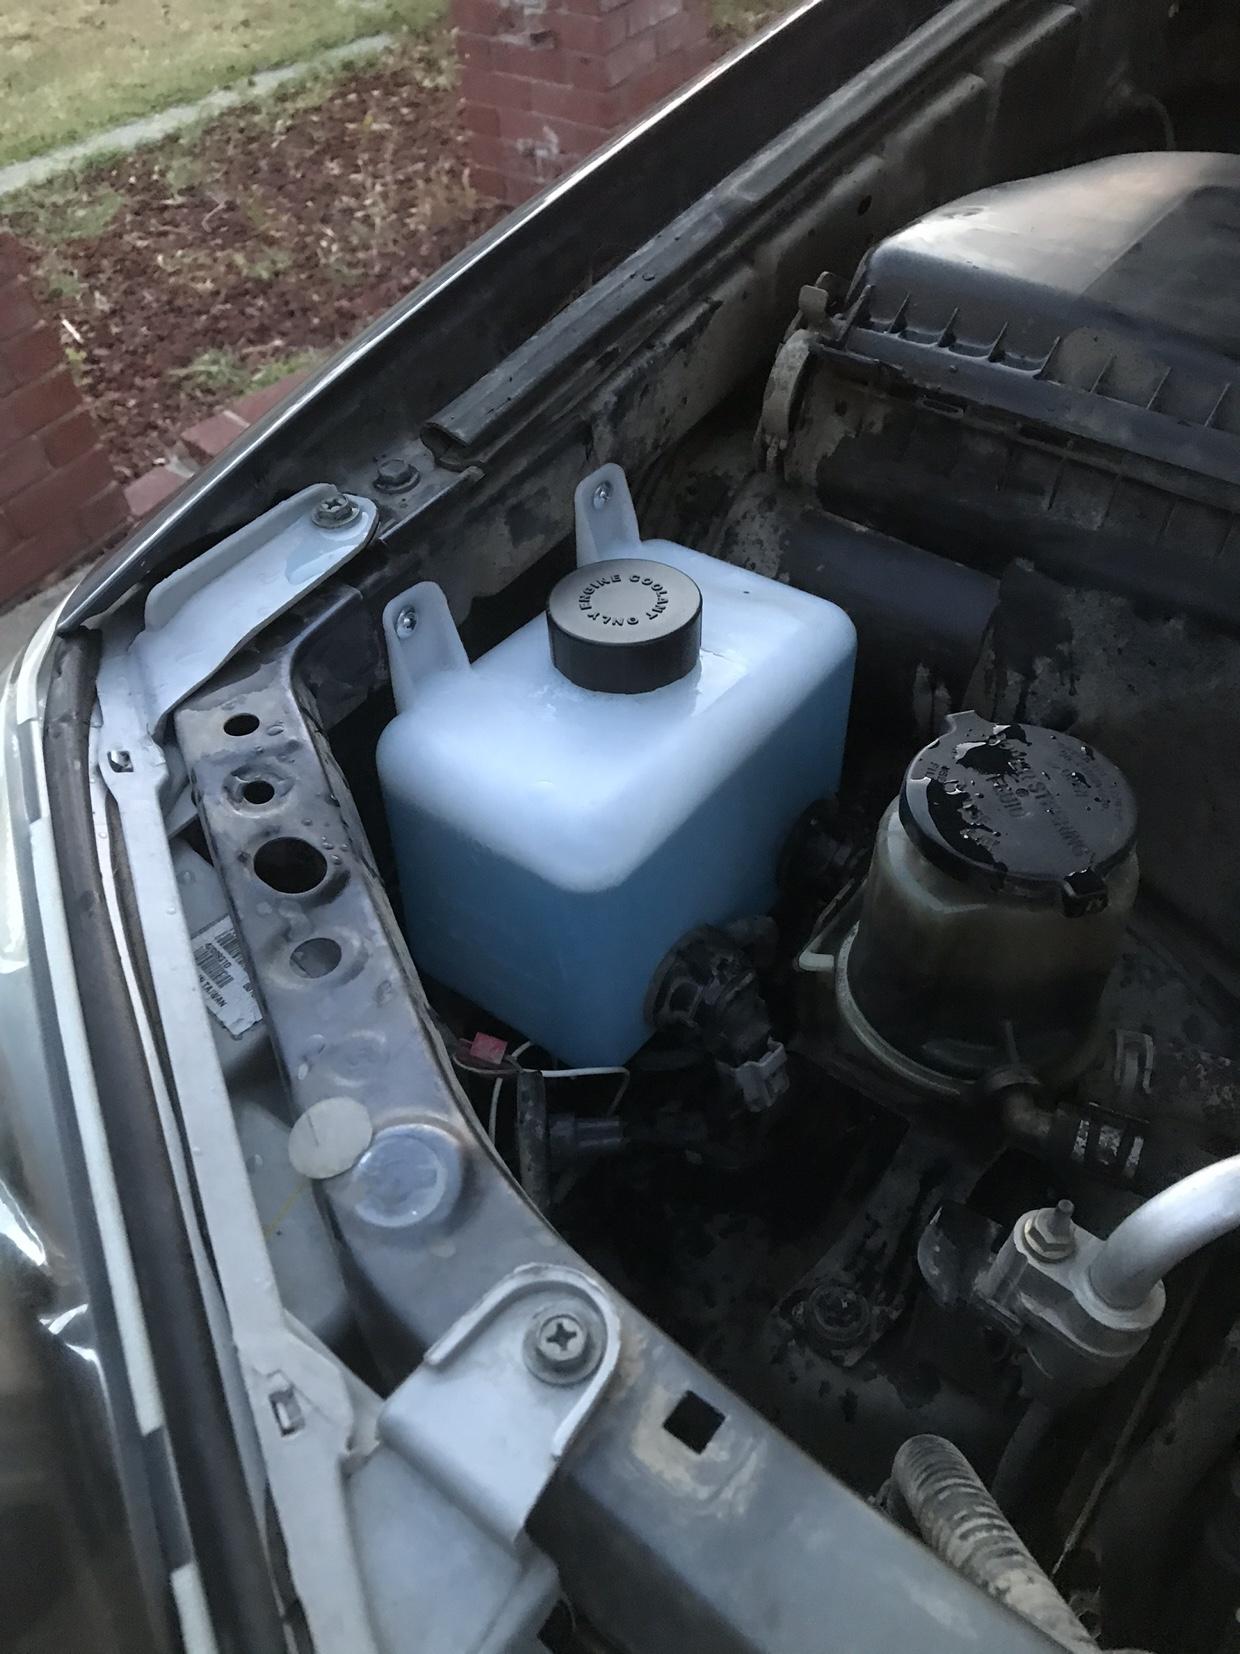
Relocated the washer fluid bottle to inside the engine bay. The entire thing took two hours but that’s because my fabricator friend was taking exact measurements to drill the holes into the reservoir because of a new measuring tool he got. He failed at it.

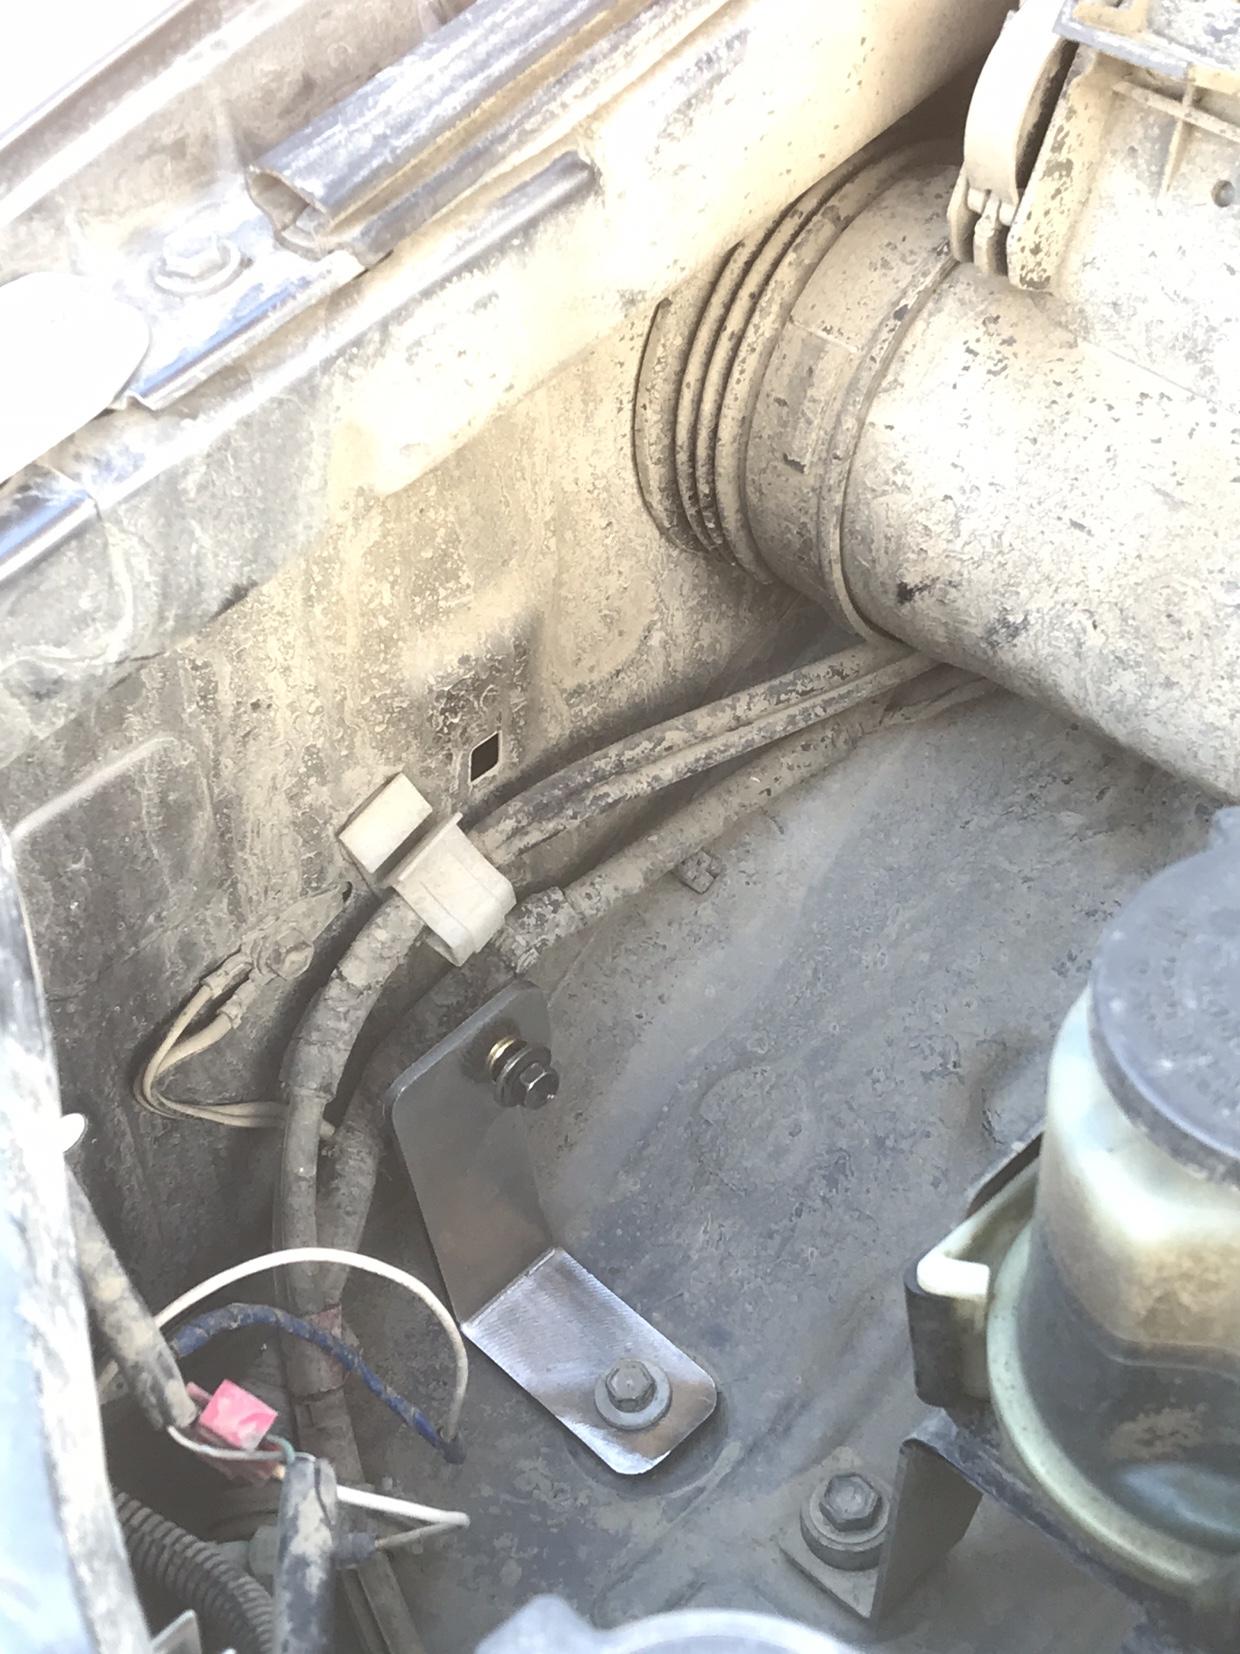
The process was really easy using a Silver Rhino Media relocation bracket and by following his write up.


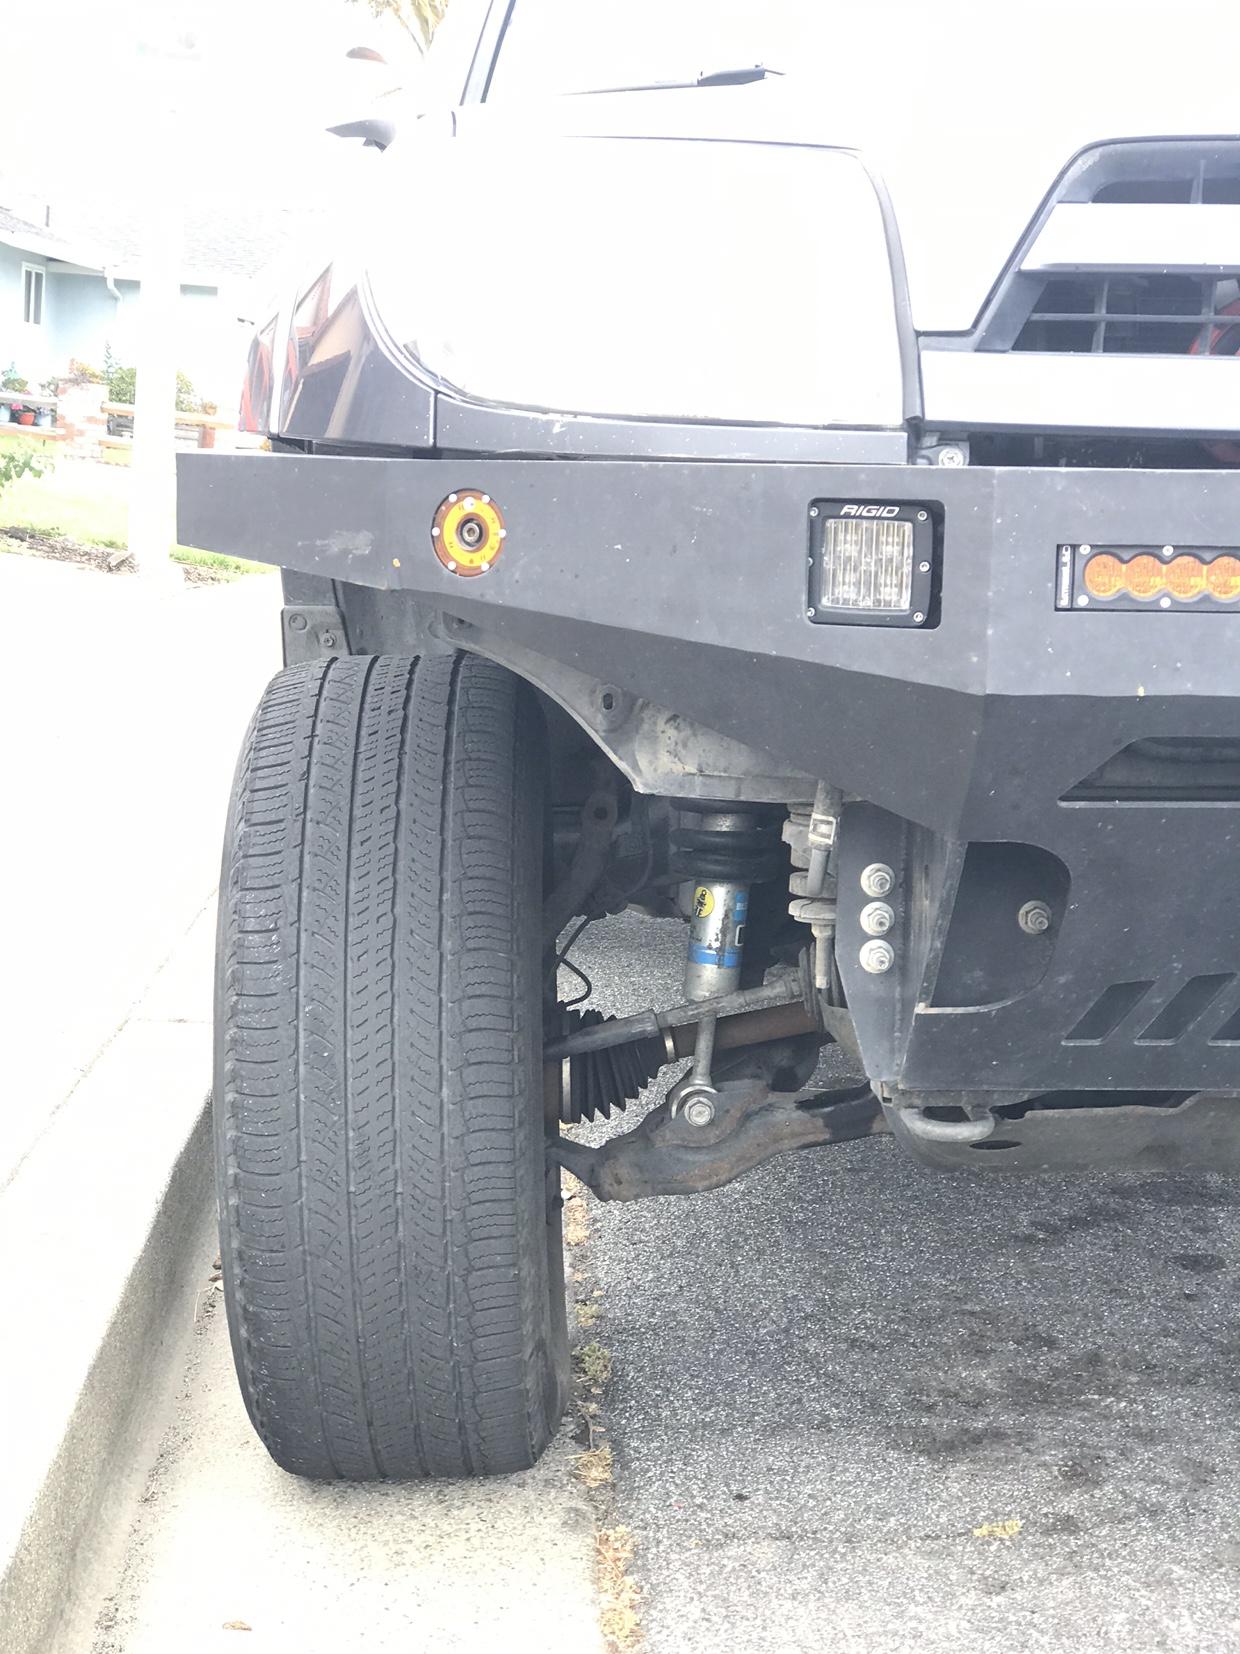
I am in $25 for this “mod” and it cleans up the front a bit. I plan on cutting some metal that is still showing under the bumper a bit.

26acbb871880d52b2e0ce202c94f154e.jpg


826784b36c94df17271694a796f297a0.jpg


A picture of the bracket that utilizes an existing hole for an m6x1.0 that the old fluid bottle mounts to inside of the engine bay.

c46e0d8cb415c8b329c87f46686bd508.jpg


b27a3889109ddb0bad14e29109fee4fd.jpg


921215ef92e7587301c34908330598f7.jpg


b734e0229fda9c47f90b743baf2c4290.jpg


Sent from my iPhone using Tapatalk
 
I plan on cutting this “wing” off.


5770924d1bae5056263c57292befa206.jpg


Sent from my iPhone using Tapatalk
Got a link for the reservoir you used? I haven't gotten around to it. I just painted that wing you say black and it honestly hides it pretty well unless you're looking for it.

Sent from my SM-G986U using Tapatalk
 
Cleaned up my fog lights/blinkers today. My dumb @$$ didn't seal them well enough after painting the shrouds last time, so water and mud got inside. They've now got a bead of silicon all the way around that should do the trick.

Also, a little overview of how I painted the insides of the indicators...

Before:
J55SiW8l.jpg
GQPrXdtl.jpg


Inside of one of the blinkers before cleaning:
7KVbNeQl.jpg
After:
W6k4OyVl.jpg


Now:
i9nq38El.jpg
6UnWNIfl.jpg


Proof that you can still see the blinkers with the shroud painted black:
JPG2Hdpl.jpg
nqqLtxIl.jpg


I mask off the inside of the housing where the light diffuser sits. So everything behind it still provides reflection, and the diffuser makes it visible from the side.
 
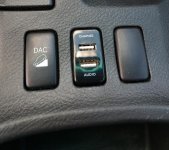
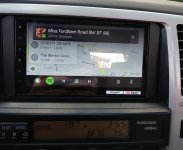
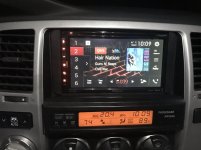
First off, it's nice to post progress, even though it's small and has been done 10000 times over on here, it's better than just asking questions. Though I'll always do that. I finished up the install of my pioneer dmh2660-nex. I ran the mic under the steering wheel and up near the 'oh poop' handle. Next was installing the Toyota dual USB charger/audio output. For what it's worth, i used the USB that came with that USB output for the head unit and NOT the one that came with the pioneer. It works fine for Android auto in the 'audio' part of the adapter. I also replaced all of the center console amber lights in the climate control spots with factory ones as I had a few out. This is after I just got done detailing the entire inside of the car for the past 4.5 hours. Happy Sunday.
 

Attachments

  • IMG_20200530_184459494.jpg
    IMG_20200530_184459494.jpg
    133.6 KB · Views: 439
  • IMG_20200530_191532367.jpg
    IMG_20200530_191532367.jpg
    127.8 KB · Views: 436
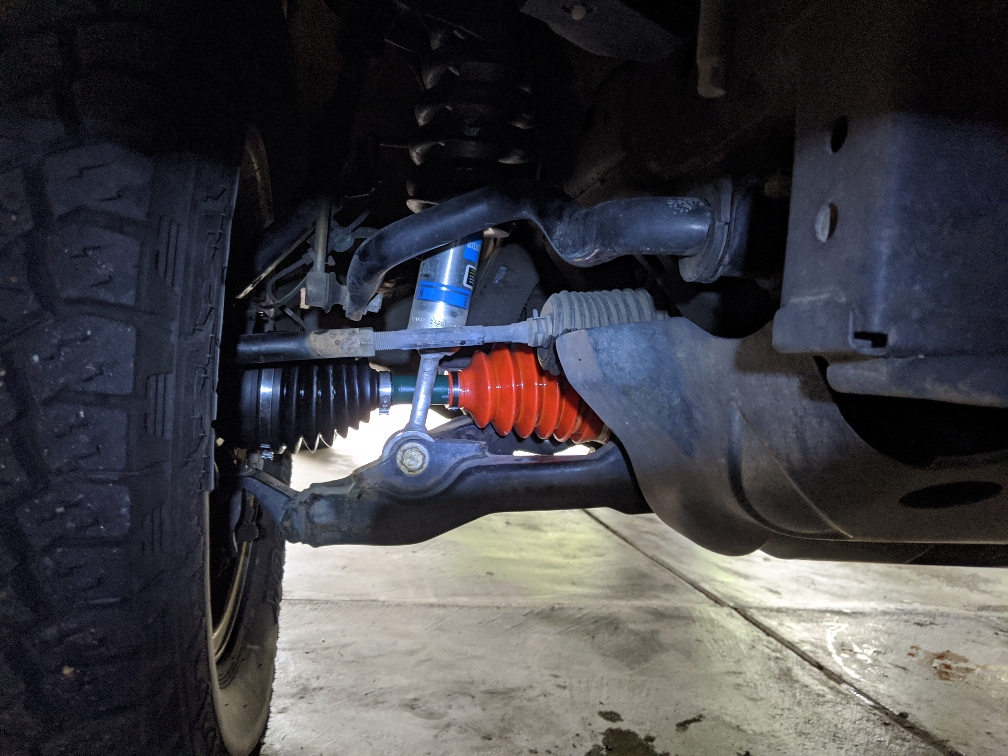
Installed new CV axles today at 167,397 miles. Even watching videos and reading about it the first one took about 6 hours. The second was about 45 minutes, lol. Axles are from CVJ since they're local to me.
2418395a1557684588da2a40597de368.jpg


Sent from my Pixel 3 XL using Tapatalk
 
looks like fuse block is on backwards, you want the master side with the continuous terminal at the battery side.


Mechman 240 amp Alternator install after the stock one went out at 139k.

Old one out through the bottom on the v8 seems the easiest way. Thankfully I have a lift to use in the shop. Did have to move some lines and loosen the power steering pump.
L3JYW5R.jpg

New one in
A0f3ECu.jpg

VPcT03I.jpg

SMD fuse block installed on oem fuse block lid. Only using one of the spots right now but this will give me more access points for later on. All 0 gauge knukoncepts OFC wire that’s crimped and soldered, wrapped in snake skin and then heat shrinked for the big 3. And you can see my battery terminals from Sky high car audio.
ljWBJOe.jpg

vGyKiTa.jpg

BImBuDZ.jpg

Here’s the after charging voltage cold and after warmed up.
rzNjxJF.jpg

KvlpnTC.jpg


And here it is after the gm diode was put in
qGaCXJ7.jpg

43RvPNn.jpg


Overall it wasn’t a hard install. Just time consuming waiting on the alternator to get here but that gave me enough time to run the wires for the big 3. I did use a half inch smaller belt to account for the mechmans slightly smaller pulley. This should last me very well in the future if I decide to add some power hungry additions like subs or winch etc etc.

 
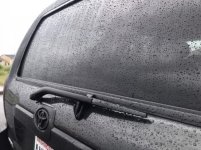
Finally instal a new rear window wiper... first one since new in 2006.
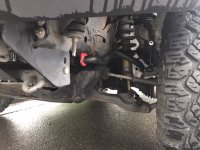
Also installed all new sway bar bushings and end links. Thanks to the forum for making me measure my bars to get the correct diameters! (30mm and 21mm). Went with red because red is fast...
 

Attachments

  • 0B77D568-D01F-42DE-9096-AA1317B44668.jpg
    0B77D568-D01F-42DE-9096-AA1317B44668.jpg
    57.2 KB · Views: 391
  • A38DE630-5A83-4190-BD4B-465DB695A02D.jpeg
    A38DE630-5A83-4190-BD4B-465DB695A02D.jpeg
    108.4 KB · Views: 389
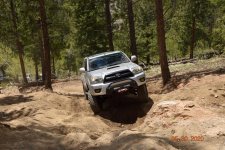
Found a Minimum Maintenance Road over the weekend in Northern MN. Nothing too crazy, but got the Hearing Aid a little dusty and dirty. It is hard to tell it's dirty because this color hides everything!

I have a feeling this was the first time this truck has been off the pavement. It was way too clean when I bought it to have been off-road. I can even tell that the previous owner never hauled a trailer either, the paint was in perfect condition inside the hitch.

85,000 miles and she is just getting started:thumb3:


Tire size and are you running spacers? TIA!
 
<blockquote class="imgur-embed-pub" lang="en" data-id="a/nbUNIqK"><a href="//imgur.com/a/nbUNIqK"></a></blockquote><script async src="//s.imgur.com/min/embed.js" charset="utf-8"></script>


Full tube bumper installed.
 
Installed my new Pioneer AVH-2550NEX with Carplay last night. Pretty nice unit

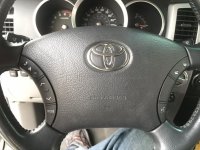
Tonight-Installed and upgraded to my Bluetooth Steering wheel right side buttons

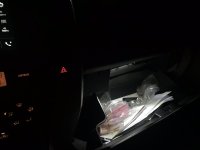
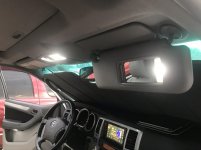
I finally finished my full interior LED swap. I was only lacking the vanity mirrors and glove compartment lights. I did upgrade to a little brighter LED’s for my back seat and cargo area (Superbright LED tested, Preying Mantis approved lol).

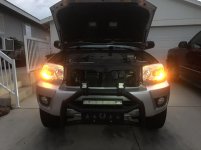
LED swap for my front parking lights. I would like to do the front DRL/blinkers and turns for the rear but hear it’s finicky.
 

Attachments

  • B0768CDF-8598-425B-8871-08C185815614.jpg
    B0768CDF-8598-425B-8871-08C185815614.jpg
    112.5 KB · Views: 424
  • 645A571B-8C8E-4112-91F8-7F17CA4B1A58.jpg
    645A571B-8C8E-4112-91F8-7F17CA4B1A58.jpg
    134.1 KB · Views: 424
  • 74EB030C-B8E5-431E-8523-85E5B6820AA7.jpg
    74EB030C-B8E5-431E-8523-85E5B6820AA7.jpg
    91.1 KB · Views: 413
  • 51B50F8C-0D1F-4B41-955F-CA4D8EC487A9.jpg
    51B50F8C-0D1F-4B41-955F-CA4D8EC487A9.jpg
    106.8 KB · Views: 421
  • F15ECCF5-5E9B-4990-9352-7E6585F18656.jpg
    F15ECCF5-5E9B-4990-9352-7E6585F18656.jpg
    130.8 KB · Views: 419
  • 1F4848B6-89D4-4114-9CEF-03D21A5146CB.jpg
    1F4848B6-89D4-4114-9CEF-03D21A5146CB.jpg
    91.9 KB · Views: 401
  • 4CECCF2D-0FC5-4F09-832F-4F8B467182B4.jpg
    4CECCF2D-0FC5-4F09-832F-4F8B467182B4.jpg
    117.1 KB · Views: 417
Last edited:

Members online

Forum statistics

Threads
278,316
Messages
3,554,112
Members
248,016
Latest member
Advally Service

Trending content

Back
Top