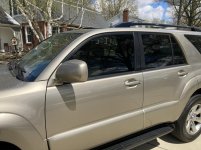
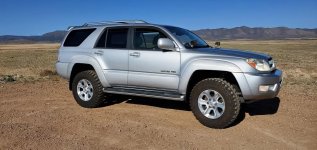
What did you do with your 4runner today?

For serp belts, You cant do better than rockauto on price. Amazon is full of fake products. I dont buy anything from amazon anymore. Your pulleys might need changing. Again, rockauto has them all for cheap and a warranty.
 
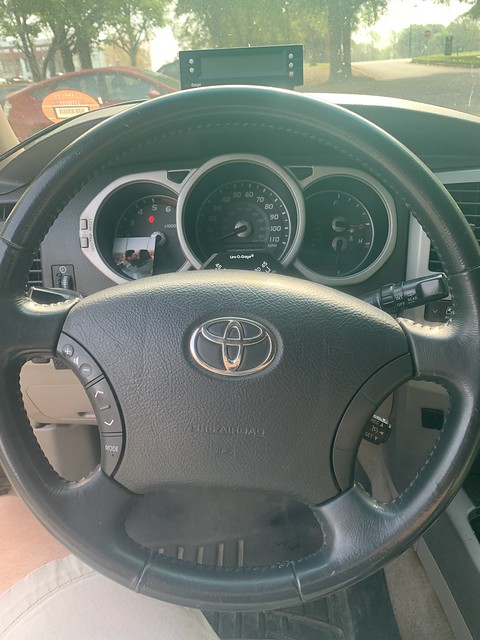
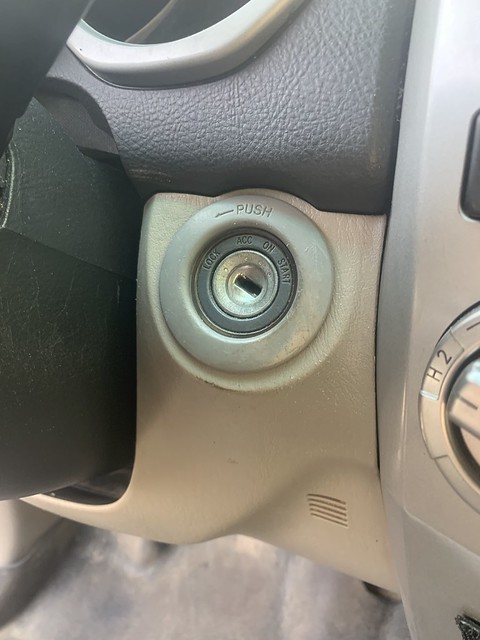
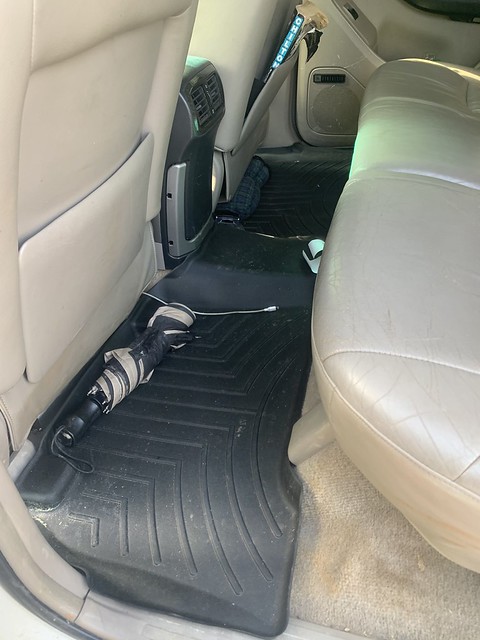
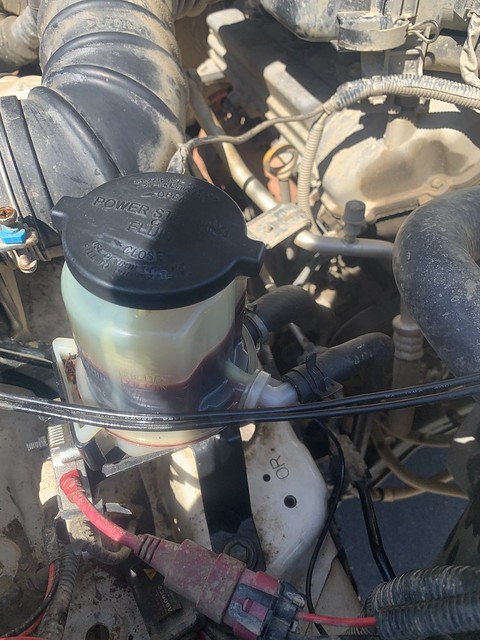
Got some goodies from the junkyard the other day: got a good condition steering wheel, the plastic ignition trim ring, and scored a second row weathertech! Also got a clean power steering reservoir since I couldn't see through mine.


While I was replacing the power steering reservoir, I replaced some cracking hoses and flushed the power steering following this writeup:
DIY: Power Steering Flush (4th gen specific)

Here's part numbers for the hoses, I just used whatever was cheapest on Rock Auto:

PS Reservoir to PS Pump: Sunsong 3404929
PS Reservoir to PS Pump

PS Reservoir to hardline: Sunsong 3402985
PS Reservoir to Hardline


Not pictured, I also replaced my blower motor since it was squeaking a ton. Glad I was able to get a lot done!
 
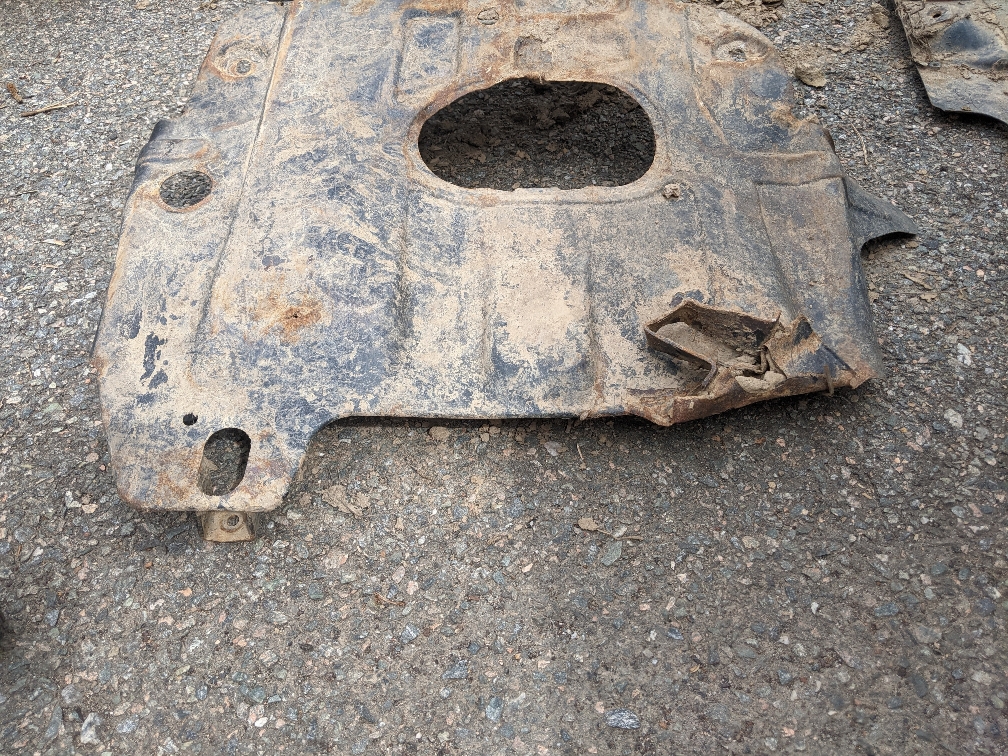
oil change and fixed a fuse for my baja designs pods. I have an RCI skid ready to install but I was wondering if you guys would wait for the full set to put it all on at once? Or just throw the skid on and piece it together?

*I have yet to purchase the rest of the skids. Hopefully in the future.
 
oil change and fixed a fuse for my baja designs pods. I have an RCI skid ready to install but I was wondering if you guys would wait for the full set to put it all on at once? Or just throw the skid on and piece it together?

*I have yet to purchase the rest of the skids. Hopefully in the future.

Throw it on now, the front stock skids are pretty weak. Especially the one under the oil pan, its like paper thin.
 
you right you right!
I did a whoopsie without even trying lol. A single piece to replace the front two skids skid is also going to prevent this from happening, since there won't be a seam to grab.
3de84b95298a4349ccea7a146fe35785.jpg


Sent from my Pixel 2 XL using Tapatalk
 
Took her to a trackday over the weekend! Towed around 400 miles total (coming up on 200k!) and camped out inside during a pretty massive storm the night before. Oddly enough, my gas mileage didn't take a noticeable hit when towing. Guess that's how it goes when it's already sh!t :D

p1FcY0al.jpg
pgJ1VSpl.jpg
 
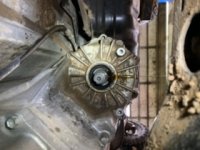
I was able to get my front brakes replaced along with sway bar bushings. Failed trying to get the front output shaft seal replaced. I was able to get the front driveshaft off but couldn’t get the nut off of the flange for the T-case. Not enough leverage or torque! I’ll try again this weekend on a lift. My spring compressor should be here tomorrow and hopefully I can get my front coil overs done and total chaos UCA’s rebuilt next.
 
Replaced the center console AUX port,

FYI you don't actual need to remove the center console.

Pull off the bezel and stuff around the shifter,
Reach in and disconnect it from the rear.
Then push it rearward towards the back of the car and it will just pop out into the storage compartment.
 
Got my front output shaft seal replaced. Things went way smoother with a lift. Sorry for the wonky pics for some reason this place flips them all weird.
 

Attachments

  • 30DE44CB-BC03-4A54-A328-7CBBE5A8AB7A.jpeg
    30DE44CB-BC03-4A54-A328-7CBBE5A8AB7A.jpeg
    32.5 KB · Views: 369
  • A2A81AD8-EEA6-407A-96C6-FD73532CA69E.jpeg
    A2A81AD8-EEA6-407A-96C6-FD73532CA69E.jpeg
    28.9 KB · Views: 370
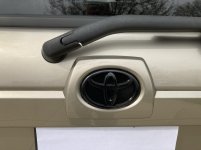
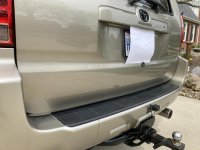
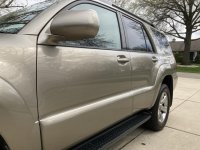
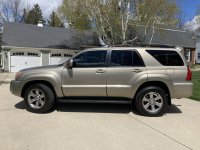
A little paint and a de-badge

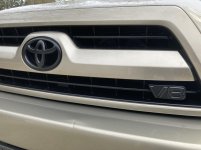
I considered doing the Plasti-Dip on my front and rear emblems but ended up painting them with primer and then a semi-gloss black. I like how it turned out. Then I got brave and de-badged the tailgate. Being my 4Runner is 14 years I was afraid that once I removed the letters there would be the infamous “ghosting” of the letters on the paint. Well.....I am happy to report that it was possible to get rid of any “ghosting”. Once the letters were removed (with a heat gun and trim tool) I used Goo Gone to remove any tape residue, them I used rubbing compound by hand to do 90% of any ghosting removal. Honestly there wasn’t any on the doors and on the tailgate there was just a little where the 4Runner emblem was. I then used my DA polisher and a little “Finesse It 2” to restore the shine on the clear coat and Voila...In less than an hour I had the entire vehicle de-badged, cleaned and polished. Very happy with the results! Thank you previous owners for taking care of the paint and garaging this gem of a truck! My next project is perhaps the wheels.
 

Attachments

  • 4363879D-6A45-431E-94AE-93752246D480.jpg
    4363879D-6A45-431E-94AE-93752246D480.jpg
    124.5 KB · Views: 383
  • 3C60DAAC-2FF3-4952-B10E-9A0ED1C38C5A.jpg
    3C60DAAC-2FF3-4952-B10E-9A0ED1C38C5A.jpg
    133.1 KB · Views: 386
  • BC853A55-85D5-469E-971D-48BCB50FCE7E.jpg
    BC853A55-85D5-469E-971D-48BCB50FCE7E.jpg
    128.1 KB · Views: 393
  • 02CFB4E0-B14D-4F92-AD64-D39B33D3694E.jpg
    02CFB4E0-B14D-4F92-AD64-D39B33D3694E.jpg
    133.8 KB · Views: 392
Which LEDs did you get...and are you happy with them?

Amazon.com: Auxbeam 9005 Led Bulb, F-S2 Series 9005 HB3 H10 9145 Bulb Conversion Kit, 8000 Lumens 6500K White, Replacement Halogen Bulb Fog Light, Pack of 2: Automotive

Amazon.com: Auxbeam H11 Led Bulb, F-S2 Series H11 H8 H9 Bulb Conversion Kit, 8000 Lumens 6500K White, Replacement Halogen Bulb Fog Light, Pack of 2: Automotive

They were recommended in another thread that I can no longer find. They seem to work well, they are much much brighter. Also super easy to install, though I will say that one of the high beams was somewhat of a challenge to get to "click" in on the connection, but other than that it was fine.
 
35% Window tint. Looking good!
 

Attachments

  • 61CB28CD-D591-426F-977A-6B45EBD61DD1.jpg
    61CB28CD-D591-426F-977A-6B45EBD61DD1.jpg
    138 KB · Views: 492
  • 71AEF55C-7D70-48DC-AB69-3E420AA19D4B.jpg
    71AEF55C-7D70-48DC-AB69-3E420AA19D4B.jpg
    136.4 KB · Views: 480
unlimited powaaaaaaaaaaa

Ran some 0 gauge cable to replace my existing 4 gauge that was in there to begin with. Got two new sundown subs in a beefy box and a new amp, so I needed to get more juice to it safely. OFC of course, nice new fuse blocks and power distribution blocks for the power and ground! I also picked up a 4 channel amp for my front door speakers, but I've gotta run the wire to the doors before it'll be jammin. Want to get everything wired as far as power & ground go.

Managing the wires has been a lot of fun, I love getting meticulous and making everything tidy. It was -not- fun trying to fit 0 gauge in the factory channels, but I made it work! Just have to cut my sheet of MDF down to size, cover it or paint it, then mount it to the back passenger side seat. Then I'll mount the amps there! Planning on using the leftover wire I have to do the big 3 upgrade as well, just waiting for my 0 gauge lugs to come from Amazon.
 

Members online

Forum statistics

Threads
278,316
Messages
3,554,110
Members
248,016
Latest member
Advally Service

Trending content

Back
Top