6 Seater T4R
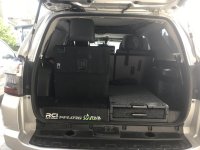
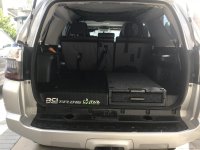
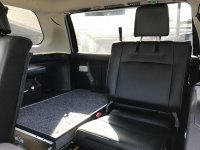
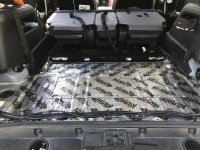
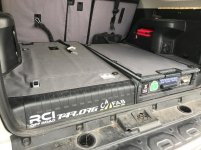
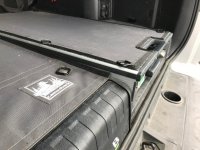
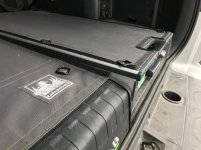
I've been thinking about doing this for some time, but the cost of the ARB drawers was just a bit out of reach. I finally decided to pick up the RF945 to remove one seat from the 3rd row and have a 6 seater with some storage and a flat surface for the fridge slide. Prior to this, I had a fridge slide and also built my own cargo box, both of which sat on top of the 3rd row seat. The fridge slide was a good height, but rattled too much for a daily driver. The cargo box worked well, but put the fridge too high for my wife and also made the floor uneven. The ARB RF945 is a perfect height and matches the existing 3rd row height almost perfectly. The tailgate section is slightly higher than the remaining 3rd row, but that is because the 3rd row seat slopes back towards the tailgate.
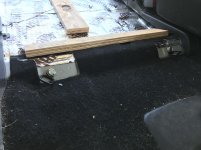
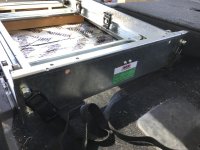
The install was pretty straight forward. The ARB roller floor mounting plates can be positioned a couple different ways. The one towards the 2nd row is moved back 1 position and sitting on a 3/4" sheet of plywood. I used tie downs and a strap to secure the cargo box to the existing threaded holes used to secure the forward section of the 3rd row seat. The mounting plate closer to the tailgate can line up perfectly with the existing threaded holes used to secure the 3rd row seat, but requires 2 new holes to be drilled in the sheet metal of the drawer. Not a big deal by any means. That section is sitting on top of a 2x4. The existing threaded holes in the floor are slightly wider than the span of the drawer holes. This requires elongating the slot on the ARB mounting plate to capture the threaded holes. If I was to do it over again, I would have just bolted the 2x4 to the floor and secured the ARB mounting plate using T Nuts in the 2x4. I'll do this if I ever remove the drawer and reinstall for any reason. The setup is solid.
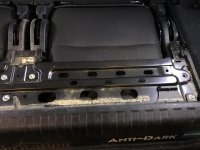
The main issue is how to make the final install appear finished. The short answer is to cut all of the pieces that span the entire rear in half. It's not exactly in half, but measure twice and cut once. The carpeted floor section is secured by an existing tie down, but that one location plus the plastic clip did not seem very secure. Fortunately, there is a threaded hole in the remaining seat that the sheet metal support plate mounts to. That sheet metal support is bolted in 4 locations, 2 bolts in the floor outward towards the sides of the vehicle and 2 bolts into each of the seats. I drilled a hole through the carpeted section and secured it down to the support plate/seat using an additional tie down. The plastic cover is easily cut with a jig saw and I covered the cut edges with a product called "trim-lok," which is a flexible PVC edge trim. I'm very happy with the results and it is almost perfectly level.