Xtremluck's 2012 SR5 Build Thread

I just found your build thread. Excellent work! I would like to know how you secured your Maxsa Buddy Escaper board to the rack. Could you post some picture showing that? Are they locked?

I have a flat rack so I am worried about some noise and drag since these boards don't stack together.
 
I just found your build thread. Excellent work! I would like to know how you secured your Maxsa Buddy Escaper board to the rack. Could you post some picture showing that? Are they locked?

I have a flat rack so I am worried about some noise and drag since these boards don't stack together.

Thanks! I'm ashamed to admit that they are attached to my rack via two ratchet straps. They don't stack up like Maxtraxx so I didn't see any value in trying to build a custom mount. Waiting for them to break or get stolen and will probably move to Maxtraxx since (4) stacked MTs are the same height or less than (2) stacked Maxsa Buddies!
 
Thanks! I'm ashamed to admit that they are attached to my rack via two ratchet straps. They don't stack up like Maxtraxx so I didn't see any value in trying to build a custom mount. Waiting for them to break or get stolen and will probably move to Maxtraxx since (4) stacked MTs are the same height or less than (2) stacked Maxsa Buddies!

I am also on the fence about what to do with them. Either build a custom mounting solution for them, or get Maxtrax instead. I wanted to save a bit but now I worry if I would end up paying more at the end. Will see. Thanks!
 
Just read your trip report, it looked awesome!

What headlights did you end up going with? I was looking at some of them on rockauto.

Thanks,
 
Just read your trip report, it looked awesome!

What headlights did you end up going with? I was looking at some of them on rockauto.

Thanks,

I went with used OEM headlights with retrofitted HID bulbs from XenonDepot. Don't waste your time on aftermarket headlights. They are supposed to be outright dangerous in terms of how bad the projectors are. You can pick up a set of used headlights for under $250 on ebay!
 
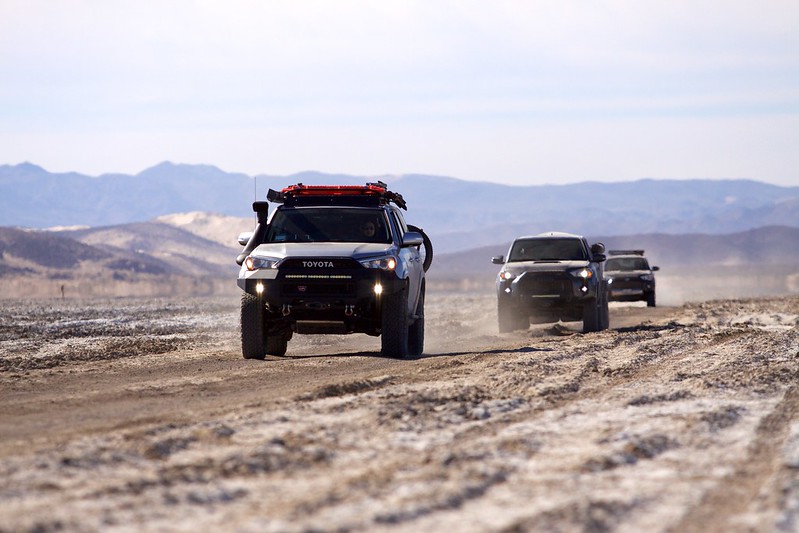
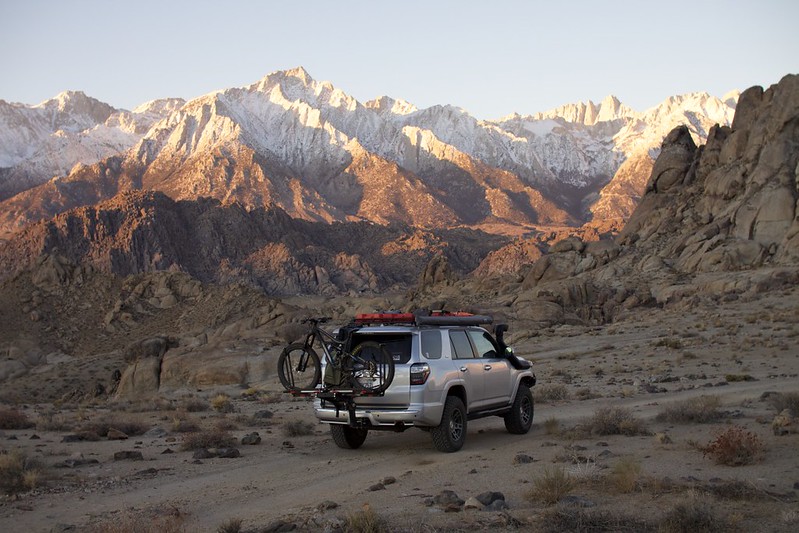
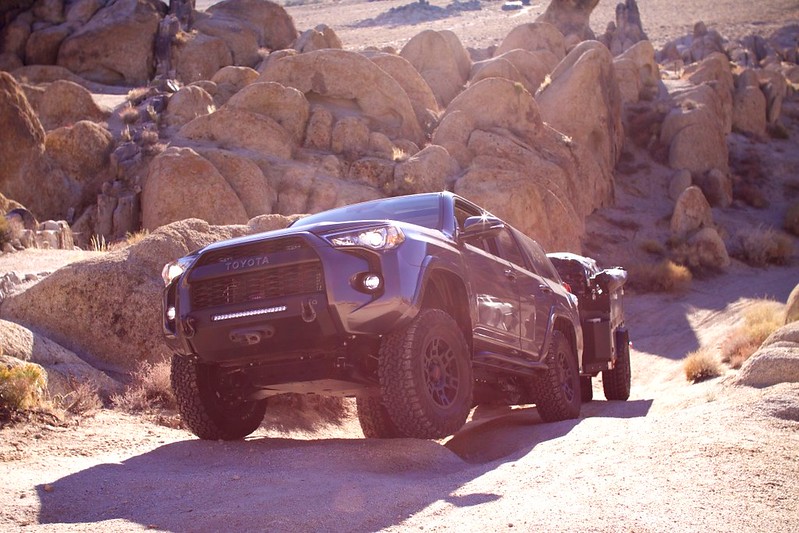
Posting my favorite shots from the most recent Mojave/Sedona Trip:

38244332935_9f5faba9e8_c.jpg


25258789578_f7be2b1b96_c.jpg


25258616768_e3f1979dd4_c.jpg


24265070447_76ffdb303a_c.jpg


Trip Report Here:http://www.toyota-4runner.org/5th-gen-t4rs/248369-crossing-mojave-desert-trip-report.html
 
Had a busy weekend! Decided to mount and wire my Baja Designs S2 Pro/Sport lights to my rack. Found side and rear lighting as a big gap for finding campsites in the dark on my last trip. These little guys were a perfect solution:

3e637d5abcac72c778b6f619fbe1c1ab.jpg


Will need to tweak the passenger side mount as the awning is blocking some usable light. Really wish I had some metal fab skills to create a custom bracket!

33a06e93bf9d684027150ed12efa0759.jpg

Really pleased with the side output, the S2 sports in the rear aren’t the brightest but they will be perfect as dust/fog lights. I’ll be adding bumper lights once I make a decision on what metal bumper to go for in the near future!


Sent from my iPhone using Tapatalk
 
Last edited:
Hi X,

I like your use case of using auxiliary lighting for finding camp sites in the dark. Can you tell me more about your BD S2 side and rear lighting arrangement. How many pods total? How did you run your wire to each from your SPOD and does each light have its own switch or did you double up on some of the lights to one switch?

On the metal fab skills, I am looking into joining one of those co-op centers around the Bay Area that for a monthly membership fee, lets you use their tools and equipment and teaches you welding n' stuff. If I find a good one and join, I will let you know.

Cutty
 
Hi X,

I like your use case of using auxiliary lighting for finding camp sites in the dark. Can you tell me more about your BD S2 side and rear lighting arrangement. How many pods total? How did you run your wire to each from your SPOD and does each light have its own switch or did you double up on some of the lights to one switch?

On the metal fab skills, I am looking into joining one of those co-op centers around the Bay Area that for a monthly membership fee, lets you use their tools and equipment and teaches you welding n' stuff. If I find a good one and join, I will let you know.

Cutty

Hey Cutty!

So I have (2) BD S2 Pros in white (Flood/Work light pattern) on the sides. They are REALLY bright and I don't think you would need more than one on each side. For the rears I have BD S2 Sports in amber (Flood/Work light pattern). Their primary use will be as a rear fog/dust light.

If you need actual rear lighting I would recommend using S2 Pros in white (flood/work). My use case didn't require this as I will be adding rear backup lights with my future metal bumper.

Let me know what you find on metal fab classes. Maybe ill make my own rear bumper haha
 
Had a chance to ring in the New Year camping and hiking up in California’s Lost Coast. Even got to do a little dirt road and beach driving!

21f9e215dbea4281f00784f74ad2e210.jpg


f1bb8b090d5c1c2e53c9f19d135cc7f4.jpg


Sent from my iPhone using Tapatalk
 
Last edited:
Finally installed my ARB air compressor paving the way for shorter air up times and possibly air lockers.

deda70fc1d17ace1e283d4a36b56fb2c.jpg


Picked up two great tools for this project. A hydraulic crimper and a butane powered soldering iron. The crimper is amazing and allows you to make solid connections with your ring terminals. Will never do another electric project without it!

The butane soldering iron is also handy as I park in a shared garage with no electrical outlets. This allows me to get my contacts to the right temp for proper soldering. I was using battery powered irons before and they can’t even compare in term of effectiveness!

8d7e5af66e6fcad1288ae52c9fc0f393.jpg


Ok now off to Death Valley to test all of this stuff [emoji12]


Sent from my iPhone using Tapatalk
 
After reading your Death Valley trip report (awesome stuff!!!), I would like to know your Rotopax fuel configuration. From the Chicken Rock video, I think you have two 3 gallons on the back, and two (?) 2 gallons on the side. Am I right?

I am looking to add fuel packs but those Rotopax are kind of pricey, plus mounting hardware. Also, I might add a rear bumper with swingout so jerry cans would be better in this case. Any other suggestions.
 
After reading your Death Valley trip report (awesome stuff!!!), I would like to know your Rotopax fuel configuration. From the Chicken Rock video, I think you have two 3 gallons on the back, and two (?) 2 gallons on the side. Am I right?

I am looking to add fuel packs but those Rotopax are kind of pricey, plus mounting hardware. Also, I might add a rear bumper with swingout so jerry cans would be better in this case. Any other suggestions.

Thanks! I don't think you should mimic my Rotopax setup ;) I have a weird use case that limits my options due to a really low garage door. My current setup is:
(1) 3 Gallon Rotopax
(2) 3.5 Gallon Fuelpax

One 3.5 gallon Fuelpax is mounted on the side and the remaining containers are mounted on the rear.

When I get my rear bumper I will probably consolidate to just (2) 3 Gallon Rotopax mounted on the swing out. Carrying 10 gallons of spare fuel is overkill. Hope that helps!
 
After reading your Death Valley trip report (awesome stuff!!!), I would like to know your Rotopax fuel configuration. From the Chicken Rock video, I think you have two 3 gallons on the back, and two (?) 2 gallons on the side. Am I right?


I am looking to add fuel packs but those Rotopax are kind of pricey, plus mounting hardware. Also, I might add a rear bumper with swingout so jerry cans would be better in this case. Any other suggestions.


Sorry [MENTION=130844]JohnTheLuck[/MENTION] I though I replied to this . I have (2) 3.5 gal Fuelpax and (1) 3 gal Rotopax mounted on the roof. A bit excessive yes but I’ve found it quite useful when traversing really remote terrain. (Ie. Driving around the North Rim of the Grand Canyon and traversing into Utah all off-road)

You’re probably fine with just one 5 gal jerry can mounted on your rear bumper for most situations though.


Sent from my iPhone using Tapatalk
 
Finally finished installing my dual battery system. Of all the things I’ve done to my truck this was probably the most difficult. It took almost two months of research, working nights after work and weekends to get this in. I went with a National Luna battery management system, Odyssey PC1400, Shrockworks 2nd battery mount and custom cables. The sPod is wired to the aux battery and I will start work on running a rear fuse block for a fridge, accessory power and rear kitchen lighting next.

8e23ceccf99847c0224087ff470e2a3a.jpg


b50caf4440dd1d6261cd9e73971f681a.jpg


e2901ad8e5007c611d3c048020b2d0c5.jpg


2db51eb30fb64b6dd7245c17bb53096e.jpg


Sent from my iPhone using Tapatalk
 
After adding 200+ lbs of equipment to the front end it was time to switch to heavier springs. I was maxed out on preload on the driver side Icon coilover and was still 3/4” under my original lift height (23” hub to fender). So out with the old 13” 650lb springs and in with the 14” 700lb springs. A couple of pro tips from the install:
1. You need a wall mounted spring compressor for this
2. Make sure you disconnect your wheel speed sensor wire before trying to extract the coilovers. I toasted the passenger side cable when I stretched it out

Preload Before:
4f5f5fcc1b632cba7d592e1fc18d2282.jpg


Preload After:
2ae692f4dcf74f5e0cf692ff34e37991.jpg


Restored Ride Height:
4ece06747934391703dc1de7c2d1619f.jpg


Sent from my iPhone using Tapatalk
 

Members online

Forum statistics

Threads
278,310
Messages
3,554,079
Members
248,016
Latest member
Advally Service

Trending content

Back
Top