Eibach Pro-truck lift

I was planning on running 285/75/17 but now Isee that there are not too many tire options in that size, however, in 295/70/17 has a lot more options. What should i do?
 
Last edited:
The point of my post is that I discovered there are many layers to wheels, tires, lifts, and rubbing. I can't answer your question directly, but one of your first questions about going to 295s is will the stock wheel suffice...be wide enough? I don't know offhand. Plus, if you lift, will the stock wheels and offset make it look too tucked in even with the bigger tires? Then again, if you go too wide a wheel with negative offset like I did, all of a sudden you need the BMC with 275s. It makes your head spin.
 
I was planning on running 285/75/17 but now Isee that there are not too many tire options in that size, however, in 295/70/17 has a lot more options. What should i do?

I'm not running that size but I'm running this lift with 285/70/17 Wildpeaks for about 7000 miles now. I love the look and have no issues, minus a slight rub at certain times in reverse turning all the way. I am sure someone is running 285/75/17 and it's floating around on this forum somewhere, but I don't remember seeing it in this Eibach lift thread. I think 295/70/17 would take some work to clear but would look great.
 

Thanks. I think I read somewhere on the Eibach documents that these are digressive but with special valving so that they feel like progressive at low speeds. Indeed, people seem to like them better than 5100s.

Can you elaborate on the details? Thanks!
 
Hey Ryan, I sent you an email last night. I thought I would put it also on here for some feed back as I'll be doing the rear lift today. Yesterday I did the front. When I lowered off the jack stands and jack w/ wheels on, It seem to look slightly higher on the passenger side. Note I still needed to attach KDSS back to the LCA on both sides. I was struggling to put those back on so I left it to finish today with more light. Before I closed shop I took a quick measurement and saw that the passenger side was roughly 2" higher than the drivers side.

Both pins on the shocks are set to the bottom setting. I made sure the bottom plates where the bottom spring rest on was on correctly with flat side down. if anything I remember on passenger side the bottom spring end was about a 1/4" away from the perch...Other then that what anyone suggest I go look for so I can button up the front. Is this normal without KDSS not hooked up?
Thanks in advance.
 
Hey Ryan, I sent you an email last night. I thought I would put it also on here for some feed back as I'll be doing the rear lift today. Yesterday I did the front. When I lowered off the jack stands and jack w/ wheels on, It seem to look slightly higher on the passenger side. Note I still needed to attach KDSS back to the LCA on both sides. I was struggling to put those back on so I left it to finish today with more light. Before I closed shop I took a quick measurement and saw that the passenger side was roughly 2" higher than the drivers side.

Both pins on the shocks are set to the bottom setting. I made sure the bottom plates where the bottom spring rest on was on correctly with flat side down. if anything I remember on passenger side the bottom spring end was about a 1/4" away from the perch...Other then that what anyone suggest I go look for so I can button up the front. Is this normal without KDSS not hooked up?
Thanks in advance.
If you have not driven it around the block, its not uncommon for a vehicle to sit funky when taken back off the jacks after a lift install.
Once it can "stretch it legs" and settle it levels out.
I dont have KDSS, so I cant comment on how that would effect it.
 
Now that I've had the kit installed for a few days, here's a summary of my thoughts.

First, a little background:

I bought my 2014 Limited last fall. Super low miles and a good deal. Coming from a Mazda CX-5 as my DD, the 4Runner didn't seem to ride badly at all when I first bought it. Over time, and after hearing comments from my college-age daughters about how bumpy the ride was in the back seat, I started questioning the X-reas system. Is it working correctly? Does it just ride this way? Why does every tiny bump or expansion joint feel like I'm running over a curb? I mean it rode rough...

So I started doing research on suspensions and finally decided on the Eibach kit. Once it arrived, I made an appt to have it installed about a week out. Knowing my time with X-REAS was limited, I started to tinker. First, I disconnected one rear X-REAS shock by unscrewing the fitting at one of the check valve points. I read that you're supposed to have the vehicle on a lift when doing this, but, hey, I was feeling adventurous! So I SLOWLY unscrewed the fitting, and surprisingly it came apart without losing a drop of hydraulic fluid.

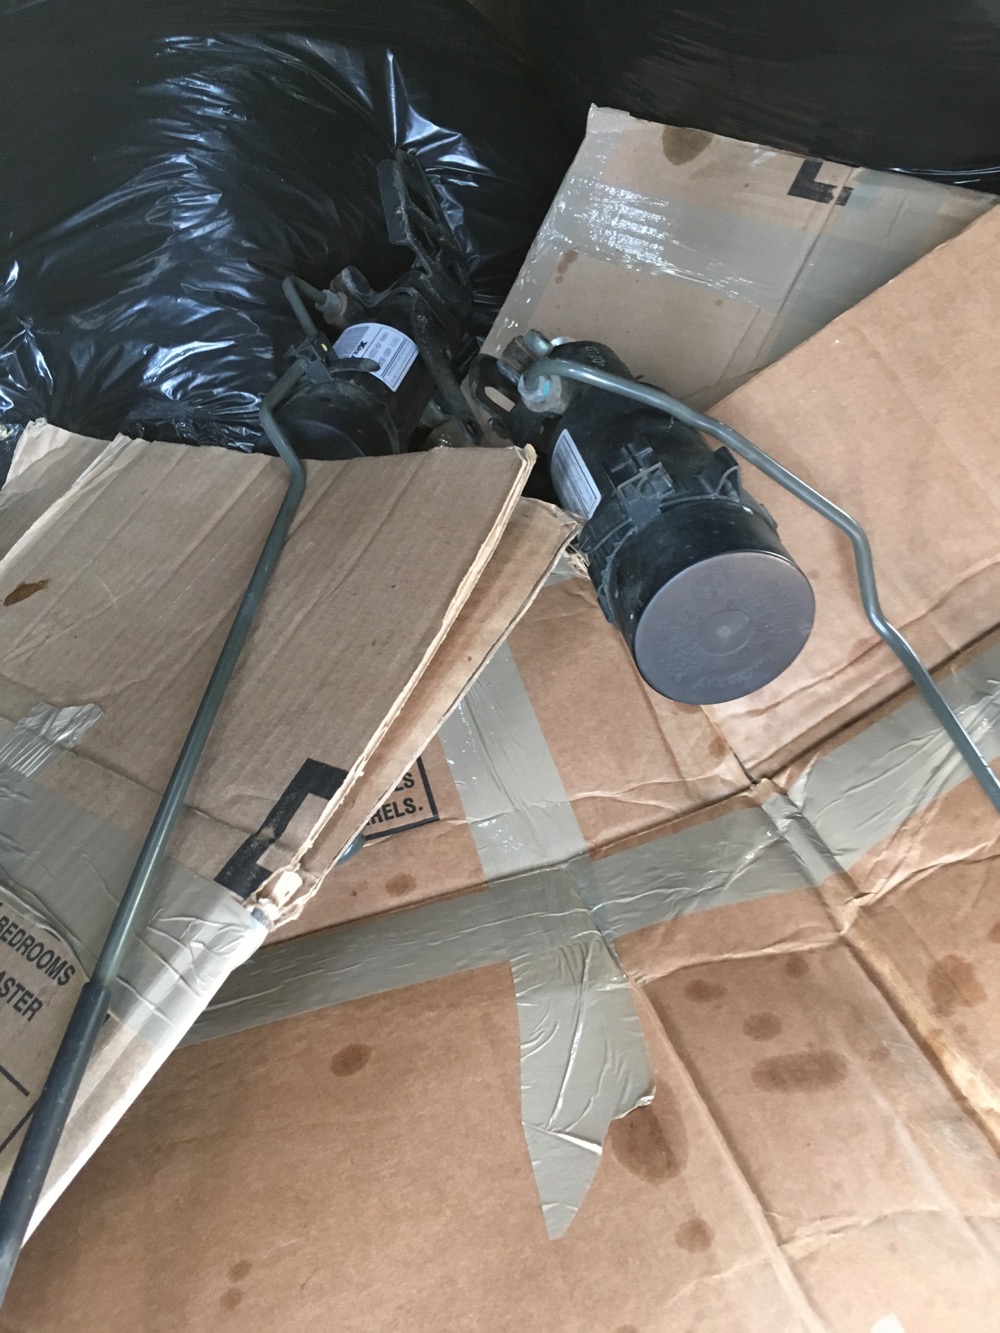
So I took the truck for a little ride. Hmm, it doesn't ride any different at all. Exactly the same.. So I then disconnected the other rear shock, when for a ride, exactly the same! I came to the conclusion that my X-REAS was shot. No evidence of leaking, so maybe it lost it's gas charge from the center absorbers - I don't know, nor do I really care... I then proceeded to disconnect all of the X-REAS plumbing (still while the vehicle is on the ground) and tossed it into the dumpster..

xreas-delete1.jpg


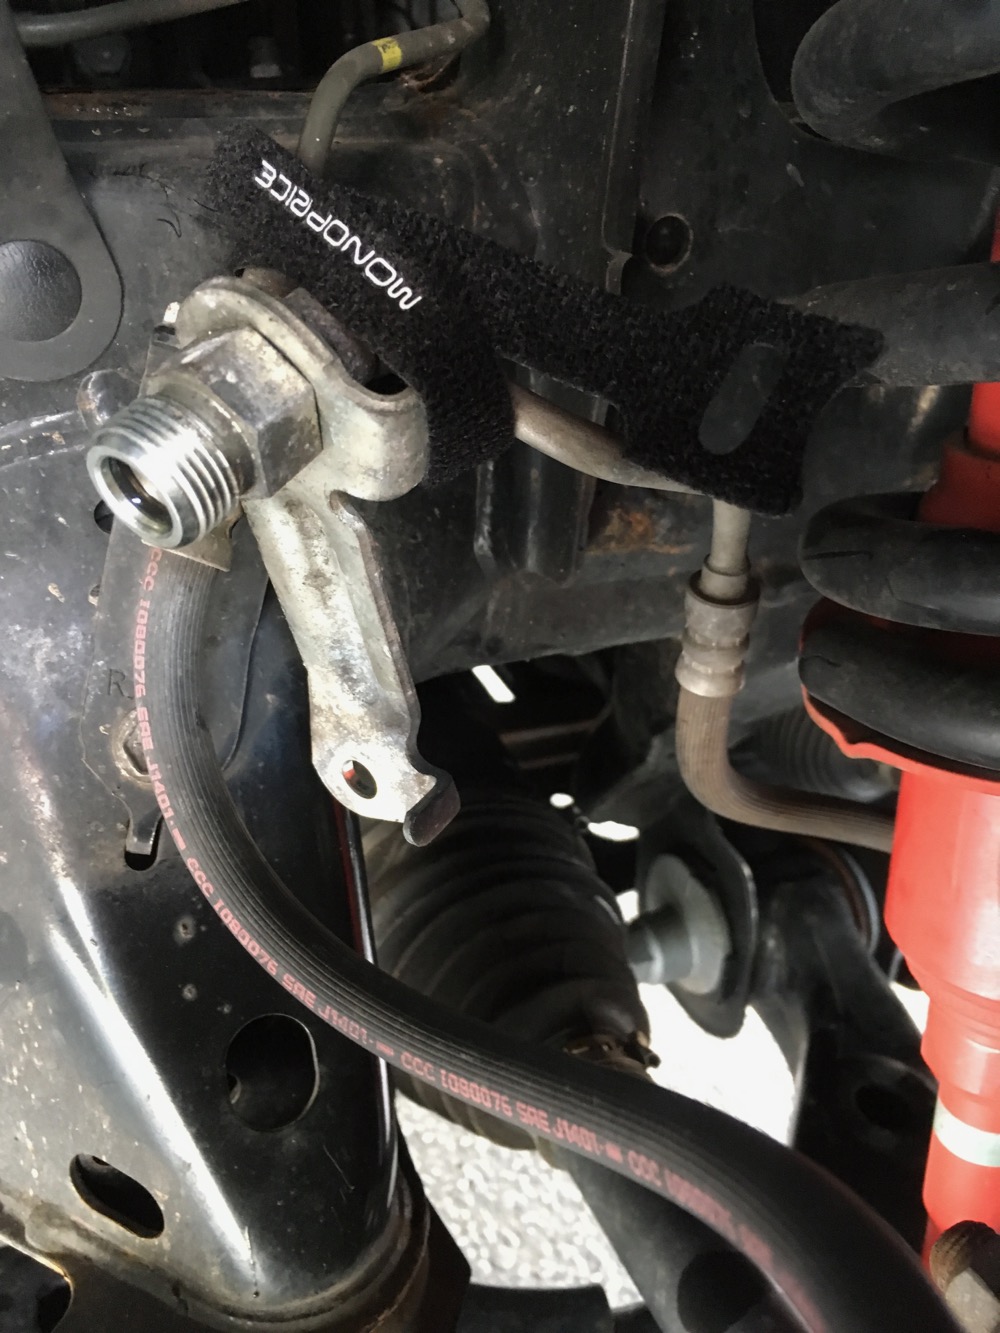
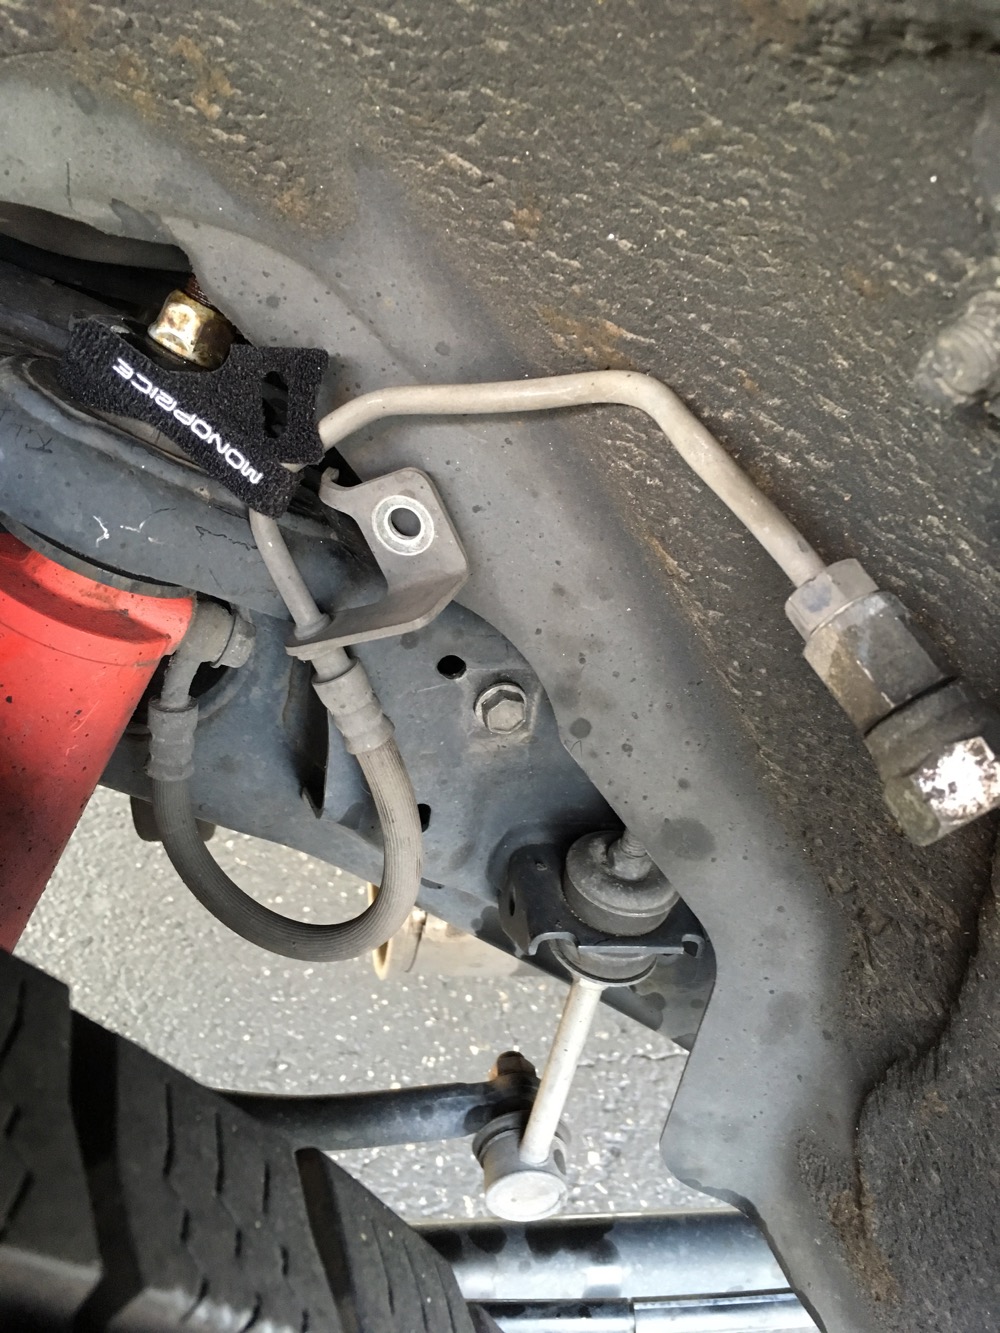
Once all of the plumbing was removed, I used some cable ties to hold up the lines attached to the shocks while driving. I drove like this on the disconnected XREAS shocks for a few days with no ill effects.

xreas-delete2.jpg
xreas-delete3.jpg


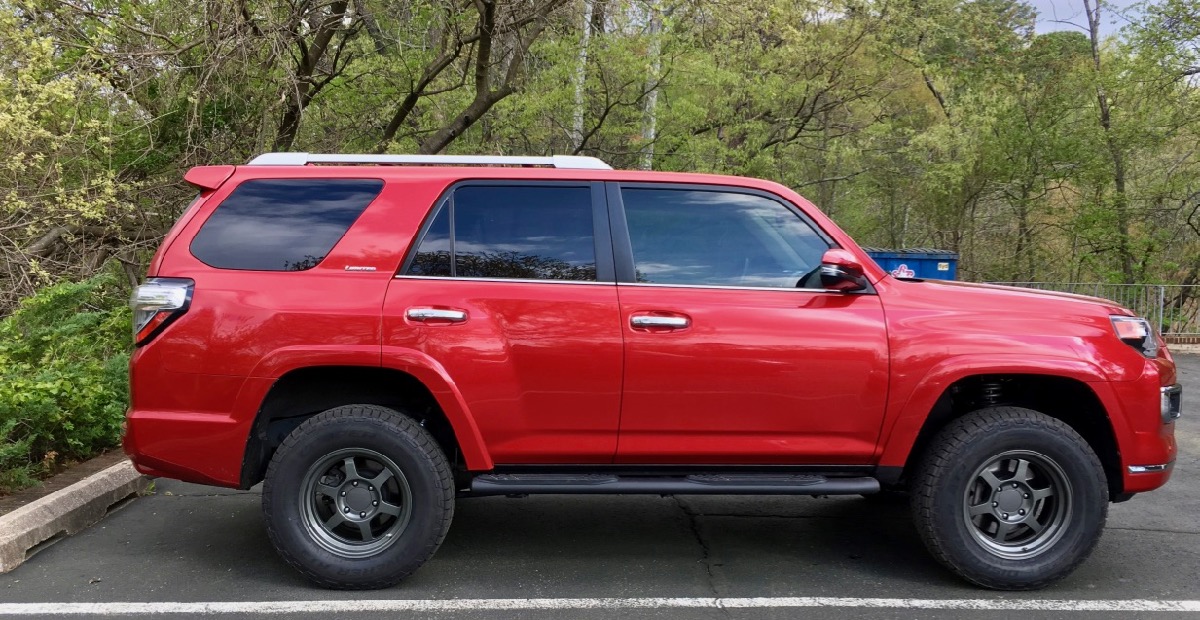
At this point, it's the Thursday before Easter and my Eibach install appt isn't for another 5 days. So having some downtime, I decided to tackle the rear shock/spring installation myself. Got it done in one night without too much struggling, The following Saturday, my daughter (a chemical engineer who likes to work on projects with her dad) was in town for Easter and offered to help me do the front install. We knocked it out fairly quickly and didn't have too much trouble.

eibach.jpg


Some notes and observations in the install:

Getting the rear springs to seat properly while working with the truck on jackstands might take some trial and error when working by yourself. The only way I could get the spring seated was to use a big digging bar wedged over the axle and under the spare. I sat on this bar while reaching under trying to get the spring properly seated in the upper seat. Once I got one side seated properly, I used the same method for the other side. Problem is, every time I sat on the bar, the other spring would shift.. It took 4 or 5 tries, but I finally got it. In hindsight, I probably should have used a jack stand under the opposite side of the rear axle to prevent the shifting.

For the front, if using the no compressor method like I did, there are a few tools that will make the job much faster:
- a 14mm ratcheting box wrench if you plan to replace the top hats like I did (I wanted all new rubber and the Eibach kit included everything except the large rubber washer/bushing that sits on top of the spring). So I bought the KYB top hat kits but only used only the new top hat, bolts, and spring rubber along with the nice bushings and washers that came with the Eibach kit. NAPA stocks these and the part # is KYB SM5640. There isn't enough clearance for a socket, and on that back top hat bolt, you'll be wrenching an open wrench for about 20 minutes if you don't have this tool.. $8 at Home Depot

- 22mm combo wrench and 22mm socket. My wrench set only goes up to 19mm - which is pretty common. So 22mm was a size I didn't have and didn't want to risk rounding bolts by using a "close enough" standard wrench. I think I paid about $9 at Home Depot. Also, I was missing my 22mm socket, so I picked up another for $2.50 at HD as well. These are used for the cam bolts on the lower control arm.

I used 1 floor jack and 2 jackstands, and well as a bunch of scrap 4x4 and 2x4 to get the vehicle suspended and chocked. Could have used more jack stands… I'm not an auto mechanic by any stretch (I'm a broadcast engineer), but I was a marine tech earlier in life so I have a lot of tools and know how to do a little bit of everything. I would rate this job as a 6 out of 10 as far as difficulty for an amateur.. If you're mechanically inclined at all, I say go for it! It's very fun and now I feel like I know exactly what's going on with the 4runner suspension.

DON"T BE SURPRISED IF YOU HAVE REVERSE RAKE AT FIRST. I as a little concerned right after install that the hub to fender measurements were the same front and rear - i.e. reverse rake... After about 2 days and 60 miles, it has settled in nicely and will probably continue to settle and break in even more. Currently, unloaded with 1/2 tank of gas, I'm averaging about 22 3/4" in the front and 23 3/4" in the rear. I also noticed that I now have a little lean toward the driver side that I didn't have before. Maybe it's because the OEM springs have more coils on the driver side and the Eibach's are identical on the front driver/passenger side? Doesn't really bother me anyway.. I may address that down the road once everything is settled. Easy enough fix with some small spacers…

Now that I did this installation myself instead of having my shop do it, I used my original installation appt to have the shop check over my work and perform an alignment.
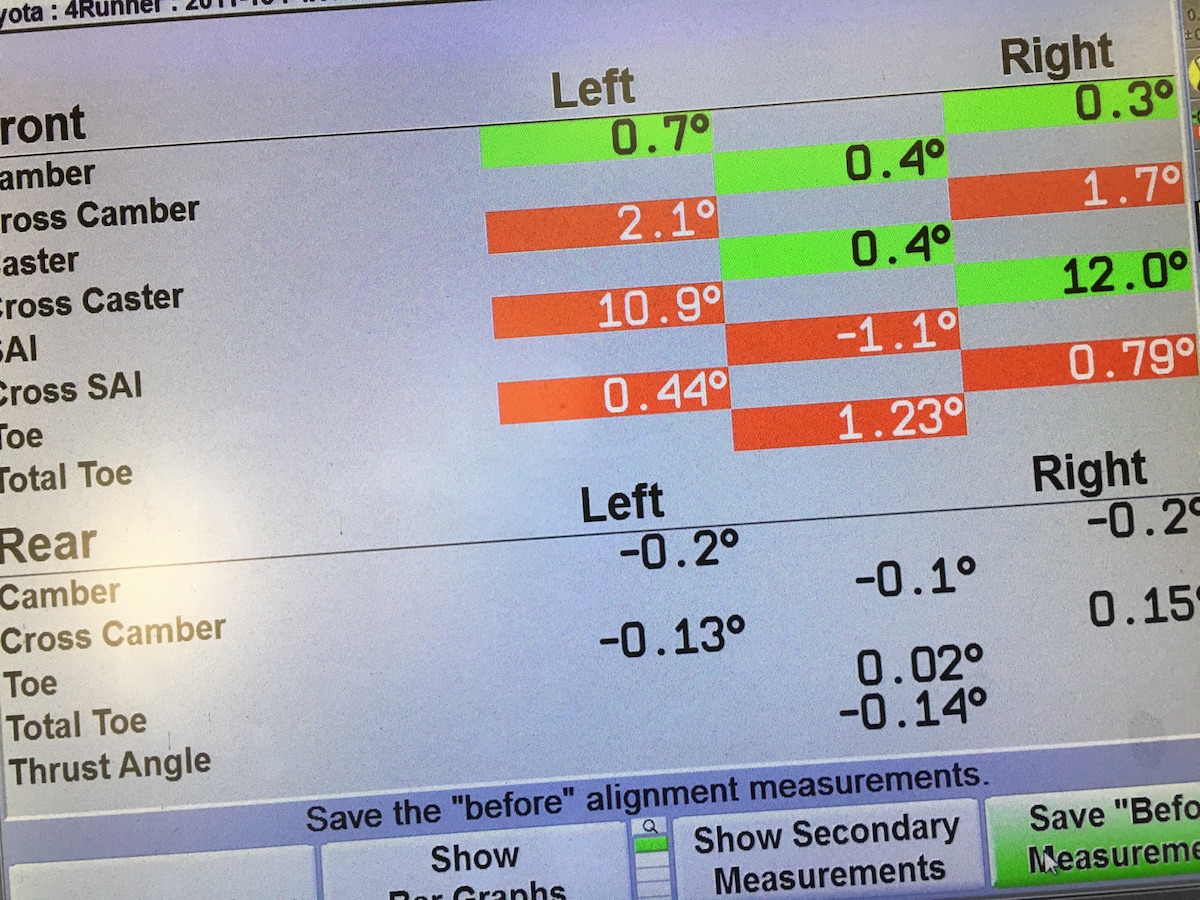
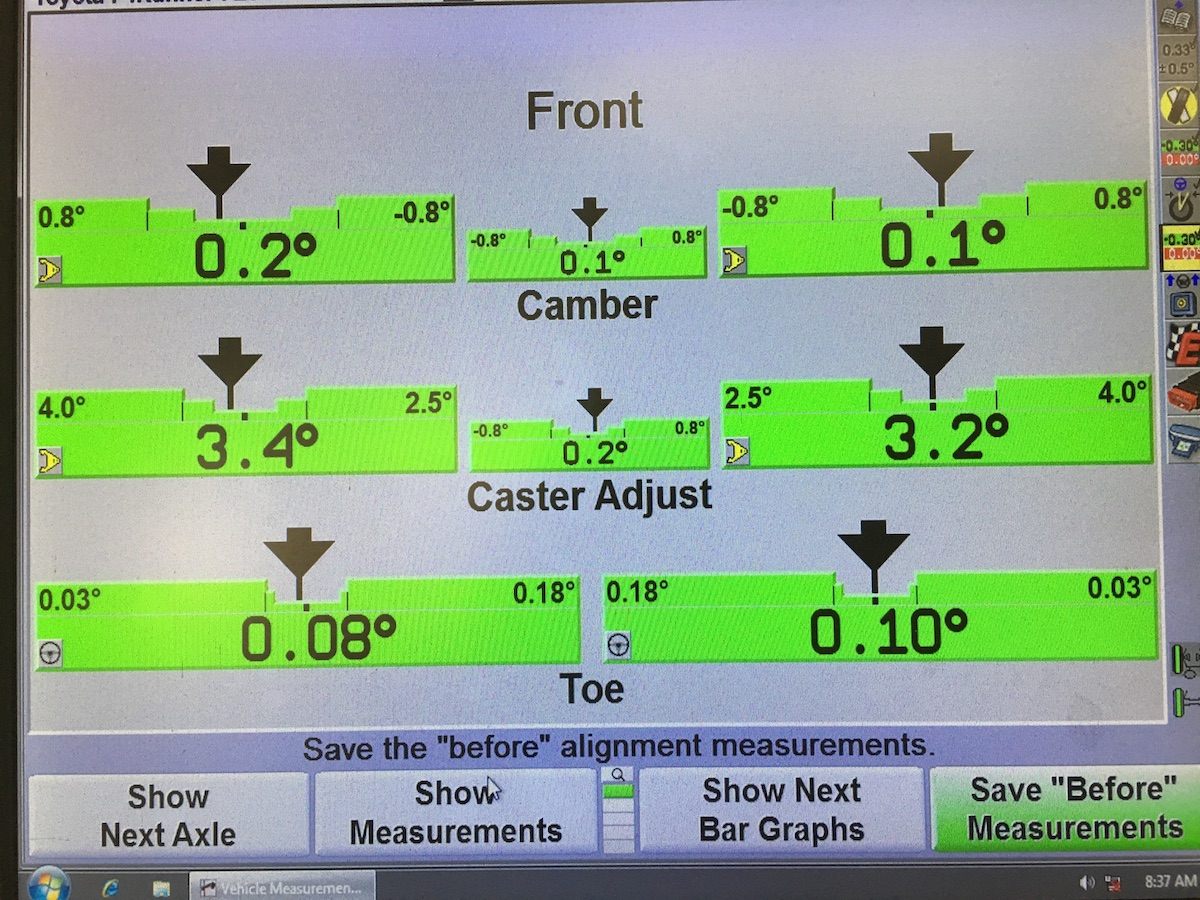
Pleasantly surprised how the alignment came out being that I have stock UCAs.

Before:
before-align.jpg


After:
after-align.jpg


My shop tech commented on how nice the Eibach kit rode and says he now wants the same kit for his truck (an older Taco). After the alignment, we also noticed that I had a little rub on the front fender liner while in reverse. I fixed that in 10 minutes by doing the fender liner mod. I now have about 1/2 clearance at the tightest spot in front of the tires. Plenty of room behind the tires and a BMC isn’t even close to being necessary (with 265’s that is..).


Thoughts on the ride:

** I have no experience with other 4runner suspensions other than my probably-broken X-REAS so take my opinion with a grain of salt.

The ride feels firm and sporty, yet not harsh. Honestly, I was expecting it to be a little softer, but it rides great and the truck feels tighter now. Big bumps get soaked up nicely. No dramatic body roll or nose dive (which I didn't have before either) so that's good. Highway driving is excellent. I haven't been off road with it yet..

All in all, I have no regrets. It's a major improvement over what I had, that's for sure. I think the truck is quieter now too, if that even makes sense.

Finally, I'd like to thank all the T4R members who have posted the information I needed to remove X-reas and install this kit. Also thanks for the contributors of this thread which helped me narrow my decision.
 
Last edited:
Hey Ryan, I sent you an email last night. I thought I would put it also on here for some feed back as I'll be doing the rear lift today. Yesterday I did the front. When I lowered off the jack stands and jack w/ wheels on, It seem to look slightly higher on the passenger side. Note I still needed to attach KDSS back to the LCA on both sides. I was struggling to put those back on so I left it to finish today with more light. Before I closed shop I took a quick measurement and saw that the passenger side was roughly 2" higher than the drivers side.

Both pins on the shocks are set to the bottom setting. I made sure the bottom plates where the bottom spring rest on was on correctly with flat side down. if anything I remember on passenger side the bottom spring end was about a 1/4" away from the perch...Other then that what anyone suggest I go look for so I can button up the front. Is this normal without KDSS not hooked up?
Thanks in advance.
Well hell!! I found out why I had 2" higher lift on front passenger..I started by a little test ride before digging into it again. It never settled and didn't think it would with that much discrepancy. After looking more carefully I noticed that on the drivers side the spring clip that holds the spring perch I was unable to see the ring clip vs the passenger side it was visible. basically I did the front twice on both sides. I found that I did the one thing I tried to avoid and I installed the passenger spring perch upside down.

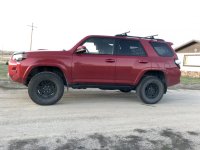
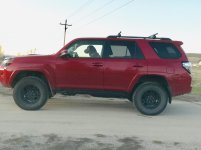
I got everything button up today. The rear was so much easier. I'm very happy on the stance. I went over a lot of potholes this evening and it just soaked them up. Heres a pic I took late. Still running stock size 265 70 17 general grabbers.
 

Attachments

  • IMG_1567.jpg
    IMG_1567.jpg
    134.1 KB · Views: 3,134
  • IMG_1570.jpg
    IMG_1570.jpg
    127.6 KB · Views: 4,061
Thanks. I think I read somewhere on the Eibach documents that these are digressive but with special valving so that they feel like progressive at low speeds. Indeed, people seem to like them better than 5100s.

Can you elaborate on the details? Thanks!


From one of my posts back in the beginning of this thread...

Hey everyone, I thought it would be helpful to jump on and answer any questions you may have. Just for clarification, I'm only here to educate.

Full Disclosure: I'm in the marketing department, BUT I've owned 4 Tacomas, 2 of which were/are wheeled regularly. Additionally, I've become a bit of a damper nerd and enjoy talking shock. Anything I can't answer myself will be a direct response from R&D.

Each damper is vehicle specific with it's own valving. There are variances in how we valve different types of suspension, but it is safe to generalize our Toyota product (independent front) as digressive with strategically placed bleed for a progressive feel at low speed and a steep midspeed knee in the rebound to help control G-outs and big dips etc. This simulates the linear control you get out of the big shocks.

We use digressive piston design on both compression and rebound sides of the piston, but our use of preload and bleed give the shocks a linear feel at high speed (whoops, dips etc.) This translates to a great balance of control on the street (not too wollowy) with compliance in the dirt (sucks up big bumps, drops, G-outs and gets you back in control)
 
Last edited:
Any distributors in canada?? Where can i buy a set?


We have a quite a few distributors sponsoring this site, so my recommendation is to first check with them! In no particular order...

Wheelers
SDHQ
Off-Road Warehouse


If it's not available from the guys above, try...
Marcor/Northern Performance
Tdot Performance
Lowriders
 
Last edited:
Shipping Updates

Ryan@Eibach

I ordered a pro kit during the most recent sale.

Can you update us when you anticipate them shipping?

Thanks,
 

Members online

Forum statistics

Threads
278,307
Messages
3,554,051
Members
248,016
Latest member
Advally Service

Trending content

Back
Top