2000 limited SleepyDad build

Most of my metic bolts and nuts I salvaged off of parts mobiles if they were decent . Sadly, my environment is extremely hard on them. So lots of times on repairs I end up replacing the bolts and nuts doing a project.

My saving grace is that most of the time. Toyota hardware are fairly reasonable and close to standard hardware bolts pricing. :)


Sent from my SM-J337V using Tapatalk
 
tiny update god I'm slow

I did get everything tack'ed up and then did some more substantial welds. being careful to not get any part too hot and jumped around quite a bit. after re-fitting after that... no real issues she lines back up. yea! now I will drop it or something and tweak, yea probably.

I still need to do the front seams but after some more welds and a couple more grinder parties she should be ready for final blasting and a couple coat of epoxy.

<a href="https://imgur.com/PaZr3QZ"><img src="https://i.imgur.com/PaZr3QZl.jpg" title="source: imgur.com" /></a>

<a href="https://imgur.com/oInXeX0"><img src="https://i.imgur.com/oInXeX0l.jpg" title="source: imgur.com" /></a>
 
body fixup pretty much done

I pretty much hate sheet metal work but... it needed to be done

<a href="https://imgur.com/LpVik4M"><img src="https://i.imgur.com/LpVik4Ml.jpg" title="source: imgur.com" /></a>

hmmm yea maybe?
<a href="https://imgur.com/WymzXj5"><img src="https://i.imgur.com/WymzXj5l.jpg" title="source: imgur.com" /></a>

yep fried that bacon right onto that spot
<a href="https://imgur.com/BuFnP3y"><img src="https://i.imgur.com/BuFnP3yl.jpg" title="source: imgur.com" /></a>

put on the DTM epoxy primer sauce
<a href="https://imgur.com/9yLvsMj"><img src="https://i.imgur.com/9yLvsMjl.jpg" title="source: imgur.com" /></a>

finally finished off with some bush on stinky stuff
<a href="https://imgur.com/ZUShFBL"><img src="https://i.imgur.com/ZUShFBLl.jpg" title="source: imgur.com" /></a>
<a href="https://imgur.com/edOmwHQ"><img src="https://i.imgur.com/edOmwHQl.jpg" title="source: imgur.com" /></a>

and I assumed they would go in from the outside? yea not hmmm
<a href="https://imgur.com/sB8UnPw"><img src="https://i.imgur.com/sB8UnPwl.jpg" title="source: imgur.com" /></a>

yep the included hardware is not going to work.. sigh

<a href="https://imgur.com/ee52rt9"><img src="https://i.imgur.com/ee52rt9l.jpg" title="source: imgur.com" /></a>

trip to home depot to the rescue
<a href="https://imgur.com/NMO12MN"><img src="https://i.imgur.com/NMO12MNl.jpg" title="source: imgur.com" /></a>

ok all ready to hang? maybe?
<a href="https://imgur.com/2gmZC5i"><img src="https://i.imgur.com/2gmZC5il.jpg" title="source: imgur.com" /></a>

ok now to address the front addicted off-road bumper spruce up project.
<a href="https://imgur.com/n5knRj4"><img src="https://i.imgur.com/n5knRj4l.jpg" title="source: imgur.com" /></a>
 
Narco-submarine taking shape

I feel like I'm building a drug submarine for Pablo Escobar.

Started by disassembling the Toyota tank to harvest the good bits, I picked up a nibbler a while back and until now I had only used it for small projects. it paid it's dues on this one. wow it makes life easy.

<a href="https://imgur.com/q4RpbkK"><img src="https://i.imgur.com/q4RpbkKl.jpg" title="source: imgur.com" /></a>

I decided to make a couple of baffles since the ford tank had zero, I have no idea if it's really needed but it makes sense it should help reduce "the slosh". Also notice the weight reducing speed holes I added, these are a critical design for all race trucks.

<a href="https://imgur.com/3UH5Xiz"><img src="https://i.imgur.com/3UH5Xizl.jpg" title="source: imgur.com" /></a>

<a href="https://imgur.com/L6v7twY"><img src="https://i.imgur.com/L6v7twYl.jpg" title="source: imgur.com" /></a>

got the fill hole, and evap all melted into place but this big hole still needs more bacon fry.
<a href="https://imgur.com/IwWdPss"><img src="https://i.imgur.com/IwWdPssl.jpg" title="source: imgur.com" /></a>

and yea that needs to be addressed

<a href="https://imgur.com/ucHkY4W"><img src="https://i.imgur.com/ucHkY4Wl.jpg" title="source: imgur.com" /></a>

 
Last edited:
I feel like I'm building a drug submarine for Pablo Escobar.

Started by disassembling the Toyota tank to harvest the good bits, I picked up a nibbler a while back and until now I had only used it for small projects. it paid it's dues on this one. wow it makes life easy.

<a href="https://imgur.com/q4RpbkK"><img src="https://i.imgur.com/q4RpbkKl.jpg" title="source: imgur.com" /></a>

I decided to make a couple of baffles since the ford tank had zero, I have no idea if it's really needed but it makes sense it should help reduce "the slosh". Also notice the weight reducing speed holes I added, these are a critical design for all race trucks.

<a href="https://imgur.com/3UH5Xiz"><img src="https://i.imgur.com/3UH5Xizl.jpg" title="source: imgur.com" /></a>

<a href="https://imgur.com/L6v7twY"><img src="https://i.imgur.com/L6v7twYl.jpg" title="source: imgur.com" /></a>

got the fill hole, and evap all melted into place but this big hole still needs more bacon fry.
<a href="https://imgur.com/IwWdPss"><img src="https://i.imgur.com/IwWdPssl.jpg" title="source: imgur.com" /></a>

and yea that needs to be addressed

<a href="https://imgur.com/ucHkY4W"><img src="https://i.imgur.com/ucHkY4Wl.jpg" title="source: imgur.com" /></a>

You my friend are a perfectionist haha.. Looks amazing! Just tested my f150 setup on Saturday for the first time, worked great.. One thing that was kind of odd though was on initial startup the fuel gauge worked for a second then went to empty with fuel light on. Then when I turned the truck off then on again it worked perfect, almost like it was calibrating itself maybe? Excited to see how you set up your pump bracket/sending unit.
 
You my friend are a perfectionist haha.. Looks amazing! Just tested my f150 setup on Saturday for the first time, worked great.. One thing that was kind of odd though was on initial startup the fuel gauge worked for a second then went to empty with fuel light on. Then when I turned the truck off then on again it worked perfect, almost like it was calibrating itself maybe? Excited to see how you set up your pump bracket/sending unit.

that is good to hear you got it back on the road. I always feel like once it get it fired up again.

its-working-anakin-skywalker.gif


I had this old tank sitting and waiting... cut it open so it would help me think. I have had a couple ideas so far but it's not 100% flushed out yet.
<a href="https://imgur.com/pjkVq1q"><img src="https://i.imgur.com/pjkVq1ql.jpg" title="source: imgur.com" /></a>
<a href="https://imgur.com/GZEZy2h"><img src="https://i.imgur.com/GZEZy2hl.jpg" title="source: imgur.com" /></a>

I need to tackle some stainless steel... my god it's expensive stuff to weld.

that little one pound role was as much as a 10lb role and that tank was like $200, helium use it while it lasts.

<a href="https://imgur.com/FXzxiGW"><img src="https://i.imgur.com/FXzxiGWl.jpg" title="source: imgur.com" /></a>

I need to fix a screwup on my plasma table drain. one side worked perfect with the dimple die and the other side I had to re-try and of course stainless does not re-bend.

<a href="https://imgur.com/C9DuHNf"><img src="https://i.imgur.com/C9DuHNfl.jpg" title="source: imgur.com" /></a>

yep no re-bendo
<a href="https://imgur.com/NDOMyDS"><img src="https://i.imgur.com/NDOMyDSl.jpg" title="source: imgur.com" /></a>

 
plasma cutting robots are fun

I finally got all the parts/pieces and what-nots and put the robot online. first cut sucked because I forgot to pick all my cut lines... and I only have 3/16" on hand so the material is wayyyy to thick for this part but... we forge forward.

<a href="https://imgur.com/TaQEhjt"><img src="https://i.imgur.com/TaQEhjtl.jpg" title="source: imgur.com" /></a>

yep V2 looks much better if you select the cut lines you designed knuckle head. and notice the carboard under the table got moved because yea fire.
<a href="https://imgur.com/yrjcA3L"><img src="https://i.imgur.com/yrjcA3Ll.jpg" title="source: imgur.com" /></a>

I will admit I was not really expecting to get cut quality this good
<a href="https://imgur.com/W2icSGX"><img src="https://i.imgur.com/W2icSGXl.jpg" title="source: imgur.com" /></a>

and V3 looks even better because I forgot to select the upper hole... shesh.
<a href="https://imgur.com/Shu4eUx"><img src="https://i.imgur.com/Shu4eUxl.jpg" title="source: imgur.com" /></a>
and yes because this plate is way to thick for this part I got some cracking during bending... but those can be welded so not the end of the world

<a href="https://imgur.com/4dLQnOl"><img src="https://i.imgur.com/4dLQnOll.jpg" title="source: imgur.com" /></a>

I think I have come up with a different plan for the rear and forward fuel tank mounts so... working on them now... stay tuned for the next episode of plasma capers ( not the eating kind silly )
 
Last edited:
for your amusement, yes I made my own hitch pins

I'm off the deep end but it's more fun than I have had in a long time, plasma robot has freed me from the drudge and unlocked sketchiness beyond my expectations.

I modified the end of the fuel tank straps to act like a hinge of sorts. My thinking was this would make it easier to put the tank in and it did make it about .001% easier but I still want to poke my own eyes out each time I do it.

<a href="https://imgur.com/0sEO7uZ"><img src="https://i.imgur.com/0sEO7uZl.jpg" title="source: imgur.com" /></a>

<a href="https://imgur.com/Zfd2Fj7"><img src="https://i.imgur.com/Zfd2Fj7l.jpg" title="source: imgur.com" /></a>

<a href="https://imgur.com/gw27YiW"><img src="https://i.imgur.com/gw27YiWl.jpg" title="source: imgur.com" /></a>

and der she be, it does give me the ability to drop it down just a bit and having the hinge end does take 1/2 the stress out of hanging the tank for sure. Is it strong enough? I mean who knows? having 20 gallons of explosive power hanging on my sketchy home depot steel?

<a href="https://imgur.com/cbG4J7K"><img src="https://i.imgur.com/cbG4J7Kl.jpg" title="source: imgur.com" /></a>

front brackets are in the V5 or 6 revision and I'm still not 100% happy with the amount of sketchiness yet... so more to come.
 
impressive

Wow this is super clean ... I need to get my rats nest to look more like yours. Any tips or tricks to get all your accessories / fuses connected as cleanly as yours ?
 
I'm going to take this as a compliment, but...

Wow this is super clean ... I need to get my rats nest to look more like yours. Any tips or tricks to get all your accessories / fuses connected as cleanly as yours ?

seriously man I have OCD on wire stuff... I want the world to be ordered and satisfying, sadly this is not the case most of the time.

I think most tasks in life come down to patients, if you can just settle into a task and work it until your happy with it? you just have to spend the time and slow it down. or in my case have a mental disorder that will not let you sleep until those wires are organized :)
 
Last edited:
Innovation in this thread is amazing. Hinges for fuel tank straps cool. Right on matey.

Toyota does it with (at least some of) their car gas tanks, so it is a reasonable idea.

-Charlie

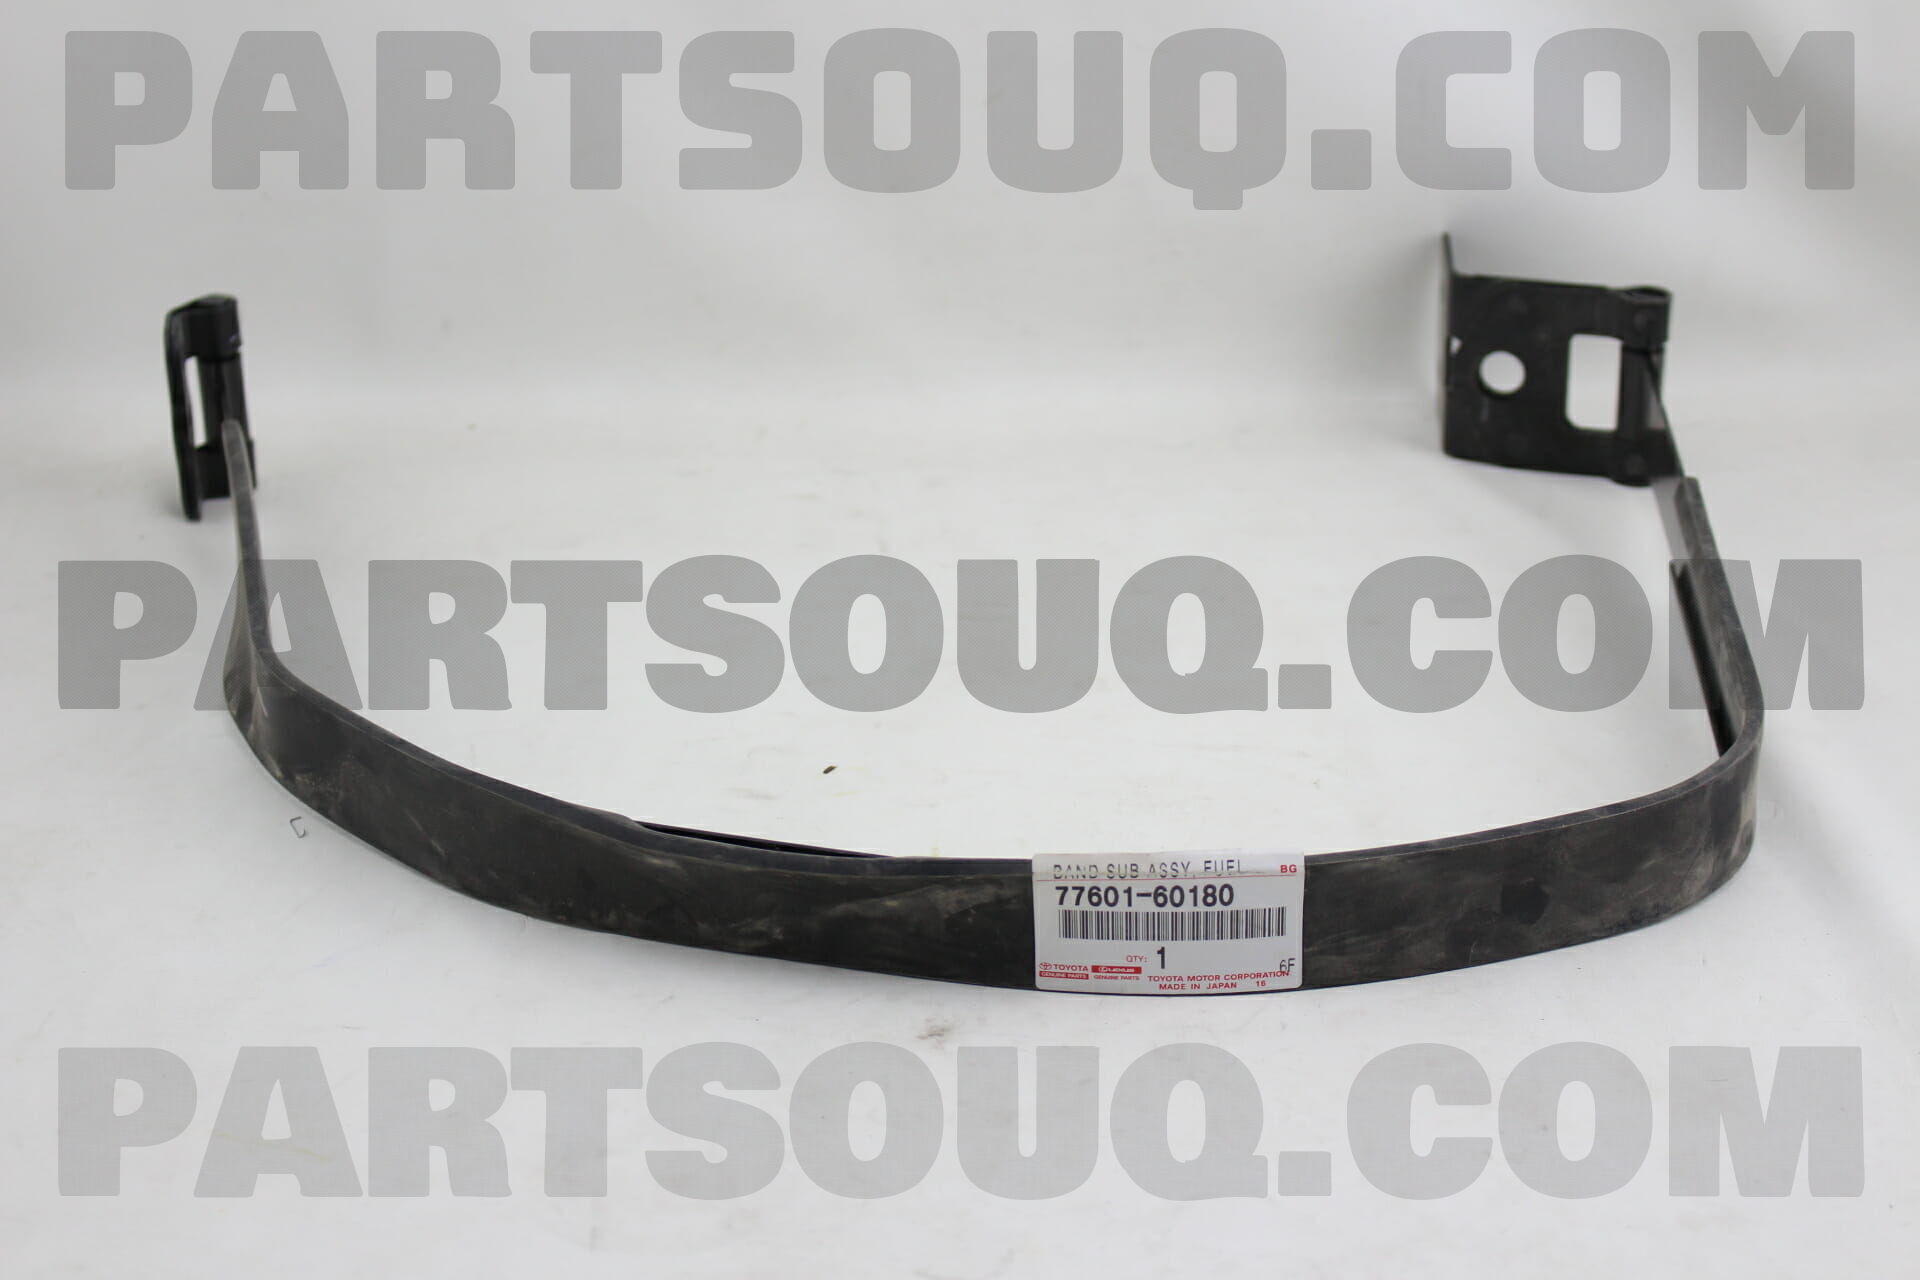
so the 96 Prado has a nice looking fuel setup IMO. if your goal is to move the tank aft on your boat.

Please Wait... | Cloudflare

if you go looking @ the picts

7760160180

7760160180.jpg


they use a pin/hinge hanger on both ends. I actually looked into this setup and cost was kind of crazy getting it all in the US right now. I might as well build my own custom tank right? well...

this is a shot from under the prado how it connects, I suspect it just hooks on where the 4runner stock bumper hooks up? I wish I could find some more shots of how it connects in the front?

<a href="https://imgur.com/Mh4Ss4y"><img src="https://i.imgur.com/Mh4Ss4y.jpg" title="source: imgur.com" /></a>

came for the fuel tank install, stayed for the dickbutt

thanks man, it was really my 16 year old son who said after the first cut on the plasma robot... DAD we need to cut out dickbutt, I was so proud of my boy.
 
the pressure was getting too me, or was it?

having plasma robot is a curse. I decided I would figure out the flange situation on the 3rd gen tank so I could make some covers for pressure testing.

I also had robot cut out a hole for a schrader valve style tire stem, this was so I could just hook up my bike pump and do the testing lemon squeezy. I also now have the exact flange layout in Fusion 360 so if I wanted to cut out a set of tank flanges I could do it and make my own dam tank. I'm thinking this winter I might do it.

but long and short of that is if anybody else needs some port hole covers I can cut some out of 16 gauge and say $20 and I will send you some.

<a href="https://imgur.com/0Vcphmz"><img src="https://i.imgur.com/0Vcphmzl.jpg" title="source: imgur.com" /></a>

so did I have leaks? yea like 11 billion of them. But I went around with soap and water mix and plugged up all the swiss cheese.

<a href="https://imgur.com/1PhslZd"><img src="https://i.imgur.com/1PhslZdl.jpg" title="source: imgur.com" /></a>

onto the next task... oh yea getting that tank hung and taking the truck to a professional exhaust dude who can route that tricky tail pipe.
 

Members online

No members online now.

Forum statistics

Threads
278,315
Messages
3,554,104
Members
248,016
Latest member
Advally Service

Trending content

Back
Top