415Yota’s Build

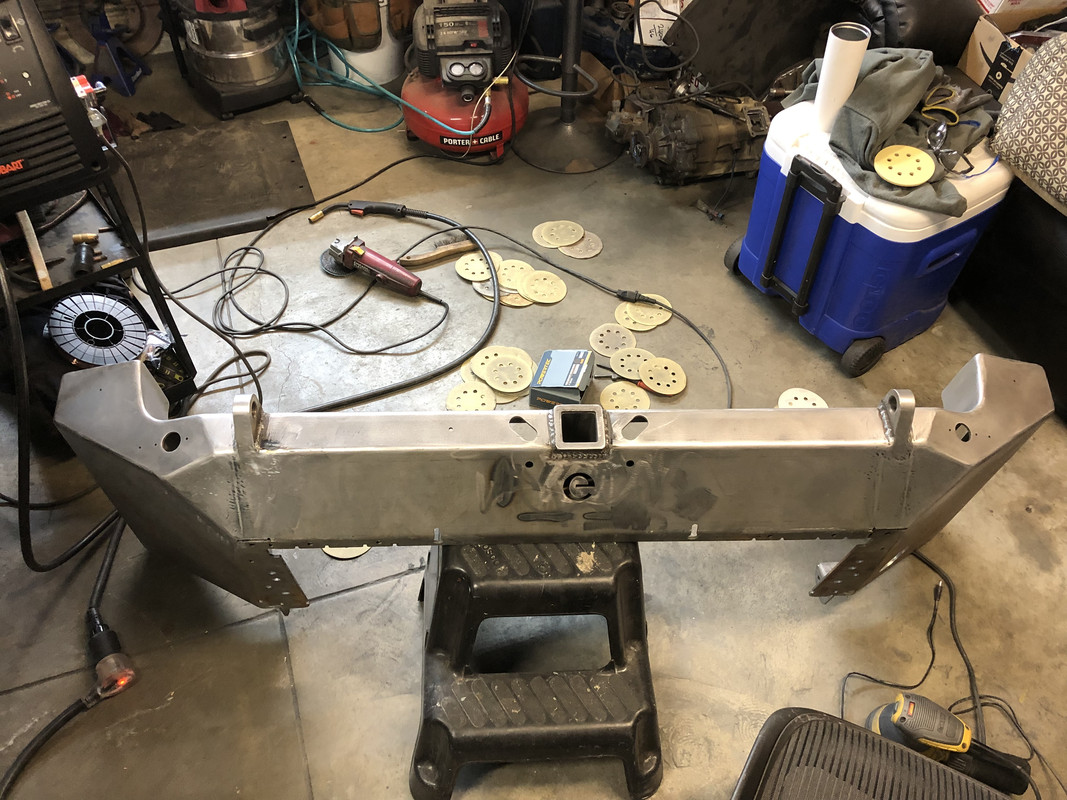
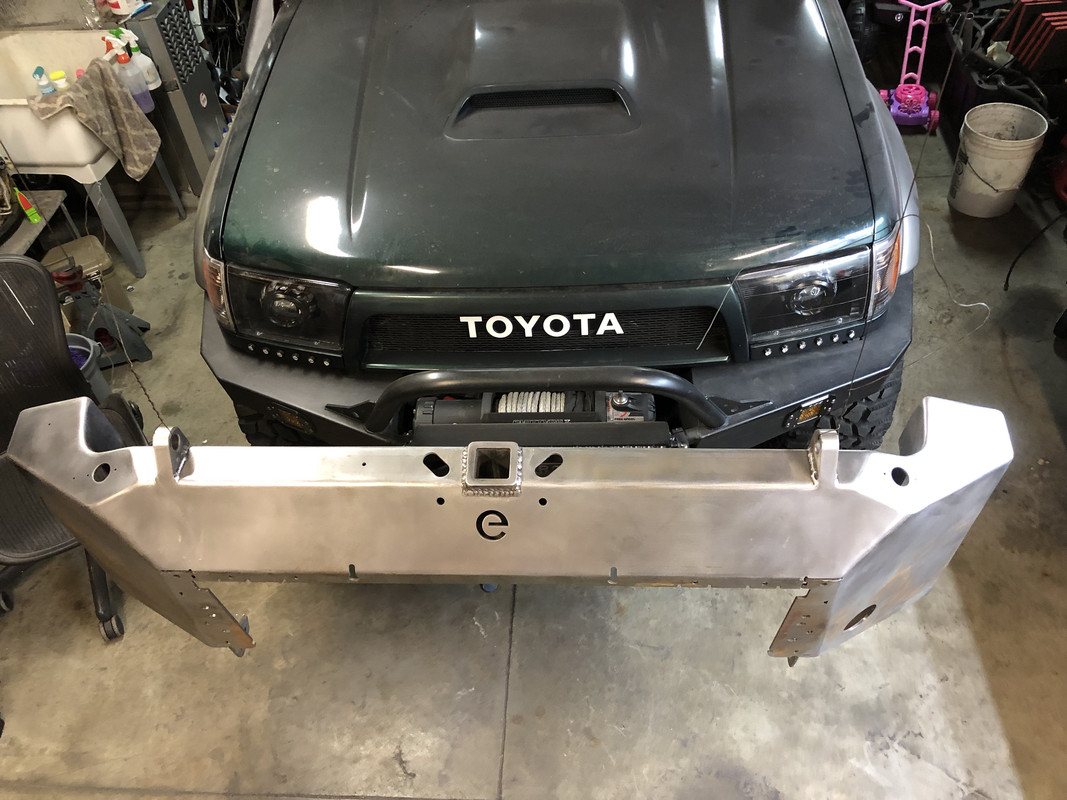
Progress has been slow lately, bumper is almost ready to be painted. I’ve been splurging on more parts/tools though lol..

I’ve been learning quite a bit while building this bumper. It’s not perfect but I’m happy with how it’s coming out.. Looks a bit better now than in this picture..
41587-FB6-E65-E-4875-A8-D6-AE3-E3-F91-BEE7.jpg


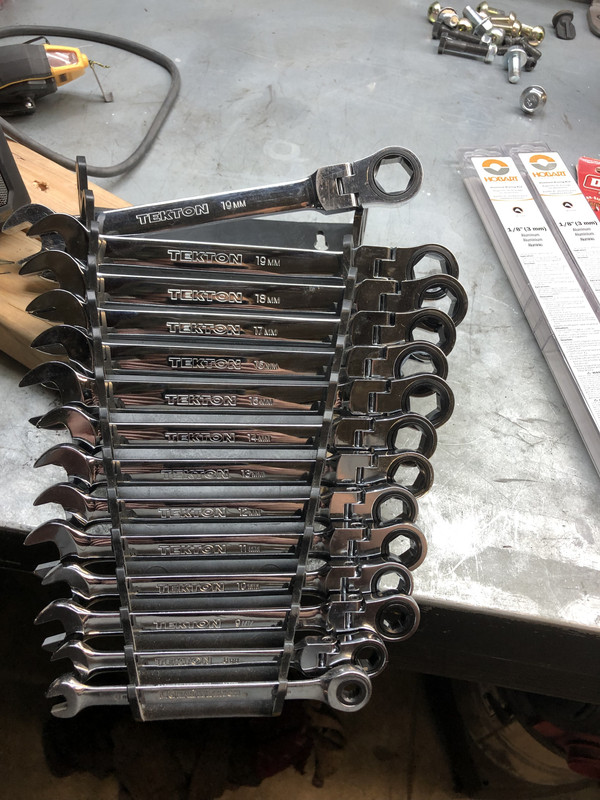
These flex head ratcheting wrenches have been on my list for a while and I could have used them countless times..
D86-A94-DF-F26-F-4357-BDC6-AA1177-B45-C13.jpg


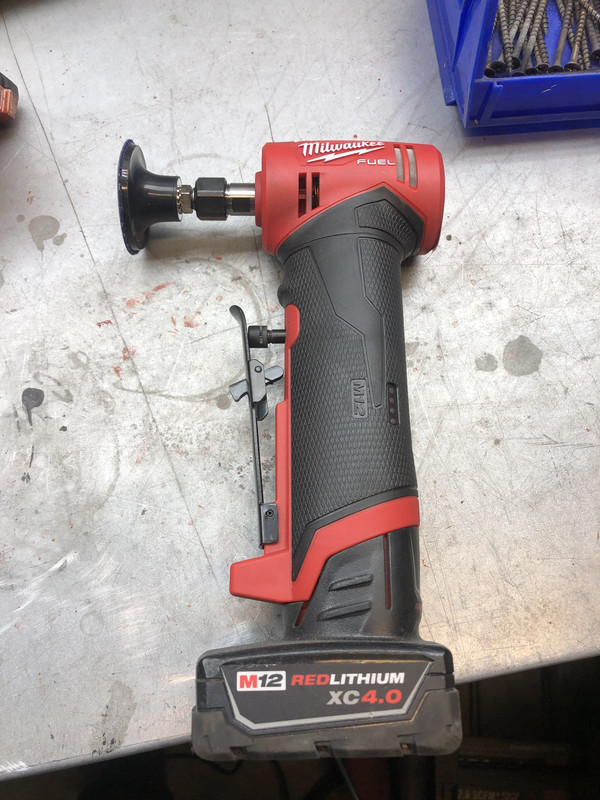
M12 right angle die grinder, if your thinking about it do it. I should’ve gotten this when it came out..
B340975-D-530-E-46-EE-A580-285-EBCC9-C589.jpg


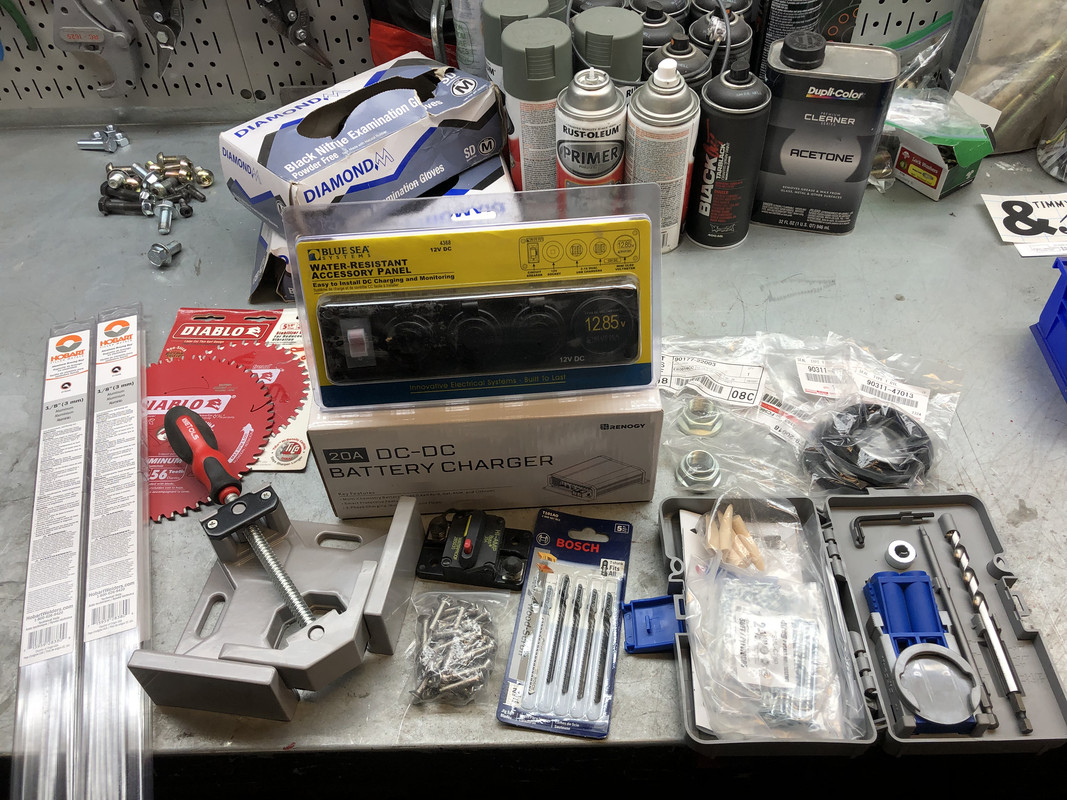
Last but not least here are a few parts I’ve started collecting for the dual battery/fridge drawer/sleeping/storage platform. Too much to list lol.. Also have some square aluminum tubing that’s not pictured that will be the frame.
929-F742-D-44-D2-4919-808-E-A7-CCE7-EA6-E5-B.jpg
 
Use the m12 die-grinder a lot huh? I’ve been teetering back and forth on it but so far haven’t found a “need” for it but when do you feel like you use it most?


Sent from my iPhone using Tapatalk
 
Use the m12 die-grinder a lot huh? I’ve been teetering back and forth on it but so far haven’t found a “need” for it but when do you feel like you use it most?


Sent from my iPhone using Tapatalk

I just got it yesterday so I’ve only gone through about 2-3 battery charges. Anything your going to use a flap disc for you can use this instead basically. Less noise, easier to control, can get in tighter areas/corners, less risk of hurting yourself (I’ve had several grinder/hand incidents over the past year).. Just makes the overall grinding experience more enjoyable if that makes any sense lol.. I got some cheapo roloc style discs/adapter and they work great, I’ve heard the 3m stuff works the best but it’s $$$.
 
I just got it yesterday so I’ve only gone through about 2-3 battery charges. Anything your going to use a flap disc for you can use this instead basically. Less noise, easier to control, can get in tighter areas/corners, less risk of hurting yourself (I’ve had several grinder/hand incidents over the past year).. Just makes the overall grinding experience more enjoyable if that makes any sense lol.. I got some cheapo roloc style discs/adapter and they work great, I’ve heard the 3m stuff works the best but it’s $$$.


Makes a lot of sense thanks for the info, now I just need to rationalize more money spent on tools haha.


Sent from my iPhone using Tapatalk
 
Bumper looks nice and now I have to consider you a bad influence,
am always a sucker for useful tools :biggrin1:
 
Bumper looks nice and now I have to consider you a bad influence,
am always a sucker for useful tools :biggrin1:

Thank you. Haha oops :p

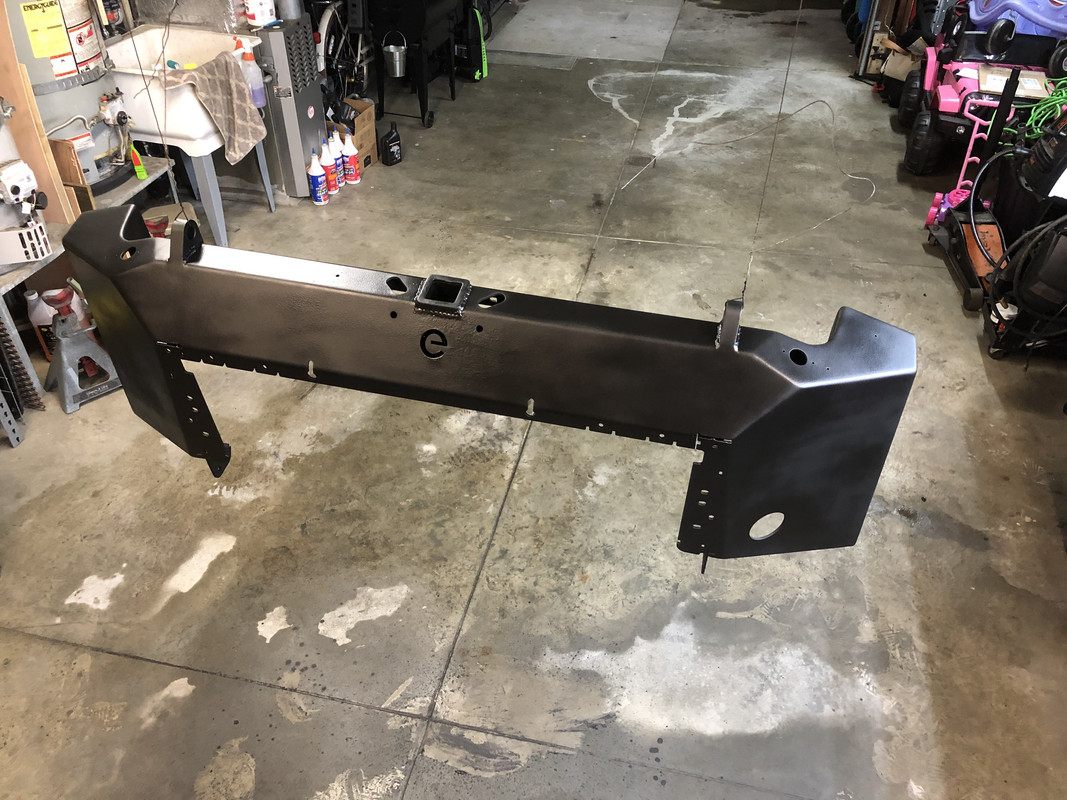
Bumper is finally ready for paint this weekend, have to clean all the surface rust off with some metal etch or vinegar if that doesn’t work.. Then I’ll dry it and wipe it down with acetone. Pretty happy with how it came out although it took me way too much time..

821-BDDC2-542-A-463-D-A0-A0-5545-F708-B466.jpg


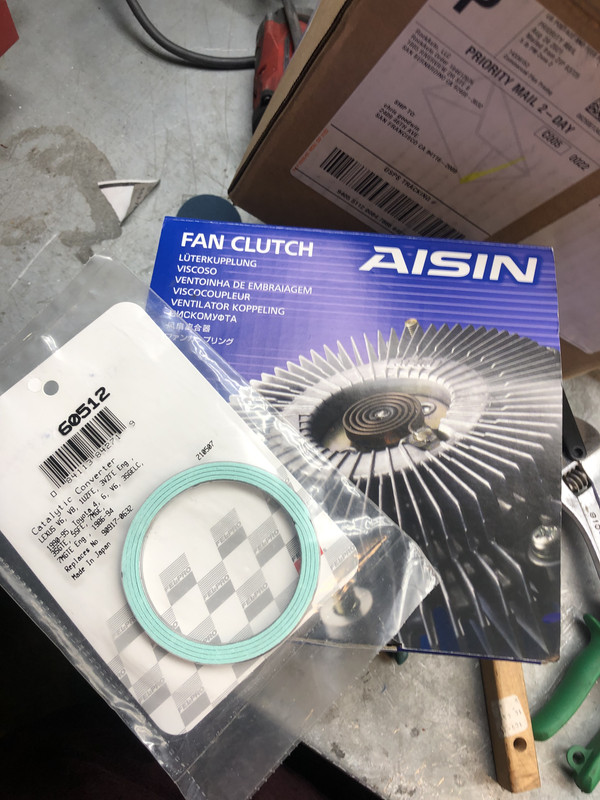
Also got a new fan clutch cause why not and a new gasket for between the cat and the muffler..

C7657-DD1-FD2-B-4-D65-A6-F6-AC19-C76-DE426.jpg
 
Update:
-Fan clutch installed
-Exhaust gasket installed
-Marlin crawler shifter seat installed in rear tcase
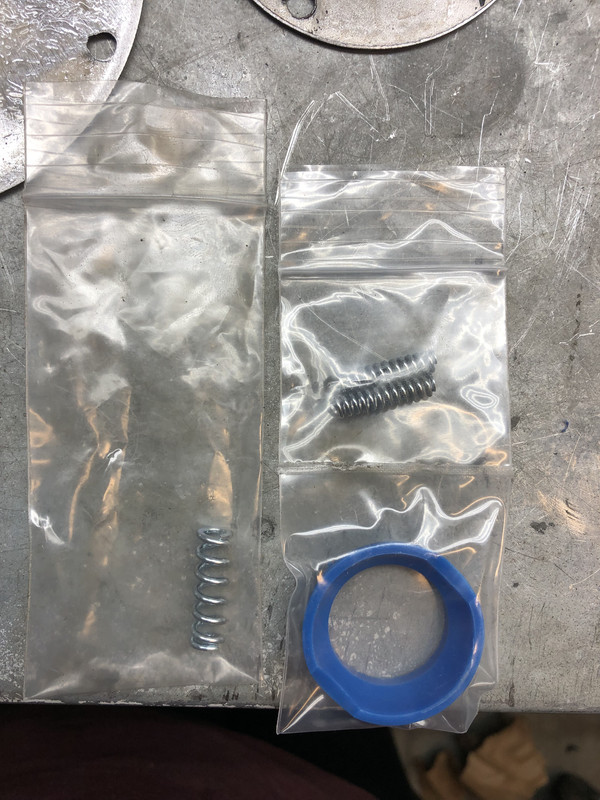
-Heavy duty shifter springs in front and rear tcases (x3)
-Painted eimkeith bumper
-Back up lights on bumper installed
-Opt offroad rear control arms installed
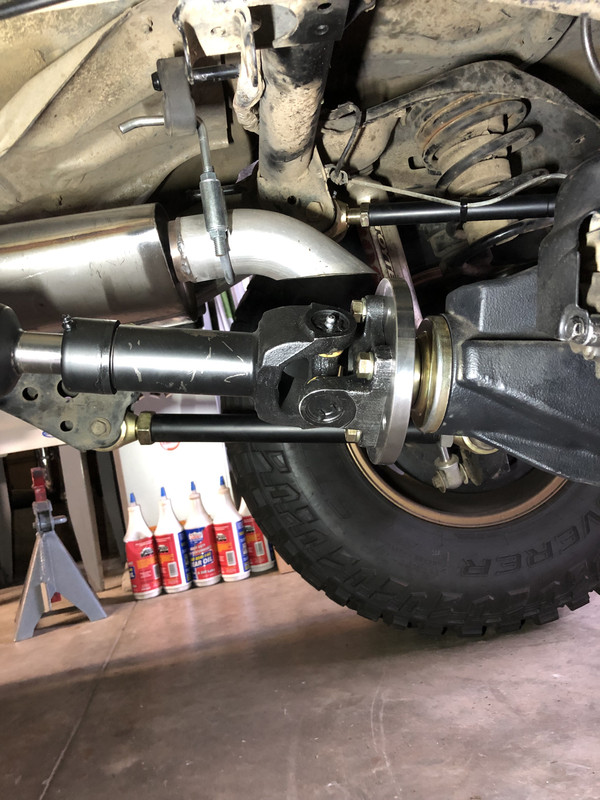
-Adjusted upper control arms to zero out rear pinion/driveshaft angle
-Flex tested to make sure upper control arm axle brackets didn’t hit frame
-Tomwoods F/R driveshafts fully installed
-Took MC shifter base apart to inspect leak, after talking to MC I’m going to try and switch gear oil (used Lucas 85/140 they insisted I use redline 75/90)
-Ordered stock length rear duro bumps because I noticed I have a lot of shock shaft left at full bump.

51935-E02-E6-F9-45-F2-BF60-479-A55975-C31.jpg


C21-D2835-A7-F5-41-B1-B98-E-0-A2317728-EAF.jpg


B1-C830-A0-E99-E-4978-AC93-4-F76-BCE04-B26.jpg


72-A6-B23-B-FA39-458-F-9-CCD-B7-AA20-E40886.jpg
 
Why'd you end up zeroing out the pinion angle? Were you get vibrations with a 1-2 degree variance? Just asking as a zeroed out pinion angle won't allow the u-joints to act as proper bearings and can wear quicker. I have always used a 1-2 degree variance to allow proper movement and lubrication within the joints.

Just curious as to your reasoning. I've also never ran a dual case setup and don't know how much that messed with your geometry.

Either way your rig is looking good.
 
Why'd you end up zeroing out the pinion angle? Were you get vibrations with a 1-2 degree variance? Just asking as a zeroed out pinion angle won't allow the u-joints to act as proper bearings and can wear quicker. I have always used a 1-2 degree variance to allow proper movement and lubrication within the joints.

Just curious as to your reasoning. I've also never ran a dual case setup and don't know how much that messed with your geometry.

Either way your rig is looking good.

Welp I didn’t think about the u joint not getting properly greased from no movement lol.. I will probably do as your saying and readjust it a little to be within that 1-2 spec. My pinion angle after the dual cases was about 7-8 off so it definitely needed some adjustment though (any speed above 45 had some vibrations). Appreciate the input and compliment!
 
Driveshaft is sitting at a 1.5 degree difference from the pinion now, thank you [MENTION=455277]G_Raw[/MENTION]

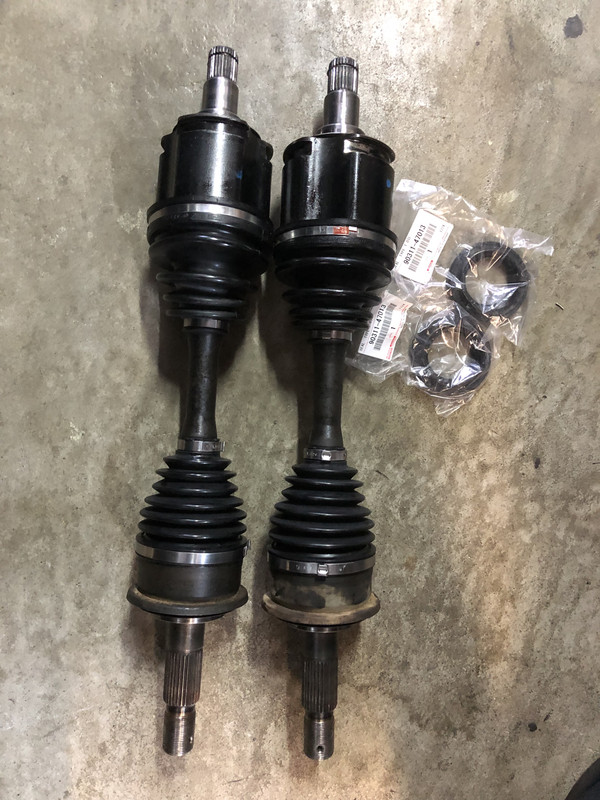
Got my oem CVs rebooted and cleaned up. For some reason my driverside napa CV keeps popping out a little and leaks gear oil. New seals and rebuilt axles going in tonight.

B2-B13977-754-B-4811-B761-23583-AE98633.jpg


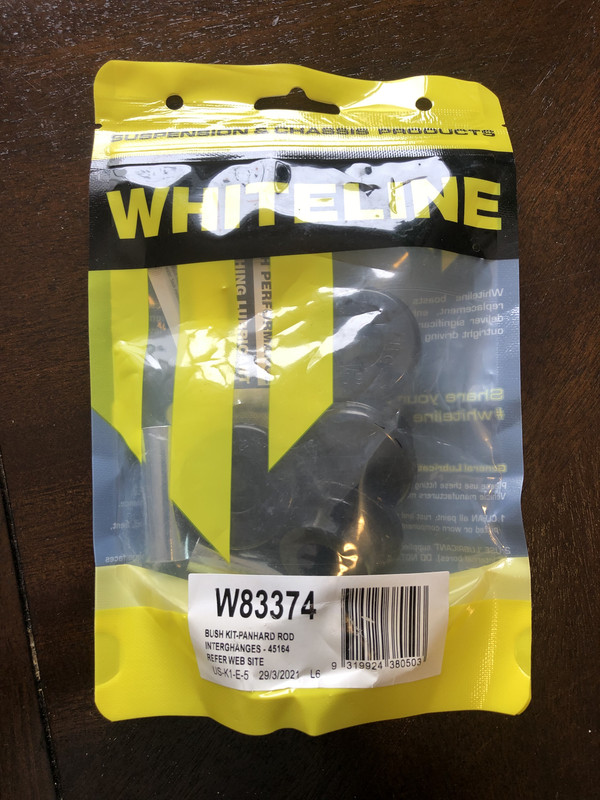
Whiteline panhard bar bushings installed last night, super easy.. used a 30mm socket, a 19mm socket and my vise and the bushings came right out. Pretty much have completely replaced all bushings and suspension items now.

7-CFB70-BF-DBA5-42-C6-BD79-71-E15-A1-FAD9-C.jpg


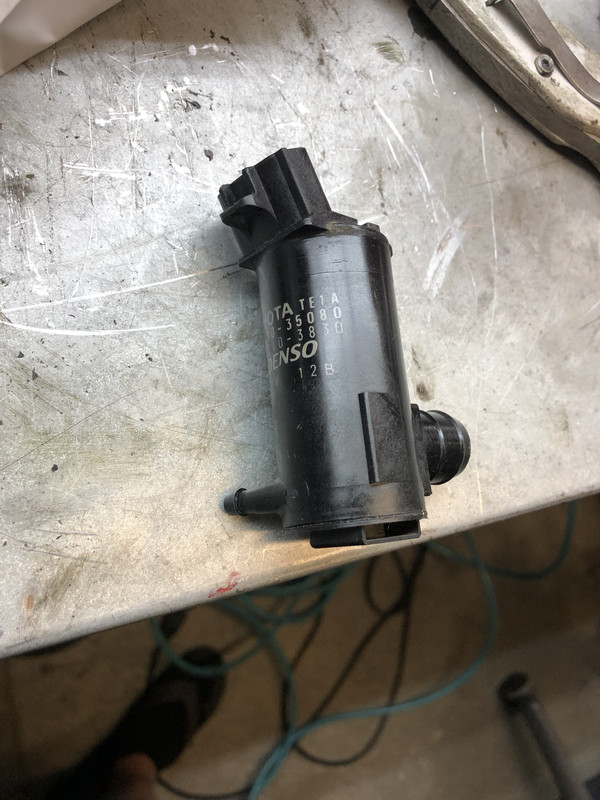
New to me rear windshield pump, for some reason after the scarab install the pump stopped working.. Seems like it was getting power cause it would get hot when I tried to use it, hopefully the new pump fixes it..

71-D747-F6-CEAF-453-C-8650-41-DEA8-DE13-E1.jpg


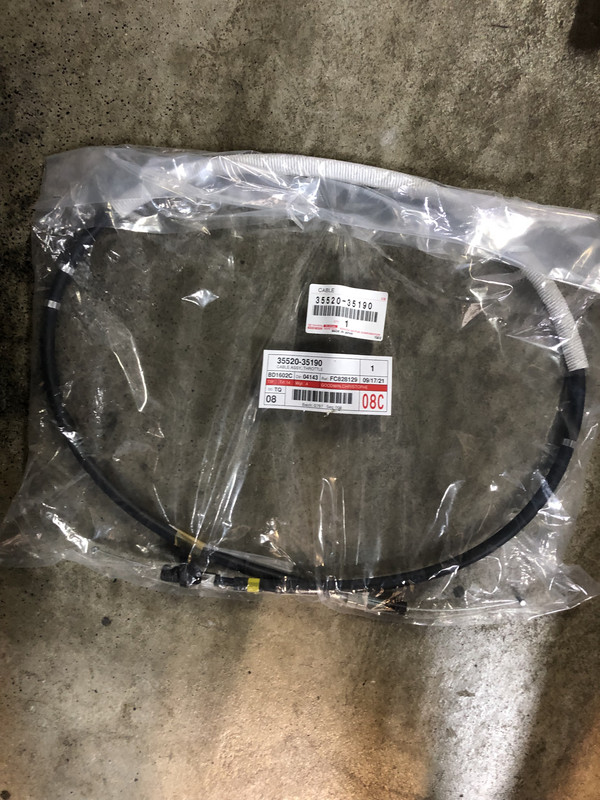
New throttle cable, going to make a video for this install.

93131-FA6-951-E-48-C3-8-AC4-6137-CB4-F9953.jpg
 
Last edited:
gotta let bearings be bearings ya know? Enjoy that longevity of your custom driveline while I drool over your dual cases still...glad I could help
 
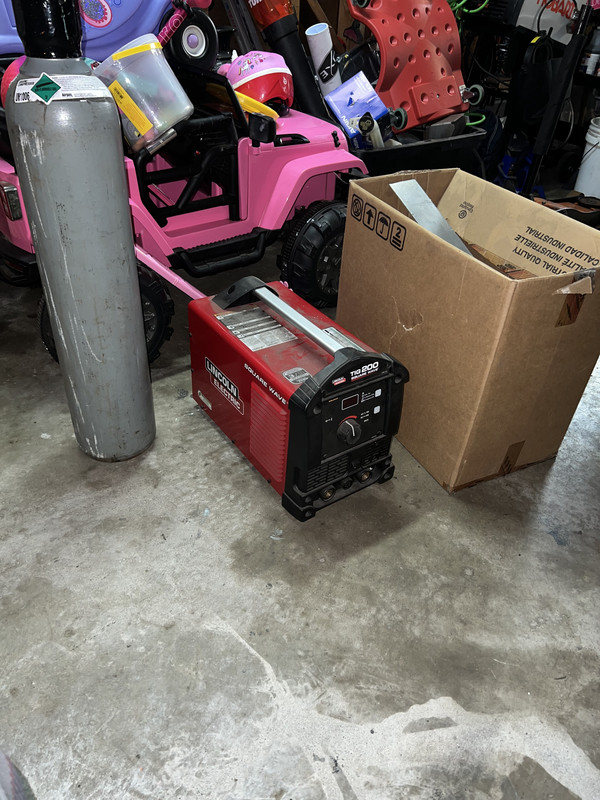
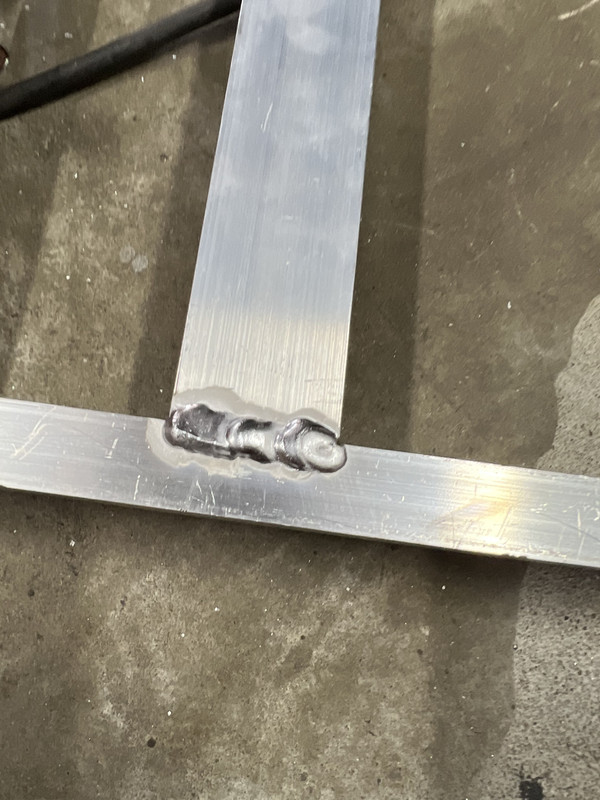
Rear storage/sleeping platform coming along nicely, got some 400lb locking slides for the drawer. Didn’t want to buy a spool gun so I borrowed a tig welder, first time using one lol. The welds are not great but they will hold.

DB1-B5-A46-FE29-4435-A2-C8-3-EA5132-EDD73.jpg


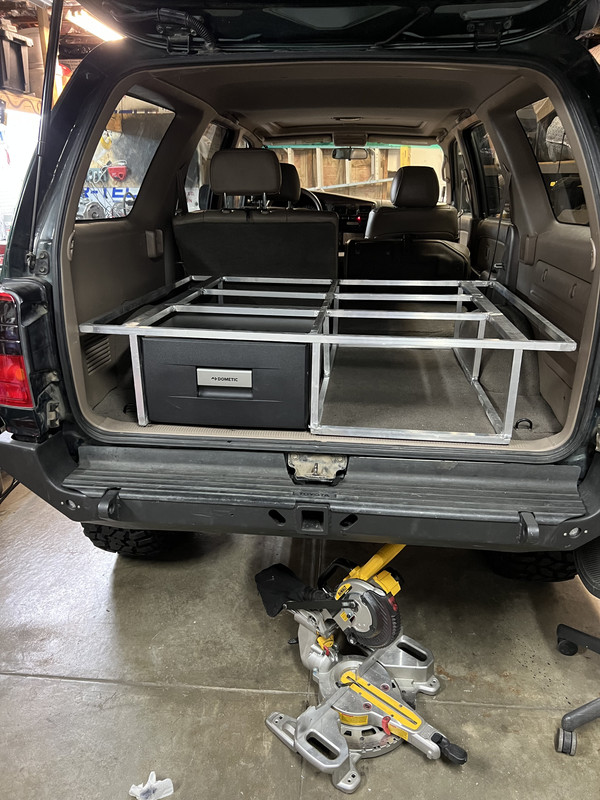
Progress photo almost done with the aluminum frame, also you’ll notice I got the rear bumper all finished up and mounted the plastic trim piece.
75038101-BAB3-4356-BB35-2-E57-FF91858-B.jpg


One of the better welds..
91-AB59-D0-FF60-45-D8-BCC4-63243035-FE8-E.jpg
 
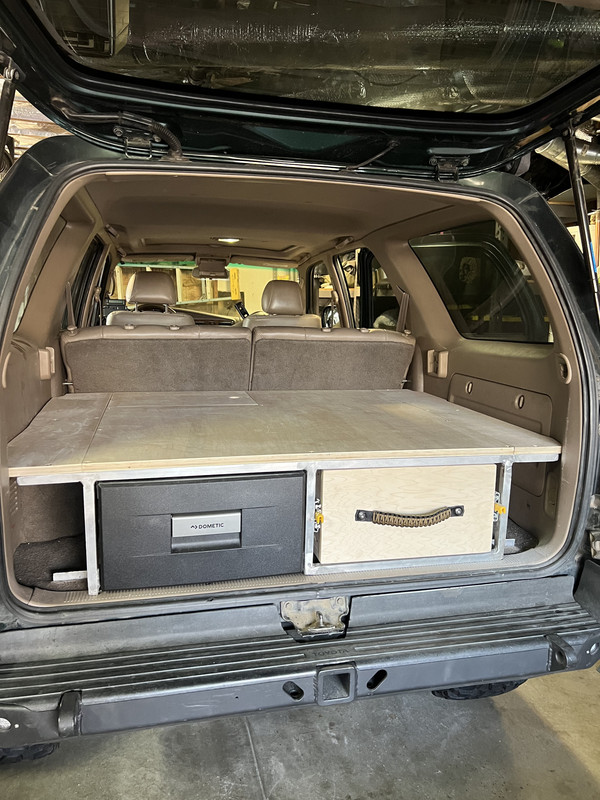
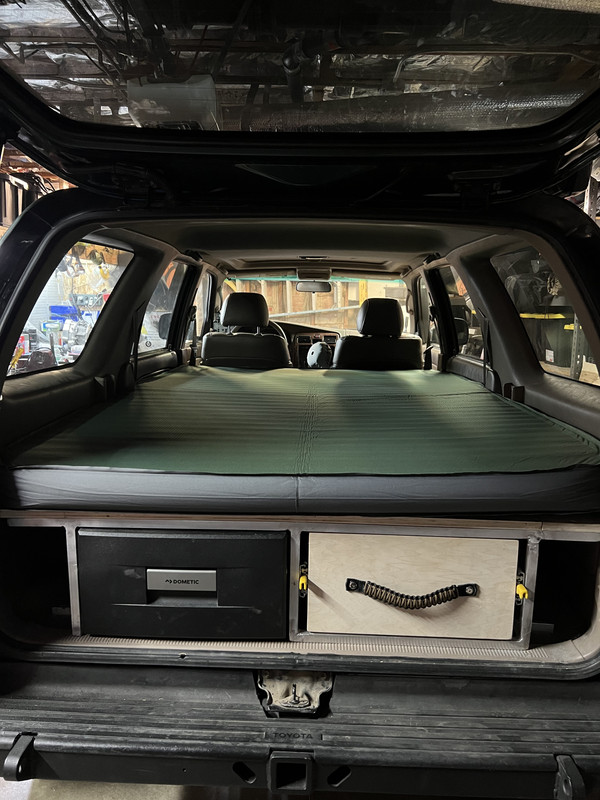
Almost wrapped up with the storage/sleeping/fridge platform. Just have to wire in the dc-dc charger and seal the plywood with laquer. Overall so far I’m extremely happy with how it came out, not perfect but it’s functional.

Here it is with the back seats folded up
59426512-633-D-4906-8744-381493-AE7659.jpg


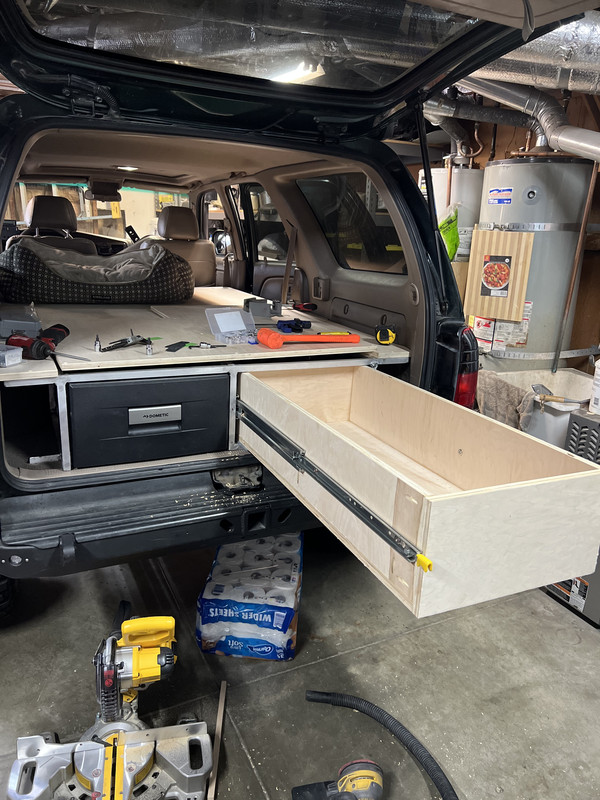
36” 400lb locking drawer slides worked out mint
99-F244-E3-135-F-4505-9-AB7-F0841-BA0-CC18.jpg


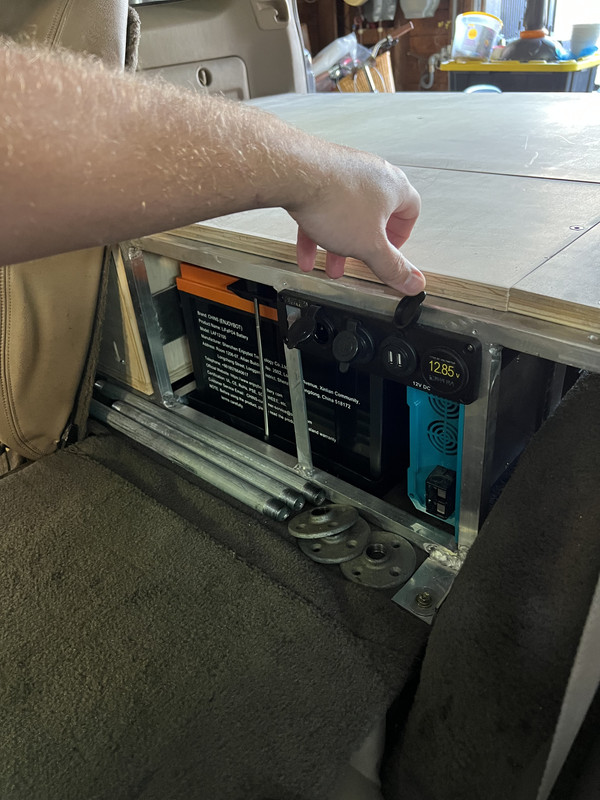
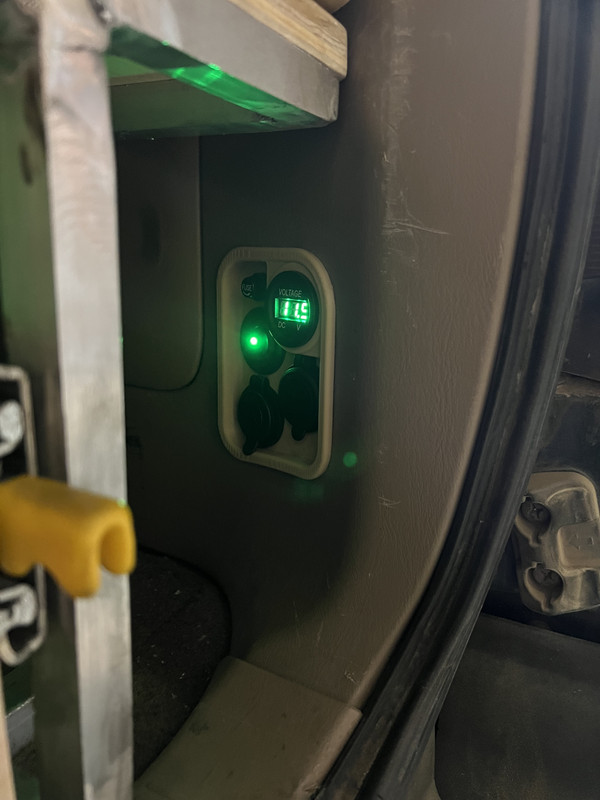
Got the blue sea usb/voltmeter/cigarette charger all wired up. Also the legs for the sleeping extensions fit perfectly behind the seat.
7-A28-A1-EE-CE49-46-B7-80-AD-1-FD82-CFF305-A.jpg


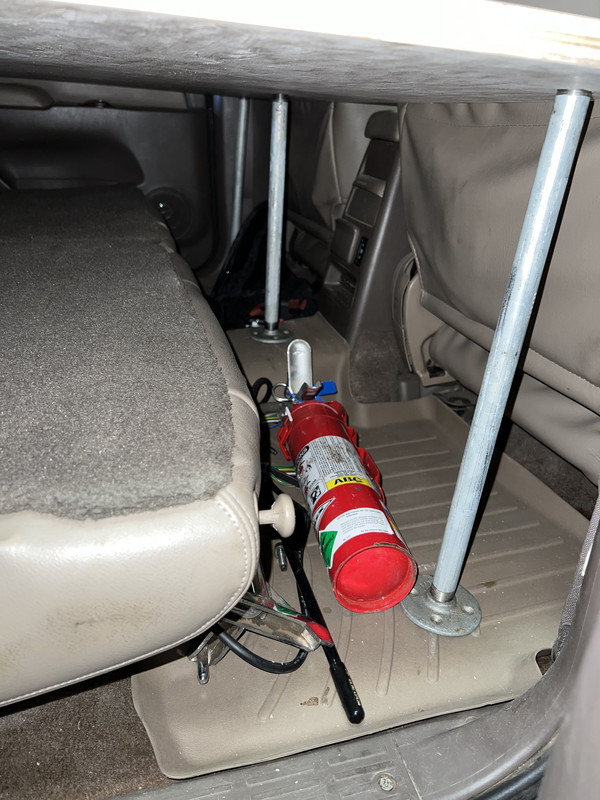
I used 1/2” galvanized pipe and threaded it into the plywood. Then I have a 4 bolt flange for the base of each leg. It actually worked much better than I thought it would, the best part is I can do fine adjustments by threading each side in/out. The main reason I did this is I wanted the plywood extension to be completely flat.
ACE4652-F-54-E6-4-A1-C-8-A4-D-81591-B525-BF5.jpg


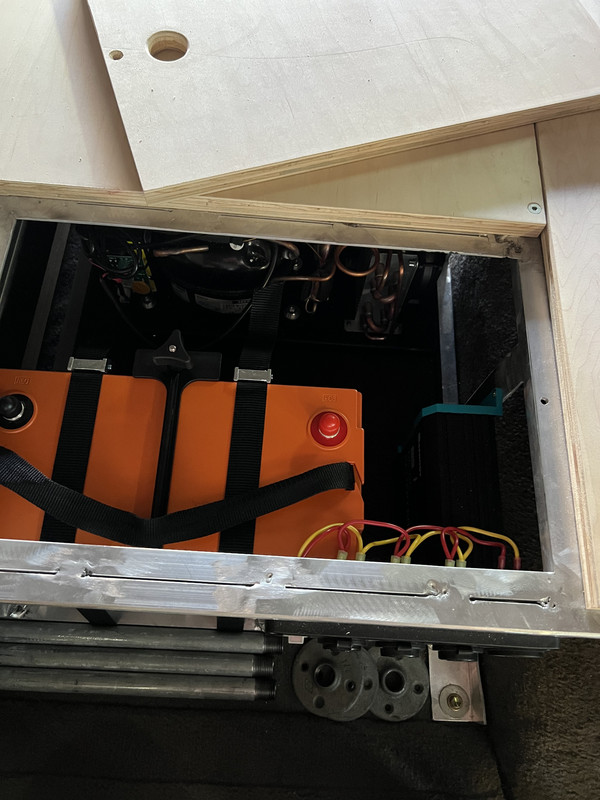
Made a removable panel for the aux 100AH lifepo battery/dc-dc charger. This worked out really well, all the wiring is within this box which made it super easy. (Side panels are removable too but you can still open the oem side cubby without removing them)
E62-B9-E5-A-5-AB3-45-F5-BB87-B97726-D62315.jpg


Exped Megamat duo LW+ fits perfect (platform is 77” long) this thing is ridiculously comfy, maybe even more comfy than my bed lol.
2-B918302-2983-48-BF-B02-C-5-EF413-A910-CD.jpg
 
Long time since I’ve done an update so here goes.

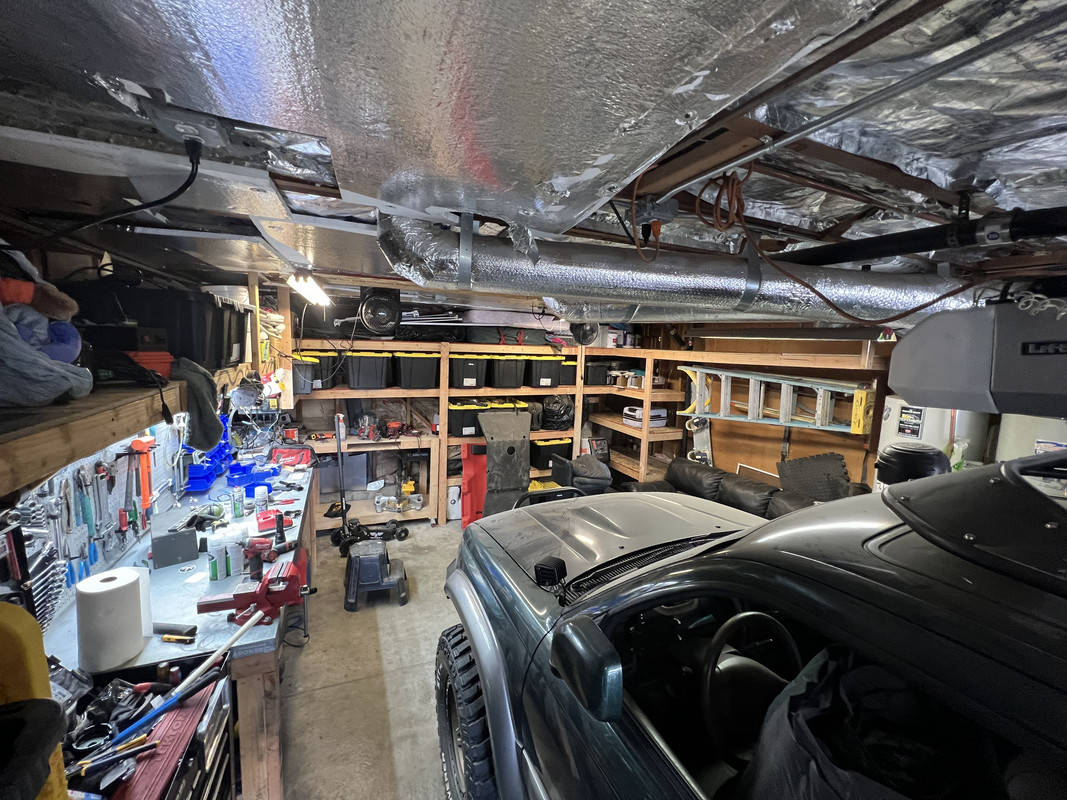
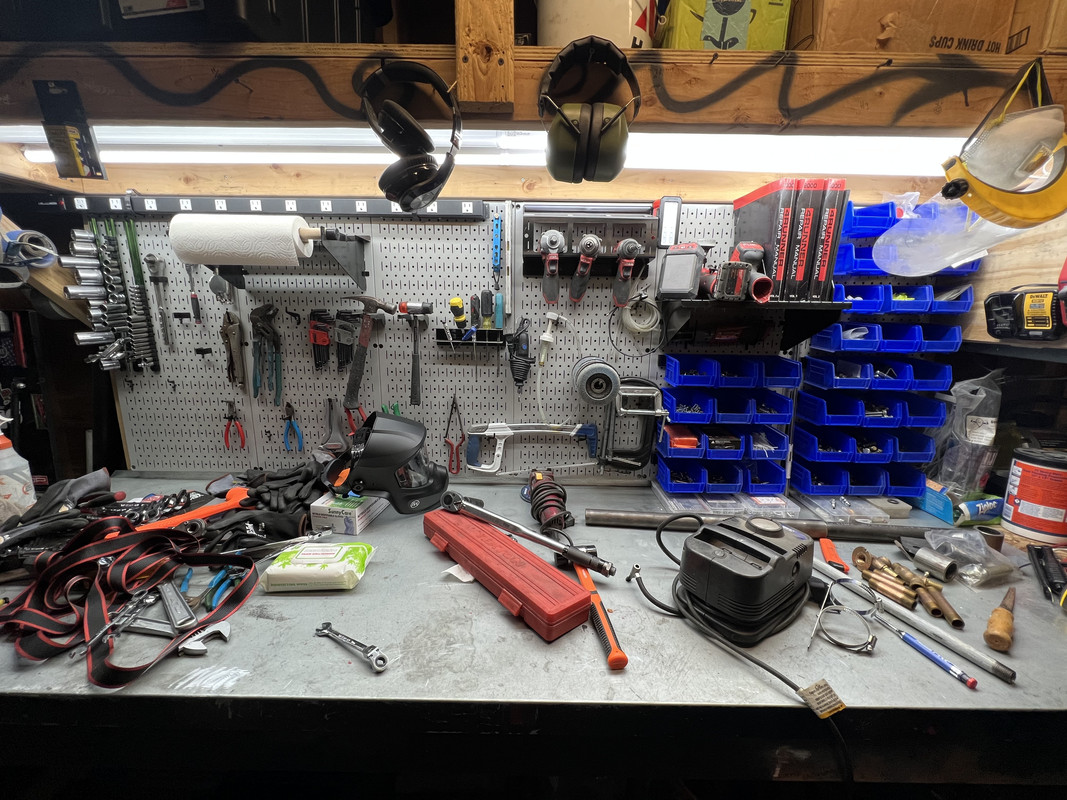
Took a break from the 4runner and did a ton of work on the garage, way more shelving/storage and so much less clutter.. still need to really get things organized but pretty happy with how it came out.
073-BAE14-DA8-C-40-CC-BA22-A54-C1-A5-F627-D.jpg


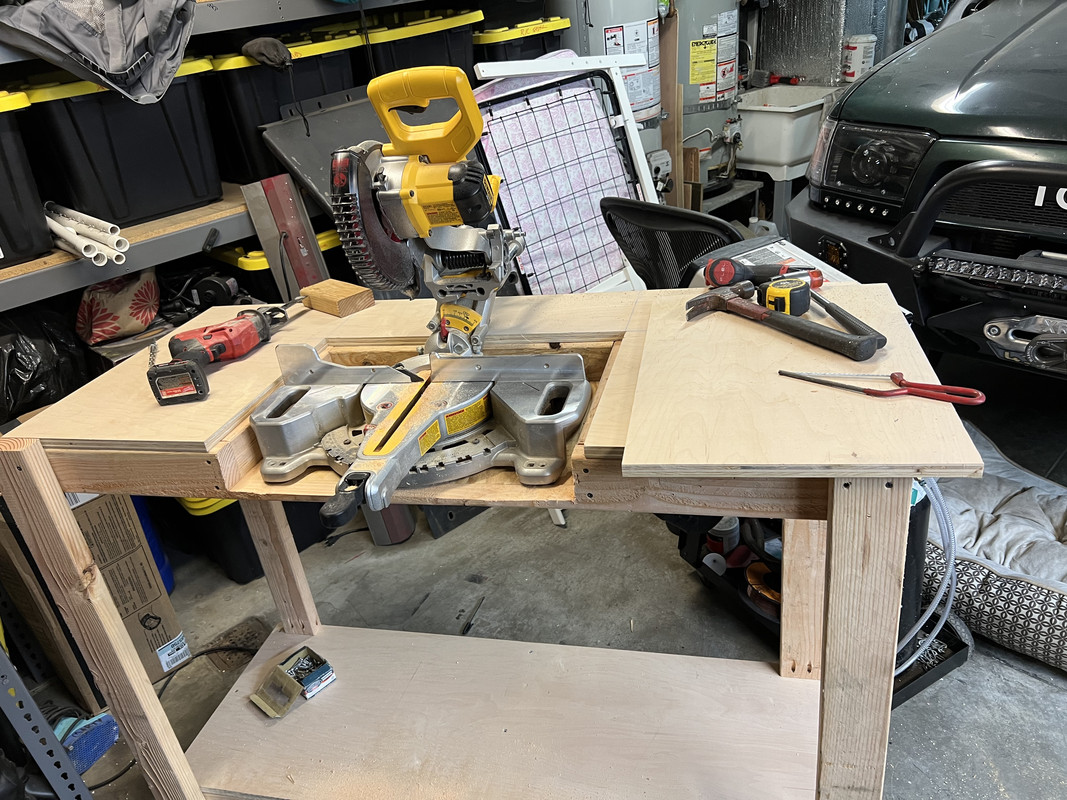
Built a rolling table that fits perfectly into the shelves for my miter saw, much better than using it on the ground.
A4-C0-A1-EF-1695-4-E50-A8-EB-9-AE9688-BF4-C4.jpg


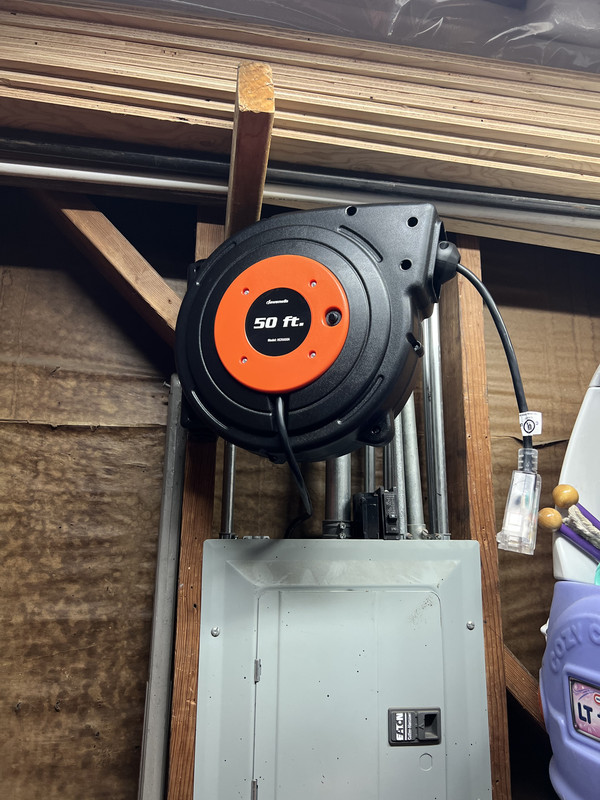
These extension cord and compressor hose reels I got are priceless, they save me so much time and effort.
FED1-AE1-F-1-D78-4030-BCF4-79-F3-EBC3734-E.jpg


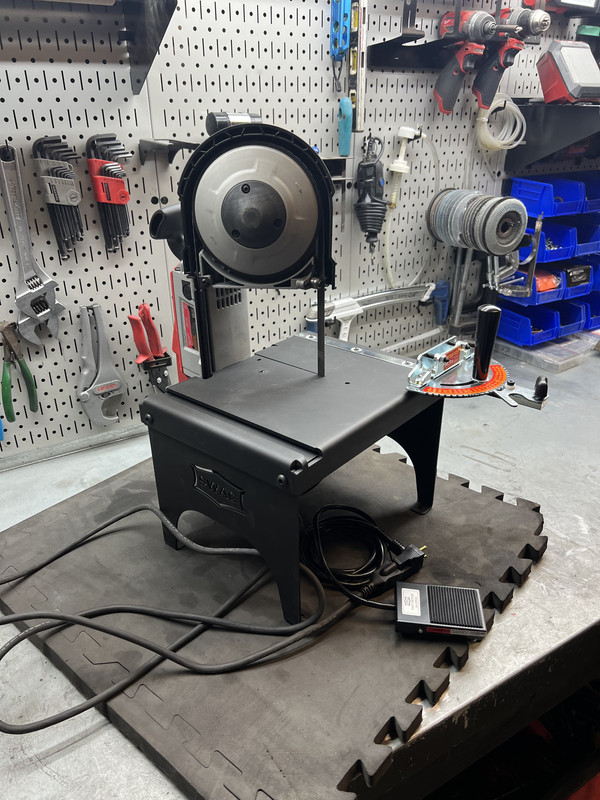
Got a swag band saw table, been wanting this for a long time..
5-F264-AF8-DB54-4734-9-EEF-750-E1768-C015.jpg


Got some more wall control stuff, now I can put my FSM’s on display haha..
593-D403-A-20-D5-4852-88-C9-1-BB2-B484-F856.jpg


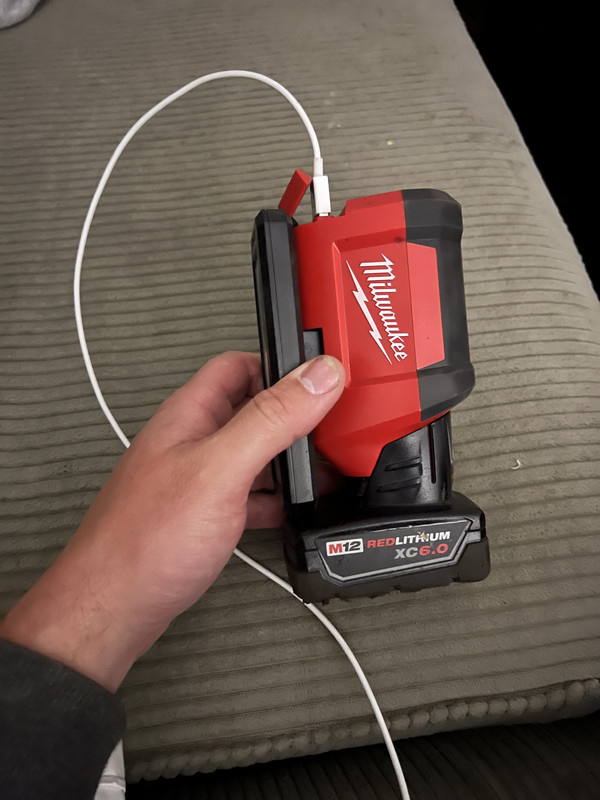
Got a couple Milwaukee lights recently but wanted to mention this one, the usb charger saved me in a blackout the other day. My phone was about to die and I was able to charge it with this light.
05-FC53-B9-9807-4-C04-B6-A2-3-A350-E868-E47.jpg


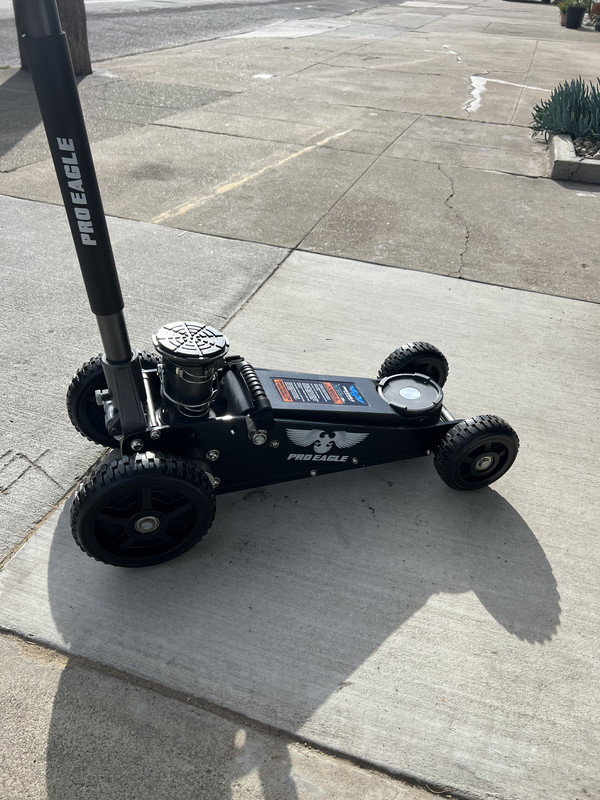
Got the 2 ton pro eagle jack for Xmas, so much better than my 10yr old auto zone one. Only bummer is it doesn’t really fit under my daily driver that well.
F0940-C6-A-FDA4-4-B20-A96-C-64-B9-F842894-D.jpg


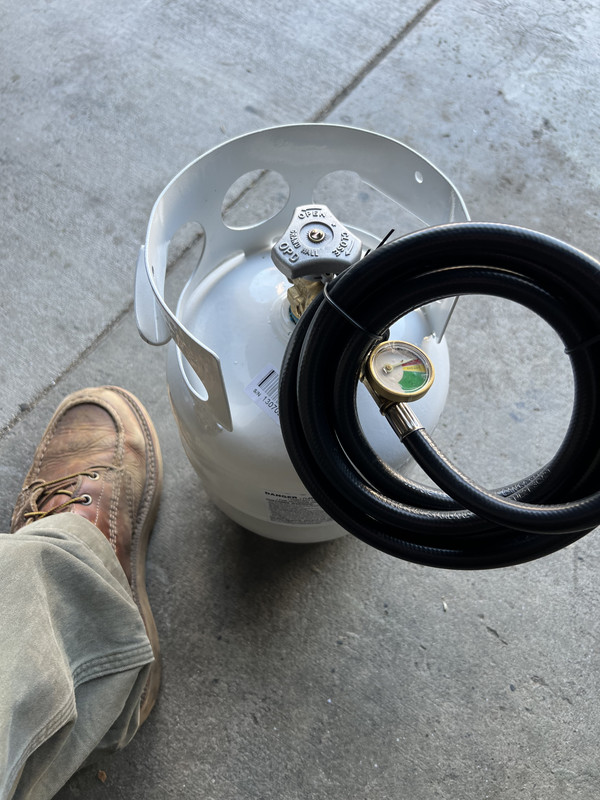
Went camping a couple weeks back and realized I needed one of these mini propane tanks, I always run out of the green ones everytime..
F4241865-ACF5-4-F1-B-A28-B-2499-F114-BEA5.jpg


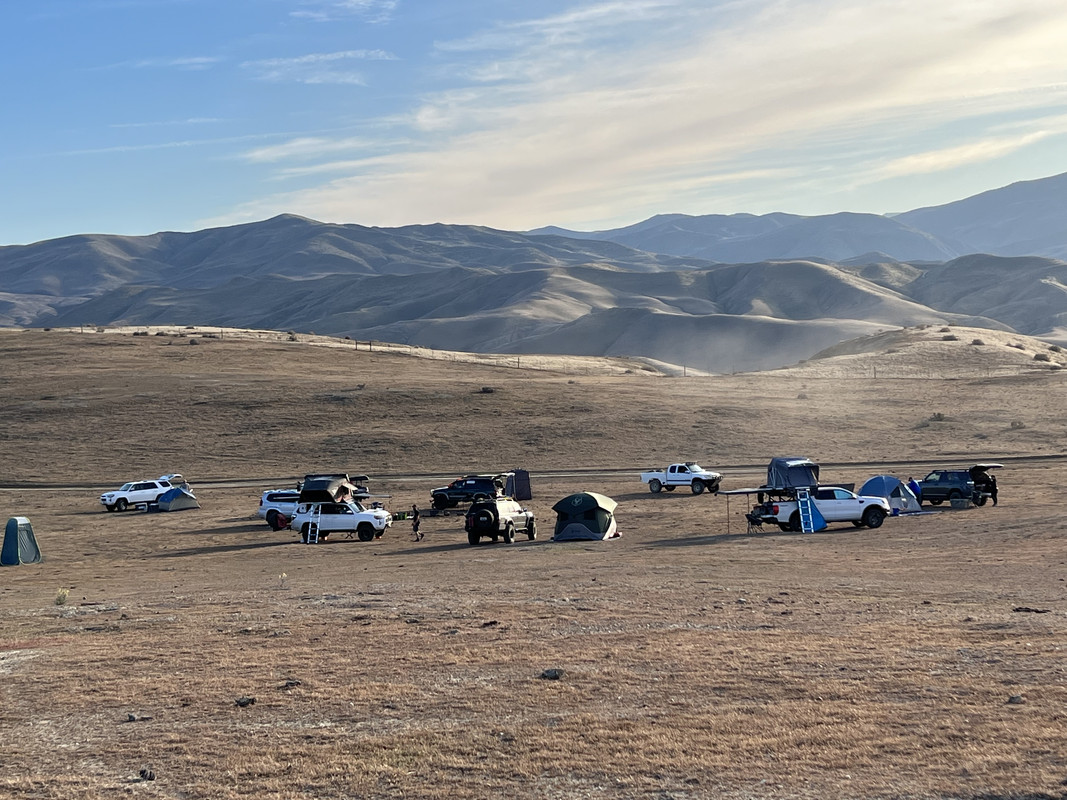
Here is said camping trip, had a blast
094-E1-C28-C6-C4-4-C77-9314-A97-C59-FEFFEF.jpg


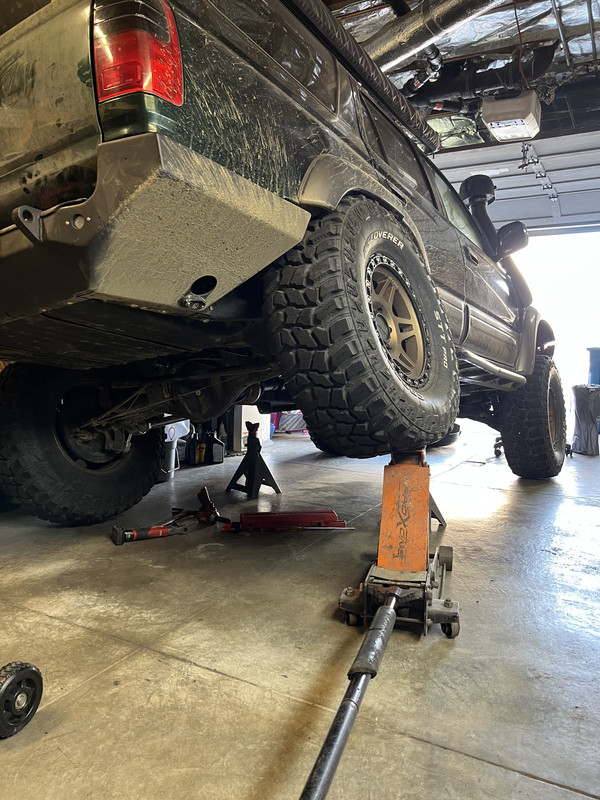
Last but not least I’m trimming the rear for 35’s on factory bump stops (plus 1” body lift). I guess I wasn’t thorough enough when I checked last time.
DDB7-A589-D91-A-4-DC8-B915-A842-AFB69-D20.jpg
 
Lots of exciting updates and even more to come in the near future!

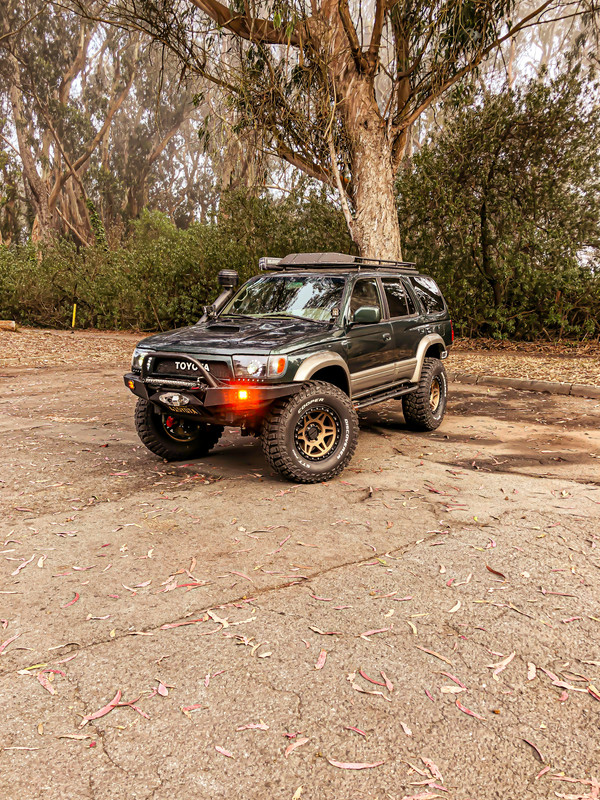
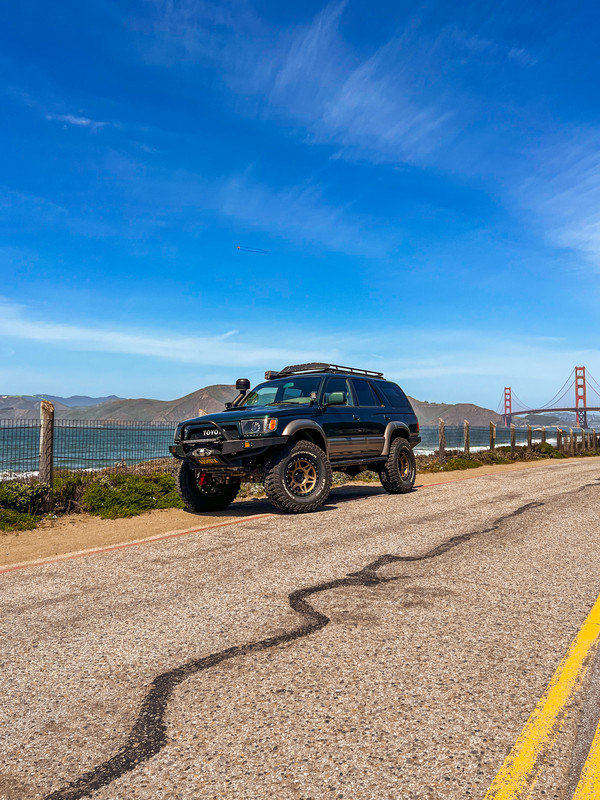
Went around SF looking for some cool photo spots, I thought this was one of the better pics.
DACB544-B-6667-46-C5-9-C32-132-A9828-D0-D9.jpg


Installed one of these things
B2730134-9-A9-B-4-E9-E-8-A3-C-9-DD7-ED71-DE1-E.jpg


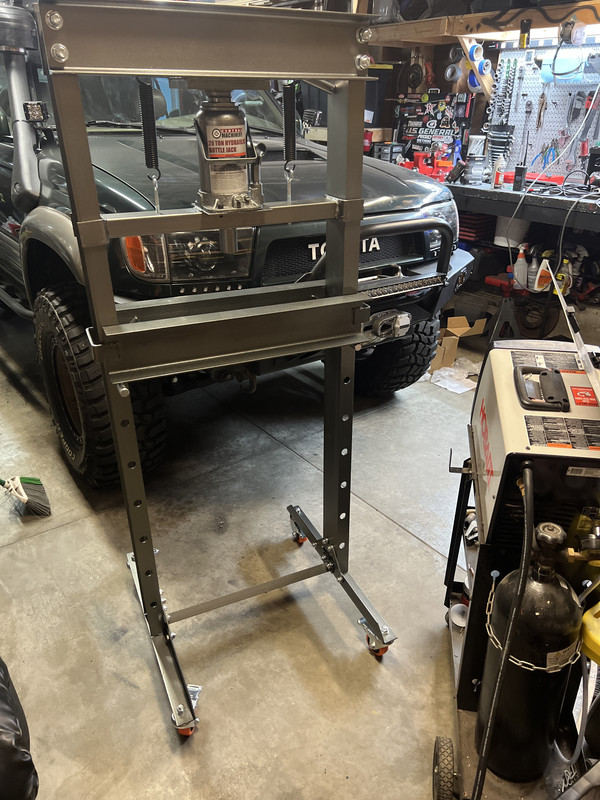
Got a 20 ton press, it’s amazing how sometimes you don’t realize how much you needed a tool until you have it.
7-D5-AB7-B6-84-D3-41-D3-A58-A-AC1-A5-C69-B2-C4.jpg


Did a diy leme out mod
61680945-D918-4-BE4-A311-076-CBA7-DA9-C5.jpg


Installed 4.7 marlin gears. Pretty crazy how much torque this thing puts out, can’t even stop with tundra brakes I basically have to throw it in neutral to stop lol.
3-E563156-CFE2-426-E-B007-FB0-AC466-F155.jpg


Ton of sound system upgrades:
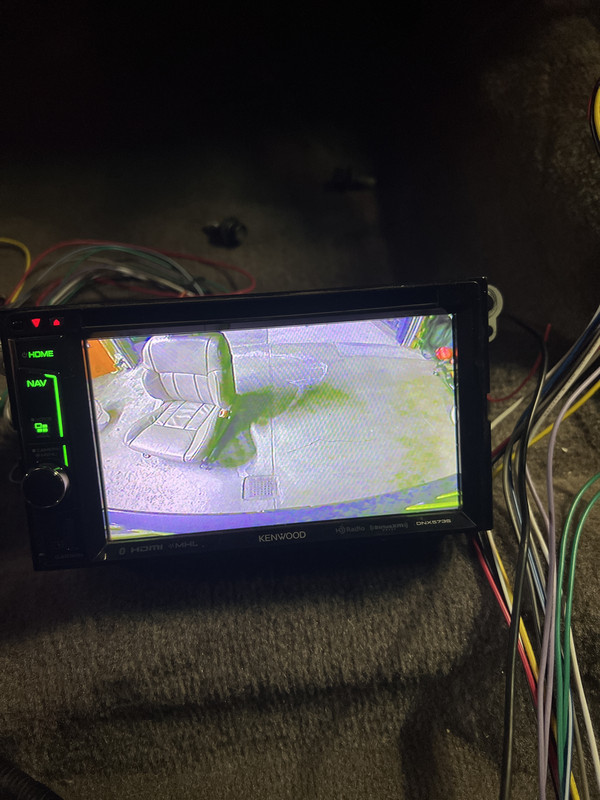
Reverse camera
DEC36-D99-11-C4-46-F3-B2-FD-4978-E9074-B9-C.jpg


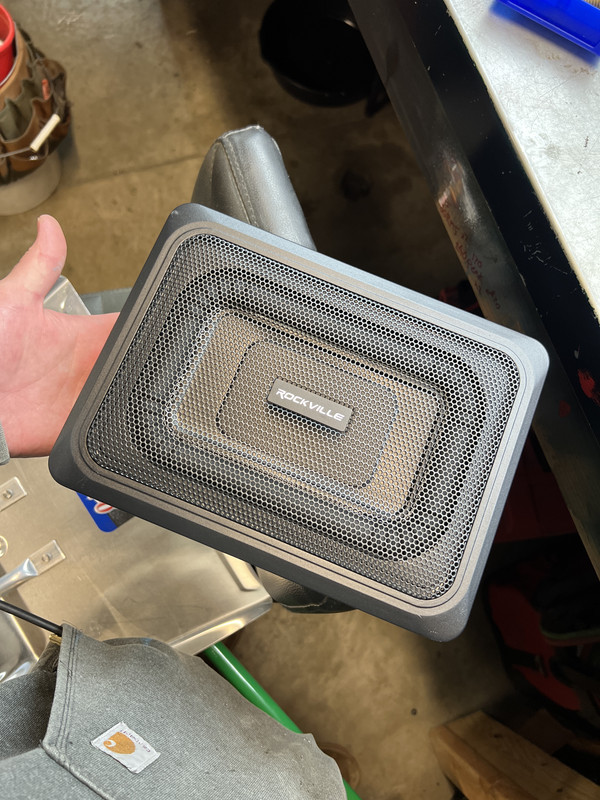
Under seat sub (yes it’s small but I just wanted a little bass lol)
EA2952-A2-E4-B7-43-DC-9-EE2-F67-DC3-F5-E8-EA.jpg


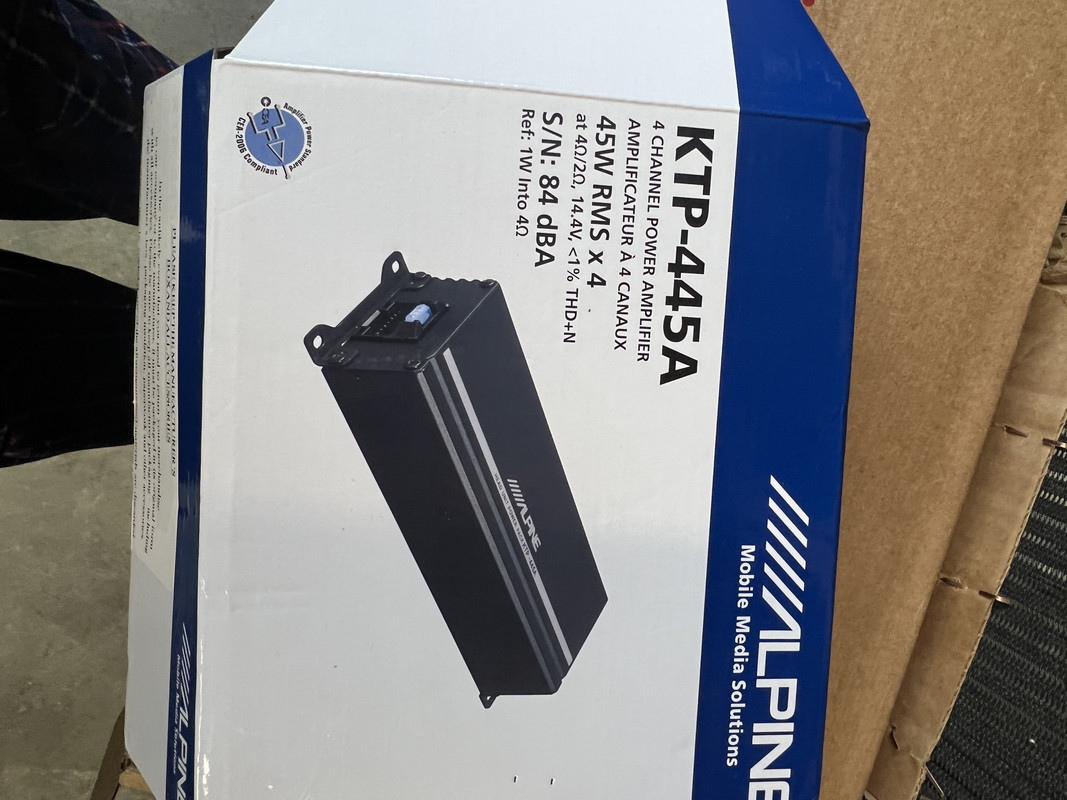
Got an in dash 4 channel amp, actually works really well (bad pic sorry lol)
AA41-A4-F1-2436-4934-86-F0-100-F19-CAE193.jpg


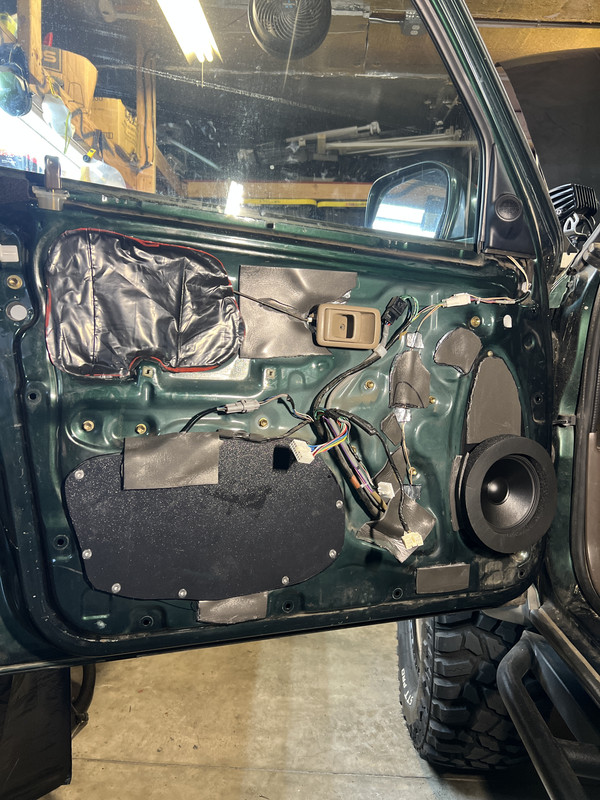
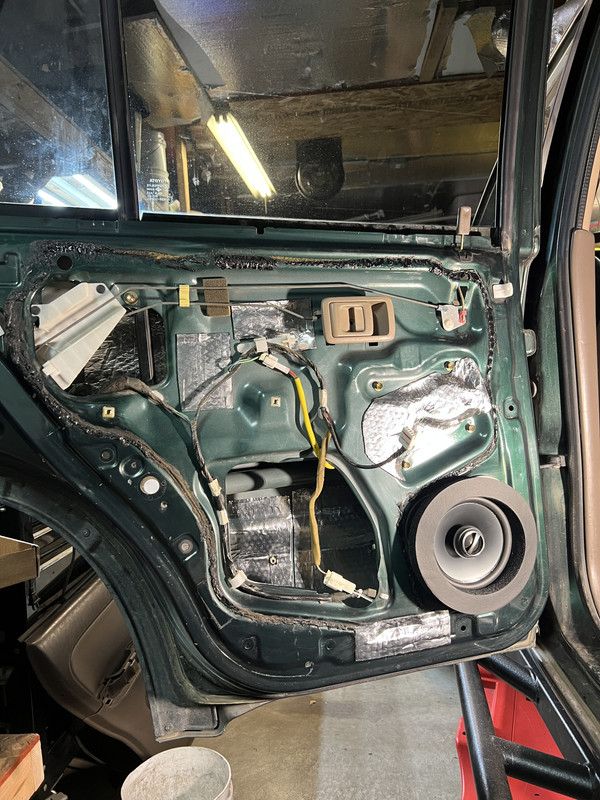
Did butyl sound deadening with a layer of foam over it on the inside/outside/plastic door panel, made a huge difference. Music feels way more immersive is the only way I can describe it.
574-EBB85-002-D-4-A9-C-9-C04-A23278-B24-EED.jpg


Did 6.5” rear speaker conversion, basically just ordered new speakers for the front and moved the fronts to the rear.
4-EBDBA4-C-D9-EF-4625-A864-E015-F92-C02-FA.jpg


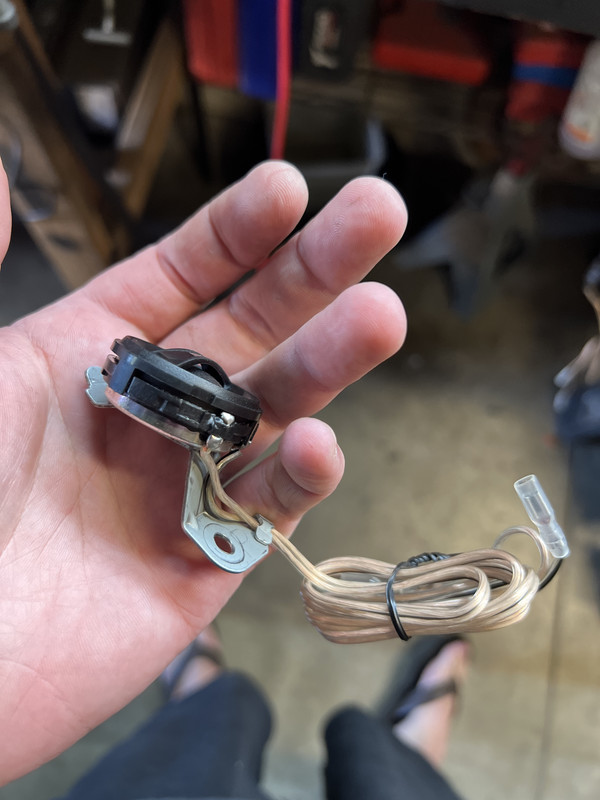
Got the alpine tweeter mounted to the factory bracket, this worked out really well. Used some super strong 3m double stick foam tape.
2-D5-B6-FA1-3046-41-AB-AC92-3-B682-A87-AA2-C.jpg


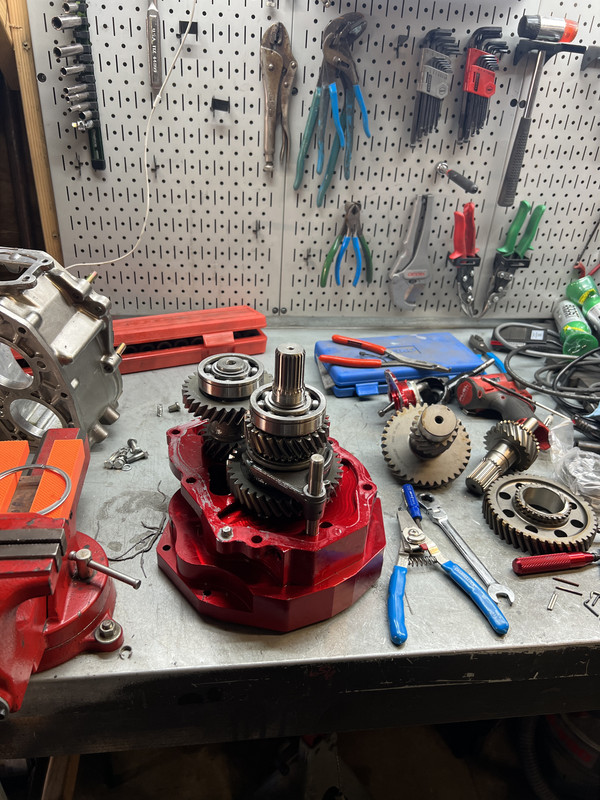
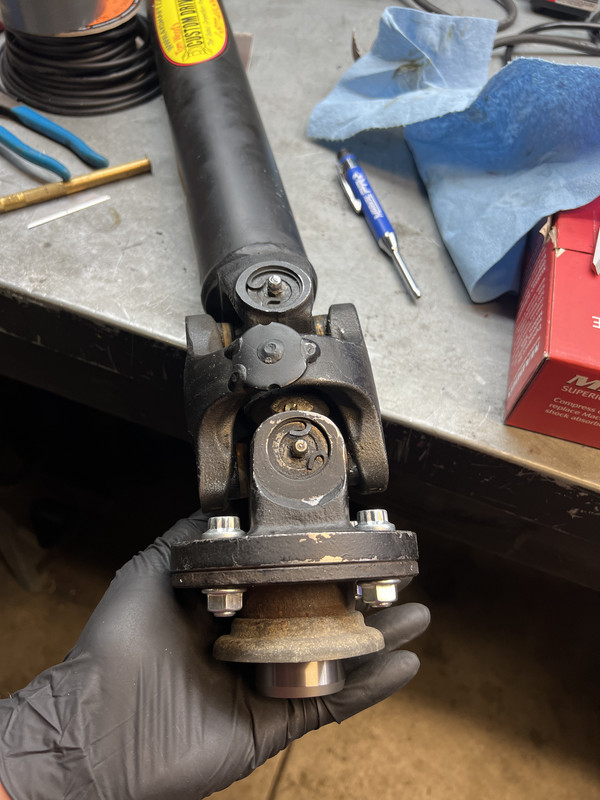
I had some really bad vibrations once I started hitting 70mph or so, turned out to be the transfercase flange that Tom woods made. I’m not blaming them at all as they kind of made it super last minute for me and I sort of said I wouldn’t be doing much road driving lol. Basically they welded the flange to the splines which is impossible to get 100% perfect (this is why flanges are usually machined and not welded together). Anyways I was able to use some of the bolts provided by Tom woods to adapt my OEM flange to their driveshaft and this eliminated all of my vibrations. Super happy to have figured this out.
20018462-D5-AB-41-A5-921-C-9-F47879-AD710.jpg


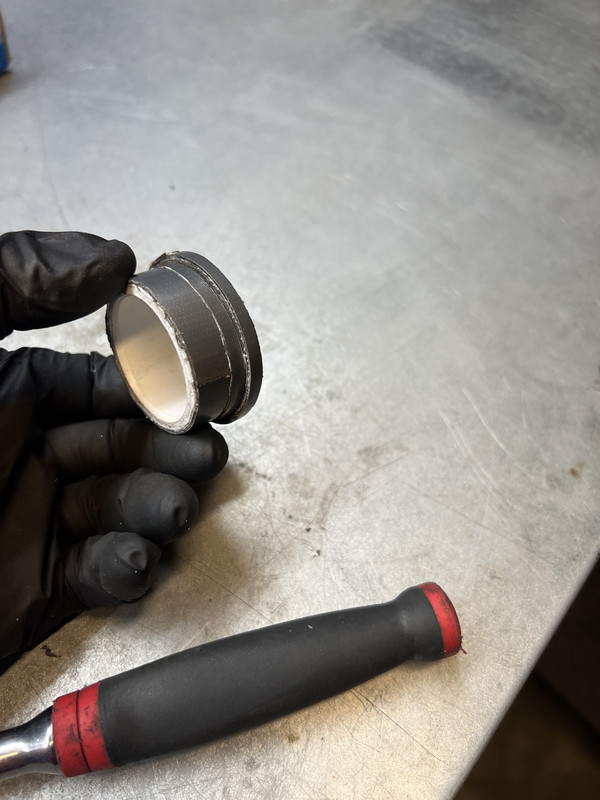
Here’s the little adapter I made with some pvc and duct tape to keep the driveshaft centered on the flange. I’m going to turn one down on a lathe at work out of DOM steel, the piece should be here on Friday.
33-A75-D32-26-B5-4-FE8-A35-D-B26-C96-F229-BD.jpg


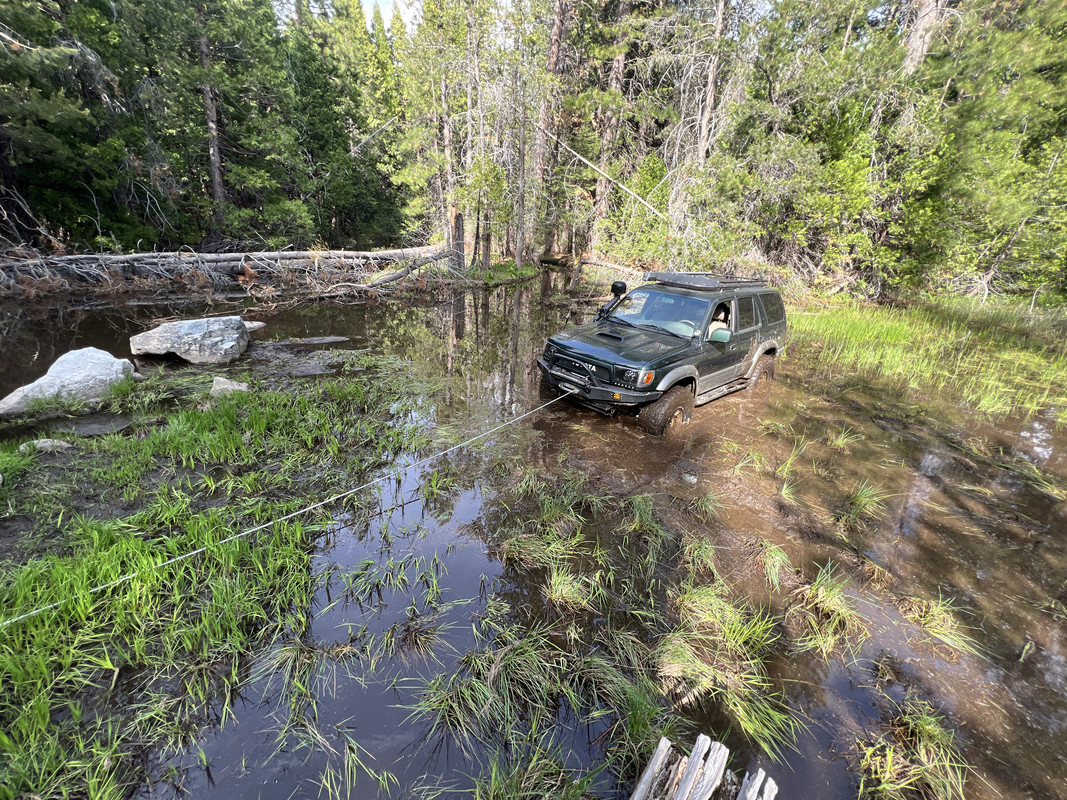
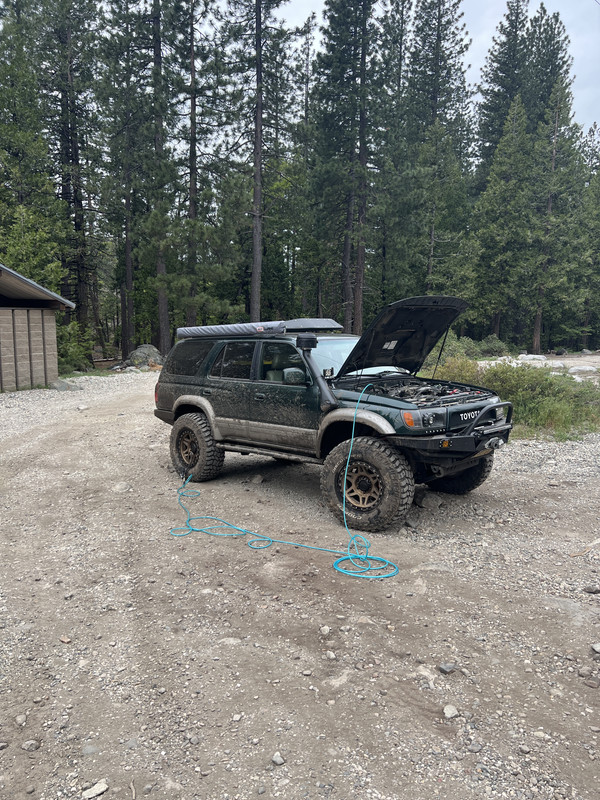
Decided I wanted to go camping and no one wanted to go so I made the executive decision to go solo. Ended up getting pretty dang stuck in the mud, luckily I had my rain boots from work so I tried winching out for 30-45 mins which didn’t really do much. I got unstuck but when I tried to move I just got re-stuck. As a last resort I decided to try the 4.7 gears and it literally just creeped out of the mud like nothing, I was pretty impressed and super stoaked to not be stuck anymore lol.
D3189-D2-B-8-E06-49-E3-8786-43555589651-F.jpg


Right after I got unstuck
0-CF3-BBDA-9967-4834-9580-DB0-FDCD7-D833.jpg


Made it down to camp
9-DCBC6-A0-73-B2-48-D7-AB84-B29267856267.jpg


Airing up to meet up with some friends at bowman lake
B45832-AB-189-B-47-B0-A348-B2830-C2-C89-E2.jpg


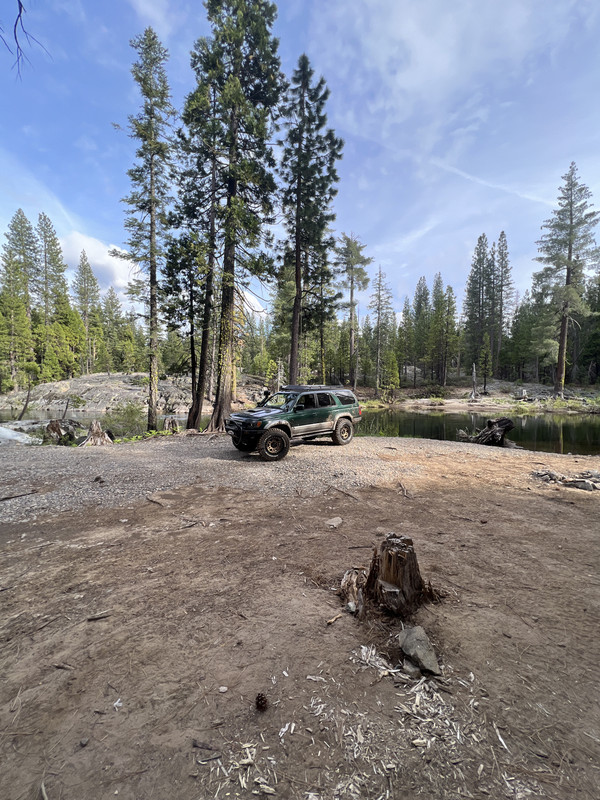
Found some cool camp spots at bowman
49-F7487-C-4-E6-E-4-D4-C-91-E7-A3-F50156-C23-F.jpg


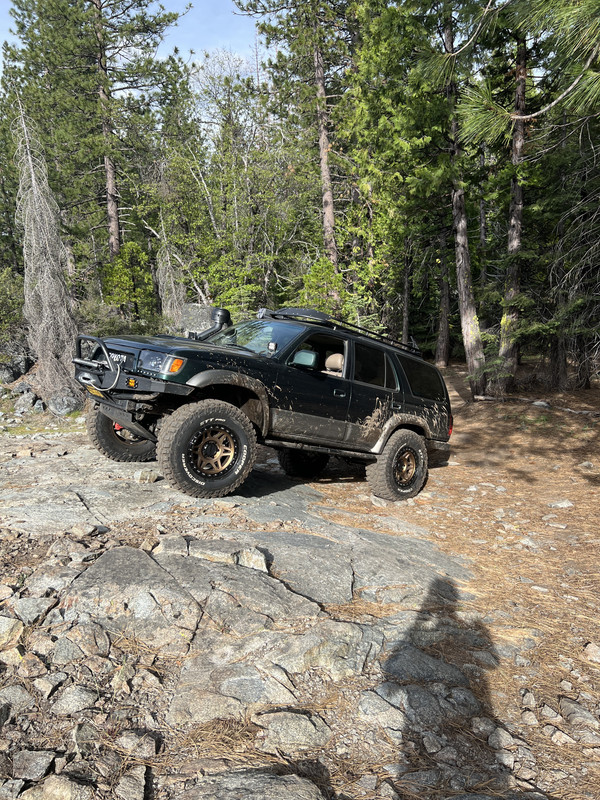
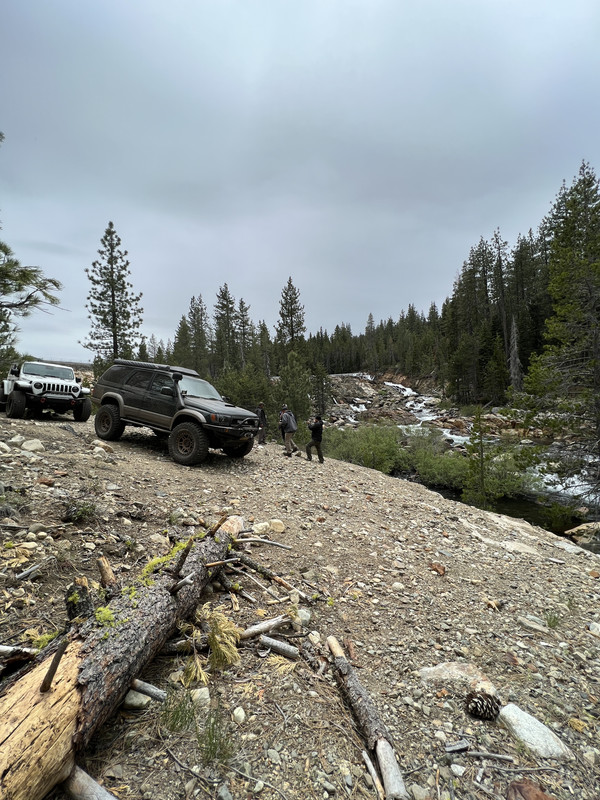
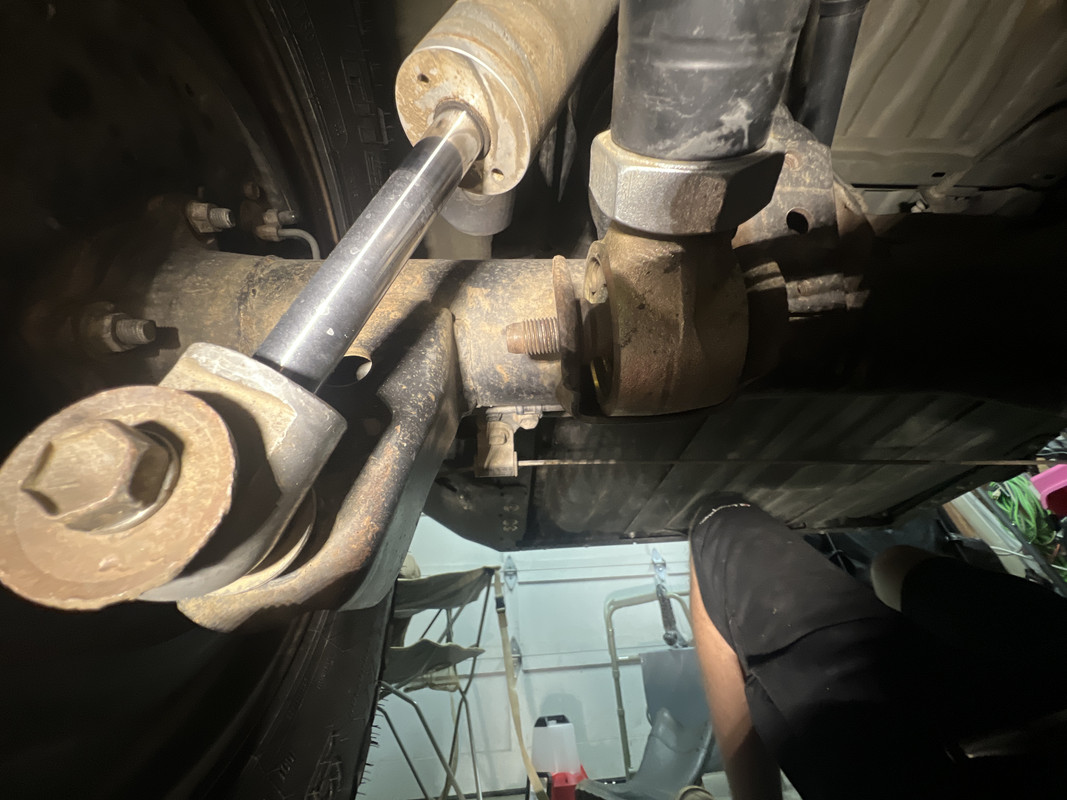
On the bowman lake trail I heard some clanking noise and checked out my rear suspension to find both my upper link jam nuts had came loose and extended themselves pretty far (upper link mounts were hitting the crossmember) so had to take care of that. Then when I got home I realized I had lost a lower link nut, thanking the Toyota gods that the bolt didn’t come out somehow.

4873275-D-0074-452-C-A338-A18-AB1-A1-ACFF.jpg
 
Nice update, the closest I can relate to is the under-seat sub lol

I was thinking about updating my front speakers, keeping the tweeters, and moving my fronts to the rear. Any tricks to that move?
Looking at these front speakers
DS18 PRO-X5.4BM Loudspeaker - 5.25", Midrange, Red Aluminum Bullet, 300W Max, 150W RMS, 4 Ohms https://a.co/d/3e1y0DU

Which ones did you go with?

Sent from my Pixel 4 XL using Tapatalk
 
Nice update, the closest I can relate to is the under-seat sub lol

I was thinking about updating my front speakers, keeping the tweeters, and moving my fronts to the rear. Any tricks to that move?

Looking at these front speakers
DS18 PRO-X5.4BM Loudspeaker - 5.25", Midrange, Red Aluminum Bullet, 300W Max, 150W RMS, 4 Ohms https://a.co/d/3e1y0DU

Which ones did you go with?

Sent from my Pixel 4 XL using Tapatalk

I went with 6.5 alpine type S component speakers (came with tweeters) for the front and moved my 6.5 coaxial alpine type S’s to the rear. Those look like nice speakers and are actually a really decent price, the only reason I didn’t go with something like that is because then I would want to install new speaker wiring to each door and I’d need a big amp to run them. The amp I installed I think is only like 45-50 rms to each speaker and literally fits in the dash behind/under the head unit. It was pretty simple to make my rear speaker adapters fit 6.5’s just had to use a jigsaw to make the hole a bit bigger (the speakers came with a template). You have to mount the speaker adapter to the door then mount the speaker because the speaker covers the mounting screws a little bit.
 

Members online

Forum statistics

Threads
278,316
Messages
3,554,112
Members
248,016
Latest member
Advally Service

Trending content

Back
Top