Pioneer AVH-X3500BHS Install
For the past couple years I have been using a Sony CDX-GT620IP head unit. While the Sony was great, I have always wanted a double din unit. After a substantial amount of research I ended up deciding on the Pioneer AVH-X3500BHS. It has all the features I want (Bluetooth, Ipod control, HD radio, etc.), got great reviews, and the price was just right ($300 shipped from Amazon). As an added bonus, you don't need a pocket install kit like all of the single din units require.
Here is a list of the major parts I used for the install (I ordered everything from Amazon):
Pioneer AVH-X3500BHS
Metra 70-1761 Radio Wiring Harness For Toyota 87-Up Power 4 Speaker (I already had this since I have an aftermarket head unit)
Night Vision Parking Car Rear View Wide Angle LED Reversing CMOS Camera (optional)
Parking Brake Override Bypass for Fully Automatic Video in Motion (optional)
Scosche Mda-B Micro/Delco Antenna Adapter Tip (optional)
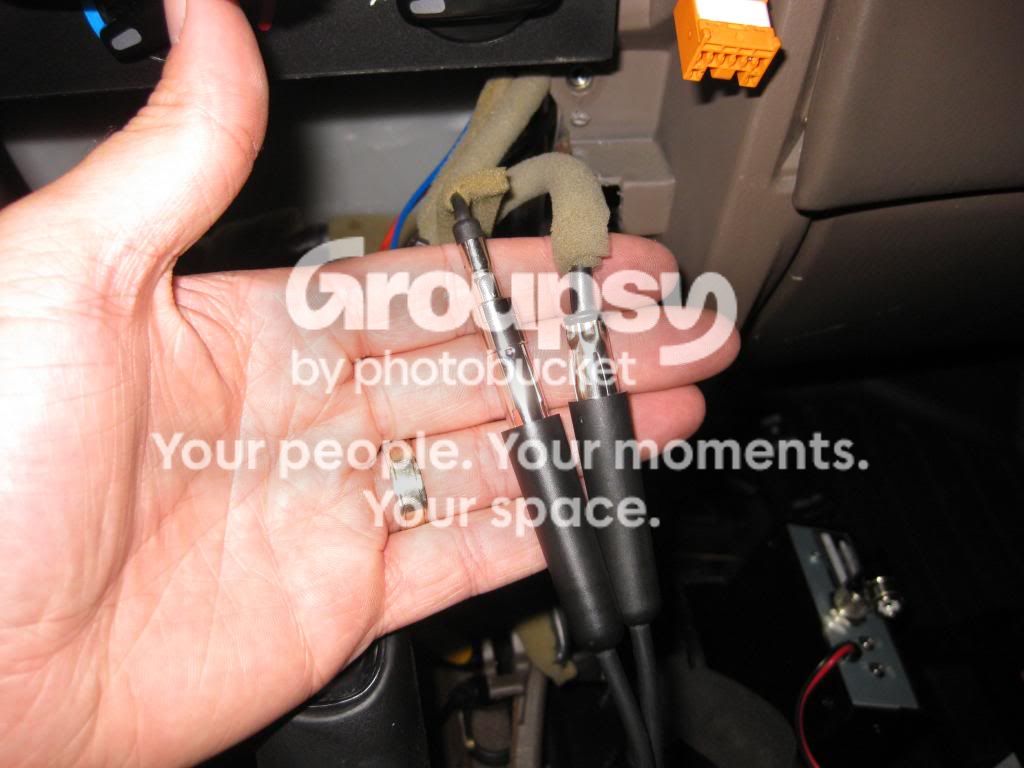
Metra Ltd 40-UV43 Motorola Antenna Y-adapter (optional)
After removing the old Sony unit, I cut off the Sony wiring harness from the Metra wiring harness. I was careful not to cut too much of each since I would be reusing the Metra harness and selling the Sony harness with the head unit. After cutting off the old harness, I soldered and heat shrunk the Pioneer harness to the Metra harness.
Note: There were only 2 wires that are not used: 1) The orange wire with a black stripe on the Metra harness and 2) The yellow and black wire ("mute" wire) on the Pioneer harness. The white and purple wire on the Pioneer harness will only be used when connecting a rear view camera.
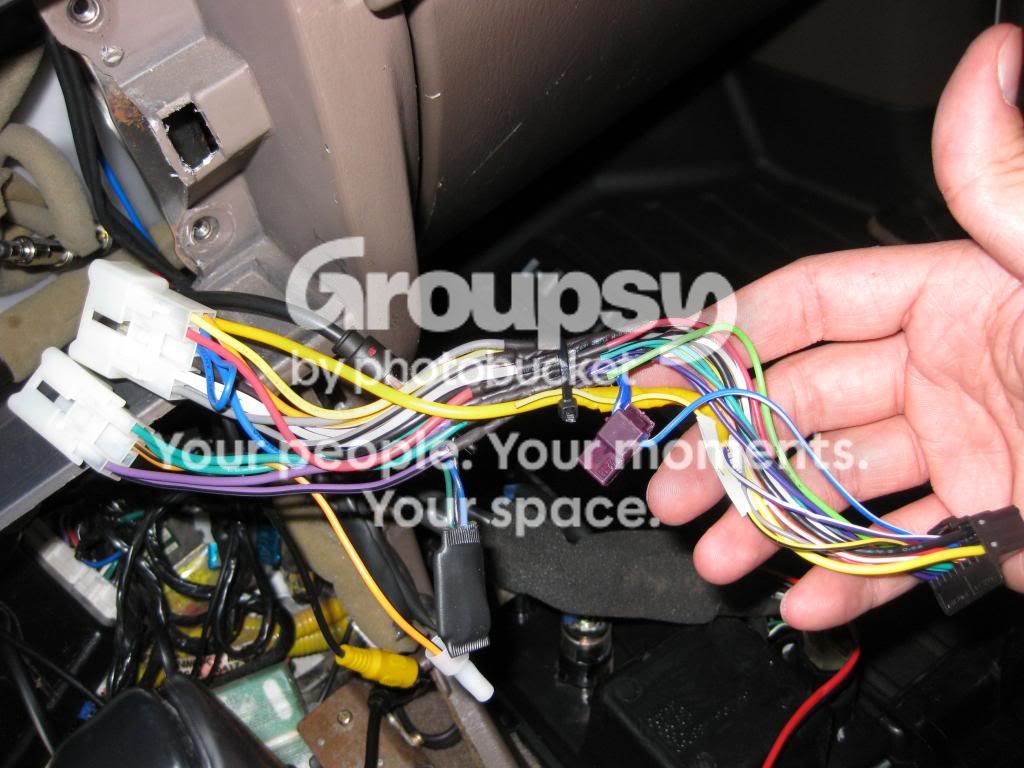
When soldering the two harnesses together, I was sure to include the Parking brake override relay wires. The override relay has 3 wires that match up to the wiring harness as so:
1) Black wire - This is a ground wire that is soldered in line with the other 2 black ground wires.
2) Green wire - This wire is attached to the light green parking brake wire on the Pioneer harness.
3) Blue wire - This wire is attached to the amp/antenna power wire. In my case this wire was soldered inline with the blue and white wire from the Pioneer harness and the blue wire from the Metra harness.
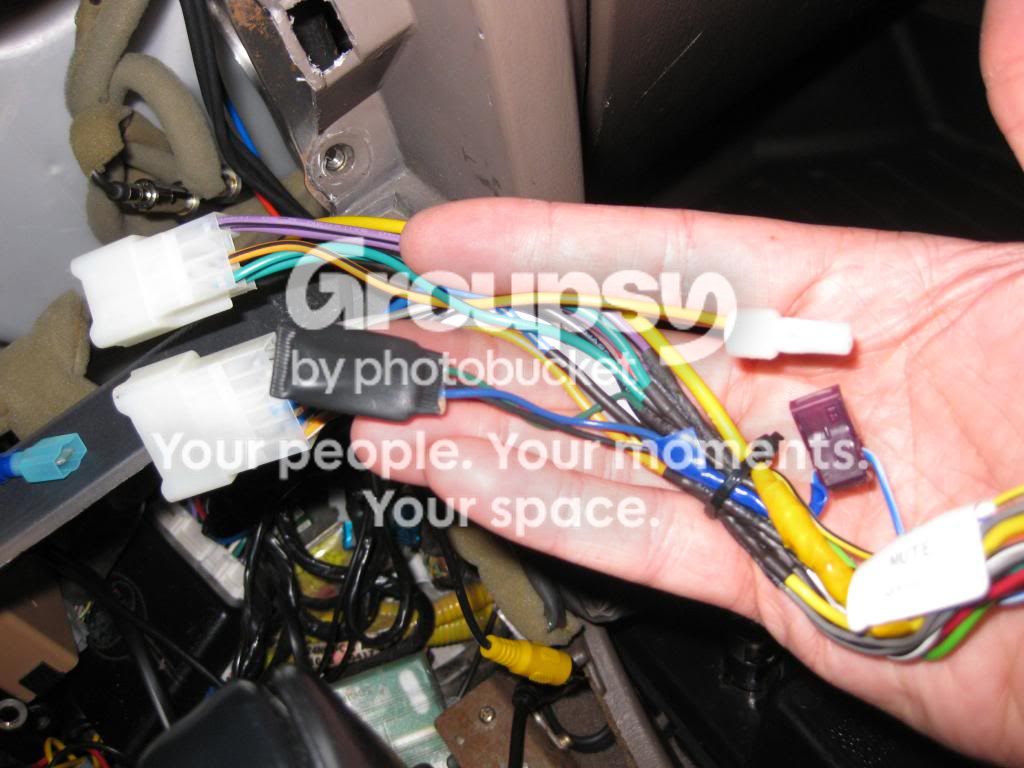
Here you can see the parking brake override relay (small black rectangle)
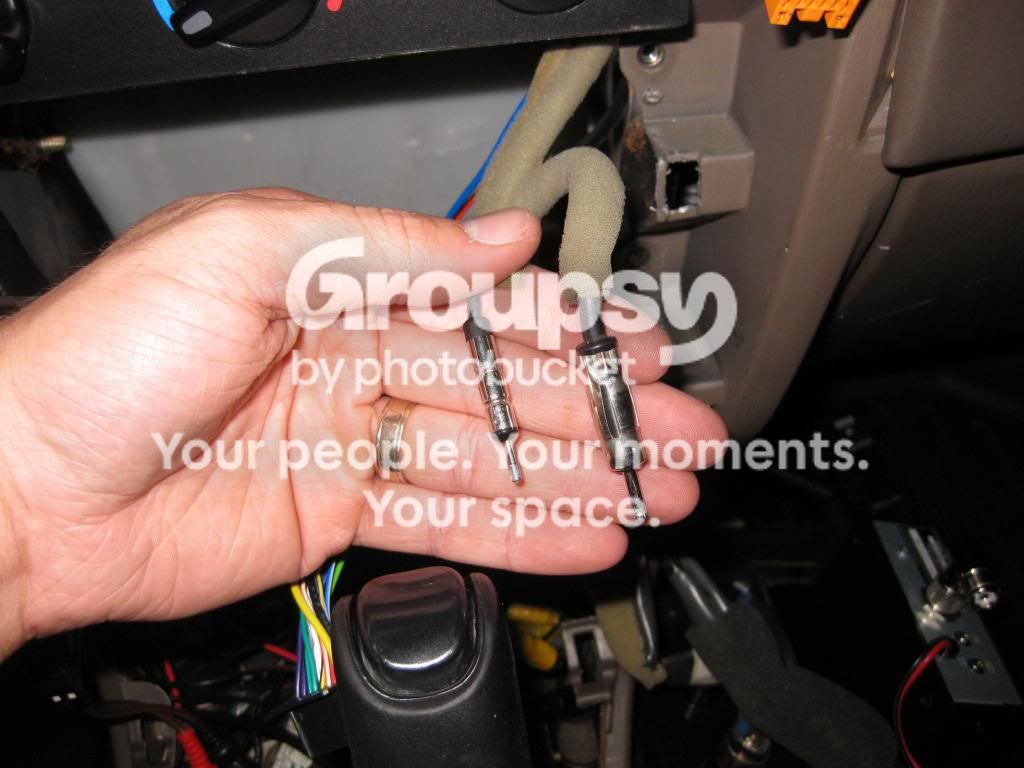
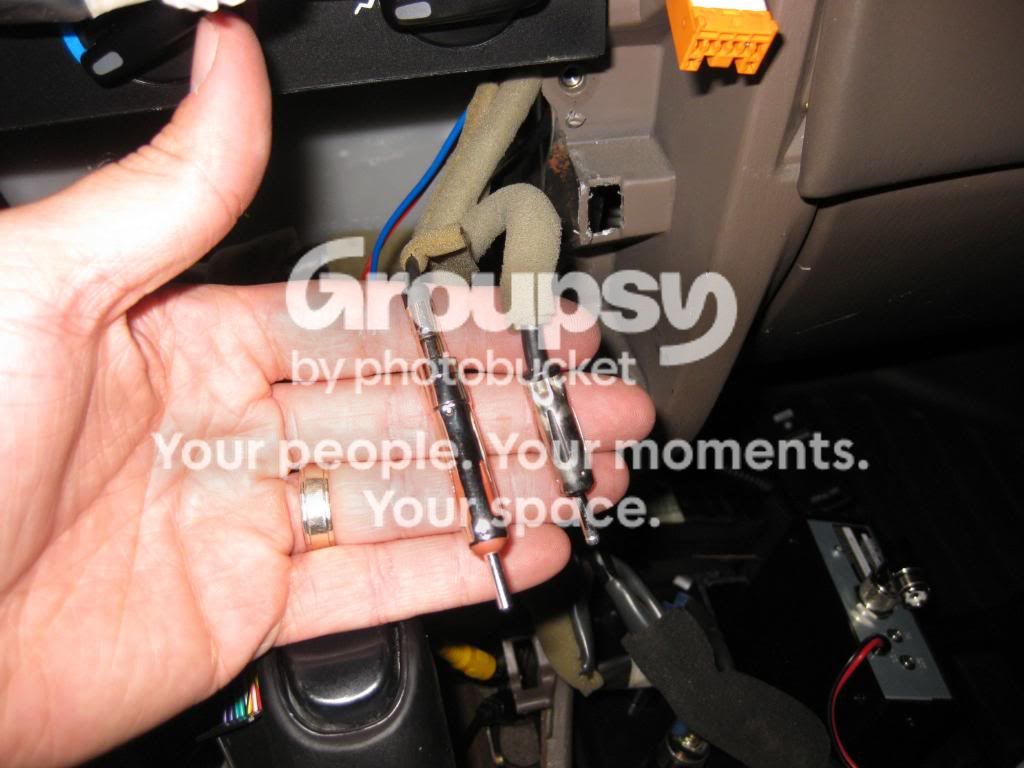
When you remove your factory head unit you will notice that you actually have 2 antenna wires. A large plug for the main front antenna and a smaller plug for the rear antenna.
Larger on right, smaller on left
Since I bought an HD radio I wanted to make sure that I had the best reception possible so I bought a Scosche Mda-B Micro/Delco Antenna Adapter Tip and a Metra Ltd 40-UV43 Motorola Antenna Y-adapter.
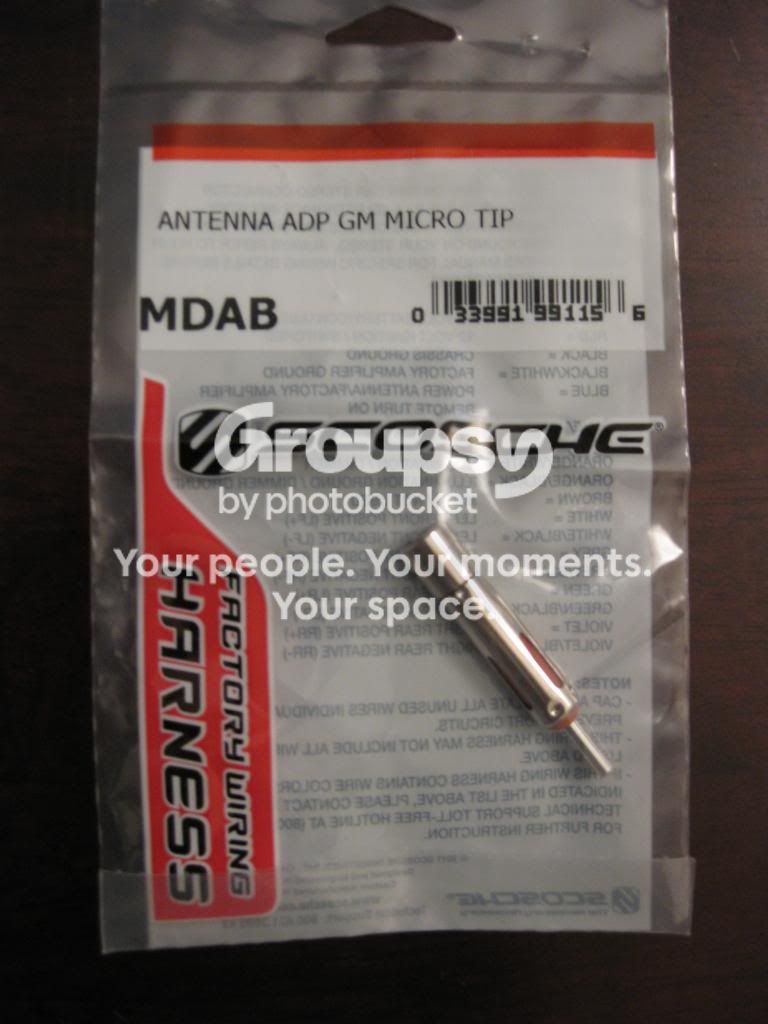
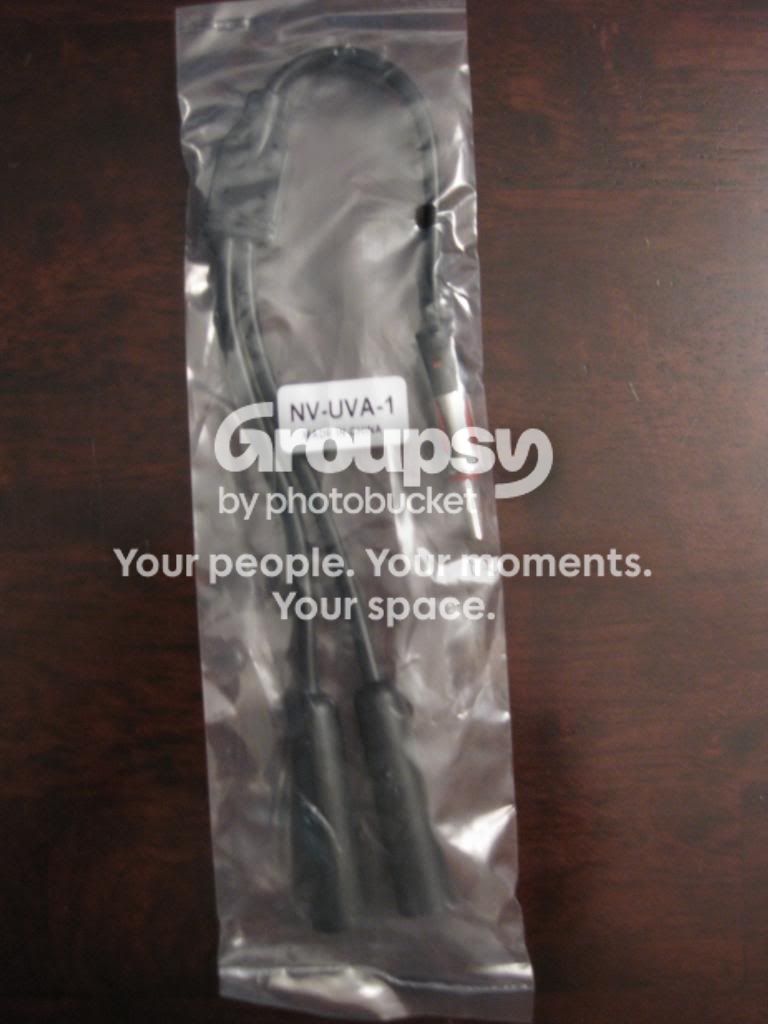
The adapter tip converts the smaller rear antenna plug to the same size as the larger main antenna plug.
And the Y adapter allows you to connect both the front and rear antenna to the single antenna plug on the Pioneer unit.
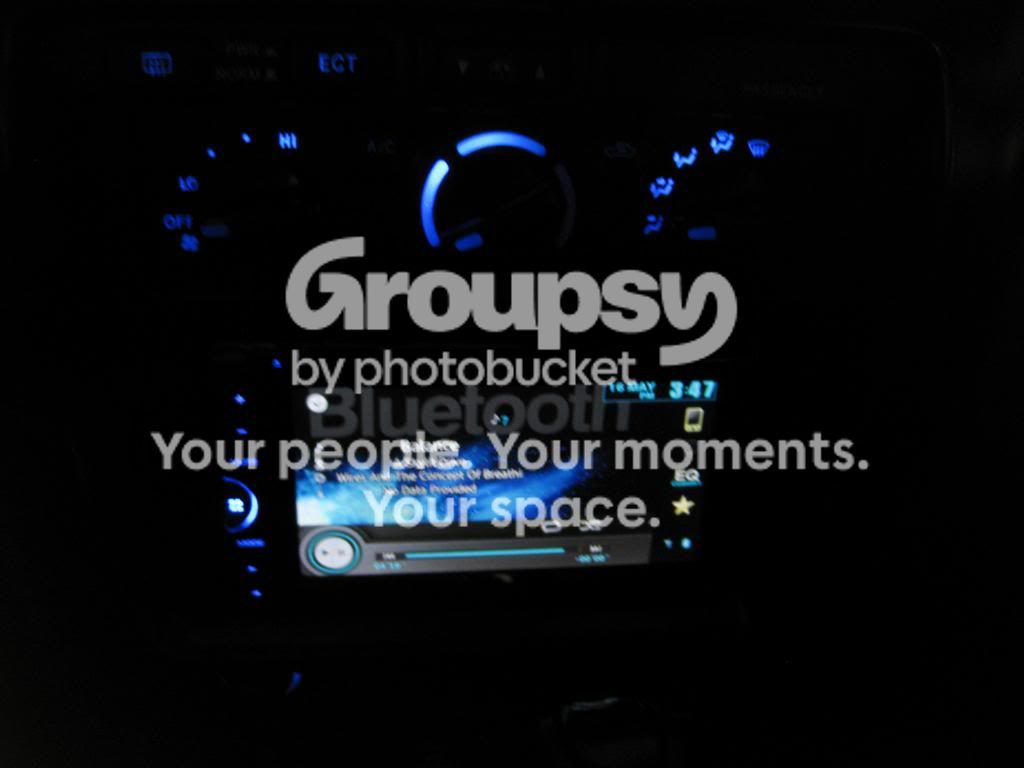
And after putting everything back together here's how it looks.
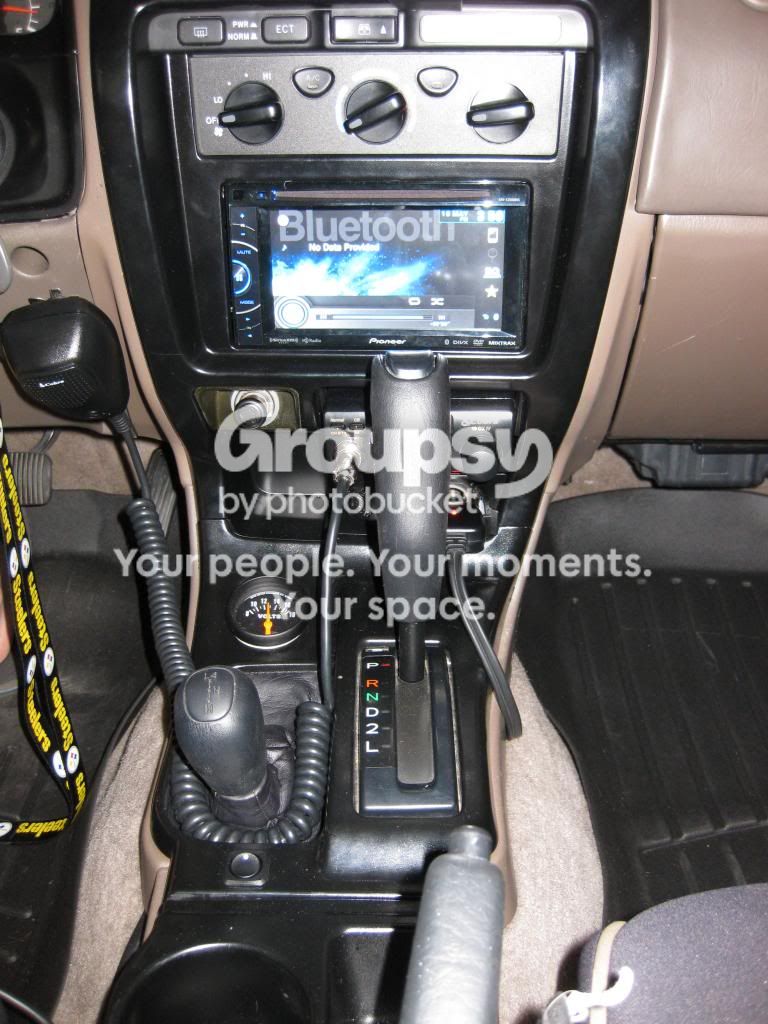
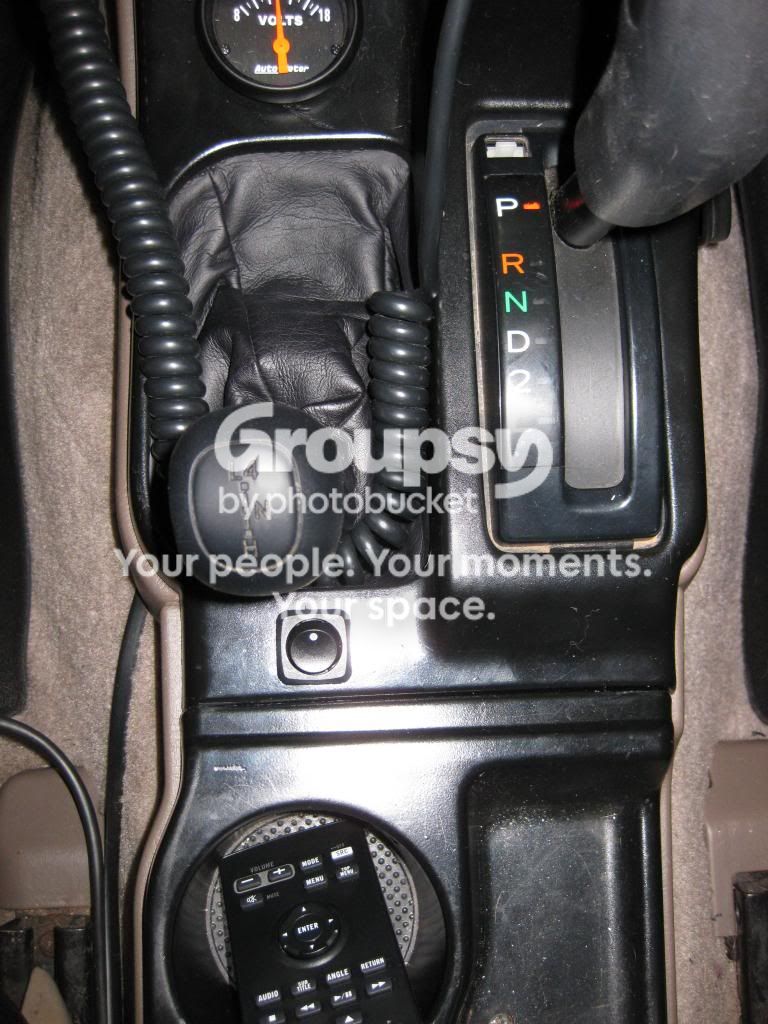
Finally, I noticed that with the new Pioneer unit, my antenna is up and stays up whenever the stereo is on, regardless of whether or not I am listening to the radio. While this isn't a huge deal, I don't like the idea of having the antenna up when I wanted to listen to music via iPod/iPhone while wheeling. So, I went to my local radio shack and I picked up a simple on-off switch. I cut the blue (antenna power) wire on the Metra harness and soldered a length of wire to each end and ran those to the switch. Now, I can raise and lower my antenna with the simple flip of a switch. Not difficult at all, but super useful!
Here is where I mounted the switch.
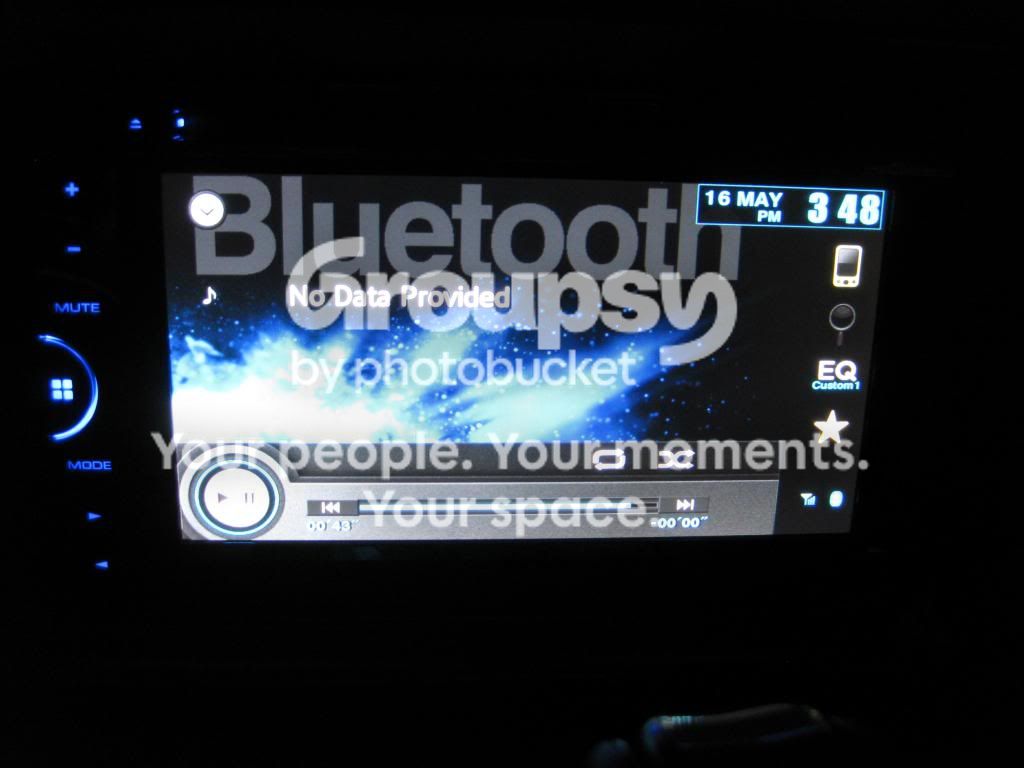
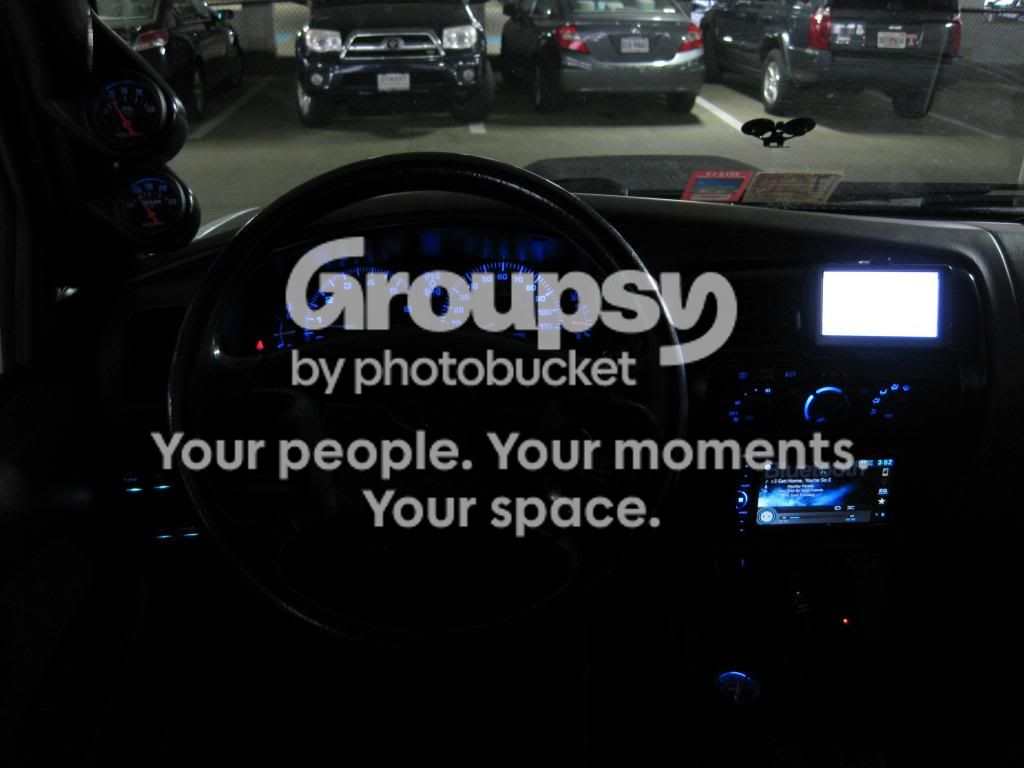
And an overall night shot
I'm still working on wiring up the rear view camera so more to come...



