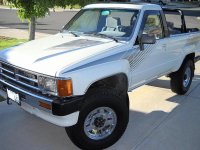
87 4 Runner Build

Thanks for the compliment! A lot of work has gone into this runner so far. Not sure on the soft top in the rain, I just put it on yesterday. I'm moving to Washington state soon so I'll definitely see how it does in the rain.
 

If all else fails I'll still have my hard top. These soft tops were really designed with warm weather in mind. It's a good thing there's a lot of good marine upholstery shops near Tacoma and Seattle that can give me some good advice on making this soft top functional for wet and snowy weather. Hopefully I'll get to Washington in time to so some snowboarding before the snow turns to mush on the mountains!
 
Well, I'm off work for the next two weeks and it's about 60* outside. Who knew that it would be this warm in February?

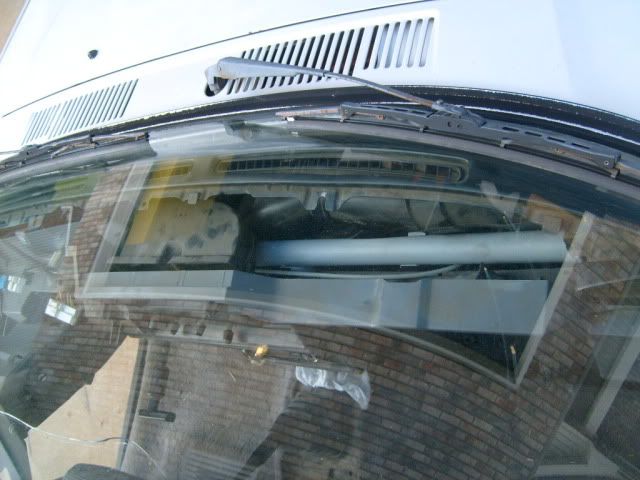
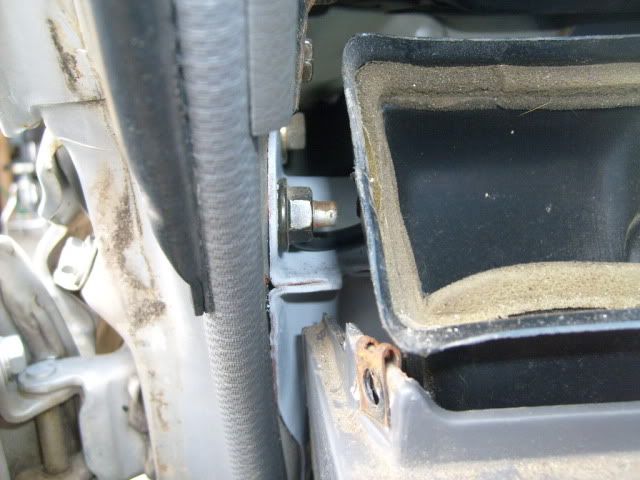
This was done a few months ago but I didn't take pictures during because I was in a hurry. But you know the bar that mounts under the dash and goes from each side of the body? They're ALWAYS rusted and nasty so it had to come out and get cleaned up. It's hard to see in the pics but I cleaned it up and threw a coat of primer over it so it doesn't rust anymore:
S6300546.jpg~original

S6300547.jpg~original


Anyways, I have plenty of time to work in the garage and get some things taken care of on the runner. First on the list is to repair the dash cracks and install an inclinometer


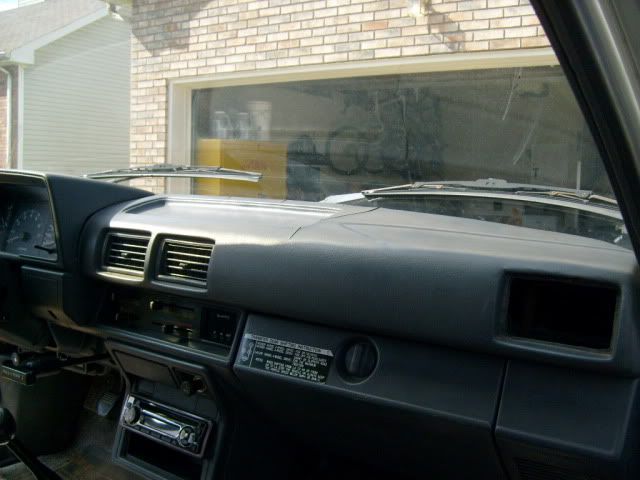
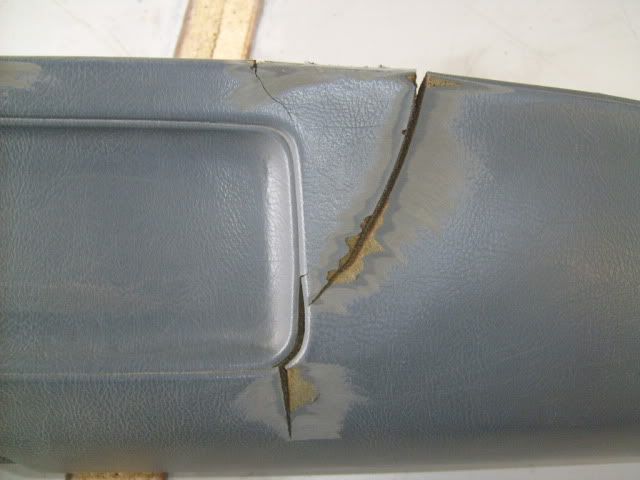
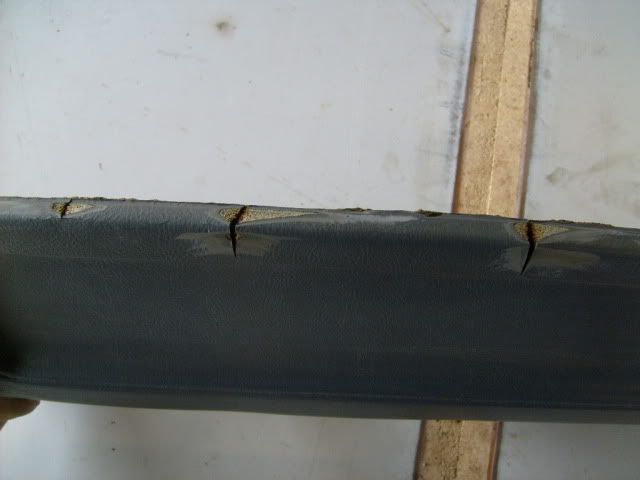
Just a preview of what the dash looked like before:
S6300544.jpg~original

S6300545.jpg~original


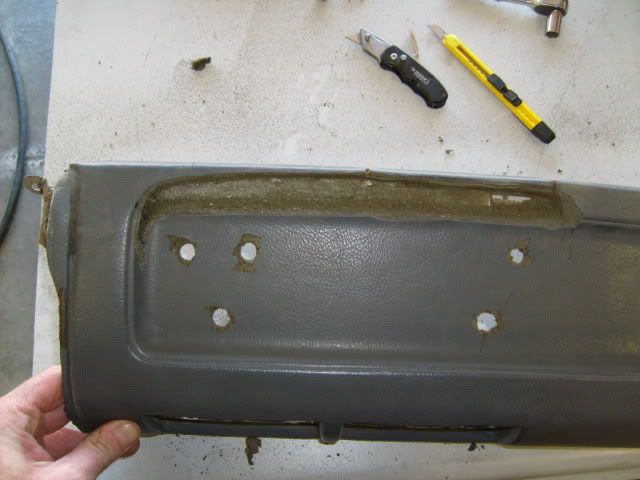
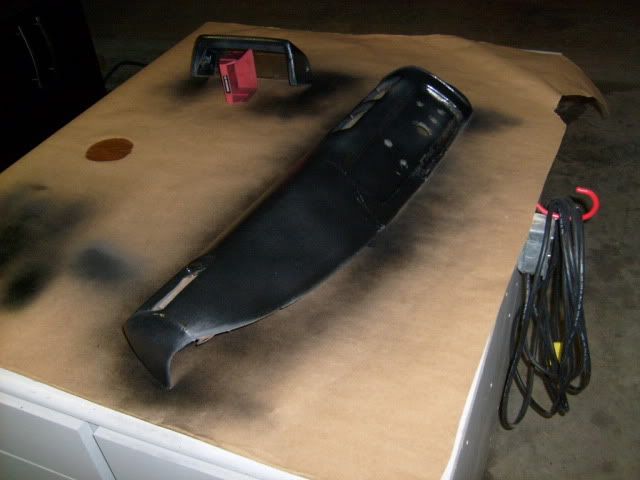
So I took the dash pad off and sanded down the high spots from where it was cracking:
S6300548.jpg~original

S6300549.jpg~original


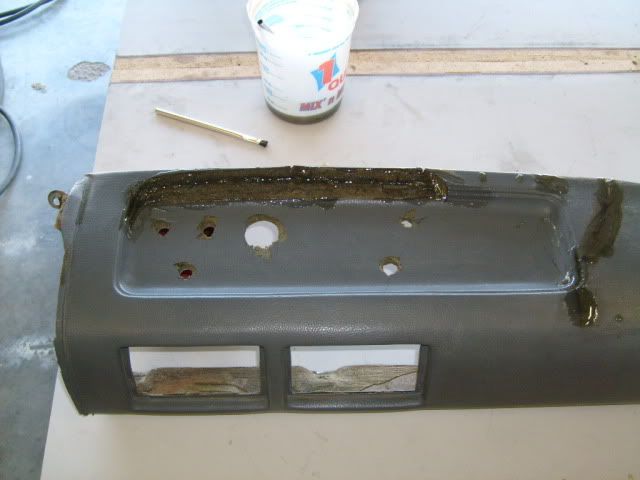
Next I cut and drilled into the dash pad so the inclinometer could sit flush and pretty. Then I applied resin over the cracks to fill them in and over the bare padding from where I cut:
S6300550.jpg~original

S6300551.jpg~original
 
How did you get that dash off! I tried soooo hard and took out like 20 screws and bolts, and just couldn't get it off.
 
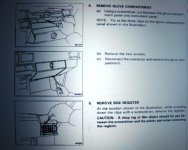
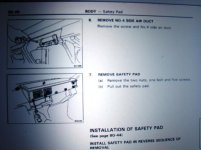
Dashpad remove 88 4runner

I used these pdf's when i put my inclinometer in my '88! They did the trick!
To remove the dash pad you need to remove the trim around the gauge cluster, there is a 10mm nut under it that needs to be removed. Now you need to remove the air vent by the passenger door, this is a PITA, once its out there is a 10mm bolt behind it that has to be removed. The next part you need to remove is the glove box, once removed you will see a heater vent duct above the glove box, it needs to be removed also, once its out there is an almost hidden 10mm nut that needs to be removed, you can see with a small light. Then there are 4-5 phillips head screws along the front edge of the dash that also need to come off. The front center vents and dashmat wiggle and came off easily on my '88.

 

Attachments

  • dash1.jpg
    dash1.jpg
    2.6 KB · Views: 2,666
  • dash2.jpg
    dash2.jpg
    34.8 KB · Views: 2,525
  • dash3.jpg
    dash3.jpg
    30.5 KB · Views: 2,482
  • Picture 050a.jpg
    Picture 050a.jpg
    74.8 KB · Views: 3,028
After a coat of high build primer I was able to see all the little imperfections.
S6300555.jpg~original


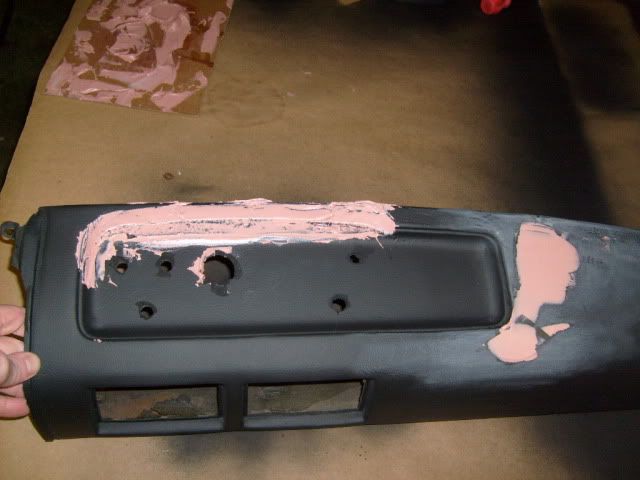
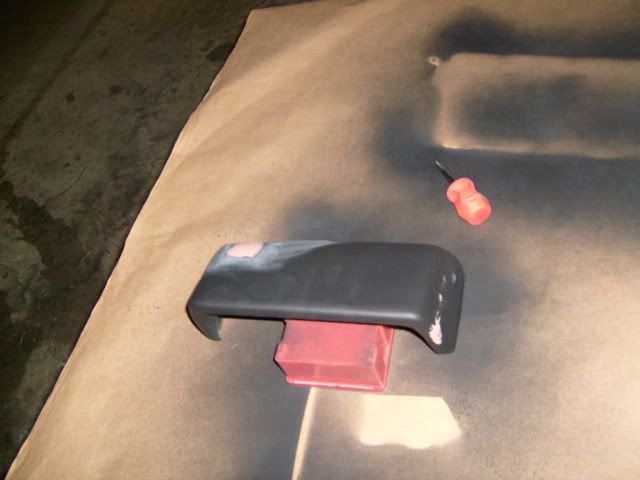
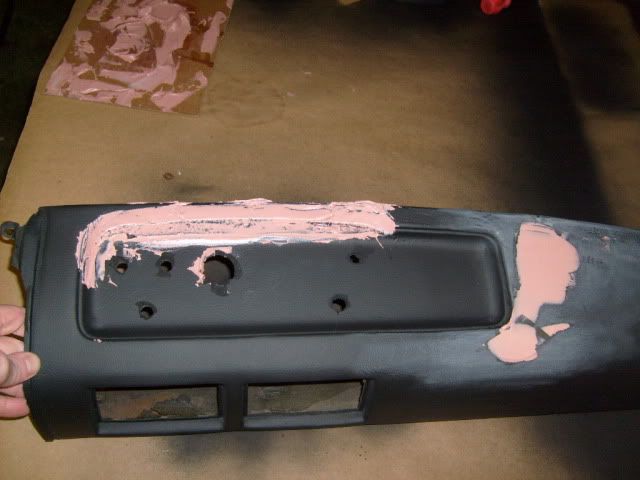
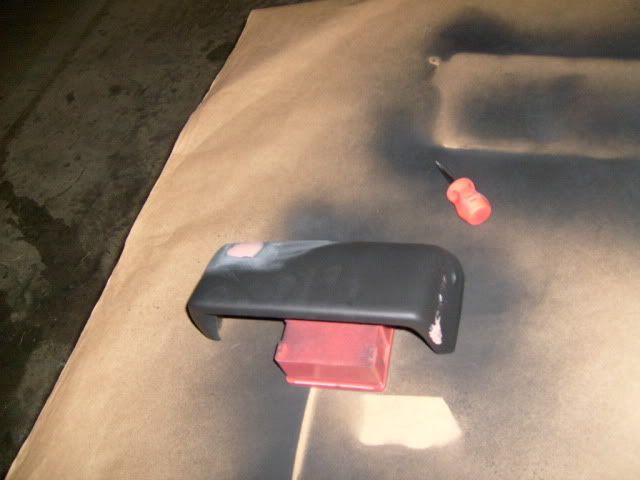
Next came the bondo to smooth out the imperfections so it can be all purdy when I apply the texture coating and dye.
S6300556.jpg~original

S6300557.jpg~original
 
How did you get that dash off! I tried soooo hard and took out like 20 screws and bolts, and just couldn't get it off.

It's a pretty simple process. Remove the plastic trim that surrounds the gauge cluster. Remove the glove box and carefully remove the passenger side vent. There will be 1 10mm nut on the driver side of the dash, one 10mm nut in the middle (you do not need to take off any heater ducting), and one 10mm bolt behind where the pass vent was. Last, remove 4-5 phillips screws on the bottom edge of the dash. At that point the dash should slide right off. Don't force it, these old parts can be quite brittle and will crack or break easily.
 
So I put some bondo on and sanded it smooth:
I guess I didn't get any pics of it sanded down but you get the idea.
S6300556-1.jpg~original

S6300557-1.jpg~original


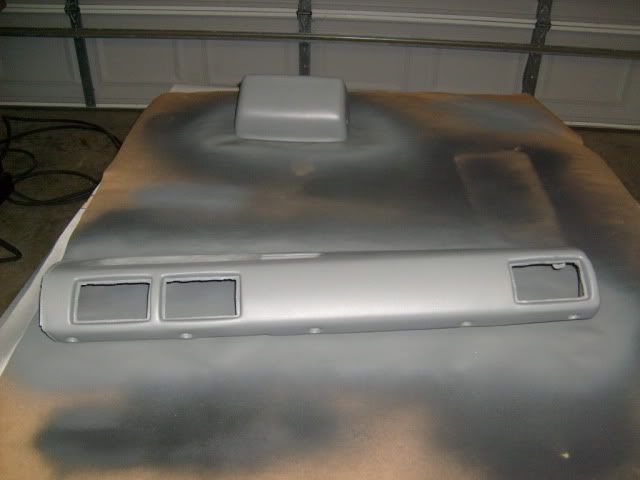
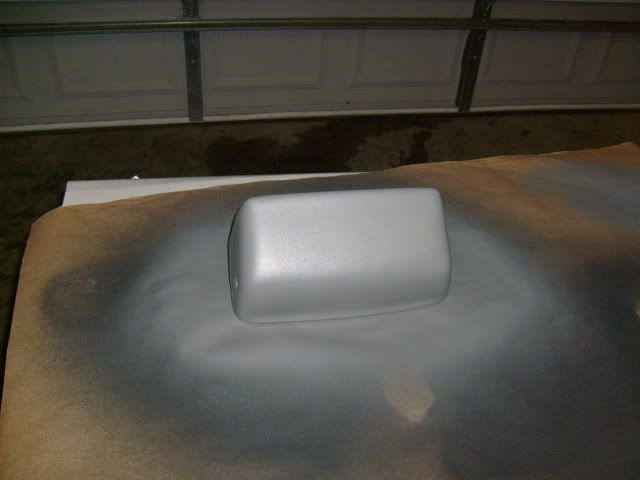
Next was a few coats of gray vinyl dye:
S6300563.jpg~original

S6300561.jpg~original


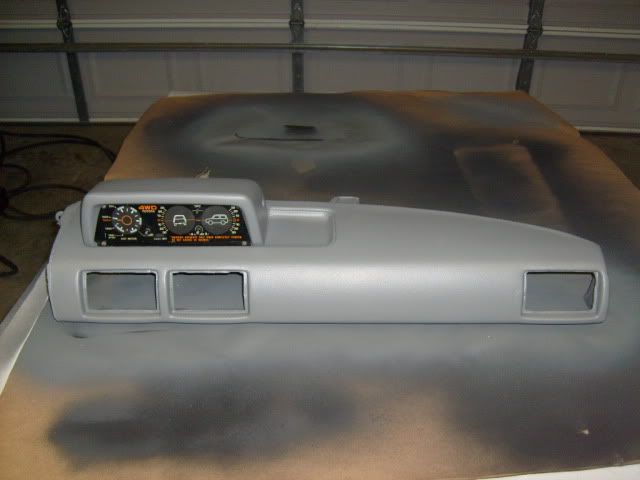
Assembled:
S6300565.jpg~original


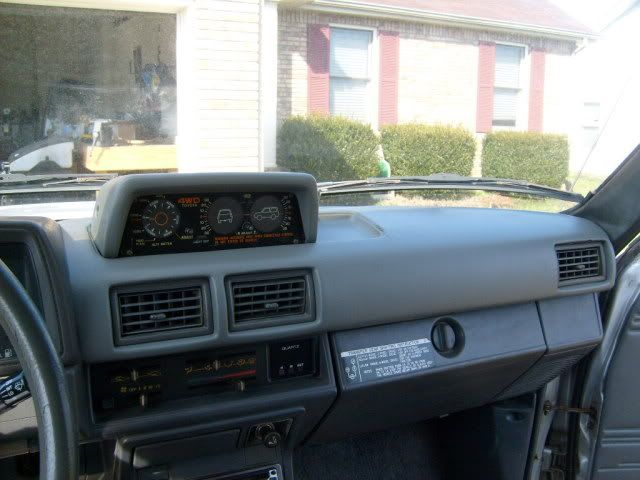
And installed:
S6300568.jpg~original

S6300566.jpg~original


The color match isn't all that great. It looked like a better match when I compared the can to the vents... Some day I'll pull it again and paint it with a darker shade of grey.

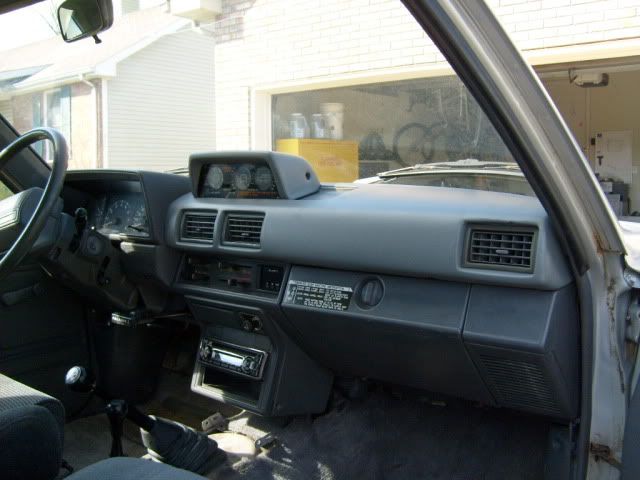
It's far from perfect but it looks 10X better than before:
S6300545.jpg~original

S6300544.jpg~original
 
For anyone who wants to install the clinometer, the harness is a direct plug in to the factory DLX wiring harness. Easy peasy!
 
Holy Moly, that looks great! I was thinking I was going to have to fix my dash with fiberglass, I never even thought of bondo.

Too bad you fixed it already, for a color match you could have peeled off a little piece and taken it in and let the paint place match it perfectly.
 
Thanks!

I took the vent off the dash and brought it into the store. I tried to match the color of the vent to the lid of the can. A little bit of shade and lighting inside of a store can make a big difference in the way a shade of a color looks. I used vinyl dye from a company called SEM. They have excellent and long lasting products but they don't really do a custom color match. It's a small sacrifice for a good product that will last a long time.
 
Thanks!

I took the vent off the dash and brought it into the store. I tried to match the color of the vent to the lid of the can. A little bit of shade and lighting inside of a store can make a big difference in the way a shade of a color looks. I used vinyl dye from a company called SEM. They have excellent and long lasting products but they don't really do a custom color match. It's a small sacrifice for a good product that will last a long time.

And not that big a deal anyway, especially if you're motivated enough to eventually do the rest of the dash to match. :D

How does the texture compare?
 
The texture is nearly identical. After you spray the texture coating, you let it dry a little then hit it with some 400 grit sand paper and it looks factory. I may eventually re-do the whole dash but it will be a darker shade of gray.
 
i would have left the dash alone and got a nice dash cover. i only had a tiny maybe half an inch crack on the back of the dash and decided that a nice carpeted dash cover should prevent future cracks plus i got a darker color and turned out great. i can hide wires under it as well :)
i didnt use the tape in the picture to hold it down
284648_1923221211551_1572745193_31723170_2363906_n.jpg


now that its repaired, should look into one. this is the one i got in smoke color
Original DashMat for 1987-1989 TOYOTA 4RUNNER WITH INCLINOMETER | eBay
 
I repaired mine so I wouldn't have to use a dash cover. In 5 years or so if it cracks again then I'll repair it again. It cost me maybe $50 in materials and about a half days labor. Easily done and looks good. Not that I think the dash covers don't look good, but it's just not my cup of tea.
 
Time for some more updates :)

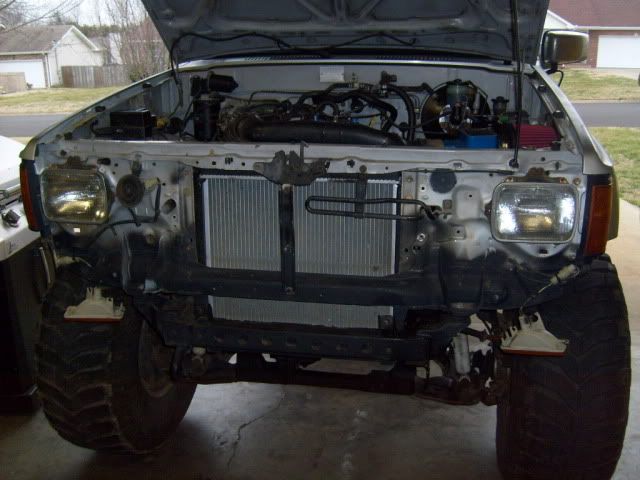
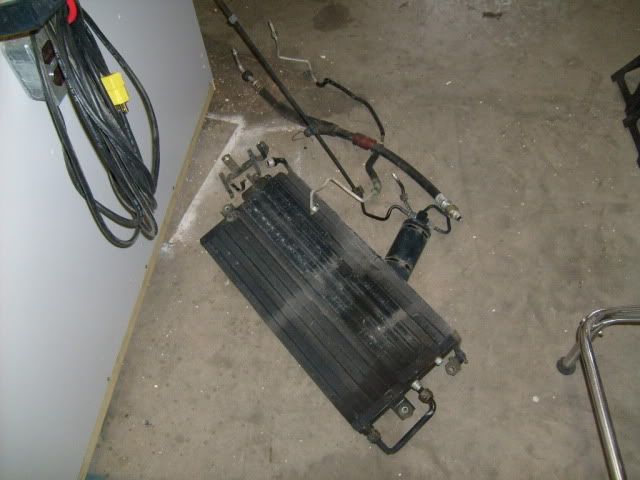
I finished removing all the a/c related stuff from the front of the 4runner. Eventually I'll remove all the junk under the dash but that's another project for another day. With everything removed I should have a LOT better airflow to the radiator.
S6300572.jpg~original


All this junk went bye bye
S6300571.jpg~original


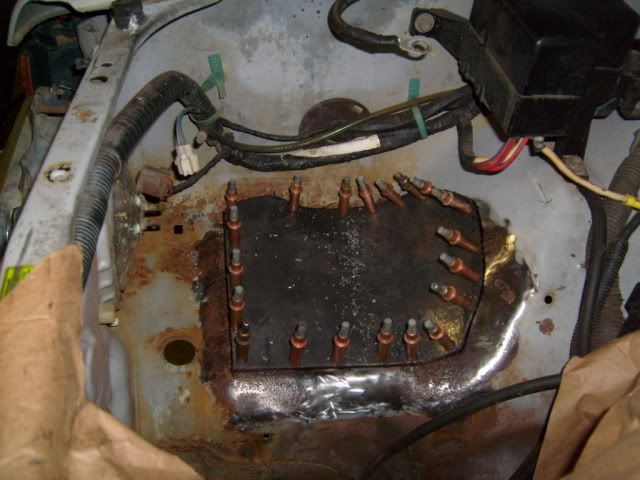
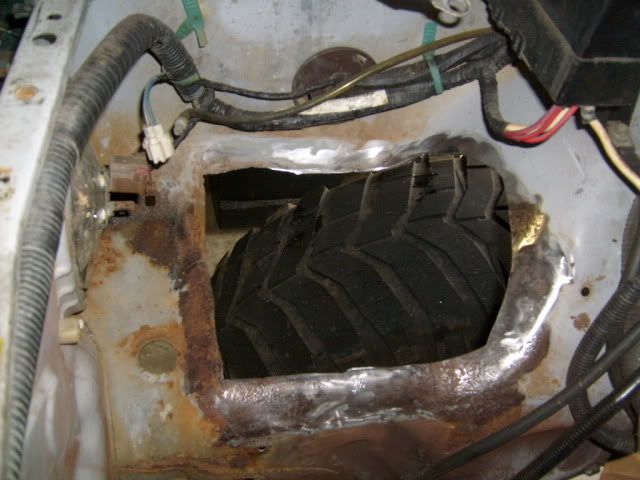
I also had a big rust hole under the battery. The p/o had a bad battery and it destroyed the whole area. Good thing though is that is the only rust on the whole vehicle.
S6300573.jpg~original


I grinded away the spot welds and removed the rusted battery tray.
S6300574.jpg~original


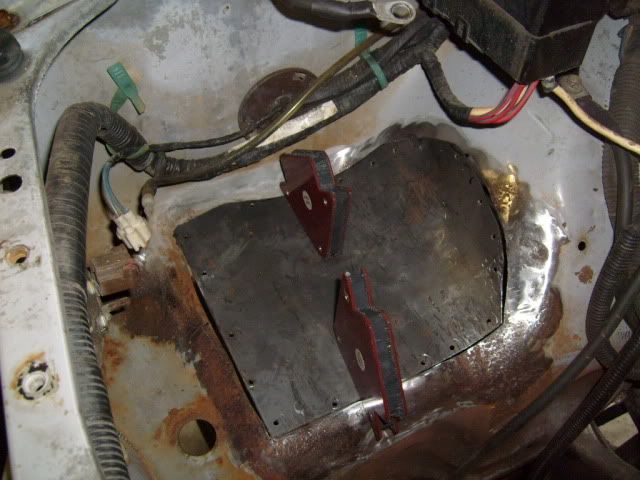
Next I cleaned the area a little bit and started cutting and forming my new inner fender. I drew a template with a piece of paper and cut the sheet metal to size. I used 16ga because it's what I had in the shop. I would have liked to use 18ga or 20ga but I didn't want to drive 45 minutes to the metal yard. I formed it to shape using a body hammer on a soft rubber mat then slowly formed it to shape once temporarily attached to the 4runner. Once it was completely formed I traced the area around it with a black sharpie.
S6300576.jpg~original

S6300577.jpg~original


I came inside to get out of the cold for a little bit. But now I need to cut out the traced area then weld in the new piece then fab up a battery box. More pics to come.
 
The texture is nearly identical. After you spray the texture coating, you let it dry a little then hit it with some 400 grit sand paper and it looks factory. I may eventually re-do the whole dash but it will be a darker shade of gray.


Nice thread and loving this documentation! I think your dash looks perfect and am hoping to achieve similar results. Had a question about the texture coating. Did you just use a spray on then? I see you used SEM? I did a quick google search and found this, did you use similar?

SprayPaintDepot - Texture-Coatings

SEM - Aerosol Texture Coating:
SEM - Aerosol Texture Coating


Duplicates the original finish on plastic bumpers, instrument panels, dashes, consoles and other textured plastic and vinyl parts. May be topcoated with FLEXIBLE BUMPER COATER, COLOR COAT or most refinish materials. No priming required.
 
Last edited:
Yes, I used the black SEM texture coating. I did use a high build primer from SEM before the texture coating. But you absolutely have to make sure that it is 100% clean first. I used rubbing alcohol with a clean rag and rubbed it down a few times using an air compressor to blow out every little pore as good as I can. Just make sure you have a good color match so you won't have to repaint it like I do. SEM products are pricey so do it right the first time.
 
Cut out the inner fender:
S6300578.jpg~original


Test fit:
S6300579.jpg~original


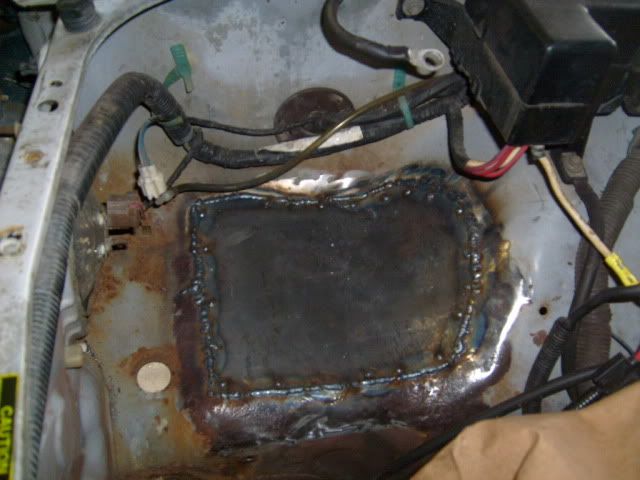
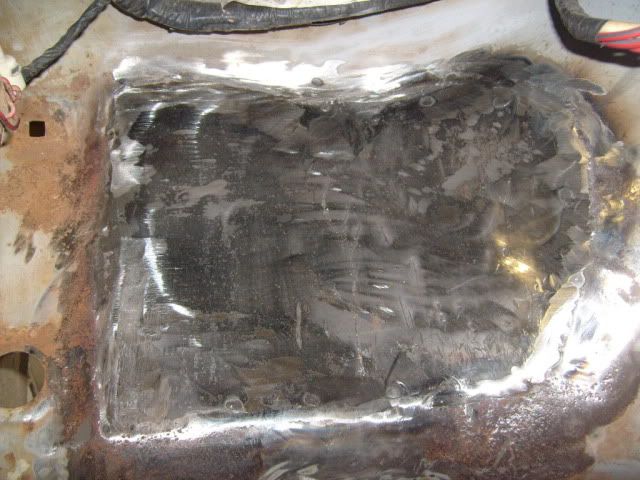
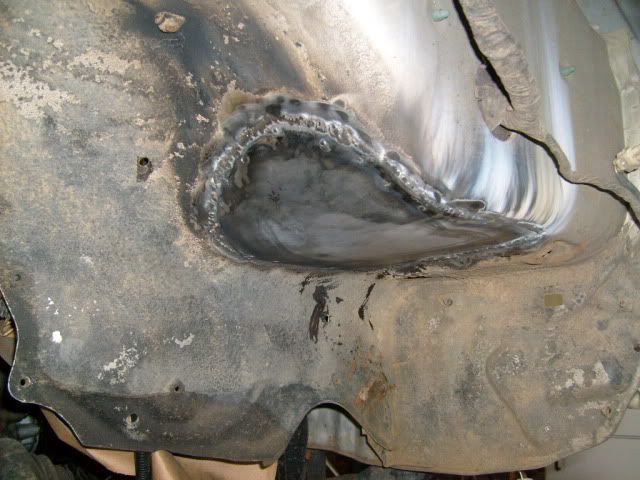
Welded in place. Some of the welds are ugly but I am no pro at welding, especially this thin body sheet metal. But the welds are good and strong.
S6300580.jpg~original


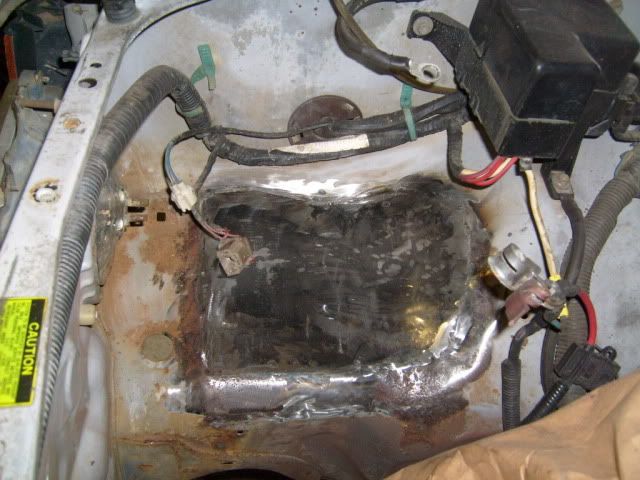
Welds all cleaned up and smooth:
S6300583.jpg~original


S6300586.jpg~original

The bottom:
S6300585.jpg~original


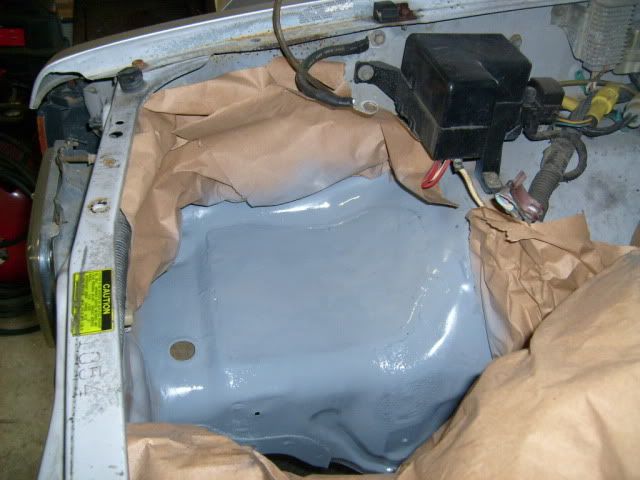
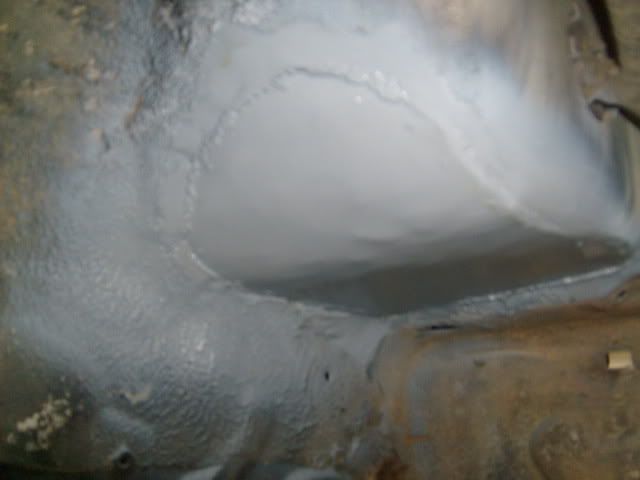
And primered gray:
S6300588.jpg~original

S6300589.jpg~original


All finished:
S6300590.jpg~original


Now I get to build the battery box.
 

Members online

Forum statistics

Threads
278,306
Messages
3,554,044
Members
248,016
Latest member
Advally Service

Trending content

Back
Top