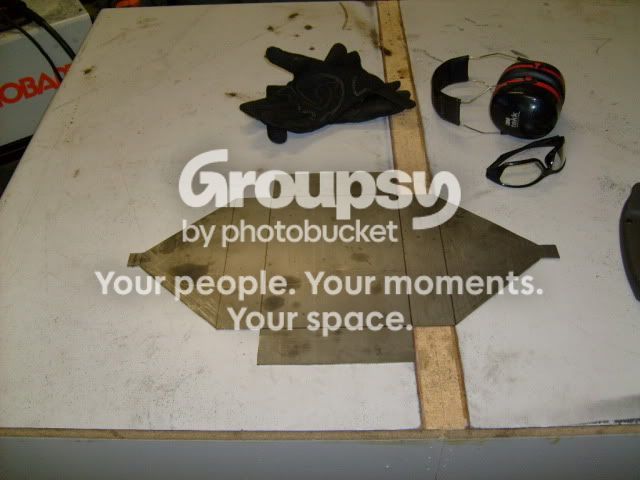
I drew a template with cardboard then cut it out of sheet metal:
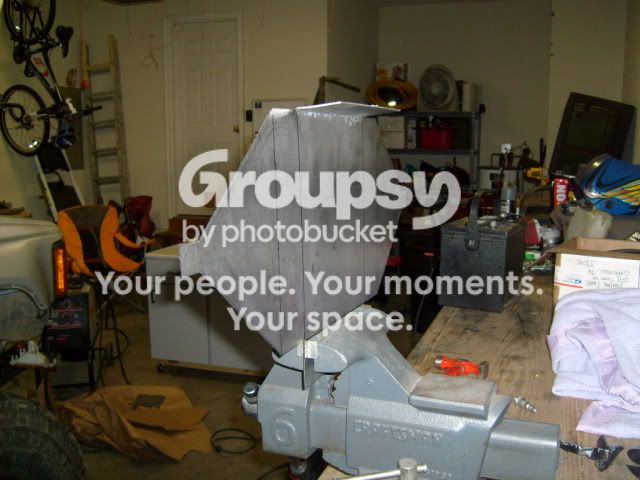
Started bending the sheet metal into the battery box:
Only the best of high tech tools to bend this stuff
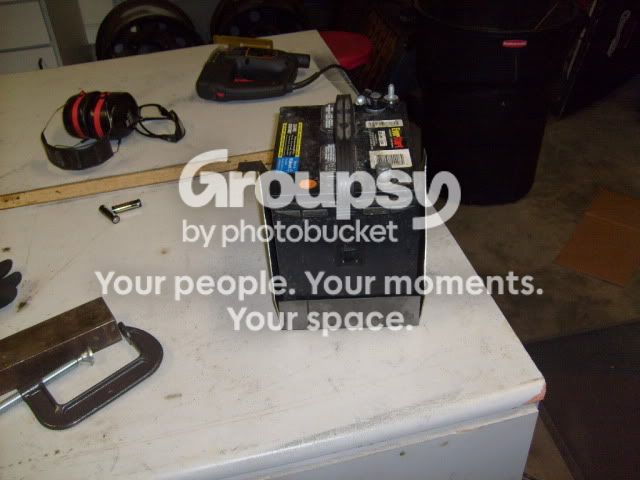
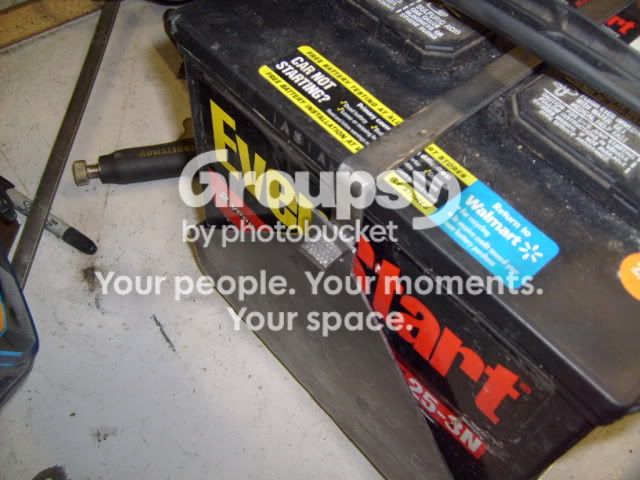
Box formed and a test fit with the battery:
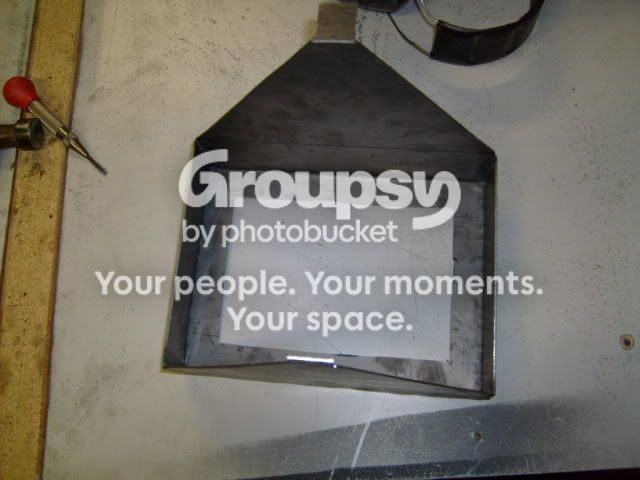
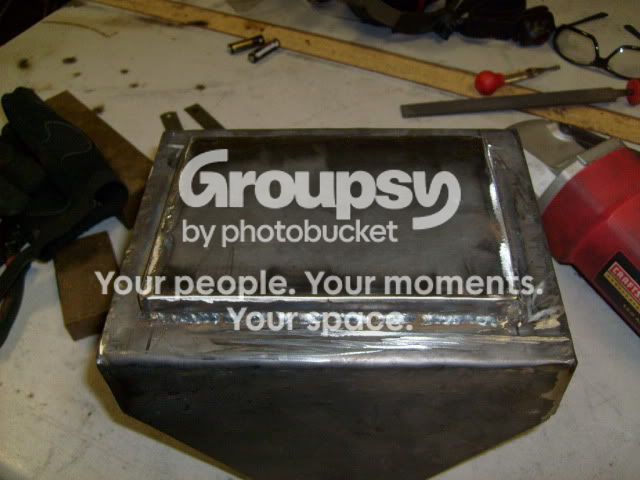
Now to start building the base. I cut out the center of the box leaving a 1" perimeter for the battery to sit on. I used some 1/2"x1/8" strap to lower the base to give the mounting hardware clearance from the battery then welded the base back on.
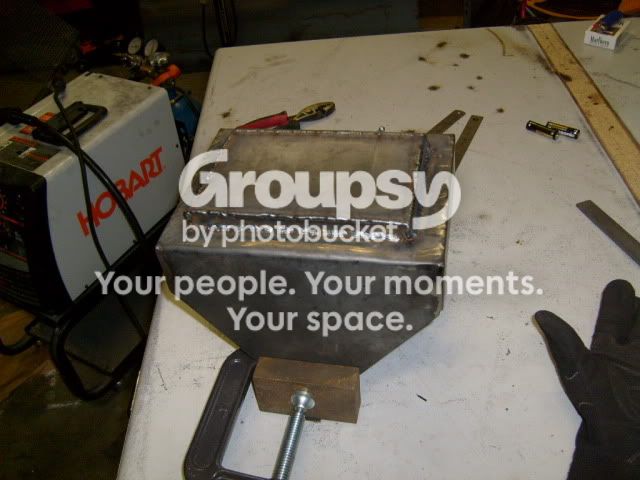
All welds on all edges were ground smooth:
Battery tie down strap bent up and another test fit of the battery:
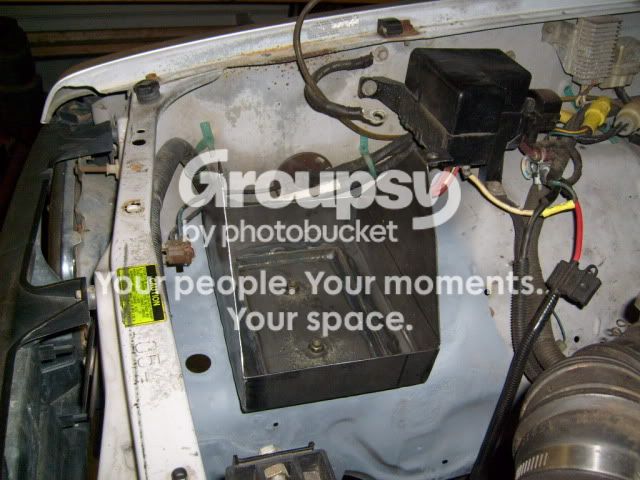
Then a test fit in the engine bay:
Right now I'm waiting on paint to dry. I'll post finished and installed pics tomorrow.
Thanks! Learning how to work with steel and reading a LOT on pirate4x4 has completely opened my eyes to endless possibilities of what can be done on these rigs. I have more fun working/building my runner than I do driving it.
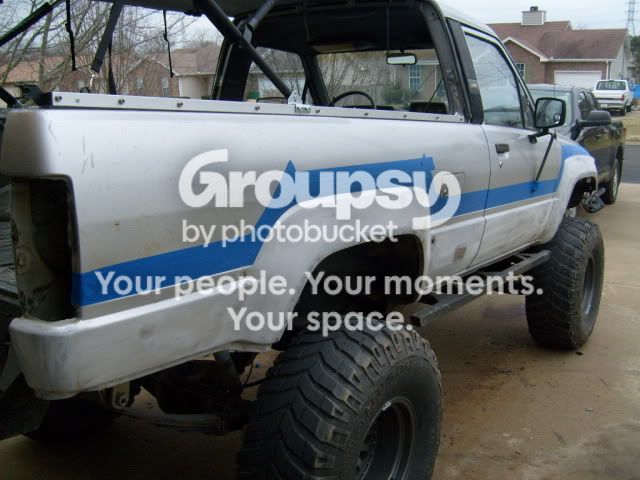
So... The battery box is done and installed. Looks right at home in a rust free fender!
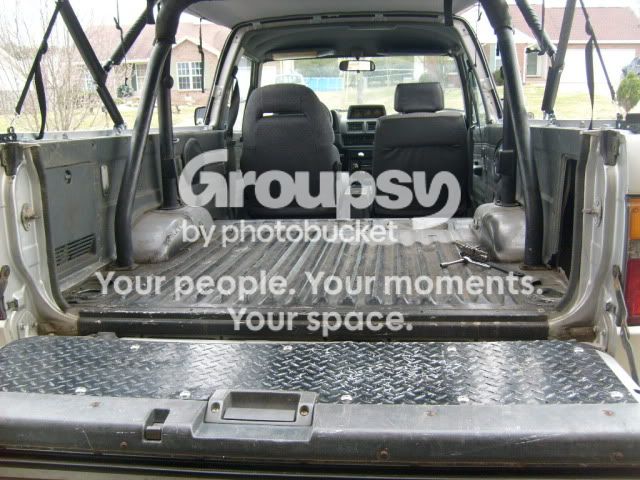
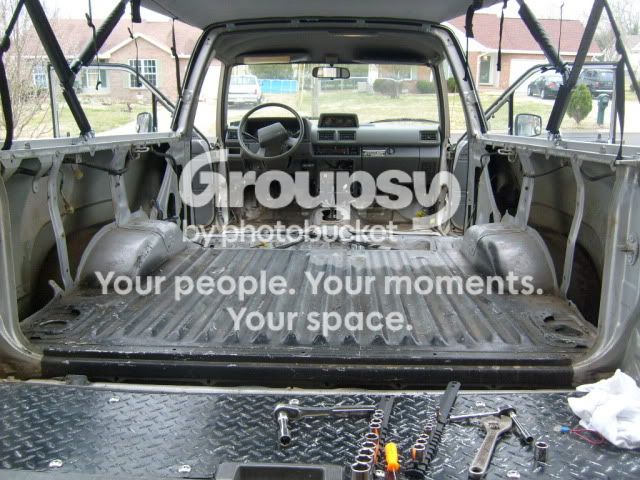
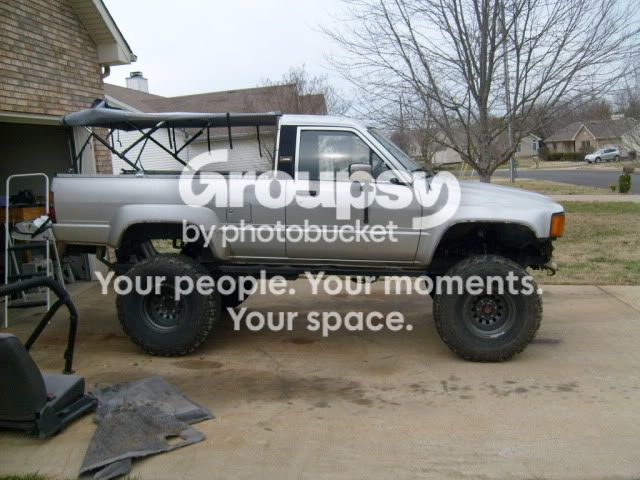
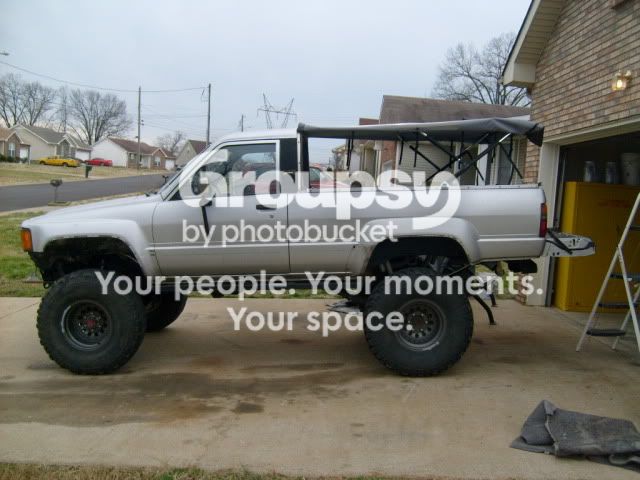
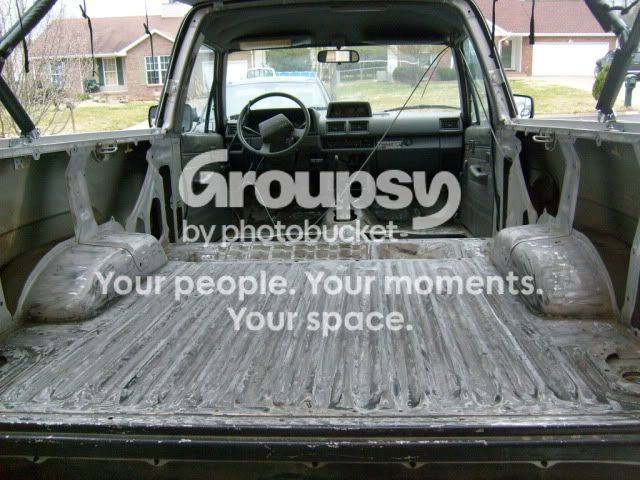
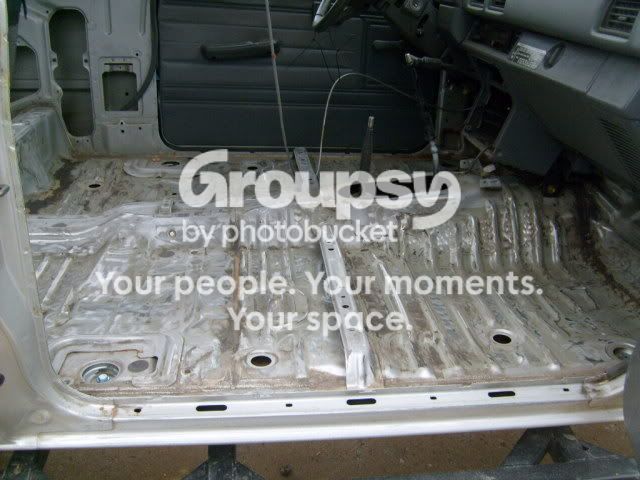
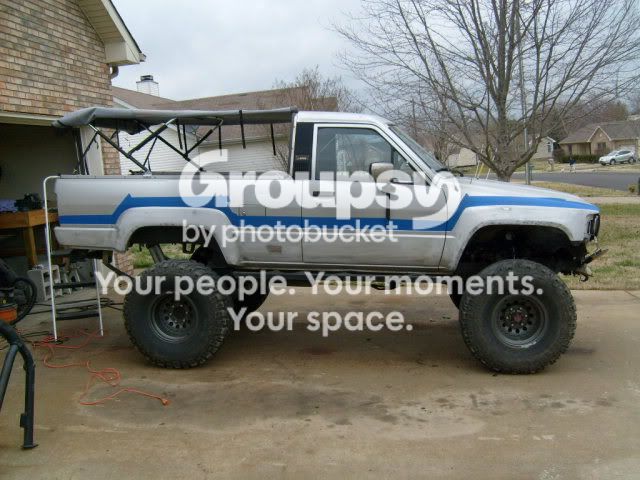
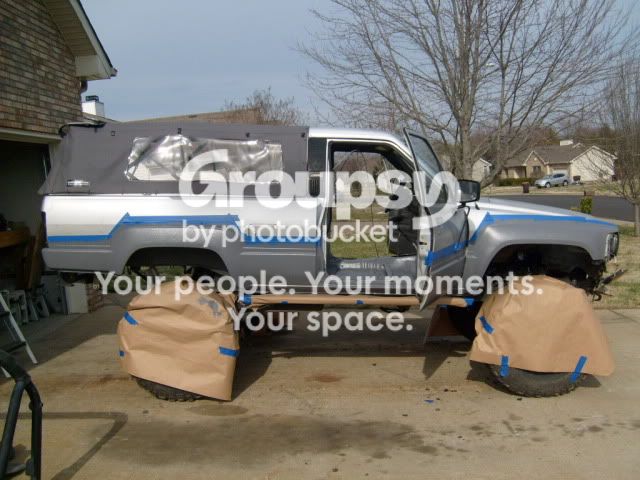
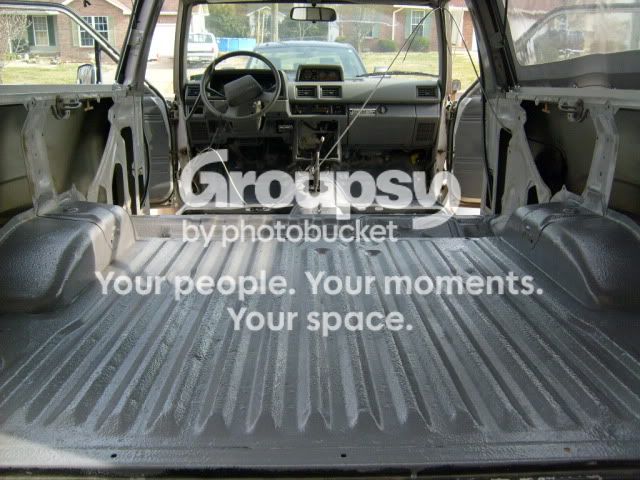
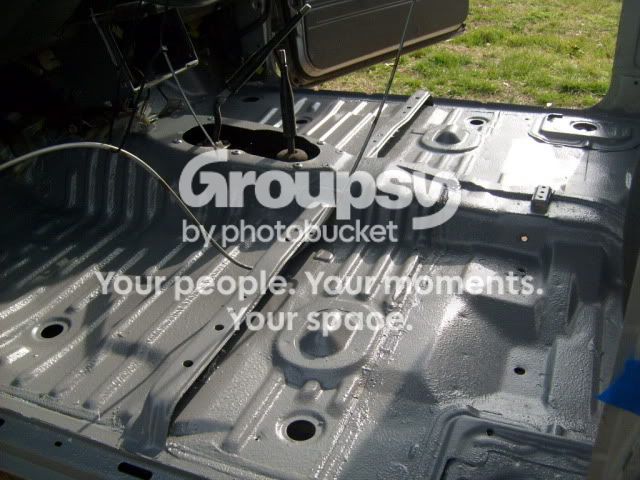
The plans are to give this runner a pretty good cleaning and a little bit of a make over. I'll clean the snot out of the whole entire lower half of the interior then line it with some chassis saver and some monstaliner. I'll also put a coating of dark gray monstaliner alone the bottom edge and the fenders of the runner.
That should clean things up and make the inside a lot better looking and stop any future rust from showing its ugly face!
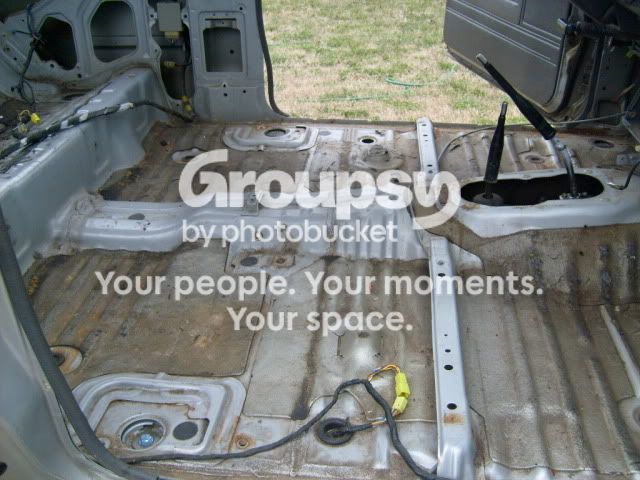
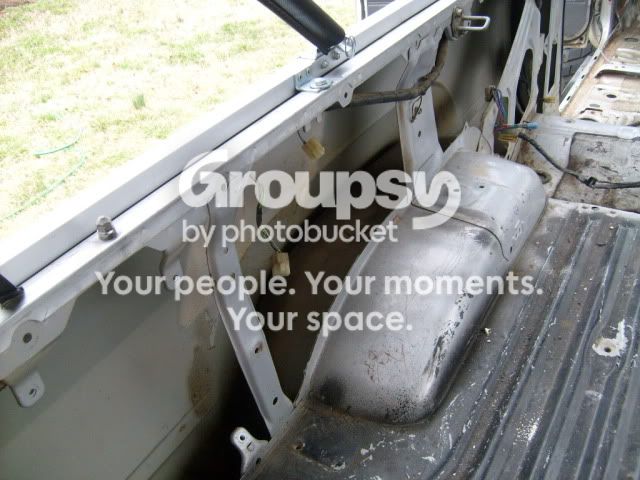
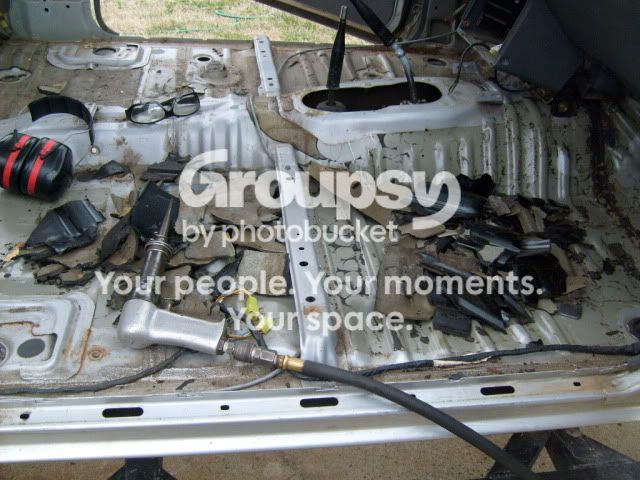
For anyone wanting to strip the factory sound deadening... use an air hammer! I started chipping away at it with a flat head and a small hammer until I remembered that I have a chisel tip for my air hammer. All I can say is wow! This stuff peeled and jumped off with ease. About 30 minutes with the air hammer and all of the factory sound deadening in the whole runner was gone. I love air tools!!
Wow love the dedication and attention to detail. And that battery box....fits like a glove! Build me one?
I joined the site so i could comment on your truck. If you saw my 85 you'd gringe at the rock damage to the body. I'll be keeping my eye on this thread, can't wait to see the SAS.
Wow love the dedication and attention to detail. And that battery box....fits like a glove! Build me one?
I joined the site so i could comment on your truck. If you saw my 85 you'd gringe at the rock damage to the body. I'll be keeping my eye on this thread, can't wait to see the SAS.
haha... maybe before too long I'll have some body damage too. But I couldn't leave it damaged. I would have to fix it as soon as I destroy it. After all, I am building something that is supposed to get destroyed and fixed again.
So I got the runner all prepped, inside and out. The use of a 4" flapper disc on the inside and some 80 grit on a palm sander on the outside made really light work of everything.
The next part is where I get to show off a cool little trick I learned a while ago. If you have a hole in sheet metal that you need to fill, do the following: Get a small piece of copper plate and secure it to the inside of the hole:
Sand down to bare metal to attach the ground for the welder and clean the area around the holes:
Then just fill in the holes with a little bit of weld. The filler metal does not stick to the copper and it will sand down nice and smooth.
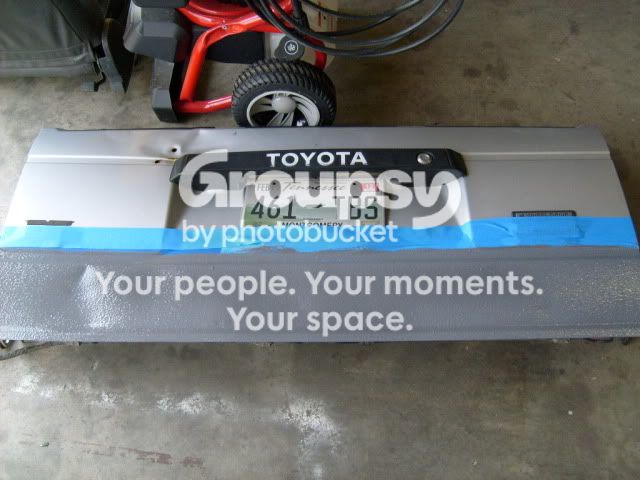
The brown truck of goodness showed up just as it was getting dark so I will have to wait until tomorrow to apply the liner. Hopefully my masking tape will stay on over night and not get all messed up due to condensation.
The brown truck of goodness showed up just as it was getting dark so I will have to wait until tomorrow to apply the liner. Hopefully my masking tape will stay on over night and not get all messed up due to condensation.
It is a quick release So far I'm loving it, super easy to remove the power and grounds from the battery. I need to put a quick release or a pin of some sort on the battery box clamp.
The first coat of the monstaliner is done Unfortunately they say to wait a few hours before applying the second coat. For me to do the inside of the runner with a second coat I will have to get up inside of the runner. I don't think it will be dry enough for me to get in it till tomorrow. So, the second coat gets applied tomorrow. Hopefully the masking tape will still come off decently tomorrow.
I'm loving how well the gray liner matches the top









 arty:
arty: