1985taylor1925
Senior Member
Installed custom fog lights: Hella Micro DE's
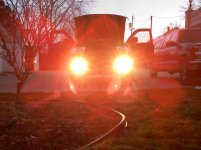
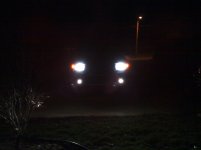
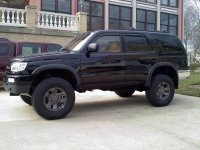
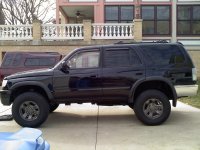
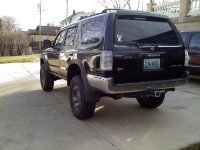
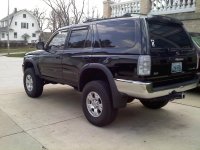
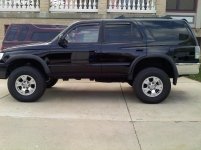
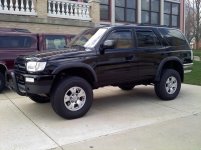
Took a break from the suspension stuff today to install my Hella Micro DE's. My runner is a 98, so no stock headlights, or housing for them. I would love to say Im the first one to do this, however Im not. Blcktpgstr did this to his old valance before he put on his ARB. But I did it my way, no help or instructions.
I'll include a brief write up in case someone else wants to do this and borrow some ideas.
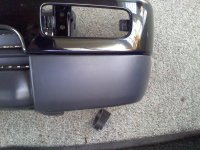
Stock bumper before any modification
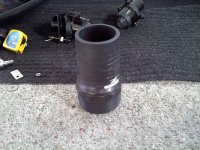
Here is the plastic tubing I used. Its not technically PVC pipe. I found it in a completely different section of the hardware store. PVC comes in whole inch sizes. This piece has an inside diameter of 2.5" to match the holes. As you can see in the photo I had already cut it. I cut off the wider portion on the end, and then cut the rest in half at an angle. Youll see why the ange is needed in the next photo
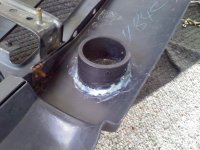
Hole drilled using a 2.5" hole saw bit. This was after a lot of time doing very precise measurements. PVC is already on in this picture. I forgot to take any pictures of just the hole. There you can see the angle. I made the initial cut as close as possible using a hack say which is all I had, and then fine fitted it with a file and sand paper. Alot of back and forth - sanding and then test fitting. It would have been so nice to have power tools for this! I used a plastic two part bonding agent to connect it to the valance. It looks sloppy, but is very strong
Custom bracket in place. I just used a very simple L angle that I found at Ace. Had to make one cut to make it fit, and then bend it to the perfect postion. Its a pretty thick and sturdy piece of metal
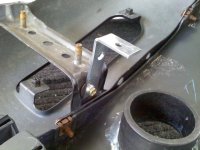
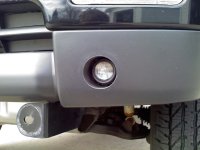
And here is the fog light in place. At this point I should backtrack a bit. To get the proper location for drilling the 2.5" hole, I first mounted the fog light, and then finished the PVC piece. This allowed me to see roughly where the hole would need to be located to be centered with the light. I positioned the PVC in place so that there was an equal gap between the light and the PVC housing at every point around the circumfrence, and made my marks for the cut-out.
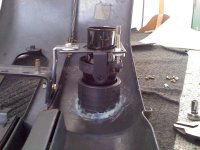
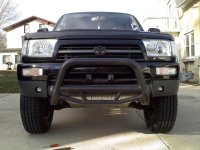
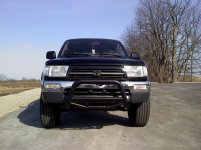
Front view with light in place
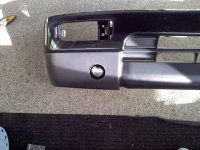
Finished product
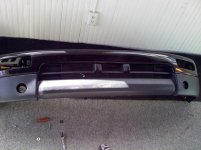
As you can see I still need to clean it up a bit. I plan on sanding it with a rough grit, and then going to something very fine. Id like to find some sort of gasket or cover to put on the front edge to make it look really professional.
Took a break from the suspension stuff today to install my Hella Micro DE's. My runner is a 98, so no stock headlights, or housing for them. I would love to say Im the first one to do this, however Im not. Blcktpgstr did this to his old valance before he put on his ARB. But I did it my way, no help or instructions.
I'll include a brief write up in case someone else wants to do this and borrow some ideas.
Stock bumper before any modification
Here is the plastic tubing I used. Its not technically PVC pipe. I found it in a completely different section of the hardware store. PVC comes in whole inch sizes. This piece has an inside diameter of 2.5" to match the holes. As you can see in the photo I had already cut it. I cut off the wider portion on the end, and then cut the rest in half at an angle. Youll see why the ange is needed in the next photo
Hole drilled using a 2.5" hole saw bit. This was after a lot of time doing very precise measurements. PVC is already on in this picture. I forgot to take any pictures of just the hole. There you can see the angle. I made the initial cut as close as possible using a hack say which is all I had, and then fine fitted it with a file and sand paper. Alot of back and forth - sanding and then test fitting. It would have been so nice to have power tools for this! I used a plastic two part bonding agent to connect it to the valance. It looks sloppy, but is very strong
Custom bracket in place. I just used a very simple L angle that I found at Ace. Had to make one cut to make it fit, and then bend it to the perfect postion. Its a pretty thick and sturdy piece of metal
And here is the fog light in place. At this point I should backtrack a bit. To get the proper location for drilling the 2.5" hole, I first mounted the fog light, and then finished the PVC piece. This allowed me to see roughly where the hole would need to be located to be centered with the light. I positioned the PVC in place so that there was an equal gap between the light and the PVC housing at every point around the circumfrence, and made my marks for the cut-out.
Front view with light in place
Finished product
As you can see I still need to clean it up a bit. I plan on sanding it with a rough grit, and then going to something very fine. Id like to find some sort of gasket or cover to put on the front edge to make it look really professional.
Attachments
-
 0319011604a.jpg136.3 KB · Views: 3,476
 -
 0309021531.jpg138.8 KB · Views: 2,659
 -
 0310020922.jpg134.3 KB · Views: 2,672
 -
 0309021450.jpg140.1 KB · Views: 2,705
 -
 0310020924.jpg129.7 KB · Views: 2,694
 -
 0310020933.jpg130.5 KB · Views: 2,808
 -
 0310020934a.jpg138.4 KB · Views: 2,699
 -
 0310021043.jpg134.4 KB · Views: 2,753