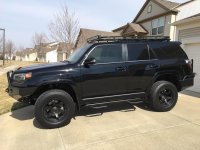
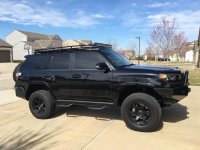
Trail Edition Skid Plate Swap
Today I added yet another TE piece to my SR5. [MENTION=49537]4ShoreRunner[/MENTION] gave me his old gas tank skid plate when he came to the Antman Garage last weekend for a fire-safety lesson...:boom: Thanks man!
Anyway- this skid is pretty much famous because it has seen lots of use- from Ouray to The Cove. I think it held up reasonably well for the trail duty it's seen. Lots of character! Overall, it's in good enough shape for me to make use of it with a little work.
I know, I know- I don't
really offroad (maybe a little), but eventually I guarantee I will be scratching and denting this thing up (again!).
Here she is...


MOAB DIRT!!!!
SO- I sanded all the rust off and beat the skid back into submission with a 5lb hammer (it was dented quite a bit

) and then I sprayed a few coats of this:

I can't stress how great this stuff is. It's more like a durable plastic coating than paint. It has held up on my storage box extremely well. I love it!

Here's the skid after some work. It isn't perfect but it doesn't need to be. I just wanted to make sure it wouldn't rub the tank or rust any more.


A comparison between the SR5/LE skid plate and the Trail Edition skid...

For those that want to know- the factory skidplate removes completely from the gas tank with no need to lower the tank at all. There are separate bolts/straps holding the tank up.
There are 4 bolts holding the SR5 skid in place. 3 on the frame rail, and 1 up by the driveshaft for the front hanger. These all get re-used for the new skid.
The Trail Skid only requires 2 additional bolts for the rear hangers. Both are 12mm just like the other skid bolts.
These are the locations for the 2 additional bolts:
Rear frame rail ( the bolt with the "8" on it is securing the rear tank strap to the frame):

Rear crossmember:

Make sure you get ALL THE BOLTS started into their threaded holes before you tighten any, otherwise you could easily strip some threads.
I wanted to make note of one bolt that is a little hard to get to- behind the driveshaft. I originally tried to use an extension(s) unsuccessfully. Then I realized a short 12mm socket will fit behind the driveshaft easily...


One other note-
I once again used anti-sieze on all the bolts. No rusted fasteners!

Finished!

Oh yeah- I painted 2 more things before I retired the Rustoleum.
[MENTION=51186]philsey[/MENTION] - You can shut up now.


Happy Modding gentleman!