AssBurns 2000 Limited Build Thread

Cut with a torch, remove the piece, fab a new mount using the old piece, and weld? Then plate them a little to prevent it from happening again.

View attachment 230340


Well if I go through all that trouble, I will just build new ones from scratch out of some 3/16" plate instead of trying to beef up the factory stamped metal towers. My goal right now is to get it fixed without pulling the engine. Doubt I'll be able to do that though.


Sent from my iPhone using Tapatalk
 
Well if I go through all that trouble, I will just build new ones from scratch out of some 3/16" plate instead of trying to beef up the factory stamped metal towers. My goal right now is to get it fixed without pulling the engine. Doubt I'll be able to do that though.


Sent from my iPhone using Tapatalk
Yeah, that's what I meant to say. Just use the old one as a template
 
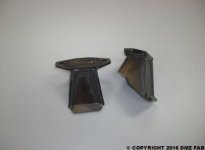
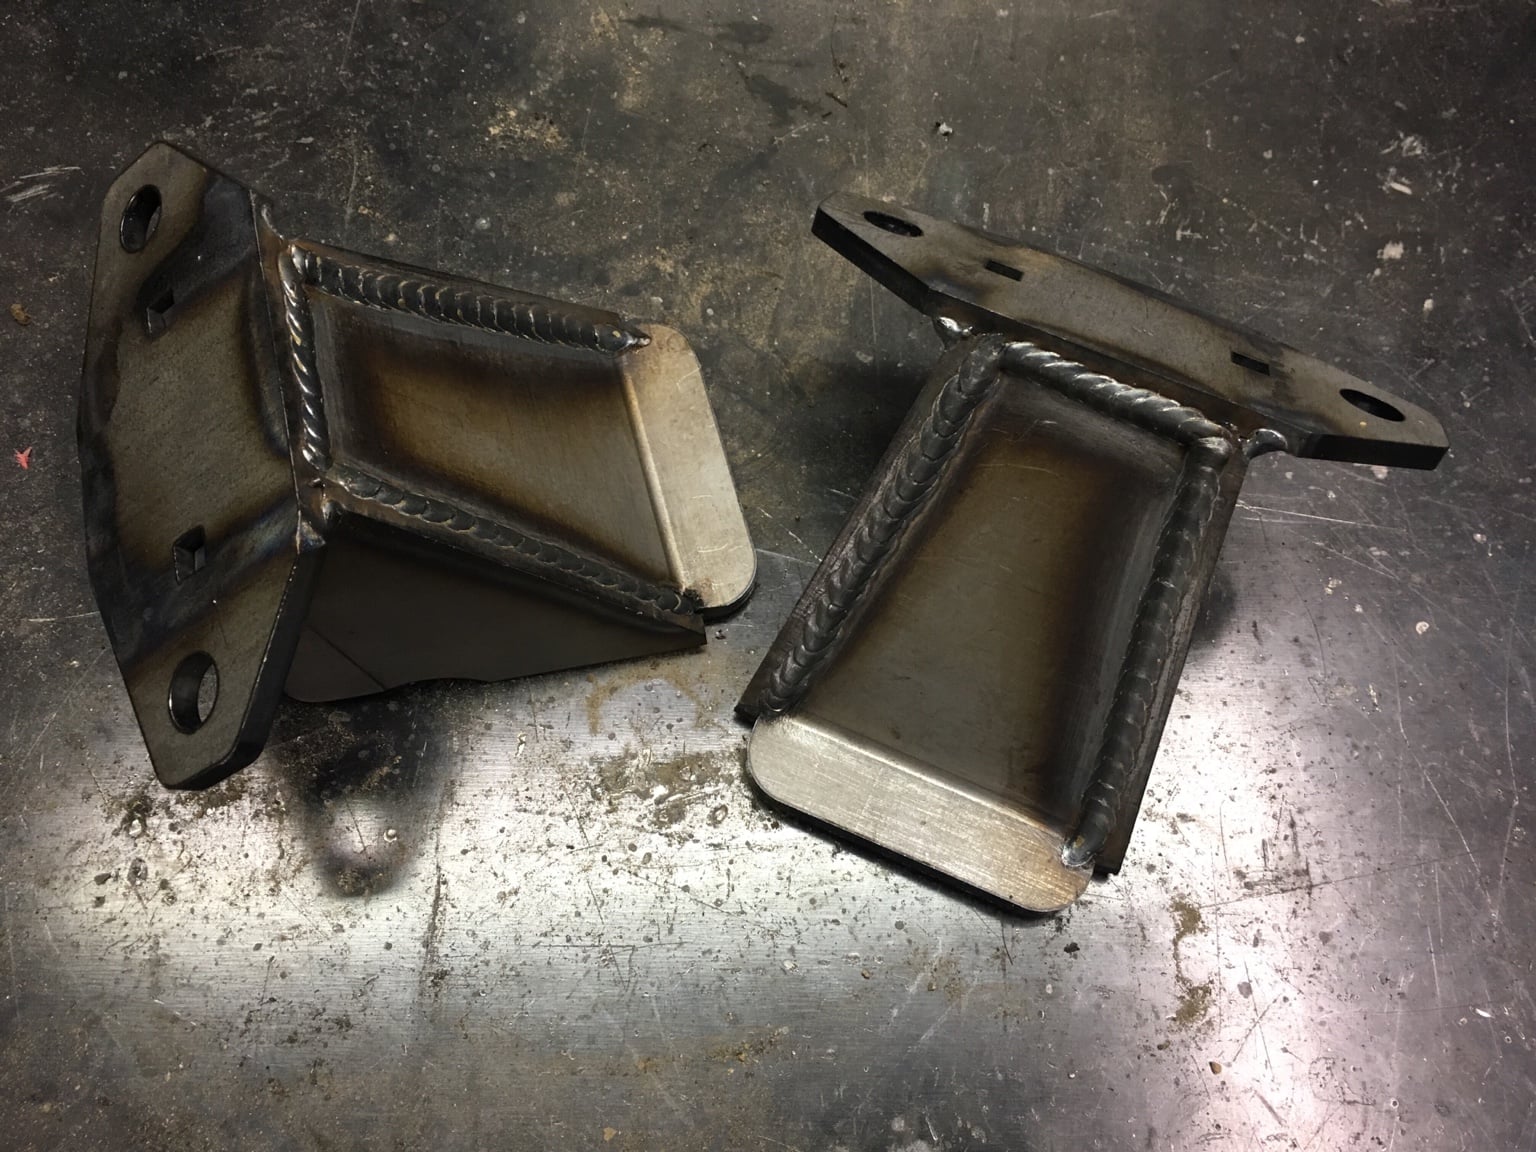
Well lookey here! I was able to find a set of pre-fabbed engine perches made out of 3/16" steel by DMZ Fab. $149.95 though. These will be cleaner than I can fab up myself and save me a bunch of hassle. I'm still pretty sure I will have to pull the engine to get enough room to cut the old ones and get some good welds on them.
Tacoma Motor Mount Perches | DMZ FAB
 

Attachments

  • timthumb.jpeg
    timthumb.jpeg
    16.4 KB · Views: 1,038
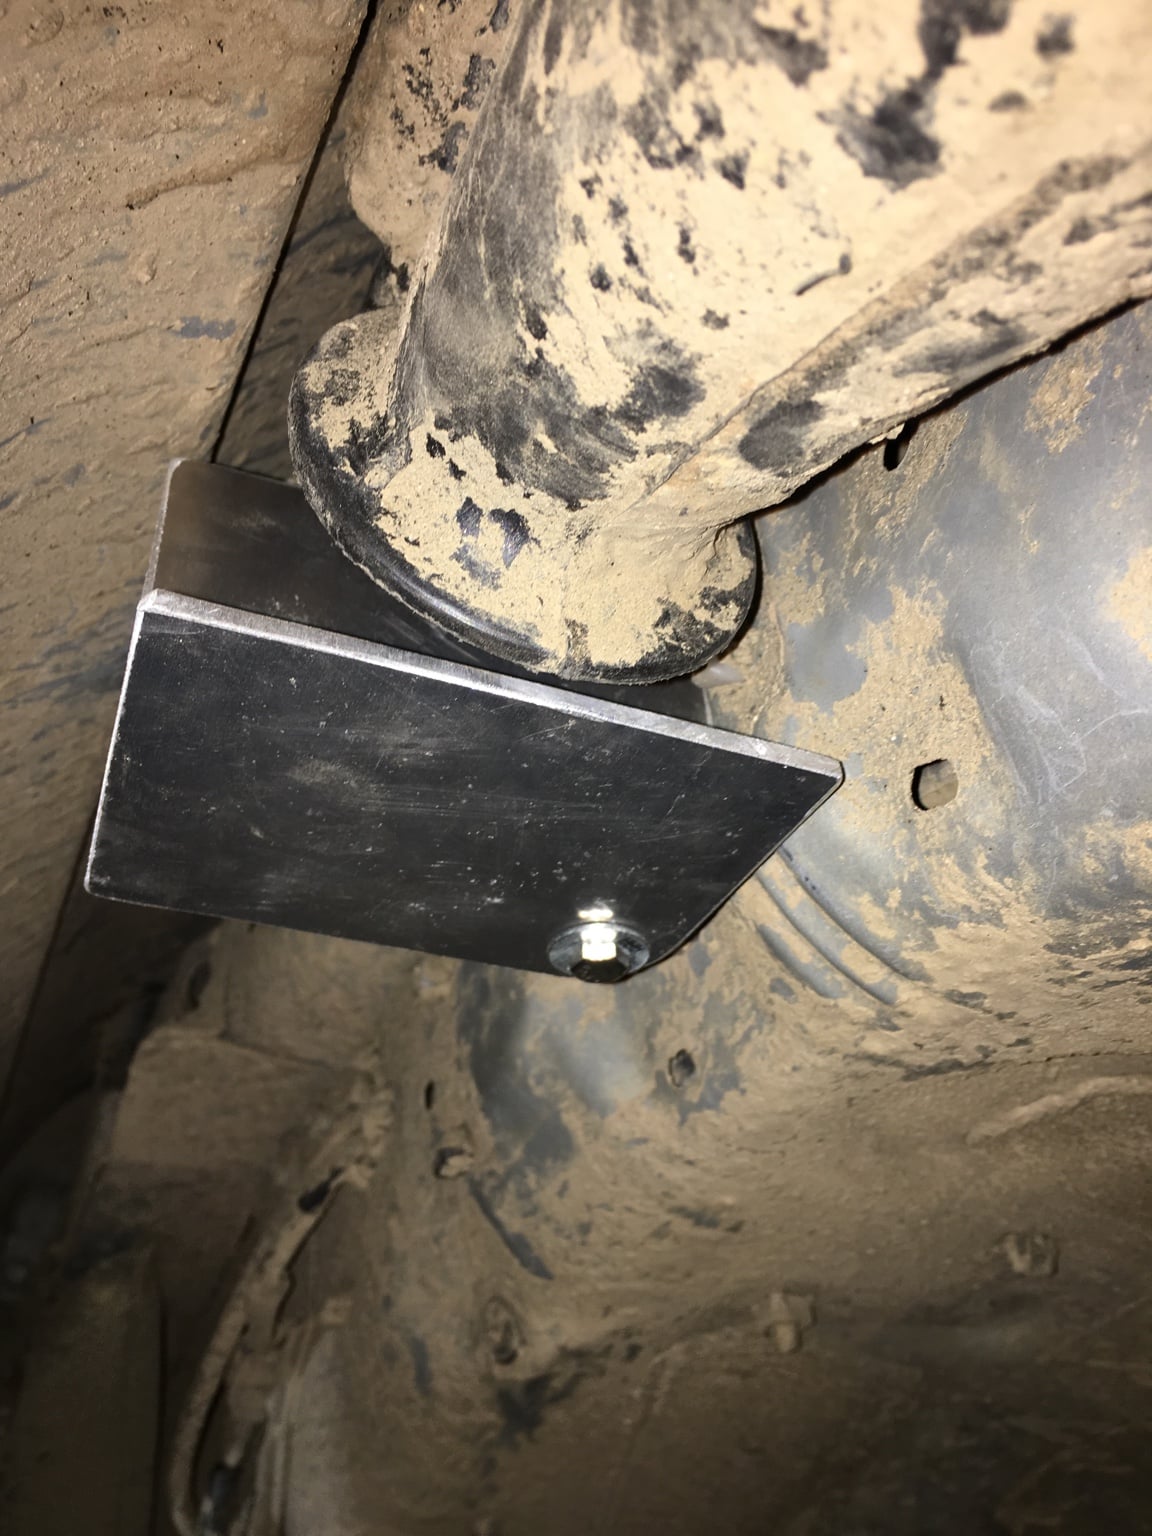
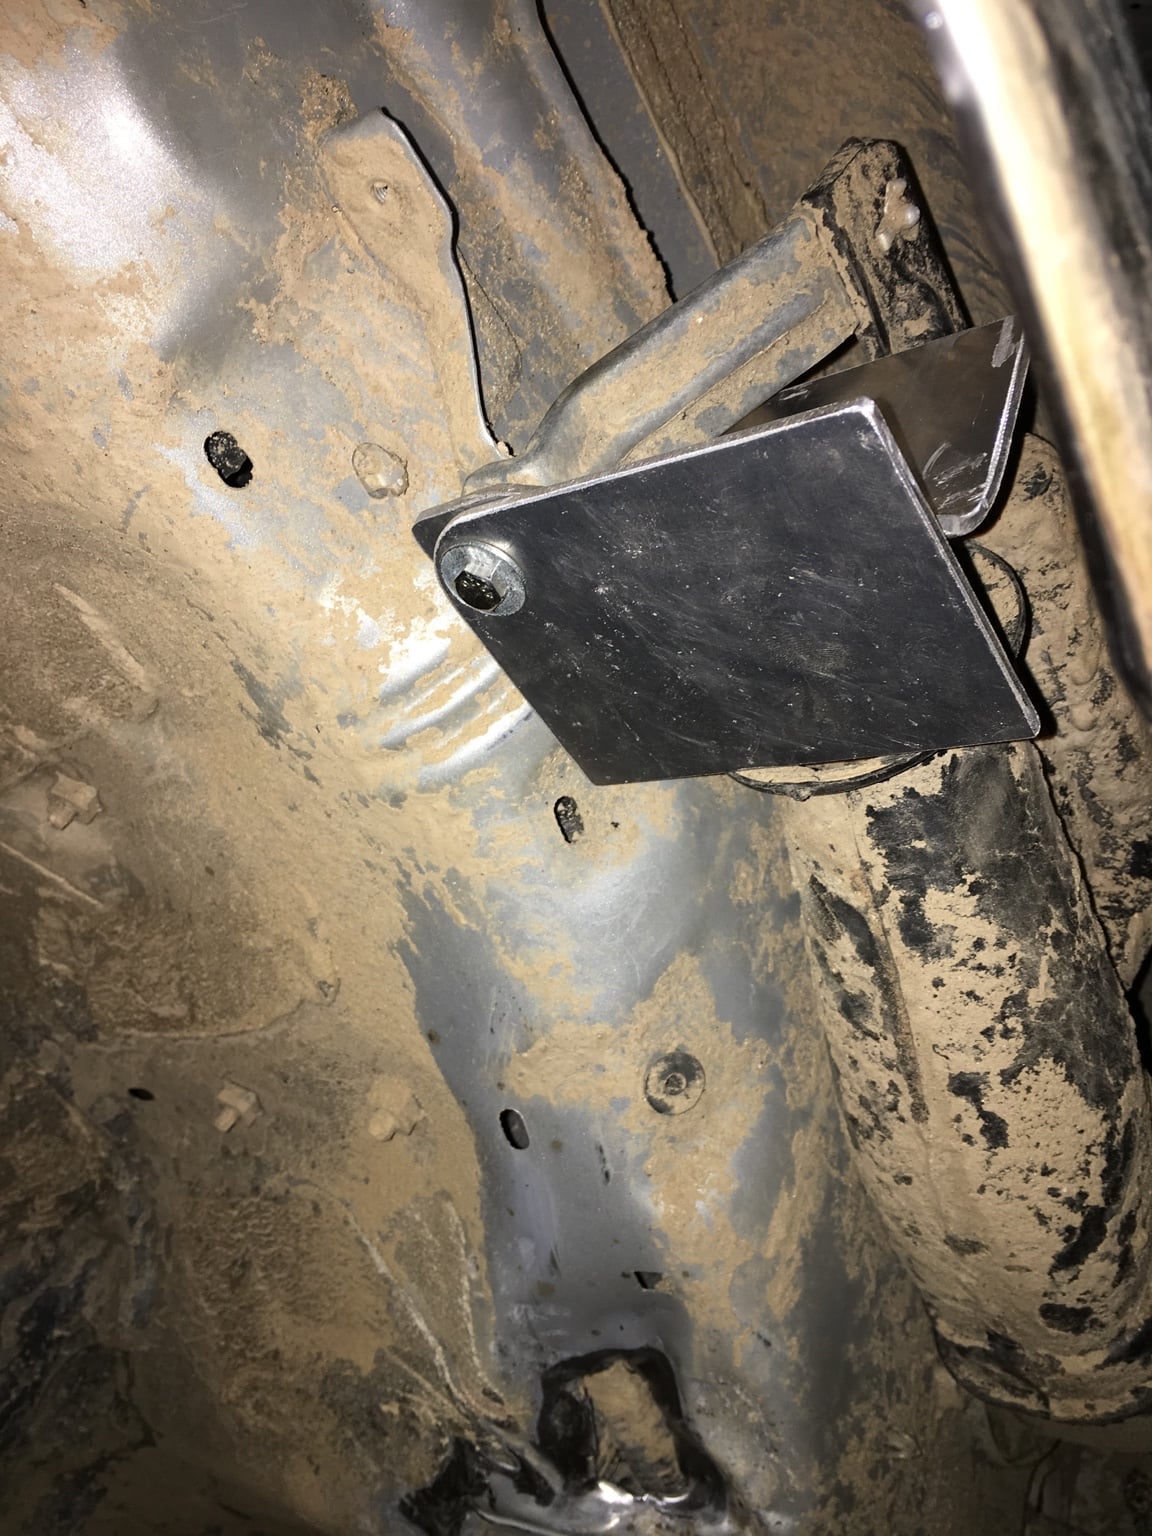
Got the new motor mount perches today. They are pretty solid and well made. Went and talked to my buddy about helping me fix this. We think we can get away with not having to pull the motor. The plan is to pull the differential, and possibly the alternator and exhaust manifold if needed. Since he has a plasma cutter and a full shop, and way more knowledge then I will ever have, I will have him assist me in this project. I only have a week to get this done before my Christmas wheeling trip. Let's hope I can get it done in time.
c2c0c8eb330eb86bdfdb8885344df9ec.jpg


Sent from my iPhone using Tapatalk
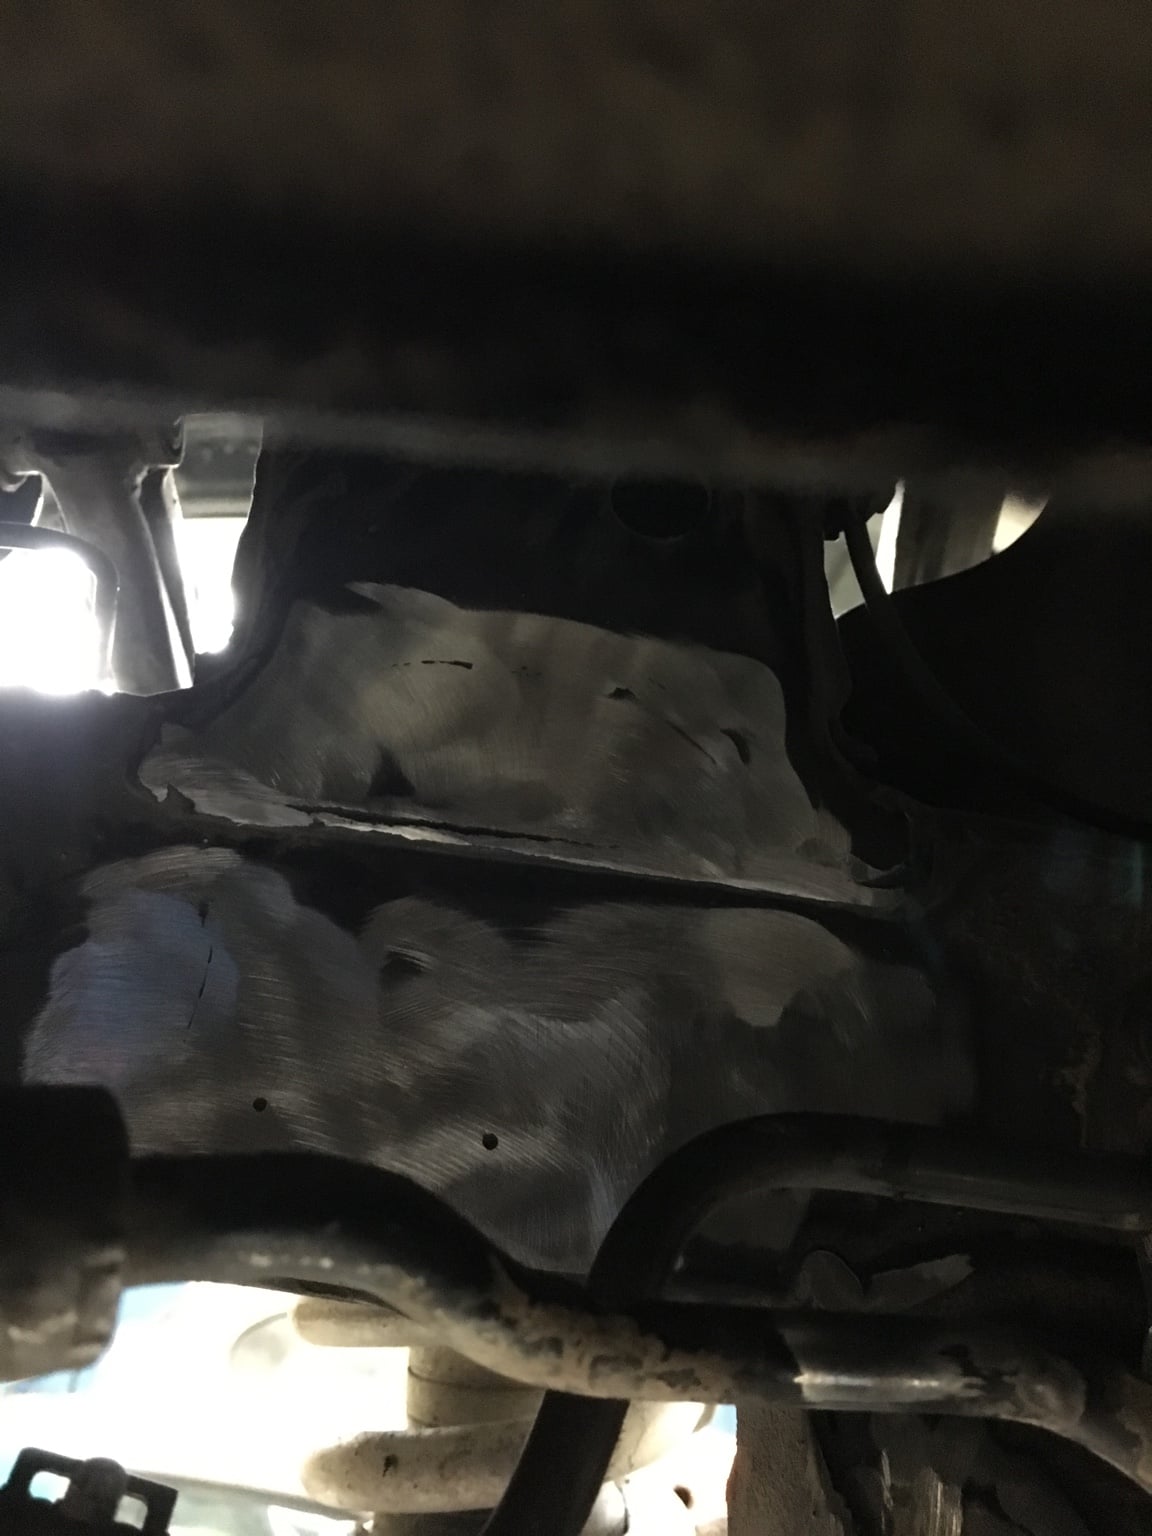
 
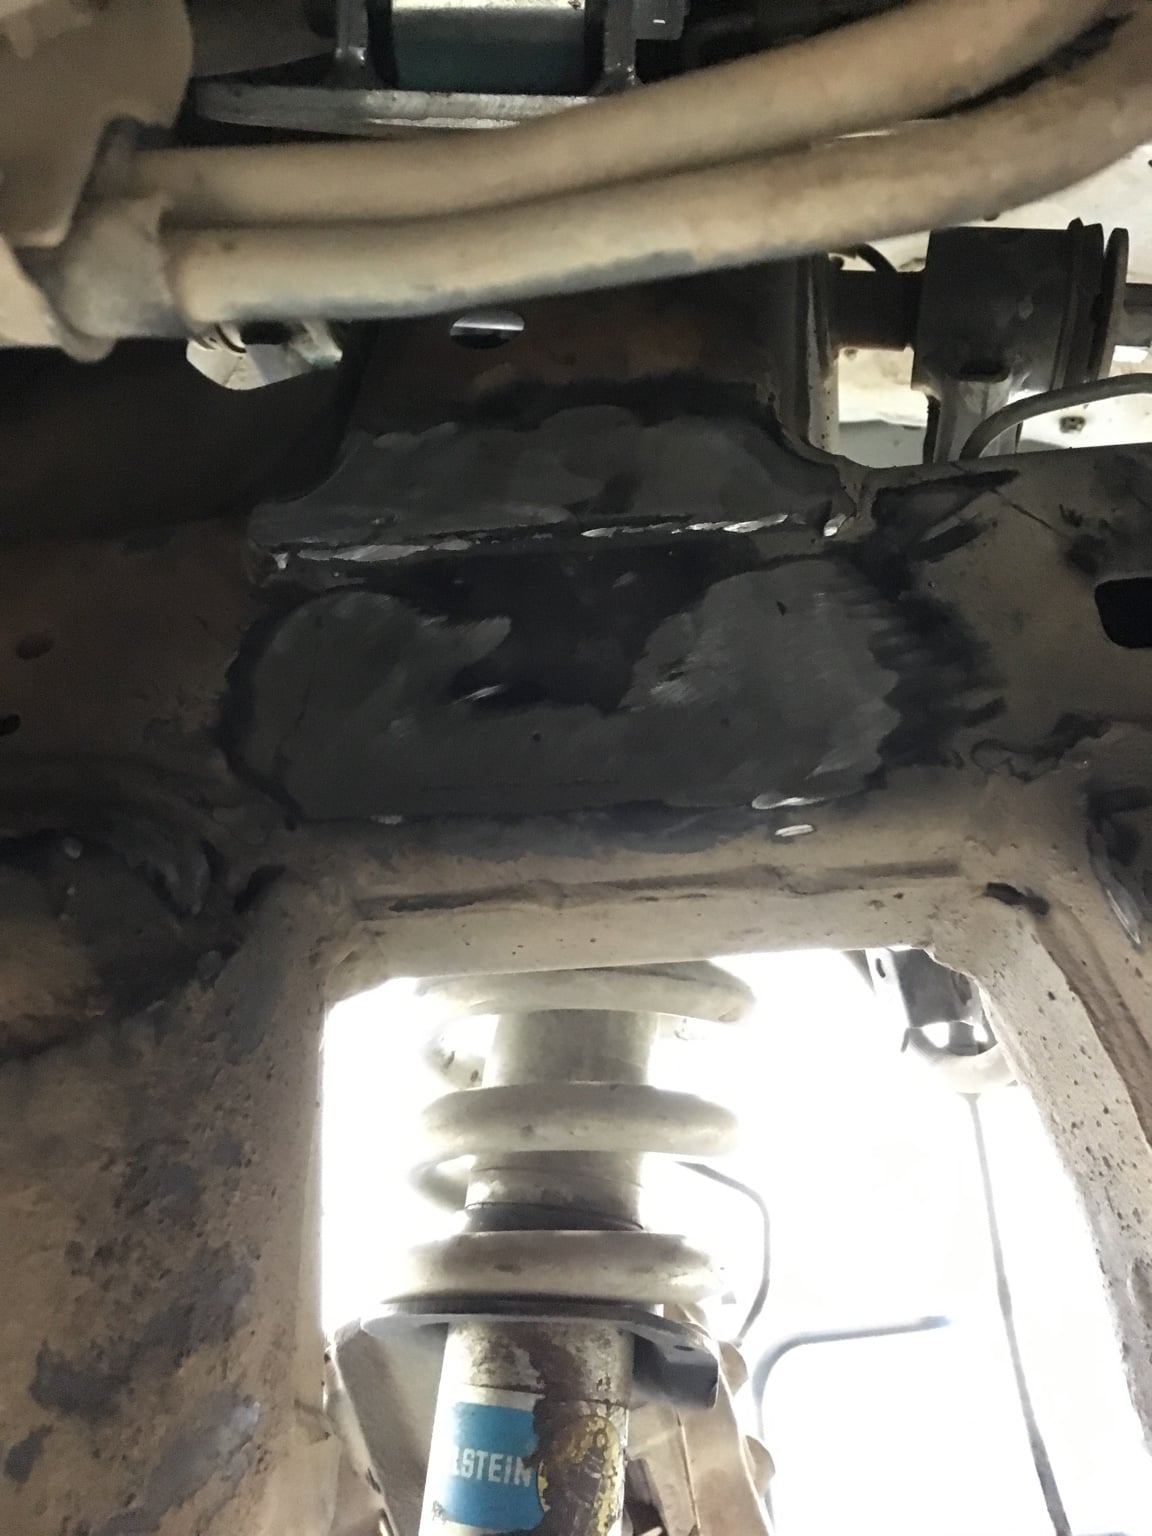
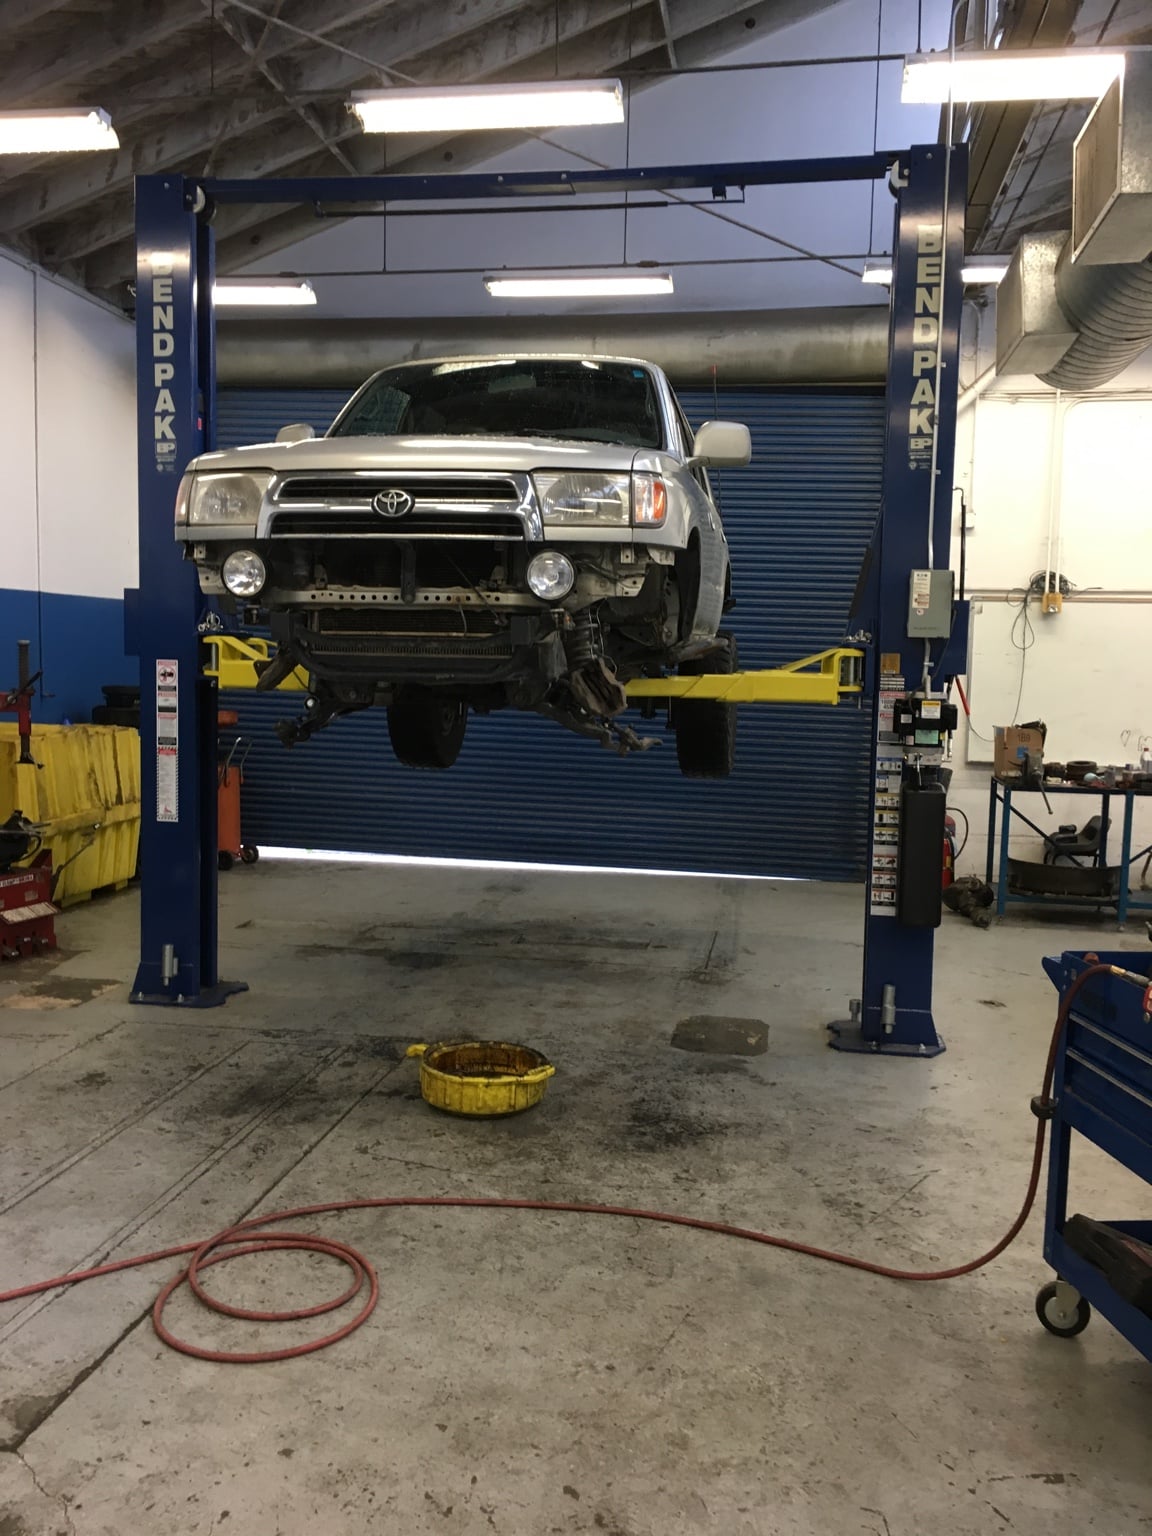
Finished up the motor mounts this morning. It was actually quite a bit easier than I expected. It took about a total of 8 hours of work between Friday morning and this morning. I was too busy trying to get things done to take pictures but I managed to snag a couple at one point. We only had to pull the front diff, CV's, and unbolt the steering rack out of the way to get enough room to work. The biggest PITA was after plasma cutting the mounts off, grinding everything smooth with almost no room too work and grinding overhead sucked. Didn't have much room to weld all around so I just welded the sides and bottoms, and tried to get some welds on the top. Should still be plenty strong though. Now I don't have to stress about motor mounts and getting shit finished before my trip.
d7c689c2d2f2b72c291984e109f9f456.jpg

9a886150f7cd3949bb03d411c6b5a2f0.jpg

ad856ef7a08ba2627a9822f050cbcc4c.jpg
 
Huge props for hanging in there with that repair. That sucks.


Thanks BankRunner! It was pretty stressful with taking Friday morning off work, right before taking time off for vacation almost all next week and another trip the weekend after. Let's just home I never have to do it again hahah.


Sent from my iPhone using Tapatalk
 
Also a little side note fun fact that I found out today while the runner was on the lift with the rear drooped out. I was just wiggling everything to make sure it was all good and tight, which not everything was good and tight. Control arm bushings are shot back there. I was able to wiggle my LC80 8.0 or 8.5 wraps (I forget what I have) quite a bit. Almost enough to pull them out by hand. Would be pretty easy with a pry bar. If I had any longer shocks I would have to get taller coils, which means even more lift, which I want the opposite. So the only way to get the rear to the height I want (like an inch lower) would be to add more weight instead of 7.5 wraps. Spare tire mount and cargo box hopefully coming soon.


Sent from my iPhone using Tapatalk
 
If you were worried about the coils popping out, you could add limiting straps. Any shots of the new perches installed?


Sent from my iPhone using Tapatalk
 
If you were worried about the coils popping out, you could add limiting straps. Any shots of the new perches installed?


Sent from my iPhone using Tapatalk


Yeah I could do that but then I'd have to limit the travel to stop the coils from falling out. I'd rather keep all the travel I can get than worry about only 1" lower ride height. Plus once I get a spare and cargo drawers mounted it should lower the rear a little.
I unfortunately did not get any pics of the new perches installed. Next time I pull the skid I'll try to snap a pick.


Sent from my iPhone using Tapatalk
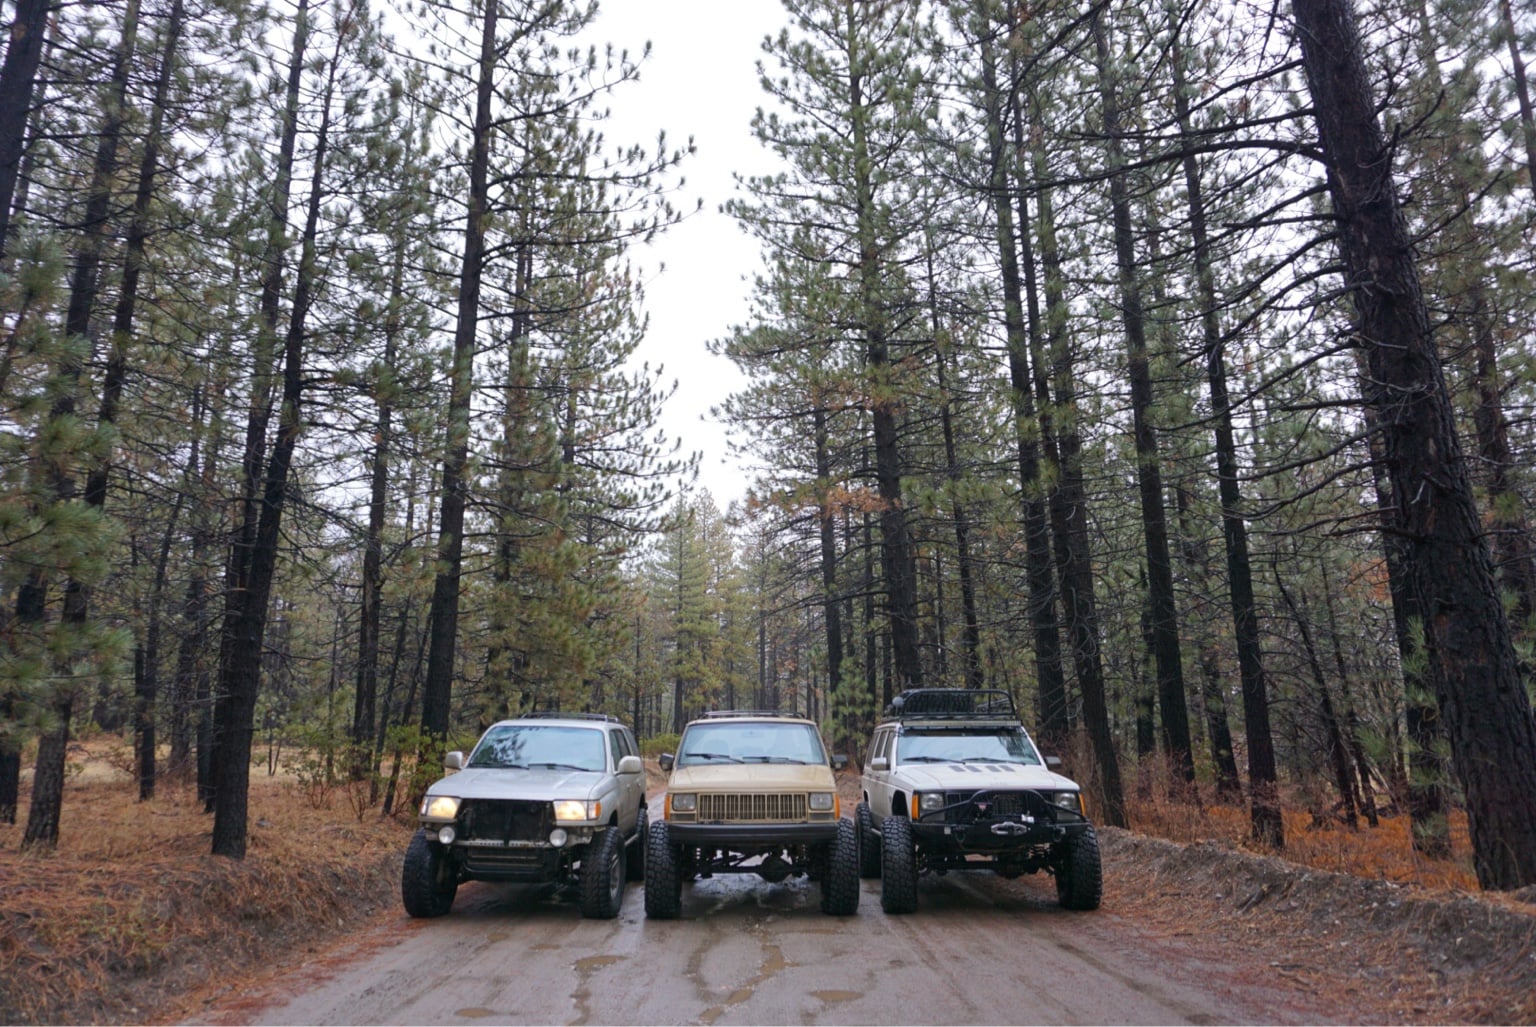
 
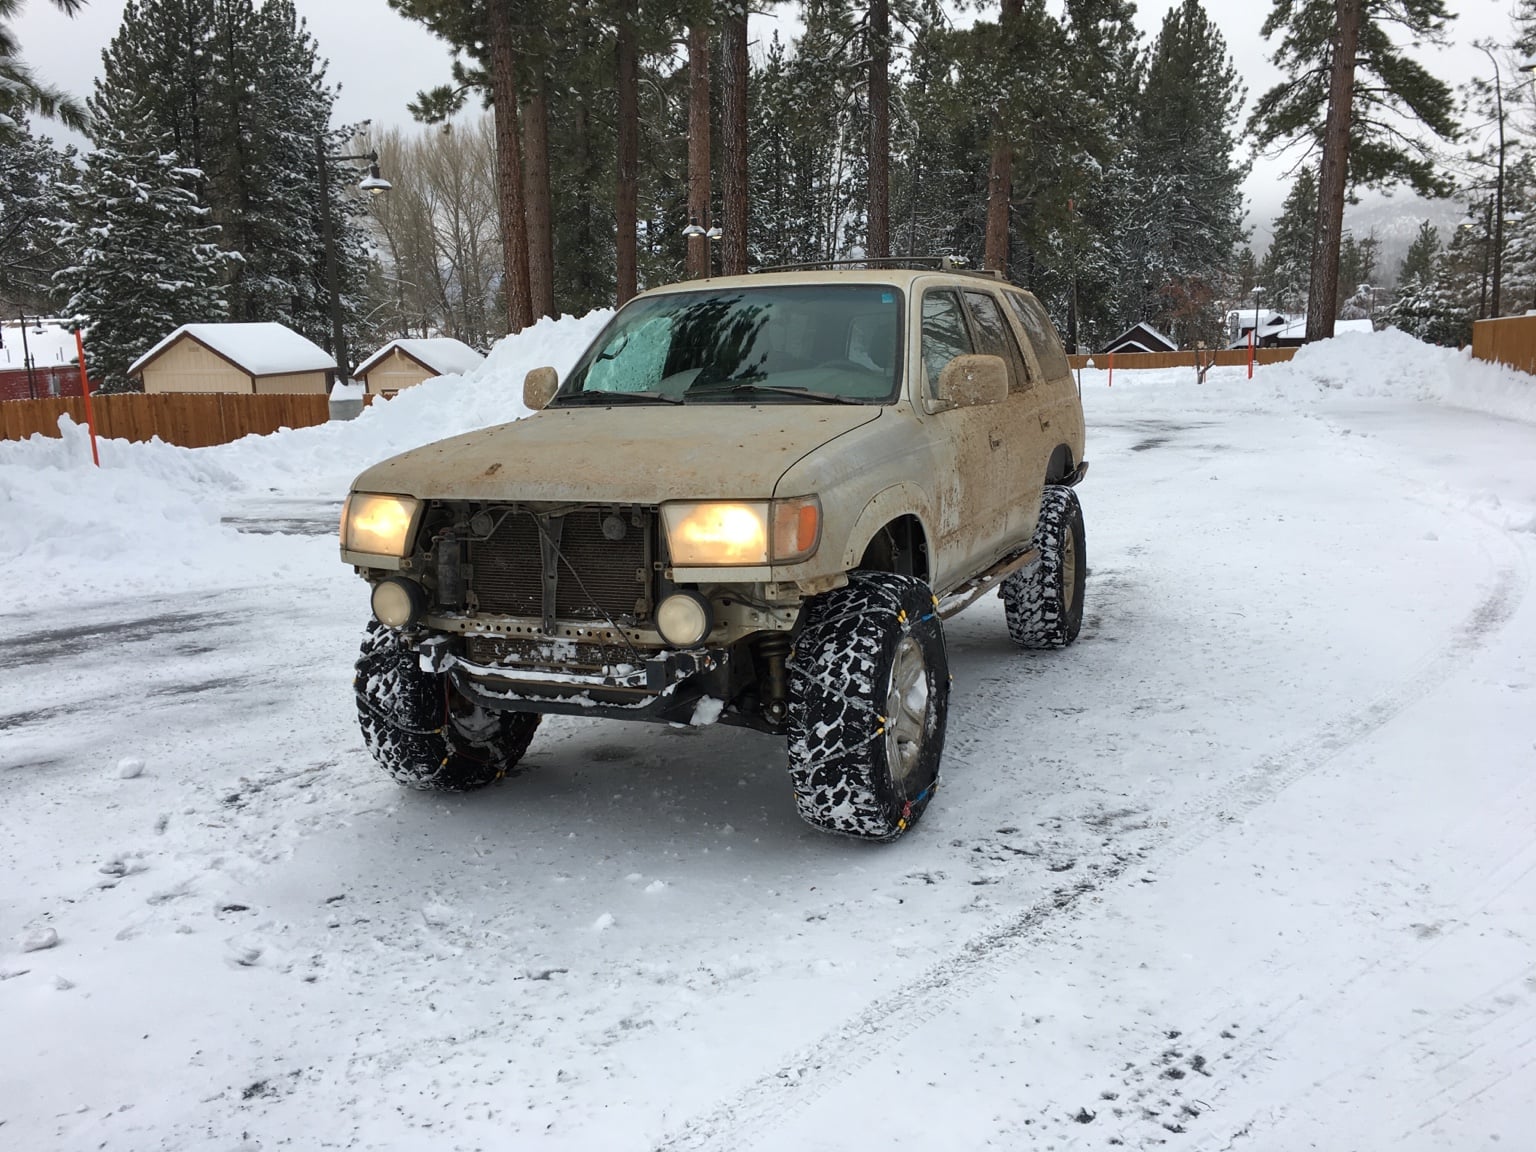
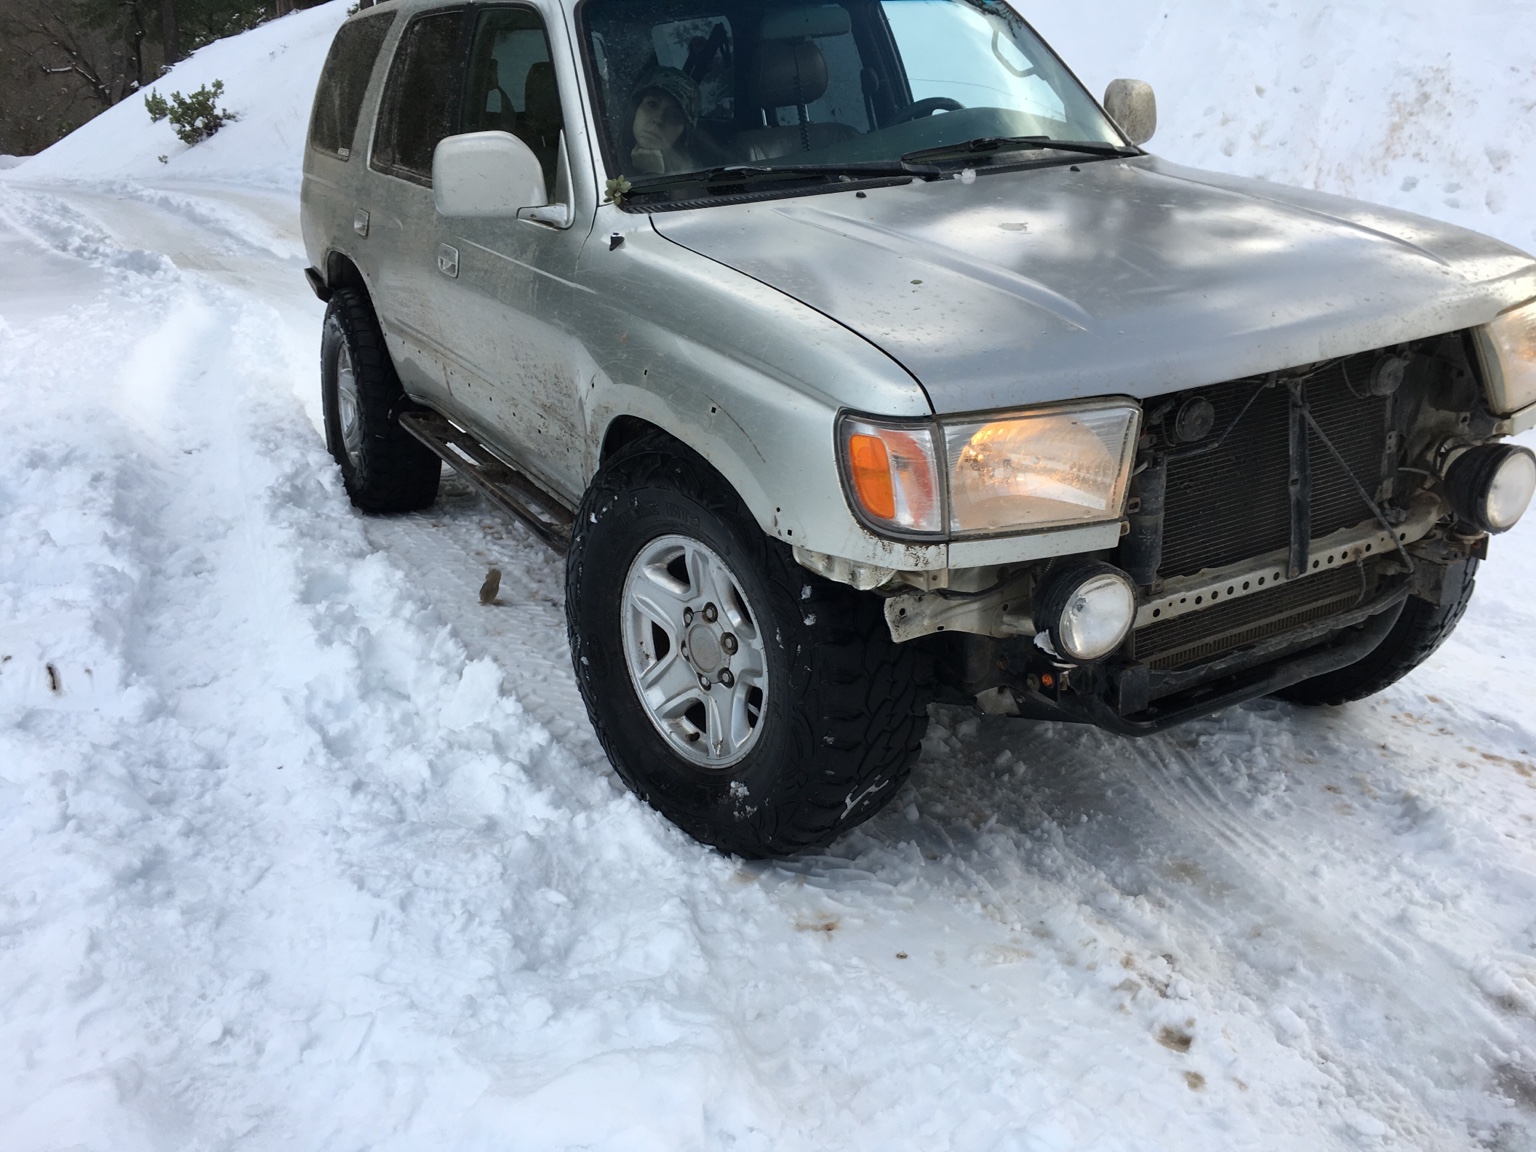
Finally got to take the Beer Runner out on a real wheeling trip since Thanksgiving weekend and since fixing all the broken things, and new bump stops. We went to Big Bear and rented a cabin for Christmas for a few days. We took the 4Runner and the Jeeps out on the easier trails just to explore and have a good time, nothing really difficult. There was a little snow and lots of mud. I really hate mud. It makes such a mess everywhere. The bump stops performed great, especially the front ones. It made a world of difference hitting the big stuff. They added so much dampening that I was able to hit some of the big stuff pretty fast that I would normally bottom out really hard. I ended up jumping a few times accidentally without bottoming out hard. I did end up breaking my grill off going through a deep ice covered puddle. I didn't realize that the puddle was over 3 feet deep as I came up to it since most of the frozen puddles were really shallow. Not this one obviously! I was driving into it pretty slow then just dropped off to where the water was over the hood. The engine sucked in a bunch of water and bogged out, killing the engine. It died right as I came out of the water luckily. It took about 2 minutes to start it back up again with a whole lot of white smoke coming out the exhaust. Luckily that was all that broke on that trip. We did get over a foot of snow on our last night there, which was pretty damn cool for us Southern California folk that rarely get snow.
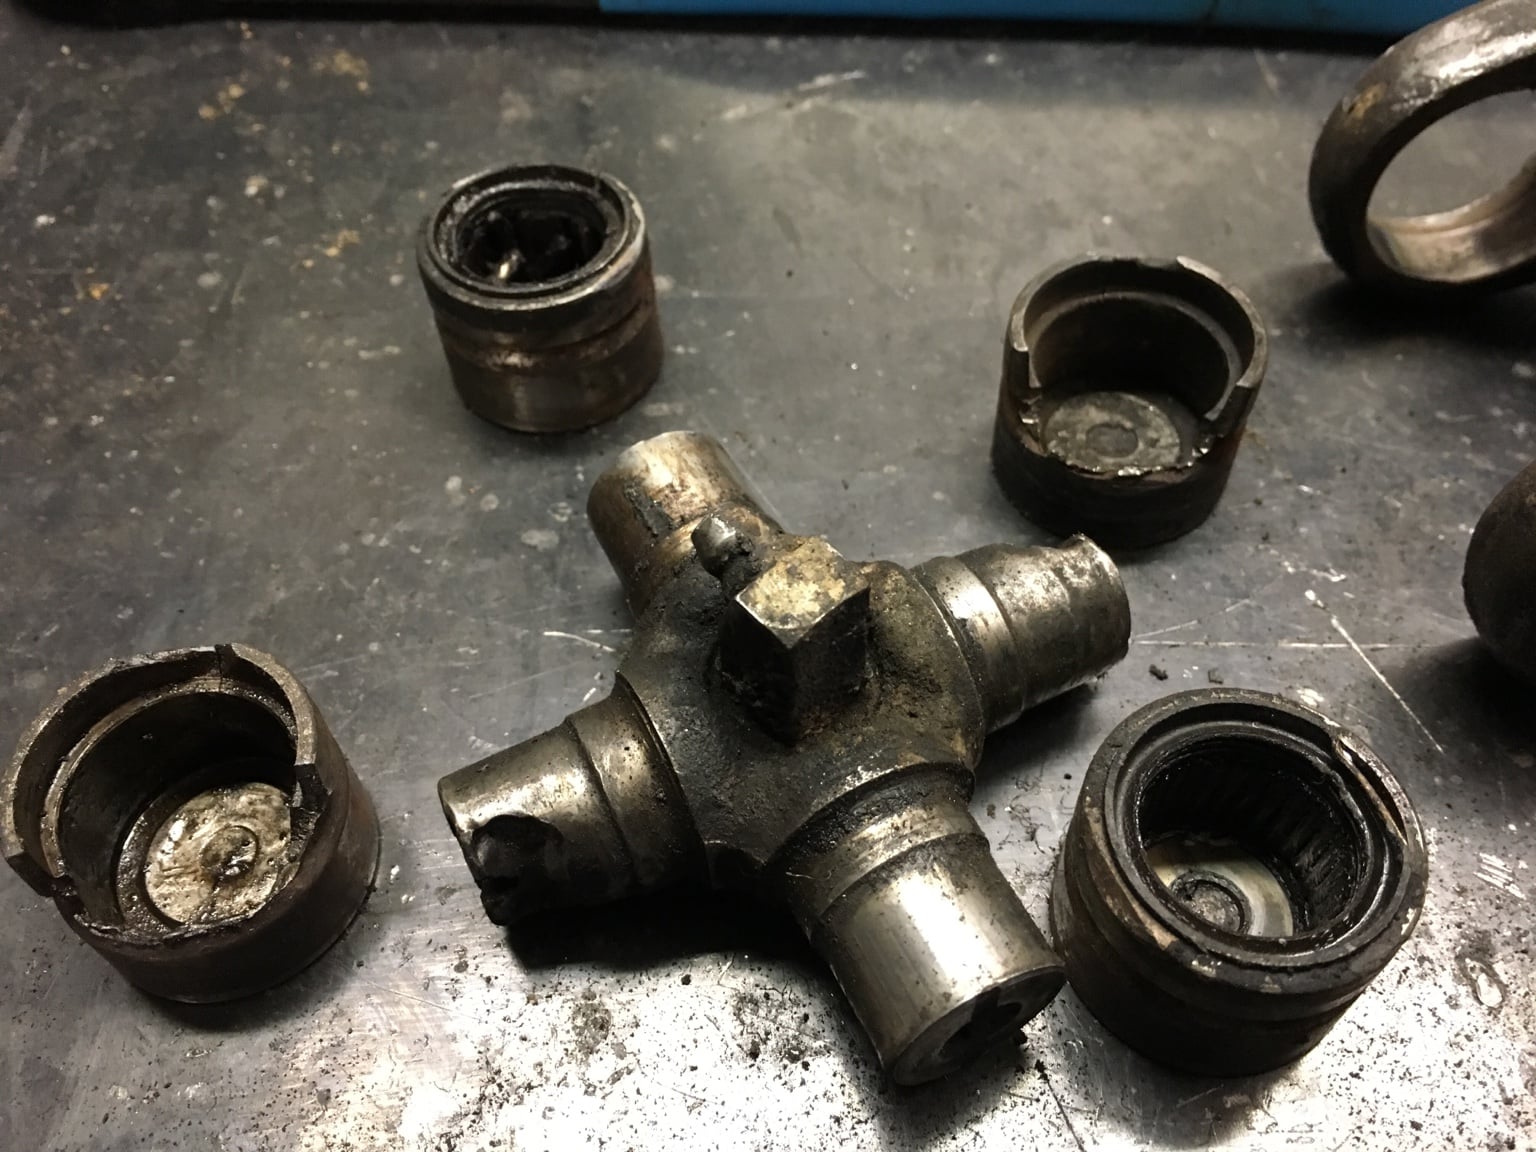
Yesterday I finally got time to install my rear U-Joint. What a ***** that turned out to be. I could not get the caps to come out. I ended up heating it up with a torch and soaked it with PB Blaster, then it finally broke loose. The old U-Joint was completely trashed and the caps where broken too. Now no more driveline vibrations.
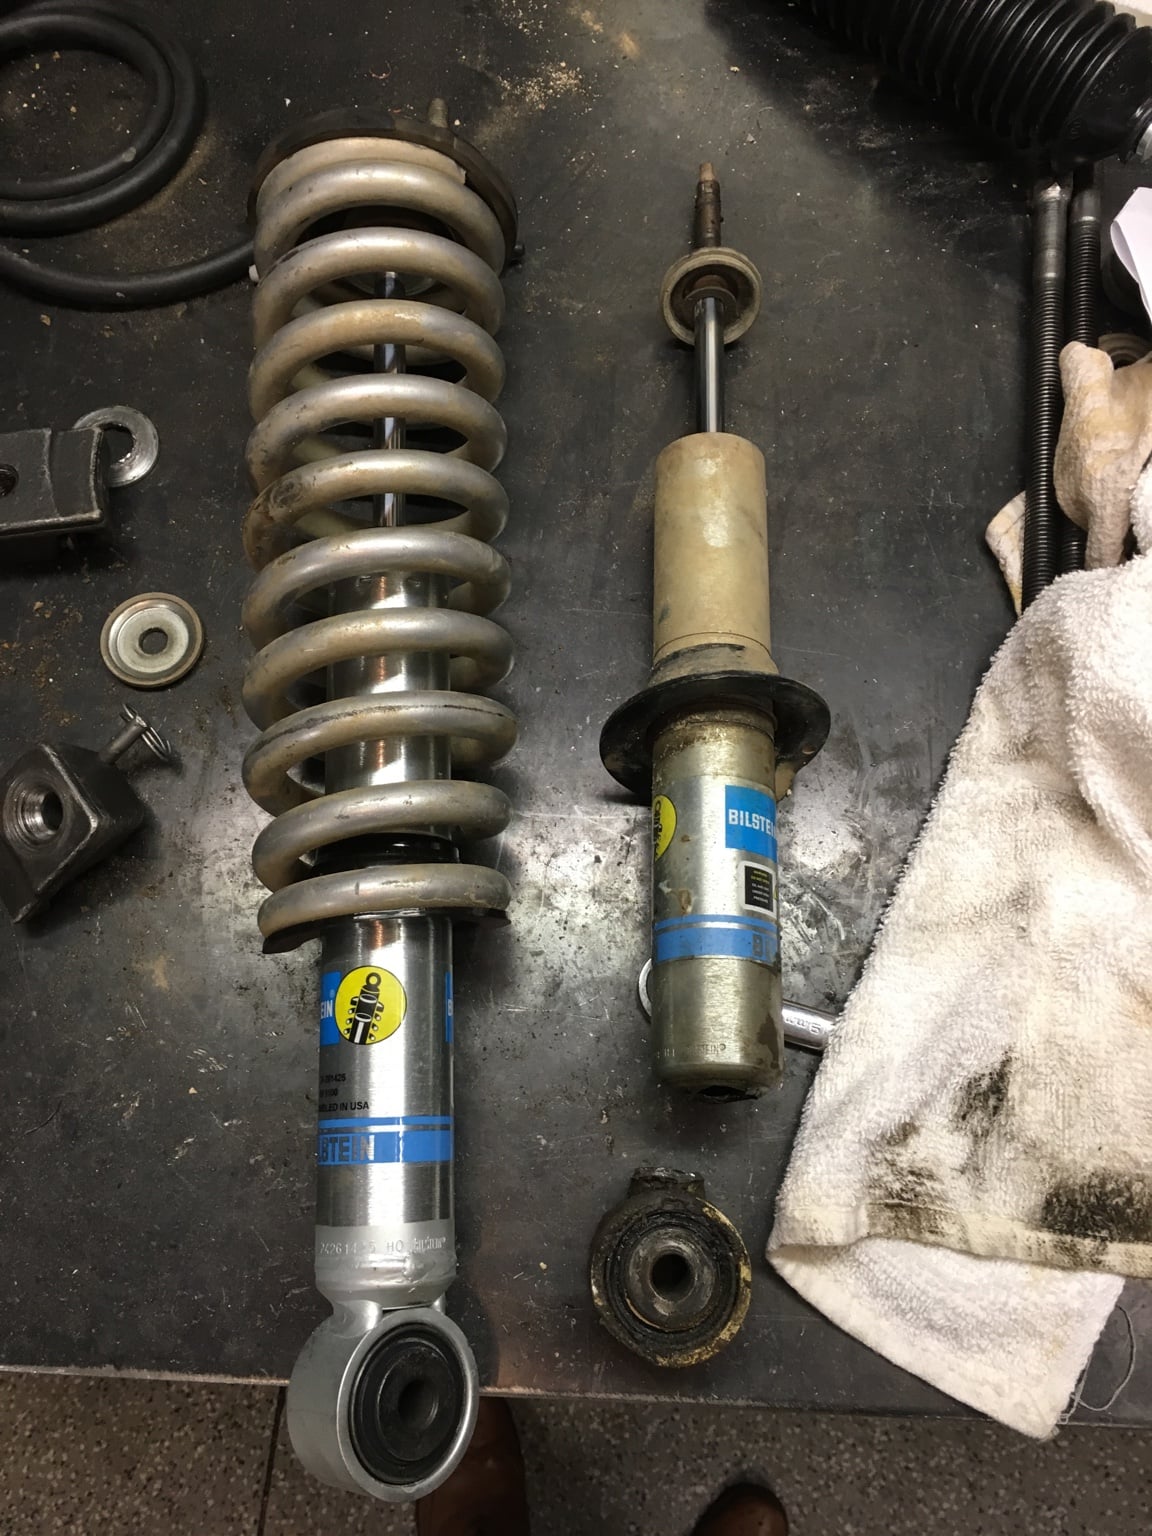
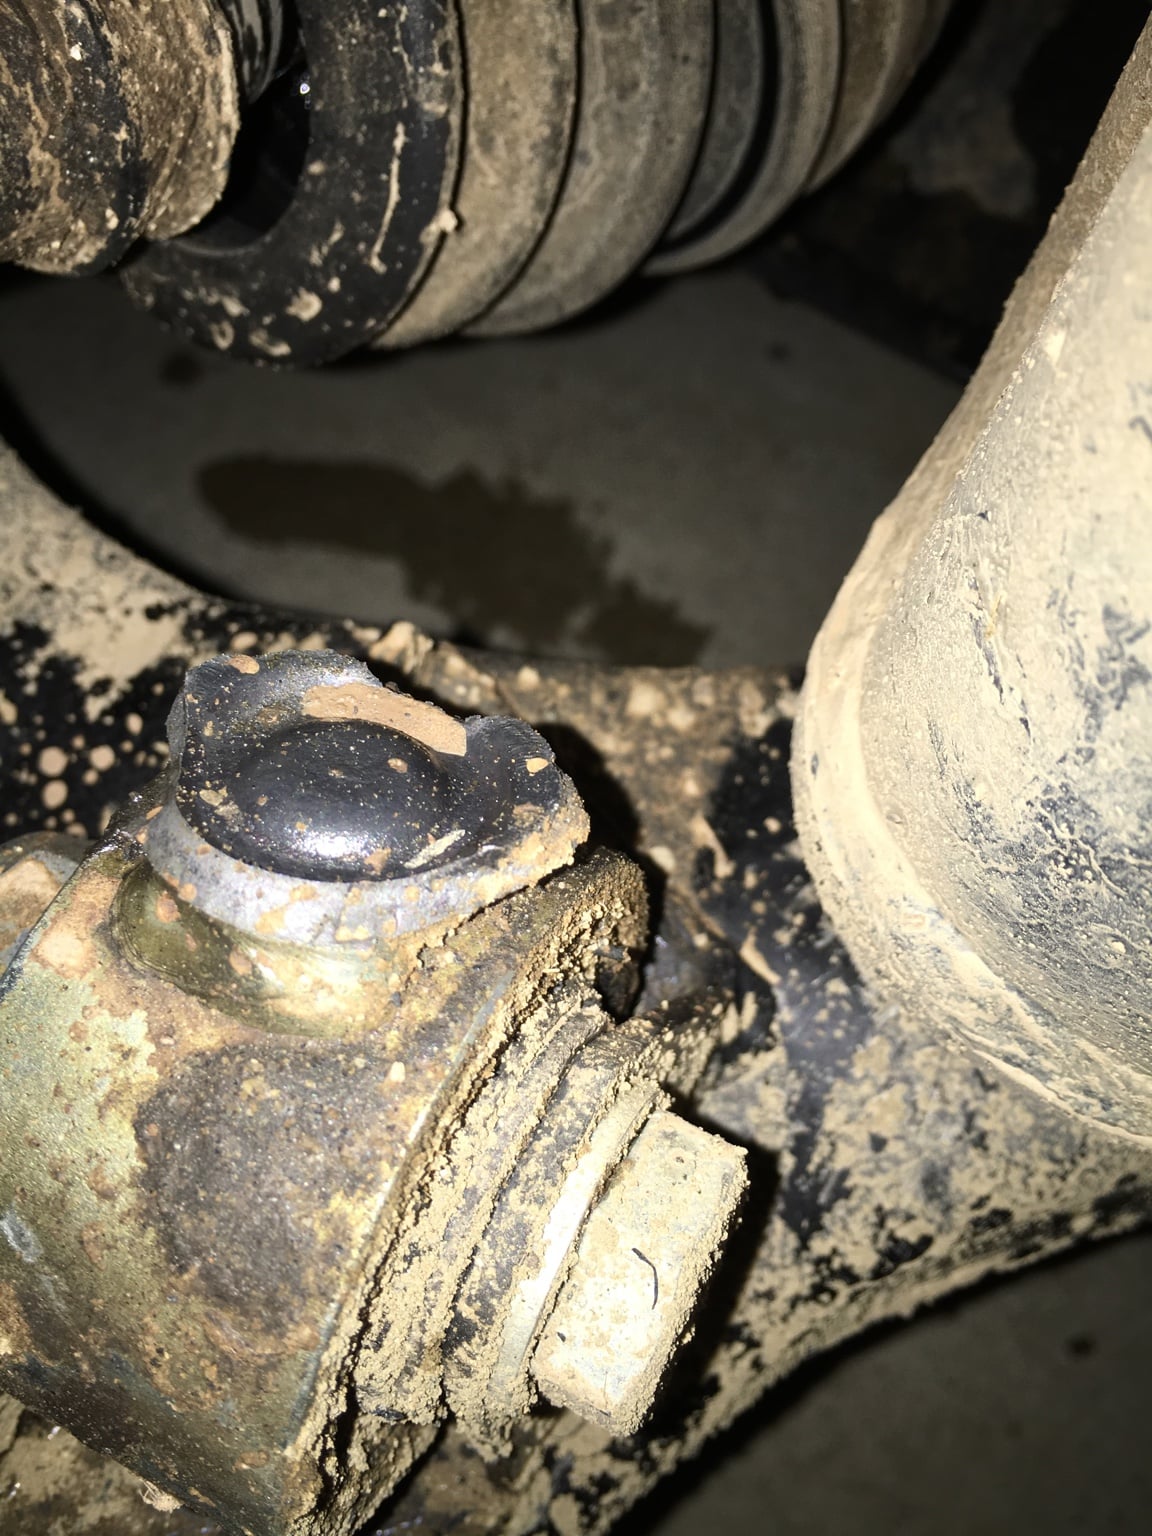
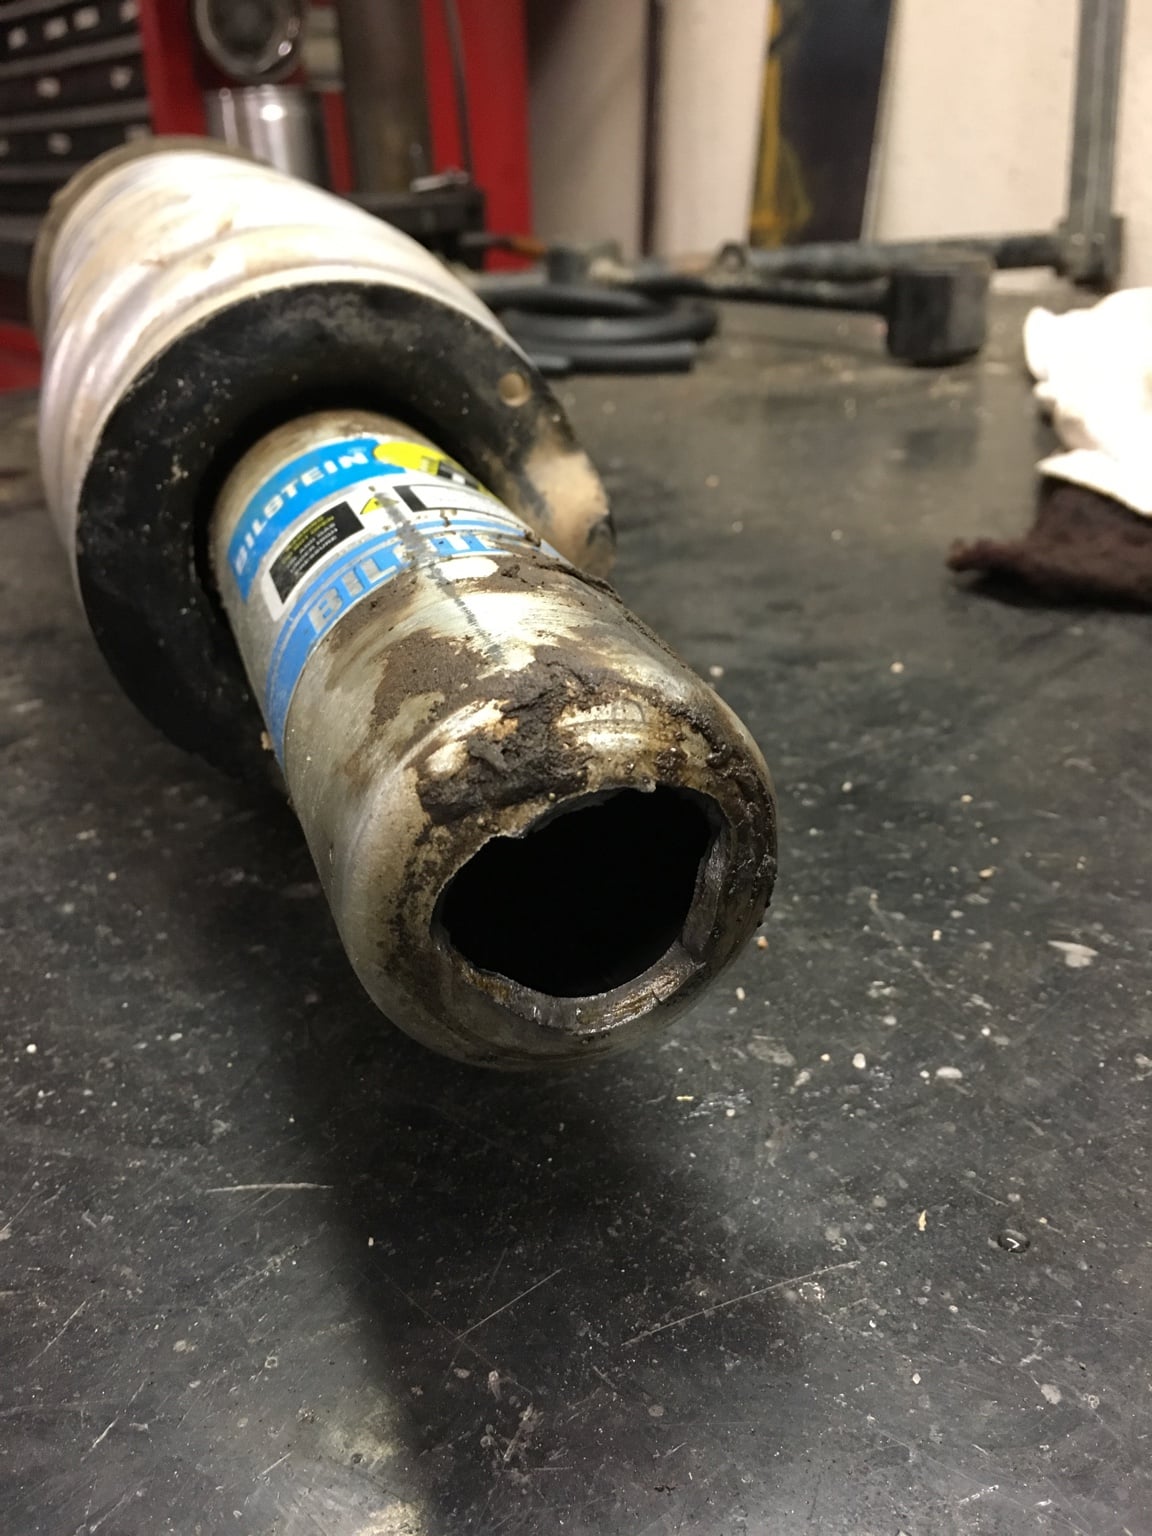
Today my brother and buddy invited me to cruise up the mountain to go snow wheeling. It was a blast until my shock broke at the lower eyelet. At first it wasn't so bad because the bump stop supported some weight and gave some dampening. Then about halfway down the mountain, the bump stop ripped off causing me to be completely bottomed out the rest of the way down the hill. I was rubbing on the fender a little bit and the wheel well where the intake box is. It was supper annoying driving home like that, but wasn't anything too bad.
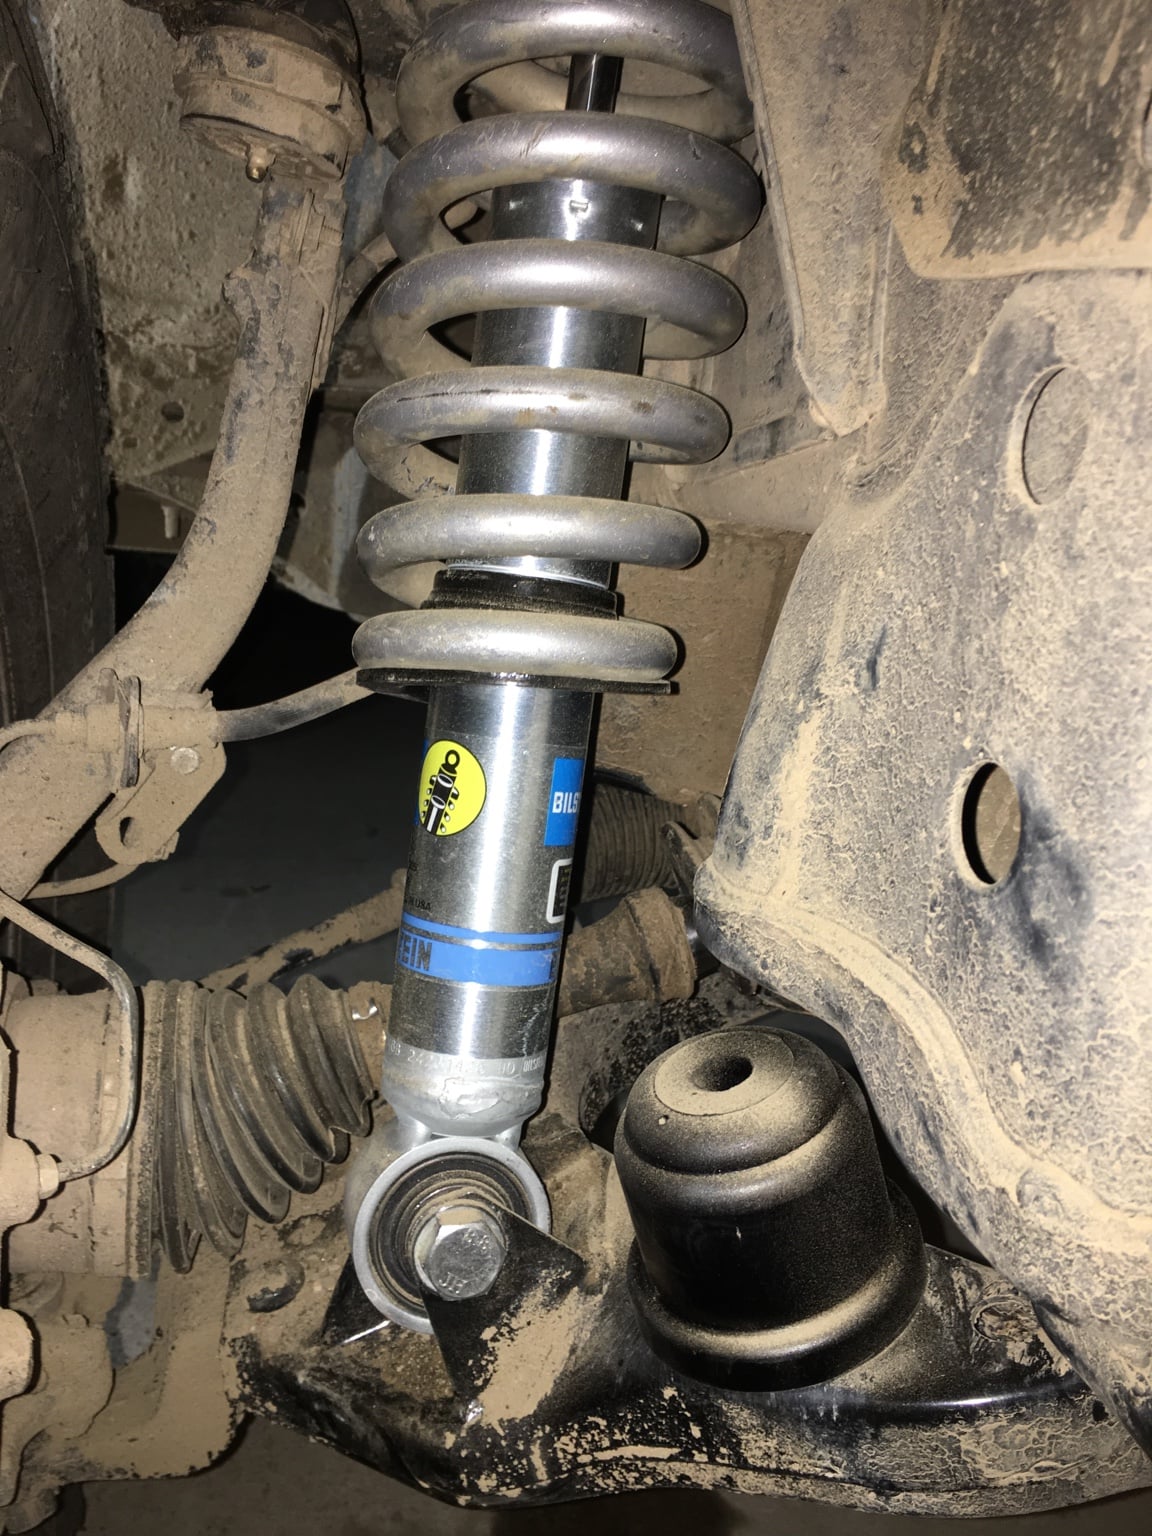
Now I have to replace my shock and bump stop before I leave to Ocotillo Wells for New Years on Thursday. The plan was to go with coil overs soon but I don't really want to spend the money right now on coil overs right after Christmas. I'll just get a replacement 5100 for now and put the coil overs on hold until after tires, UCA's and rear control arms since those are ready to be replaced/ upgraded.
3c1e610dda7cfc85872c228220eb7349.jpg

3e4f5f3849817ebf177d17cb04036029.jpg

8fe843a5da26bf981c93dbec83938067.jpg

1eca04842a836c3b918857748994a680.jpg

5591bc3a27429fb301236841f4d8590b.jpg

07bfd7bb7d526f24ca3e783a3e55102d.jpg

8499b189b9156ec21ffbc7e0a7f22a30.jpg


Sent from my iPhone using Tapatalk
 
Wow what a pain in the ass putting the new front shock turned out to be! I bought a new Tundra 5100 on Tuesday and had everything assembled then realized, since I didn't use the rubber boot, I forgot the little aluminum spacer that pops into the boot but is still needed. So I compressed the spring, and started unbolting the top nut. The nut ended up getting tight while loosening it, so I put a wrench on the the top of the shaft where a wrench goes to keep the shaft from spinning. With a little force to try to get it past whatever it was stuck on, the damn thing broke! I was too pissed to get my phone out to snap a pic. Luckily I got the part through my brothers work and they warrantied the part so I cut the stuck bolt off to get my coil off the strut. Luckily it's all back together and ready to roll.
I also contacted Wheelers Offroad about the bump stop that fell off. They said they typically don't warranty that kind of stuff due to the whole incorrect application thing but since they were brand new they were willing to send me a new one. They were also willing to ship it immediately so that I will have the part before my trip this weekend. I highly recommend Wheelers Offroad for anything that they supply. Great customer service!
I also made a little mud guard out of two pieces of scrap aluminum. It's not pretty but it will help for now until I figure out how to relocate the intake away from the wheel well somehow. Since the plastic wheel well liner ripped out and going through all that mud last week, I sucked up all kinds of mud into my intake. There was like an inch of mud in there. I never noticed before because I don't think I've touch mud in about a year since the liner fell off. I always avoid mud whenever possible.
If anyone will be out in Ocotillo Wells/ Truck Haven area for New Years weekend. Feel free to hit me up and we can have a beer and go on a run together. We'll be camped off of SR-22 either off of Hot Springs Rd or Holly Rd.
41a6ad95f890251137669479b1ffcf3d.jpg

87bd6cd2ce2a33d0e0760f71a189d74b.jpg

85cae8ba34e77019fc8391bd8ee52d16.jpg

d31c3a426dad8bc83b11541a279f144a.jpg


Sent from my iPhone using Tapatalk
 
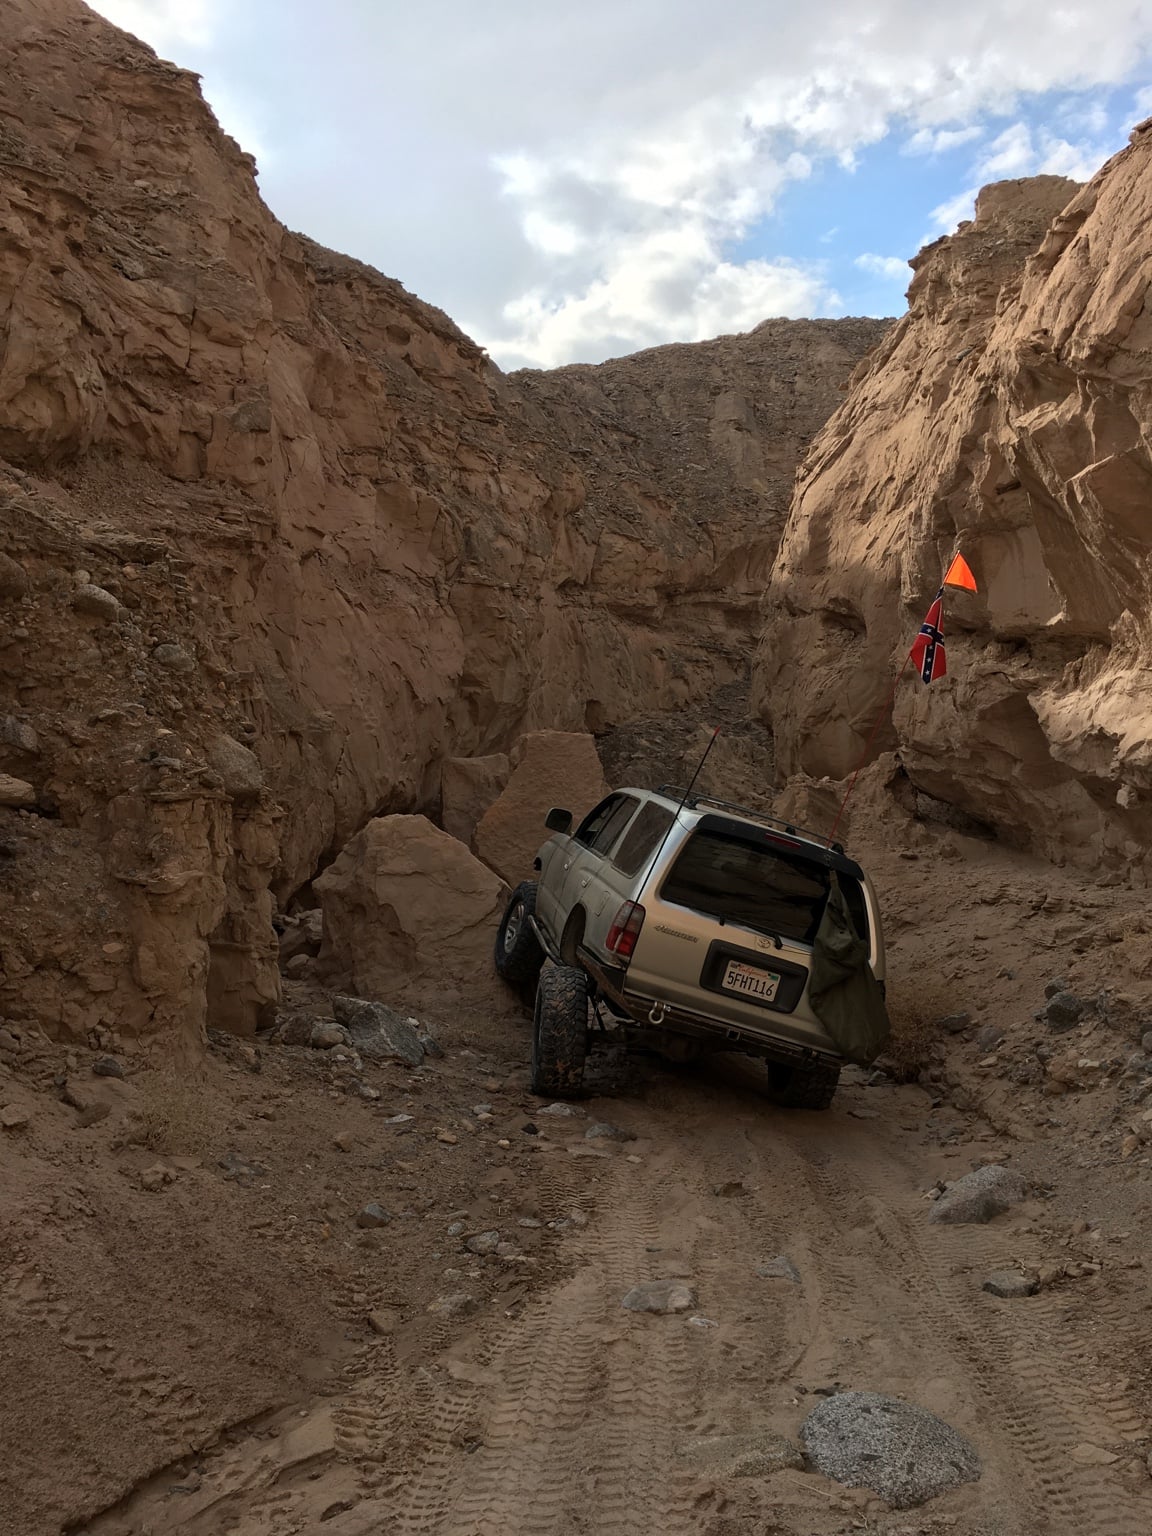
Things went pretty well this last trip out to Ocotillo. We did a lot more time exploring than we typically get to do. Most of the people we usually go out with would rather putt around camp for an hour then go back and drink the rest of the day. While my brother, my dad and I like to take off for 3-5 hours to explore new areas. They also don't go over 30mph. So this trip we didn't wait around for them and just took off on our own for pretty much the whole trip. We ended up doing just under 150 trail miles this trip. A lot of the runs were either going pretty fast through the washes or really slow through the real technical stuff. We kept finding these little canyons that led up to the Anza Borrego area. They would eventually turn into little slot canyons and we couldn't go any further but it was really fun. This trip nobody broke anything on the trail which was awesome. I did push the BeerRunner to some new limits this weekend. We were talking about who can get the fastest in the washes and I won. Got to 66.3 according to my GPS and held it for a while. Also found a pretty sweet whoop section that's a few hundred yards long that the whoops stayed pretty even throughout the whole section. I also beat them on that too. Got almost to 55mph through that section. And I wonder why I keep breaking things hahaha.
I'm not really into taking pictures, so I only got one picture the entire weekend. I always wish I liked photography, because we go to some pretty sweet spots with would make for some awesome pictures. It's just not for me though.
7281e3d5b6e3926adf6ae8530c05bab1.jpg

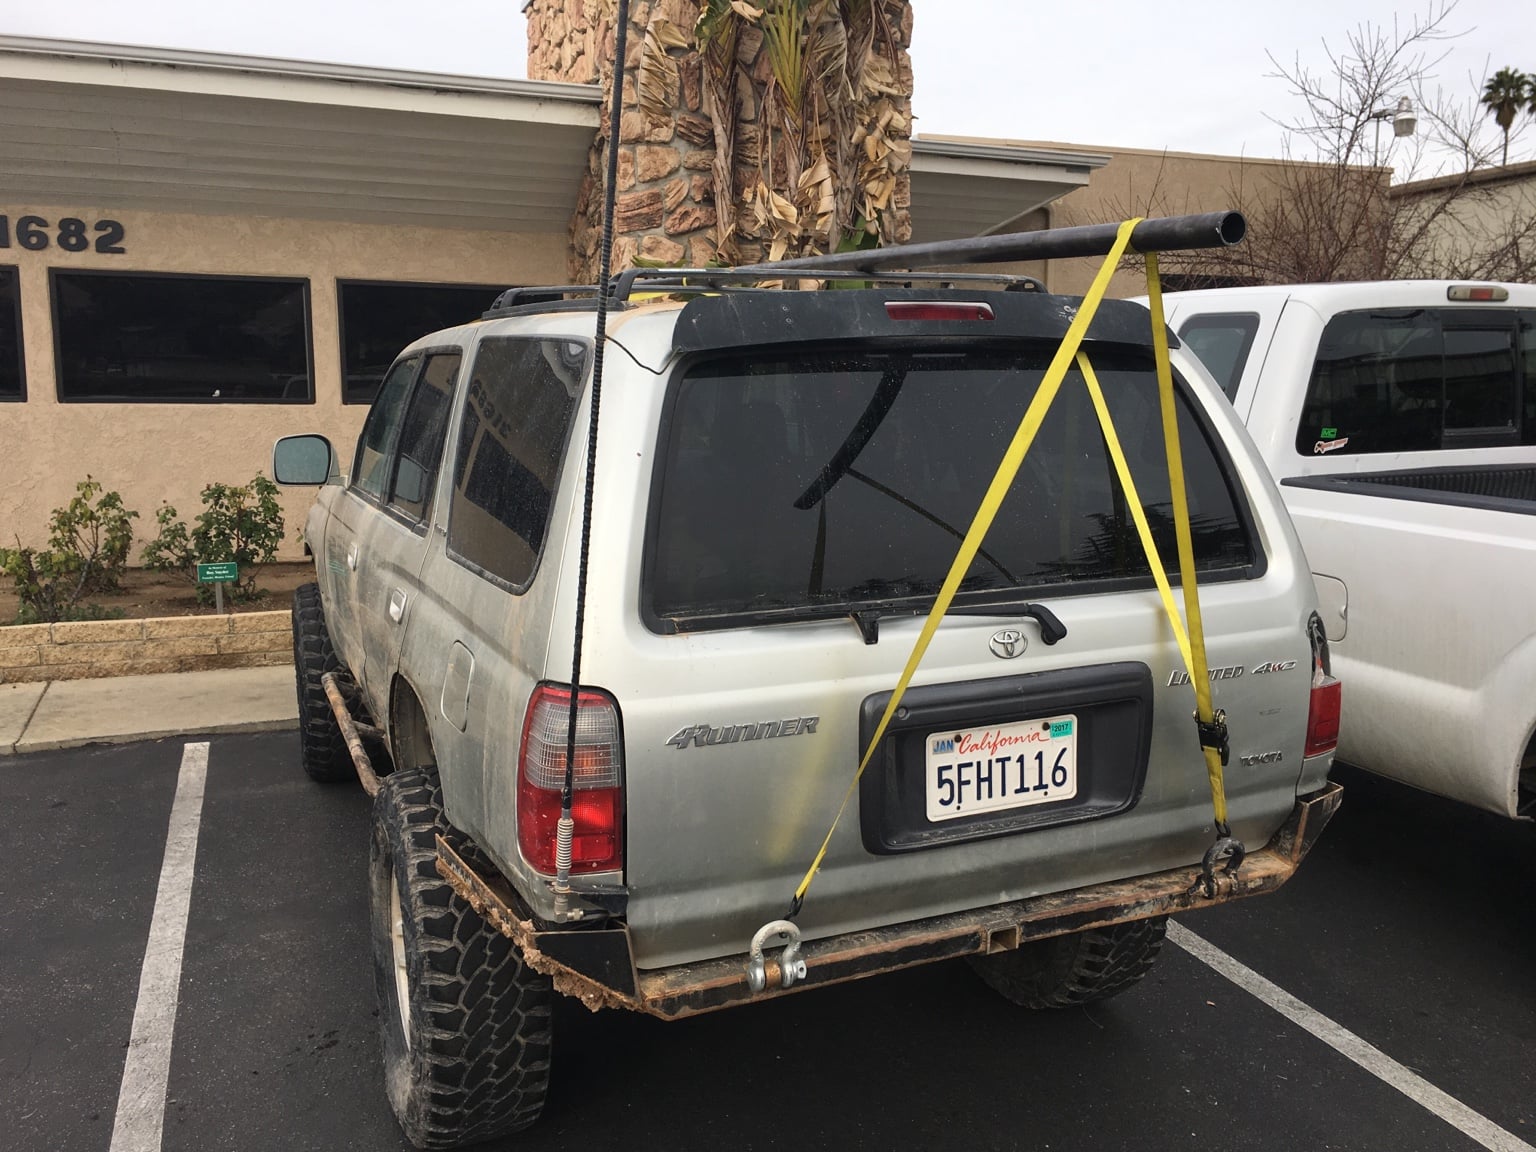
Alright so now the rear control arm bushings are completely shot. It's actually scary driving down the road at highway speed. The rear end just floats around and wobbles pretty bad and the torque steer sucks! So it's time for an upgrade. Since the control arms keep bending and bushings don't seem to last long, I need something that can handle the abuse I keep putting them through. So the plan is for adjustable uppers and lowers so in the case that I bend them or something, I can swap the joints. I'm most likely going with the MetalCloak Duroflex joints in the 2-5/16" and 2" widths. With these I will need to use tubing with 1.5" ID. Now I am deciding what size tubing I'd like to go with for the lowers. I doubt I will ever be able to bend 2.0" x.250" wall tubing in such a short control arm, so I'd like to keep the weight down. I could go with 1.875" x .188" wall tubing. This will be plenty strong and lighter but I still need to price it and check availability. I also am debating on just going with 1.75" x .120" wall for both upper and lower links. This size still has a higher moment of inertia and is lighter than 1.50" x .250" wall that most manufacturers seem to use. So I might just go with this size since it's lighter, cheaper and I already have some in the garage.
Here is a calculator that I use for finding the strength of different tubing sizes. http://rorty.net/news/tube-size-vs-strength


Sent from my iPhone using Tapatalk
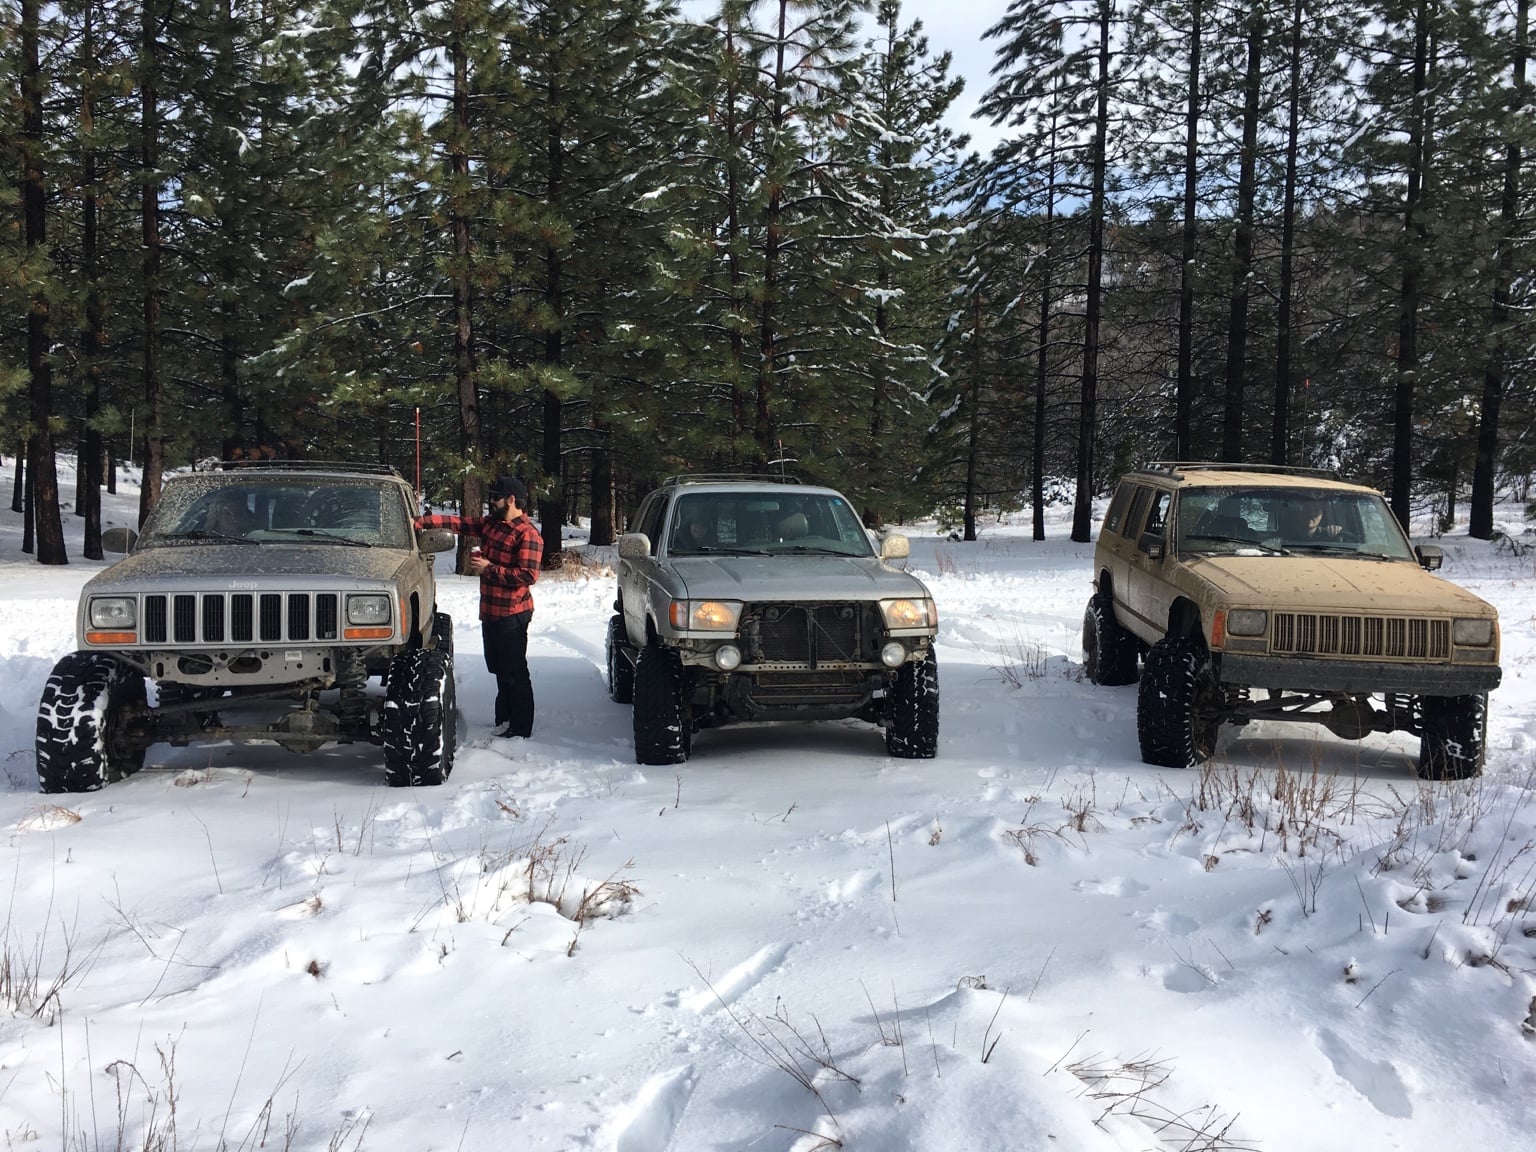
 
Great updates. I don't really understand why you are flying the confederate flag in my/our backyard of California.

That plate bumper looks really good.
 
Last edited:
Great updates. I don't really understand why you are flying the confederate flag in my/our backyard of California.

That plate bumper looks really good.


Thanks Brian!
I've had that flag for a long time and just haven't replaced it with something different yet. It works and It doesn't bother me at all but I do get some funny looks from people sometimes.


Sent from my iPhone using Tapatalk
 
Just ordered the joints from MetalCloak and four 1"-14 thread tube adapter bungs for 1.5" ID tubing from Trail Gear. I realized that the 1.75" tubing I had in the garage was HREW, so I had to go to the metal supply to pick up tubing. Since I was there I said screw it and went with 2" x .250" wall for the lowers and 1.75" x .120" wall for the uppers. Now I don't have any excuse to mess these ones up. I got some extra 1.75" tubing to hopefully start my front bumper soon. Pretty stoked on getting this part of the build out of the way. Now I might have to wait a little longer to get new tires since I dipped into my tire and front UCA funds. Hopefully by the end of February I can get those finished though.
af51eb36b8e2ffb05032cdd9a580a255.jpg


Sent from my iPhone using Tapatalk
 
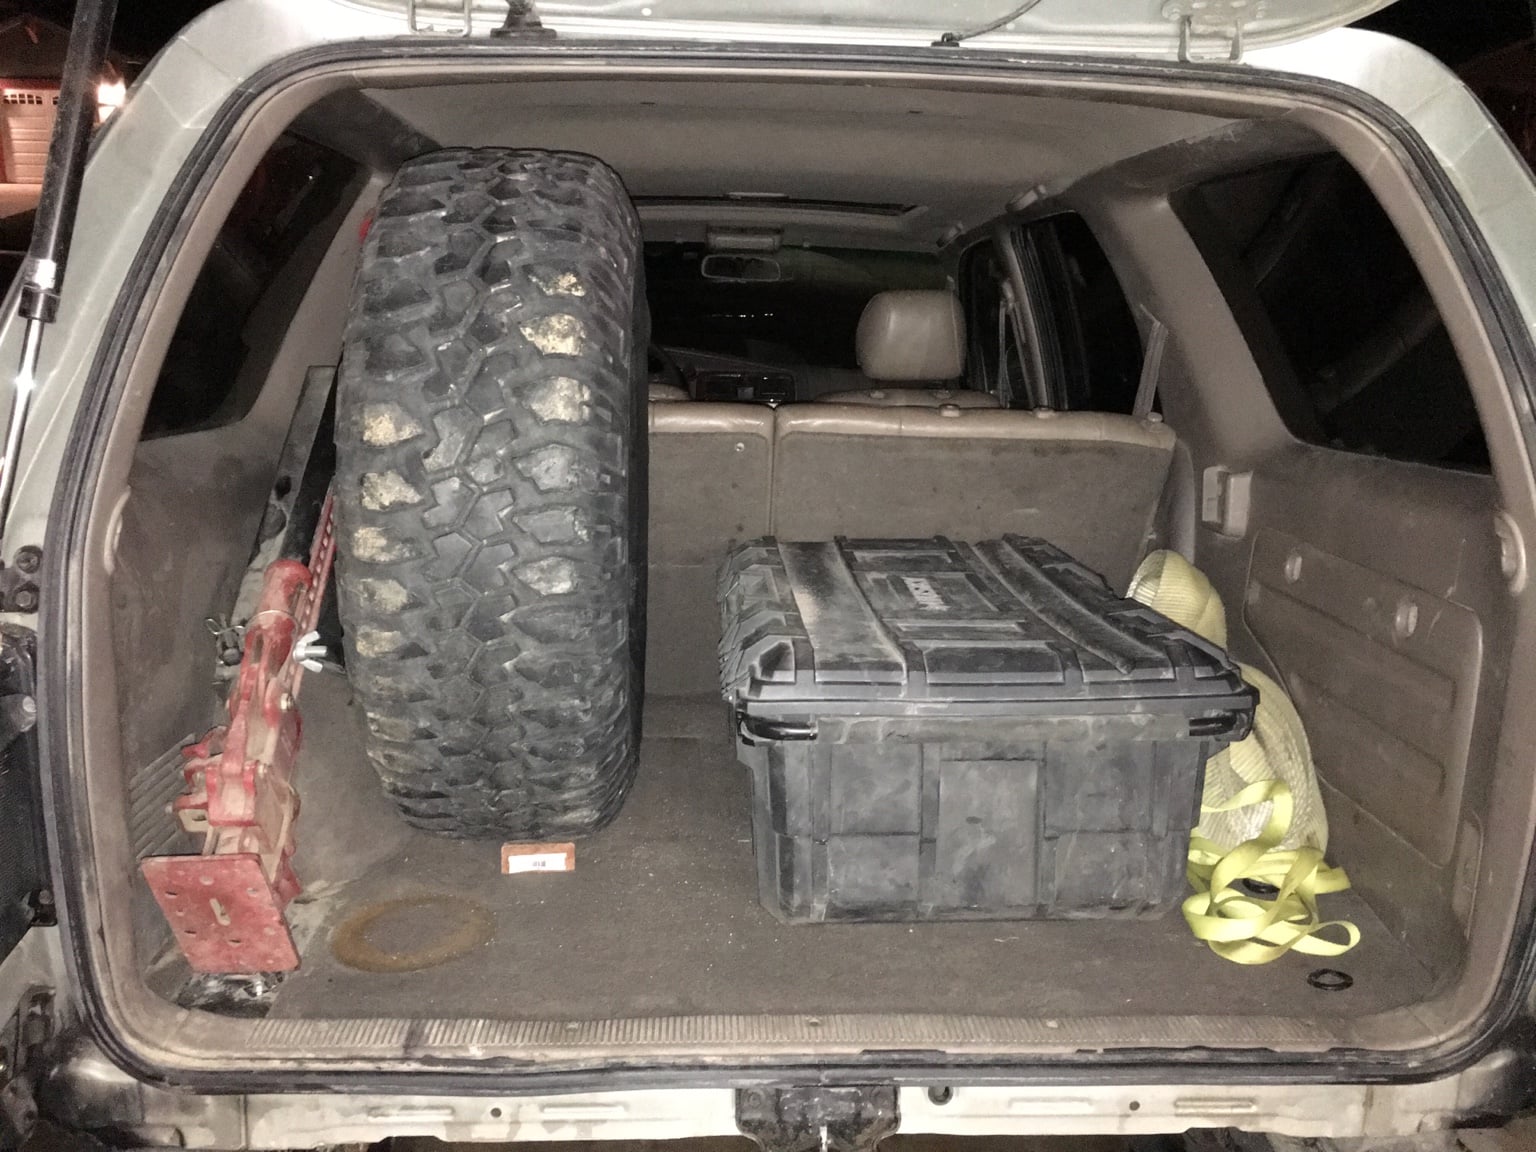
Picked up a pair of stock 5 star wheels with some Maxxis Bighorns mounted already with probably a little over 50% tread left. I've been needing a spare rim and the guy I bought them from would only sell both instead of individually. I might just keep both just to have extra spares. I'm debating whether to mount the spare onto my hi-lift mount or build a swing out tire carrier. I would like to have it mounted inside to keep the COG as low and centered as possible but not really liking the decrease in cargo space. One of the reasons I don't really like the bumper mounted tire carrier is I don't want to constantly get hung up on it if I mount it low but I also don't want to raise the COG any more. I also don't like how the tire carriers move so much when going fast through the rough stuff. I might just mount it inside for now an if I don't like it, I'll just build a swing out tire carrier for my bumper.
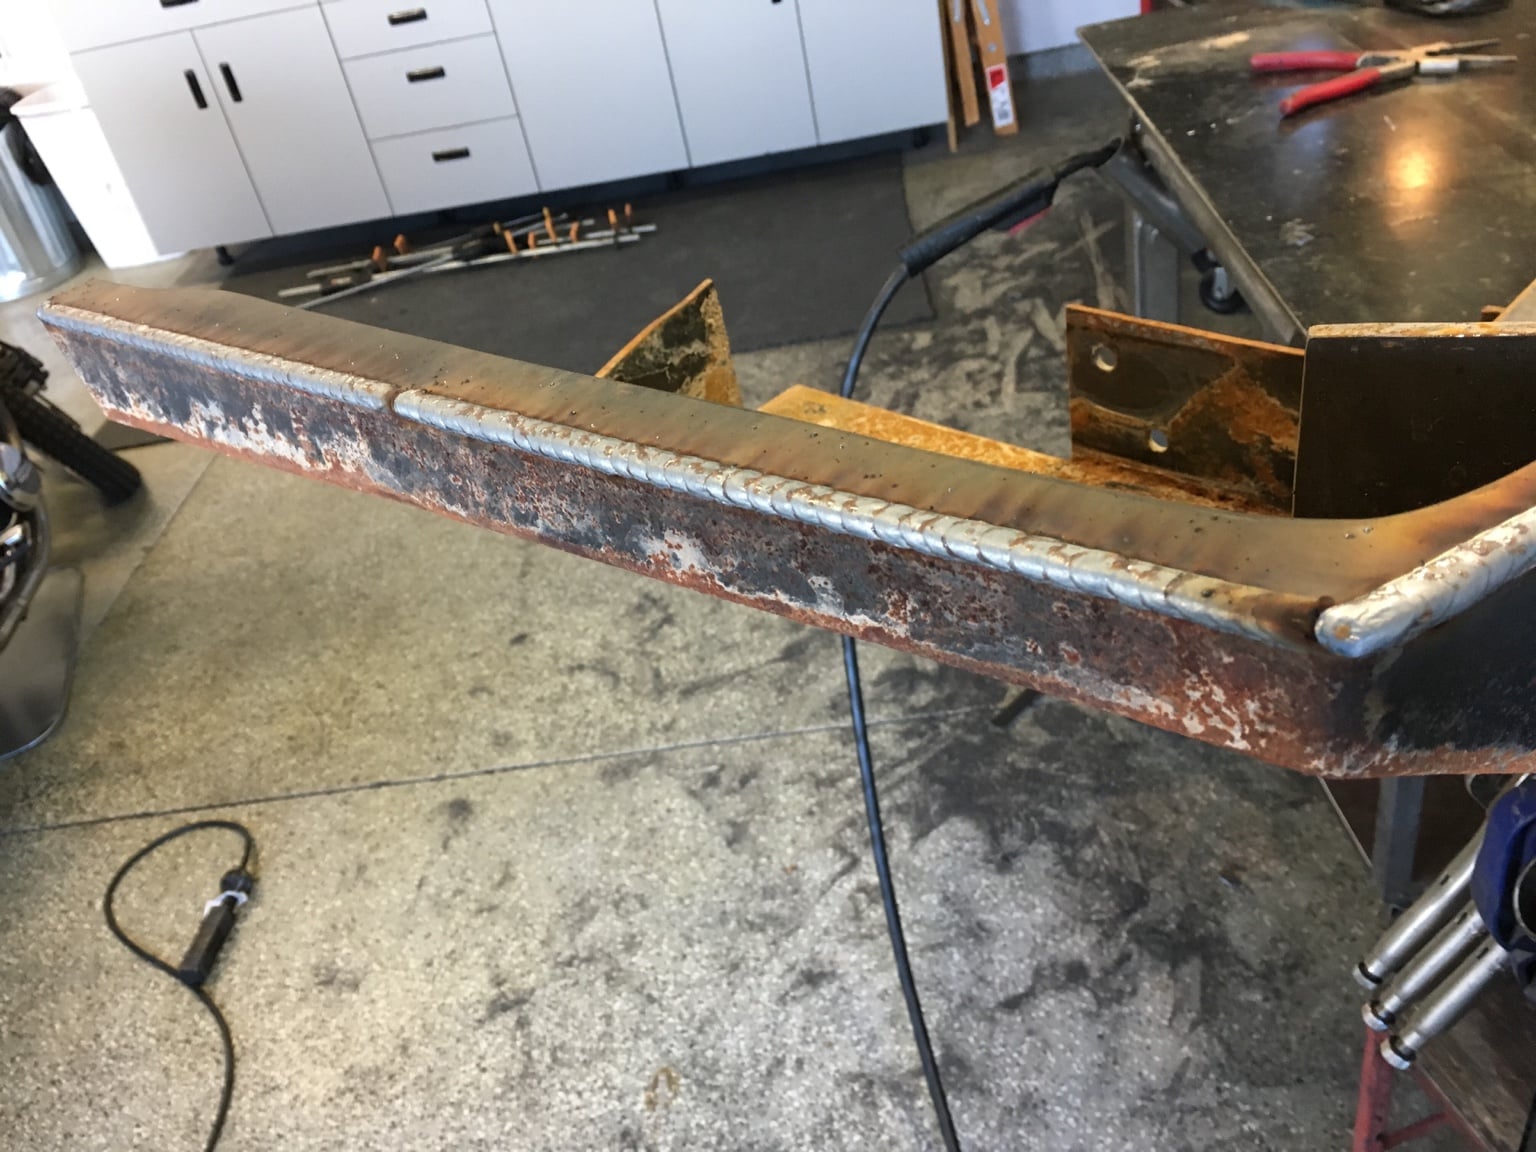
I also finished welding my bumper. It's been almost finished for over a month now but just haven't had time to finish it. All I need to do now is paint.
0b8655e5f9dc39e19ac723dfe26fc90a.jpg

51ae76e390f73f8313fa5fc56351e4bb.jpg

6eb16553e67ead36b9dbd046d1ee6739.jpg


Sent from my iPhone using Tapatalk
 

Members online

Forum statistics

Threads
278,312
Messages
3,554,085
Members
248,016
Latest member
Advally Service

Trending content

Back
Top