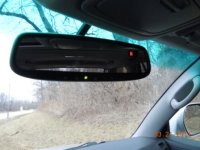
Auto Dimming Mirror Install w/pictures

4RunnERD

New member
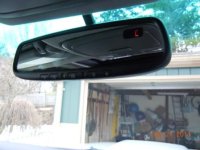
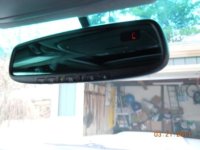
First off I just wanted to thank everyone for the many threads that have already addressed this mod. However, while researching I didn't see any that had detail photos of the installation so I decide to document mine for other people wanting to do this mod. I will do my best to answer any questions that may come up. This is the install of an auto dimming mirror with a compass and the Homelink feature (the temperature is already displayed in the dash so I didn't need a mirror with that feature). I was able to find a mirror with an amber color compass to match the dash lights of the 4th Gens.

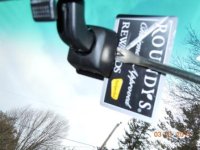
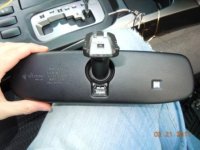
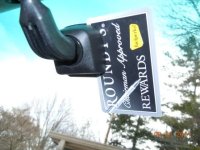
To start, I had to remove the OEM mirror. To do this you must first remove the plastic collar around the base of the mirror at the winshield. Many threads said this was an easy step but since I didn't know just where the plastic collar attached to the base and how much force it would take to remove it I wanted to be extra careful. I decided to wedge my grocery store savings card in between the glass and the collar as it was thin enough to fit and it would prevent me from scrathing or damaging the class while gently prying with a screwdriver.

Using the thinest flat head screwdriver or flat blade you have gently pry from the left and right side as the plastic collar only attaches to the mirror base from the sides, not the top or the bottom.

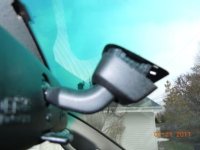
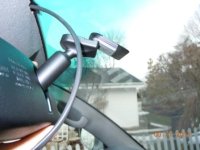
Once you have popped off the plastic collar, slide it out of the way down the neck of the mirror.

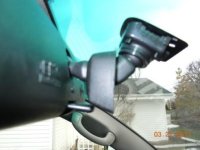
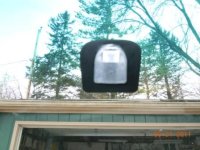
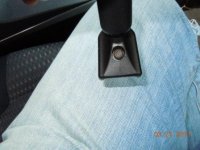
Using your finger, pull the plastic tab at the base of mirror towards you. Then gently slide the mirror up towards the roof (not straight back) and off of the metal button that is glued to the winshield.

Continued...
 

Attachments
  • 0151.jpg
    0151.jpg
    37.2 KB · Views: 18,240
  • 0161.jpg
    0161.jpg
    36.6 KB · Views: 18,168
  • 0171.jpg
    0171.jpg
    28.3 KB · Views: 18,213
  • 0181.jpg
    0181.jpg
    29.5 KB · Views: 18,056
  • 0191.jpg
    0191.jpg
    28.3 KB · Views: 17,971
  • 0221.jpg
    0221.jpg
    39.8 KB · Views: 18,021
Last edited:
Register to hide this ad
Continued...

Because I have a moonroof, I decided to tap into that for power instead of running the wires down the A-pillar and under the dash like the instructions I received suggested.

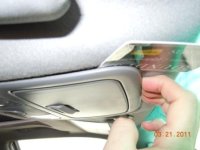
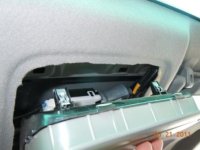
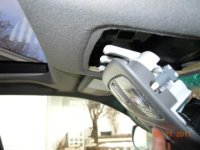
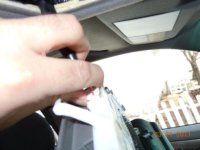
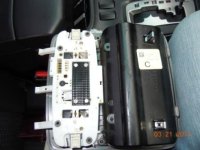
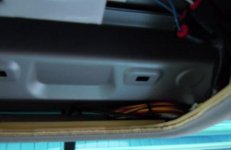
Using the same plastic grocery card to gain leverage, I was able to get my fingers underneath the edge of the upper counsel. It is very important that you start at the edge of the counsel closest to the windshield as this is the side with clips that pop out. The other side, closest to the moonroof, hooks into place and does not have clips that pop out. Carefully pull down with a good tug and the upper counsel should pop out of place. Disconnect the wire harness attached to it for the map lights and set it aside.

Continued...
 

Attachments

  • 0241.jpg
    0241.jpg
    29.2 KB · Views: 17,852
  • 0261.jpg
    0261.jpg
    30.1 KB · Views: 17,799
  • 0271.jpg
    0271.jpg
    32.4 KB · Views: 17,836
  • 0291.jpg
    0291.jpg
    28.9 KB · Views: 17,713
  • 0301.jpg
    0301.jpg
    34.1 KB · Views: 17,815
Last edited:
Continued...

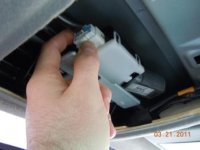
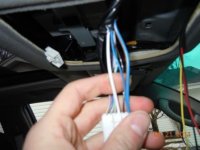
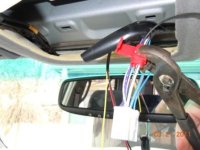
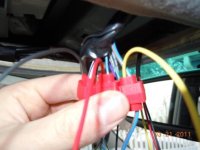
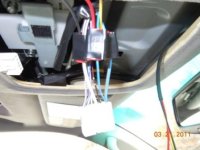
Next, locate the wire harness providing the power for the moonroof and disconnect that too. This is where I tapped in for power. Cut back the black tape around the bundle of wires about 2-3 inches. Identify the large white wire with the black stripe (Ground), the large light blue wire (Constant Power), and the small light blue wire (Accessories/Ignition On).

Continued...
 

Attachments

  • 0311.jpg
    0311.jpg
    27.5 KB · Views: 17,745
  • 0351.jpg
    0351.jpg
    35.9 KB · Views: 18,489
  • 0361.jpg
    0361.jpg
    34.2 KB · Views: 18,320
  • 0371.jpg
    0371.jpg
    30.7 KB · Views: 17,751
Last edited:
Continued...

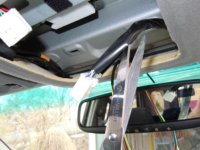
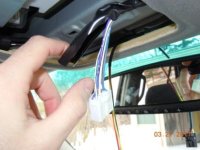
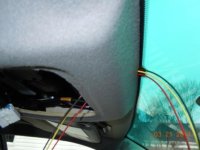
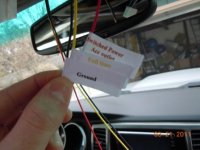
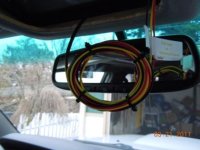
Run the wires provided with the mirror through the preexisting notch cut into the headliner. My wiring kit came clearly labeled and using the provided wire connectors, I spliced each of the three mirror wires to its corresponding wire on the moonroof wire bundle. Once all the connections were made I wrapped electrical tape around the wire connectors to make sure they wouldn’t come undone. Then plug the moonroof wire harness back into its original spot.

Continued...
 

Attachments

  • 0331.jpg
    0331.jpg
    21.7 KB · Views: 17,622
  • 0341.jpg
    0341.jpg
    29.7 KB · Views: 17,690
  • 0551.jpg
    0551.jpg
    32.9 KB · Views: 18,288
  • 0381.jpg
    0381.jpg
    35.5 KB · Views: 19,883
  • 0391.jpg
    0391.jpg
    32 KB · Views: 17,694
  • 0541.jpg
    0541.jpg
    32.4 KB · Views: 17,429
Continued...

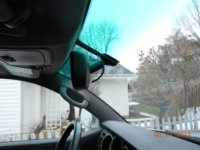
To install the new mirror, simply slide it down over the over the metal button attached to the windshield. Tighten the screw at the base of the new mirror until snug. Do not over tighten this.

Continued...
 

Attachments

  • 0411.jpg
    0411.jpg
    33.5 KB · Views: 17,593
  • 0401.jpg
    0401.jpg
    33.6 KB · Views: 17,441
  • 0431.jpg
    0431.jpg
    31.8 KB · Views: 17,839
  • 0421.jpg
    0421.jpg
    41.1 KB · Views: 17,337
Last edited:
Continued...

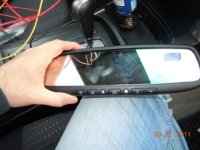
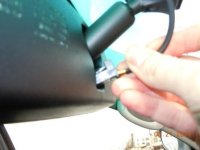
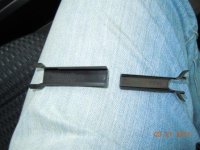
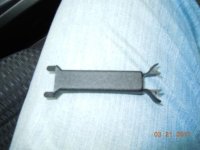
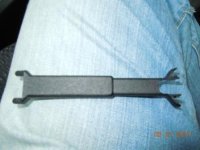
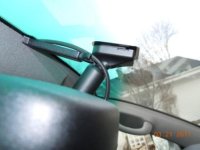
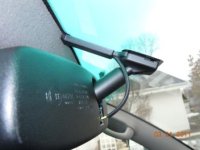
Then plug the wire clip for the mirror wires into the back of the mirror, and install the plastic wire protector in between the headliner and the top of the mirror base. The wire protector I received was two pieces that slid into one another and thus provided adjustable length. The arched side of the wire protector goes into the top of the mirror base.

Continued...
 

Attachments

  • 0441.jpg
    0441.jpg
    26.2 KB · Views: 17,338
  • 0471.jpg
    0471.jpg
    43.3 KB · Views: 17,318
  • 0481.jpg
    0481.jpg
    30.7 KB · Views: 17,290
  • 0491.jpg
    0491.jpg
    32.2 KB · Views: 17,169
  • 0501.jpg
    0501.jpg
    28 KB · Views: 17,292
  • 0511.jpg
    0511.jpg
    28.9 KB · Views: 17,377
Last edited:
Continued...

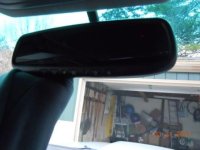
Before you put the upper counsel back together, test the mirror and all of its functions to make sure they are working. The Homelink feature should work without the vehicle on or the key in the ignition. You will have to program this feature with your garage door opener, but the steps are easy and the instructions are provided. For now, at least check to see if the red light flashes when you press the Homelink buttons which will indicate that you have constant power going to it. Next, put the key in the ignition and turn it to the accessories/ignition on position. The compass should light up. Mine said “C” at first to represent that it is in calibration mode (we will get to this in a moment, the important thing is that it lights up for now). Third, test the auto-dimming feature by placing something dark in front of the forward facing sensor on the mirror to simulate nighttime. The mirror should slowly change from clear to dark and vice-versa once you unblock the sensor.

With everything working properly, you can start to button things up. You could have cut the mirror wires down to length before you connected them. However, I chose to leave the extra length intact in case I ever decide to reinstall the OEM mirror and move the new one to another vehicle without a moonroof power supply. I wrapped the wires up, secured them with some provided zip ties, and stuffed the whole bundle off to the side up in the headliner making sure they wouldn’t be in the way of the upper counsel once it was reinstalled.

Continued...
 

Attachments

  • 0591.jpg
    0591.jpg
    30.8 KB · Views: 17,355
  • 0601.jpg
    0601.jpg
    29.4 KB · Views: 17,349
  • 0611.jpg
    0611.jpg
    33.5 KB · Views: 17,220
  • 0571.jpg
    0571.jpg
    34.1 KB · Views: 17,589
  • 0581.jpg
    0581.jpg
    26.6 KB · Views: 17,198
Last edited:
Continued...

Grab the upper counsel and reconnect the wire harness for the map lights. Slide the moonroof side of the counsel into place first and then push up on the side near the windshield. This may require a careful pound or two of your fist to get it back into place. Turn the car on and double check the mirror functions again as well as your map lights and your moonroof. If everything works, you are golden.

Finally, drive in a complete circle or two, taking at least 45 seconds to complete each circle to calibrate the compass. The compass should now indicate whatever direction you are heading heading in. It is important to note that the mirror needs to be programmed for whatever “zone” you live in so that the compass will calibrate correctly. This programming was done by the company that I bought the mirror from before they sent it to me. They used my shipping zip code to identify what zone to program the mirror for.

Installation is now complete!
 

Attachments

  • 0631.jpg
    0631.jpg
    31.9 KB · Views: 17,180
  • 0641.jpg
    0641.jpg
    33.6 KB · Views: 17,367
Last edited:
+1, nice write up! :cheers:

I installed the EXACT same mirror myself last weekend. Same amber compass display, same wiring harness with labels, etc. I bought it from a seller on ebay located in Florida who seems to really know his stuff. He included the wiring harness, wire cover, wire taps, zip ties, and instructions.

Set me back a little more than $150 bucks, bet well worth it IMHO, especially since I was planning on buying a replacement garage door opener anyways. And now I don't get blinded at night by drivers with their high beams on and always know which direction I'm headed in!
 
Thanks!

Thanks for all the positive feedback! Like I said, there was already a ton of great information on this site, I just wanted to add some pictures to go along with everything I learned.

I got the mirror off of Ebay. Shipped it was $158.

The OEM Toyota Homelink setup would have been about $100 if I ordered it online and probably more with shipping added. So for an extra $58 I got an auto dimming mirror with a compass! Seems like a good deal to me!

Thanks again!
 
Is there really a benifit to these mirrors? the reason I ask is I hated the auto dimming mirror in my wifes Deville, it never worked very well. Do these mirrors also have the camera and built in DVR to record while you drive?
 
Nice write-up; you covered every question I had about this mod. It's interesting... that is the exact mirror that came stock in my wife's 2011 Nissan Armada. I wonder if she would miss it...:wink2:
 
Installed the same mirror in my T4R today. It was pretty simple! Thanks for all of the detailed instructions! Mine was a little different since my dealership put a webasto sunroof in, but I figured it out pretty quick!
 

Members online

Forum statistics

Threads
278,311
Messages
3,554,082
Members
248,016
Latest member
Advally Service

Trending content

Back
Top