Better Late Than Never Build Thread

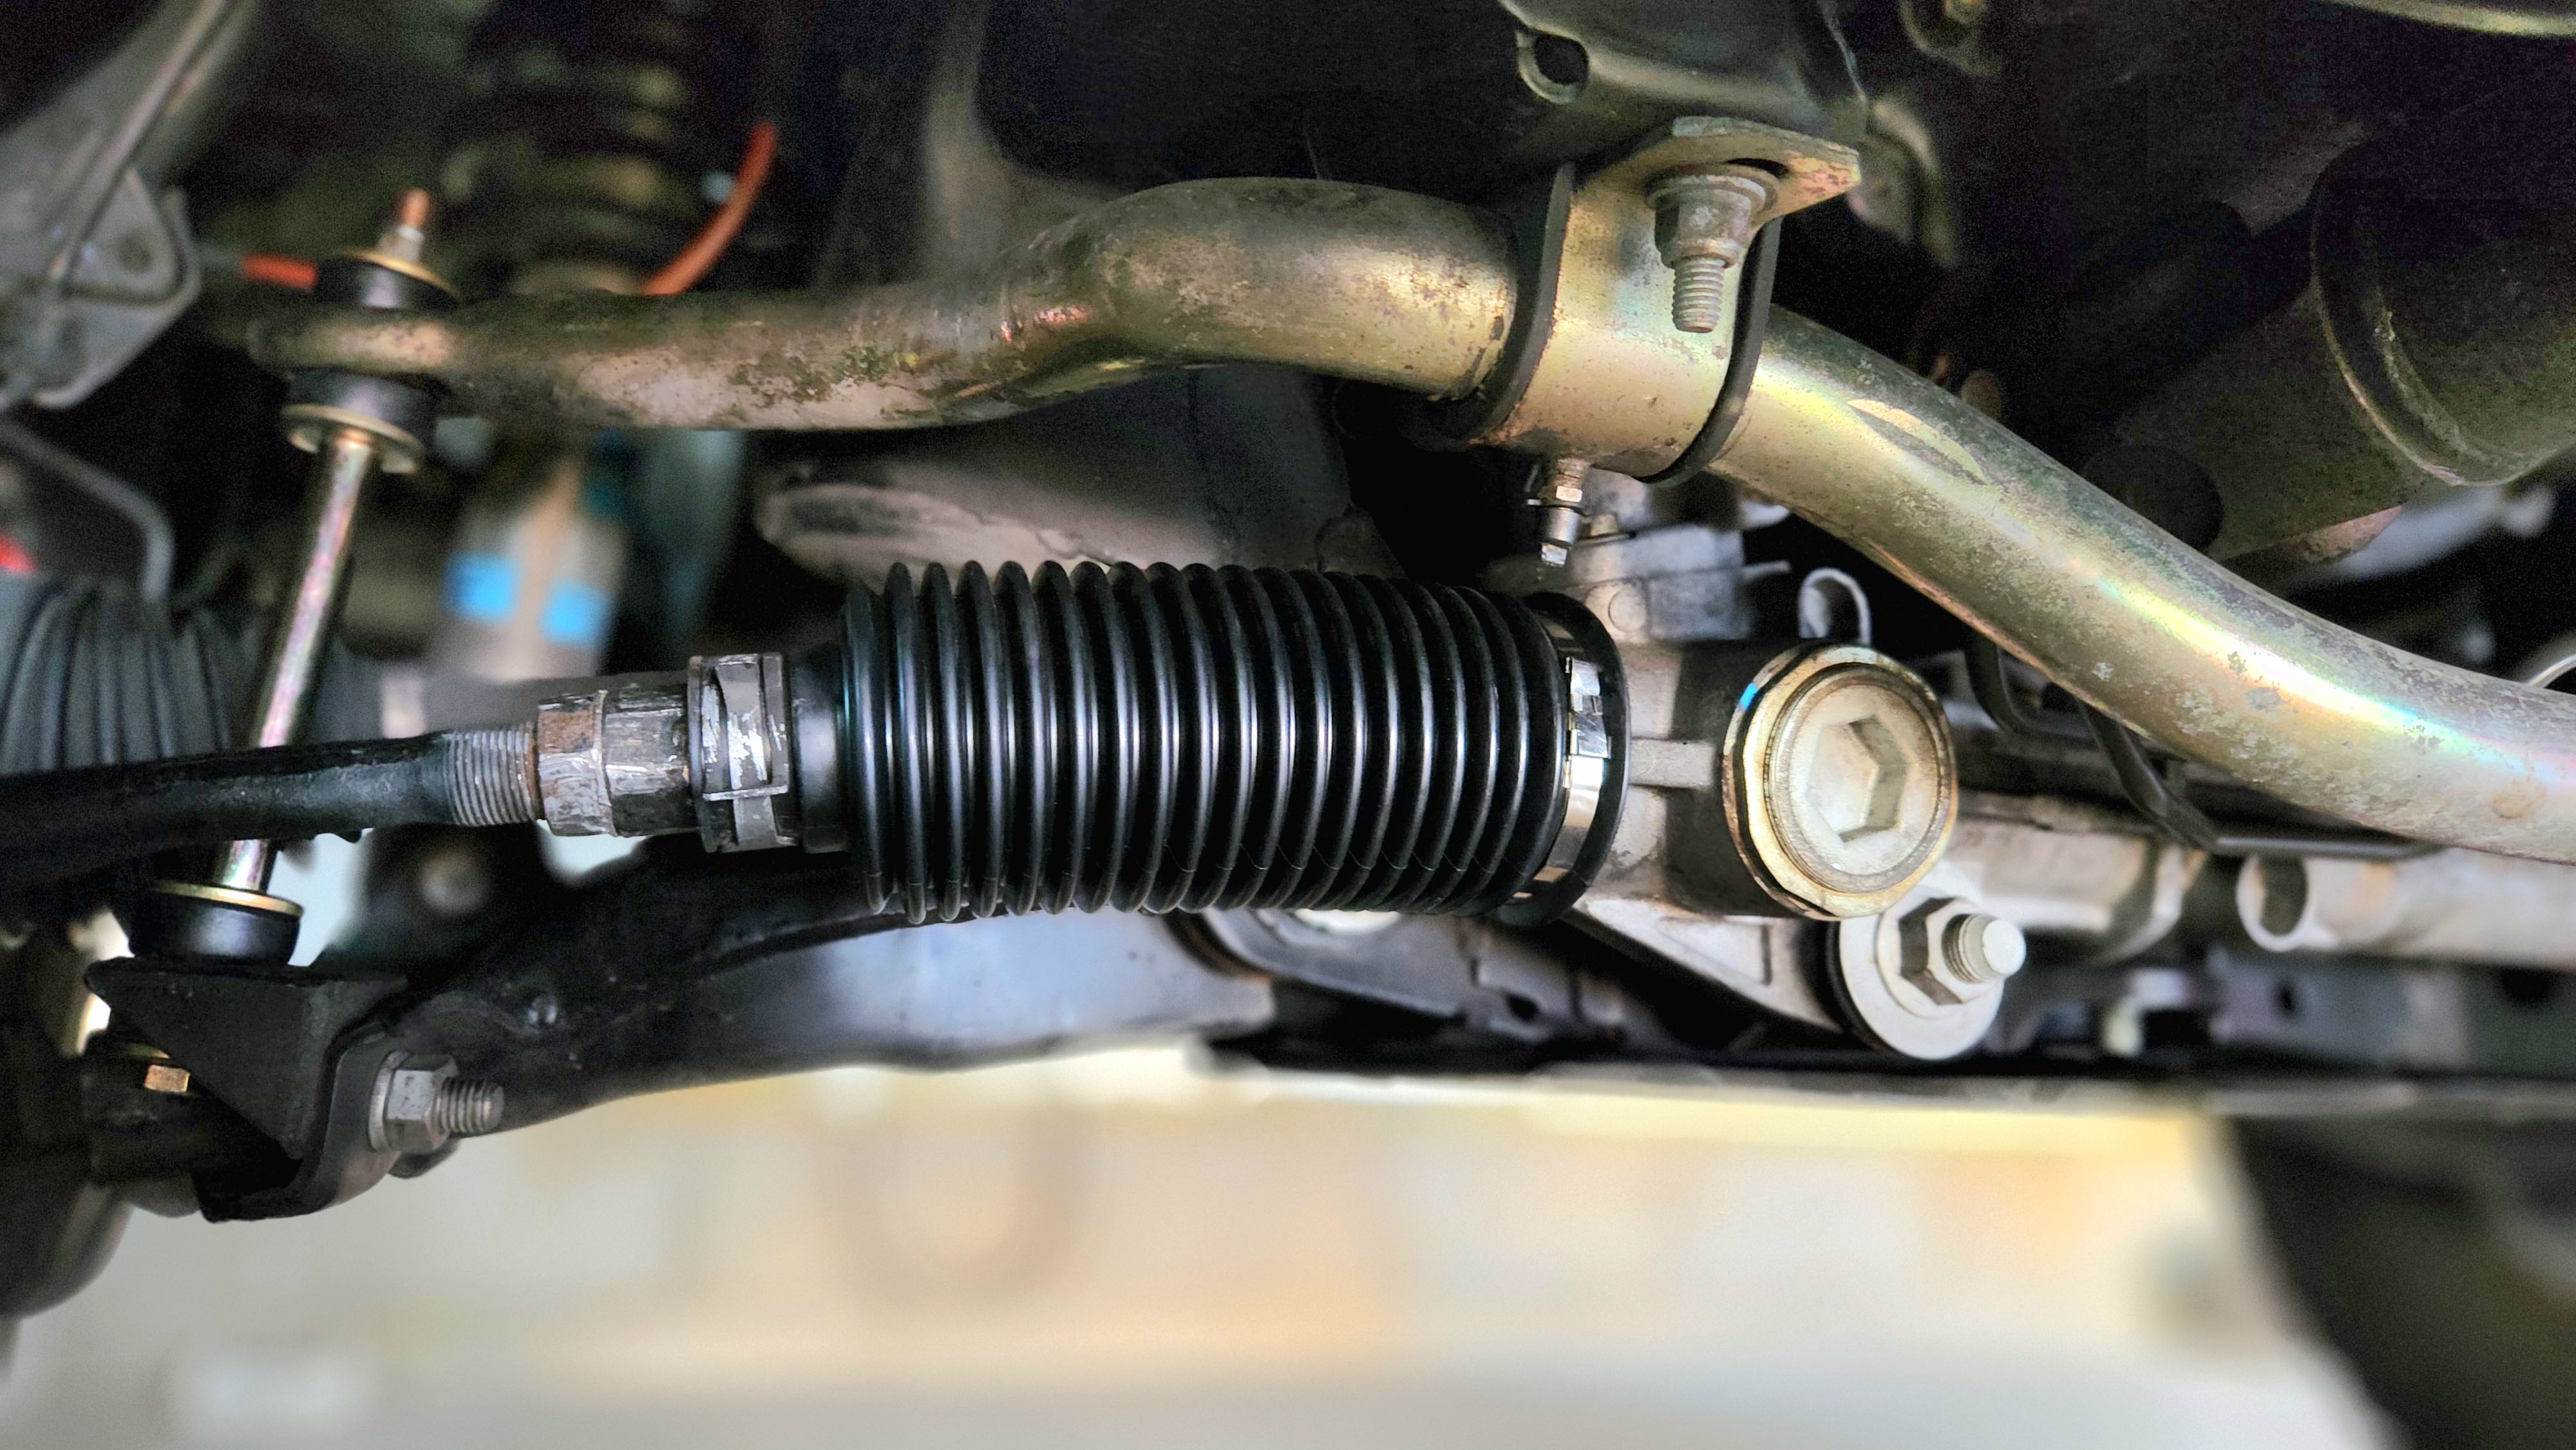
Fixed the steering boots and checked tie rods while I was in there and they were still in good shape.

Video in third post.

No bueno
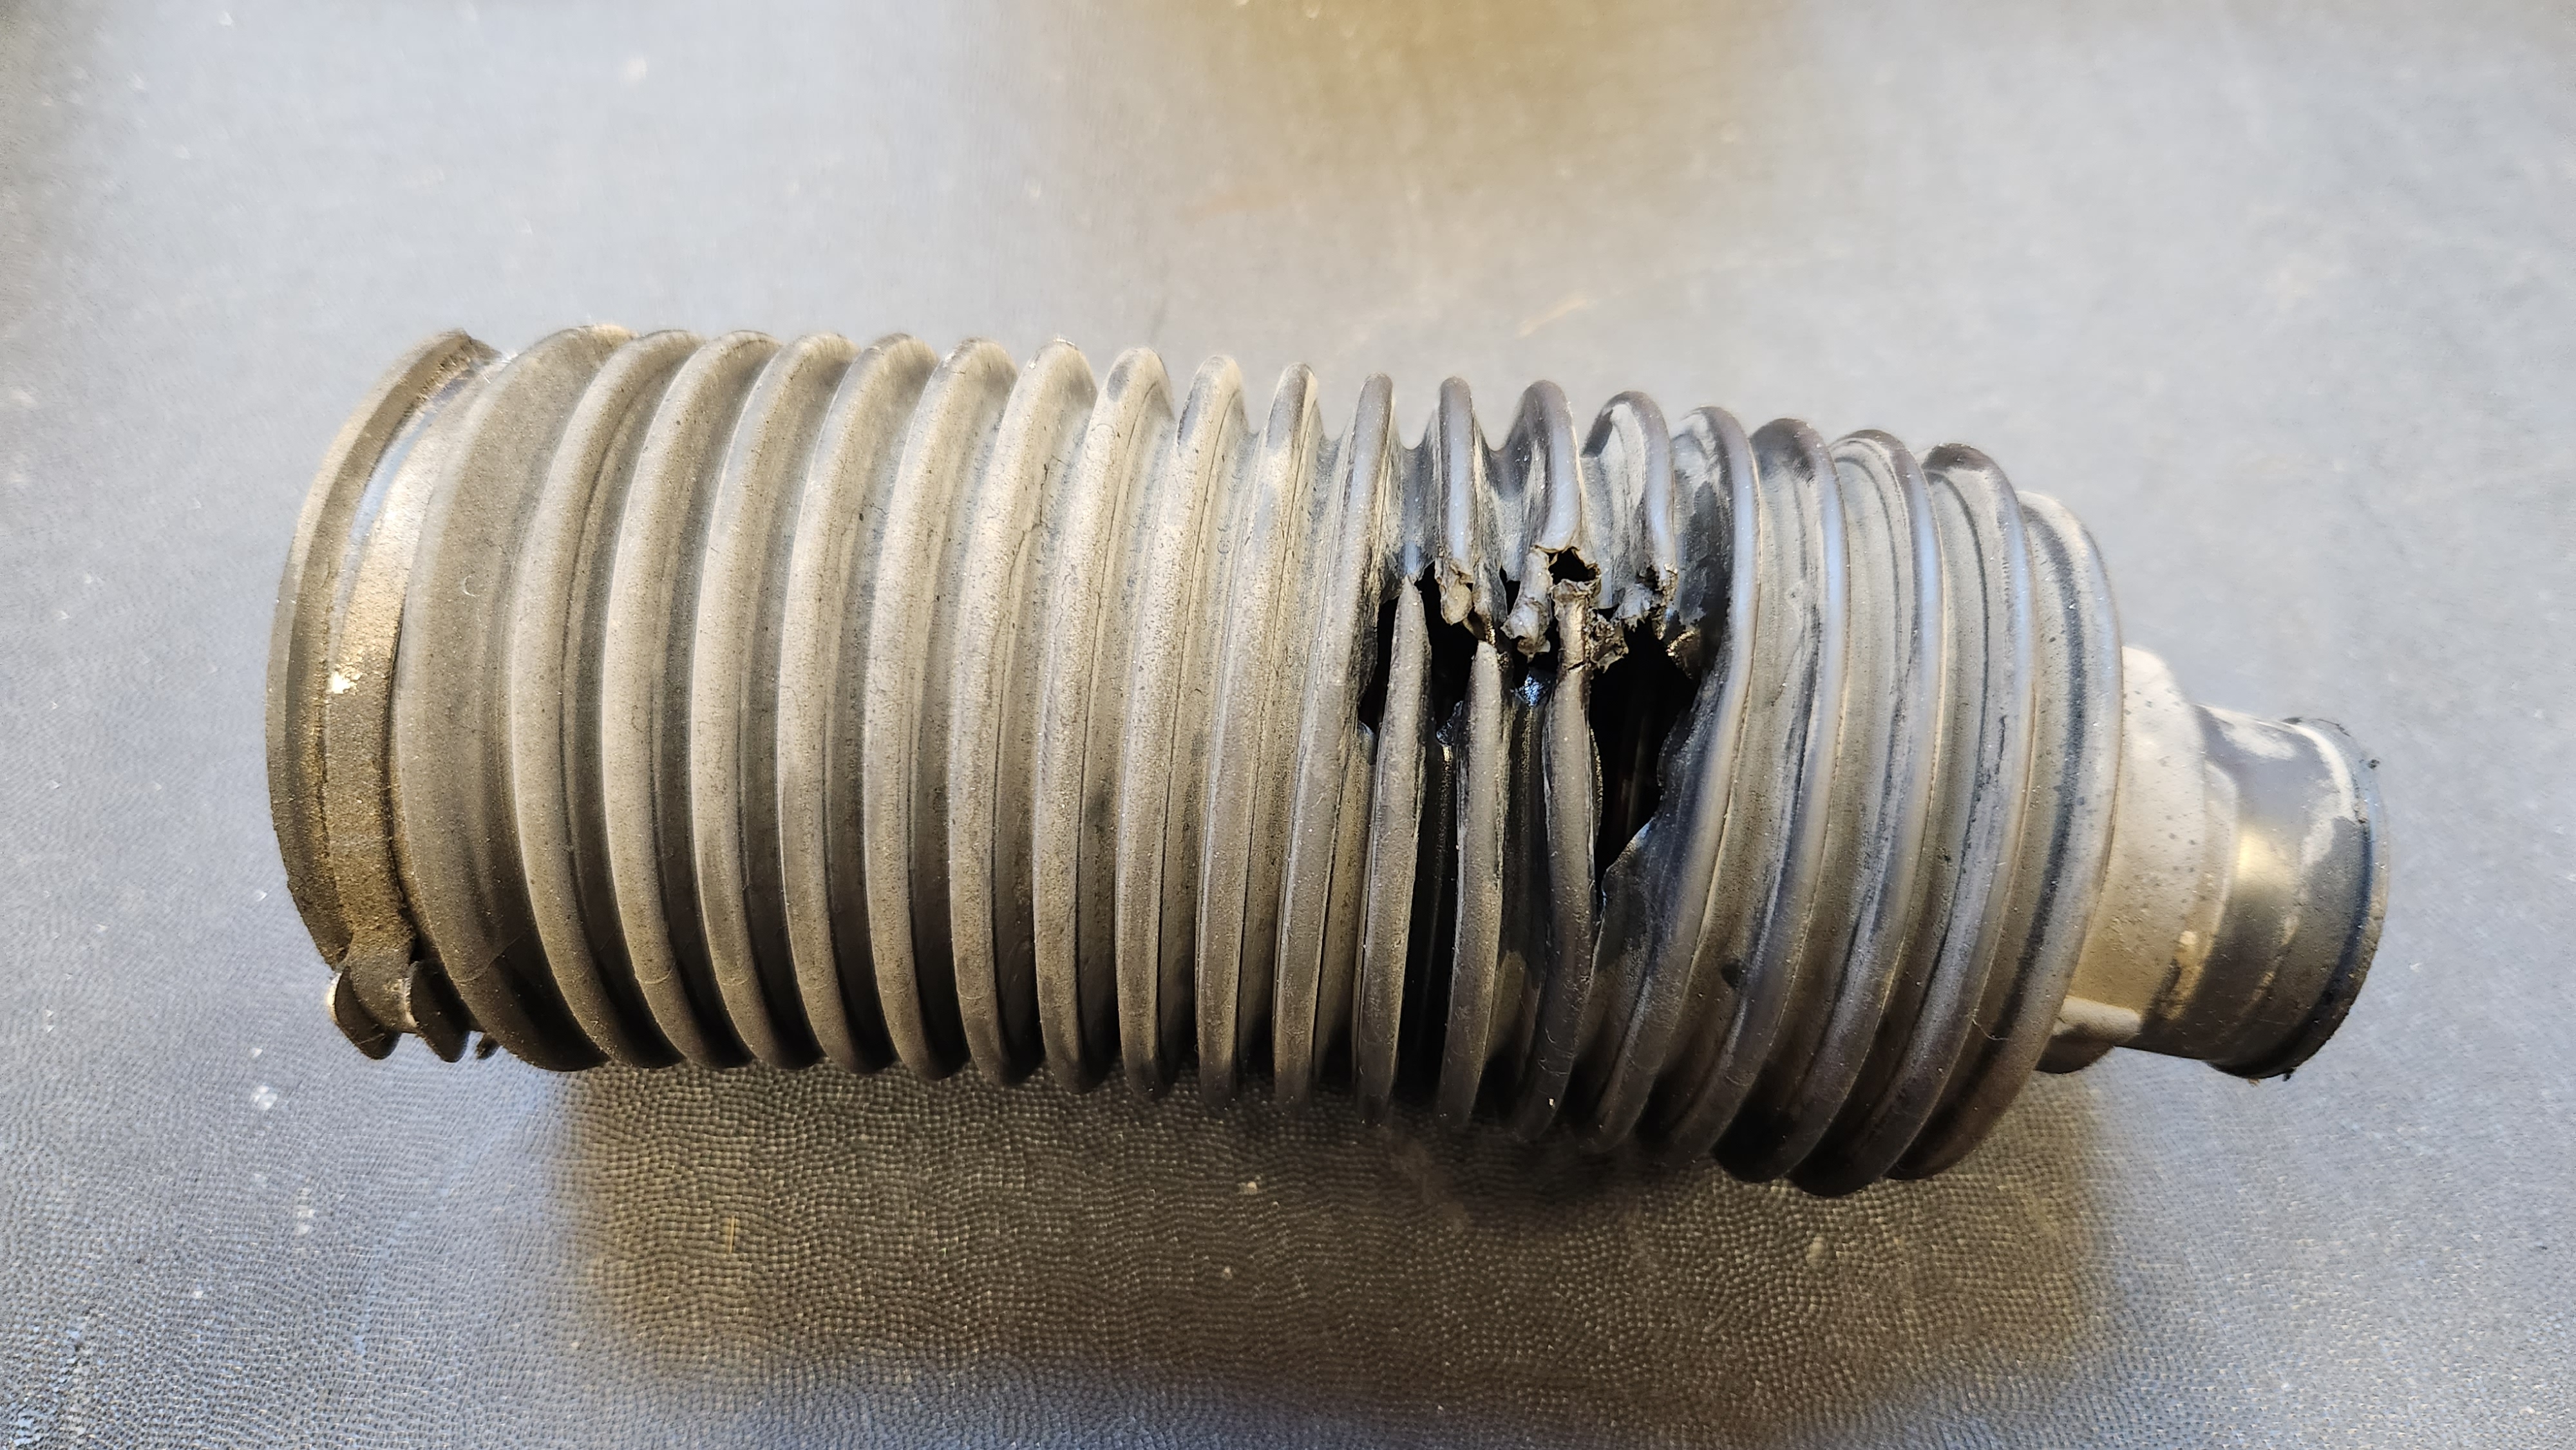
4r_torn_steering_boot.jpg


Bueno!
4r_new_steering_boot.jpg


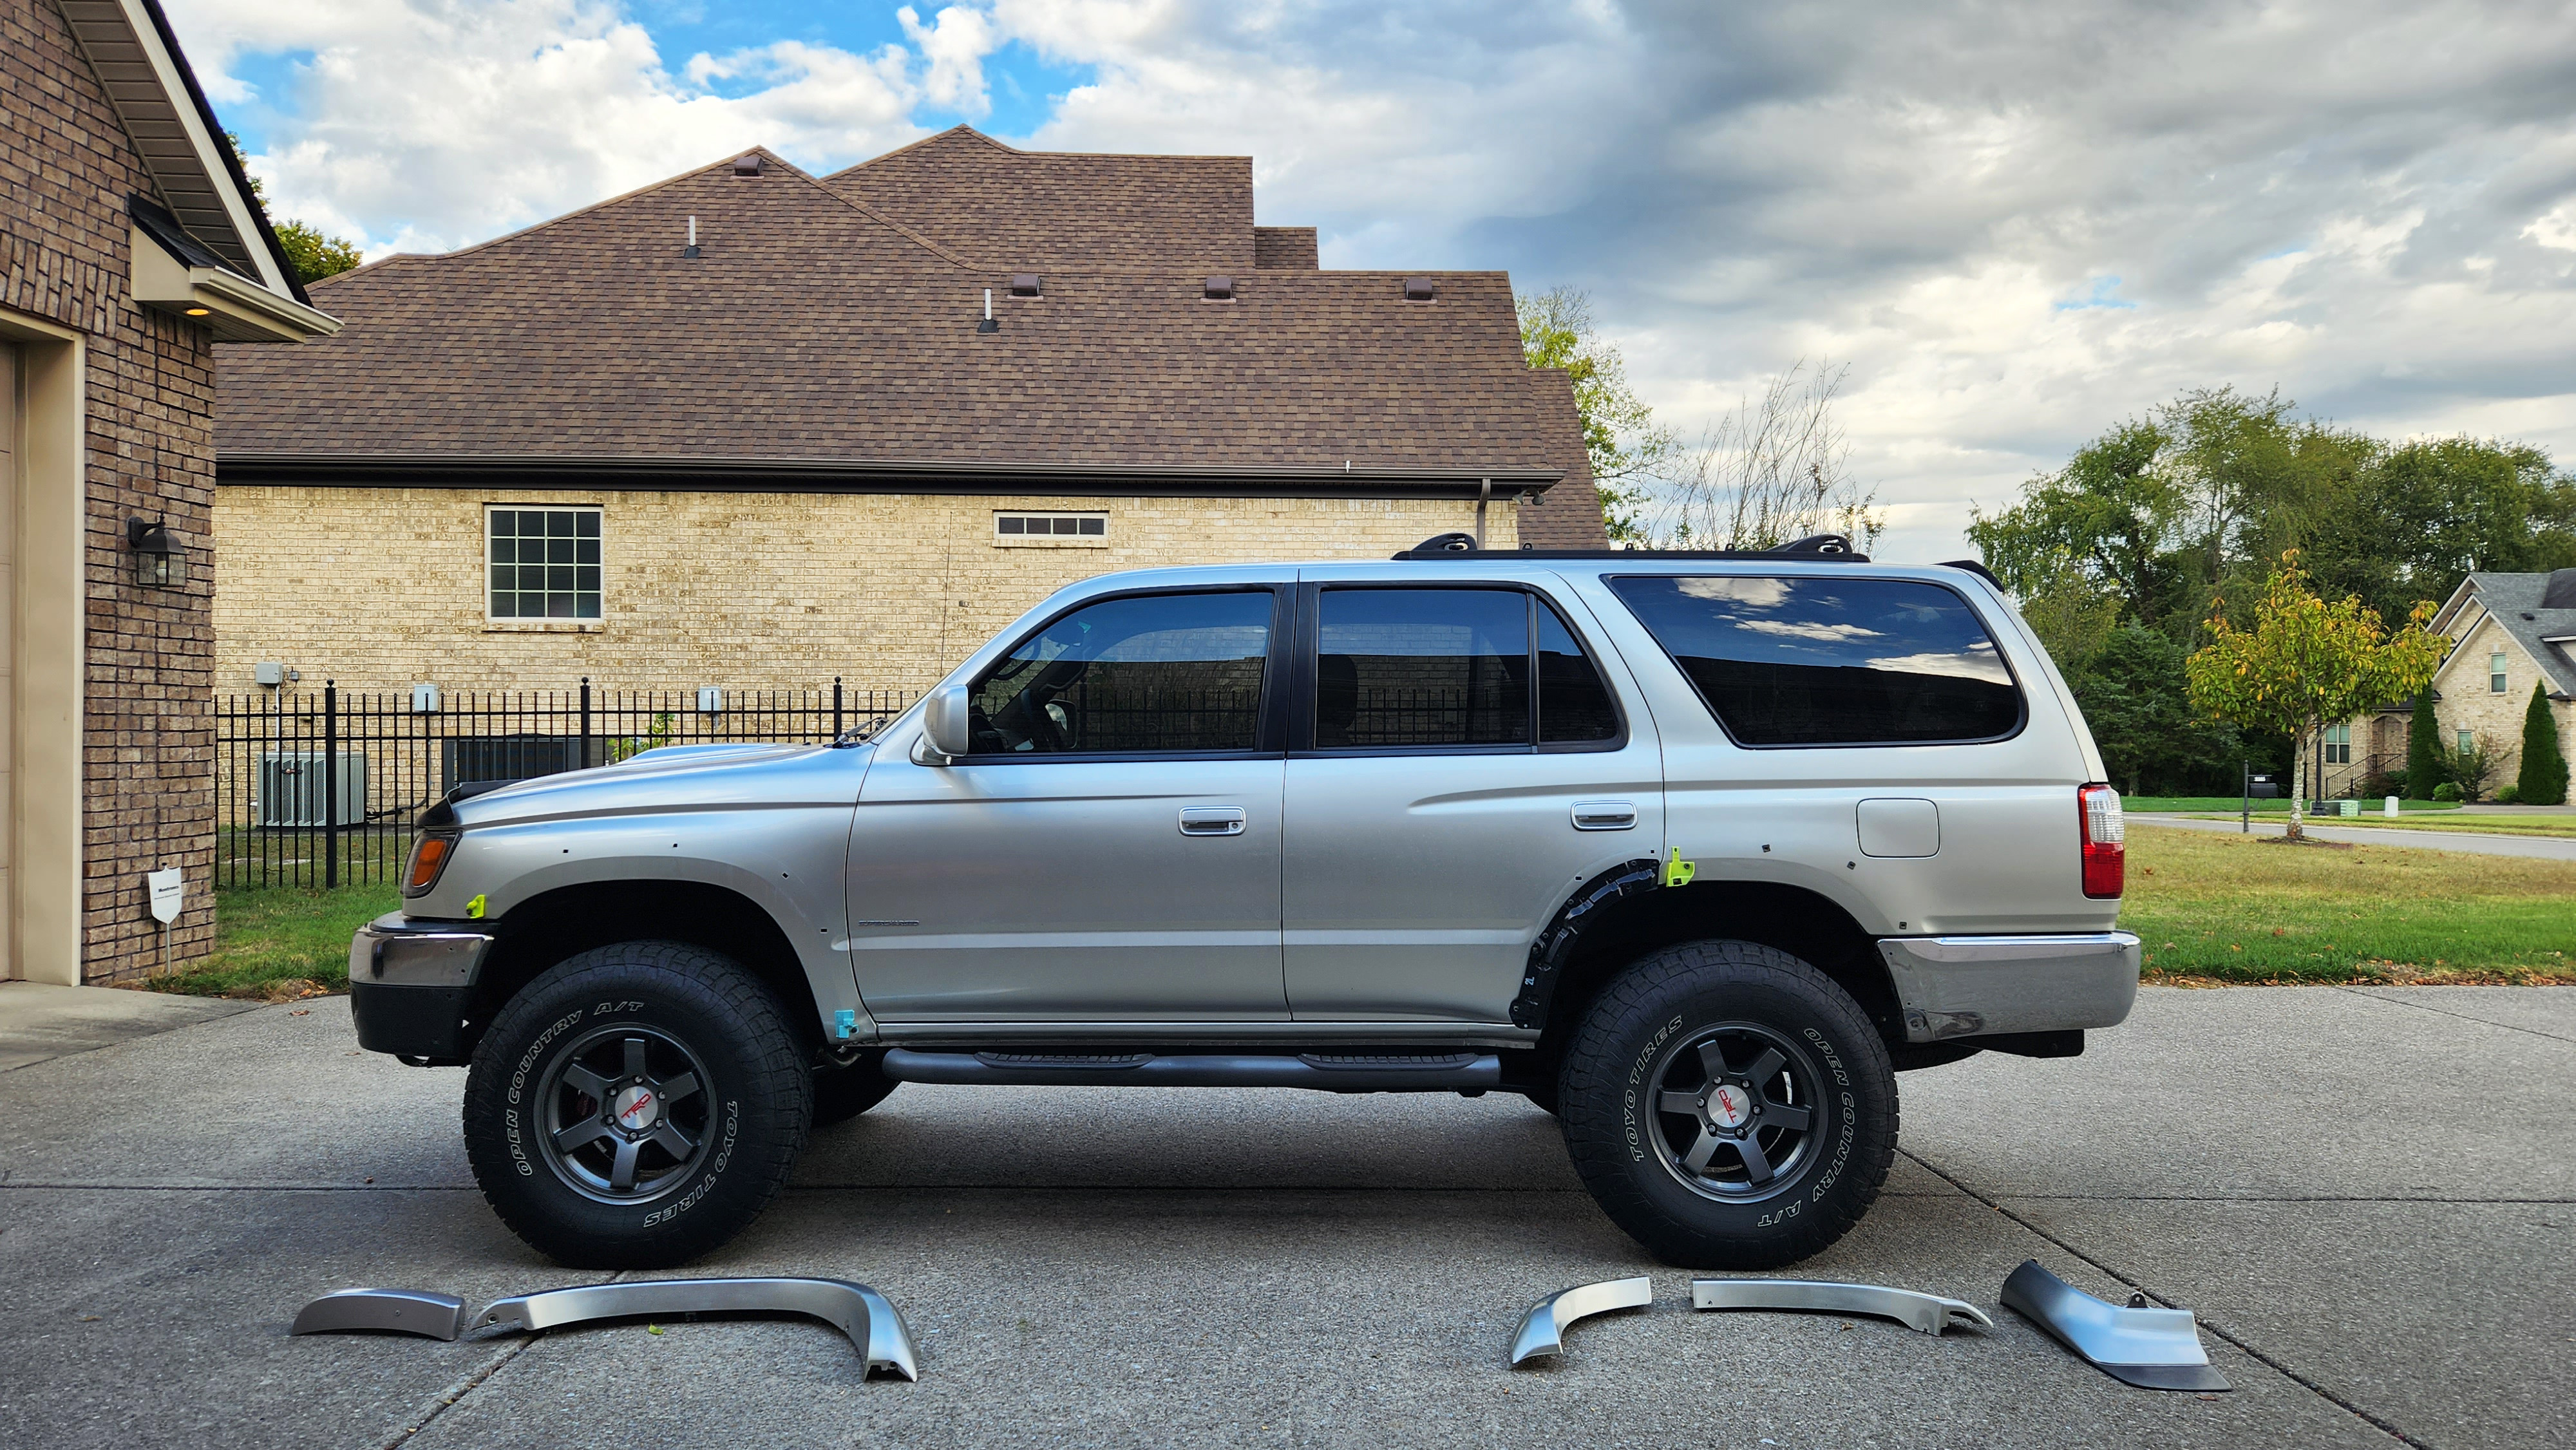
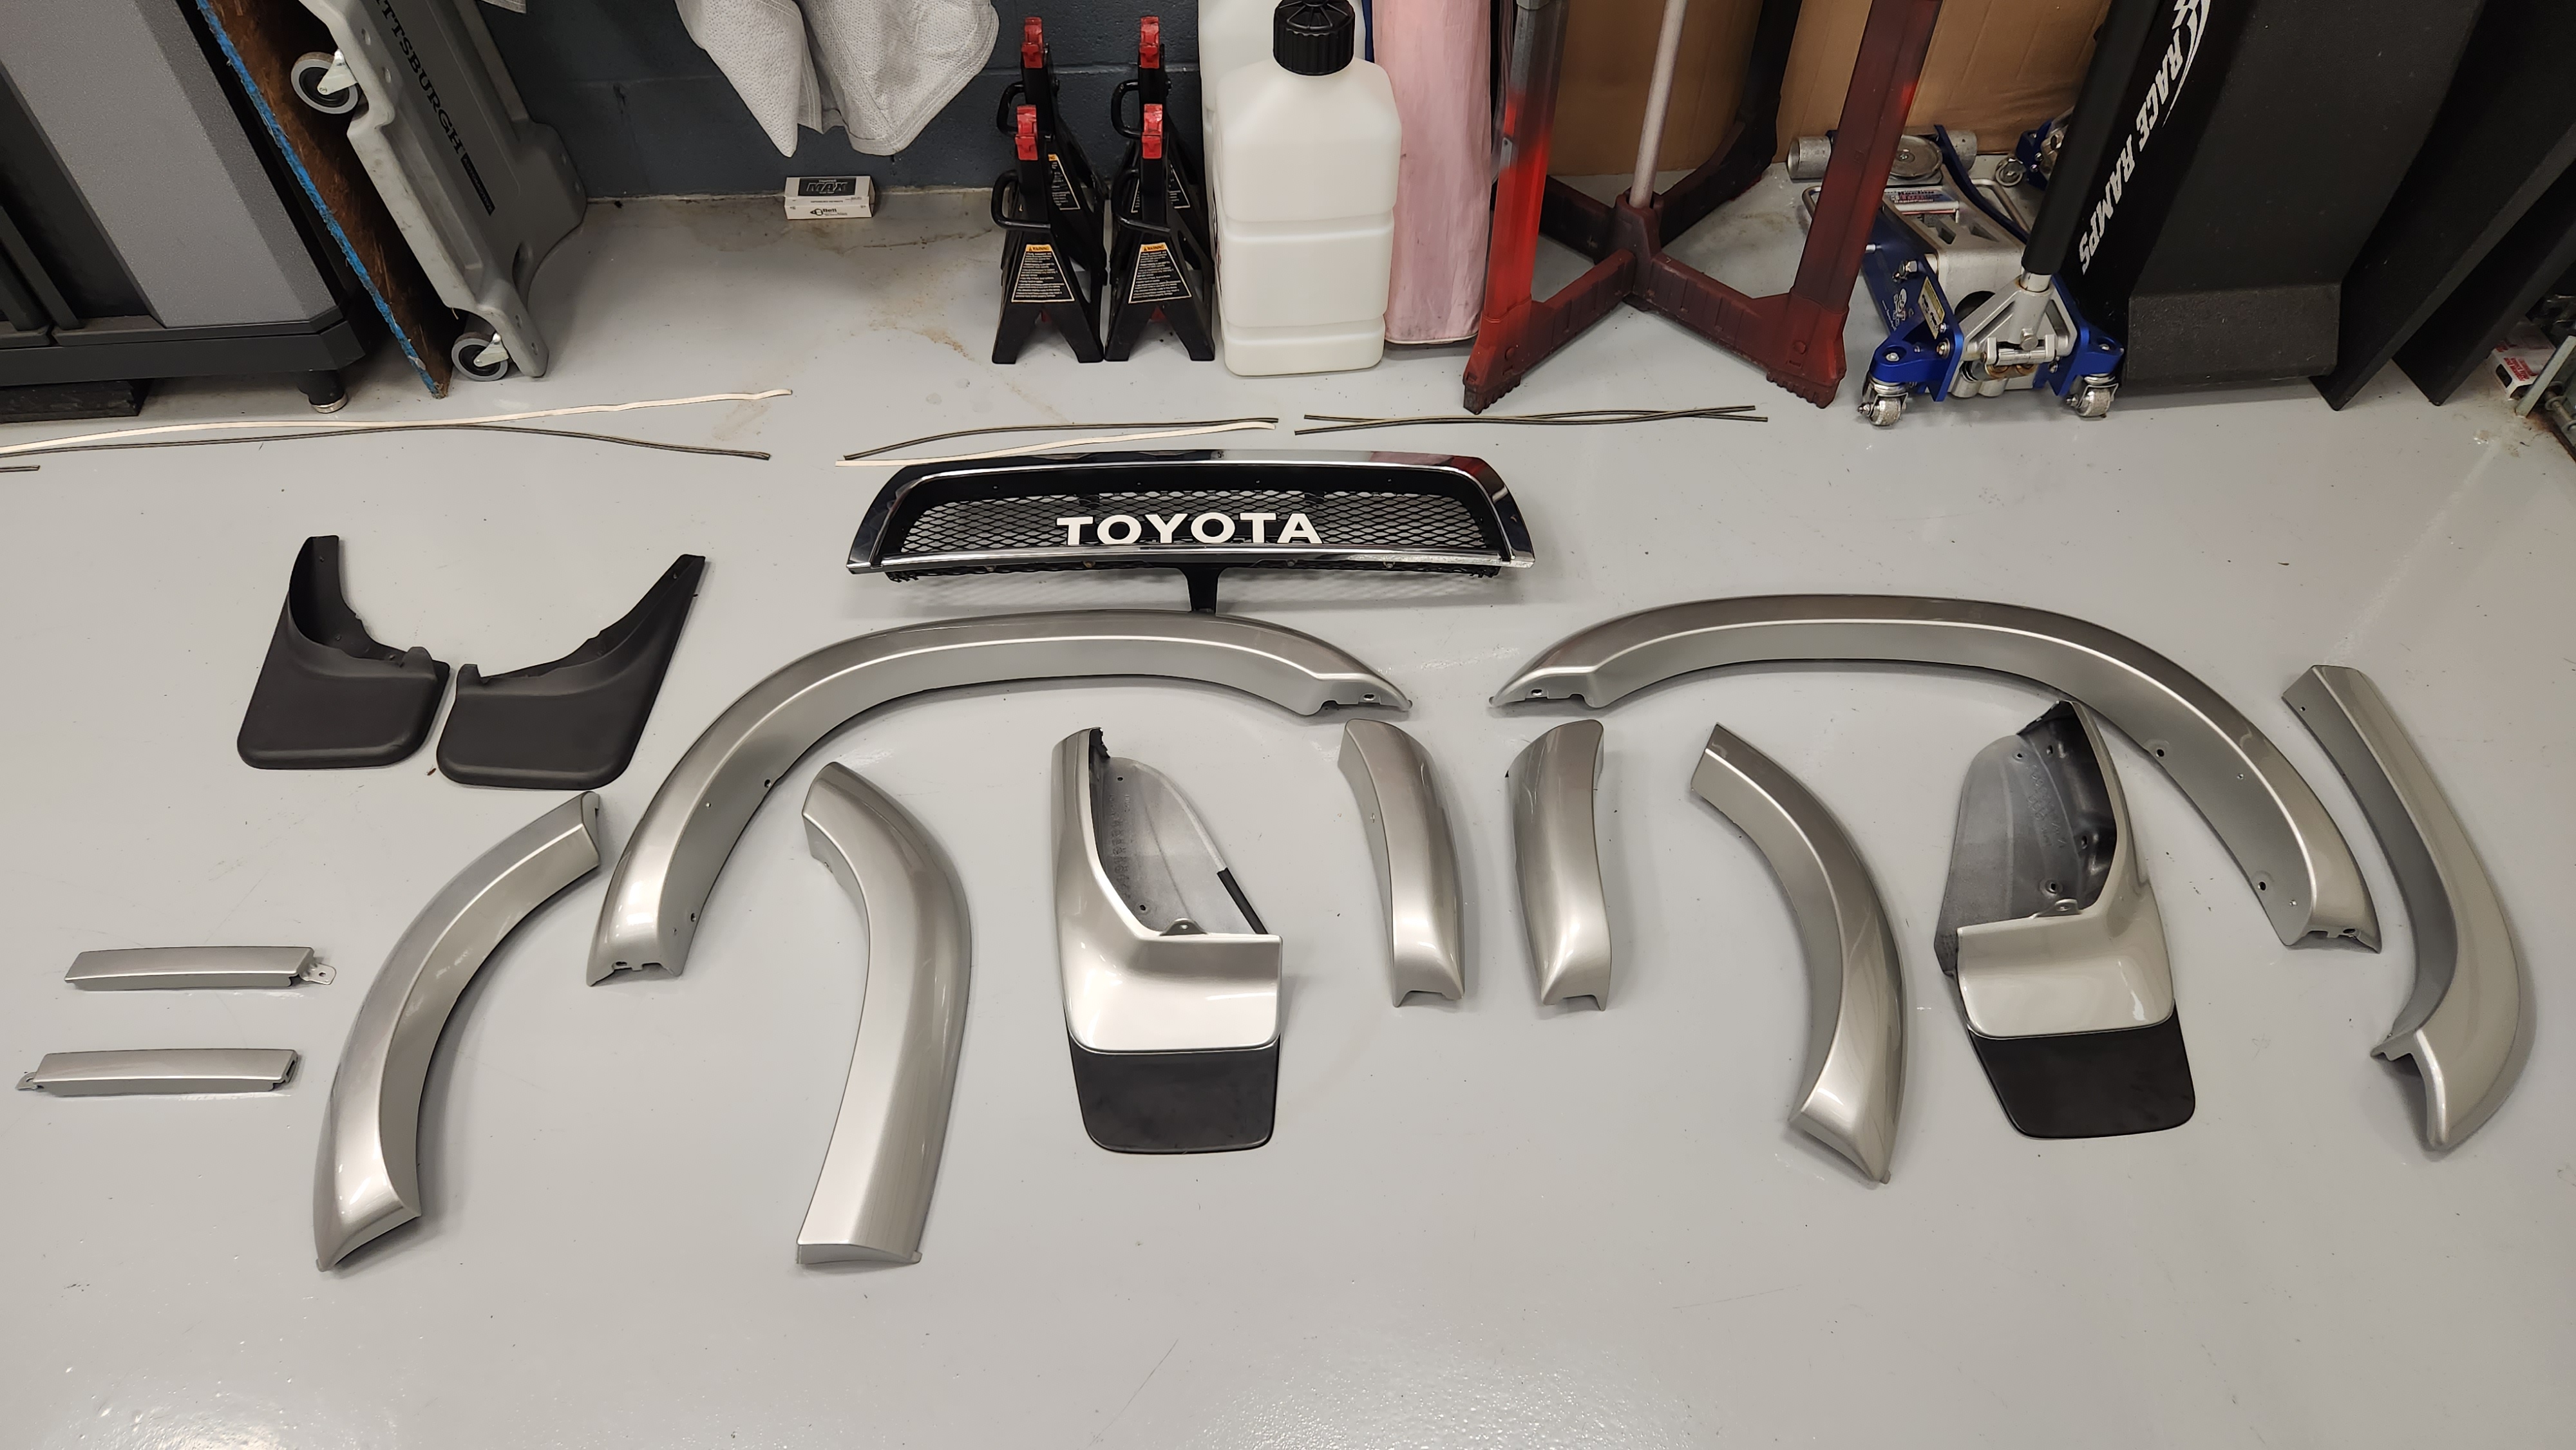
Now it's on to the exterior. I looked in to doing a color change paint job, but it's just cost prohibitive and SEVERAL people talked me out of it including some of you guys. SO, I'm gonna go with plan B. First step is to get the flares removed which I'm kind of dreading to be honest. Not sure how difficult that'll be without destroying them so wish me luck.
 
There are few difficult-to-find fasteners along the way, be sure you get them out before yanking on the flares thinking it's just tape :).

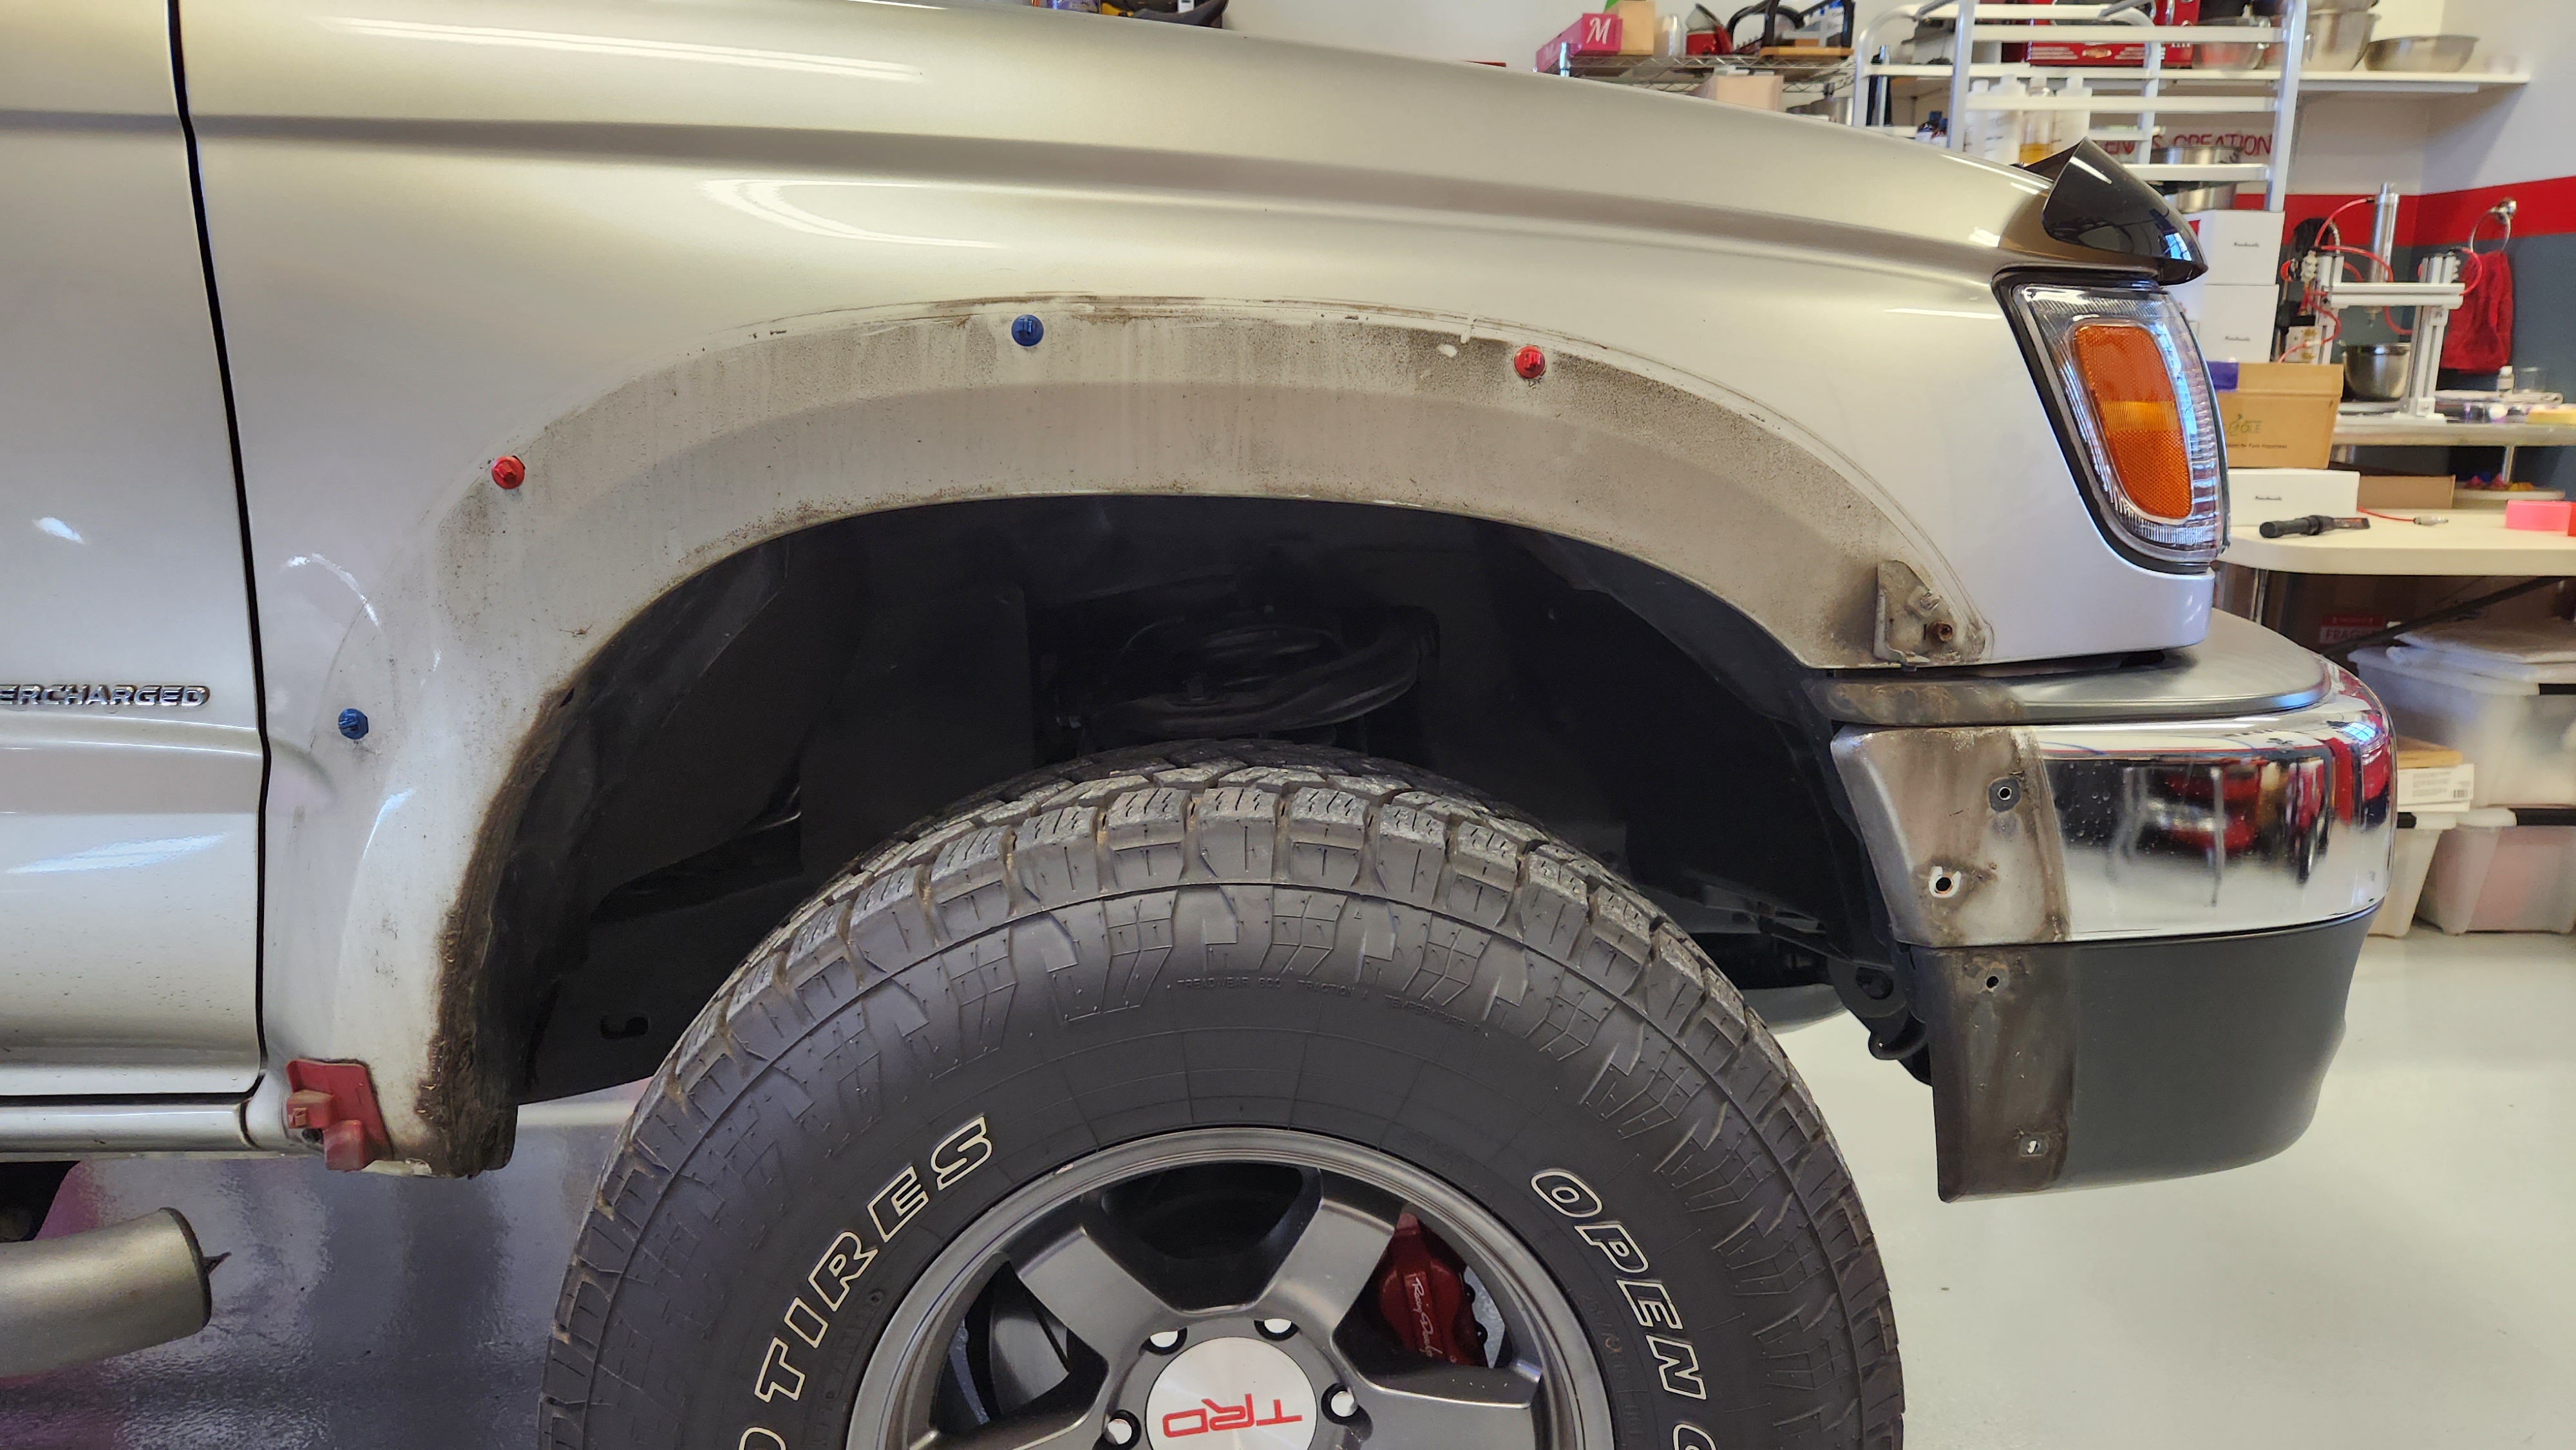
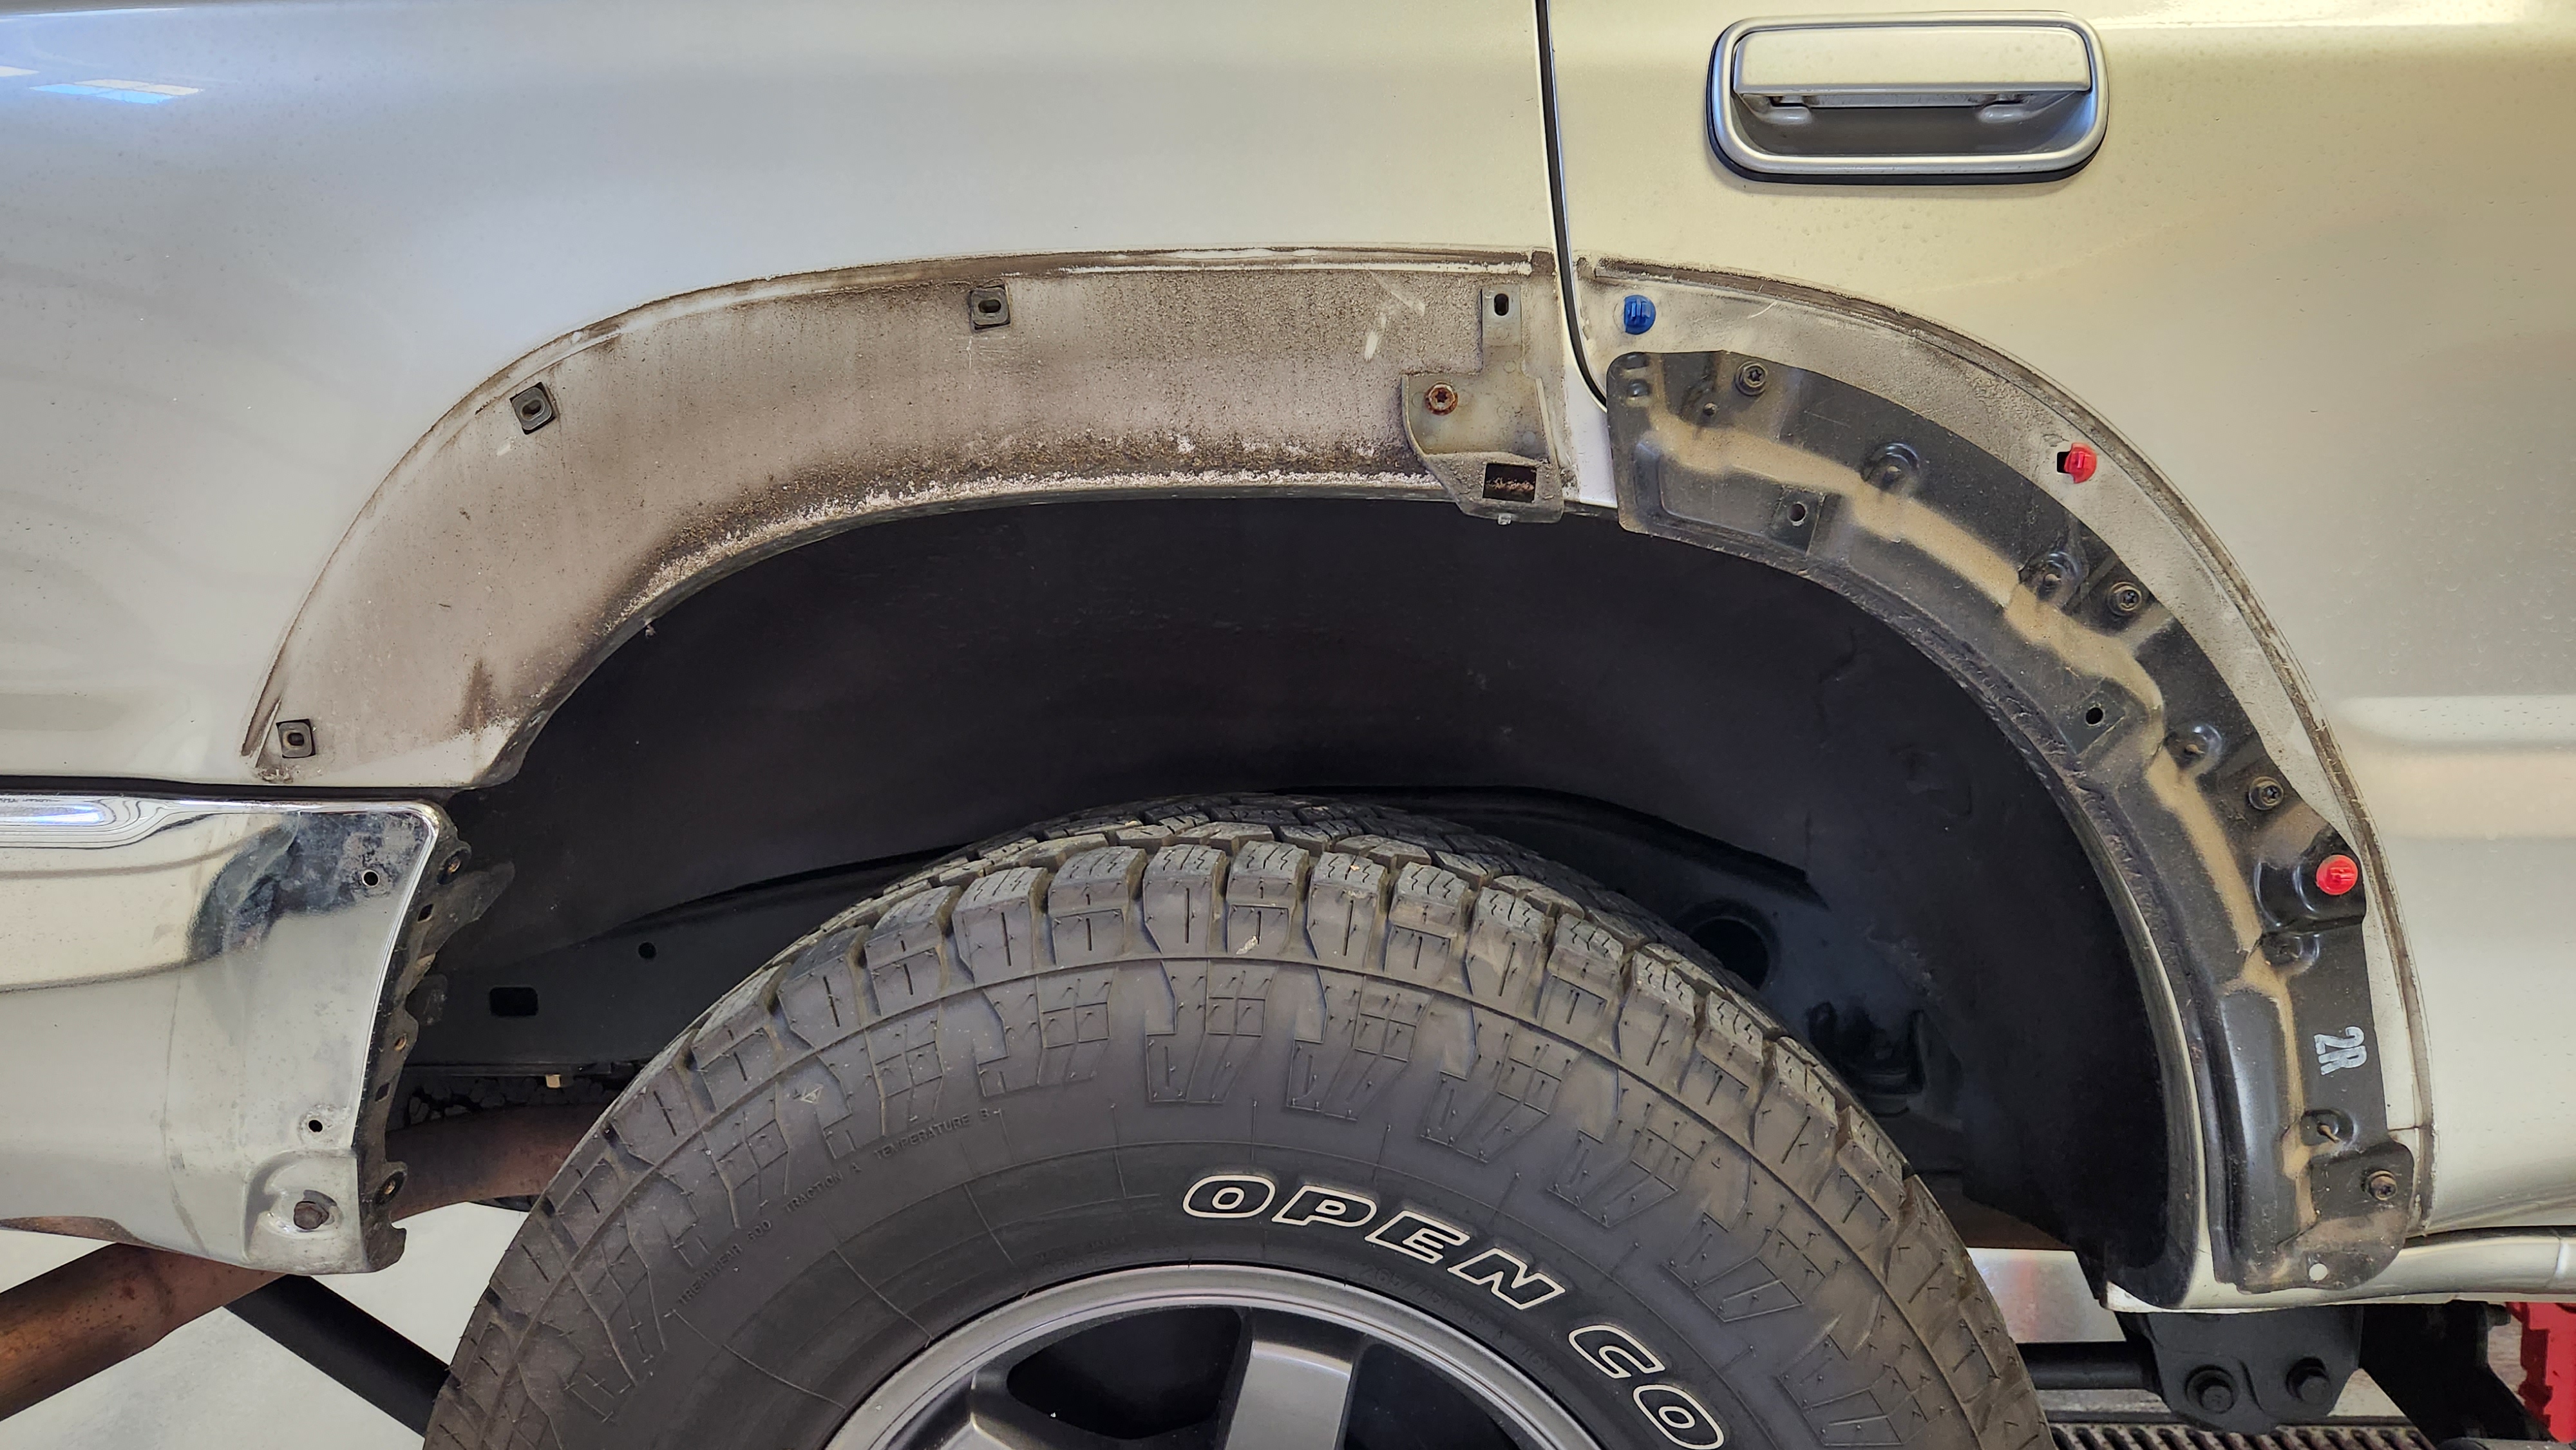
It'll look a bit naked and perforated, for sure:

idO2aGH.jpg


n0HwKiC.jpg
 
[MENTION=636945]Spiker Engineering[/MENTION] any tips? Luckily mine doesn't have the door cladding, just the flares. Poking around today I see some rivets on the door flares. Just bolts on the front fenders?
 
[MENTION=636945]Spiker Engineering[/MENTION] any tips? Luckily mine doesn't have the door cladding, just the flares. Poking around today I see some rivets on the door flares. Just bolts on the front fenders?

I followed some tutorials on the forums, and the parts diagram. Most of the attachments are just clips. Mine had rivets at each end of the front flares - not to the body, but to the brackets you see in the picture.

Also, as I recall, rivets at the front of the rear flares. And some screws holding the rear flares to the rear doors that I had to access from behind the door trim panel. But your truck may be different. Just go slow and be deliberate - you always are anyway!
 
I've been busy and gotten A LOT done. Updates coming.

In the mean time, I've restored my original Toyota hood deflector, bug deflector, whatever people call them. It originally had 4 small rubber bumpers attached to the hood to protect the hood from the deflector hitting it. Those fell off long ago and my truck has seen stints to the speed limiter of 110MPH many times. No contact between hood and deflector.

Having said that I like to obsess over simple things it's just how I roll. What do you guys that have these deflectors do? Use bumpers or go without?

I've sourced new bumpers and have them on the work bench but prefer the cleaner install without them.
 
Having said that I like to obsess over simple things it's just how I roll. What do you guys that have these deflectors do? Use bumpers or go without?

I've sourced new bumpers and have them on the work bench but prefer the cleaner install without them.

I'm using the bumpers with my OEM deflector :).
 
In today's episode of simple things to obsess over....

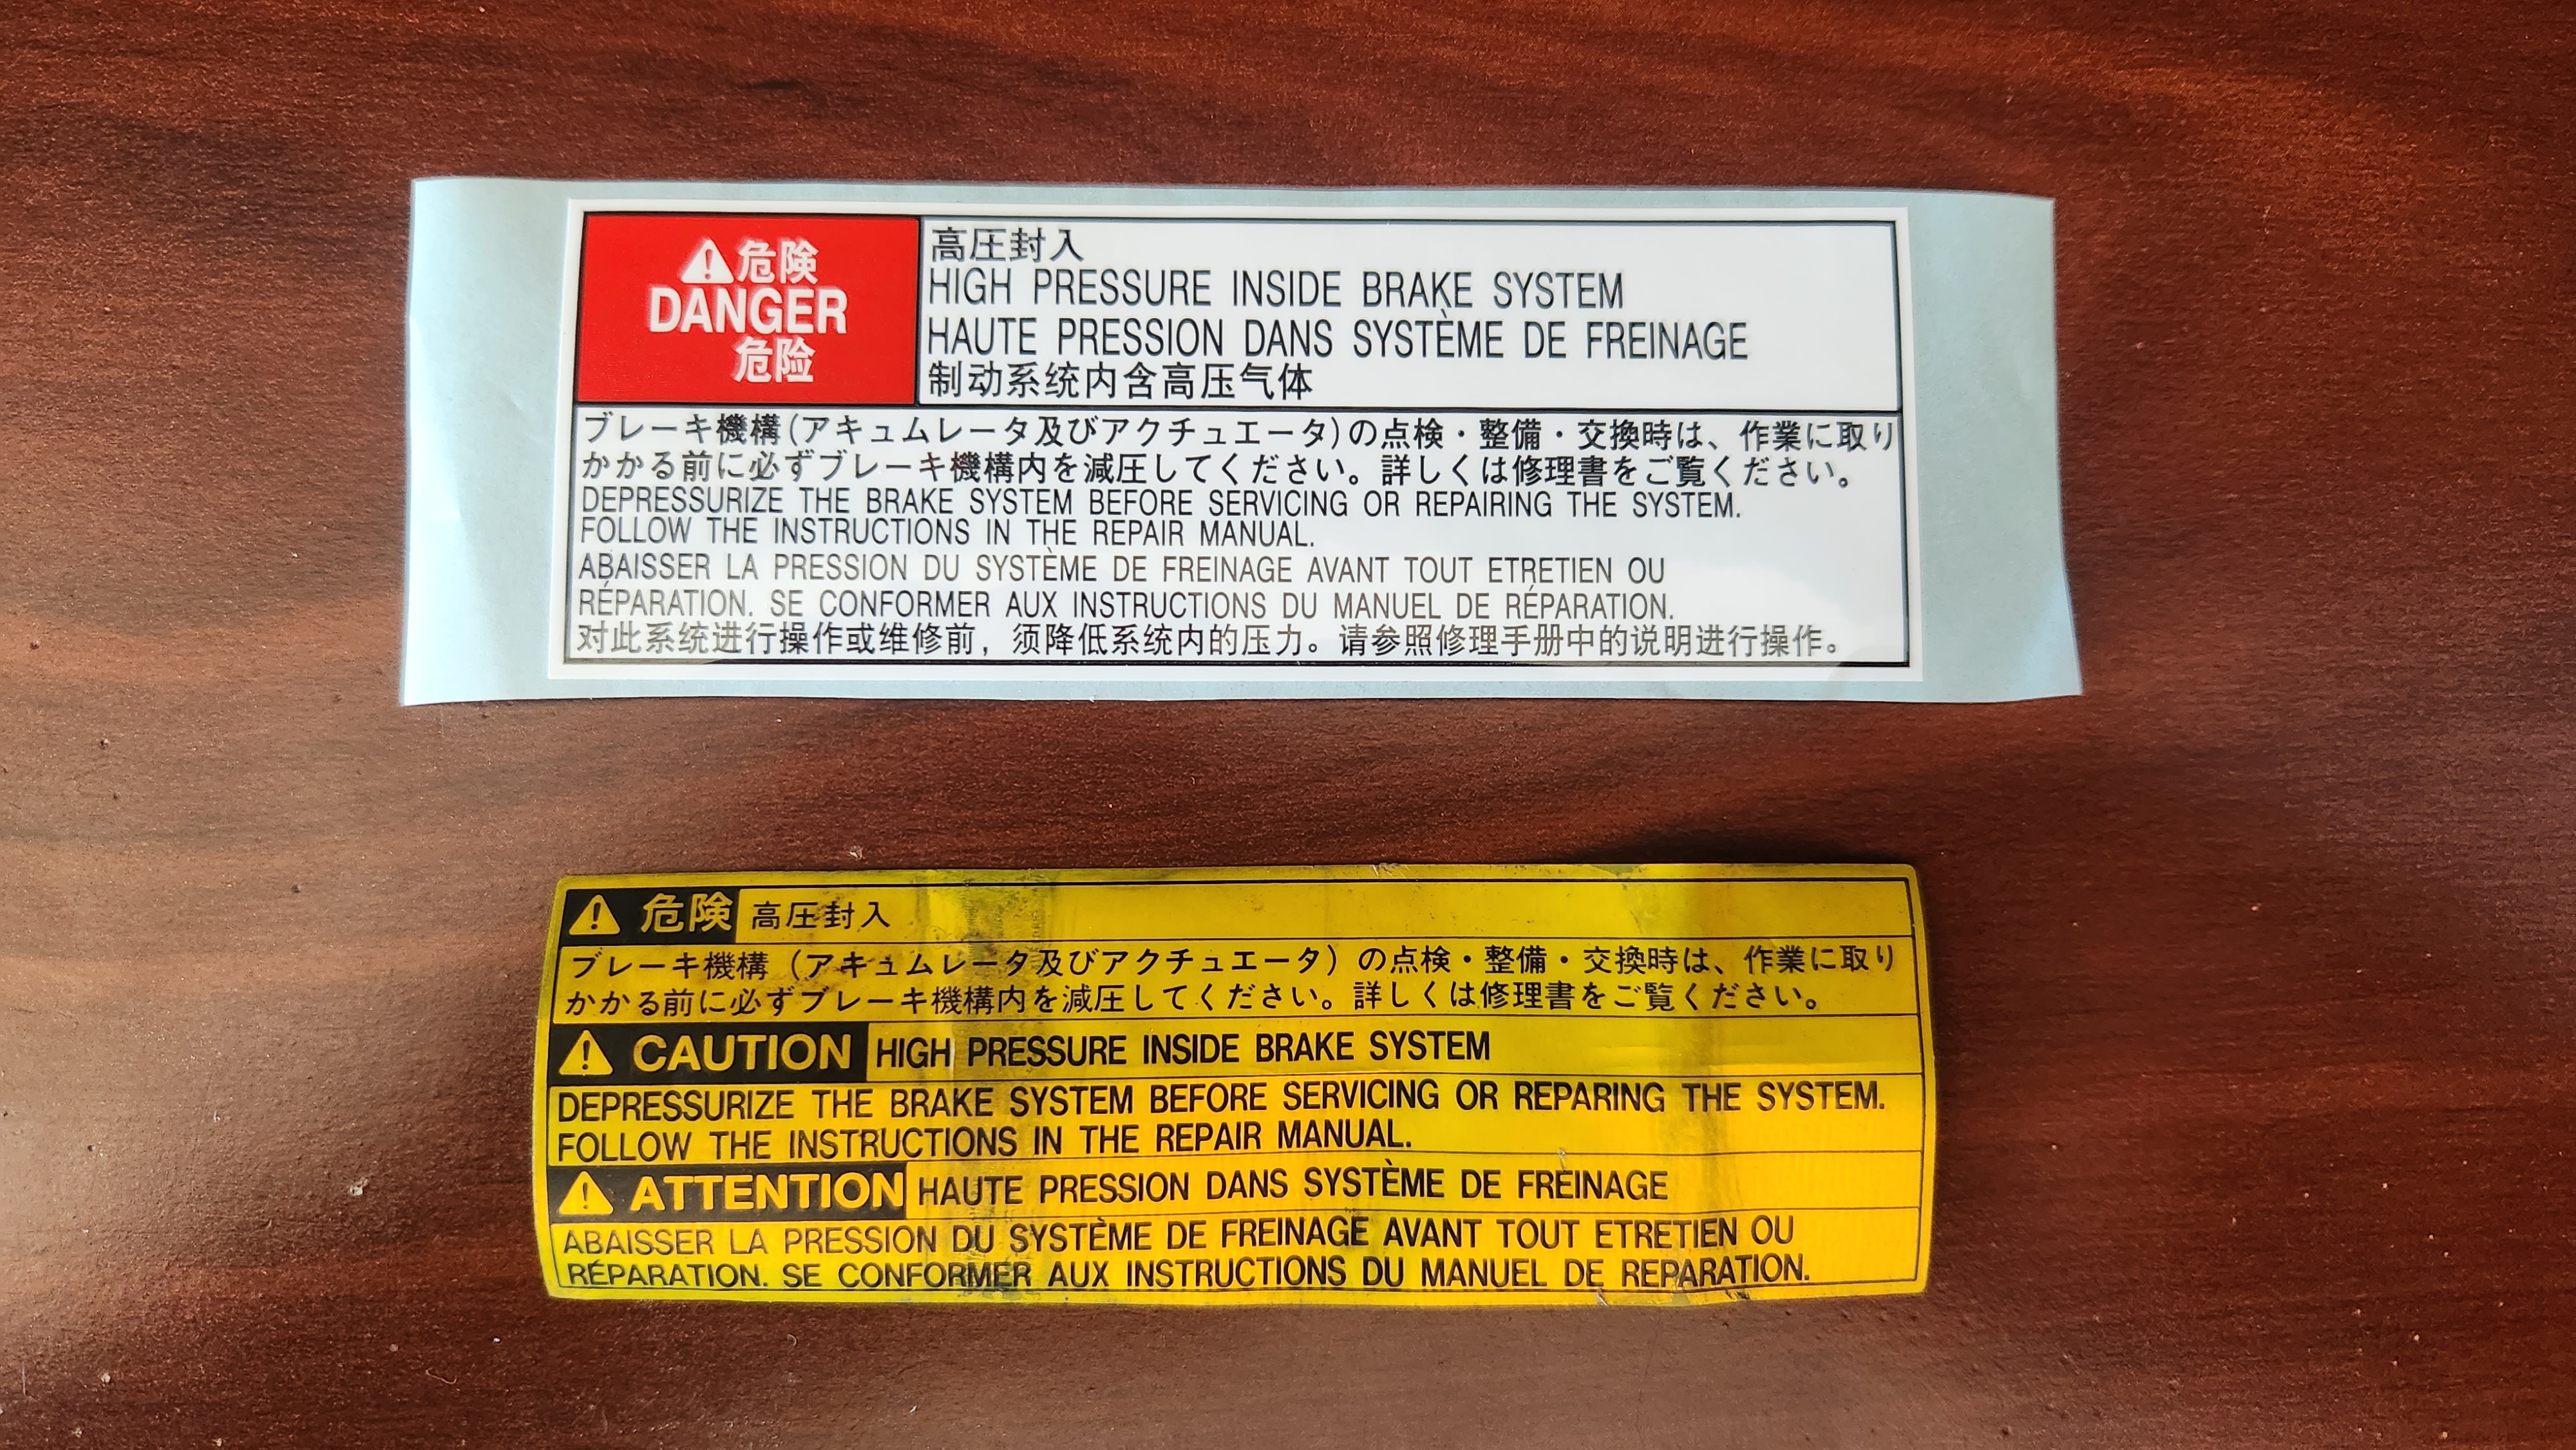
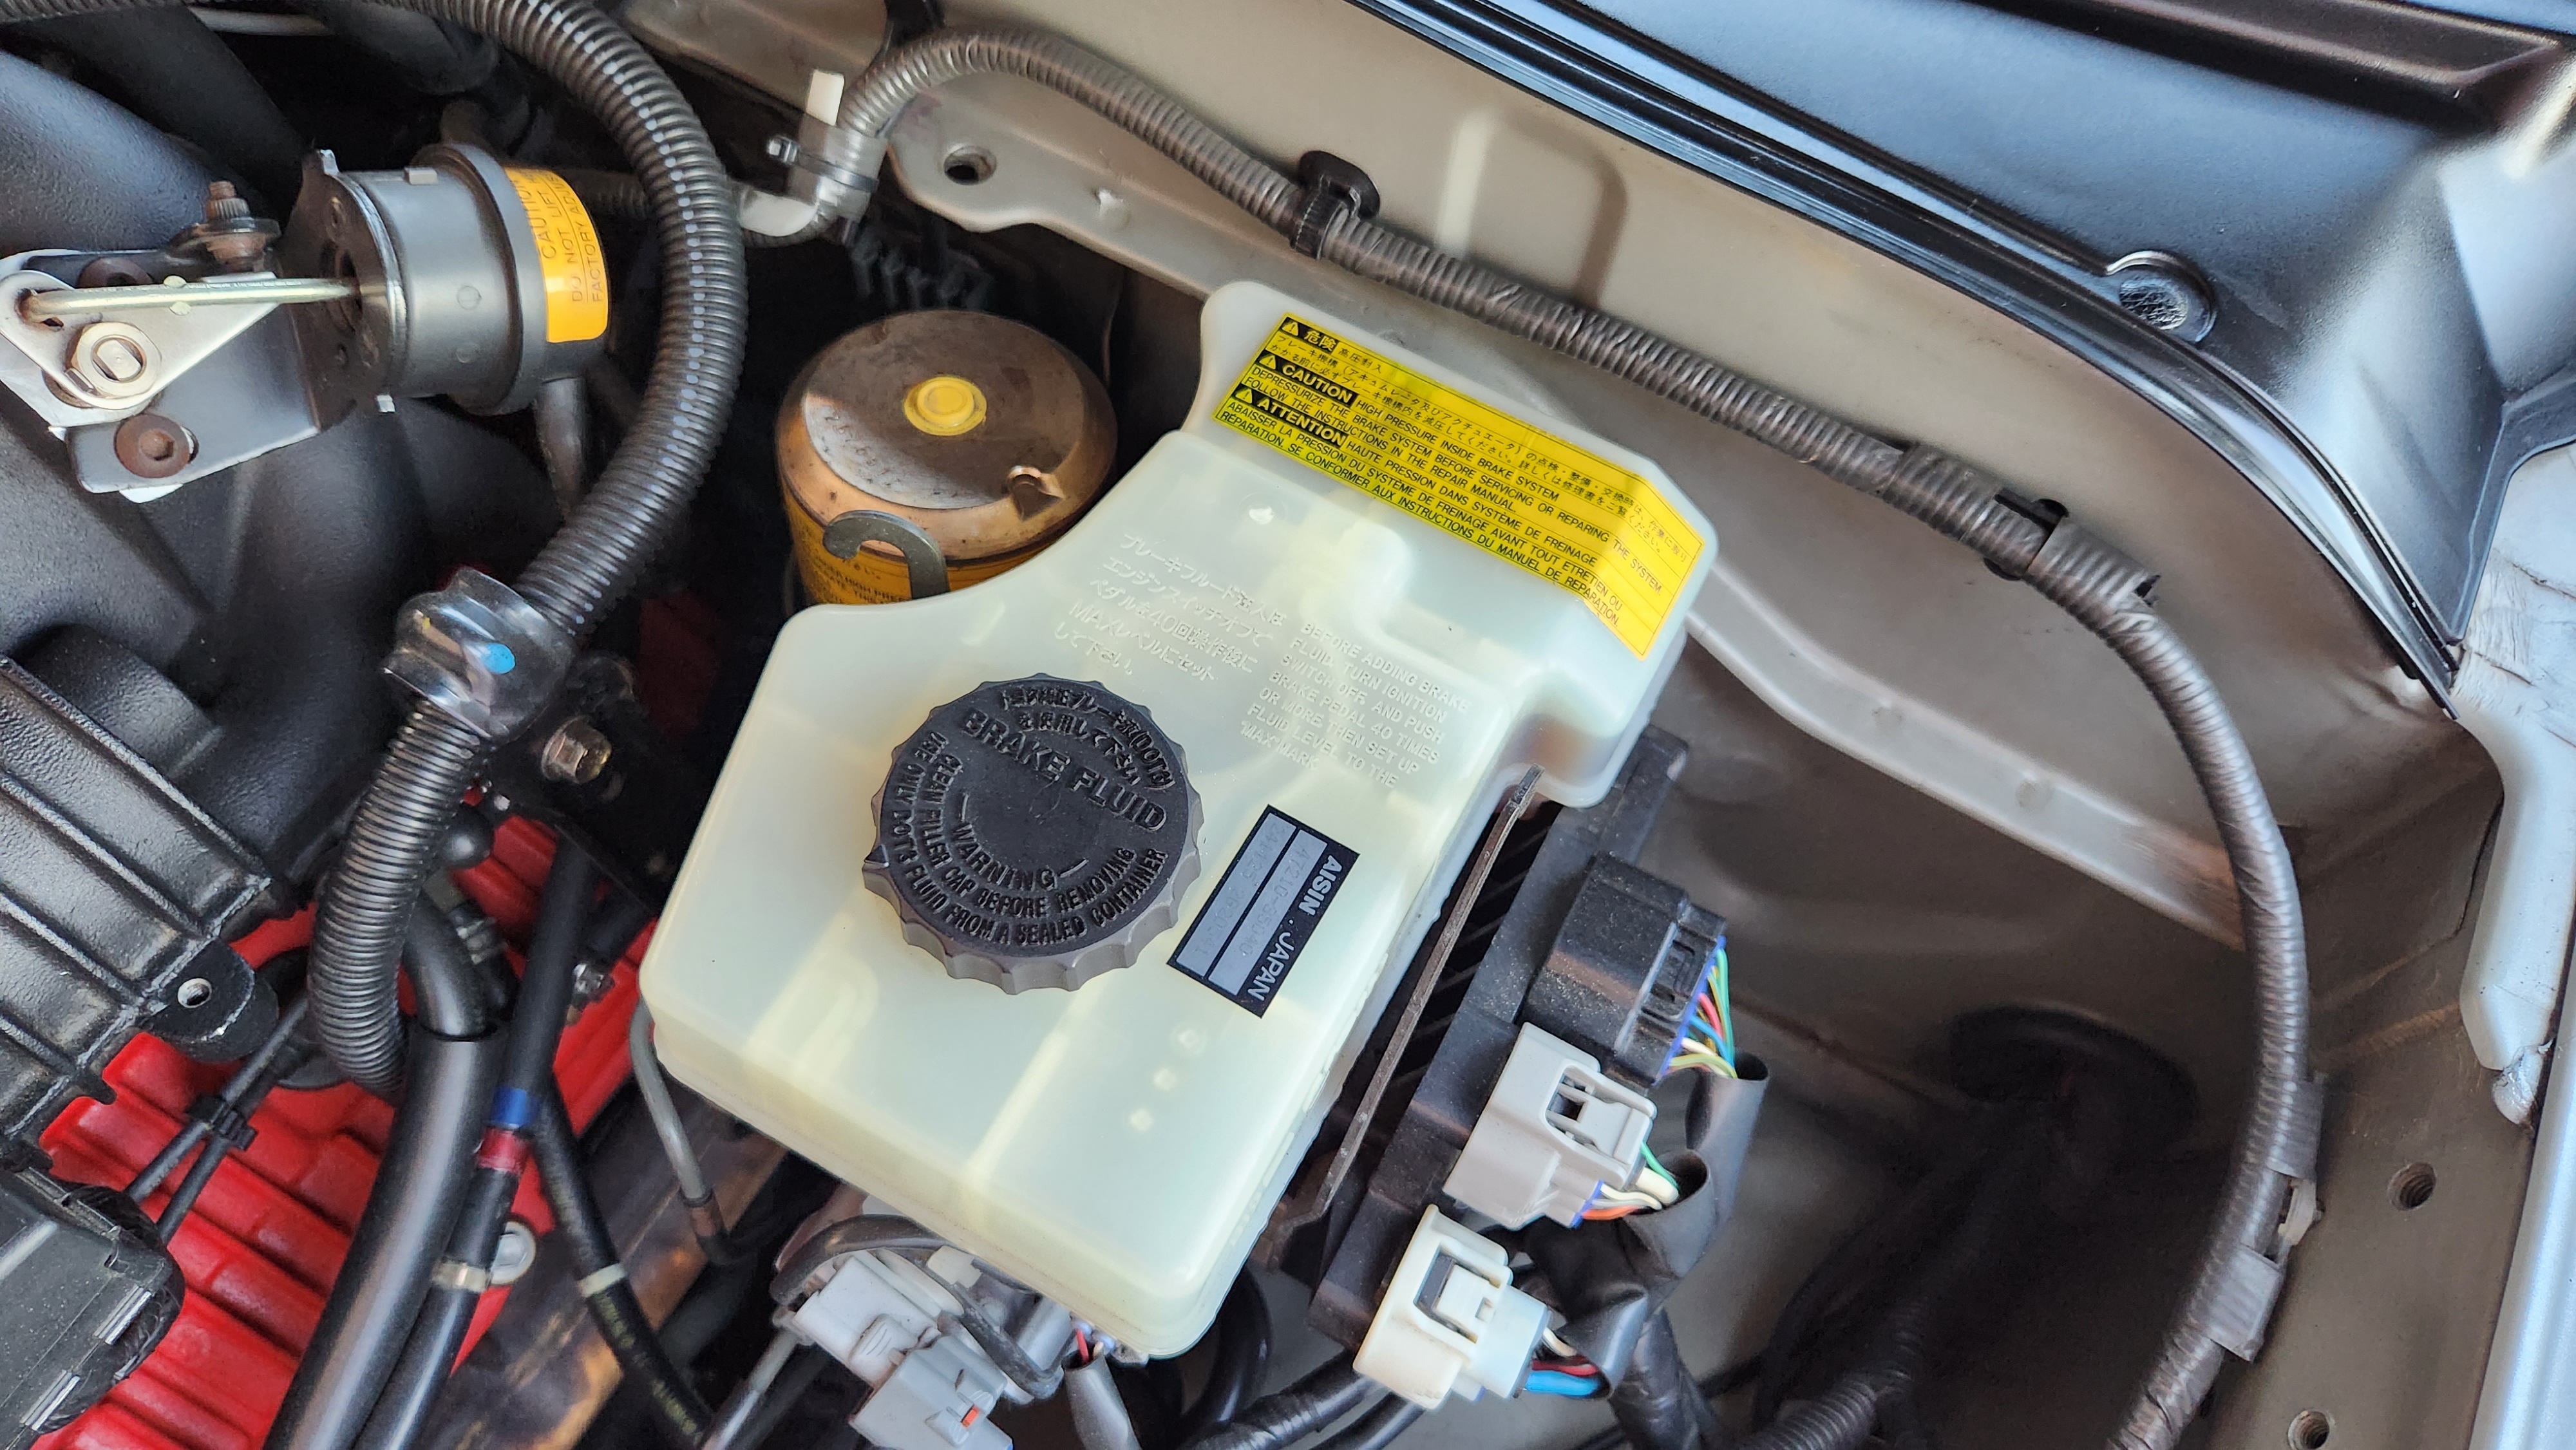
Picked up a new label for the brake fluid reservoir. It's not the original yellow/aluminum decal it's just vinyl. I could re-use the worn original but I'd have to find some adhesive. Maybe some 3M 77 that costs more than the new label lol.

brake_res_label.jpg
 
In today's episode of simple things to obsess over....

Picked up a new label for the brake fluid reservoir. It's not the original yellow/aluminum decal it's just vinyl. I could re-use the worn original but I'd have to find some adhesive. Maybe some 3M 77 that costs more than the new label lol.

brake_res_label.jpg

Very nice, Speedy. As we all know, it's about the little things. Just curious, how did you find this?
 
I've been busy and gotten A LOT done. Updates coming.

In the mean time, I've restored my original Toyota hood deflector, bug deflector, whatever people call them. It originally had 4 small rubber bumpers attached to the hood to protect the hood from the deflector hitting it. Those fell off long ago and my truck has seen stints to the speed limiter of 110MPH many times. No contact between hood and deflector.

Having said that I like to obsess over simple things it's just how I roll. What do you guys that have these deflectors do? Use bumpers or go without?

I've sourced new bumpers and have them on the work bench but prefer the cleaner install without them.

I go without. When I first bought my truck almost 11 years ago, it was completely OEM. So it had those hood bumps. Silly me but I removed them because I didn't want the deflector on. Years go by and I bought an AVS deflector. It came with 4 clear bumps but they aren't the horn shaped ones like the OEM ones. No issues to report though. I wouldn't be too concerned about them (that's just me)
 
I've decided to leave the bumpers off. I've not had them in many years.

I've built a pretty good relationship with the parts guy at the dealer and he'll dig for P/Ns to help me in my restoration on this thing. He found a parts catalog of labels and ordered the one for the brake res.

P/N 47997-48010 "Label, Accumulator".
 
96Red came without shield bumpers from the dealer no paint issue in 5 yrs.
It's replacement and any I've put on I check clearance after mounting. Ones I thought might help
I'd stick em to inside of shield. Never been a fan of stuff on paint, the clear Bra's are the worst on anything.
 
Decided to try and go back with the OG brake reservoir label and file the new version away. If it doesn't stay I'll put the new one on. Used some Elmer's spray adhesive Mrs. Speedy had lying around after cleaning both the res and back of label with rubbing alcohol.

P.S. With the weather turning cooler, the heated seats are REALLY nice.

og_brake_res_label.jpg
 
Last edited:
Thanks for providing the motivation WRT decals- I ordered a new drivers door 4 wheel drive decal as mine is faded and difficult to read.

Will also be following your lead by cleaning and painting the underside like you did- great video!
 
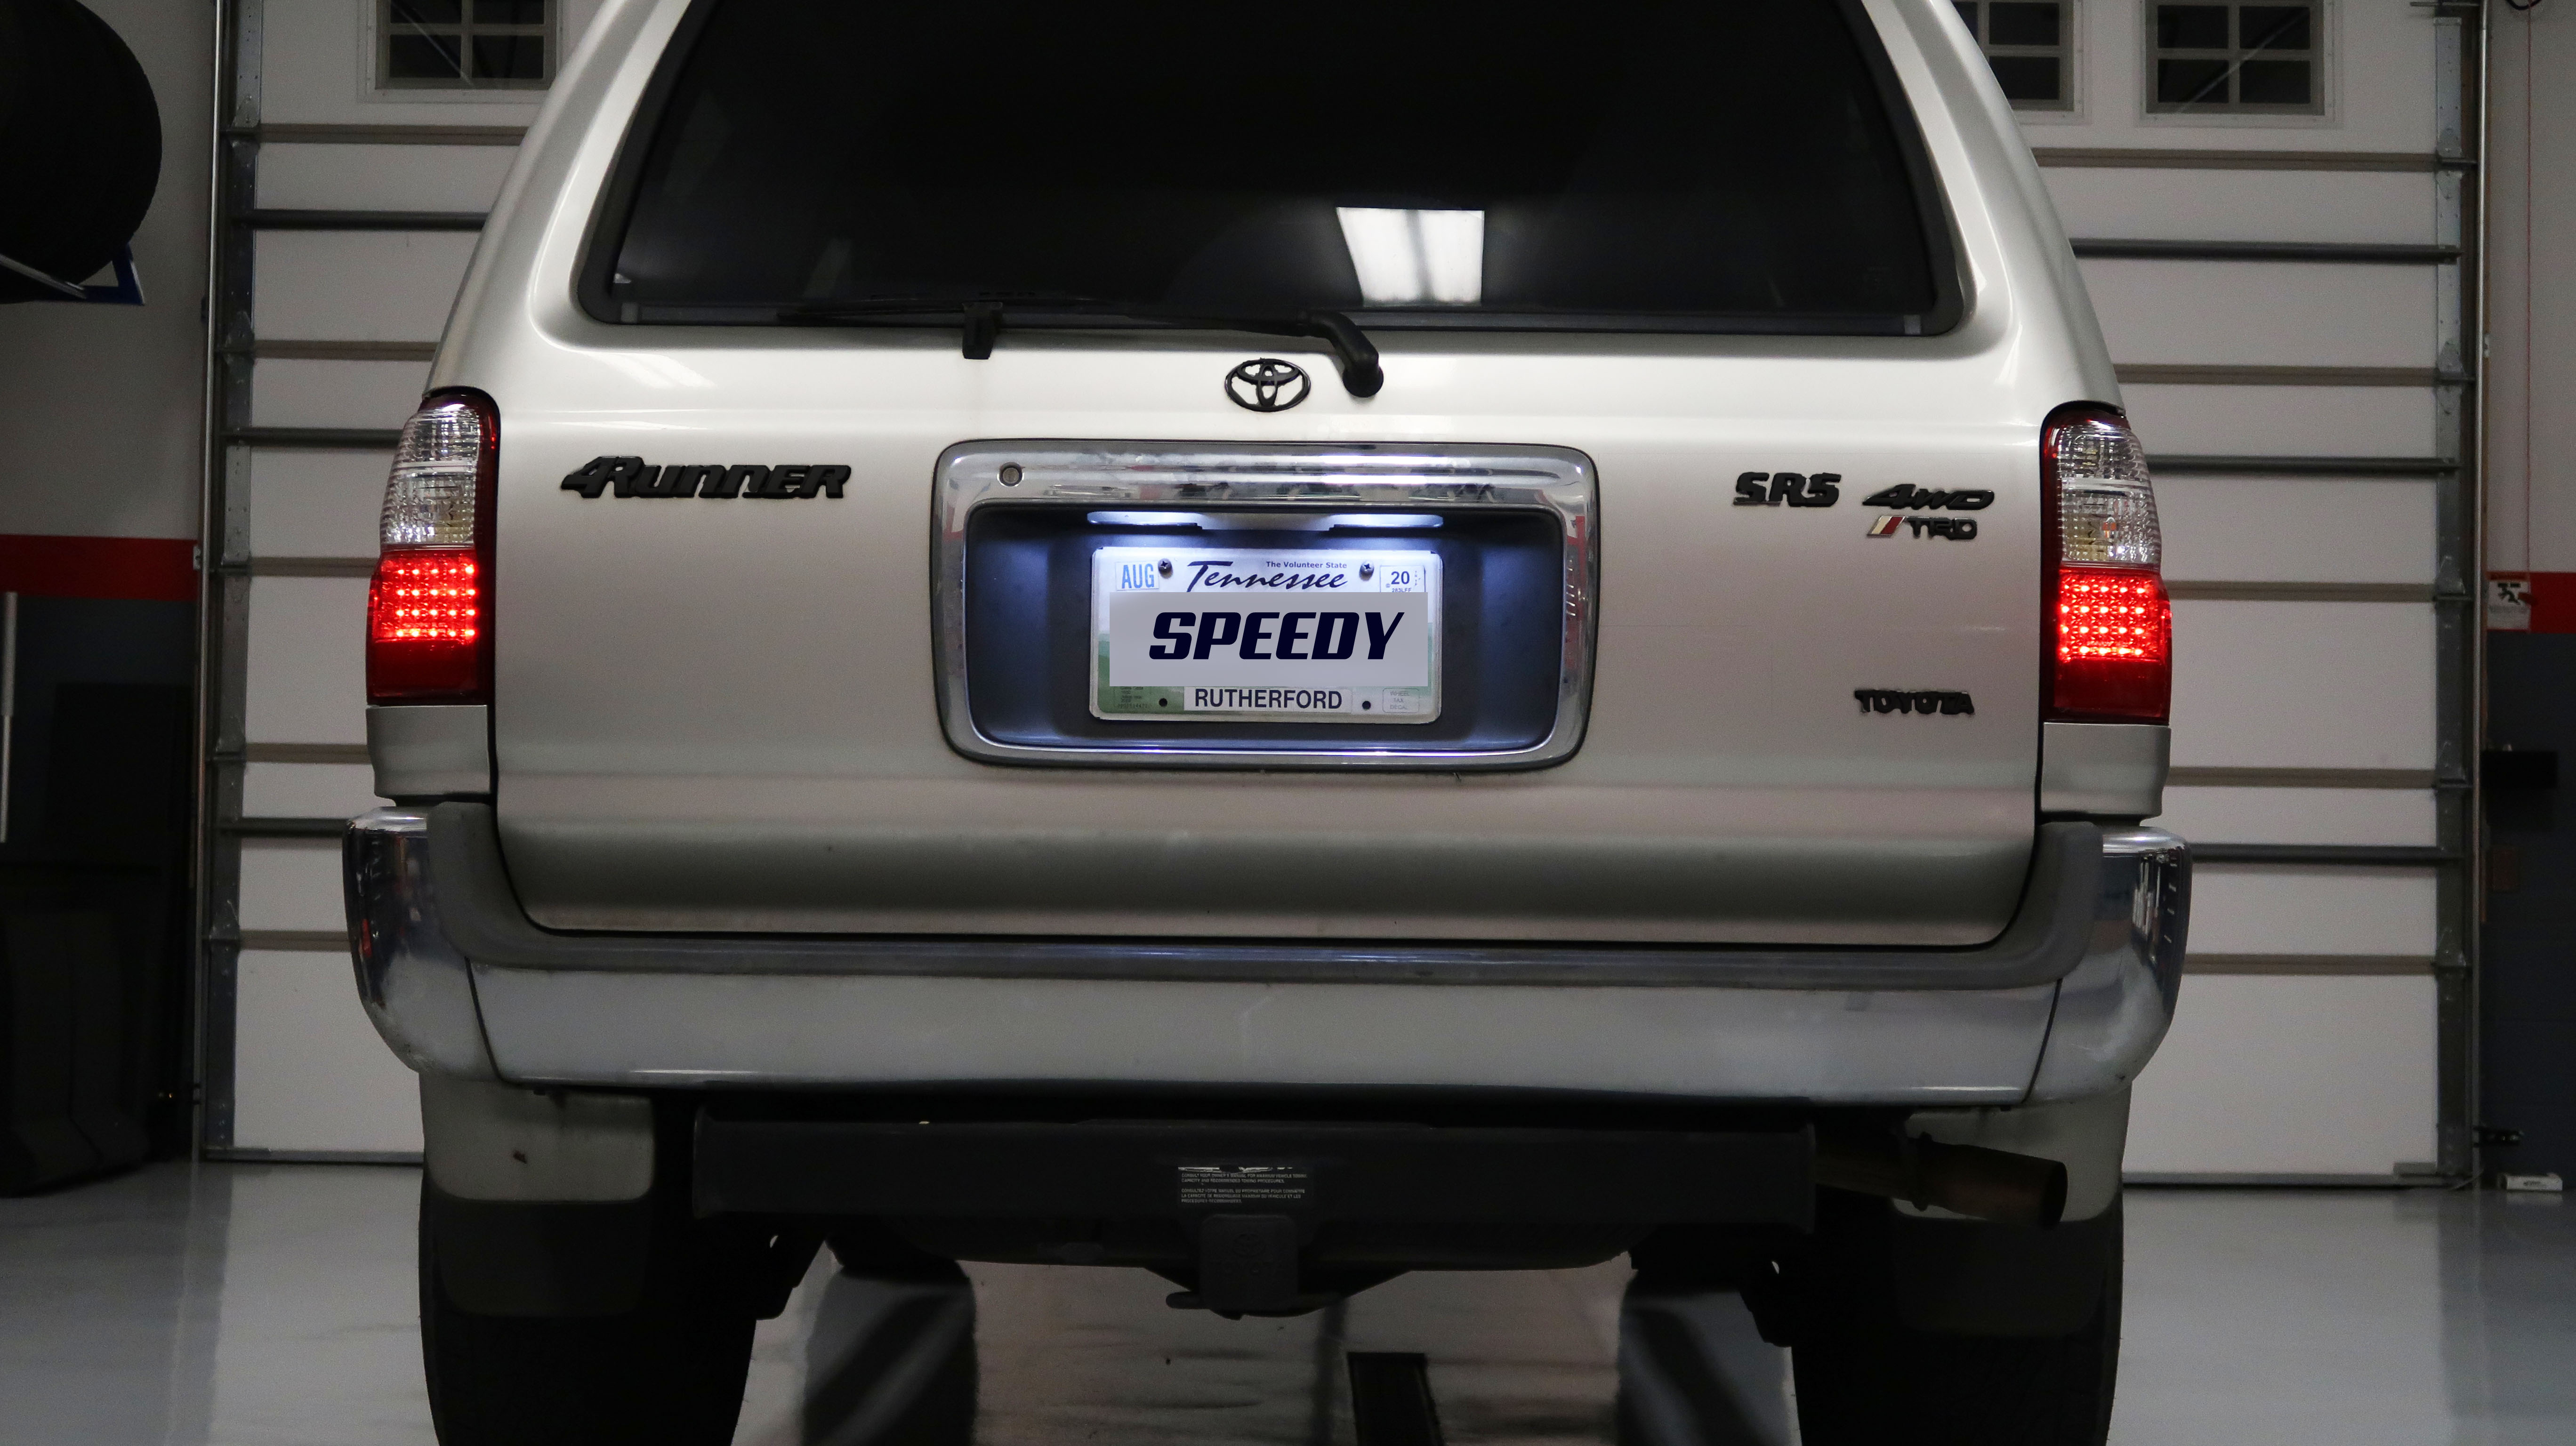
What do you guys think about blacking out the emblems? I was gonna do the plasti dip thing on them but with the chrome bumpers not sure??
 
What do you guys think about blacking out the emblems? I was gonna do the plasti dip thing on them but with the chrome bumpers not sure??

Do it. I wouldn't pull them off, but rather do adequate preparation to paint them while they're on the truck. Tape them off with newspaper or whatever you choose and spray carefully and consistently. I would definitely do a few coats, too, in order to prevent peeling over time.

I'm sure if you decided to pull them off and reinstall Speedy you would be fine. But I'd be lazy because I don't want to worry about removing the excess adhesive from the paint on the truck. I debadged my truck many years ago but then reinstalled the emblems and dipped them before installation. I had to use a clear 3M adhesive tape to get them back on. It wasn't the same stuff that Toyota uses from the factory.
 
Played around with some photo editing to see how it'd look. I think it looks better with the grey bumpers and license plate trim, but looks pretty good still with the chrome.

I think I'll do it. If I get tired of it I can either get bumpers, license trim, and front grill to paint grey to match the tube steps, or peel the dip off the emblems.

I'll for sure leave the emblems on the truck. I'm patient, but not patient enough to trace around all these emblems on a sheet of 3M tape.

4r_blackout_ps.jpg


4R_blackout.jpg
 
Last edited:
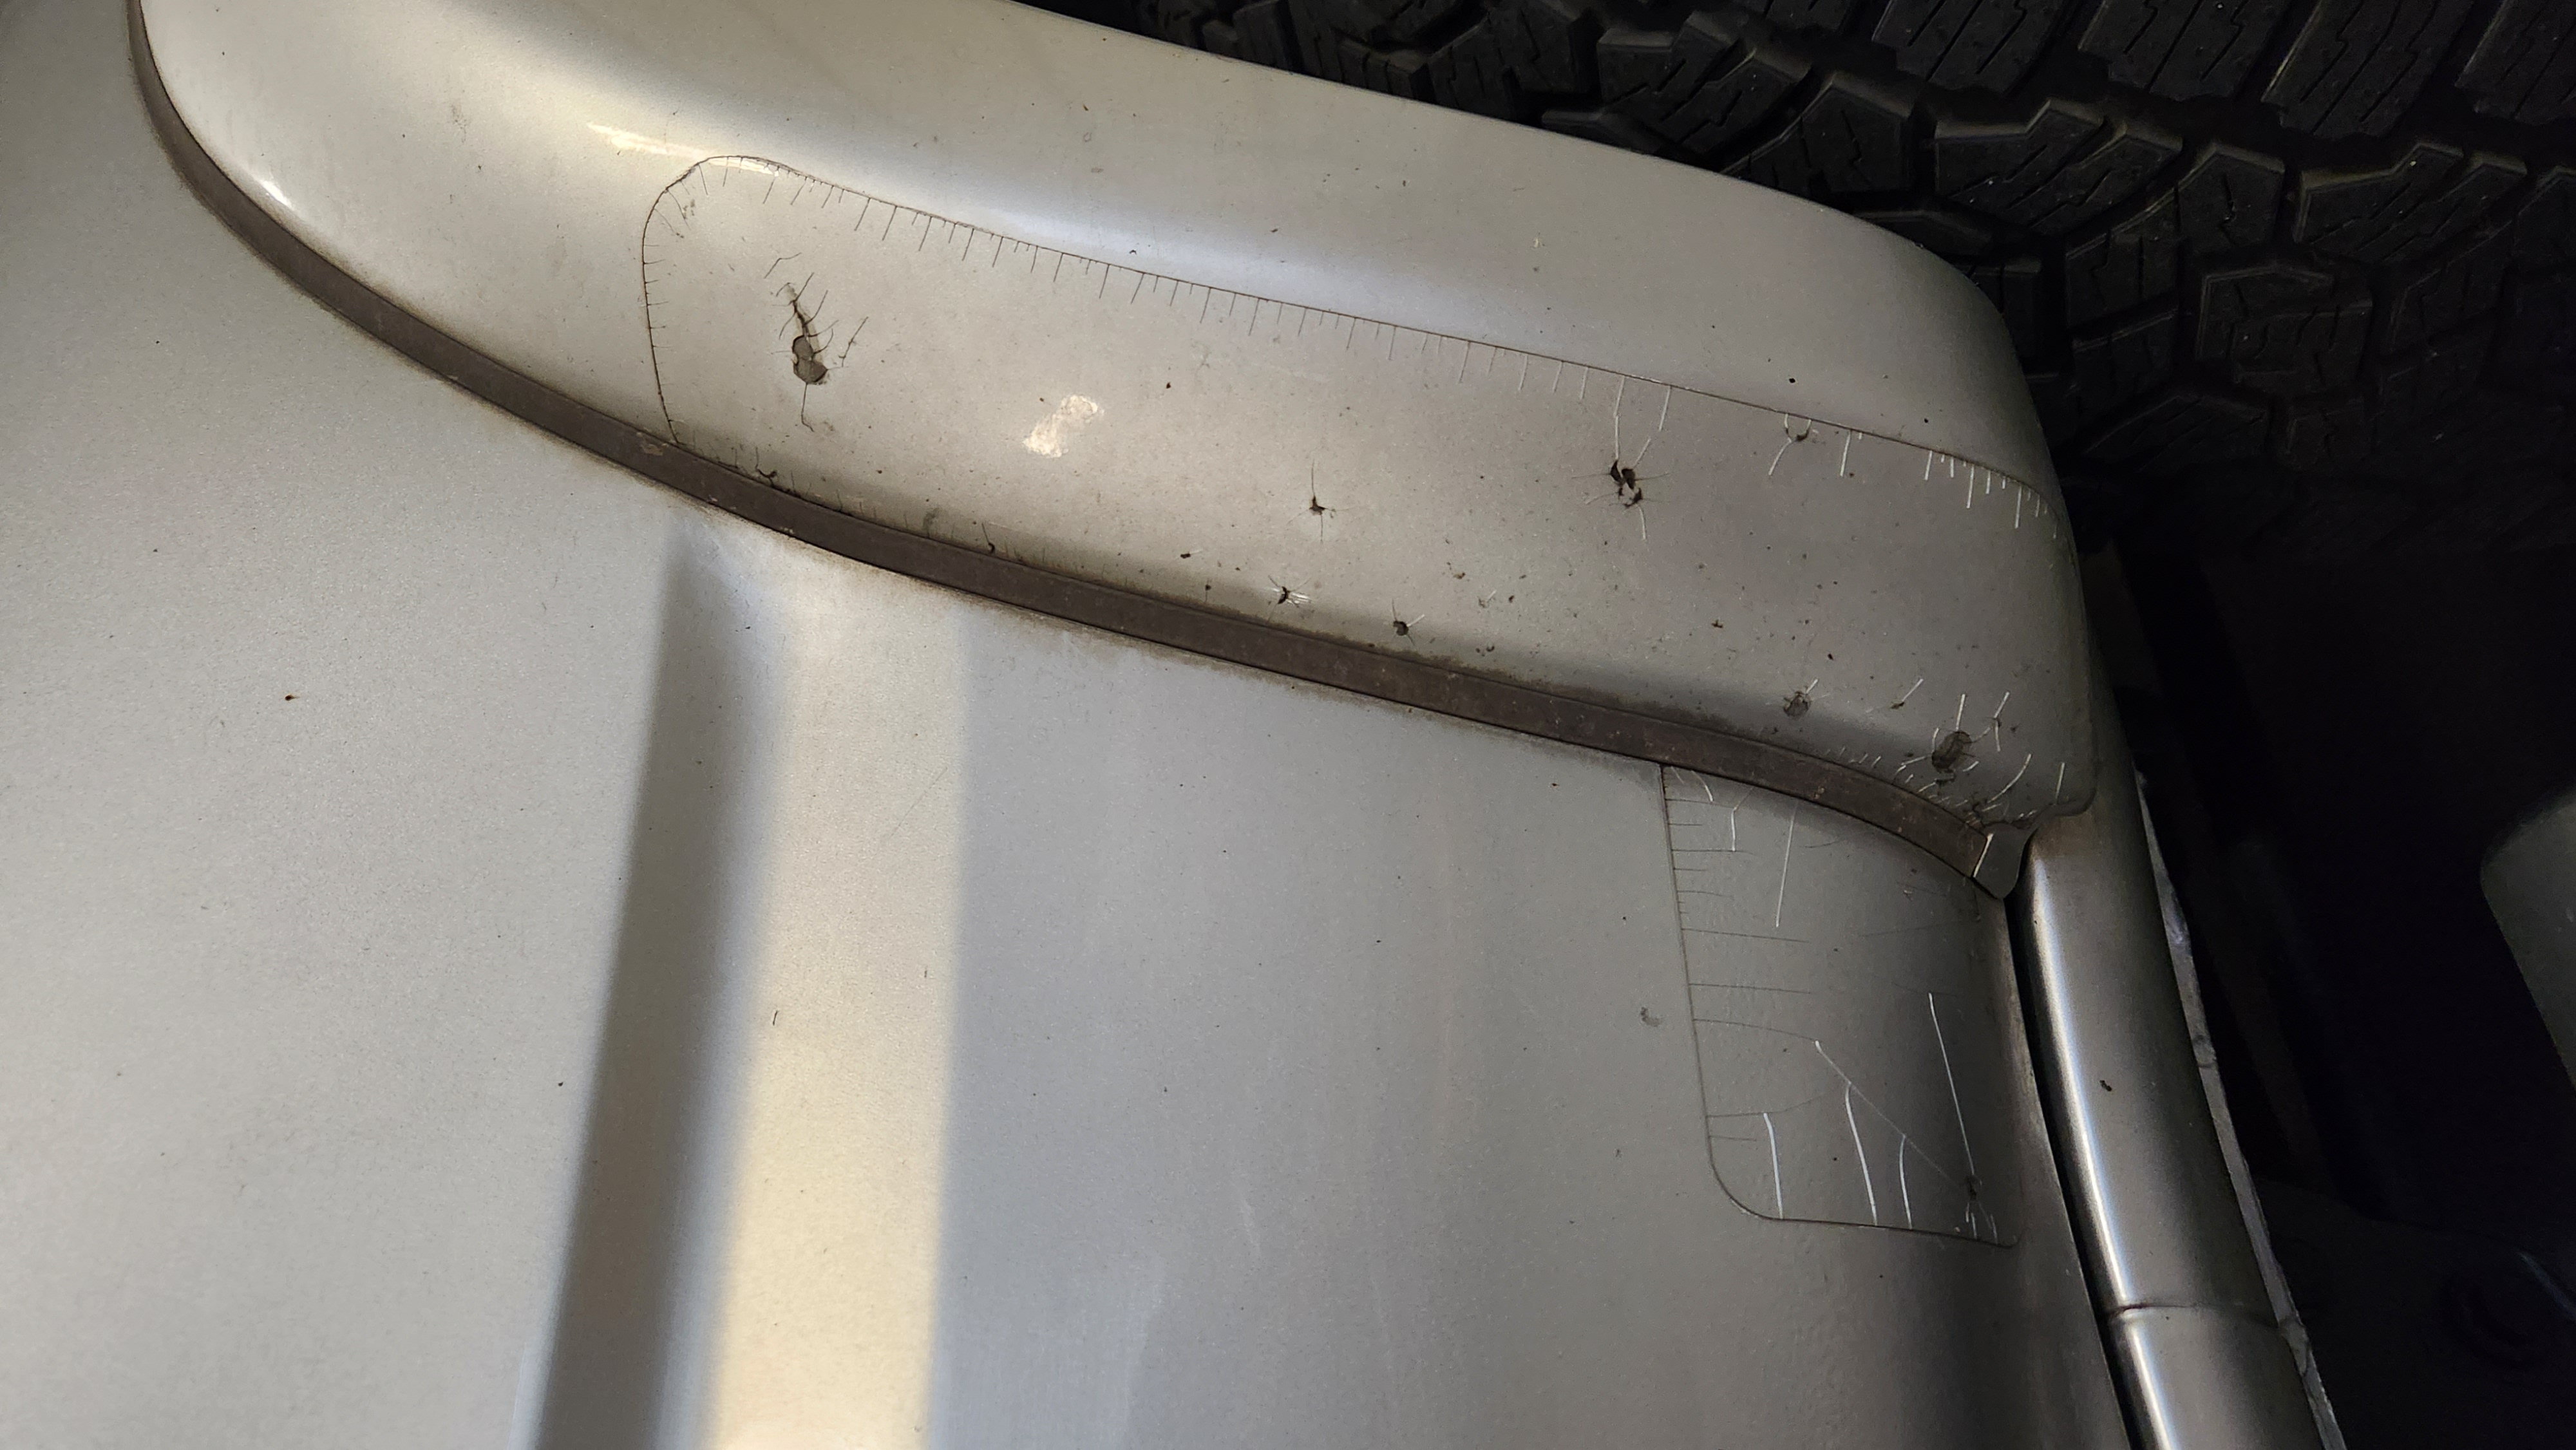
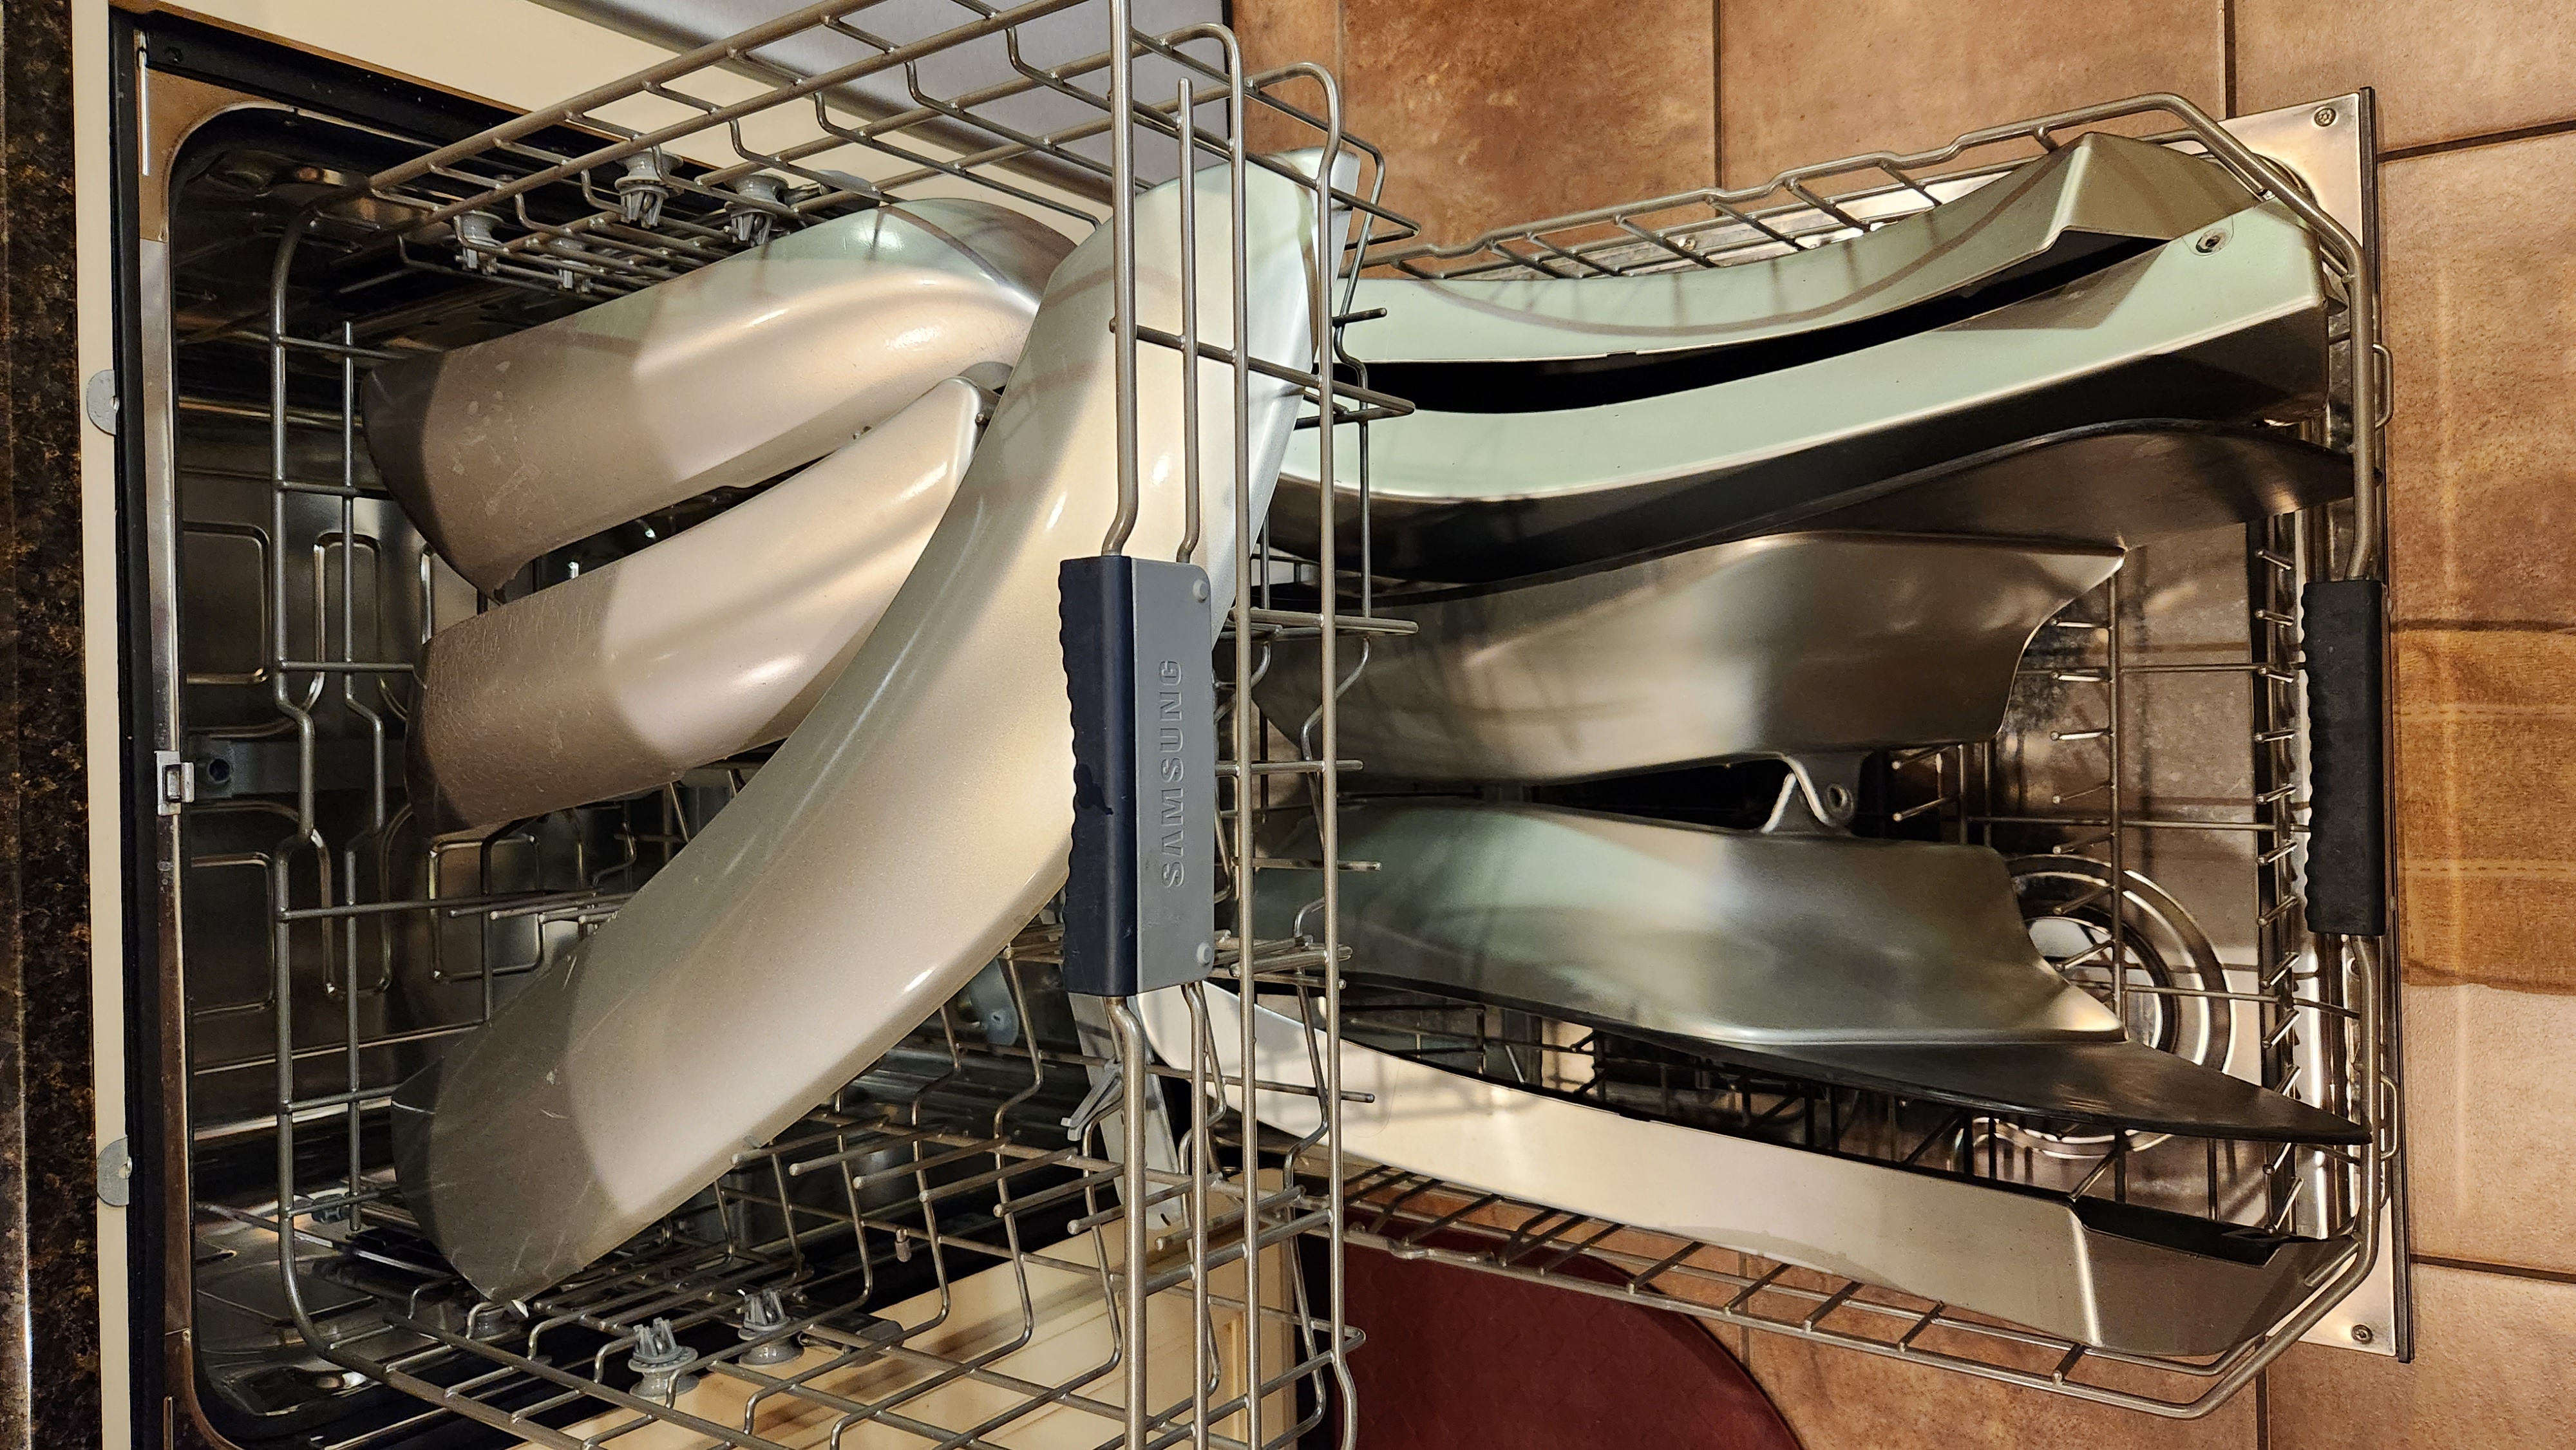
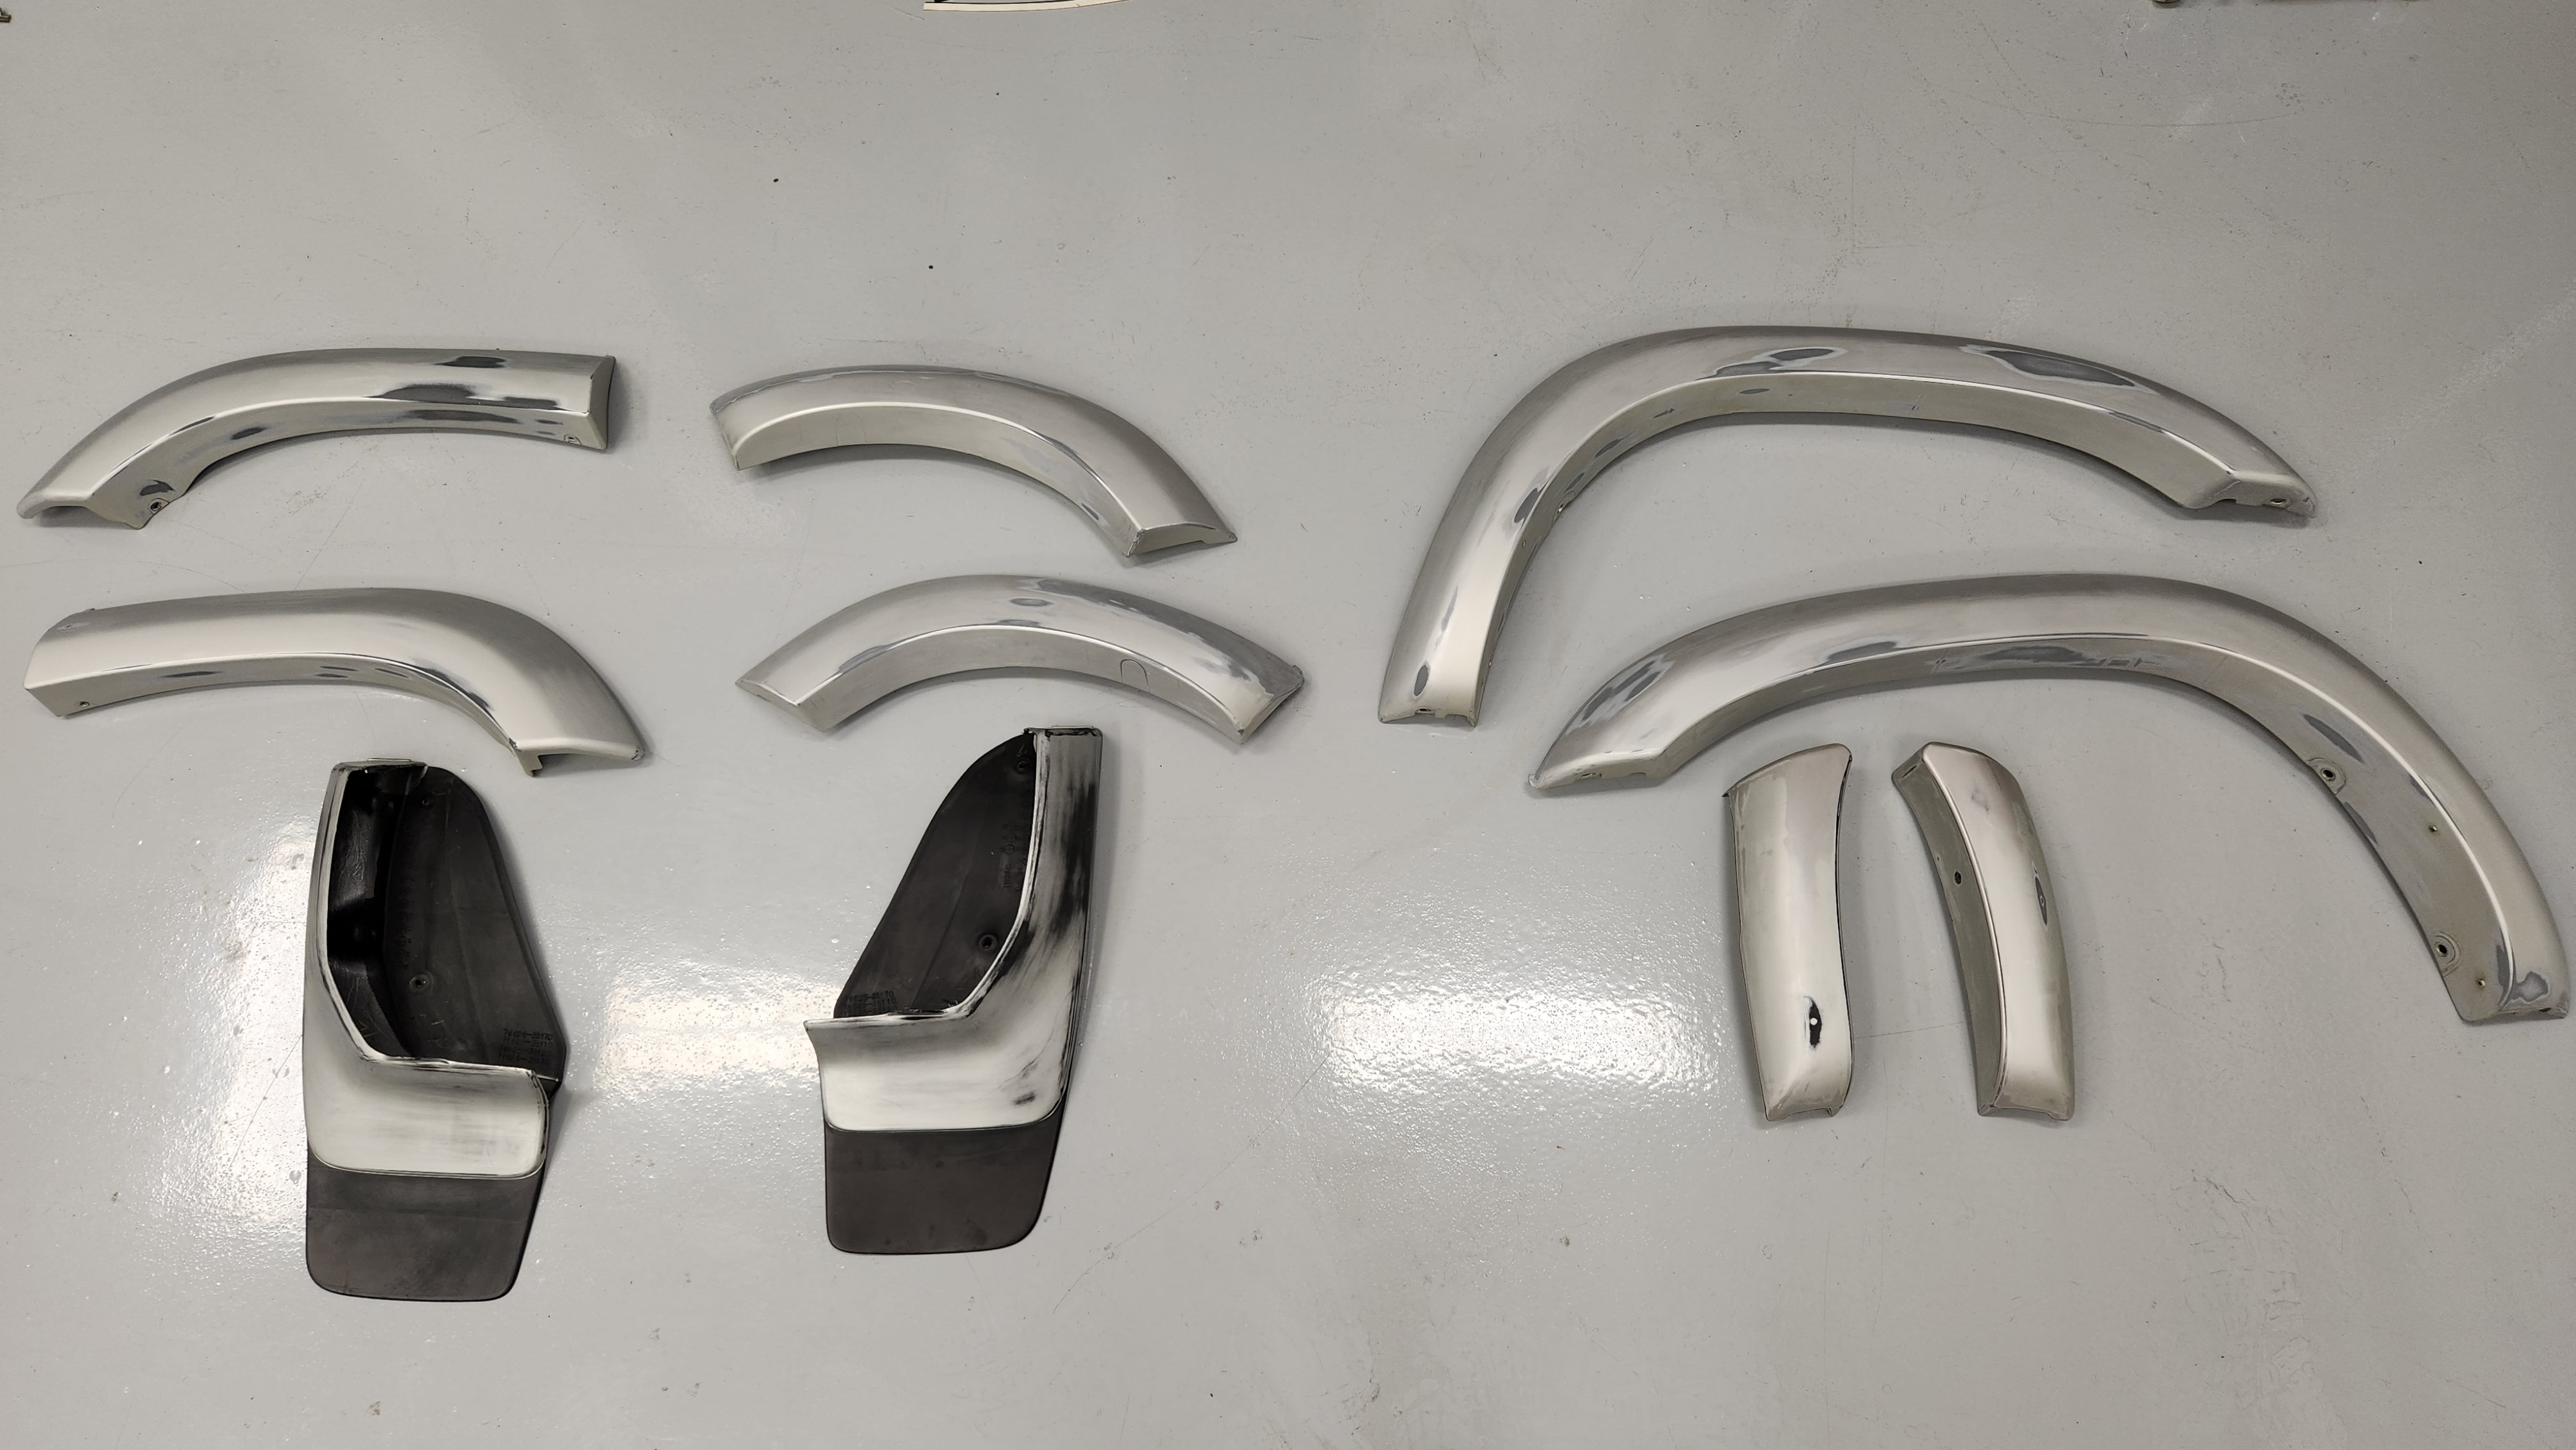
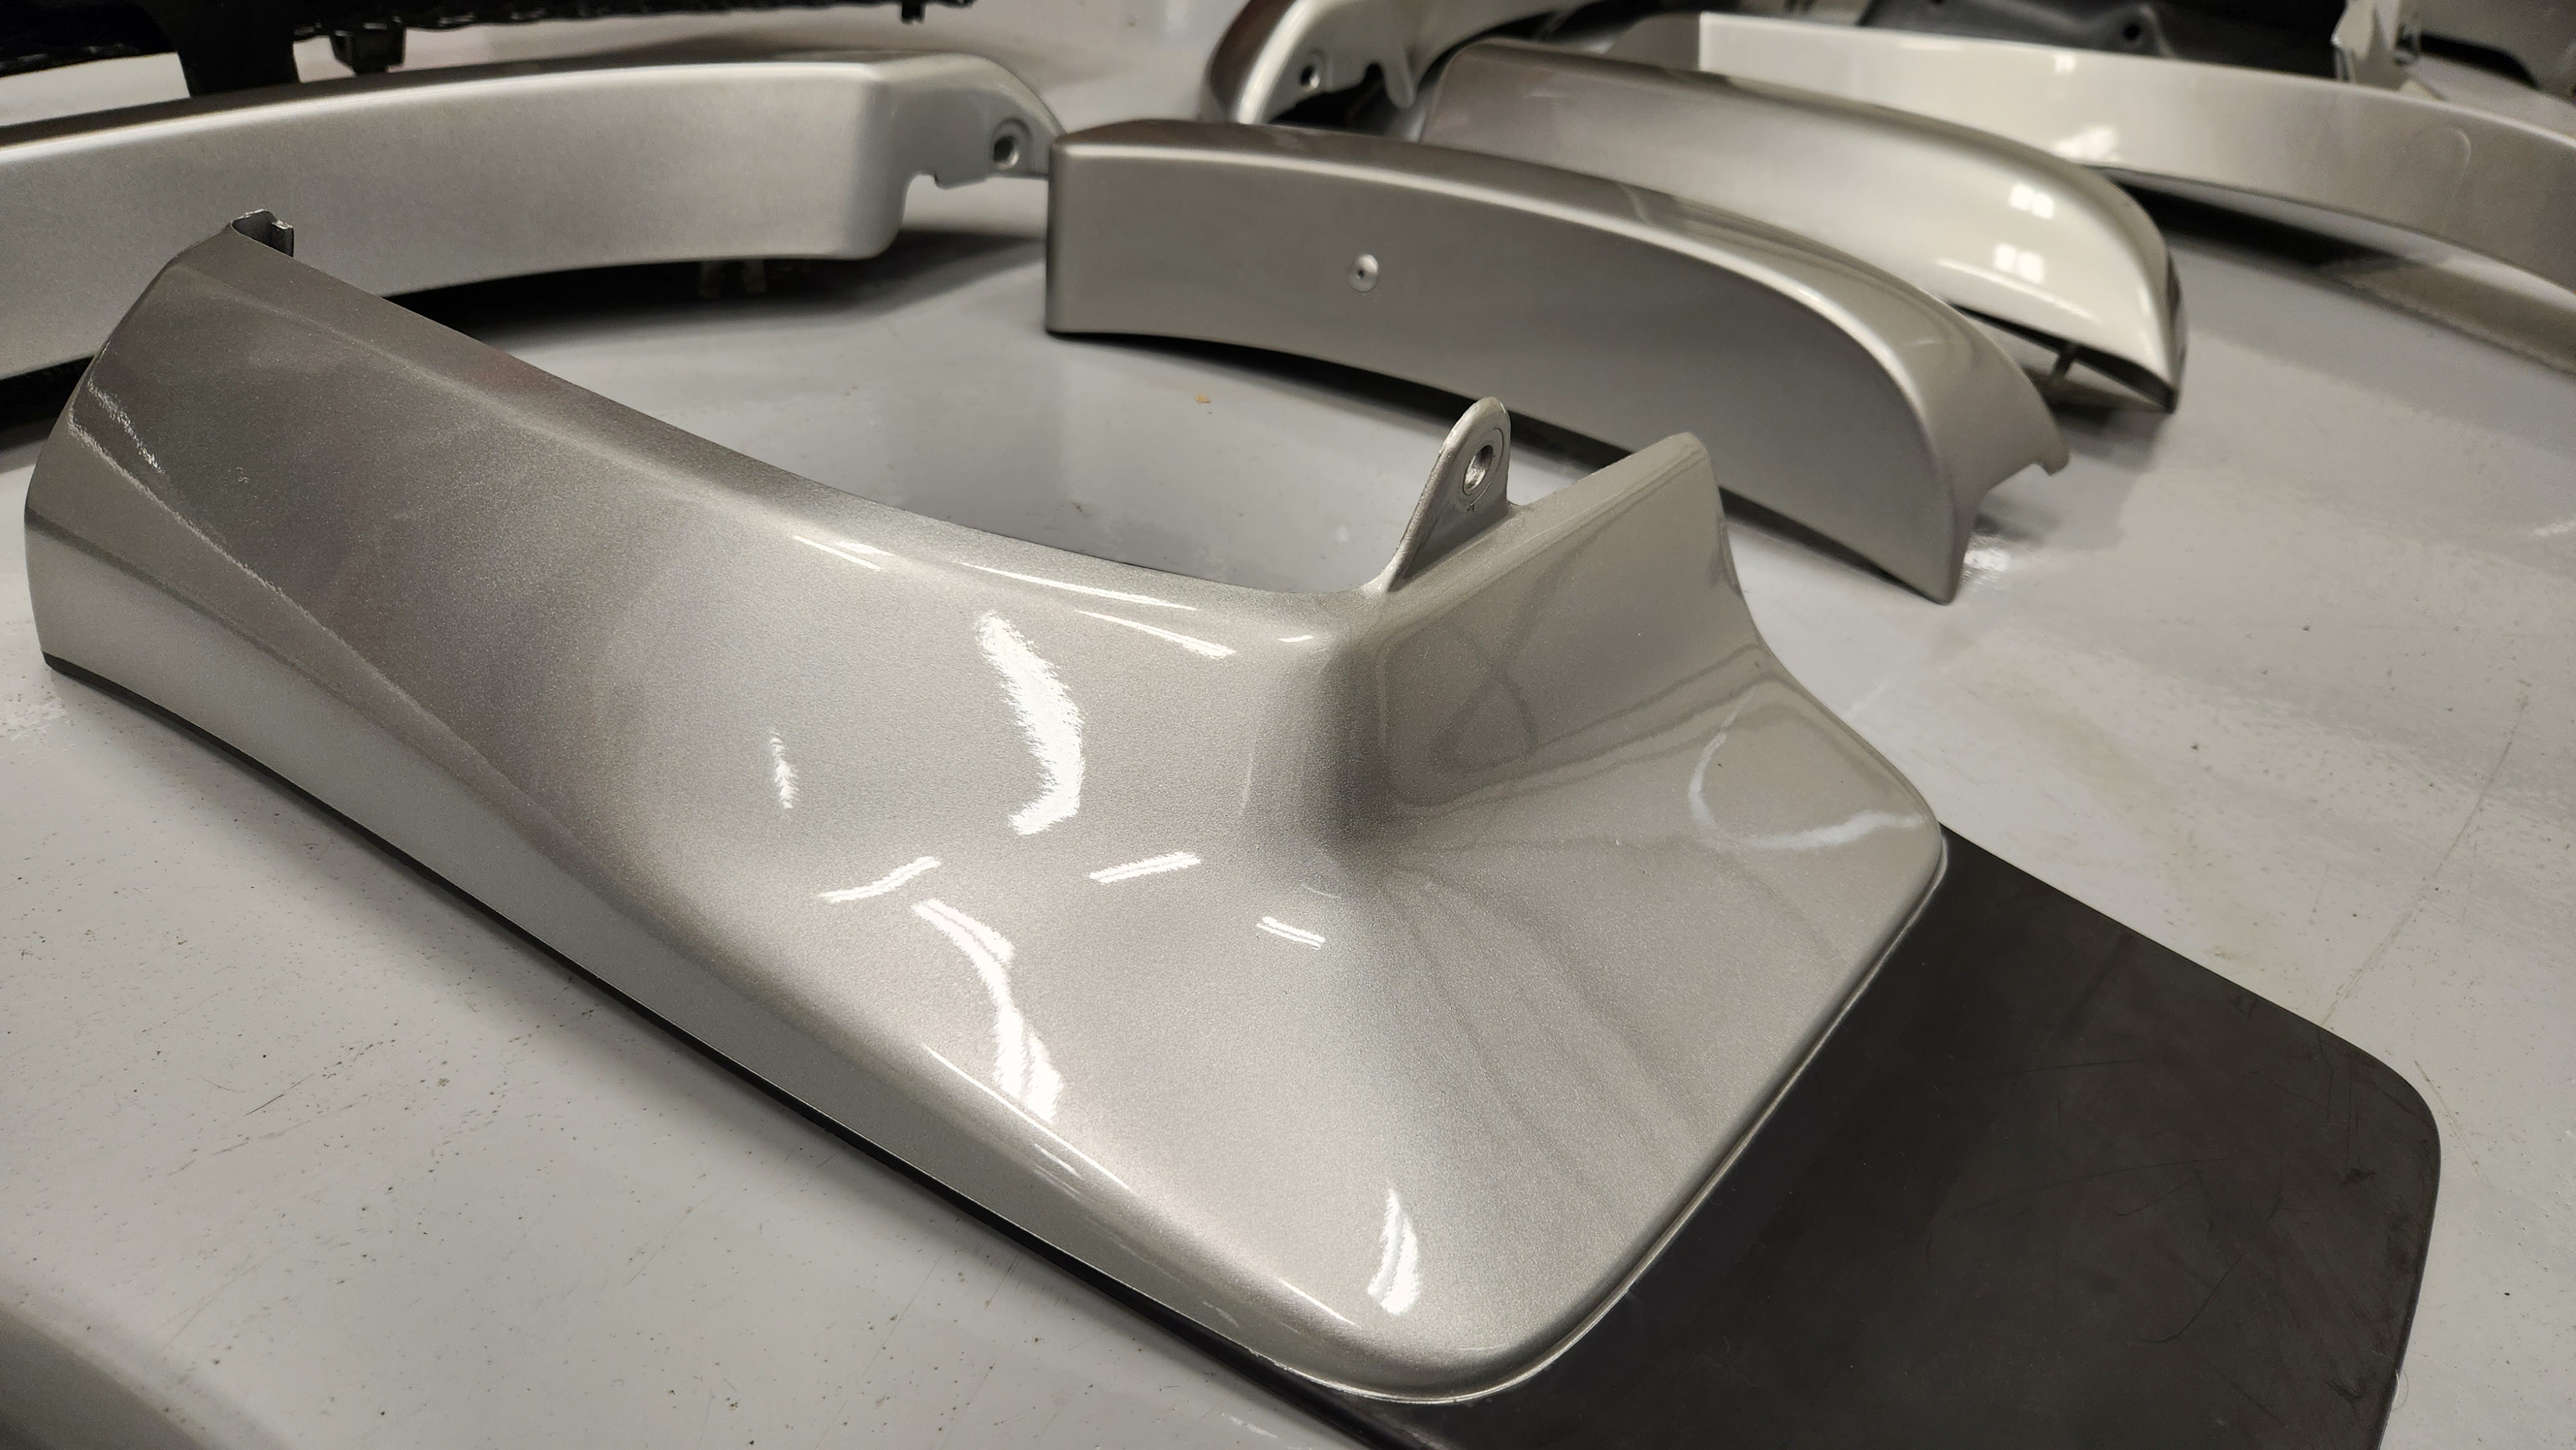
Got the flares removed, sanded, prepped, and painted and they turned out amazing. This will go a really long way in making the exterior look like new. Removal wasn't bad, but all but one pin broke. The reds and blues are no big deal and cheap online, but the white ones on the very back quarter are list at $11.99 EACH at the dealer and there's 4 per side. I'm setup as a shop so my cost was $3.99 EACH so still highway robbery for a 10 cent plastic clip but what'dya do? Don't tell Mrs. Speedy I washed them in the dishwasher :)

Since the little "wings" up front above the bumper were pretty beat up I sanded, prepped, and had those painted as well.

I've got all the installation parts on order, fender pad strips, pins, rivets, and some new clear protection film to go back on the rear ones like factory, and a few other strategic places as well.

Video in third post.

Before I re-assemble, a full detail with paint correction is in order. So that's next.

4r_flares_removed.jpg


4r_front_flare_pins.jpg


4r_rear_flare_pins.jpg


4r_ugly_ppf.jpg


4r_flares_dishwasher.jpg


4r_sanded_flares.jpg


4r_painted_flares.jpg


4r_flares_painted_2.jpg
 
Looking good!

I took my black OEM flares off and found that there had been some rubbing through the paint & some rust was created. The all black flares never had rubber edge rim so I looked around and bought this -

Amazon.com

The tape didn't stick well so I used a small amount of Gorilla Glue on the inside edge to hold the trim to the flares...small pieces of foil tape held it in place until the glue set.

It worked well and I'd bet that it's a lot less expensive than the Toyota replacements.
 

Members online

No members online now.

Forum statistics

Threads
278,310
Messages
3,554,080
Members
248,016
Latest member
Advally Service

Trending content

Back
Top