XenonDepot
New member
Enjoy [MENTION=129593]MTN4RNR[/MENTION]
I gifted myself a set of [MENTION=12905]XenonDepot[/MENTION] Xtreme HID's for the low beams on the 4Runner. I really like the ability to see as much as I can on the road, and once I saw the light output from my dad's GX (which is LED, but still much brighter) I knew that an upgrade was in order. After reviewing my options, I settled on the Xtreme HID kit, with the Philips bulbs.
Parts used:
- Xenon Depot Xtreme HID H11 kit
- Drill of choice
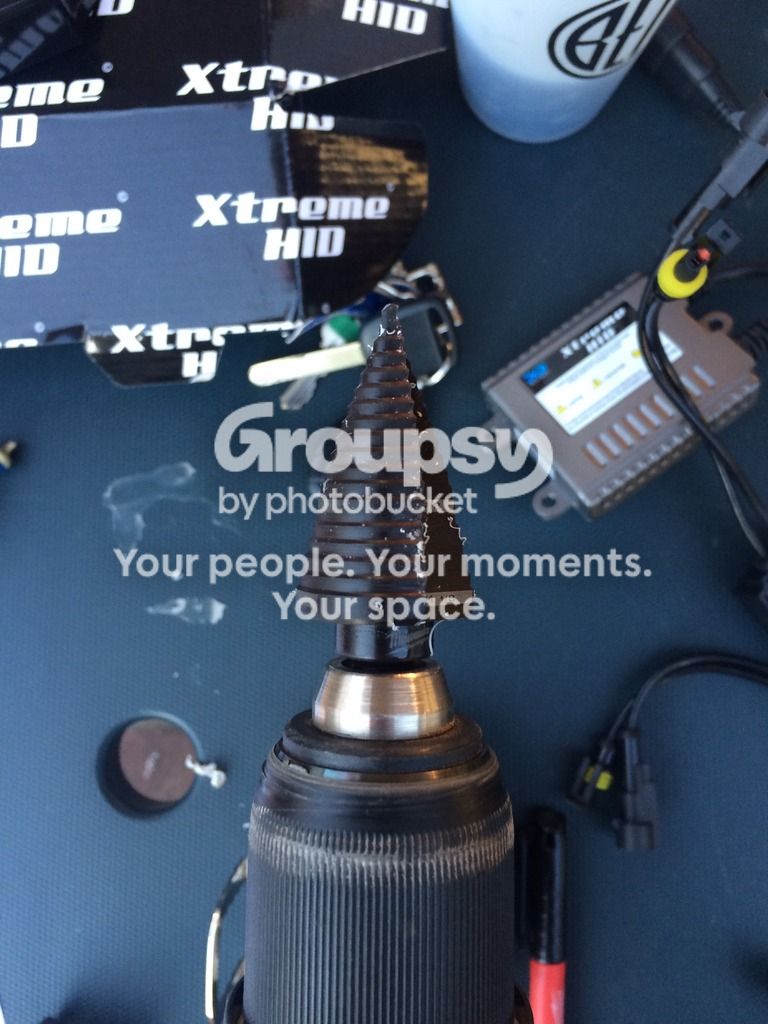
- Milwaukee #9 step drill bit
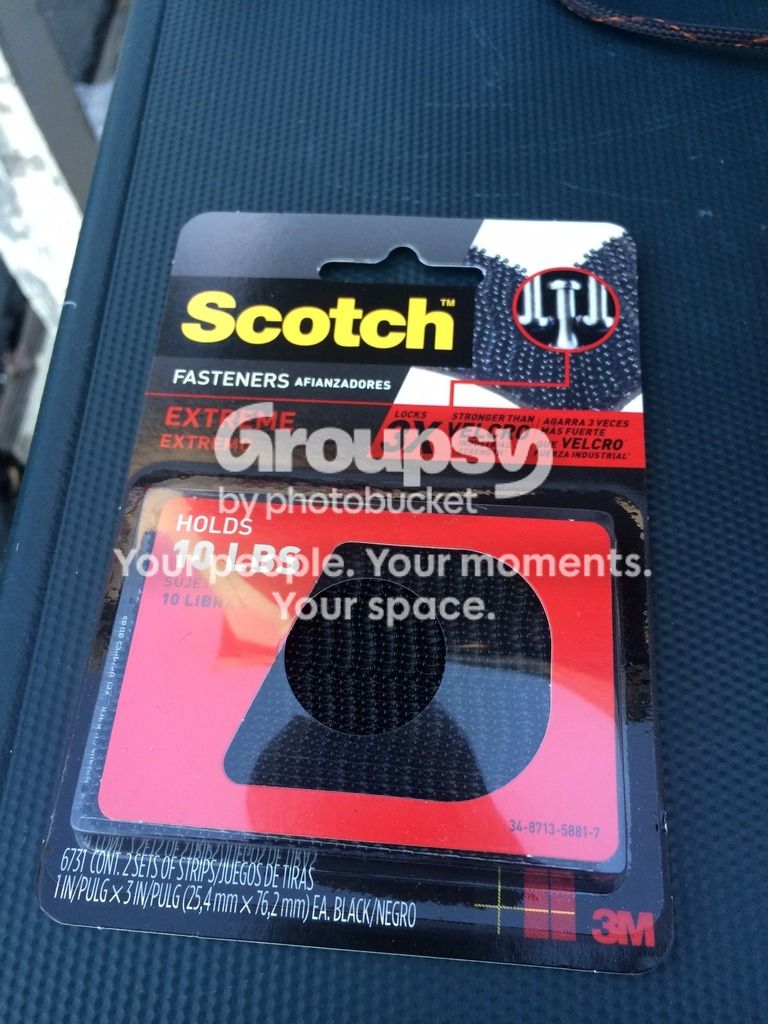
- Scotch Extreme Fasterners
- Knee Deep Brewing Midnight Hoppyness
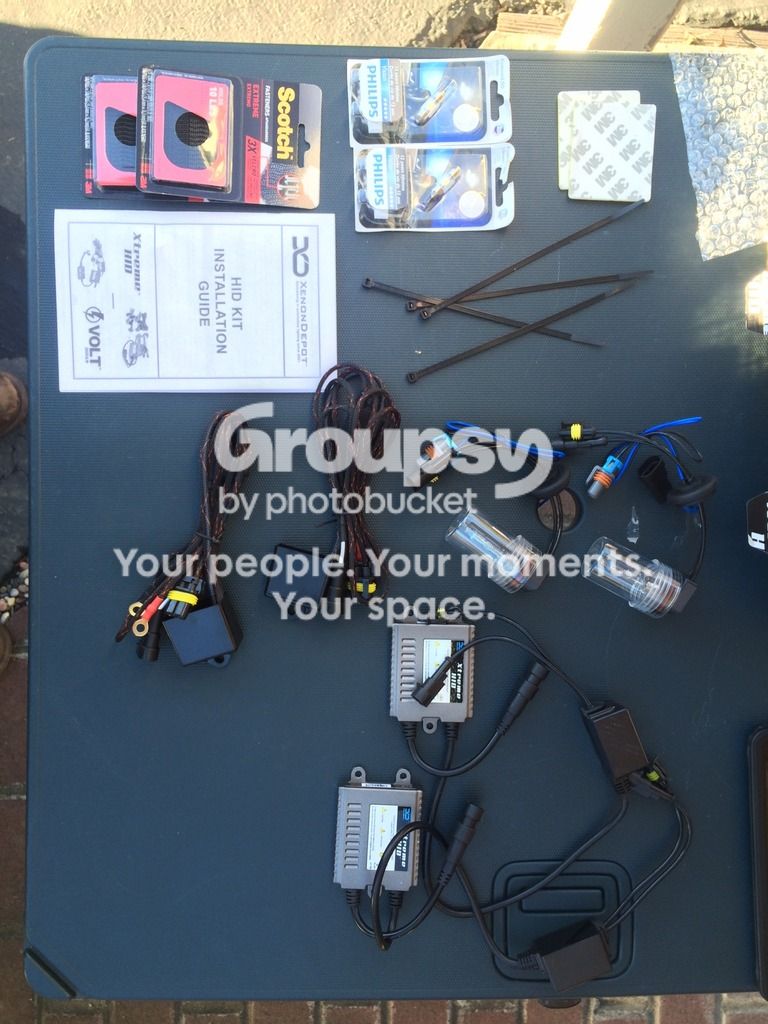
Everything laid out (including the fuses, which I didn't use)
![]()
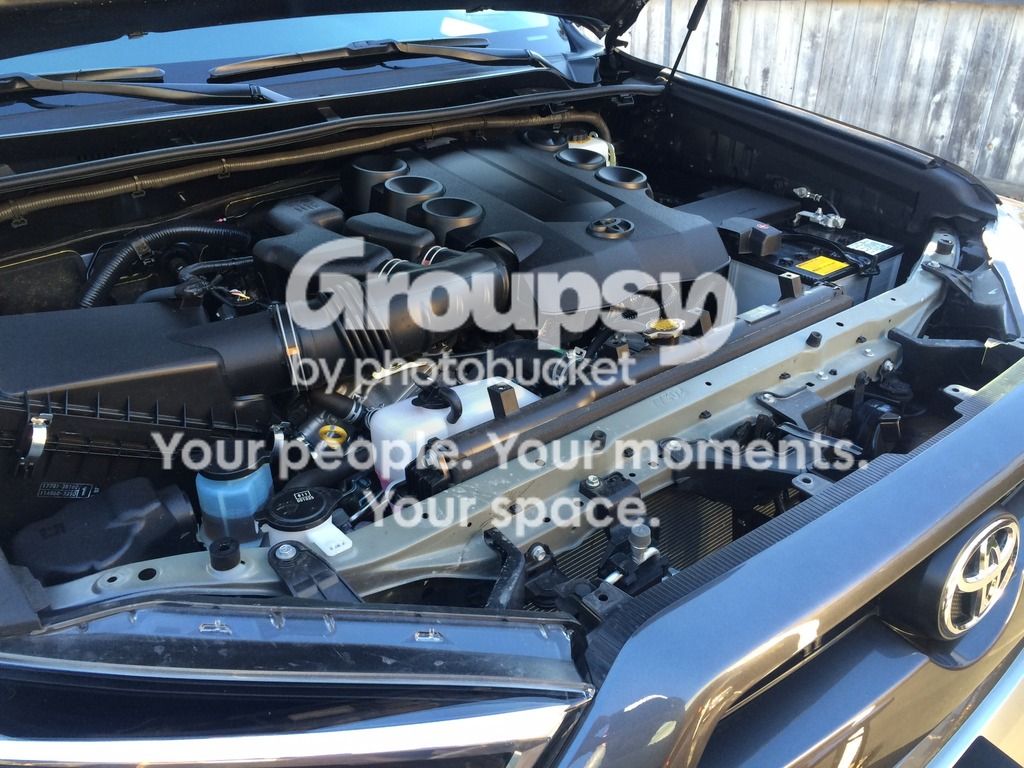
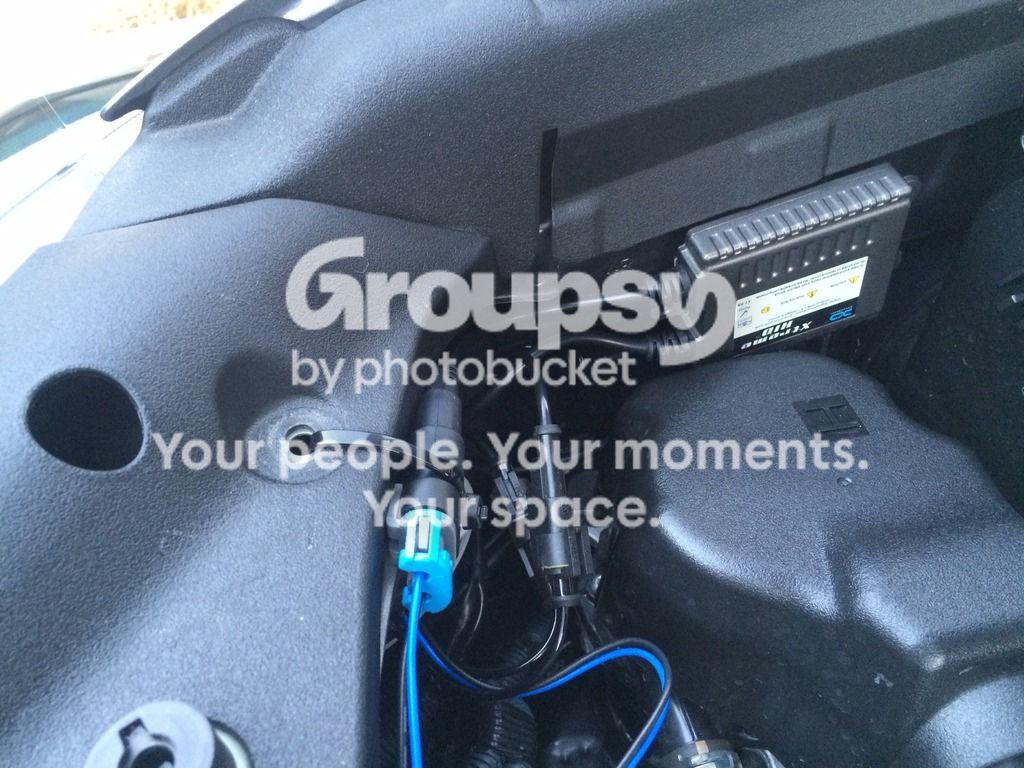
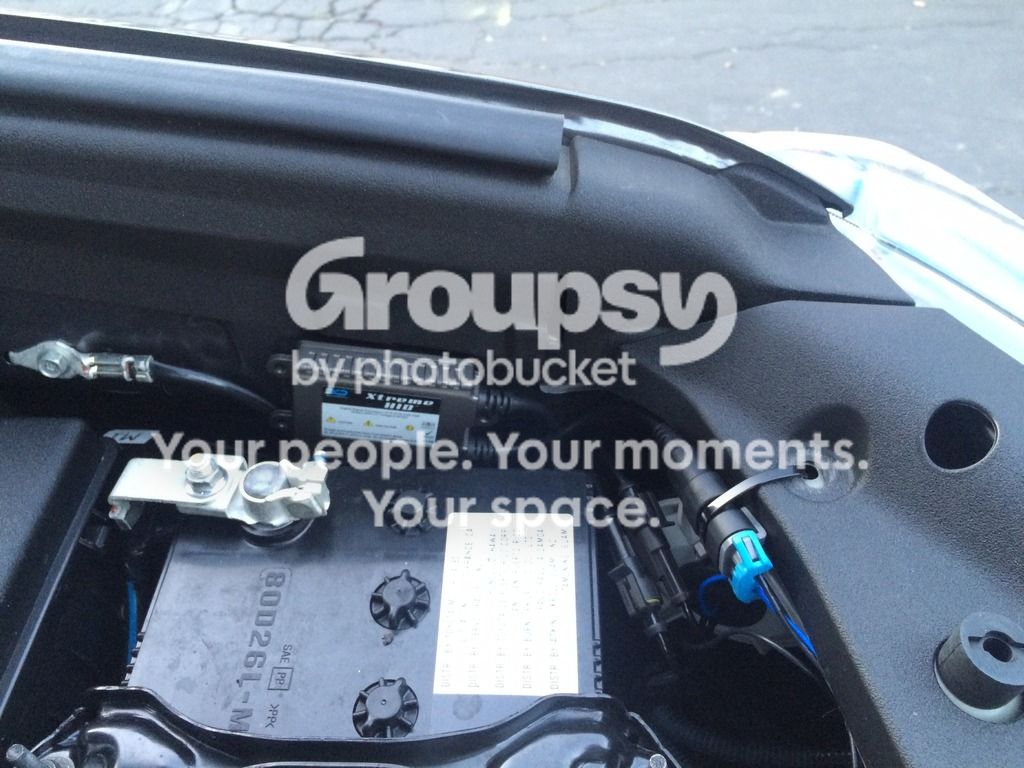
I took off the plastic cover for the radiator, not knowing whether or not I would need to. To install the kit, you do not NEED to pull this piece off, but in the end I used two of the fastener holes on the outside to zip tie the wiring into a secure position.
![]()
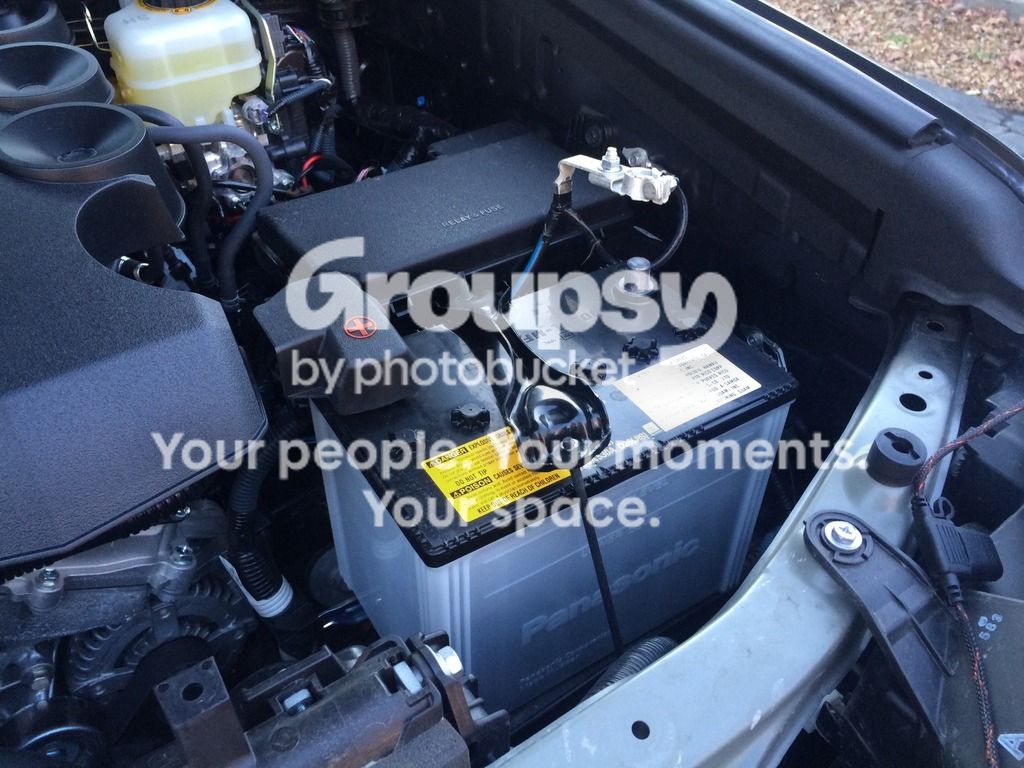
I removed the negative battery terminal, and removed one side of the battery restraint to move it towards the engine, giving me a bit more space to access the light housing
![]()
I removed the dust cap covers and drilled two 1-1/16" holes dead center. I used a Milwaukee #9 step drill. I have found that they work very well with plastic materials and producing a very clean hole. It also allows you to start with a slightly smaller hole and make it gradually larger to make sure there is a snug fit. Drilling is always hard to do on a new truck, but that's what the beer is for.
![]()
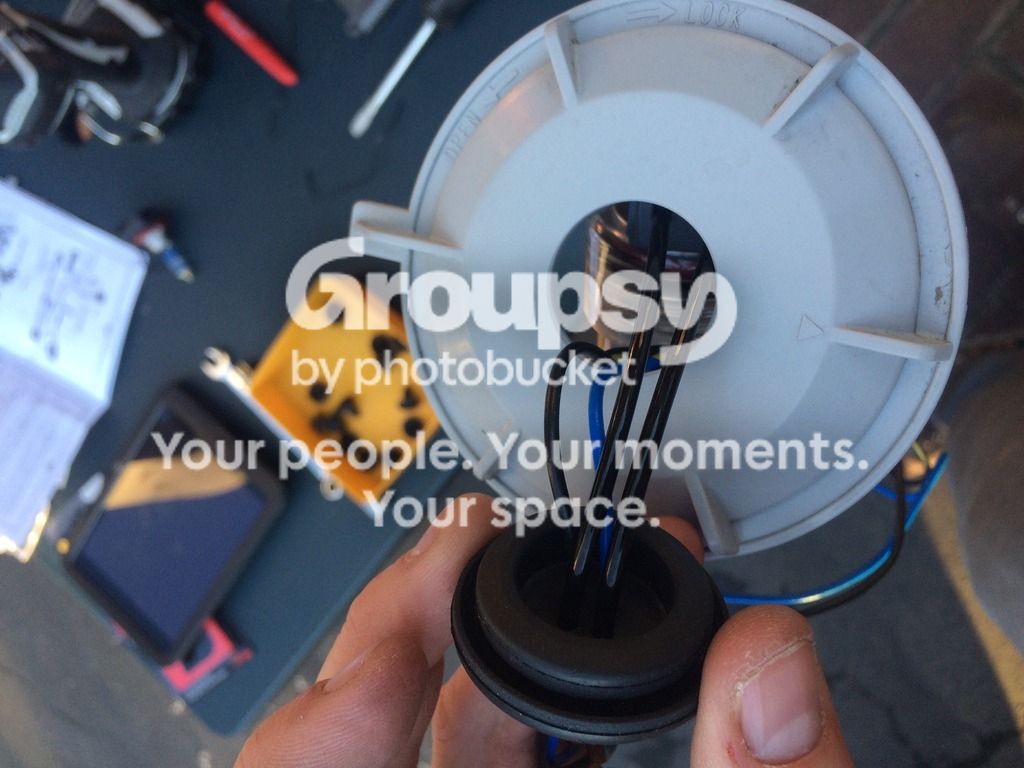
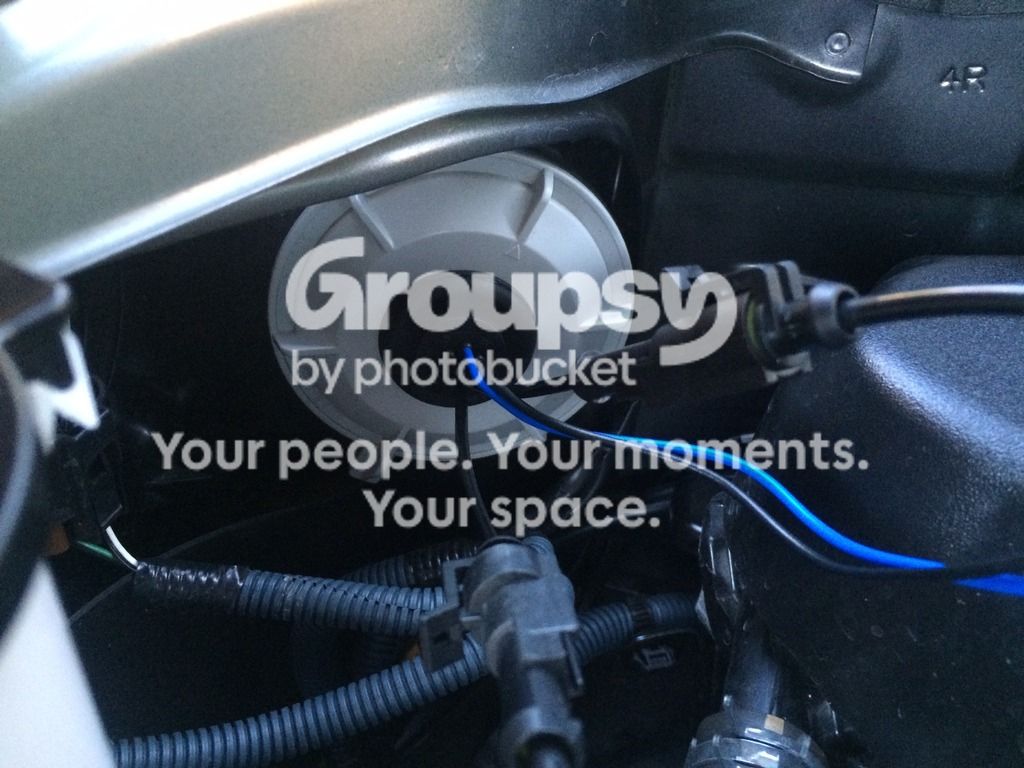
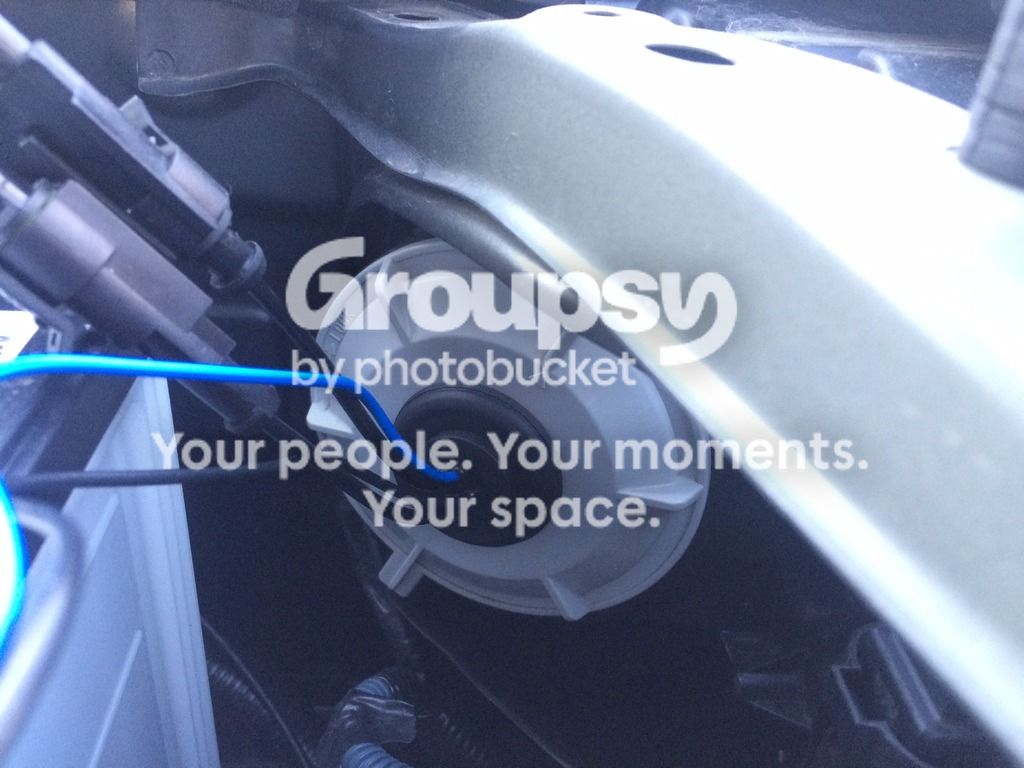
I then fed the wiring through the hole, and secured the grommet. Interestingly, I read many on this forum that didn't like the idea of drilling the hole in the cap because it would compromise the sealing ability of the housing (dust, water, etc.). What I found interesting was that in the bottom of the same housing, Toyota uses the same style grommet boot to bring the factory wiring into the housing. It would seem that this kit would not compromise any of the sealing ability in the housing than what Toyota had already installed. I didn't snap a photo, but I might remove the cap and take one to add later.
![]()
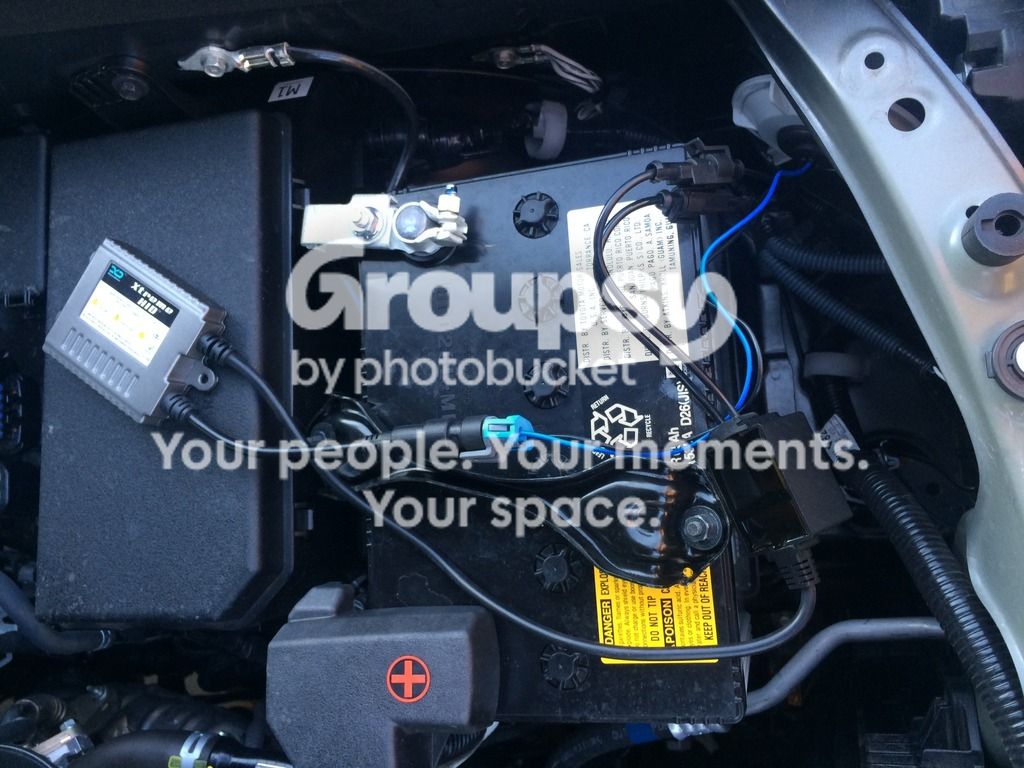
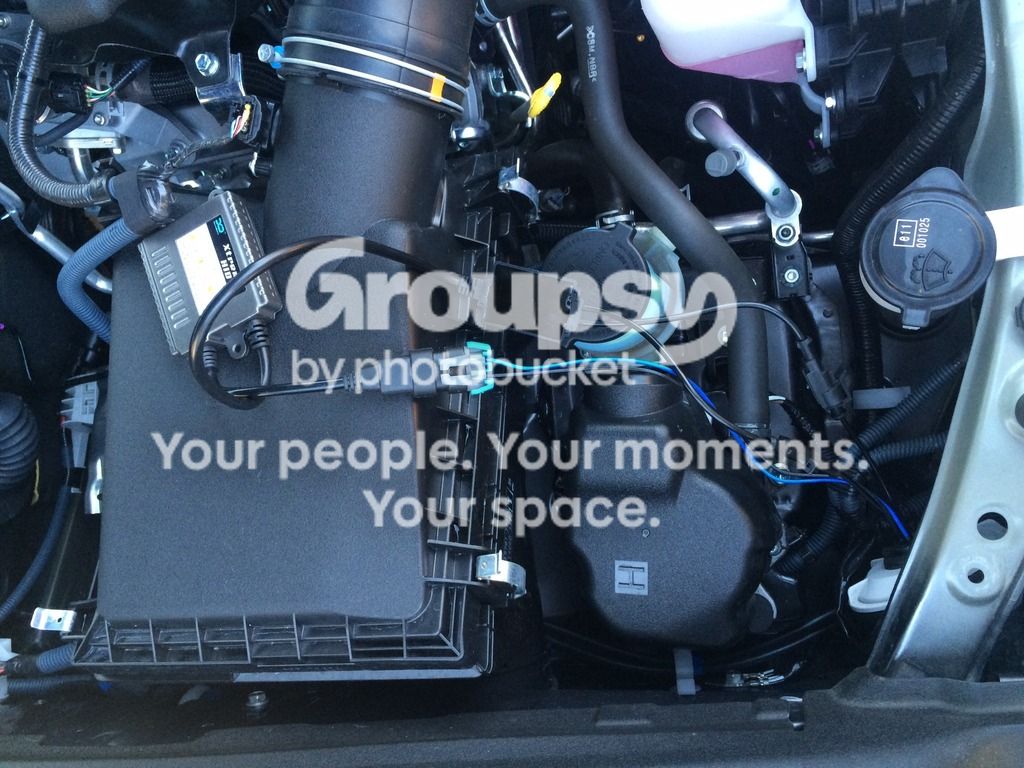
I then installed the bulbs into the housing and hooked everything up to determine if I would need to reverse the polarity on the harness as indicated in the instructions.
![]()
![]()
![]()
![]()
Turns out the system fired right up with no wire swap needed.
![]()
Clean up time. I used Scotch Extreme Fasteners to secure the ballast and harness to the inner fender sheet metal. The kit came with a double sided 3M product, but I like the idea of being able to remove the ballasts easily if needed down the road. They are rated to hold 2lbs/sq. inch and seem to hold very well. After driving around, they show no signs of moving.
![]()
Passenger side (note the zip tie holding the harness to the radiator valence/support as mentioned in the beginning)
![]()
Driver side (note the zip tie holding the harness to the radiator valence/support as mentioned in the beginning)
![]()
Now for some comparisons
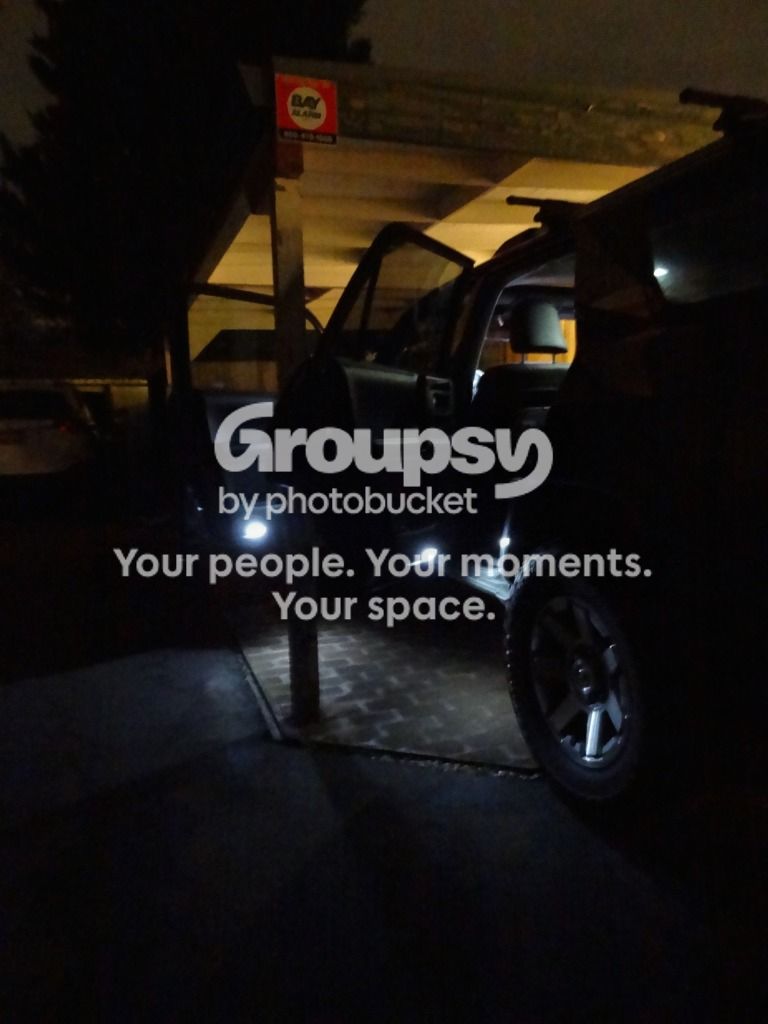
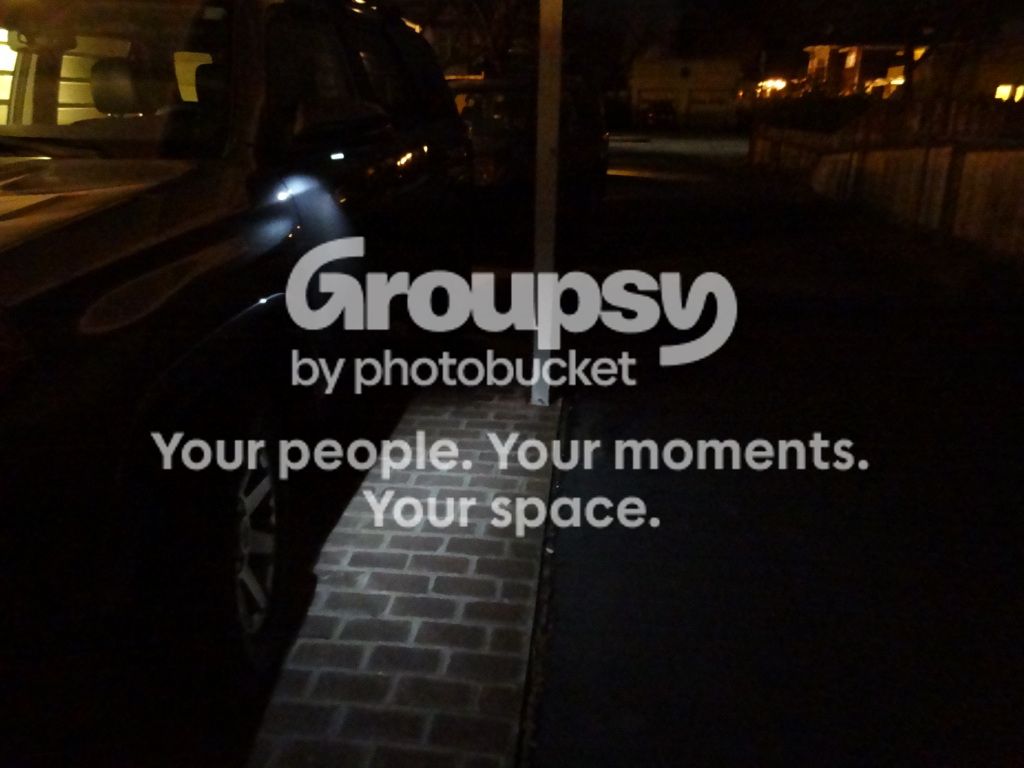
Before (no fogs)
![]()
After (no fogs)
![]()
Before (no fogs)
![]()
After (no fogs)
![]()
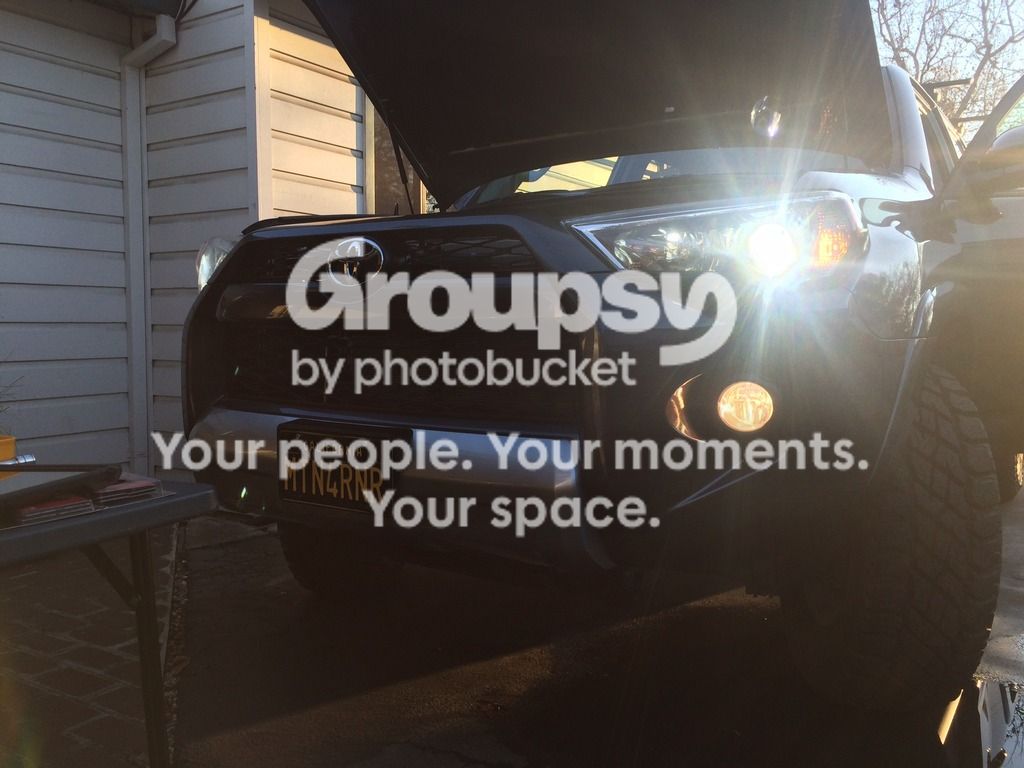
Before (sorry I don't have an identical head-on shot, but this is the best I have)
![]()
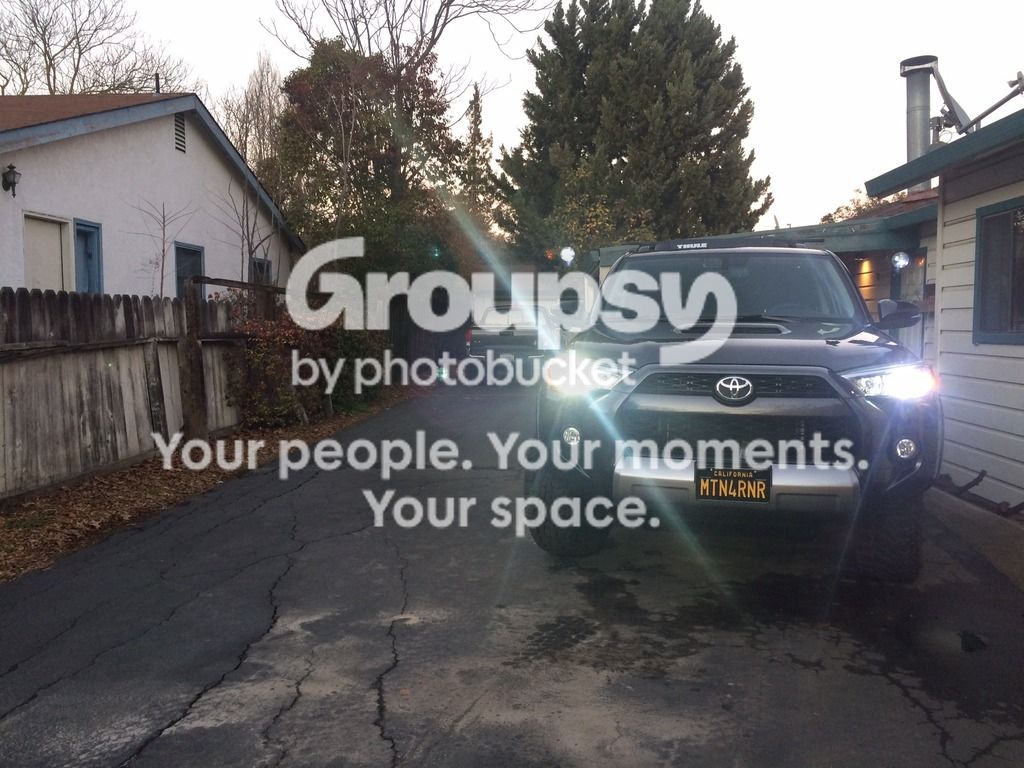
After
![]()
The photos show some of the difference, but don't do enough justice. Driving on the road, this upgrade is something that should have been included from the factory. Night and day difference. I am very happy with the product, and the outcome. Thanks [MENTION=12905]XenonDepot[/MENTION] for the great product!
Next up, Amber LED fog upgrade...
More to come...

Did this Saturday, but I'll see your Midnight Hoppiness and raise you a Hoptologist! Nice write-up, only took a couple hours of screwing around to get it done.
View attachment 188713
Which rack are you going with?
Are you going with the full length? Can't wait to see pics either way. Looking for a low profile flat rack.It will be from LabRak Roof Racks out of Bend, OR.
Are you going with the full length? Can't wait to see pics either way. Looking for a low profile flat rack.
HID write up is great. Hopefully using it this week if my lights show up. Thanks
Installing the [MENTION=12905]XenonDepot[/MENTION] Philips HIDs today using your template. Thanks for the writeup and pics.
Quick question, I'm planning on doing it pretty much exactly the way you did as far as the dust cover drilling, but I wanted to ask: you mentioned that Toyota used a similar grommet in the bottom of the dust cover to bring the stock wiring through. Is there a way to bring the HID wires in through that hole instead?
Yes, you can, but the issue becomes that that if you move the OEM connector outside of the housing, it is not a weatherproof connector. If you felt like cutting the wiring and installing weatherproof connectors on both side you could. I though about it for about 3 seconds, since I have several weatherproof connectors, but I didn't want to bastardize the OEM harness.
Installing the [MENTION=12905]XenonDepot[/MENTION] Philips HIDs today using your template. Thanks for the writeup and pics.
Quick question, I'm planning on doing it pretty much exactly the way you did as far as the dust cover drilling, but I wanted to ask: you mentioned that Toyota used a similar grommet in the bottom of the dust cover to bring the stock wiring through. Is there a way to bring the HID wires in through that hole instead?
Yes, you can, but the issue becomes that that if you move the OEM connector outside of the housing, it is not a weatherproof connector. If you felt like cutting the wiring and installing weatherproof connectors on both side you could. I though about it for about 3 seconds, since I have several weatherproof connectors, but I didn't want to bastardize the OEM harness.
It's done!
I'm not sure whats happening with embedded pictures on the forum today, but of course it'd be the day that I decide to tackle an install that all the pictures aren't working for me. :redbrick:
Anyway, I just wanted to mention that I went to 4 different hardware stores searching for a step drill bit that wasn't $50- can't justify spending that much on a bit that I only plan to use twice, and on 1/8" thick plastic to boot. I decided to take a risk and try a standard 1" hole drill ($5), and long story short my holes are nowhere near as pretty / clean as yours but the grommet fits flush and snug and the lights look killer.
Anyway sorry for the thread hijack and thanks again, man. :cheers:
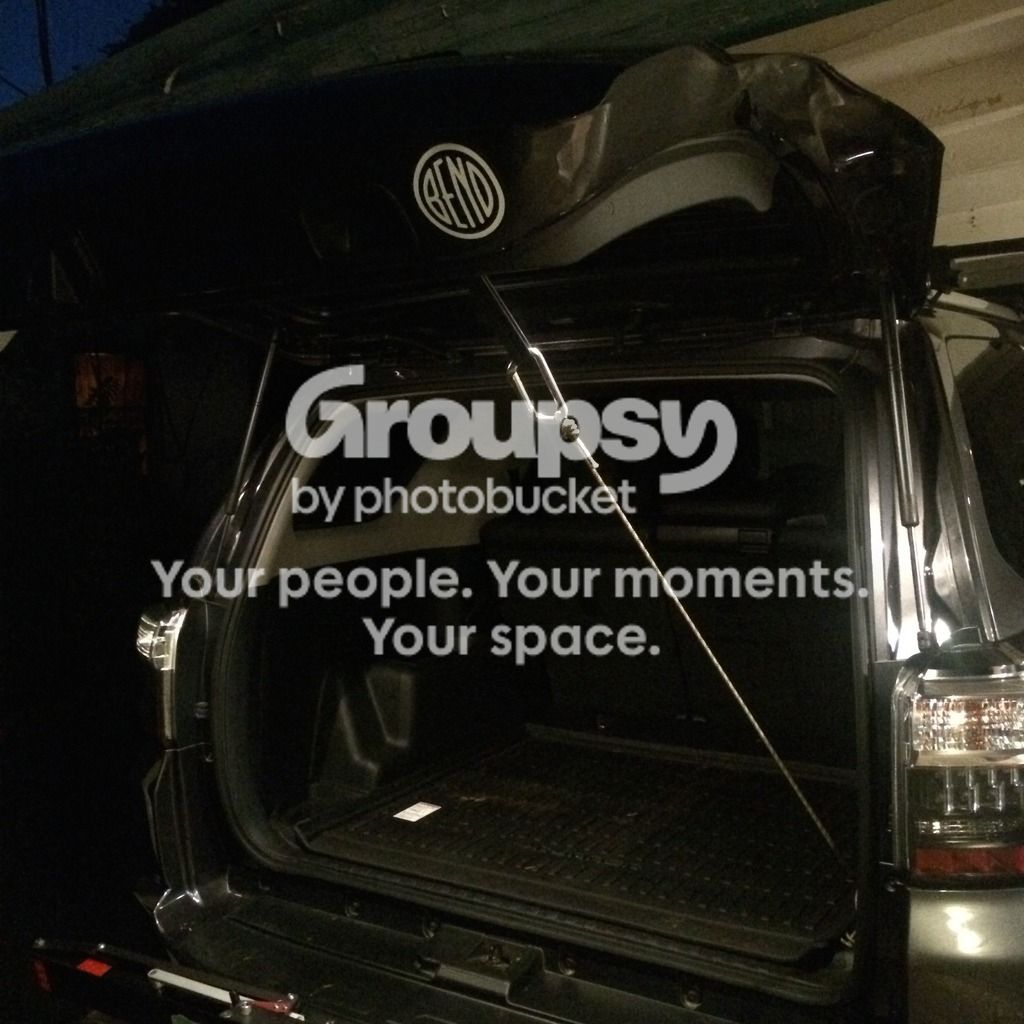
When you bring the new truck home, and the lift gate doesn't clear the overhang... Custom limiting strap, installed. Uses a Nite-Ize CamJam XT on the d-ring in the corner, and a carabiner attached to the lift gate strap.
Function>Form
![]()