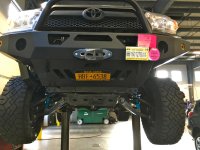
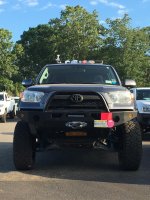
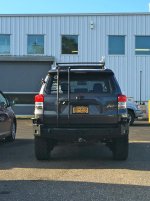
cbielat's 2011 SR5 Build Thread

Installed Body Lift 7/17/2016

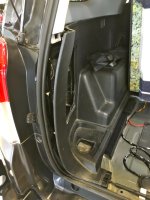
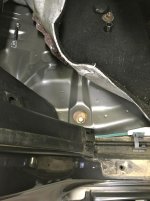
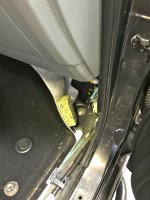
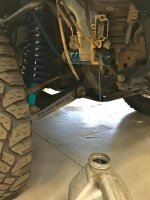
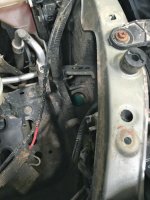
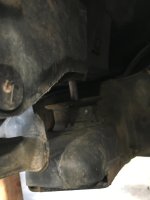
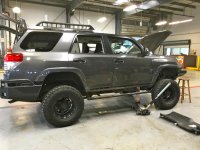
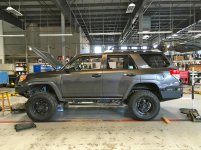
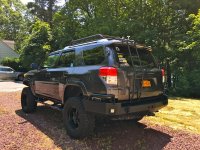
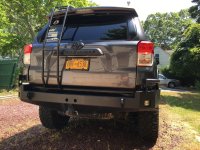
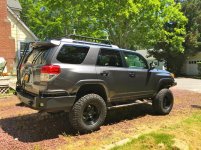
Installed my 1" body lift from Leroy with my buddy Alex. Thanks for your help as always. Went in very smoothly. If we hadn't taken a few unnecessary steps, we were done with the lift portion in a little under 3 hours somewhat taking our time.

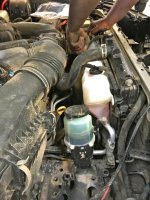
Didn't really have the right tool to cut the bottom of the fan shroud, so we went out hitting up some hardware and auto stores with no success. Ended up using a larger electric saw tip tool to cut and snap off the pieces. Talk about a hack job this seemed like LOL.

Tried to take the shroud off and snake it through the top without taking off the radiator hose. That definitely wasn't happening. But to get to the fan and shroud, we took out the washer fluid reservoir and coolant reservoir. NOT NEEDED. We were doing this to make a clean cut which never happened. We just made cuts that worked though.

It took longer to deal with the engine things than the actual lifting part of the install. It was a smooth day all things considered.
 

Attachments

  • IMG_6552.jpg
    IMG_6552.jpg
    130.2 KB · Views: 1,026
  • IMG_6553.jpg
    IMG_6553.jpg
    130.2 KB · Views: 952
  • IMG_6554.jpg
    IMG_6554.jpg
    134.9 KB · Views: 962
  • IMG_6555.jpg
    IMG_6555.jpg
    134.2 KB · Views: 946
  • IMG_6557.jpg
    IMG_6557.jpg
    130.3 KB · Views: 957
  • IMG_6556.jpg
    IMG_6556.jpg
    131.6 KB · Views: 955
  • IMG_6558.jpg
    IMG_6558.jpg
    119.2 KB · Views: 953
  • IMG_6563.jpg
    IMG_6563.jpg
    141.1 KB · Views: 978
Body Lift 7/17/2016

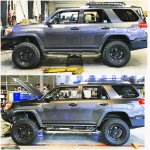
1" Body Lift Pictures

Double Picture
Top: Before
Bottom: After

Finally ripped off my rocker panels. Sliders are going to be reworked. Planning on cutting the legs off, re-angling and adding more support to them to fill up the gap. Then I'll weld them on. Looks so terrible right now.
 

Attachments

  • IMG_6560.jpg
    IMG_6560.jpg
    130.4 KB · Views: 955
  • IMG_6564.jpg
    IMG_6564.jpg
    140.2 KB · Views: 973
  • IMG_6567.jpg
    IMG_6567.jpg
    138.1 KB · Views: 1,236
Last edited:
[MENTION=47340]Titanpat57[/MENTION] It so does, especially in person. I guess I've just gotten so used to where it was at for so long.
 
Cams/Welder 7/18/2016

Dropped off the cam gussets with the welder. Will have them Friday. Praying that the following Monday or Tuesday they will be welded to the truck.:pray2:
 
Some cleaned up shots of the gaps from the 1" body lift. This should help with the rhetorical questions…if you can read.

As stated before, I plan on cutting and redesigning the angles of the sliders to angle up and fill the gap. Finally ripped off my rocker panels. Decent amount of wasted clearance. Pretty pumped on that. I've wanted to do this for a while now and should've just bought the ones for the Trail model to begin with(over 5 years ago). I'll also buy new bumper covers to cut to fill in the bumper gaps. Keep in mind, I had already cut the stock bumper covers to begin with when I put the rear and front aftermarket bumpers on also leaving room for flex. So to some, it is a little larger gap than how I've seen where others have cut their stock covers.
 

Attachments

  • IMG_6586.jpg
    IMG_6586.jpg
    144.5 KB · Views: 880
  • IMG_6578.jpg
    IMG_6578.jpg
    146.3 KB · Views: 836
  • IMG_6580.jpg
    IMG_6580.jpg
    139 KB · Views: 846
  • IMG_6583.jpg
    IMG_6583.jpg
    140.4 KB · Views: 833
  • IMG_6581.jpg
    IMG_6581.jpg
    140.4 KB · Views: 853
Last edited:
Cam Gussets 7/23/2016

Got the cam gussets back from the welder today. Shooting for next Wednesday to burn them on.
 

Attachments

  • IMG_6619.jpg
    IMG_6619.jpg
    139.5 KB · Views: 783
Everyone here is just waiting for that zombie attack to take off. Its okay... me too.

He is one of the few around here that truly pushes his truck and this isn't just for looking pretty or spending money. All that and he doesn't even live near the best trails!
 
Everyone here is just waiting for that zombie attack to take off. Its okay... me too.

Perhaps before you shoot off your mouth after just joining you should do your homework first. If you had done so, you would see that [MENTION=76550]cbielat[/MENTION] has put his LT setup through its paces...:whipping2
 
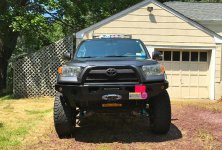
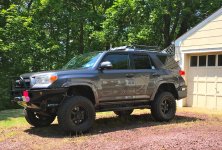
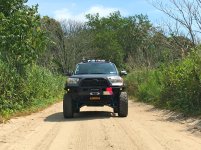
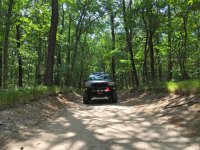
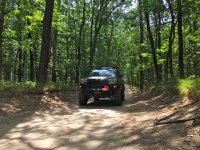
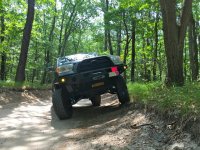
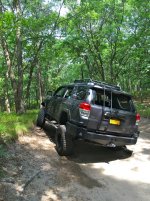
Cruised through a park I hadn't been to yet. Grabbed a few shots.
 

Attachments

  • IMG_6649.jpg
    IMG_6649.jpg
    144.4 KB · Views: 694
  • IMG_6654.jpg
    IMG_6654.jpg
    137.1 KB · Views: 706
  • IMG_6656.jpg
    IMG_6656.jpg
    140.2 KB · Views: 705
  • IMG_6668.jpg
    IMG_6668.jpg
    142.9 KB · Views: 715
  • IMG_6664.jpg
    IMG_6664.jpg
    140.9 KB · Views: 763
Where on the island is that? And I assume the pink sticker is your Southampton (private) beach pass? Stupid plovers are still keeping smith point closed.

This was just some small park in Riverhead on the water. Definitely not worth going out of your way to go to. I was just on my way back from the gym that morning and figured I'd have a look.
 
Weld on Cam Tabs 8/2/2016

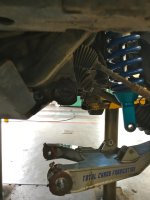
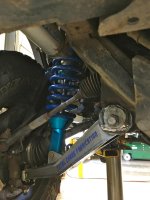
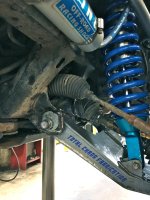
Started the process of welding on the Total Chaos cam tabs. Then while going to line one of them up to tack to the frame, I realized we welded the "ears" on the wrong side of the base tab. All were welded on the same side so a few of them wouldn't work. Only got three of the four on one side completed. Need to fix those tabs. Also tried to take an easy way out of removing the lower control arm without taking off more than needed. It's been a ***** to get it reinstalled. Lowered the perch of the coil over and tried prying the bottom shock mount back into place but it's impossible. The bottom shock mount eyelet is just slightly off but it won't let me fully seat it at the particular angle. I've left it as is because it's coming apart again soon. This is what happens when you're not exactly a mechanic lol.
 

Attachments

  • IMG_6691.jpg
    IMG_6691.jpg
    120.1 KB · Views: 1,003
  • IMG_6696.jpg
    IMG_6696.jpg
    125.9 KB · Views: 1,061
  • IMG_6701.jpg
    IMG_6701.jpg
    137.8 KB · Views: 1,183
  • IMG_6702.jpg
    IMG_6702.jpg
    134.7 KB · Views: 1,030
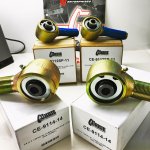
Curry Enterprises Johnny Joints 8/12/2016

Needing to replace the top two Johnny Joints on the Metal Tech upper rear links. Took an easier way out instead of rebuilding all of the internals Figured I'd just buy them all while I'm at it. The bottoms seem to be alright. In the middle of getting the bushings. Daystar is what they use and for $50 I can have them make up a set for me as they don't have this part number in stock right now.
 

Attachments

  • IMG_6743.jpg
    IMG_6743.jpg
    128.7 KB · Views: 956
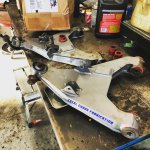
Still have yet to finish the cam tab gussets. Slowly getting there. Started replacing the bushings and uniballs in the lower control arms.
 

Attachments

  • IMG_6753.jpg
    IMG_6753.jpg
    130.2 KB · Views: 915
  • IMG_6754.jpg
    IMG_6754.jpg
    133.9 KB · Views: 918
Final Cam Tab Gusset Installation

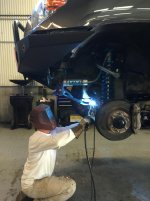
Cam gussets welded in. Definitely wasn't the best welding job although the tabs that were tig welded to the base of the tabs came out awesome. Pretty bummed about that but it should work. Alignment is next and need to paint over the ground down areas. Sitting almost normal again now.
 

Attachments

  • IMG_6759.jpg
    IMG_6759.jpg
    131.1 KB · Views: 879
  • IMG_6760.jpg
    IMG_6760.jpg
    130.1 KB · Views: 869
  • IMG_6761.jpg
    IMG_6761.jpg
    135.6 KB · Views: 871
  • IMG_6763.jpg
    IMG_6763.jpg
    142.9 KB · Views: 880
  • IMG_6764.jpg
    IMG_6764.jpg
    135.9 KB · Views: 891
How long/miles did your bushings and uni-balls last? Were they real bad, or was this more preventative....
 

Members online

No members online now.

Forum statistics

Threads
278,309
Messages
3,554,075
Members
248,016
Latest member
Advally Service

Trending content

Back
Top