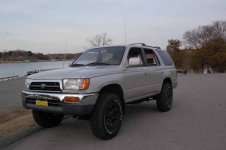
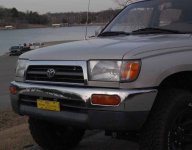
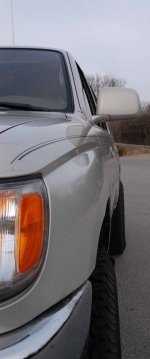
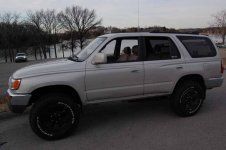
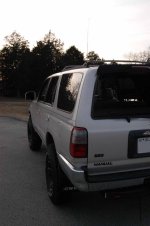
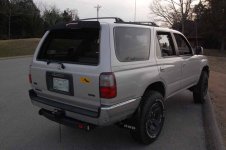
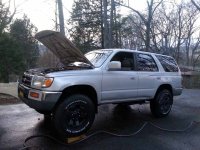
Chuckles' 98 Manual SR5 4Runner

Straight Pipe Exhaust

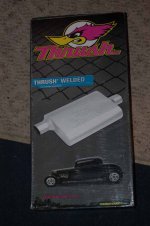
I wound up ordering the single LEDs instead of the light bar. I don't know when they will get here. I did the straight pipe exhaust today... It is SOOOOOOOO loud! I don't recommend anyone to do it! I am ordering a Thrush Welded muffler to clamp in to my pipes.

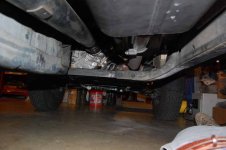
Edit: After driving around with the exhaust, I got used to it. It did sound great, but it was so loud that I was afraid of getting pulled over. I did not notice any increases/ decreases in power. Gas mileage was the same. For clarification, I replaced the muffler with a pipe, retaining the stock tailpipe all the way to the back.
 
Last edited:
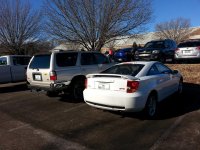
A pic of the soon to be "classic" yotas. The Celica turned 15 years old this month! Why can't Toyota make cars and trucks like these anymore!

2015-01-18 09.38.34.jpg
 

Attachments

  • 2015-01-18 09.38.34.jpg
    2015-01-18 09.38.34.jpg
    136.6 KB · Views: 1,319
Lots of goodies came yesterday and today!

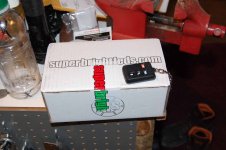
I got my $17 remote working with the lock/ unlock. I still need to program the alarm.

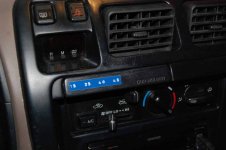
I got my LEDs for the HVAC controls, license plate lights, and dome lights. The dome lights were $10 for both, but were well worth it for how bright they are. I got the warm white because the cool white was out of stock and they look like regular bulbs, but are a lot brighter.

My Air Lift 1000 came today and I put it in. No more sagging! I have the bags at 20 PSI currently and it felt good going around the block. I'm going to try 15 and 10 Thursday and Friday.

My Thrush Welded muffler came in. It looks to be great quality- especially for a $30 Chinese muffler. The welds look much cleaner than the Walker. I just need to buy one more clamp and I'll put it in. I'm going to paint it black along with the rest of the tailpipe.

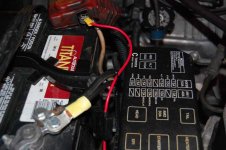
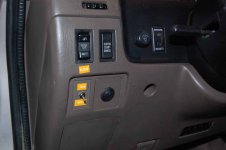
My switches and in-line fuse holders came in. I went ahead and wired up the in-line fuse to the battery. I also pre-installed the switch in the dash. I used another switch to put an interrupter for the door dinger on the driver's door so I can turn it off when the key is in and I don't want it to ding.

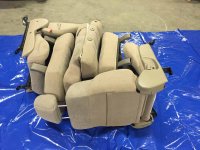
My "new" seats will be shipped soon!
 
AirLift 1000 Results

Me and my dad got the Thrush clamped in! It's a lot quieter than a Flowmaster 40 (and straight piped)- that's a good thing. It sounds great! Pictures and a video will come shortly.

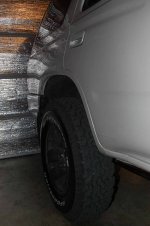
The Airlift 1000 gives me 1/2" of lift at 15 PSI. That's good for around town and it sits level. It actually looks like a lifted truck now haha.
 
Last edited:
LED Reverse Lights

My LEDs came today! I wired them in and they are awesome! I'll let the pics do the talking

Stock reverse lights
1998 4Runner 131.jpg

1998 4Runner 130.jpg

LEDs only
1998 4Runner 129.jpg

1998 4Runner 128.jpg

Both
1998 4Runner 127.jpg

1998 4Runner 126.jpg

Another cool milestone!
2015-01-28 16.20.00.jpg
 

Attachments

  • 1998 4Runner 131.jpg
    1998 4Runner 131.jpg
    40.9 KB · Views: 962
  • 1998 4Runner 130.jpg
    1998 4Runner 130.jpg
    23.7 KB · Views: 978
  • 1998 4Runner 129.jpg
    1998 4Runner 129.jpg
    65.8 KB · Views: 946
  • 1998 4Runner 128.jpg
    1998 4Runner 128.jpg
    51.4 KB · Views: 933
  • 1998 4Runner 127.jpg
    1998 4Runner 127.jpg
    70.3 KB · Views: 951
  • 1998 4Runner 126.jpg
    1998 4Runner 126.jpg
    54.6 KB · Views: 941
  • 2015-01-28 16.20.00.jpg
    2015-01-28 16.20.00.jpg
    134.6 KB · Views: 968
Last edited:
I actually just ordered some AUX backup lights, how did you wire them? Do you have it so when you put it in reverse they turn on? Or is it just a switch?
 
I actually just ordered some AUX backup lights, how did you wire them? Do you have it so when you put it in reverse they turn on? Or is it just a switch?

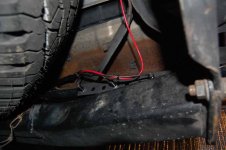
I have a positive wire running from the battery (through an in-line fuse) to a switch in the cab. From there, the wire goes through a drain hole in the floor and it's attached to the frame all the way back to the hitch area. (When I get my vinyl floor kit, I will be running the wire inside most of the way instead of under the truck the whole time.) I have the 6 positive wires soldered to the lead wire. For the ground, I soldered the six negative wires together and it goes to a bolt. I made two brackets for the lights- I'm planning on taking pictures tomorrow.

What lights did you get?
 
General Updates/ Pictures

LED Lights and Remote
1998 4Runner 540.jpg

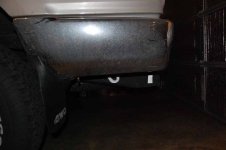
How the Rear Sits with AirLift 1000
1998 4Runner 542.jpg

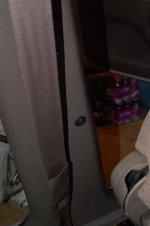
Door Sensor Switch
1998 4Runner 545.jpg

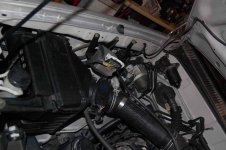
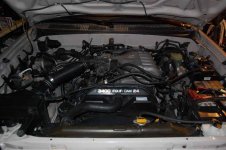
Updated Engine Pic- With Black Denso Wires!
1998 4Runner 569.jpg

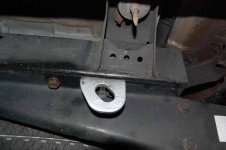
Painted Tow Hook(s)
1998 4Runner 551.jpg

1998 4Runner 552.jpg
 

Attachments

  • 1998 4Runner 540.jpg
    1998 4Runner 540.jpg
    64.4 KB · Views: 938
  • 1998 4Runner 542.jpg
    1998 4Runner 542.jpg
    46 KB · Views: 957
  • 1998 4Runner 545.jpg
    1998 4Runner 545.jpg
    53.4 KB · Views: 921
  • 1998 4Runner 569.jpg
    1998 4Runner 569.jpg
    74.6 KB · Views: 925
  • 1998 4Runner 551.jpg
    1998 4Runner 551.jpg
    52.2 KB · Views: 963
  • 1998 4Runner 552.jpg
    1998 4Runner 552.jpg
    45.7 KB · Views: 927
Thrush Welded/ LED Reverse Lights

Thrush Welded!
1998 4Runner 563.jpg

1998 4Runner 554.jpg

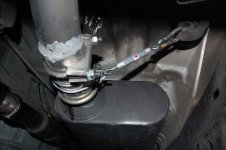
Our Cradle Hanger- Wire rope strung between two snap links put into the rubber isolators on each side. The turnbuckle is for adjustment. Before, I had bailing wire directly to the metal hooks on the frame. Using the rubber isolators reduced the interior drone significantly.
1998 4Runner 558.jpg

1998 4Runner 561.jpg

In-Line Fuse from the Battery
1998 4Runner 564.jpg

Switch- Blue LED is lit when in the "on" position
1998 4Runner 543.jpg

Back of LEDs
1998 4Runner 548.jpg

Light Bracket- there is another just like it on the passenger side
1998 4Runner 547.jpg
 

Attachments

  • 1998 4Runner 563.jpg
    1998 4Runner 563.jpg
    76 KB · Views: 1,041
  • 1998 4Runner 554.jpg
    1998 4Runner 554.jpg
    43.8 KB · Views: 972
  • 1998 4Runner 558.jpg
    1998 4Runner 558.jpg
    54.6 KB · Views: 1,277
  • 1998 4Runner 561.jpg
    1998 4Runner 561.jpg
    56.7 KB · Views: 970
  • 1998 4Runner 564.jpg
    1998 4Runner 564.jpg
    79 KB · Views: 1,074
  • 1998 4Runner 543.jpg
    1998 4Runner 543.jpg
    46 KB · Views: 1,037
  • 1998 4Runner 548.jpg
    1998 4Runner 548.jpg
    60 KB · Views: 928
  • 1998 4Runner 547.jpg
    1998 4Runner 547.jpg
    55 KB · Views: 935
Seats!

My "new" 50,000 mile seats have been shipped!

1998 4Runner 574.jpg

1998 4Runner 577.jpg
 

Attachments

  • 1998 4Runner 574.jpg
    1998 4Runner 574.jpg
    85 KB · Views: 939
  • 1998 4Runner 577.jpg
    1998 4Runner 577.jpg
    91.4 KB · Views: 929
Center Console Lid

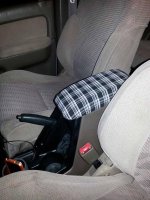
I recovered my center console lid with some foam and fabric I had laying around. I filled in the hole with a piece if cardboard and a quarter I found in the truck.
2015-01-31 20.13.34.jpg
 

Attachments

  • 2015-01-31 20.13.34.jpg
    2015-01-31 20.13.34.jpg
    136.4 KB · Views: 907
New Seats!

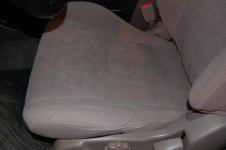
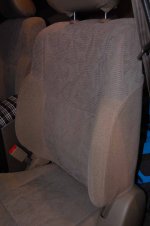
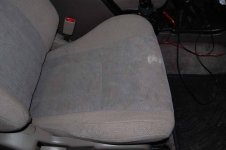
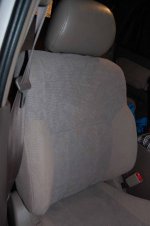
I got my new seats yesterday! $325 for all four seats and they are like-new (there is a stain on the passenger seat). I only have the front ones in. I'll put the new rears in when I get a vinyl floor kit.

1998 4Runner 584.jpg

1998 4Runner 585.jpg

1998 4Runner 587.jpg

1998 4Runner 588.jpg


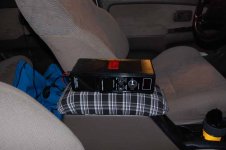
My old CB
1998 4Runner 589.jpg

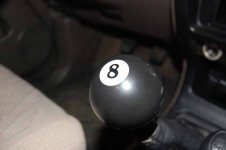
"Artsy" Pics haha
1998 4Runner 590.jpg

1998 4Runner 595.jpg
 

Attachments

  • 1998 4Runner 584.jpg
    1998 4Runner 584.jpg
    46.9 KB · Views: 878
  • 1998 4Runner 585.jpg
    1998 4Runner 585.jpg
    77.4 KB · Views: 892
  • 1998 4Runner 587.jpg
    1998 4Runner 587.jpg
    53.5 KB · Views: 878
  • 1998 4Runner 588.jpg
    1998 4Runner 588.jpg
    74.3 KB · Views: 889
  • 1998 4Runner 589.jpg
    1998 4Runner 589.jpg
    56 KB · Views: 860
  • 1998 4Runner 590.jpg
    1998 4Runner 590.jpg
    37 KB · Views: 884
  • 1998 4Runner 595.jpg
    1998 4Runner 595.jpg
    54.1 KB · Views: 874
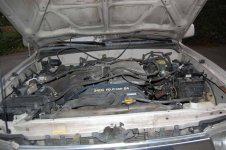
Engine Detailing/ Fender Repair/ Tire Shine

I started detailing the engine bay paint with goof off
1998 4Runner 579.jpg

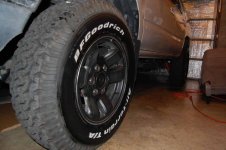
I bled the brakes again and figured I would shine up the tires with some brake fluid
1998 4Runner 586.jpg

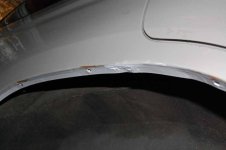
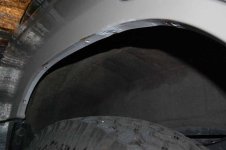
My rust repair. I wire wheeled the rust down to bare metal, cleaned it, and painted it with Ace Rust Stop paint.
1998 4Runner 591.jpg

1998 4Runner 592.jpg

1998 4Runner 594.jpg

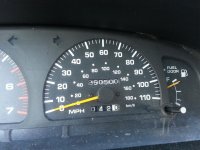
I added a label of the suggested shift points
1998 4Runner 596.jpg

and a reminder for me to log my mileage on fuelly.
1998 4Runner 597.jpg
 

Attachments

  • 1998 4Runner 579.jpg
    1998 4Runner 579.jpg
    73.8 KB · Views: 890
  • 1998 4Runner 586.jpg
    1998 4Runner 586.jpg
    68 KB · Views: 922
  • 1998 4Runner 591.jpg
    1998 4Runner 591.jpg
    37.6 KB · Views: 881
  • 1998 4Runner 592.jpg
    1998 4Runner 592.jpg
    45.1 KB · Views: 861
  • 1998 4Runner 594.jpg
    1998 4Runner 594.jpg
    101.9 KB · Views: 888
  • 1998 4Runner 596.jpg
    1998 4Runner 596.jpg
    53.5 KB · Views: 859
  • 1998 4Runner 597.jpg
    1998 4Runner 597.jpg
    49 KB · Views: 866
Last edited:
Page 10! Pictures at the Lake

Pictures at the Lake
1.jpg

2.jpg

3.jpg

4.jpg

5.jpg

6.jpg


More Oil Washing- I'm surprised how much still comes off after doing it almost ten times
7.jpg
 

Attachments

  • 1.jpg
    1.jpg
    54.2 KB · Views: 1,389
  • 2.jpg
    2.jpg
    61.1 KB · Views: 1,263
  • 3.jpg
    3.jpg
    102 KB · Views: 1,173
  • 4.jpg
    4.jpg
    64.8 KB · Views: 1,142
  • 5.jpg
    5.jpg
    86.4 KB · Views: 1,152
  • 6.jpg
    6.jpg
    63.9 KB · Views: 1,190
  • 7.jpg
    7.jpg
    118.9 KB · Views: 1,499
Engine Bay Cleaning

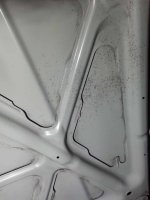
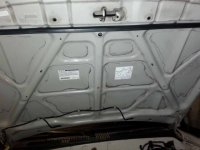
More Cleaning with Goof Off...

Before
1998 4Runner 607.jpg

Passenger half of hood has been cleaned

1998 4Runner 606.jpg

The final results!

1998 4Runner 609.jpg

1998 4Runner 608.jpg

1998 4Runner 610.jpg

1998 4Runner 612.jpg

1998 4Runner 613.jpg

Comparison of engine when I got it
1998 4Runner 159.jpg
 

Attachments

  • 1998 4Runner 607.jpg
    1998 4Runner 607.jpg
    66.7 KB · Views: 1,103
  • 1998 4Runner 606.jpg
    1998 4Runner 606.jpg
    58.5 KB · Views: 1,115
  • 1998 4Runner 609.jpg
    1998 4Runner 609.jpg
    64.7 KB · Views: 1,134
  • 1998 4Runner 608.jpg
    1998 4Runner 608.jpg
    53.9 KB · Views: 1,095
  • 1998 4Runner 610.jpg
    1998 4Runner 610.jpg
    67.2 KB · Views: 1,123
  • 1998 4Runner 612.jpg
    1998 4Runner 612.jpg
    55.8 KB · Views: 1,118
  • 1998 4Runner 613.jpg
    1998 4Runner 613.jpg
    70.3 KB · Views: 1,141
  • 1998 4Runner 159.jpg
    1998 4Runner 159.jpg
    85.2 KB · Views: 1,308
Last edited:
Got a few updates. I've been driving the Celica this week for two reasons:

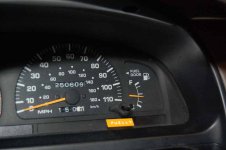
1. I'm getting new LBJs due to them having 250,000 miles on them and they are binding up when turning the steering wheel.
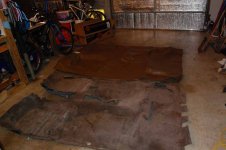
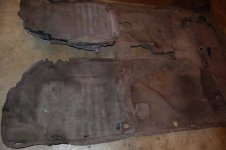
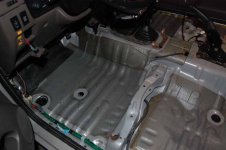
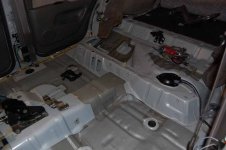
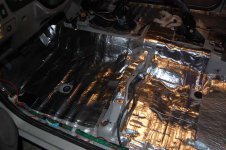
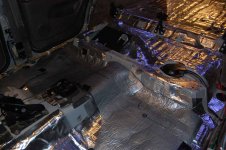
2. I have ordered a vinyl floor kit and I'm stripping out the interior to get ready for it.

I moved the ECU for the RS3000 to behind the radio so I have more room for stuff under the driver's seat. I also moved the antenna to the a- pillar for better reception. I haven't tested it yet though.

I need to buy some wires to run a sub to the back so they can be under the carpet. This looks like a good kit for the money Amazon.com: BOSS Audio KIT2 8 Gauge Amplifier Installation Kit: Car Electronics

I also want to run a wire for my future CB Amazon.com: 18' RG-58A/U Coaxial Cable With Pl-259 Connectors: Automotive

While I'm thinking about CBs, this is what I have planned:
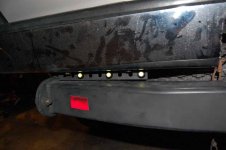
3 foot firestik on the rear bumper with this Uniden CB below the radio
Amazon.com: Uniden PRO520XL 40-Channel CB Radio: Automotive
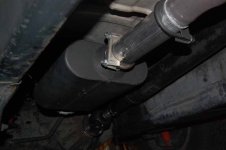
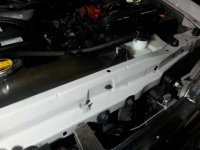
http://www.amazon.com/Firestik-FS3-...&qid=1423754132&sr=1-2&keywords=firestik+ii+3

Amazon.com: Firestik K-4A Stud with Screw-On Coaxial Termination for Antenna Mirror Mounts: Automotive

Amazon.com: PYLE PSP8 All Weather 5-Inch Trumpet Speaker: Car Electronics
 
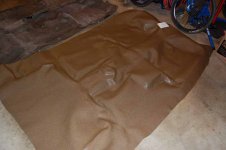
My vinyl floor came today! 100% made in Alabama. Has no bad smell and it feels really tough. The only thing I had to do is wipe off all the oil from the molding process.
1998 4Runner 653.jpg

1998 4Runner 649.jpg

1998 4Runner 650.jpg

1998 4Runner 652.jpg
 

Attachments

  • 1998 4Runner 649.jpg
    1998 4Runner 649.jpg
    64.7 KB · Views: 1,033
  • 1998 4Runner 650.jpg
    1998 4Runner 650.jpg
    50.7 KB · Views: 1,001
  • 1998 4Runner 652.jpg
    1998 4Runner 652.jpg
    50.5 KB · Views: 1,037
  • 1998 4Runner 653.jpg
    1998 4Runner 653.jpg
    62 KB · Views: 1,038
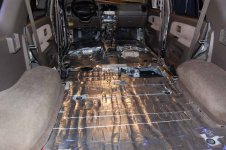
I got my peel n seal in today. It is actually a little thicker than my dad's fatmat and is cheaper. Hopefully it works good!

Before
1998 4Runner 656.jpg

1998 4Runner 657.jpg

After
1998 4Runner 660.jpg

1998 4Runner 661.jpg

1998 4Runner 662.jpg

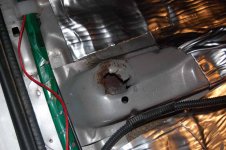
The damage from some fat guy busting out the seat bolt. The bracket is torn off on both sides and we're going to bolt it down with some JB weld in-between the seams.
1998 4Runner 663.jpg

The RS3000 ECU would up going behind the clock. The remote distance is at least 10 times better with the antenna in the A pillar!
 

Attachments

  • 1998 4Runner 656.jpg
    1998 4Runner 656.jpg
    59.6 KB · Views: 1,191
  • 1998 4Runner 657.jpg
    1998 4Runner 657.jpg
    56.8 KB · Views: 1,152
  • 1998 4Runner 660.jpg
    1998 4Runner 660.jpg
    89.7 KB · Views: 1,386
  • 1998 4Runner 661.jpg
    1998 4Runner 661.jpg
    92.8 KB · Views: 1,210
  • 1998 4Runner 662.jpg
    1998 4Runner 662.jpg
    94.8 KB · Views: 1,226
  • 1998 4Runner 663.jpg
    1998 4Runner 663.jpg
    79.2 KB · Views: 1,373

Members online

Forum statistics

Threads
278,312
Messages
3,554,086
Members
248,016
Latest member
Advally Service

Trending content

Back
Top