GGFerrier's 2000 Limited Build Thread

Status
Not open for further replies.
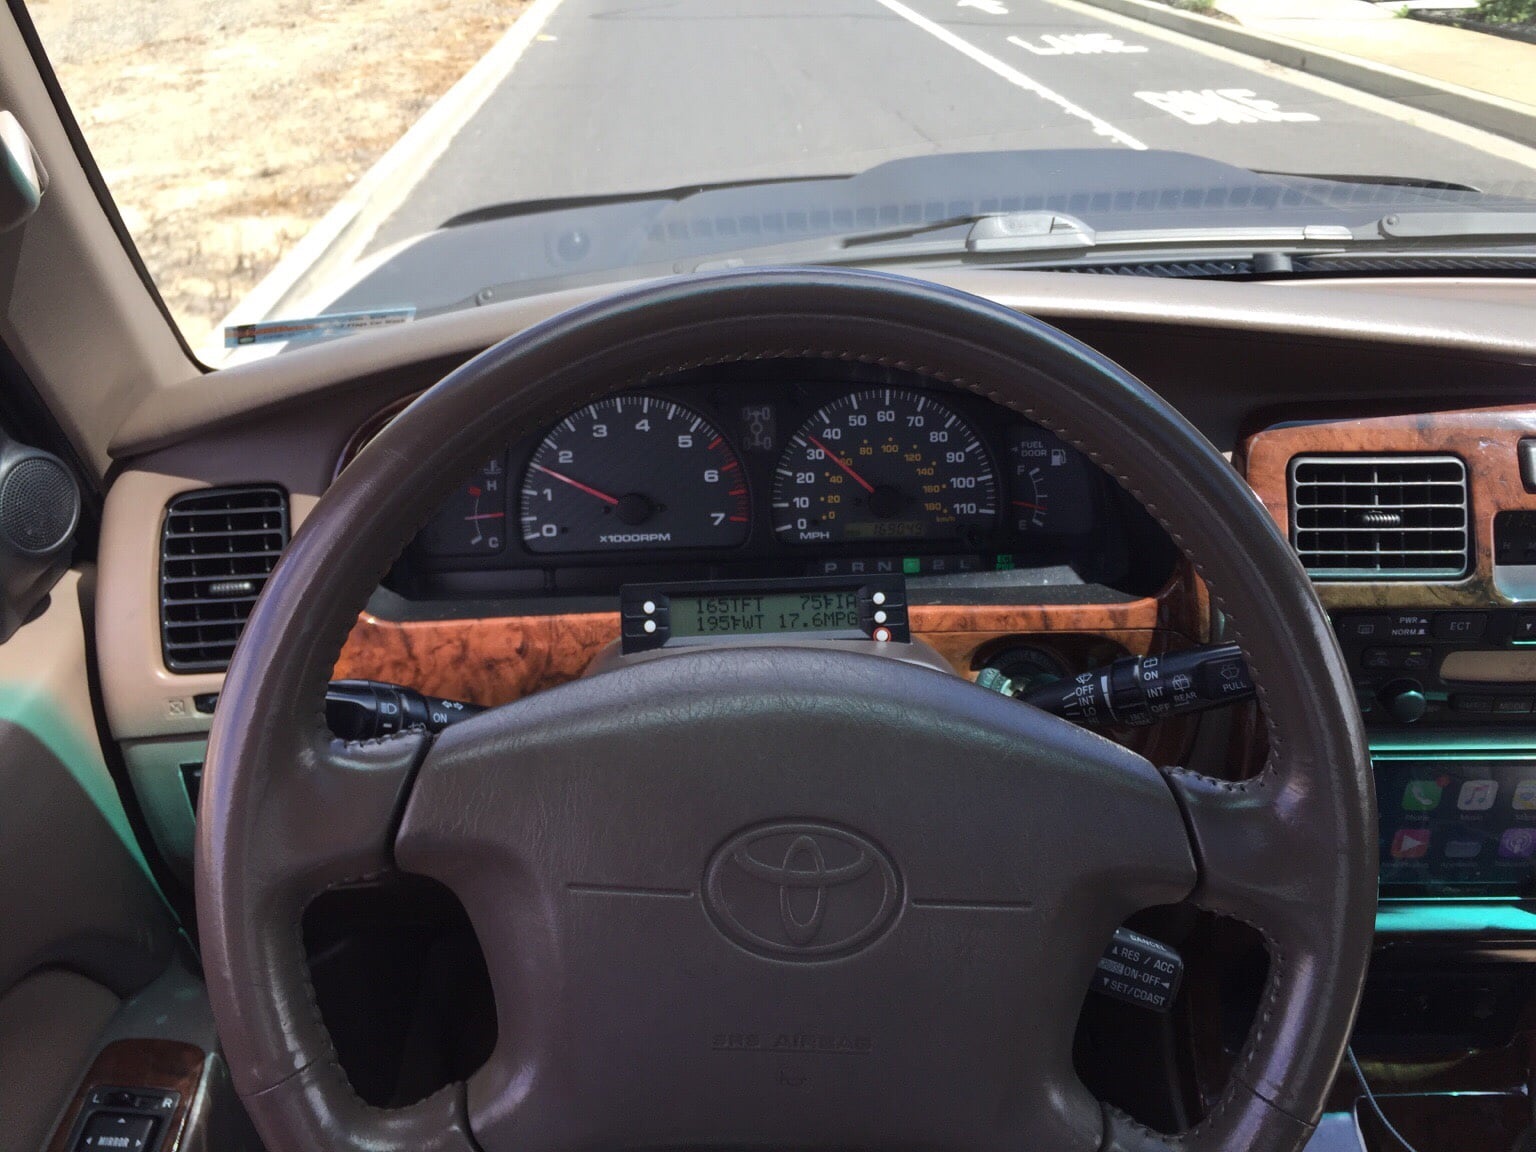
It took some searching, but I was able to find a '99 Camry Limited wheel and airbag... $75 total at PnP. I had to use the Camry airbag because the internal mounting of the airbag and plug were different.

All you need is a torx bit, 19mm socket and breaker bar.
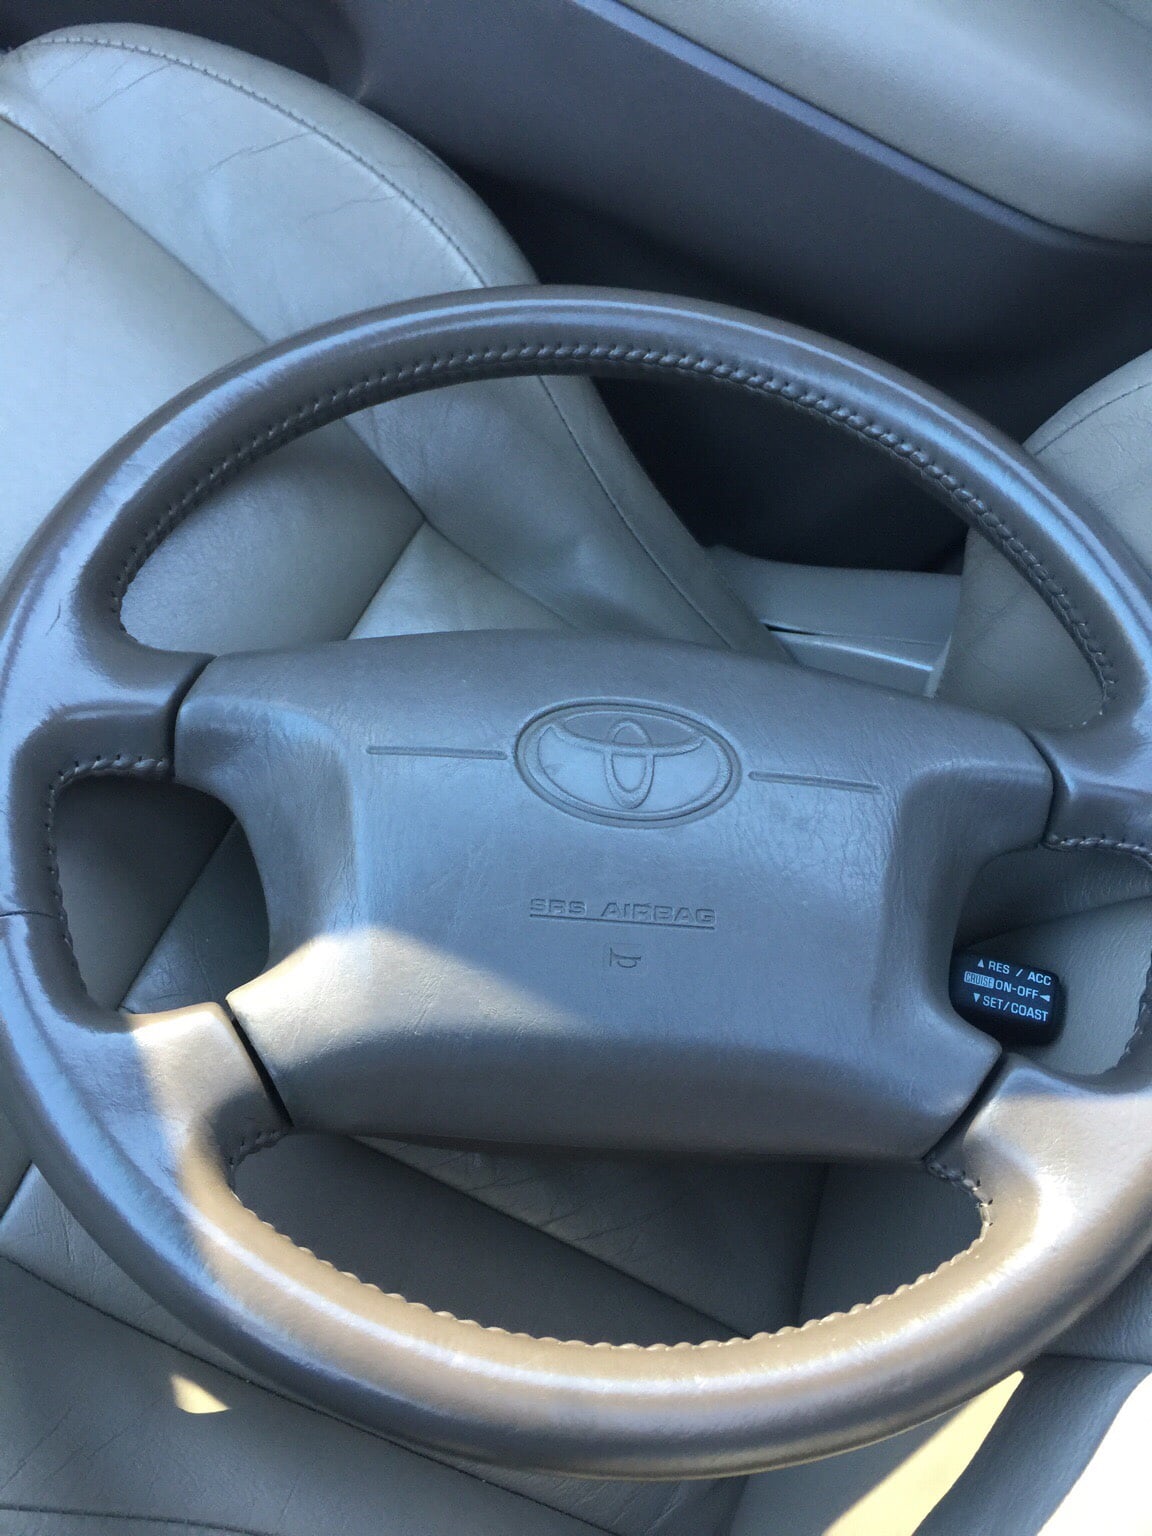
5cdfcb8e29154d1f647039cc37497c24.jpg

fed4766752823e1ed2311d3ce85049ac.jpg


Couldn't be happier with the result.

What is the benefit to switching to a Camry steering wheel? Or is it pretty much identical?
 
[MENTION=115590]StreetCreeper[/MENTION]

the benefit is a nice (newer) steering wheel that isn't torn and worn....

everyone knows how their leather wheel deteriorates after years of handling it.

A Camry steering wheel just happens to be plug n' play, and looks almost identical to a limited tan leather steering wheel..
 
[MENTION=115590]StreetCreeper[/MENTION]

the benefit is a nice (newer) steering wheel that isn't torn and worn....

everyone knows how their leather wheel deteriorates after years of handling it.

A Camry steering wheel just happens to be plug n' play, and looks almost identical to a limited tan leather steering wheel..

Aside from 1999, what other years are compatable with 3rd gens? I'm not familiar with Camry generations.
 
What is the benefit to switching to a Camry steering wheel? Or is it pretty much identical?


What he said.

[MENTION=115590]StreetCreeper[/MENTION]

the benefit is a nice (newer) steering wheel that isn't torn and worn....

everyone knows how their leather wheel deteriorates after years of handling it.

A Camry steering wheel just happens to be plug n' play, and looks almost identical to a limited tan leather steering wheel..


I searched and searched for a good looking Runner wheel. I was snooping around the Camrys and Avalons and found a '99 Camry with a perfect leather wheel. Pulled it and compared it to the 2000 Runner that was at the yard. Looked identical so I bought it.

Got home and discovered the airbag mounting points are different and couldn't use my airbag. Back to the yard and got the Camry AB.

Same spline, same CC connection but different AB connection. Back to the yard for the Camry AB wires off the clock spring.
 
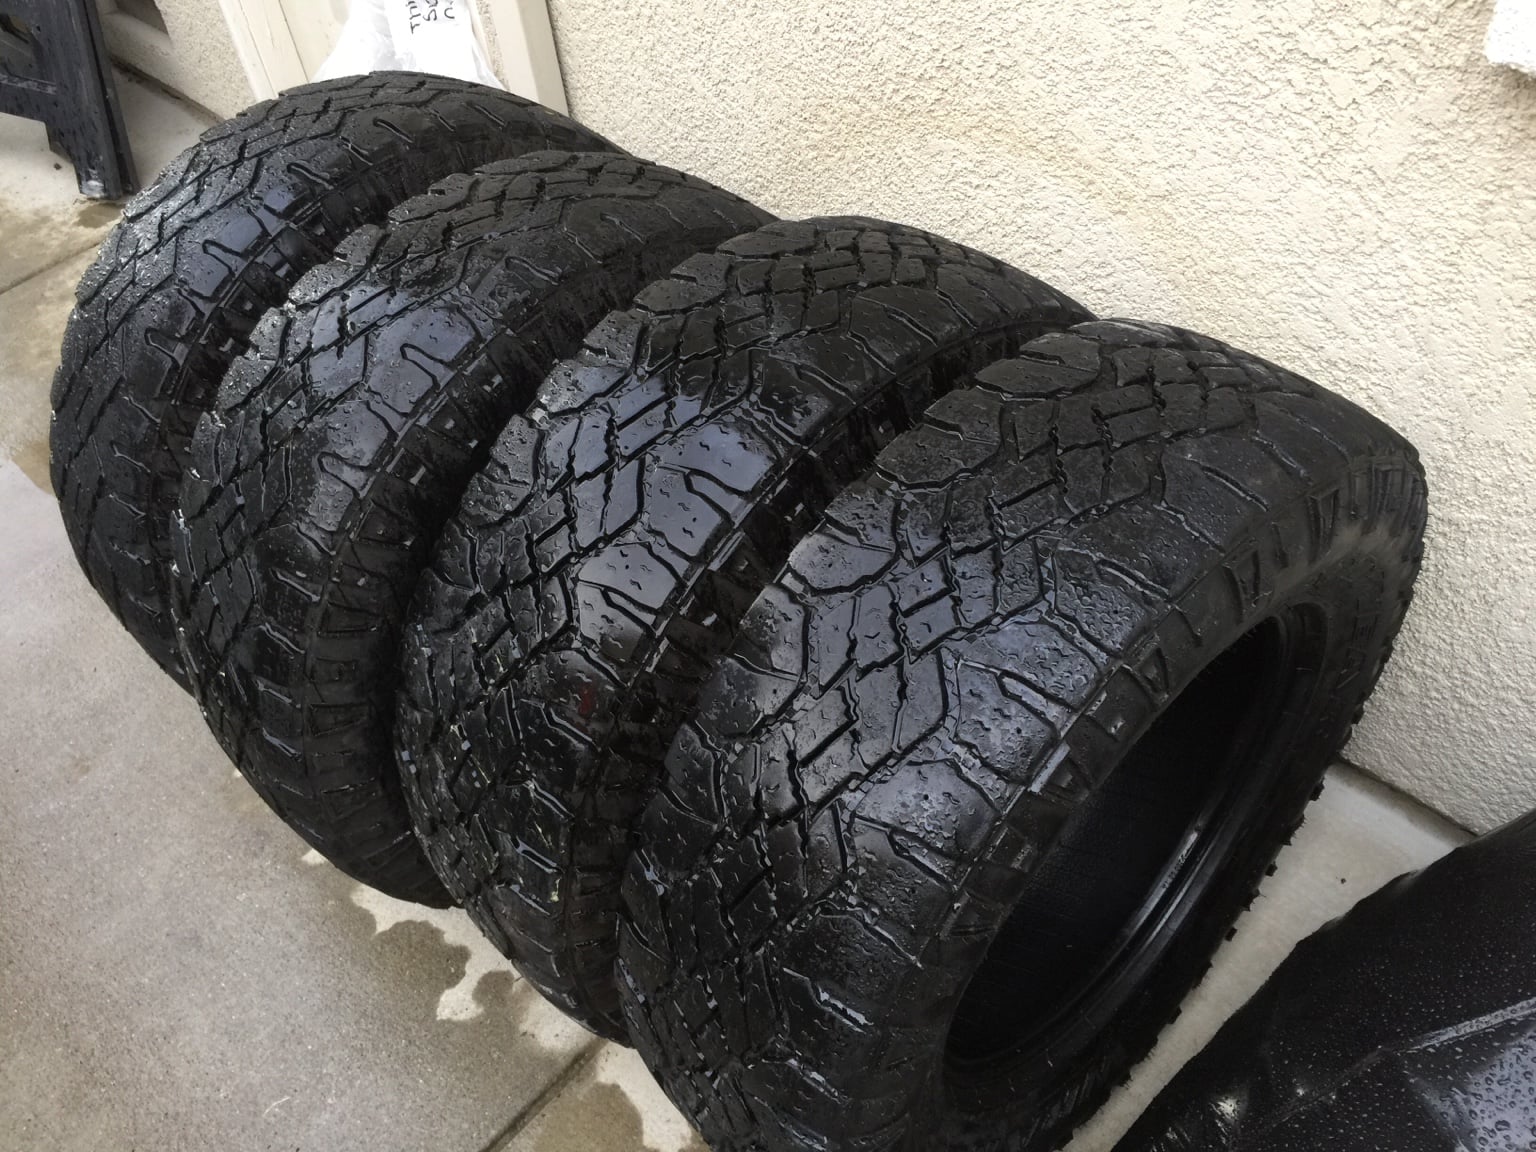
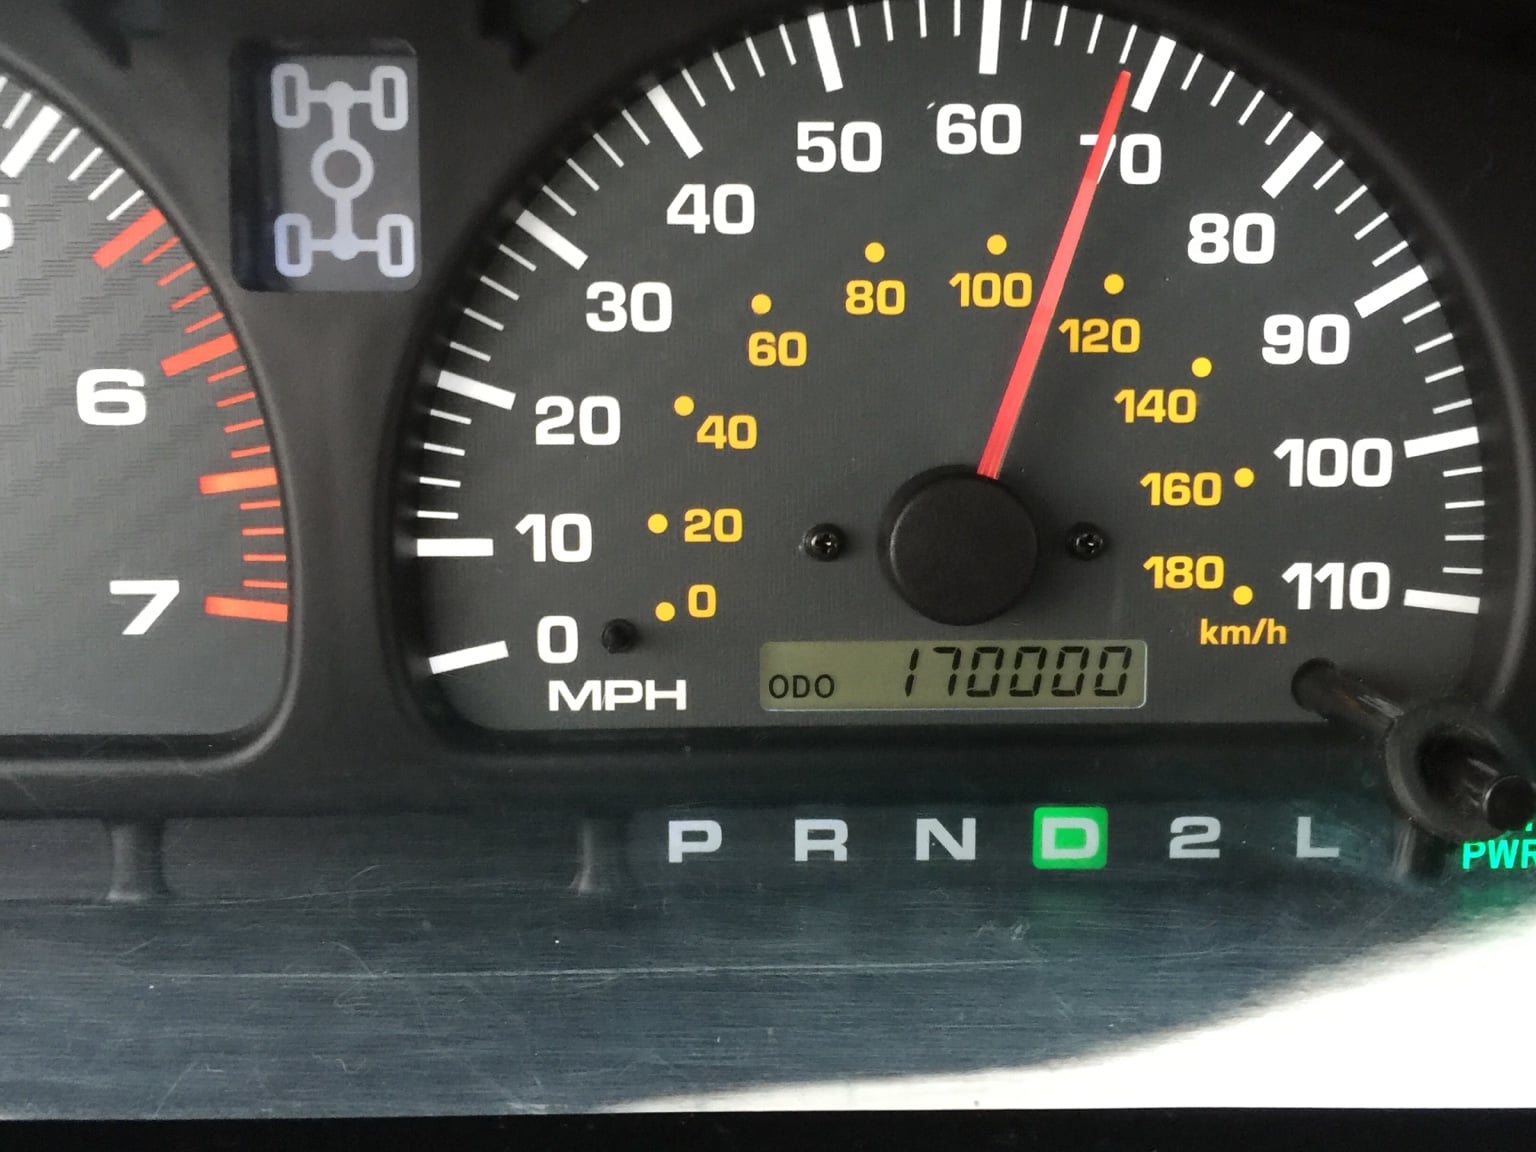
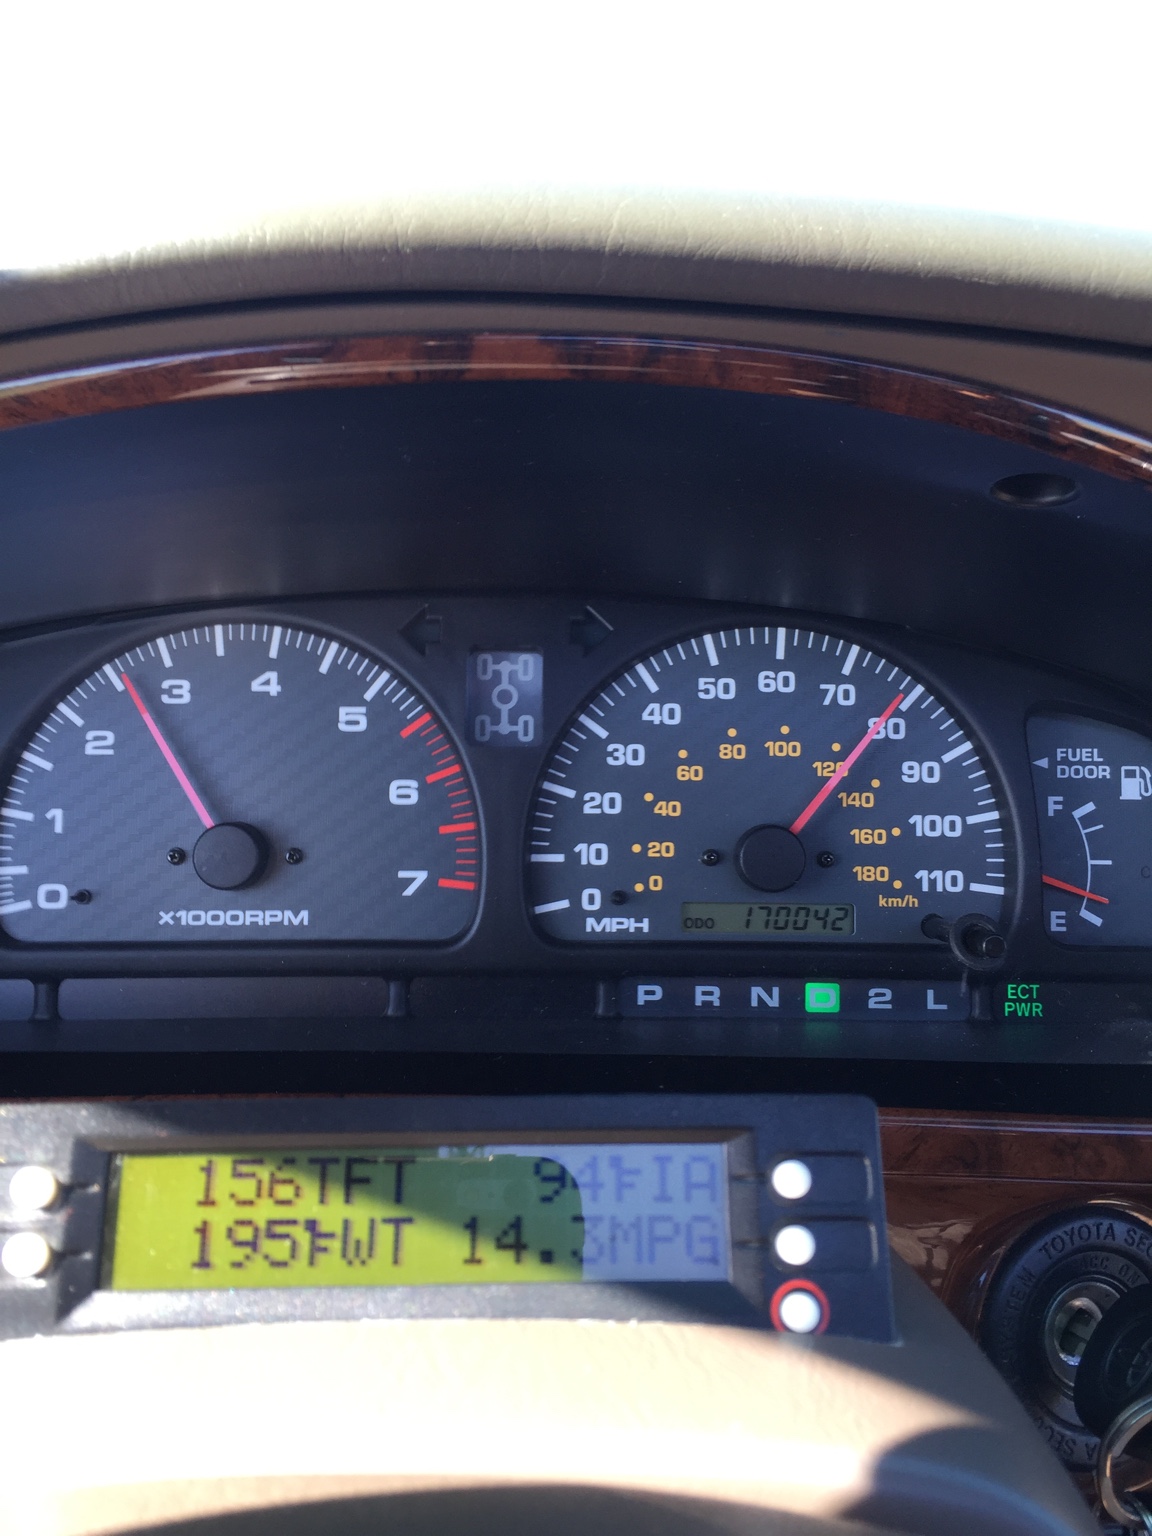
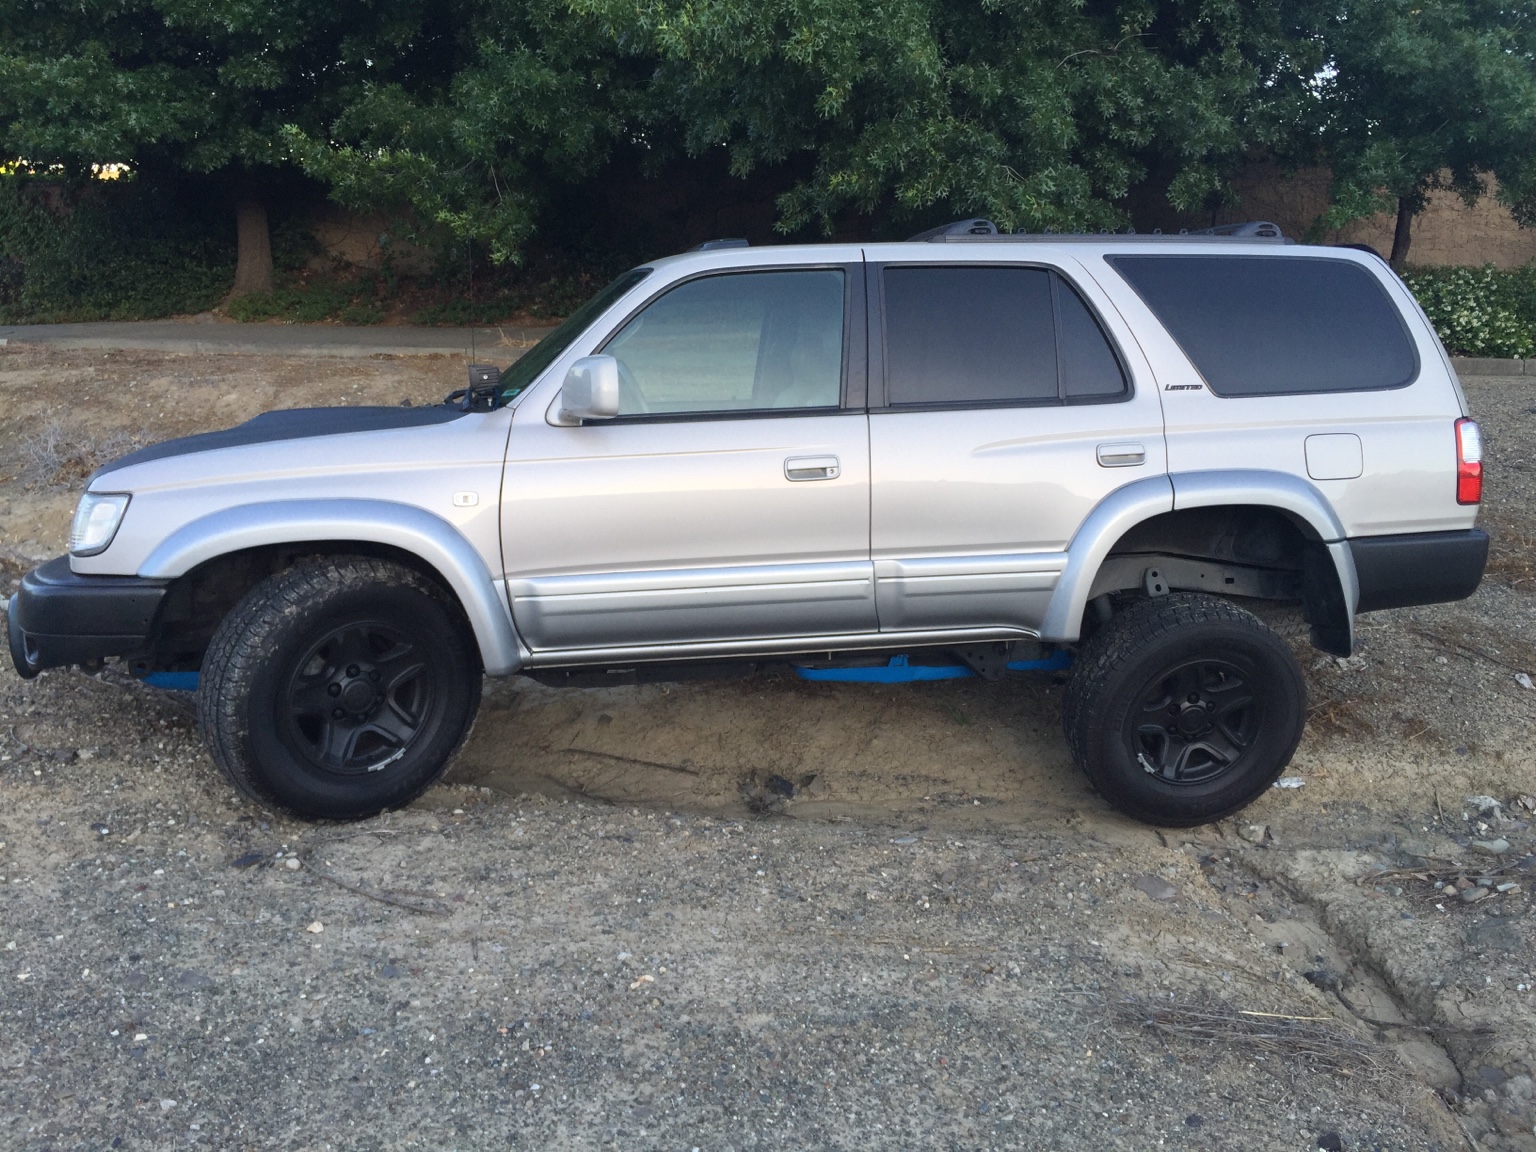
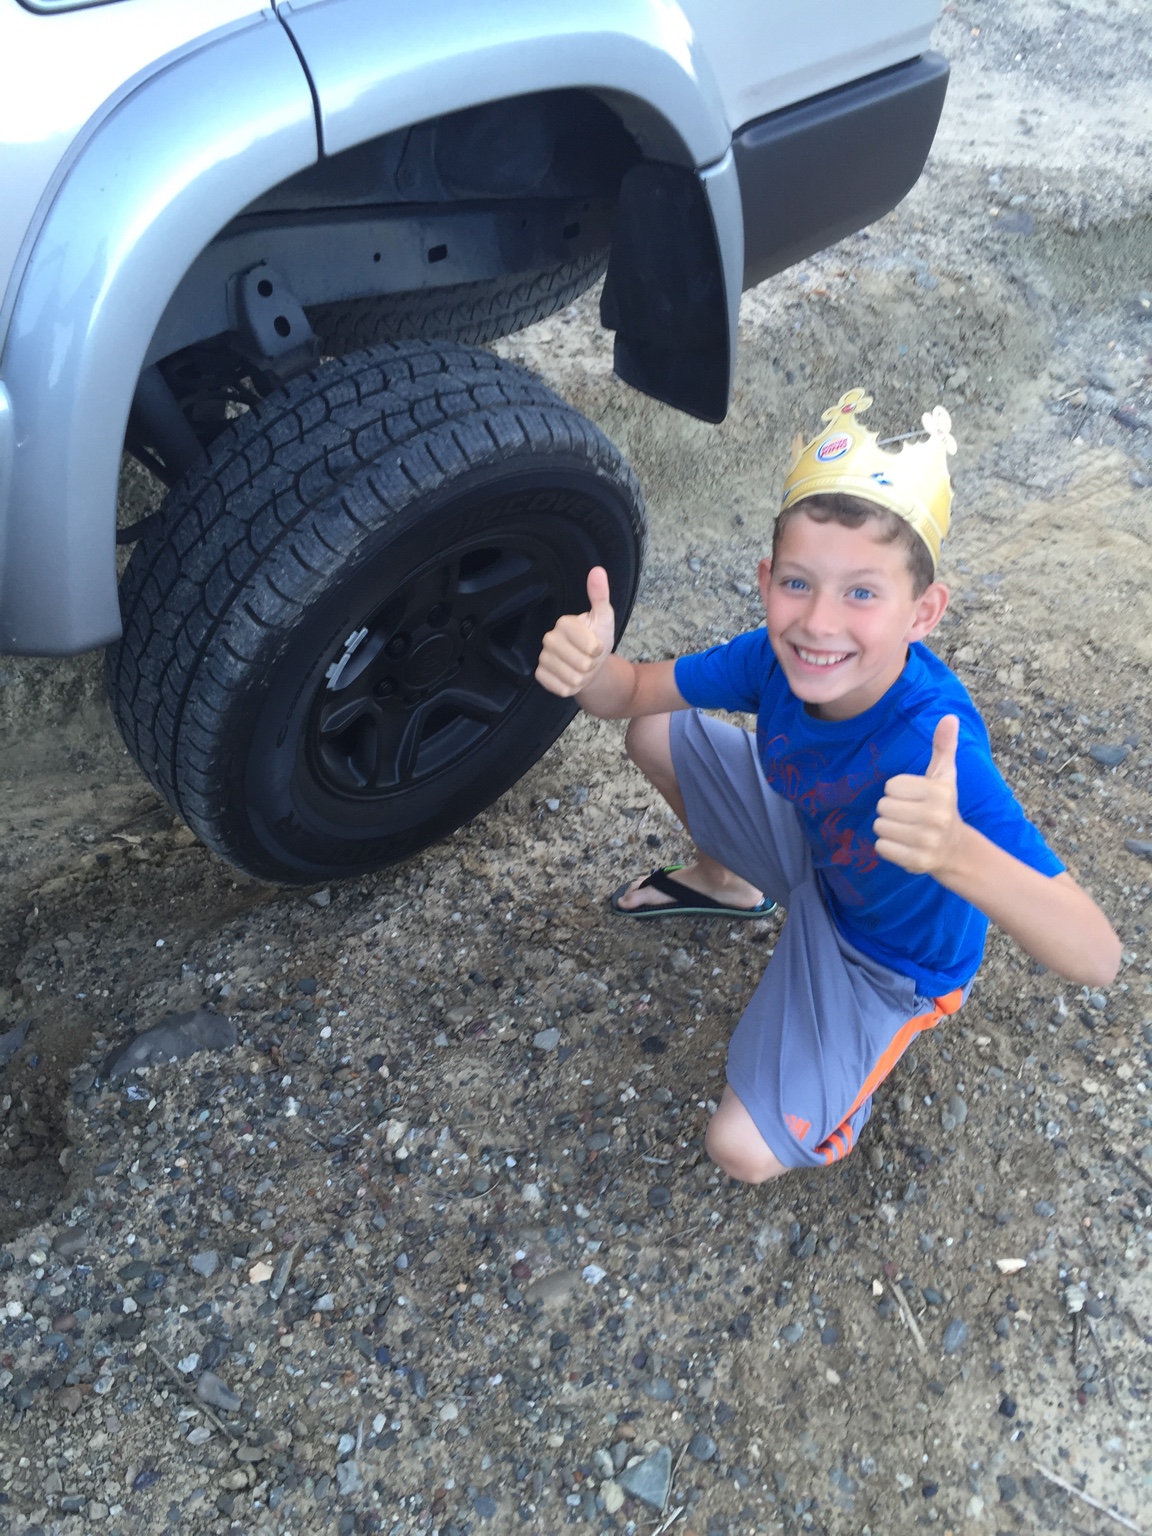
Picked up some used 265/70 17 Duratrac's to get my lifted stance right and turned 170k...

They grow up so fast.

4f445569a341fdb70b0911ff4dbea11c.jpg


390c77a8575c30392e0b5be1efccd3ad.jpg
 
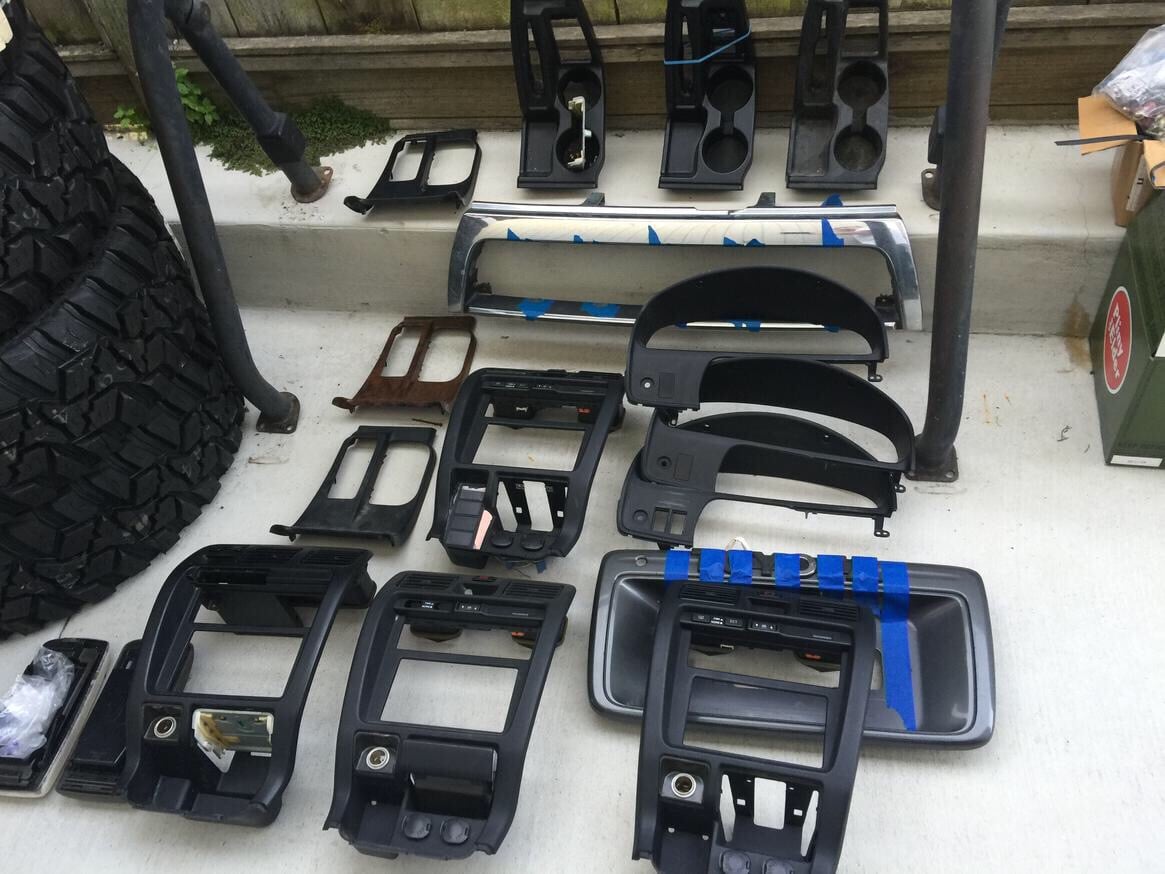
Is this hoarding or just smart with 14+ y/o rigs...


[MENTION=102606]infamousRNR[/MENTION] and I have some cool stuff around the corner for our rigs and it starts with leisurely trips to our local pick n pulls..

478a137f896fe9916de6dbd1b3d860a6.jpg
 
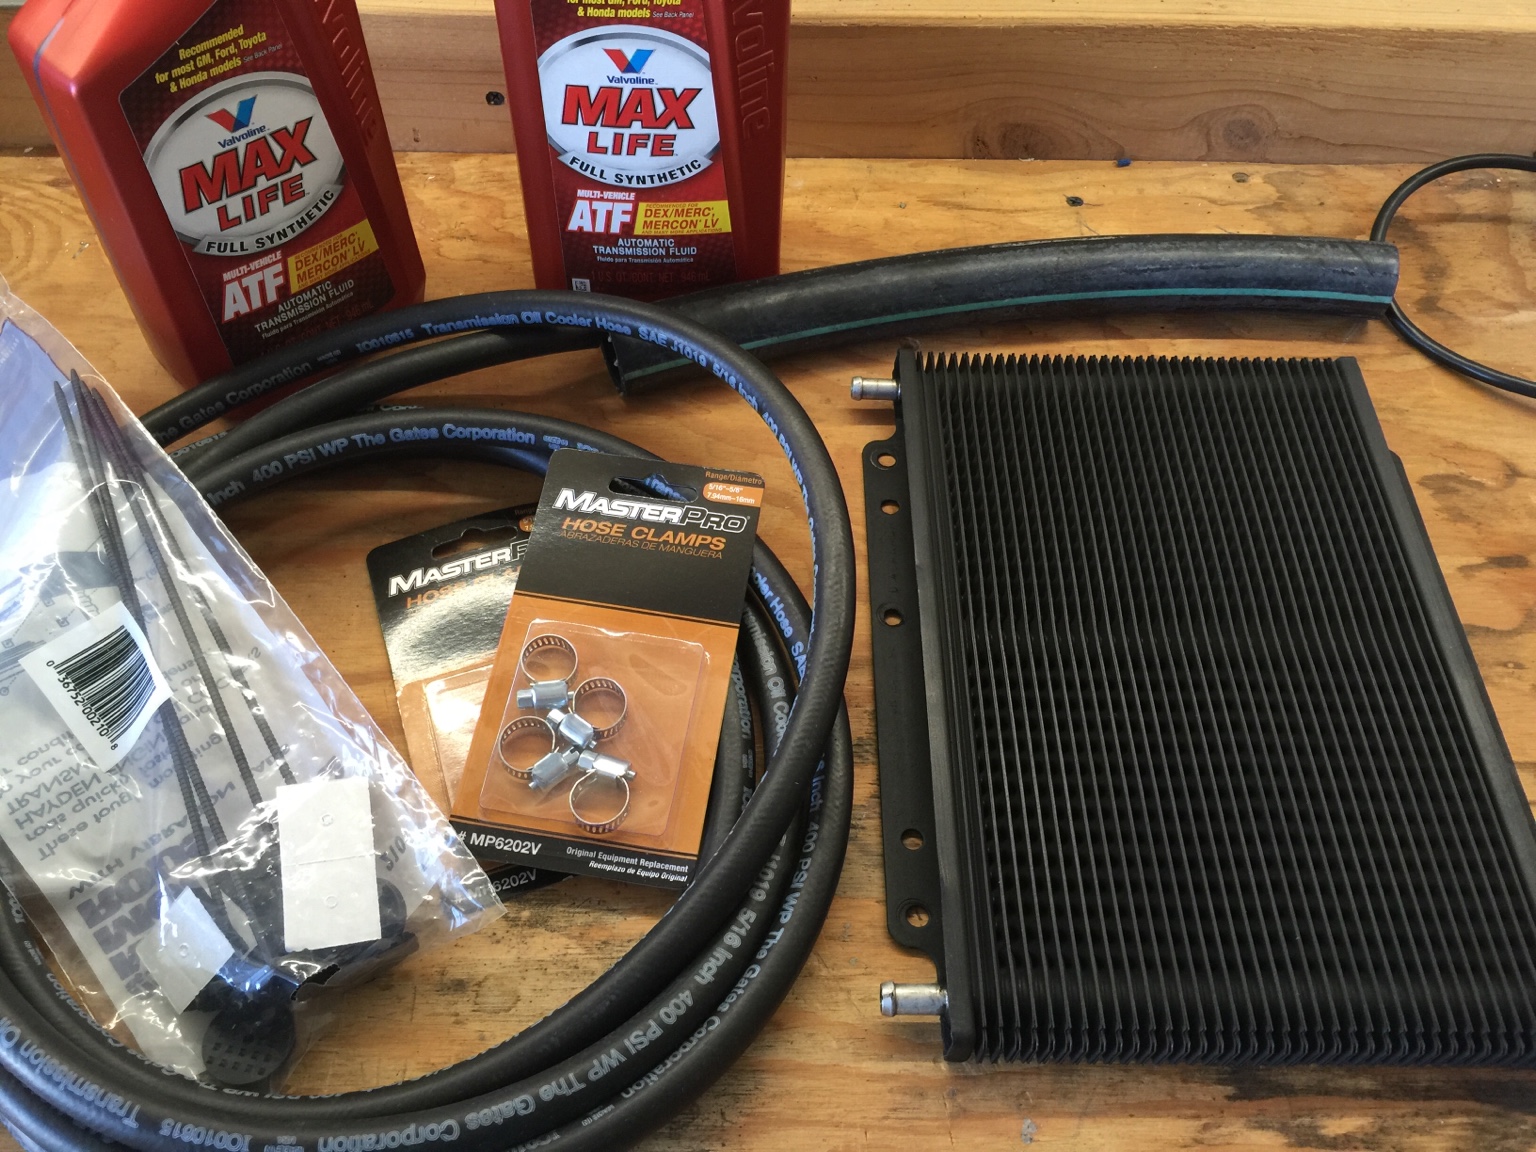
More lift parts ordered. Getting ready to do the trans cooler mod.
Which cooler did you go with? I'm planning on adding 1 when I do my timing belt. There's a small one that has a built in fan that I was looking at but without a supercharger and with me not towing very often I think it's overkill. Probably going to go with b&m 70264.

Sent from my SM-N910V using Tapatalk
 
Which cooler did you go with? I'm planning on adding 1 when I do my timing belt. There's a small one that has a built in fan that I was looking at but without a supercharger and with me not towing very often I think it's overkill. Probably going to go with b&m 70264.

Sent from my SM-N910V using Tapatalk


It's out of a 2500 Suburban. Same markings as the smaller B&M everyone goes with.
 
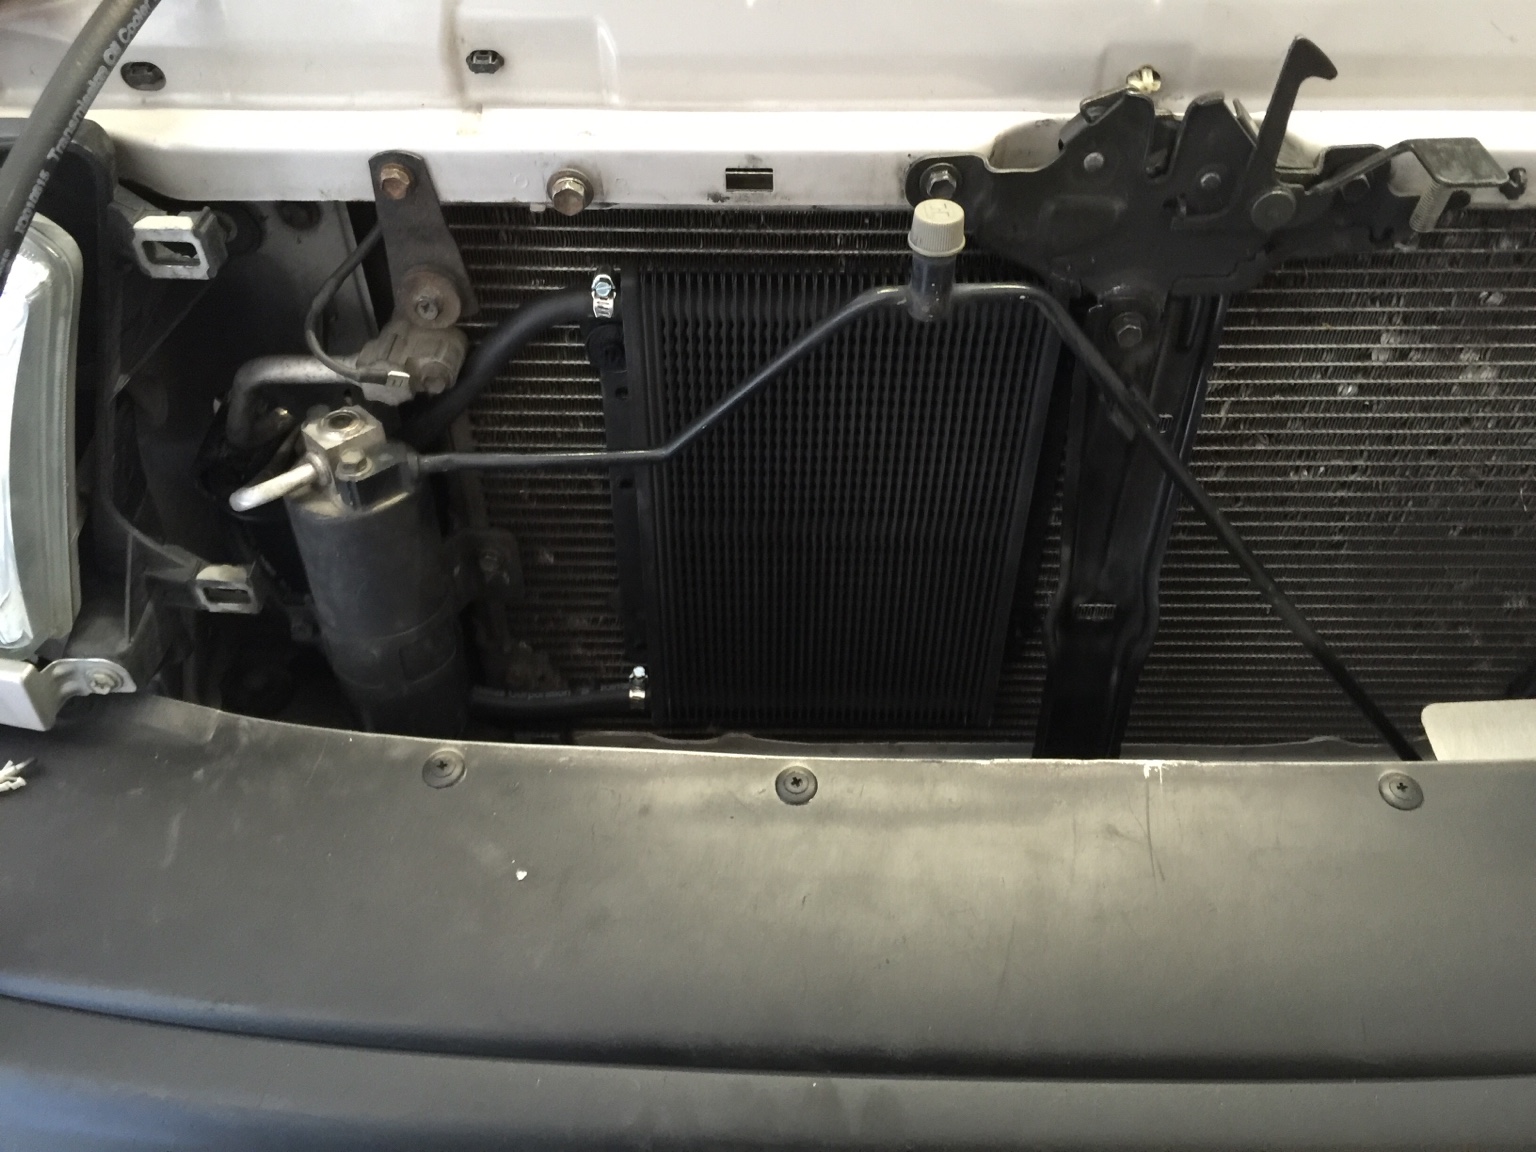
Trans cooler complete. Looks like it running 20°-30° cooler than before.

46e16c4ede766431e5b4f99c0e770711.jpg


Pro tip... Make sure they give you 3/8" hose not 5/16" before you start.

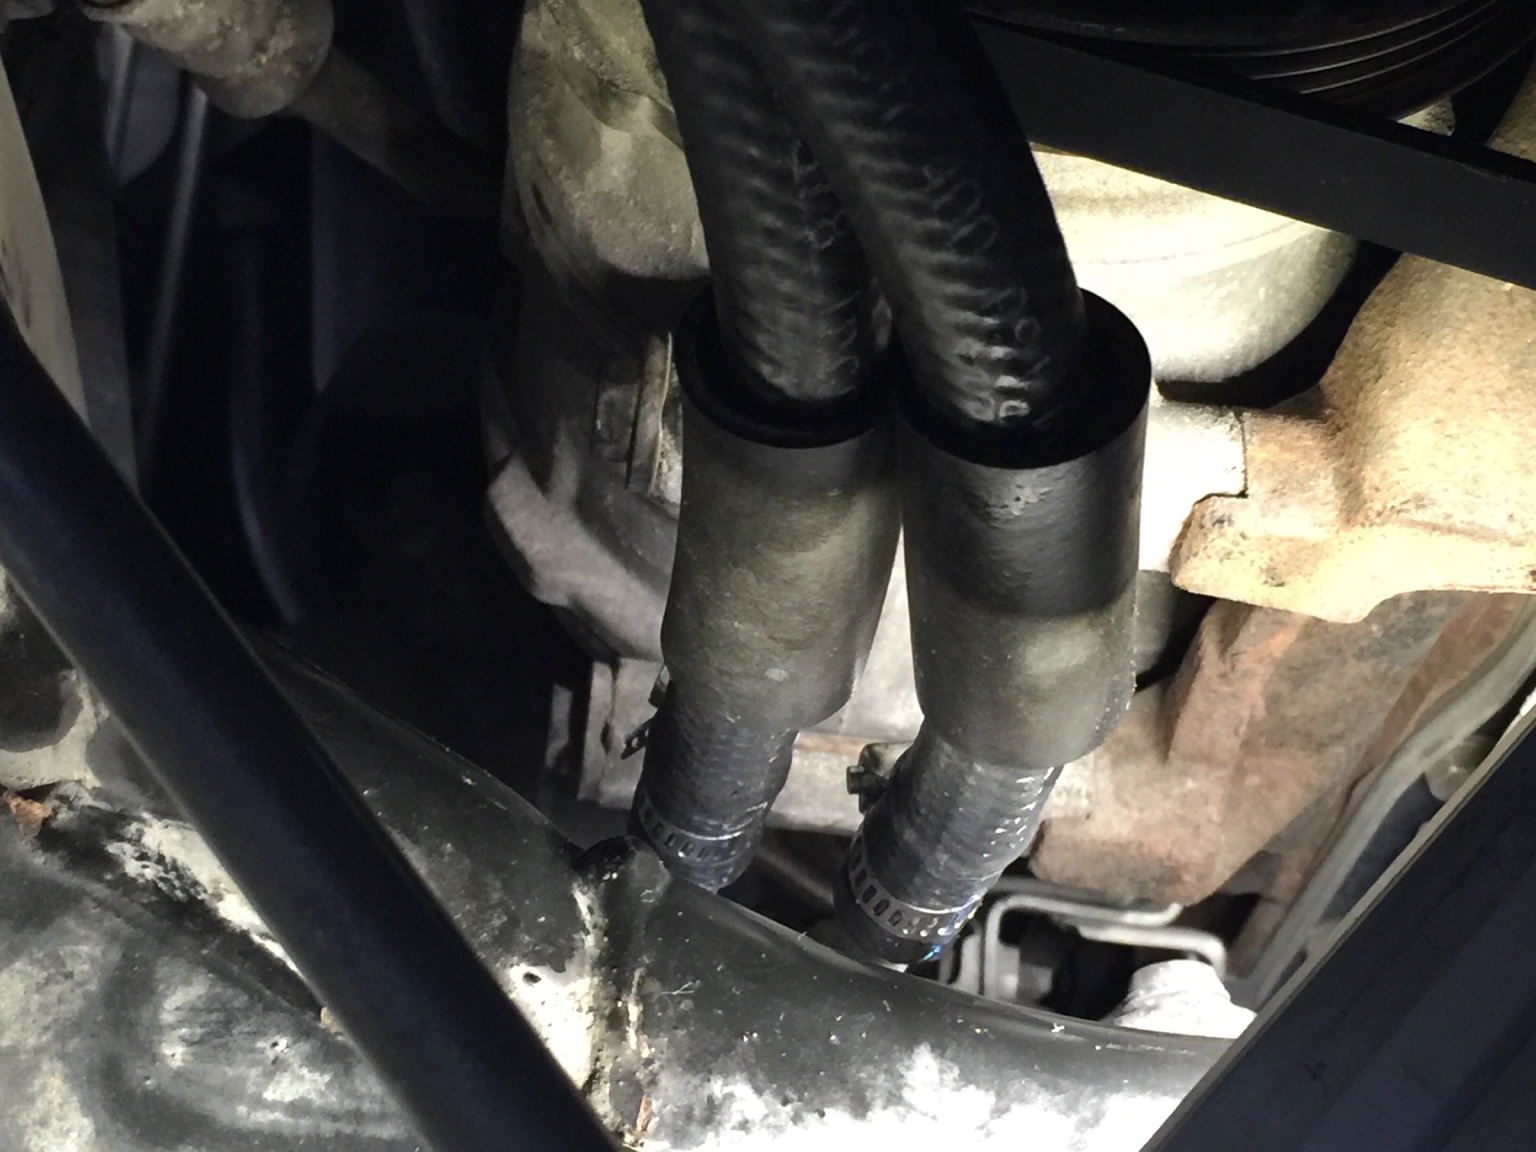
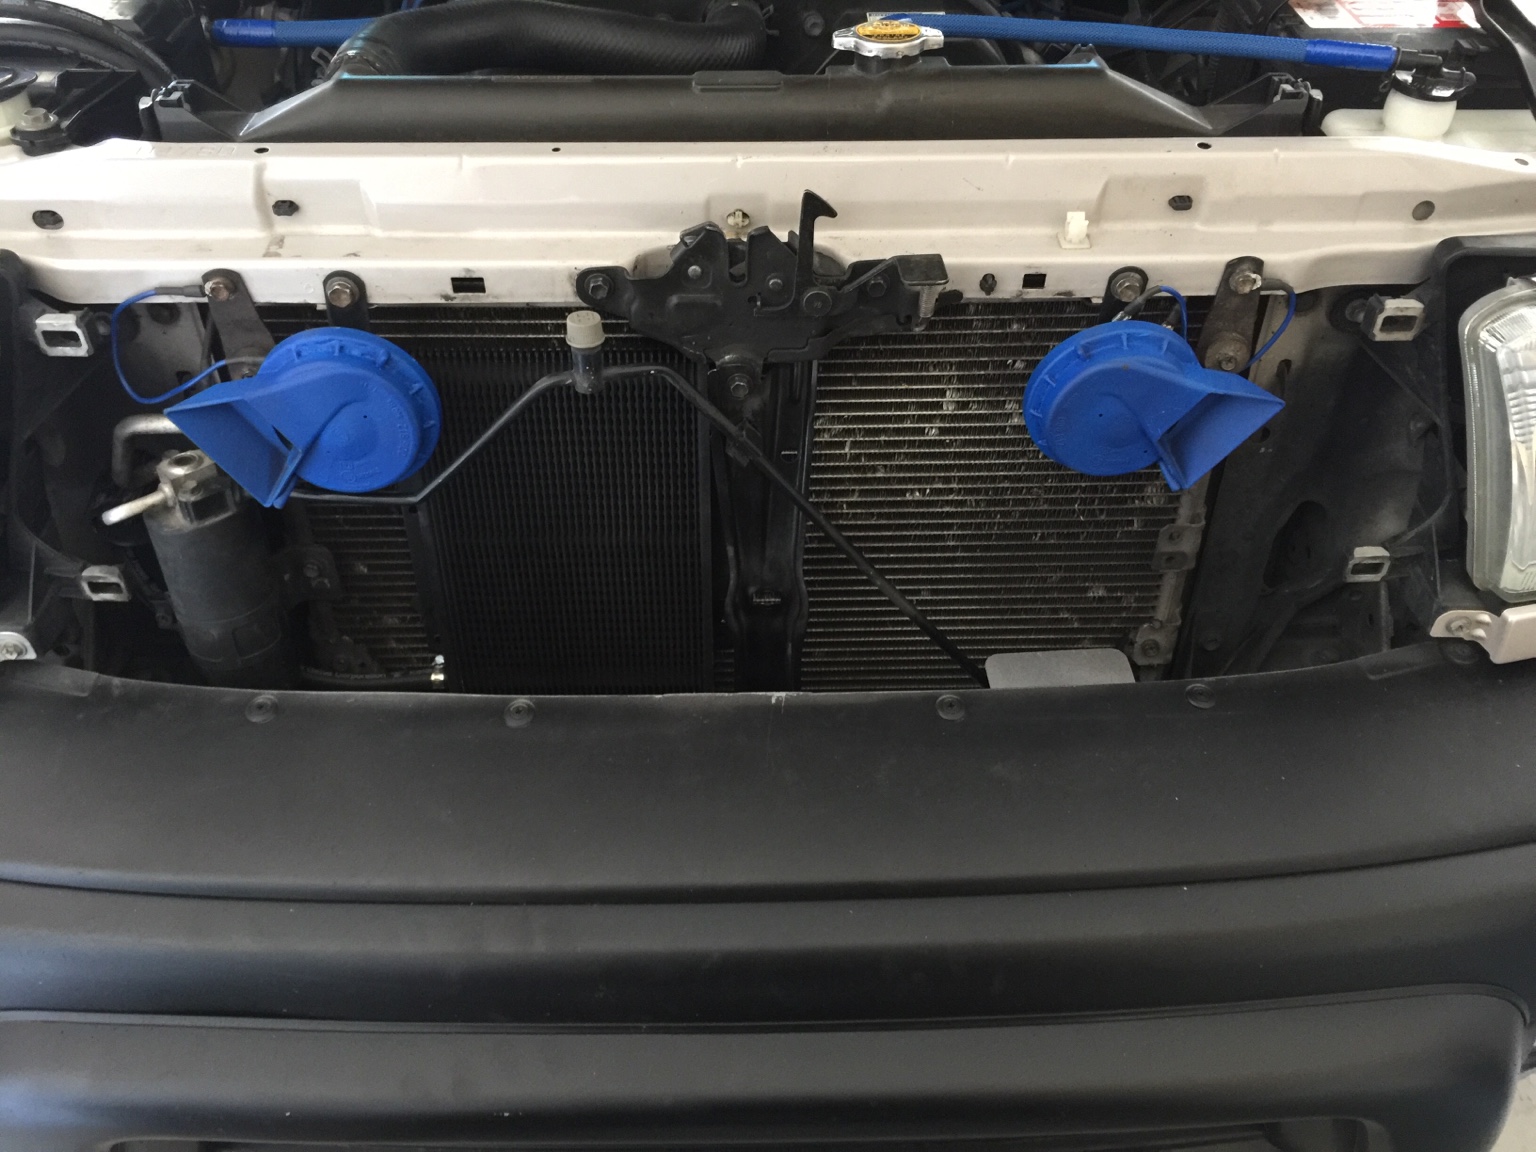
Pulled the grill, horns and decided on placement. Disconnected the a/c condenser and installed trans cooler. I mounted it with the ports on the side to allow gravity to aid the fluid passing through the cooler.

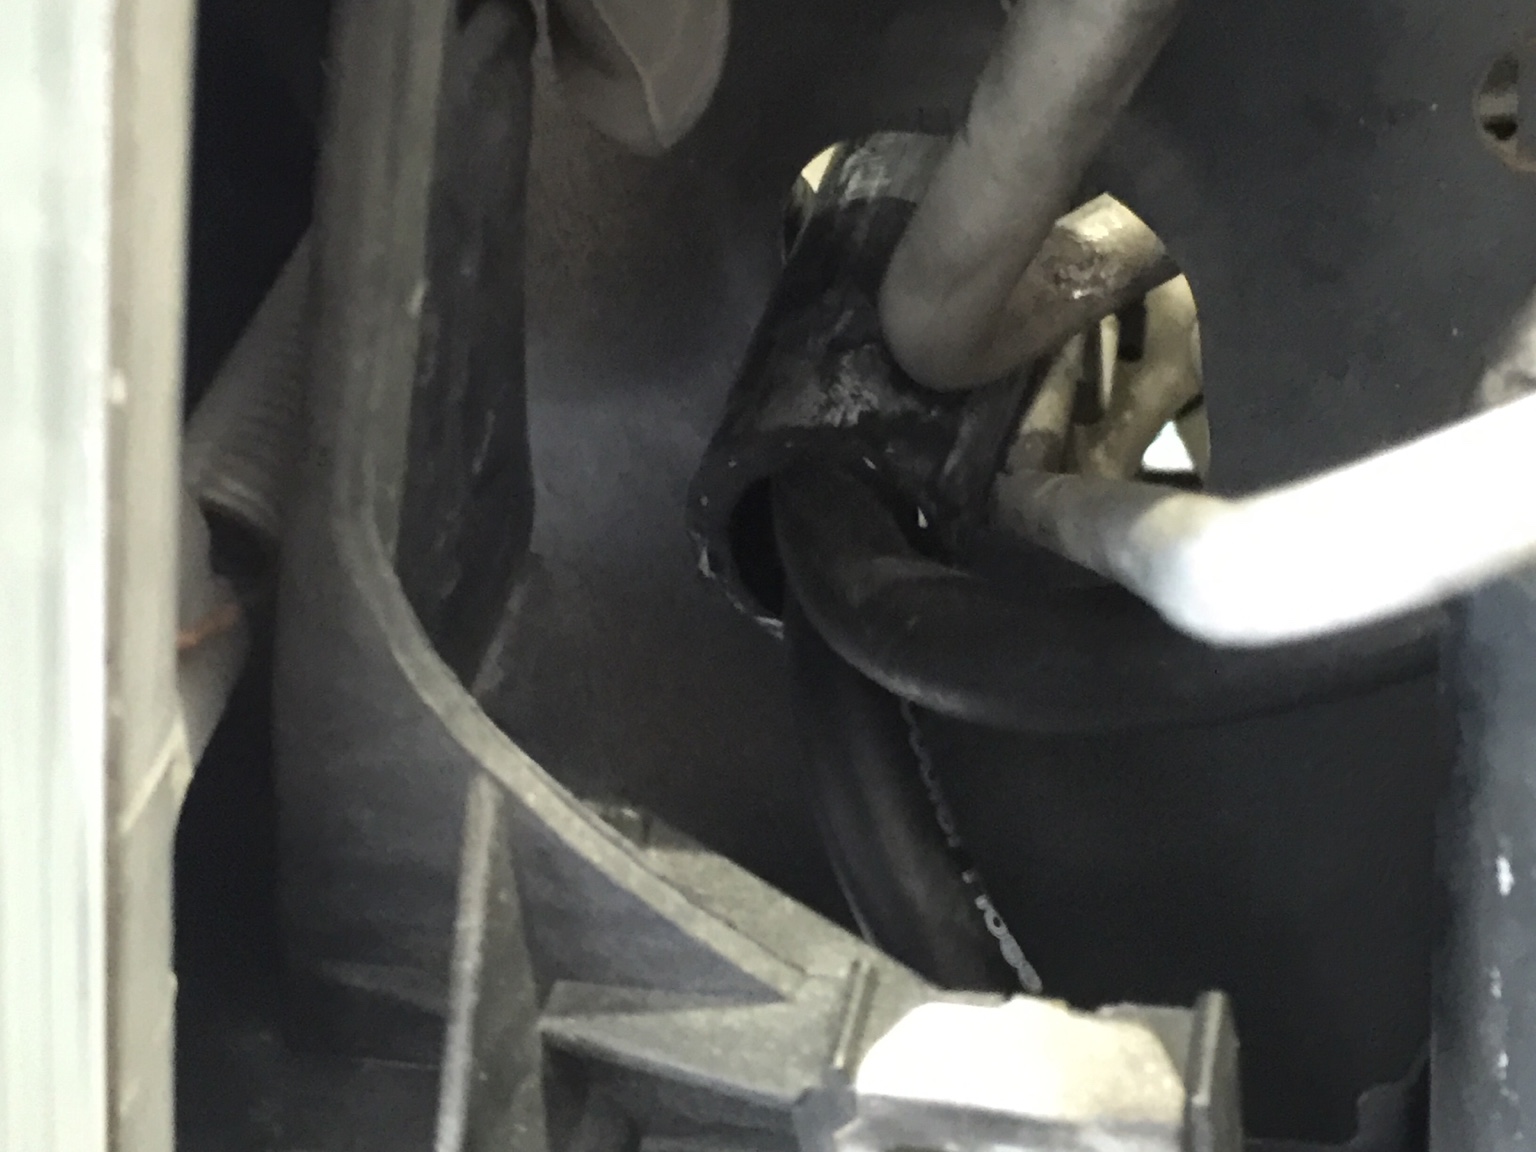
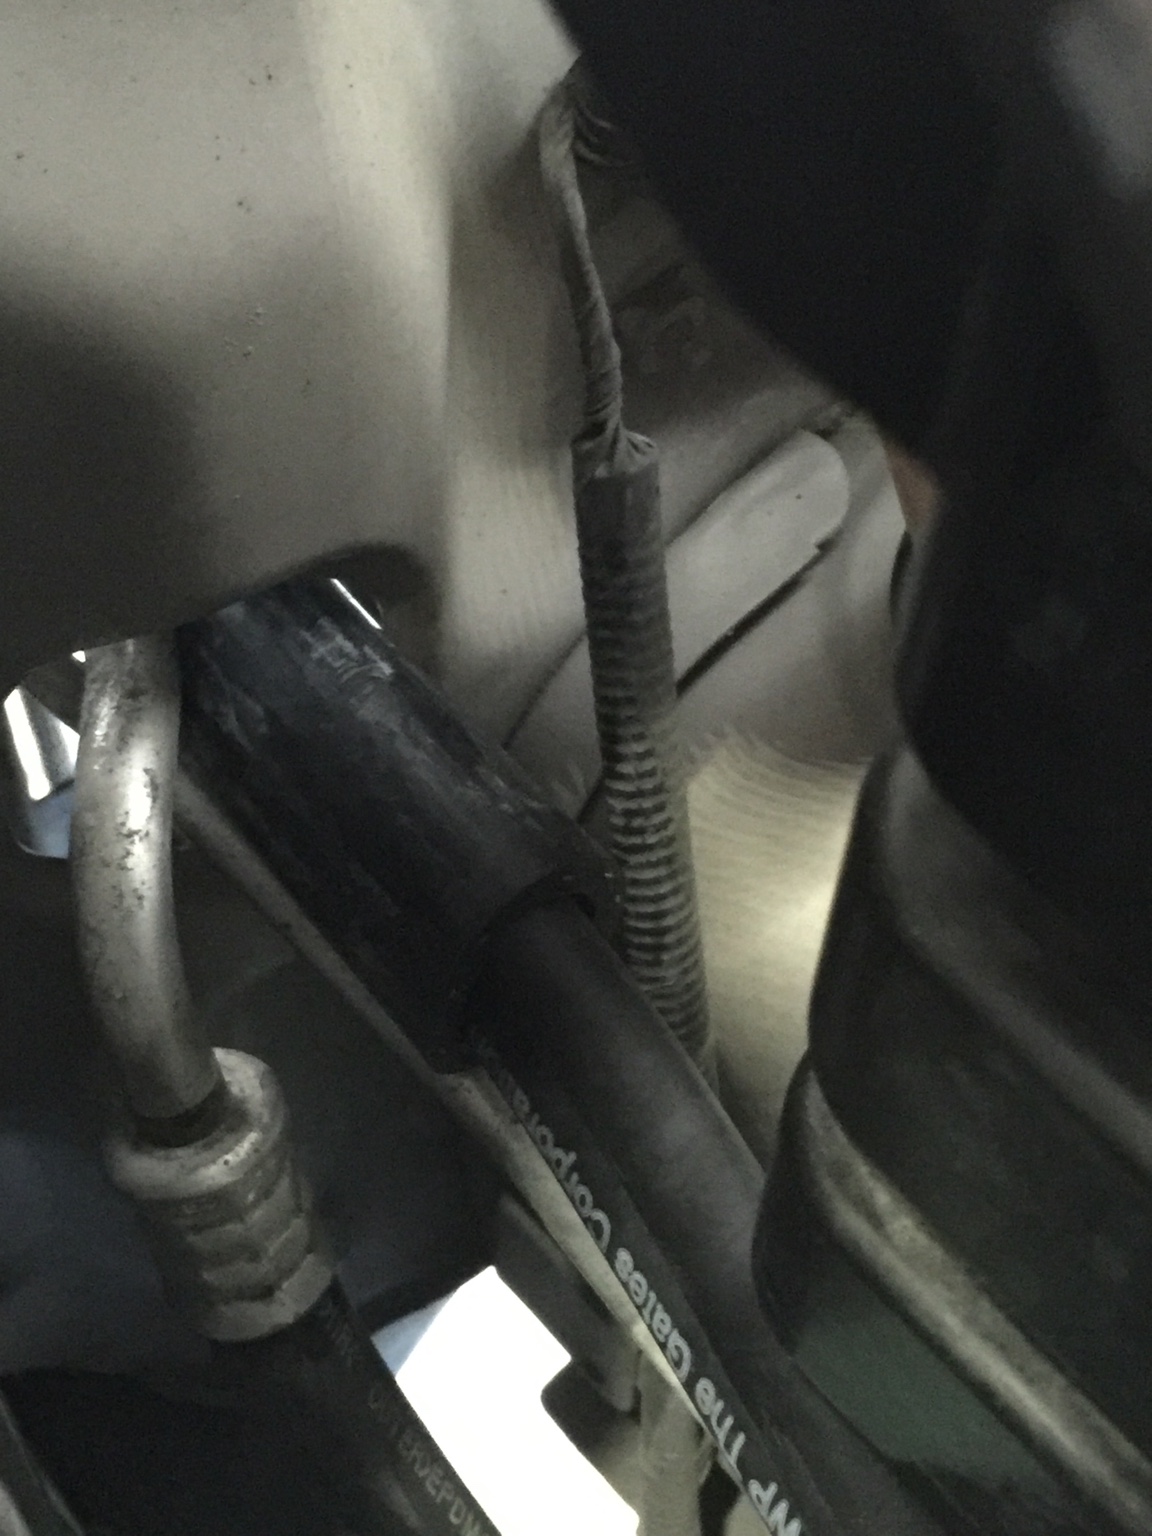
Ran hoses through a hole on the radiator support and used 3/4" heater hose to protect the hoses. It'll be a tight fit so use some rubbing alcohol to help it slide.

5906802ec2230de529f52bf63af28d91.jpg


bff1148c48d292349410d260e3e8a96e.jpg


ebd7dddfb54e0d085455512fc0748461.jpg


Getting to the hose claps is a ***** if you've got big hand... Thankfully my kid got home from school.

586ef70897c96dc91dc9903ce9105868.jpg


532a2428bcceafdf3640e53c9af57d2d.jpg


Defiantly happy with the resulting trans temp.
ff4ca4ab42d0e7963dc29fdfa1d4b301.jpg
 
Last edited:
I highly recommend junking those clamps and getting marine style hose clamps, which will not cut into the hose like the cheap ones are doing. Learn from my mistake on this one.
 
I highly recommend junking those clamps and getting marine style hose clamps, which will not cut into the hose like the cheap ones are doing. Learn from my mistake on this one.


I'll take a look at those. Gotta be honest I'm not real motivated to pull apart everything I just did.
 
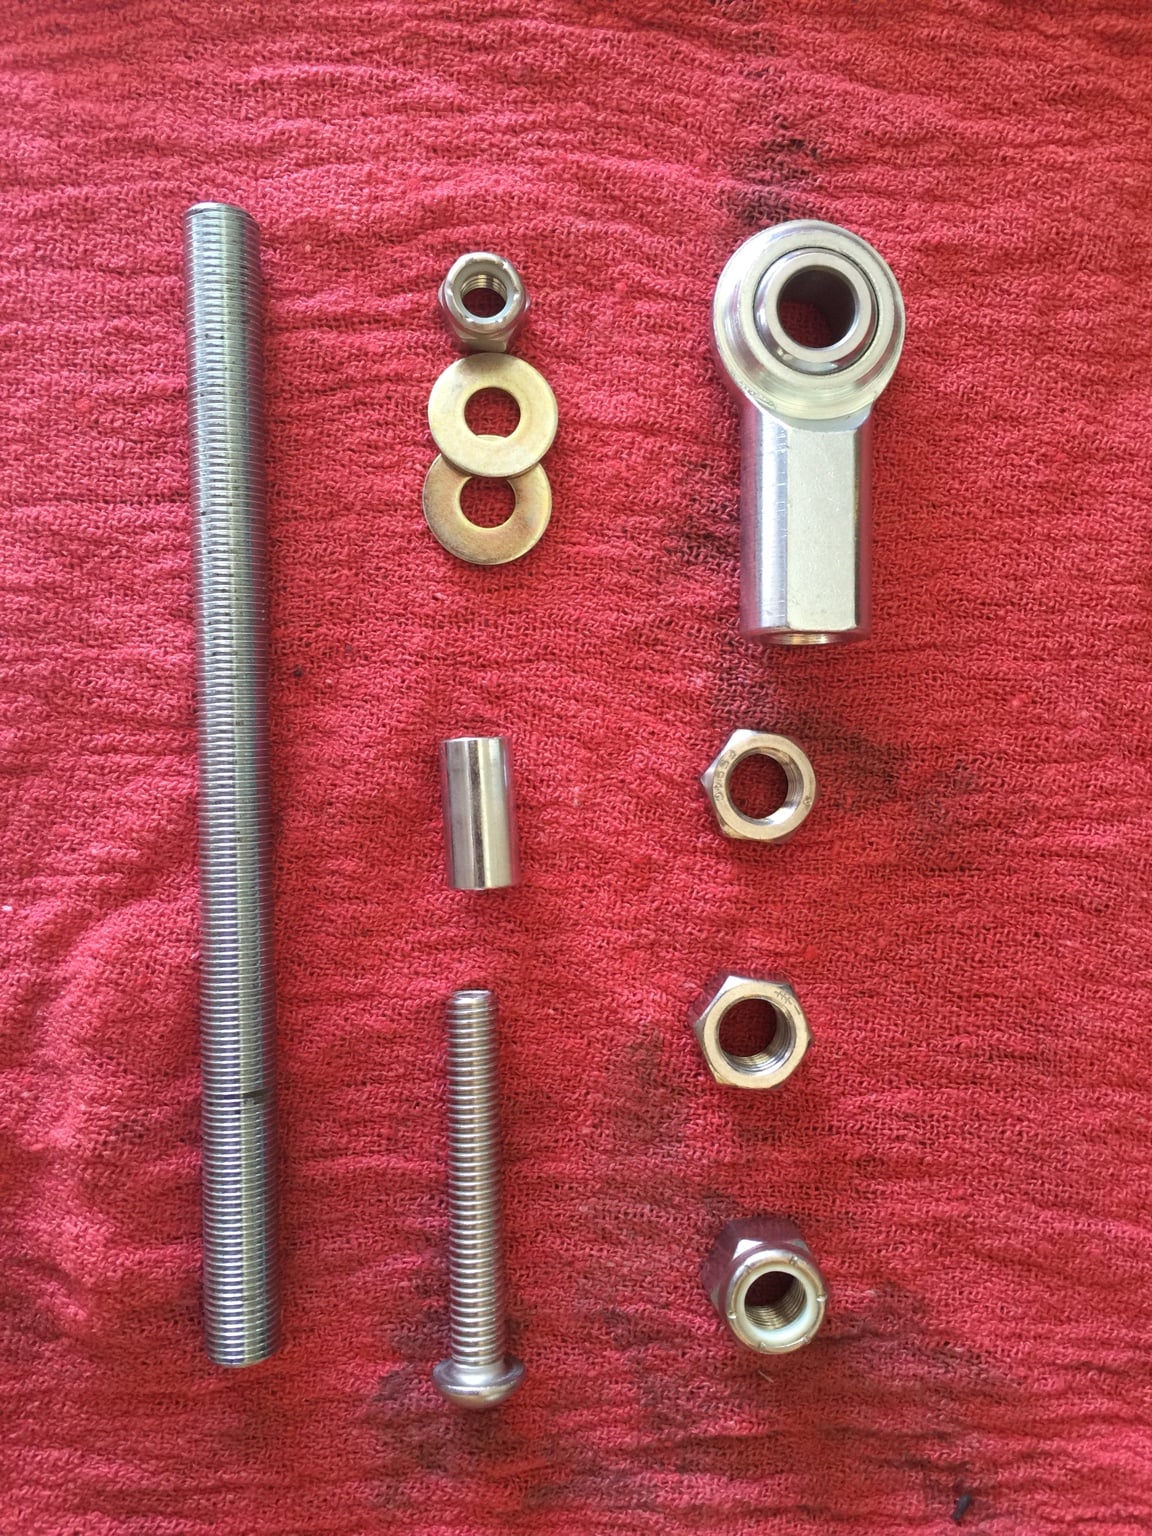
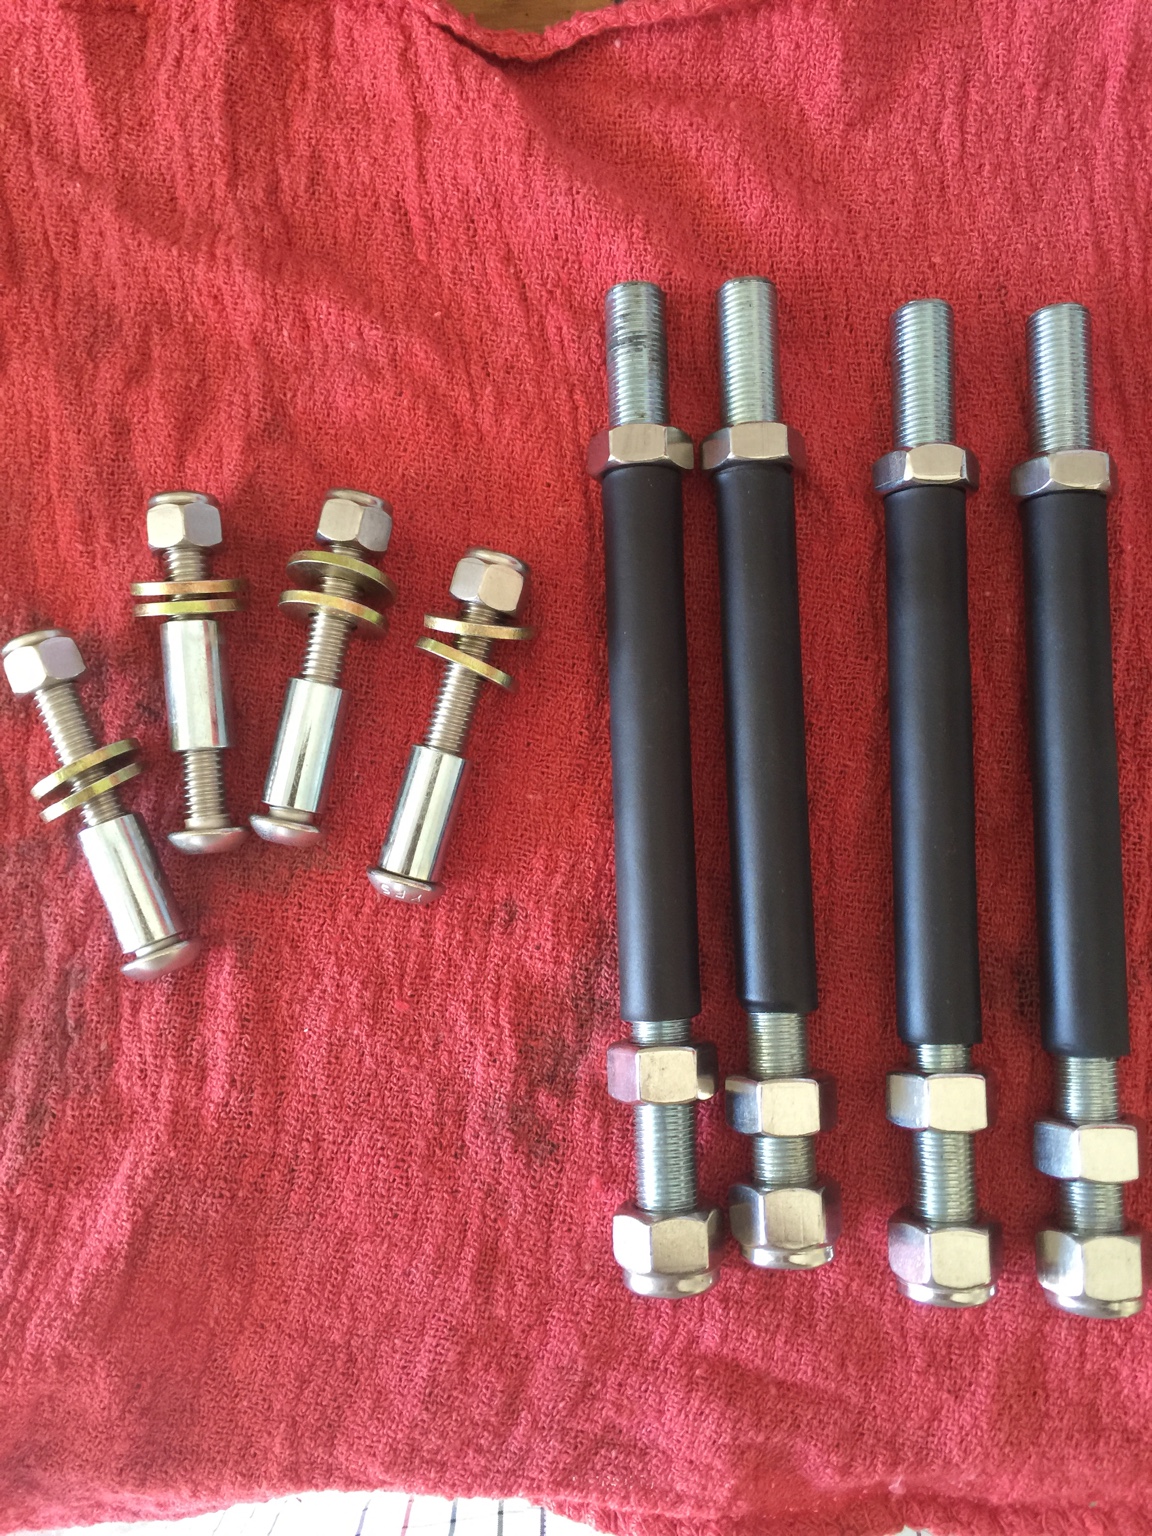
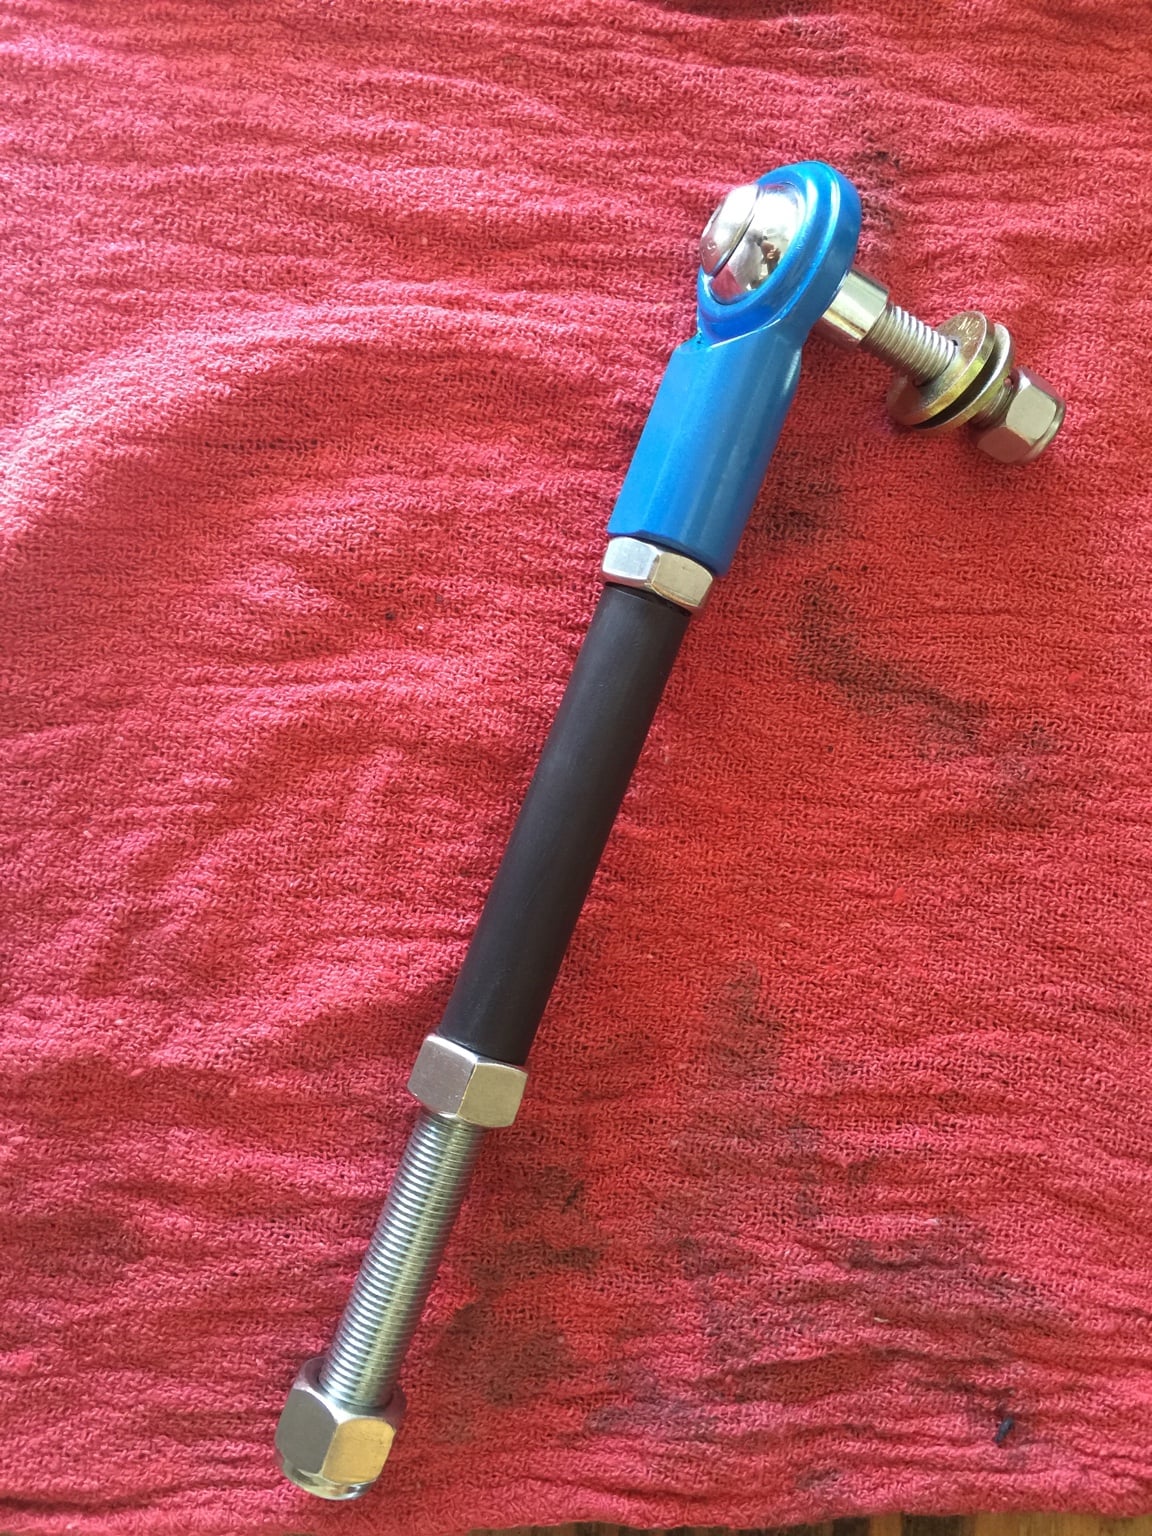
Decided I'd DIY my links instead of paying someone else to.

be1336d4bb9ba391409d55e1634c7412.jpg


Parts needed
4-1/2"x20 heim
4-1/2"x20 threaded rod cut to 9" (will size to lift
4-1/2"x20 stainless nylock
4-1/2"x20 stainless jam
4-1/2"x20 stainless double
4-1/2" OD steel sleeve
4-3/8"x24x3" button top stainless
4-3/8"x 24 stainless nylock nut
8-3/8 grade 8 washers
2-bushing sets from Wheeler's

The black is just 3/4" heat shrink to cover the exposed threads.

c90535e110def6f4b08027e015d7dc54.jpg


Had to add my touch of blue... Think I may be taking it too far. Haha

2da9b0683fde37f2a3d65ab61e521486.jpg


I'll post pics of them installed later. All my lift part are ordered and should ship next Monday.
 
Last edited:
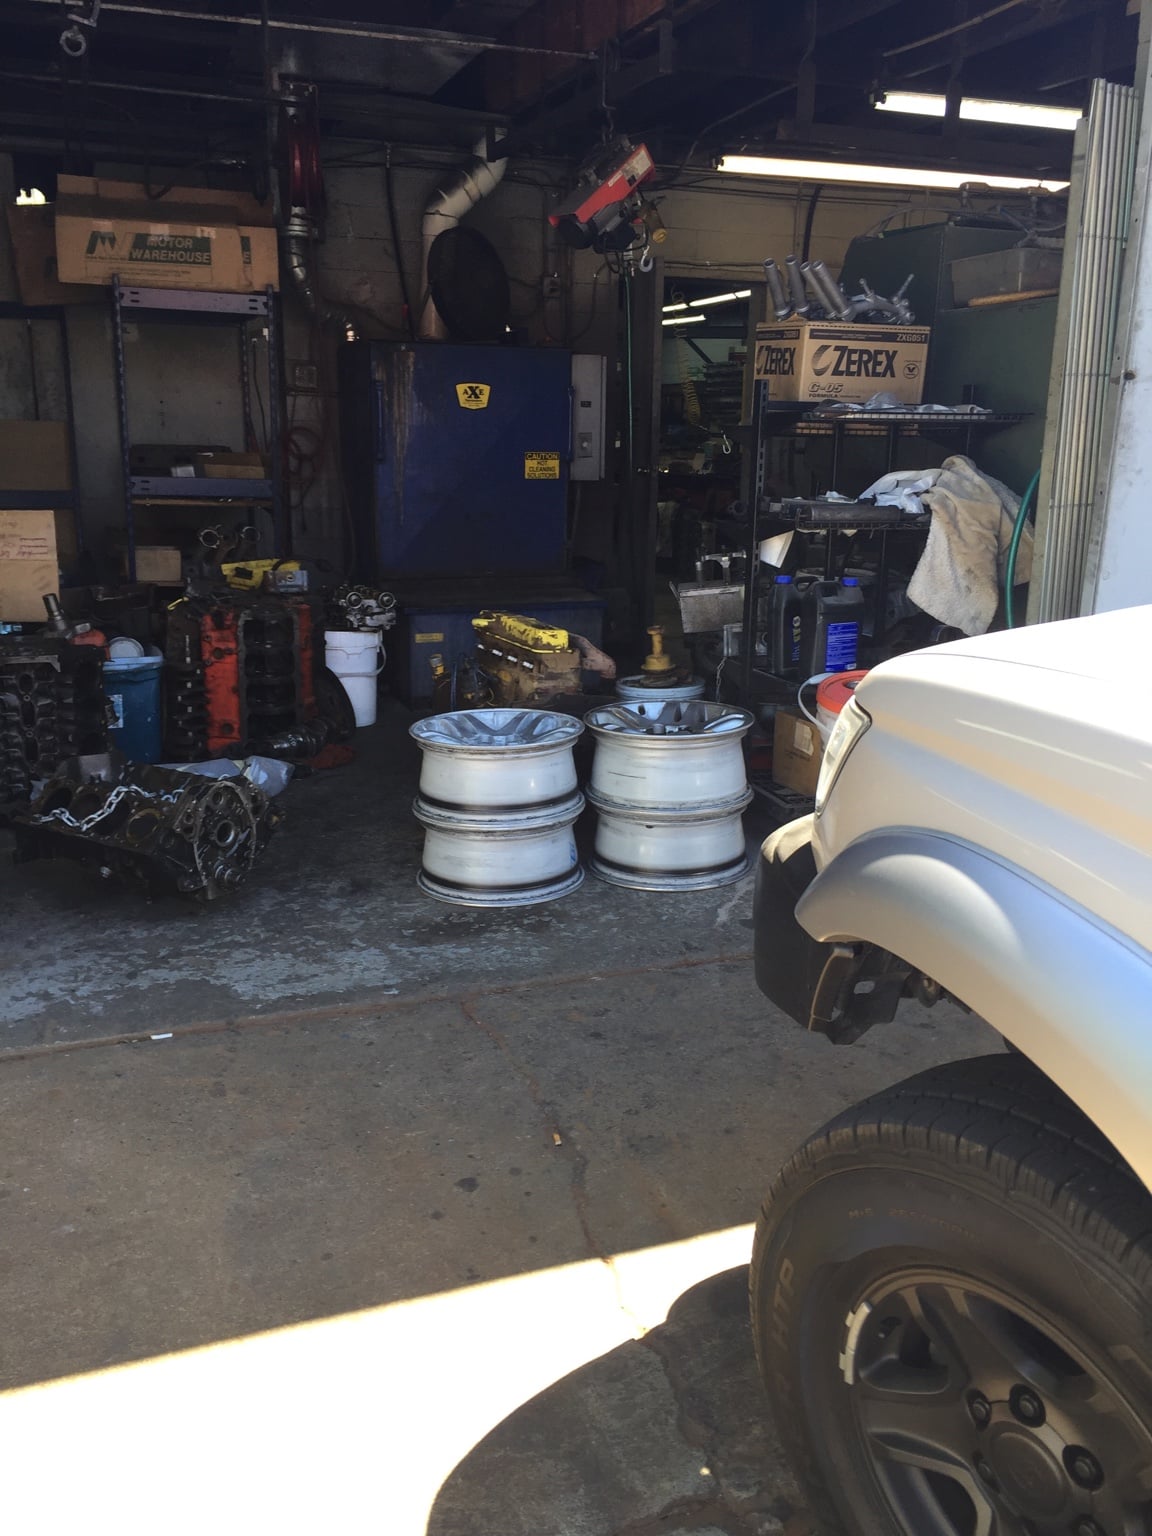
Just dropped my Sequoia/tundra wheels off for media blasting. Should be done sometime tomorrow.
36293b220069dbf88806e65c8d949744.jpg


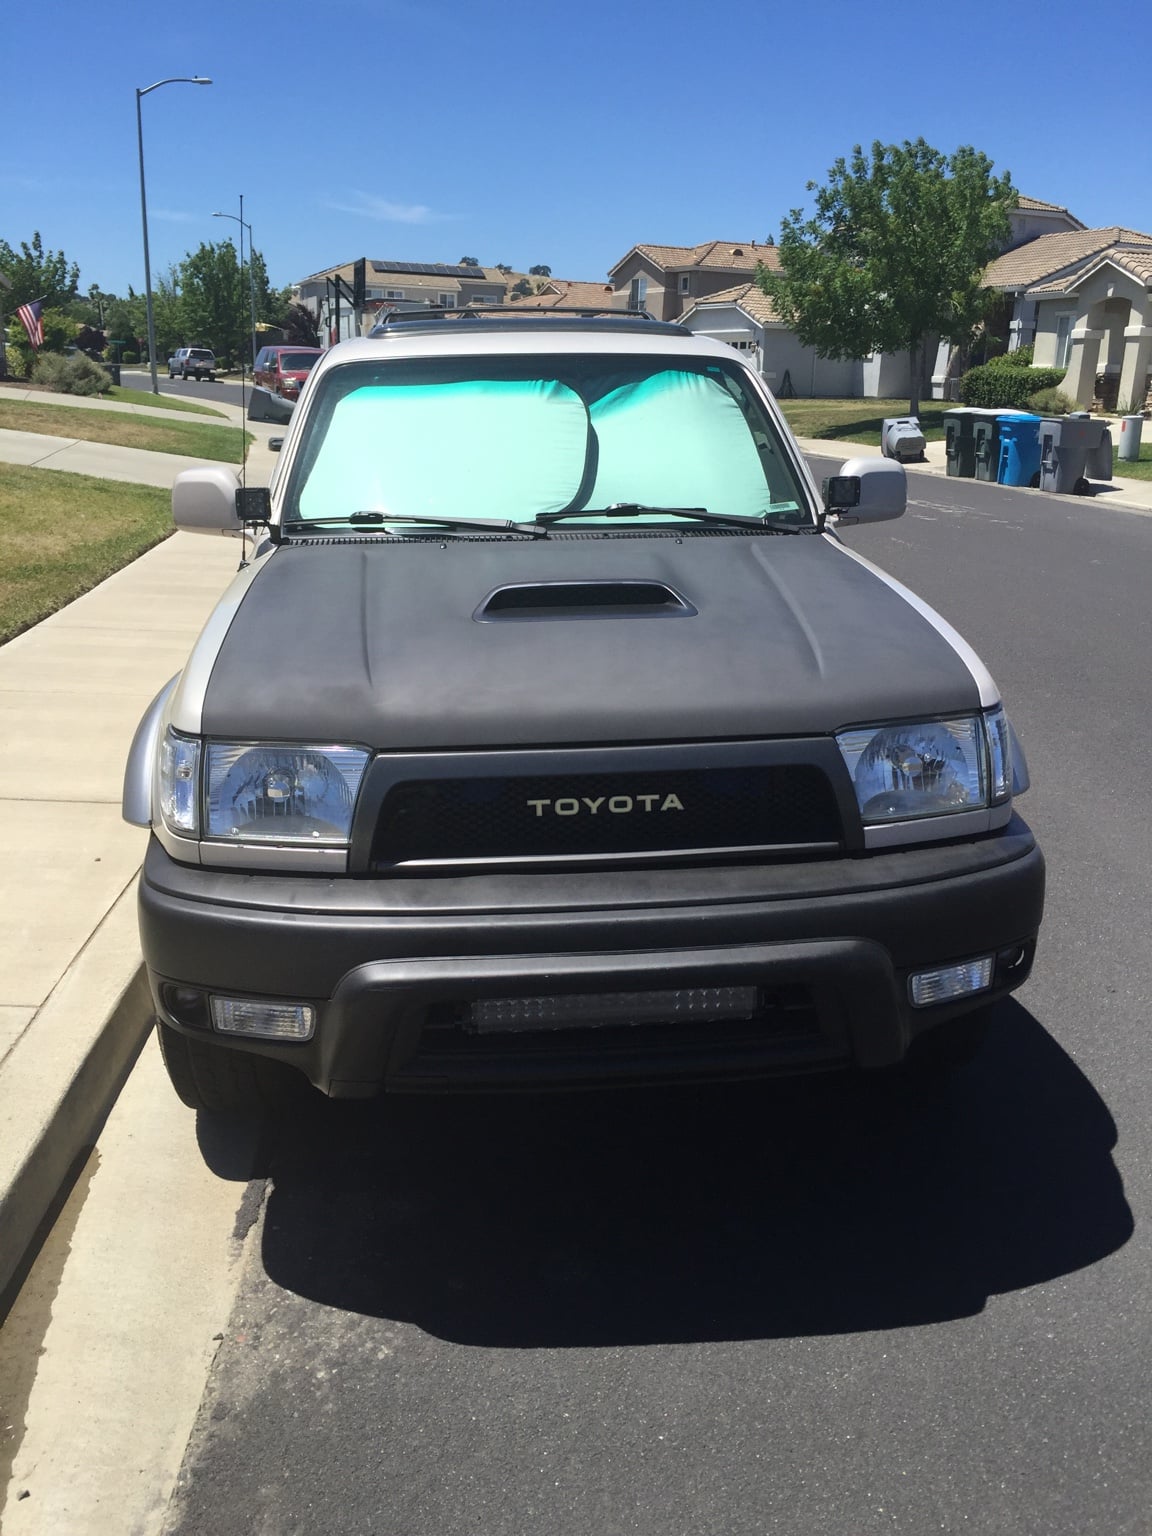
Painted my hood again... Just wasn't feeling the tan.

d804be4560226df77187ec1af4c43cc5.jpg


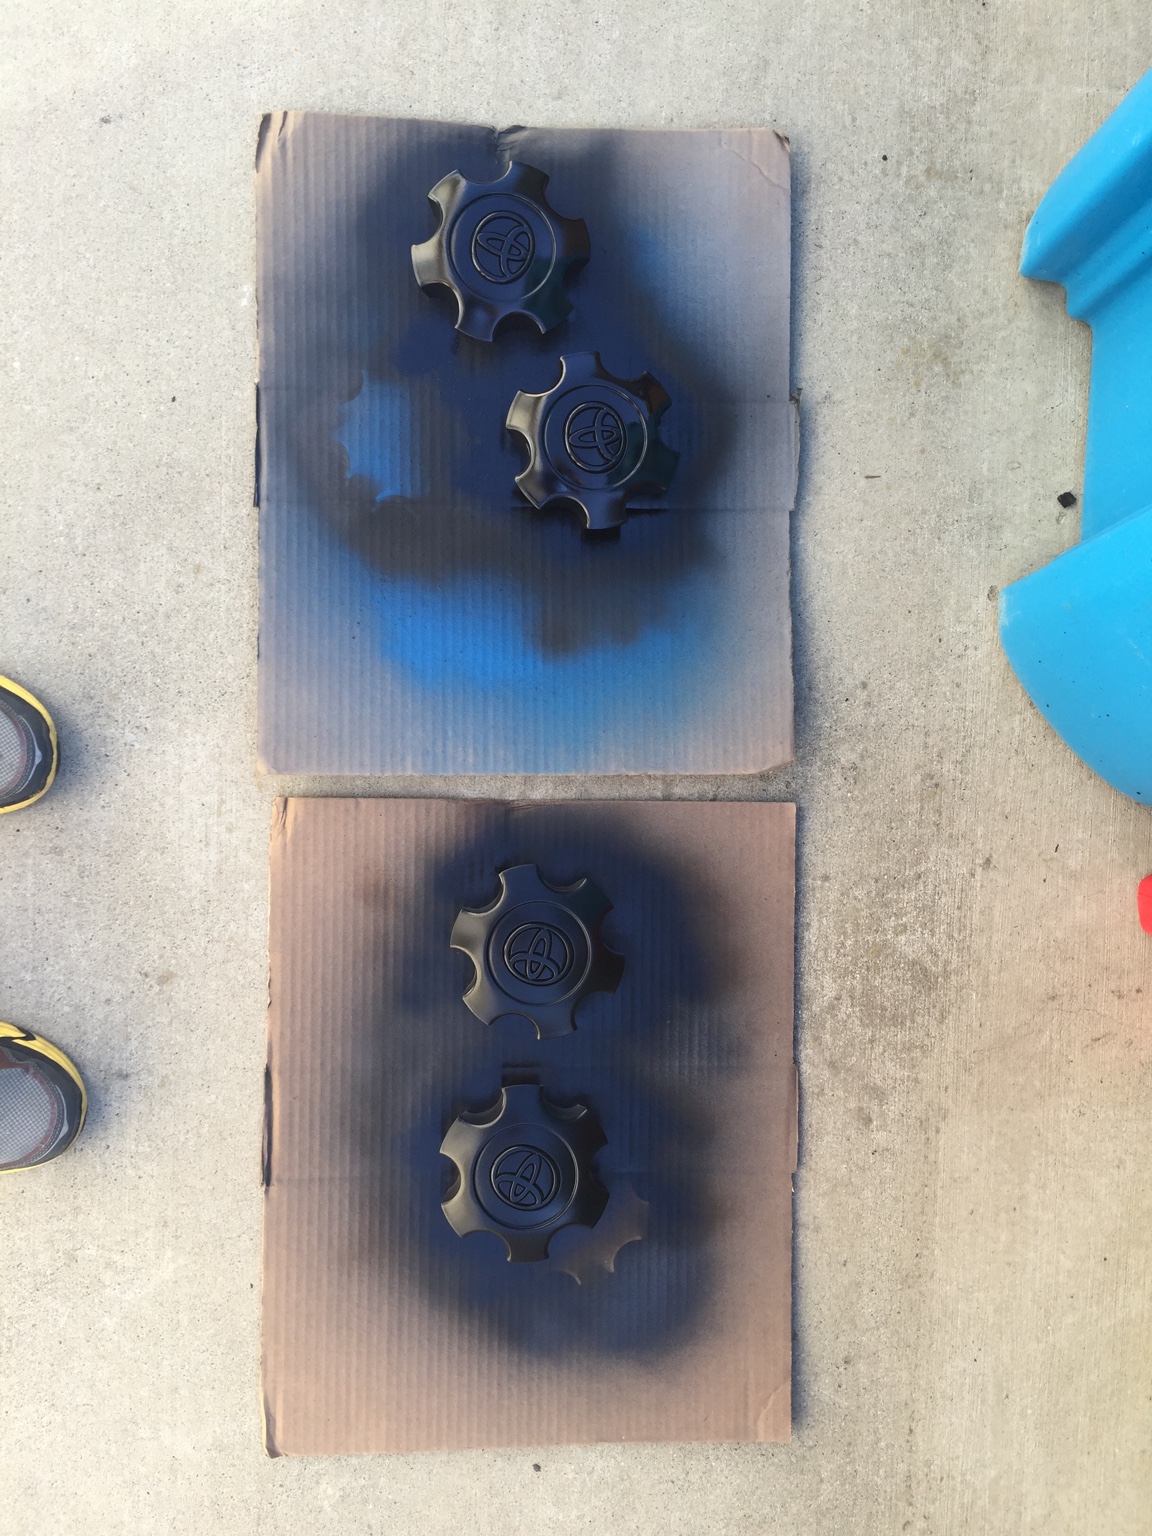
Some finish testing on the center caps
c0dce67caf5808643782b705ba1ccc1c.jpg

Semi gloss (top) v matte (bottom)
 
Status
Not open for further replies.

Members online

Forum statistics

Threads
278,312
Messages
3,554,085
Members
248,016
Latest member
Advally Service

Trending content

Back
Top