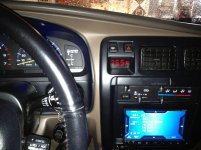
This is installation instructions for this temp gauge:
Red Digital Thermometer with 1pcs DS18B20 Temp Probes | eBay
They also make Blue thermometers and Blue or Red volt meters.
Ok guys here goes:
1 remove radio bash bezel and unplug ashtray light, lighter leads, hazard lead, defrost lead and clock lead.
2 move to workbench or table backside up on a towel
3 remove clock
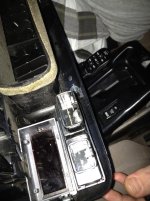
4 Use a dremel to cut the clock holder clips off of the bezel and slightly trim the plastic base of the metal tab (trim a little of this tab at a time, if you get it perfect the new faceplate will snap into place) just to the left of the clock tabs
PIC 1
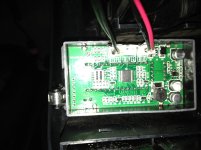
5 open the new temp gauge by pushing the 4 tabs on the back w a small screwdriver, then remove the 4 small screws from the led panel
PIC 2 and take it out. I painted my faceplate black and sprayed the red lens (they come apart) with tinting spray at this point.
6 I now pushed/wedged the empty faceplate into the old clock spot
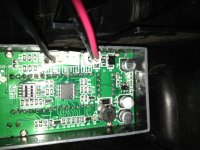
7 I then drilled a VERY small pilot hole through the empty casing into the a/c vent side and used a very small screw to secure it in place
PIC 3, then reassembled the temp gauge into faceplate and snapped on backplate
PIC 2
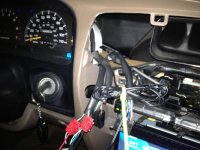
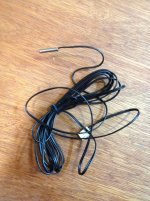
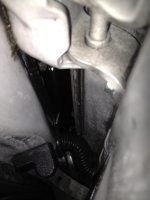
8 Ran the temperature probes down through the dash and out of the door wiring grommets to the inside of the fender
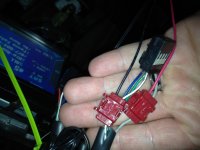
PIC 7 and 89 used wire taps to tap into the existing clock power, red to gray clock wire/ black to white with black stipe clock wire. These are the switched power leads.
PIC 4
10 cut the dash tab off the dash where the clock tab would push into (same as top one), don't worry my bezel held on perfect without it.
PIC 5
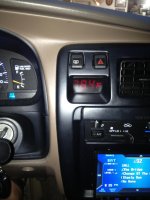
11 plugged all the wires in then put bezel back on. VOILA finished.
PIC 6