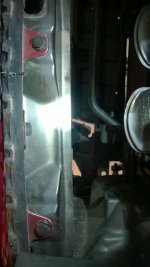
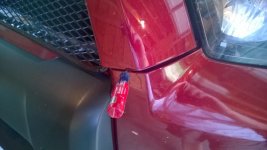
How-To-Guide (Grillcraft Upper/Lower Grill)

Don't paint the A/C radiator. You are going to decrease the efficiency of the radiator due to messing the heat transfer properties. Pretty much you are insulating the radiator preventing it from transferring the heat from the system to the outside air. The frame is fine to paint.

Thanks pops, I appreciate it.
 
To those who performed satoshi mod. Is there any trick to releasing the corner tabs next to the headlights. I had difficulty sticking my hand in there and it seems like the tabs don't want to release.
Thanks
 
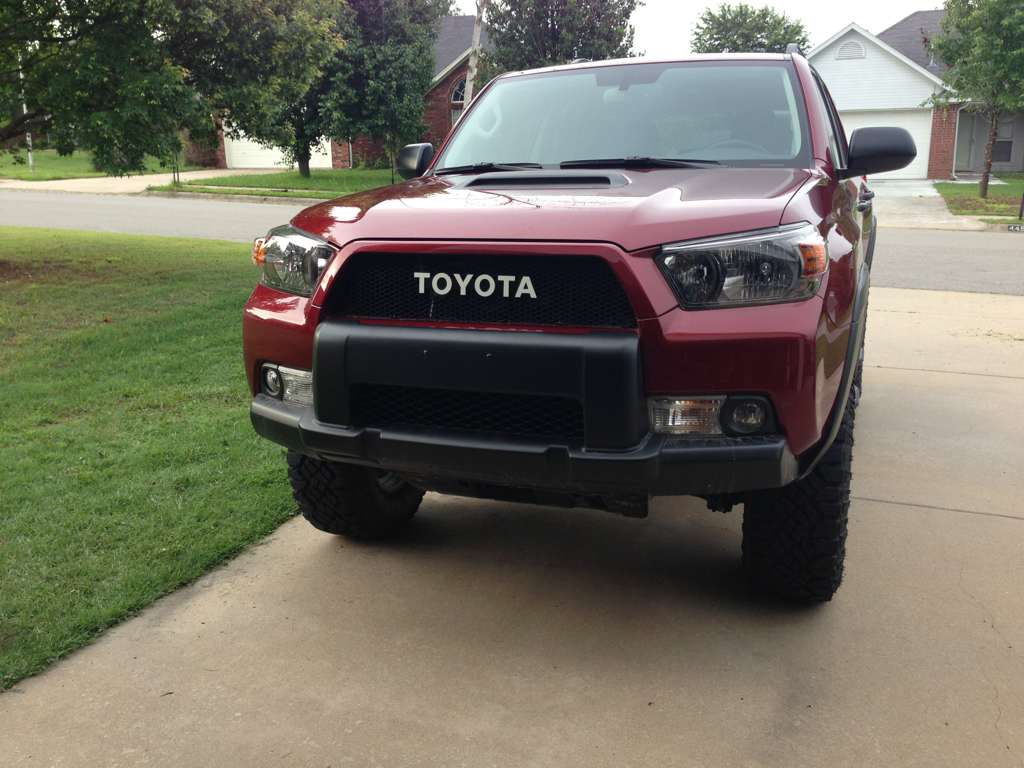
Did this install today

I was going to do a write up until i saw yours. Grillcraft makes it look WAY easier than it is. It's not complicated but it's time consuming and without your write up it's a lot of trial and error. I can't imagine doing it without a dremel tool and cutting wheel. It still took a long time to trim it all properly.

Also, I painted the radiator. I researched this extensively before doing it and I came to the conclusion that a light coat of radiator paint will not hurt anything. Any reconditioned radiator is painted and it's such a small amount of paint I'm not worried about it in the least. I painted it at an angle so that the paint stayed mostly on the tips of the fins and used it sparingly. You don't want gobs of it running down your radiator but it looks much better painted IMO.

Did anyone here relocate their horn. It was a bad angle for the light to catch it but you can see my horn here on the right, shining like new money...

943143_10104369835521474_1697491342_n.jpg
 
Nice!

A fast way to trim the old grill is to use a Jigsaw with a finetooth blade. It will make seriously quick work of the grill.
 
GREAT write up OP. I did my Tacoma a few years back and loved the look so I followed your guide and did on my 4Runner yesterday. Looks great
 

Attachments

  • image.jpg
    image.jpg
    137.2 KB · Views: 1,967
GREAT write up OP. I did my Tacoma a few years back and loved the look so I followed your guide and did on my 4Runner yesterday. Looks great

Just wondering how guys are attaching the logo/emblem to the grill? Mine has 2 little nubs coming out the back, but nothing else. Any ideas or explanations would be great if possible.

Thanks,

S.
 
Just wondering how guys are attaching the logo/emblem to the grill? Mine has 2 little nubs coming out the back, but nothing else. Any ideas or explanations would be great if possible.

Thanks,

S.

Clip & Grind the nubs flush, and use 3M "permanent/industrial" double-sided tape (VHB). Did the trick for me :)

:cool:
 
Thanks again to the OP for the walkthrough. It took me a year to finally carve out the time to do this. And now have done it twice.

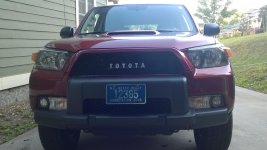
First try was with a grill from customcargrills.com. I liked the mesh, and it was the right shape, but did not fit at all and needed a lot of trimming. Which I didn't have patience for once I finally finished it, so it all went back together (picture with lights off).

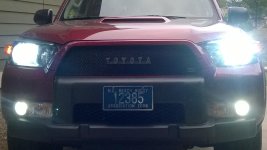
After two days, I hated looking at it and sprung for the much more expensive Grillcraft version. This one is cut correctly and is a much sturdier piece. So the second (and final) version is the one with lights on.

My tips for those who still haven't done this:
As mentioned before, the hardest part is getting the grill frame released from the front of the car (namely the PITA clips by the headlights). I finally removed the four plastic trim clips from below the frame (holding the painted upper bumper cover in place). This allows enough play between the two plastic pieces to slide a small screwdriver between them and release the tab. There may be minor scratching of paint there, but you don't see it once the parts are back together.

I tried the jigsaw method cutting out the bulk of the inner grille, but honestly would have been faster doing the whole thing with the Dremel. You need this anyway for the tighter spaces.

As y'all can see, I chose the smaller, old Land Cruiser emblem over the FJ one. This is metal. So I had to cut into the mesh (the customcargrills one is much wider and didn't need cutting) to make it fit, then used a bunch of washers as spacers to hold it in position with machine screws on the back of the plate.

I don't know if I've posted anything since my 3rd gen, but I love this forum! Thanks to all for such a great resource.

 

Attachments

  • WP_20150620_003.jpg
    WP_20150620_003.jpg
    103.2 KB · Views: 1,119
  • WP_20150627_006.jpg
    WP_20150627_006.jpg
    91.1 KB · Views: 1,112
  • WP_20150627_002.jpg
    WP_20150627_002.jpg
    82.5 KB · Views: 1,127
  • WP_20150627_003.jpg
    WP_20150627_003.jpg
    91.2 KB · Views: 1,101
Thanks again to the OP for the walkthrough. It took me a year to finally carve out the time to do this. And now have done it twice.

First try was with a grill from customcargrills.com. I liked the mesh, and it was the right shape, but did not fit at all and needed a lot of trimming. Which I didn't have patience for once I finally finished it, so it all went back together (picture with lights off).

After two days, I hated looking at it and sprung for the much more expensive Grillcraft version. This one is cut correctly and is a much sturdier piece. So the second (and final) version is the one with lights on.

I don't know if I've posted anything since my 3rd gen, but I love this forum! Thanks to all for such a great resource.

Yeah when I put my upper Rigid grill in the Dremel was invaluable, as were the grillcraft instructions. You going to be at Overland East? If you are in Asheville it's just a short ride to Fairview.

Instead of that screwdriver [MENTION=25083]tophmack[/MENTION] you should have spent the $10 on a panel removal kit! Makes quick work of that stuff without leaving marks!
 

Members online

Forum statistics

Threads
278,311
Messages
3,554,082
Members
248,016
Latest member
Advally Service

Trending content

Back
Top